

I love the steadfast nature of perennials. After another winter of cold, harsh weather, my plants yawn and stretch each spring, as they wake for another season of beautiful blooms, tall, stately grasses and glossy green leaves. It just so happens that about the time they begin to emerge from the cold soil, I’m itching to pull my gardening gloves on and give them a proper once-over before the season gets started in earnest. So, grab your tools and let’s get our perennials ready together with this simple springtime perennial care routine.
Easy Care Doesn’t Mean No Care
I was walking around my yard yesterday and was surprised to see how many spots of green there were poking up out of the leaves already. Hello there, delphiniums! It’s a bit like bumping into a friend in the grocery store that you haven’t seen all winter.
(Only, I’m slightly more excited to see my Bleeding Heart shoots.)
I’ve been a vegetable gardener since I was a little kid, but I didn’t really get into ornamentals until much later, as an adult. And even then, I was more comfortable approaching the little 4-packs of annuals than perennials. Perennials always carried this mystique with them, like they were somehow inherently harder to grow. (In my mind, the higher price tag and larger pots equated to harder to grow. I don’t know, I was 20-something.)
I had a good friend who began populating her yard with perennials, adding a couple of new ones every year, and it was through her that I began to see the appeal.
So, wait, I buy perennials once, they basically take care of themselves and make more of themselves, too? I’m in!
But it took me a few years to realize that just because perennials tend to be easy to care for, it doesn’t mean they don’t need any care to thrive and look gorgeous. That was about twenty years ago. Now springtime is go-time.
Through trial and error, I’ve found that if I want amazing plants all summer long, I need to make sure they are set up in the spring.
Most ornamental perennials require some variation of the following each spring: post-winter assessment, clean up and cut back, division, amend and feed, and finally, mulch. Not everything needs to be done all in one go. I do a couple of these, a little at a time, depending on the weather. Let’s jump in, and I’ll give you step-by-step guidance for each task. Grab your gloves and let’s get started.
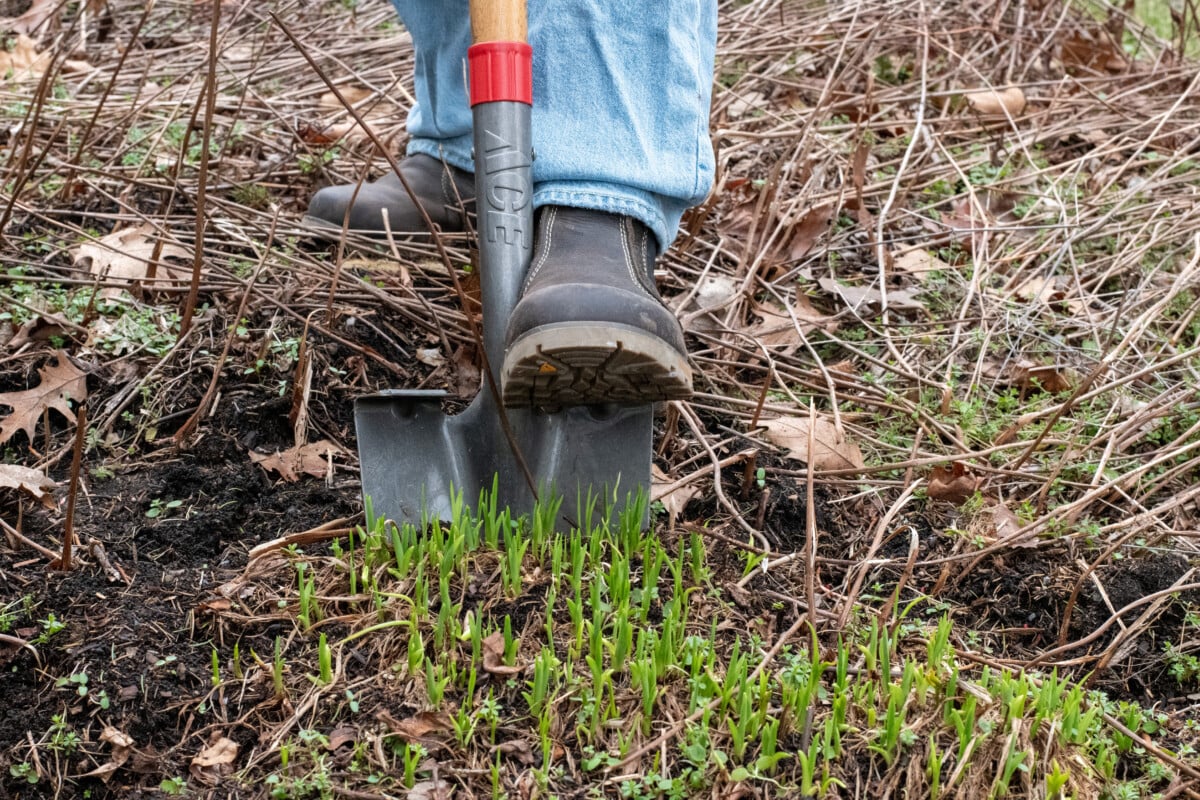
1. Assess for Frost-Damaged Plants

This is the first thing we need to do each year. I save it for that first stretch of really nice days. You know, the ones that trick you into thinking maybe you can put your winter coat away.
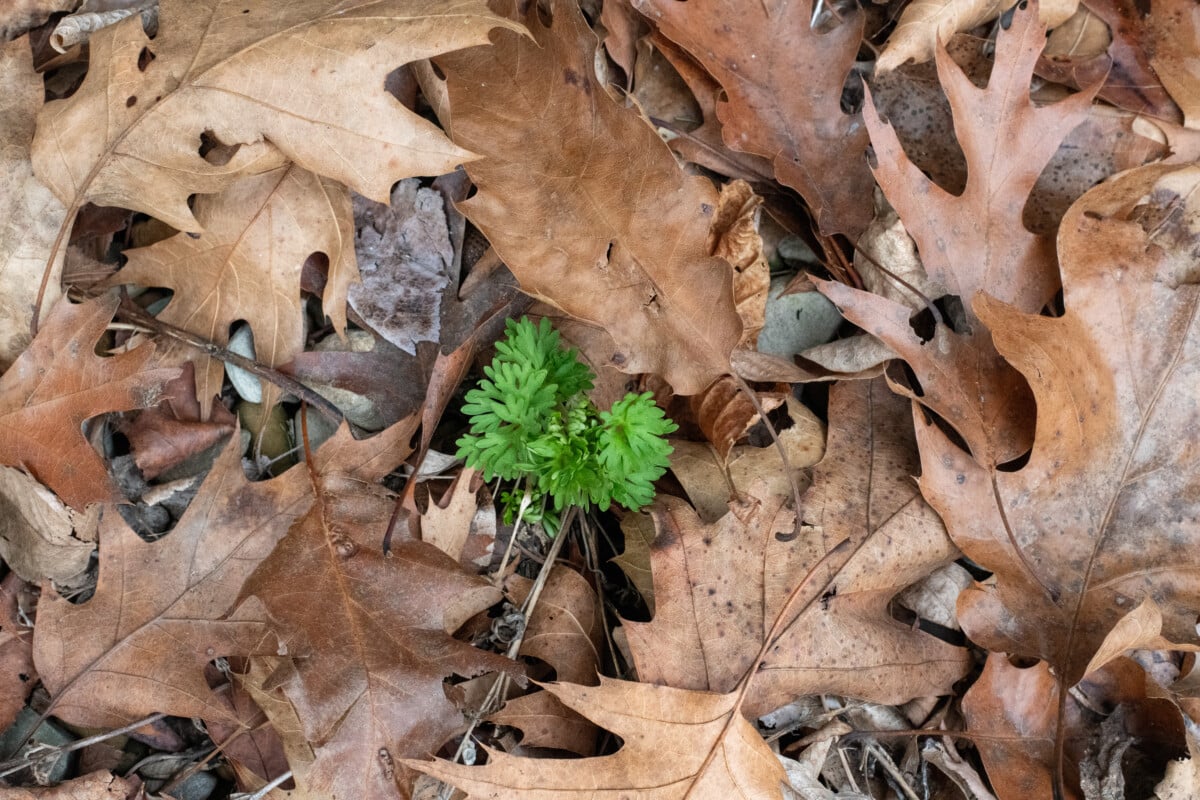
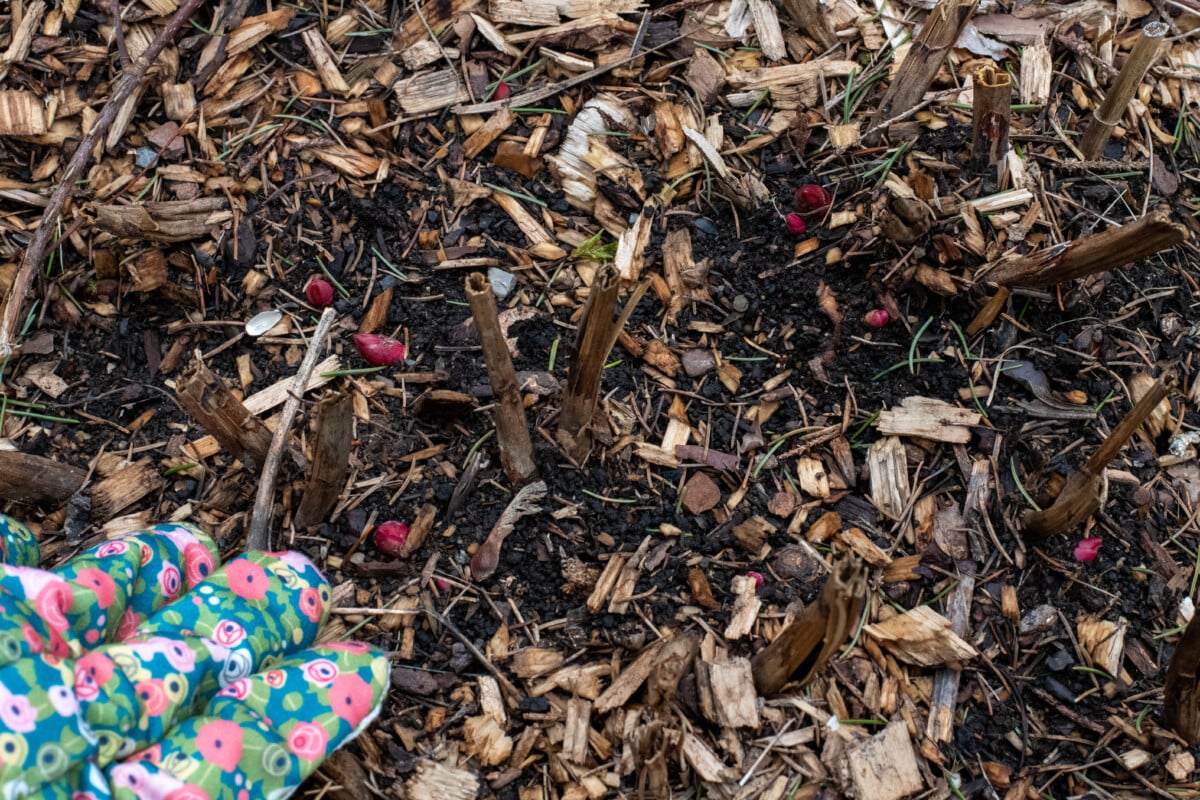
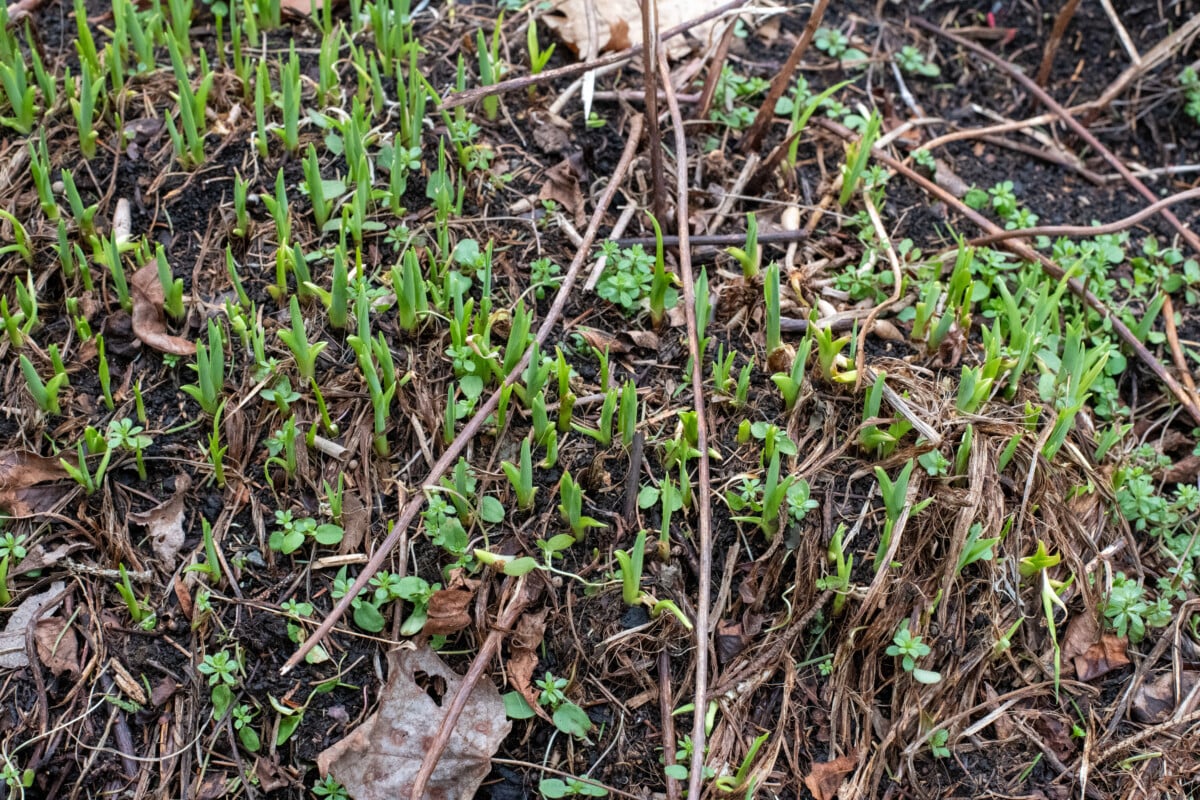
It’s usually still pretty cold out when my perennials start popping up from the ground. Here in zone 6b, I can usually count on things to start emerging from the ground in mid-march. So, by the time we get a solid week of nice weather, quite a few of my ornamentals have popped up above the soil enough for me to know who made it through the winter, who didn’t, and any cold damage sustained.
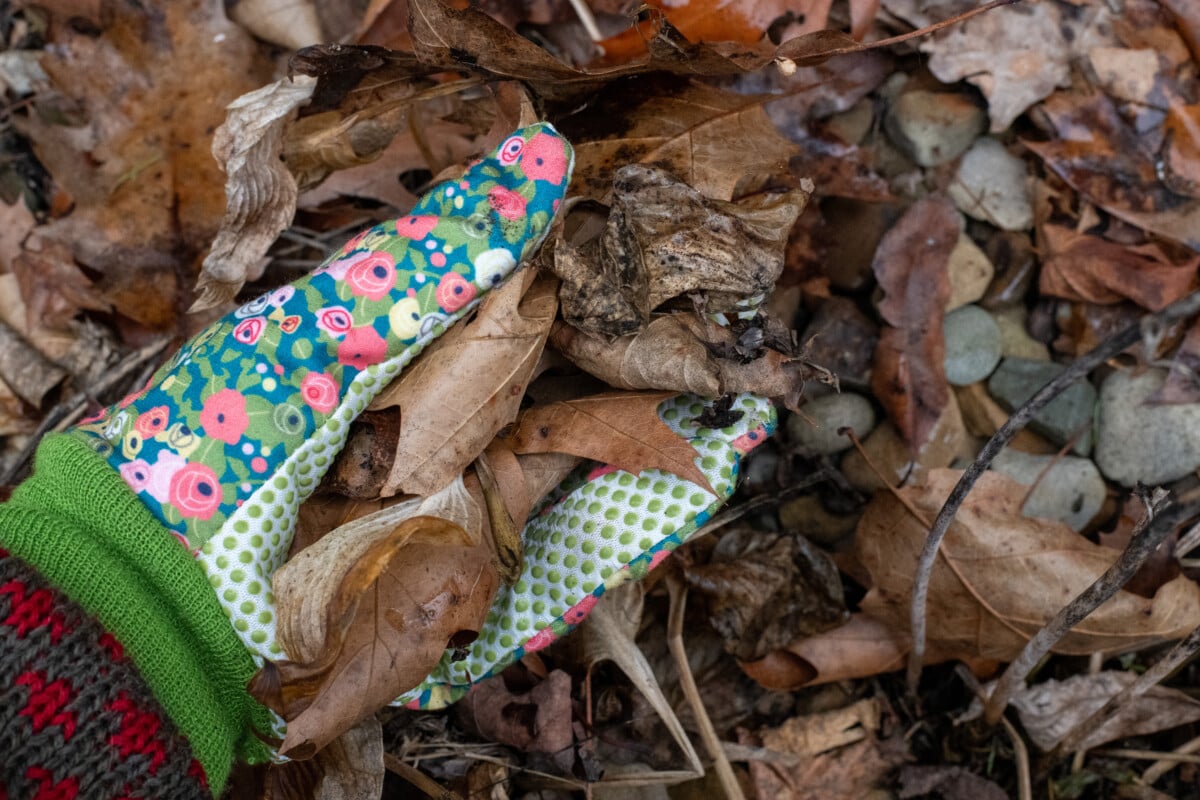
Grab a cup of coffee and a pair of gardening gloves and go for a walk around your garden.
Peel back the layer of leaves and whatever else has accumulated since last fall and take a peek. Remember, we’re not cleaning things up just yet; we’re just looking. I put the leaves back over everything once I’m done because I know I can expect a couple more frosts and probably more snow at this point.
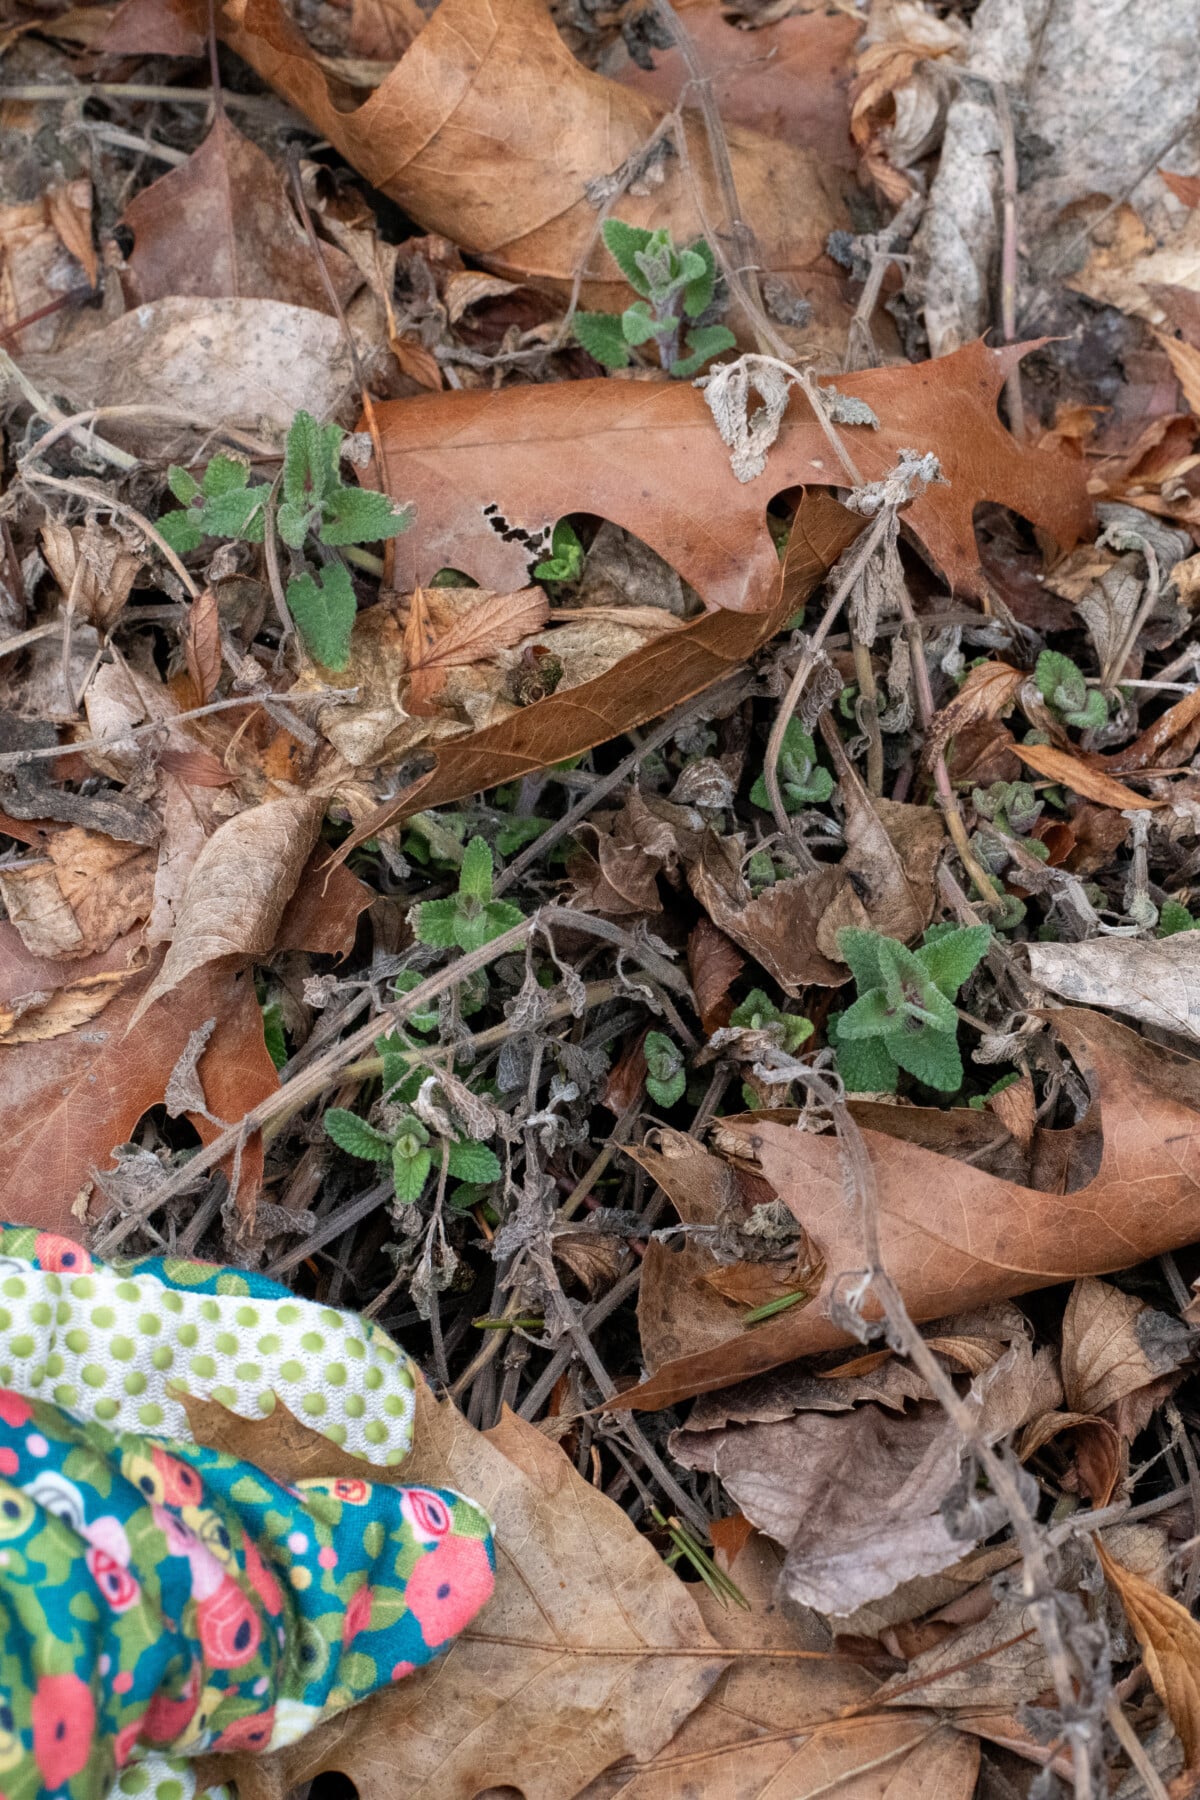
You’re looking for signs that your perennials are stirring down there.
I worry less about the plants that have been around for a while. My hostas and peonies show up reliably every year, so beyond a quick, “Yup, there you are,” I don’t pay them too much mind unless we’ve had a particularly bad winter. Then I’ll check for cold damage.
I specifically check on newer plants. Perennials that I planted the previous year, whether it was in the spring or the fall. If we had a dry summer and my plants were water-stressed, they may not have been able to store enough energy to survive their first winter.
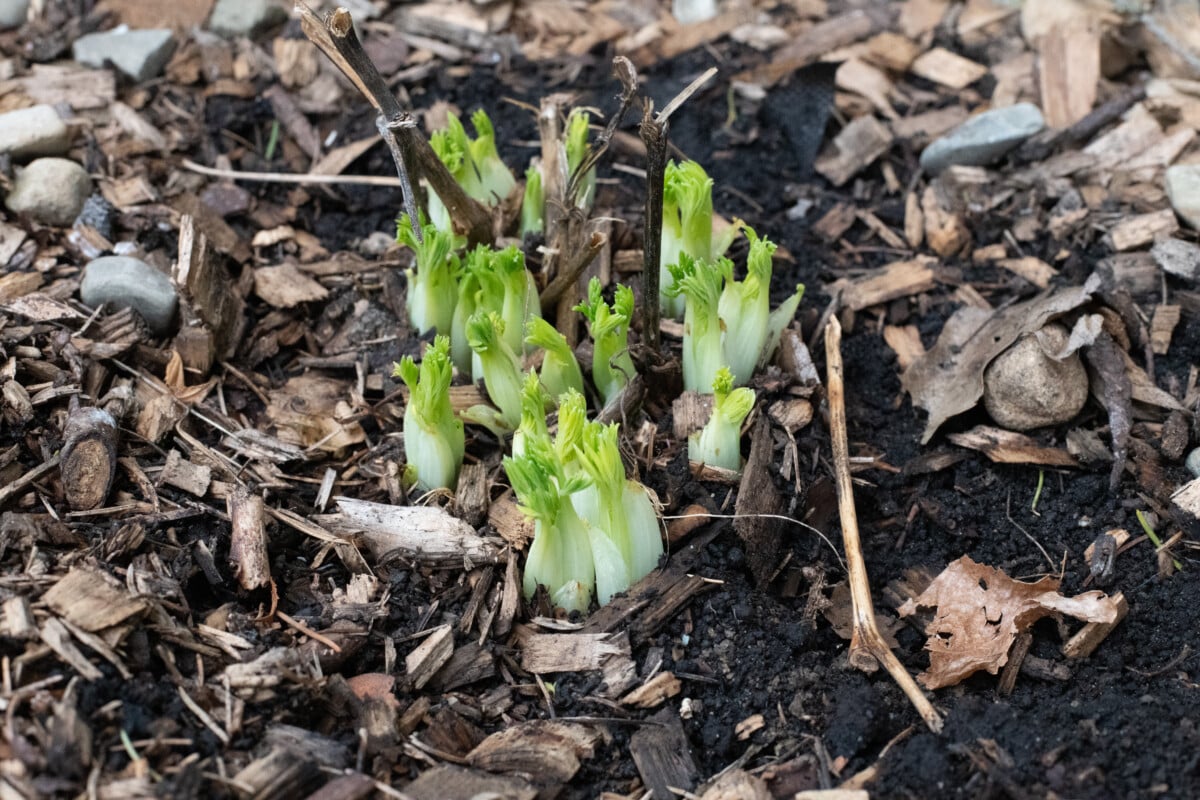
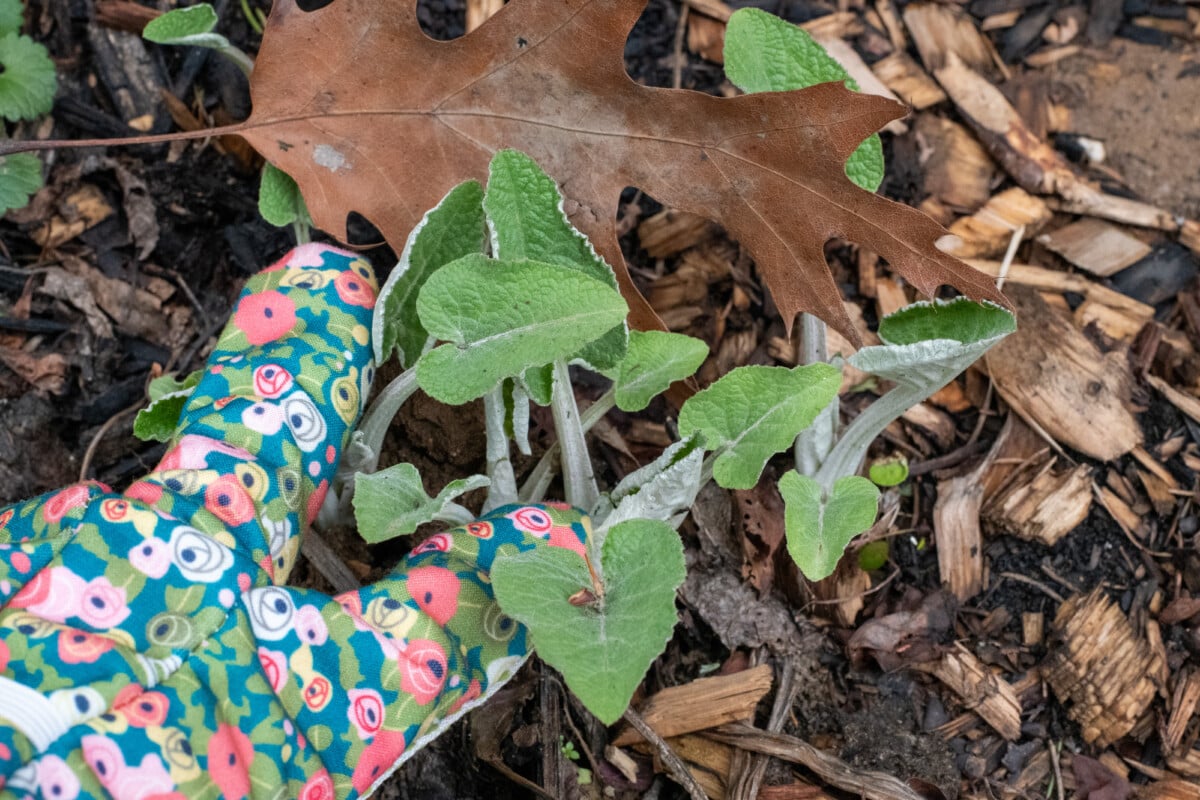
I’m looking for new growth in the form of shoots or buds, depending on the type of plant.
I’m also looking for damage. If the plant has evergreen leaves, I check for yellowing. I’m also looking for blackened spots or mushy portions of the plant, especially down by the crown and roots.
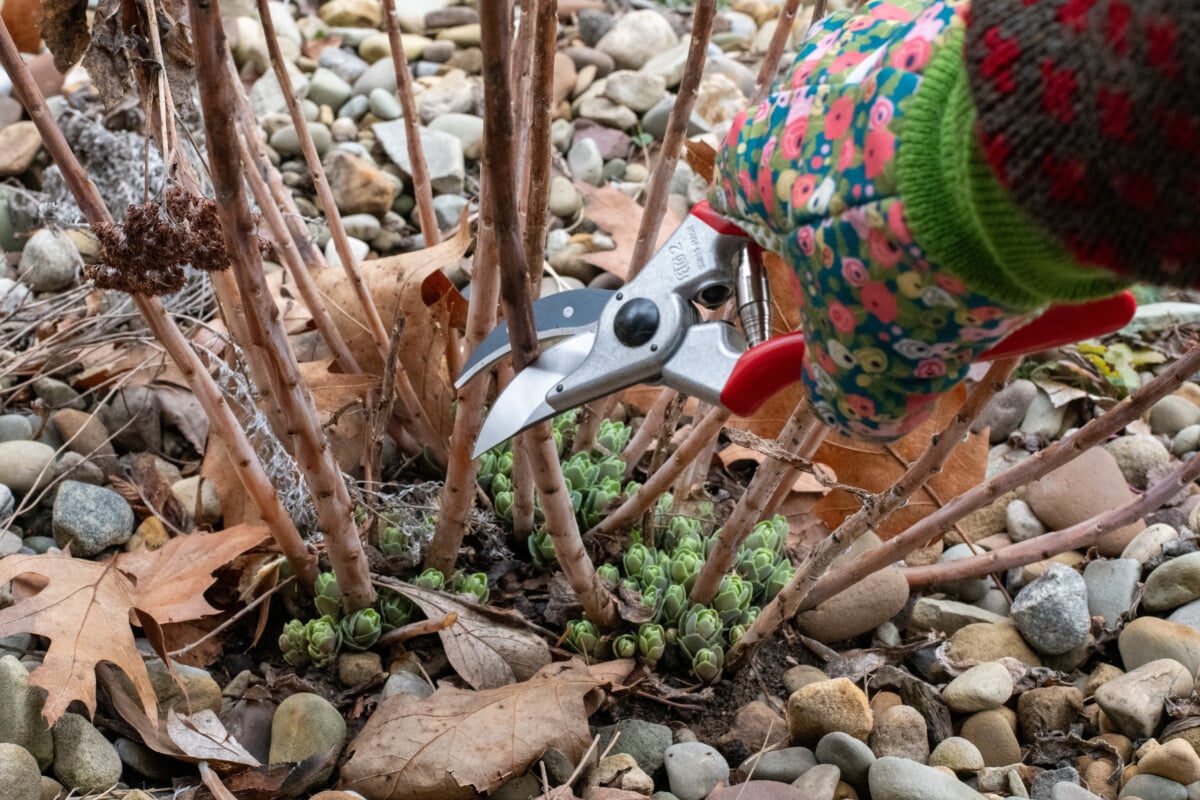
Depending on the amount of damage, I may have lost the plant entirely or only a portion of the plant. If that’s the case, I’ll cut off the damaged portion with clean hand pruners and then cover the plant with a light layer of straw or dry leaves so that it’s protected while the wound heals over.
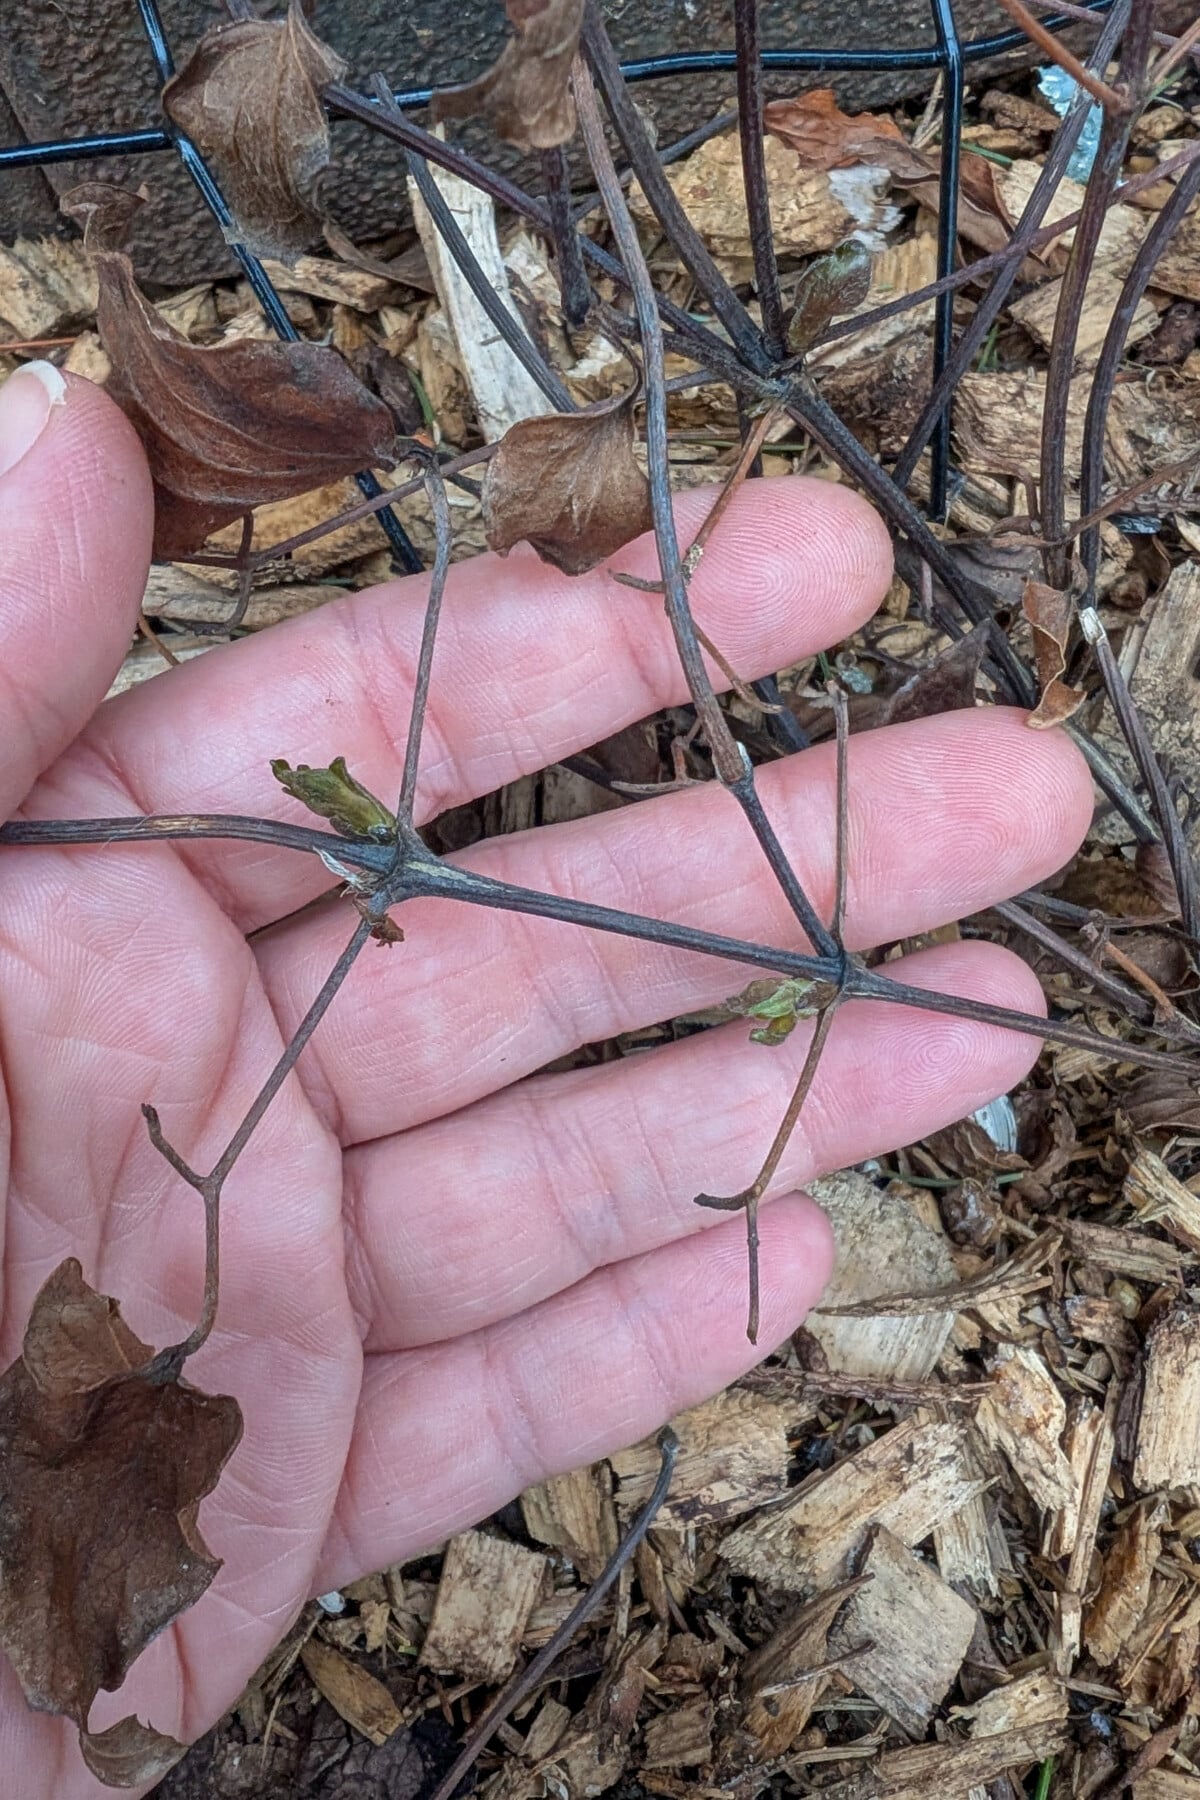
I was especially concerned about this clematis that I planted last fall. It was an end-of-the-season bargain plant, so it was already looking a little worse for wear when I planted it. At first glance, I wasn’t sure it made it, but on closer inspection, there are new buds all along it. Hooray for scrappy survivors!
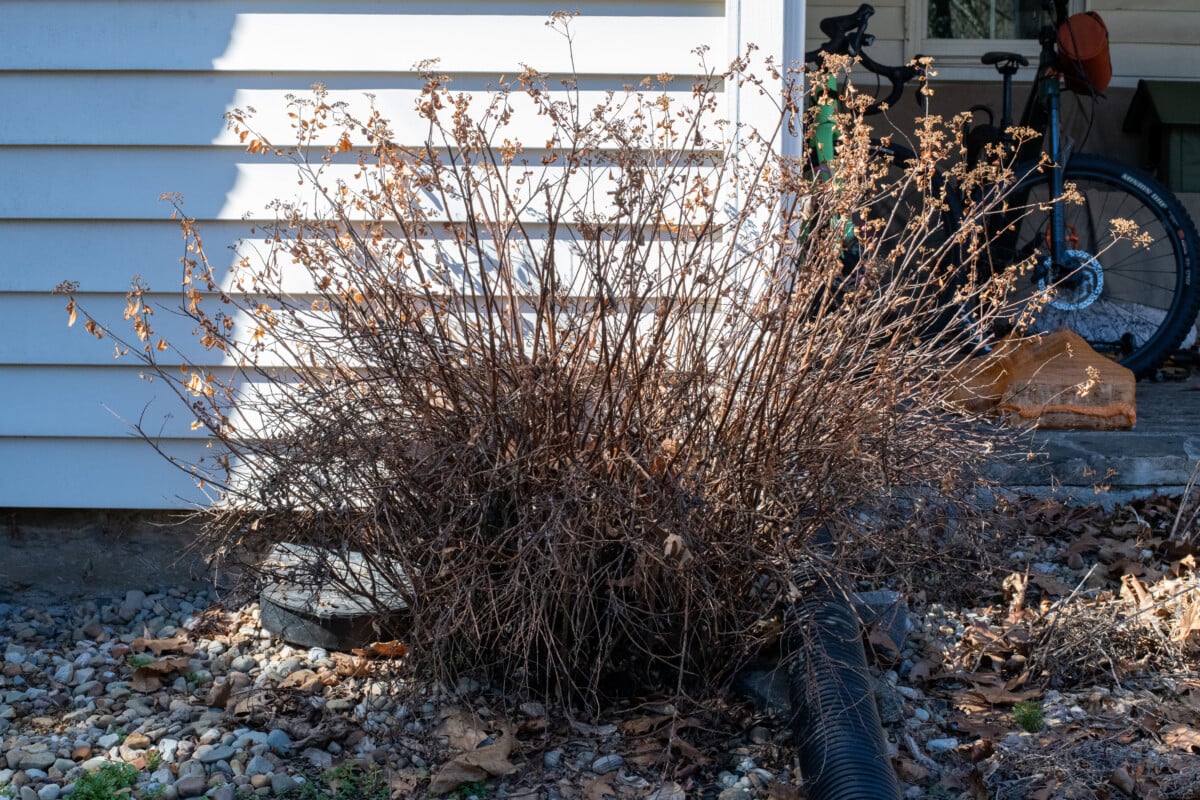
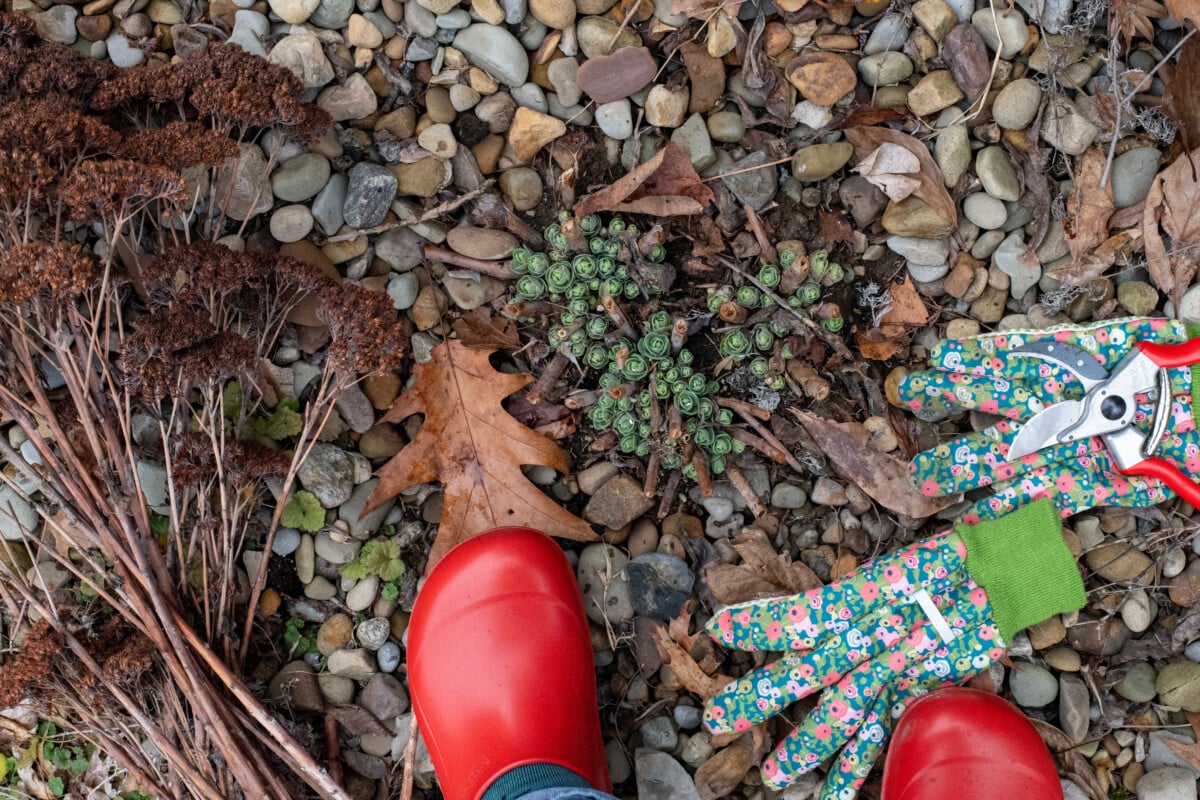
2. Cut Back and Clean Up
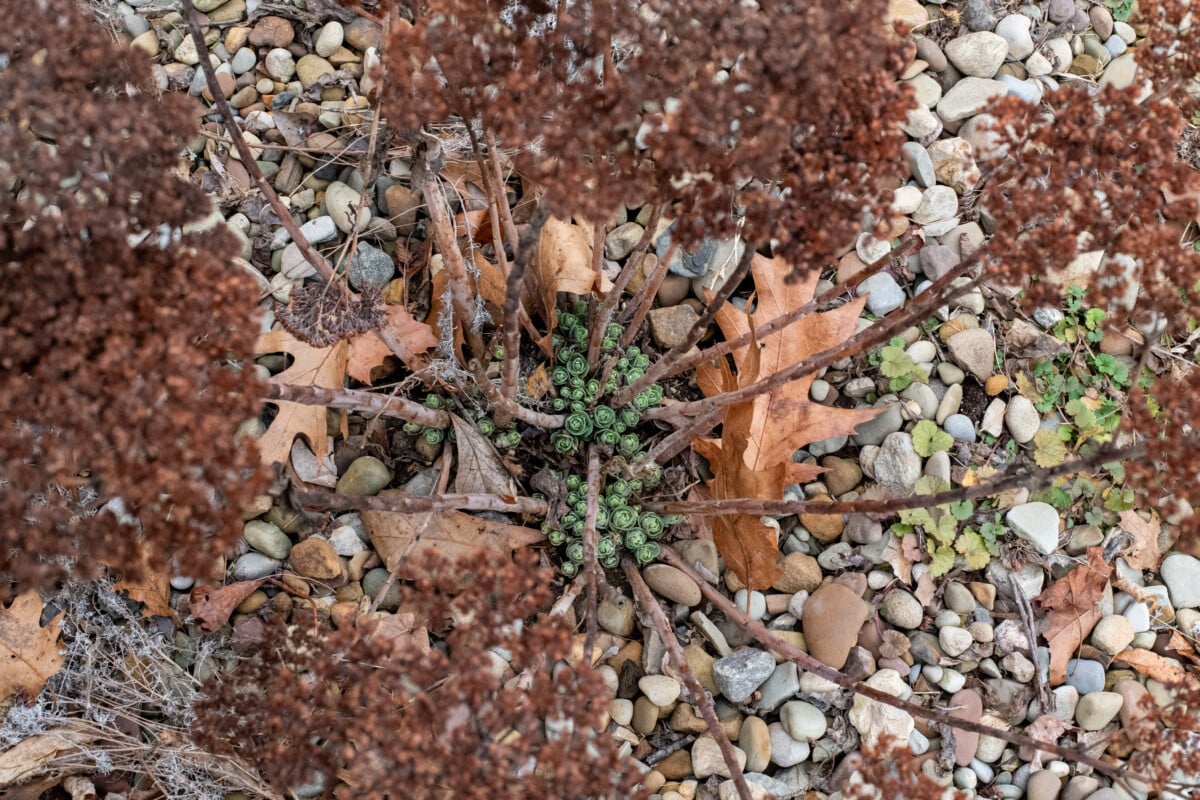
Now that your perennials have emerged and you know who made it and who didn’t, it’s time to get those beds in shape. Giving your flower beds a little tidy up in spring gets them looking good for the season. It also improves airflow and gives pests fewer places to hide. I’m looking at you, slugs!
I cleared out my Autumn Joy stonecrop. All of my Russian sage needs to be cut back to keep it from getting woody. I will also cut back this Spirea japonica quite hard as I want to reset this shrub completely.
(I may have a little PTSD where this particular shrub is concerned, as I found a litter of four kittens growing in it two years ago, and it changed my life considerably. (For the better.) It’s not allowed to get to concealment or dwelling size anymore.)
I also noticed I have burdock popping up in one of my beds. I want to get that pulled out while the tap root is still small.
My partner in crime, Mickey, has the details on 15 perennials that need a good haircut before spring growth gets going each year. And I always defer to her wisdom when it comes to cutting back ornamental grasses.
If you are cutting back quite a bit of dead foliage, don’t shred it or bag it yet. Tuck it out of the way in an area of your yard for now. (We’ll get into why shortly, I promise.)
I usually take care of cutting back older foliage first and then wait a couple of weeks to start cleaning up. Mainly, because it’s warmer and more pleasant, but also because spring is usually pretty busy at my place and I’ve got six million things to get done before the warm weather arrives.
But also, I want to make sure my favorite bugs have time to emerge, undisturbed. Among all of the leaf litter that’s accumulated over the winter lies the makings for spectacular summer evenings.
Mind the Bugs, Please
Nestled among your perennials, fireflies are happily snoozing in the leaves and other dead foliage.
Every summer, there are more reports of people seeing fewer fireflies. The Xerces Society notes that up to a third of North American firefly species are at risk of extinction. So, while it’s not the end of the line for these charming bugs yet, we do need to be more mindful of the space we share with them if we want our own kids and grandkids to grow up with memories of backyards full of blinking fireflies.
There are a few things we can do to make our perennial flower beds more firefly-friendly.
Fireflies usually emerge once the days are consistently above 50 degrees F. Which, when you think of it, is around the time you really need to get in there and start getting things cleaned up for the season. But if you get a few nice days and want to get some of these perennial clean-up chores knocked out, you can still be a friend to fireflies.
When pruning back the dead stems from last year’s blooms, don’t shred or burn them. Pile them in another part of your yard until after the fireflies have emerged for the season. You can chip and compost them or dispose of them afterward.
Rather than removing all of the leaf litter that’s accumulated over the winter, I move it to one side. This allows the fireflies to emerge before I rake it all up and compost it.
Any gardener worth their salt will tell you that leaf mold is worth its weight in gold.
If you want the benefits of added organic matter slowly breaking down in place, there are a lot worse things you could do than to leave the leaves in place. And I don’t know about you, but I like the idea of one less thing to do that requires more wheelbarrow trips to the compost pile.
Something else to keep in mind is that it’s not just the fireflies you’re helping here. Pollinators, ladybugs and a myriad of other helpful insects make their winter homes in the flotsam and jetsam of wintery flower beds. By raking it all up each spring, you’re removing your first line of pest defense.
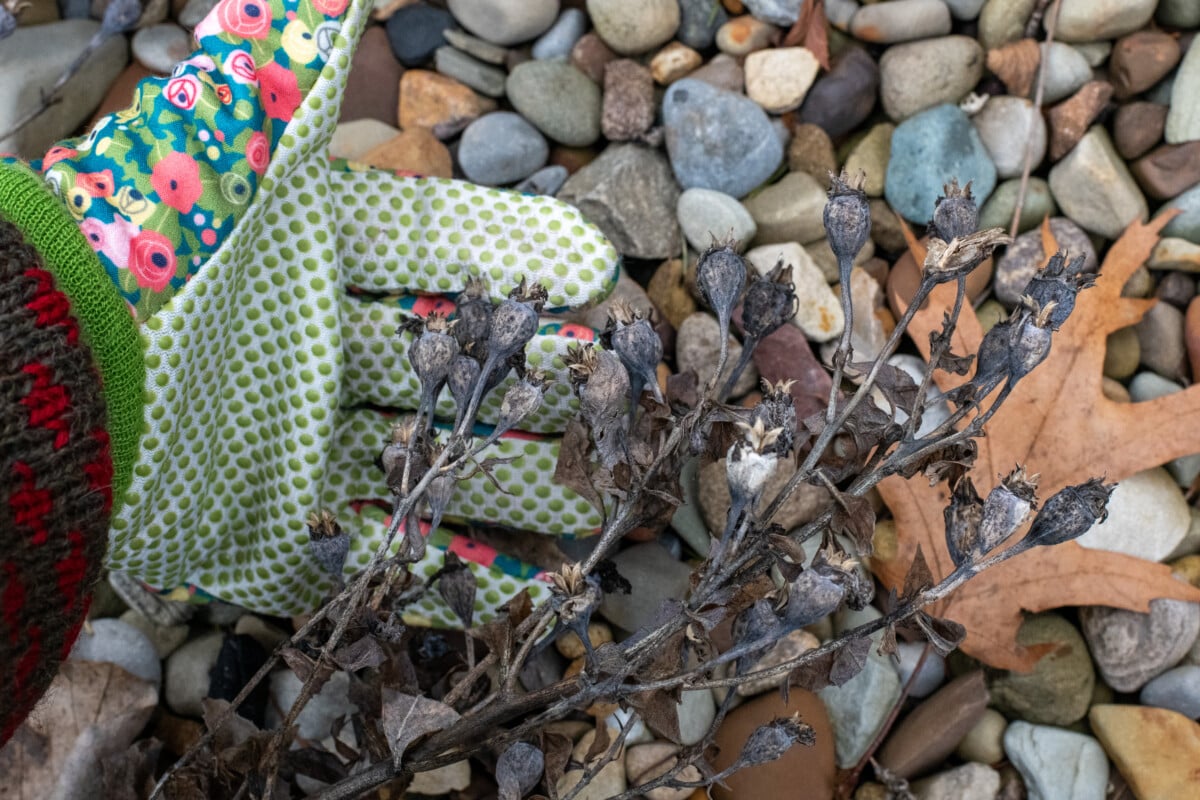
Finally, when you’re pruning off dead foliage from last year, check to see if there are seedheads. This balloonflower was a Mother’s Day present from my boys about five years ago. I’ve saved some of the seeds, and I’m starting a plant for them to give to their sister, who bought her first house this year. Since the seeds spent the winter outside, they’ve already been cold stratified.
3. Divide Perennials as Needed
There are some perennials that should definitely be divided in the spring. But there are also quite a few that do better if you wait to divide them in the fall.
But I’m going to let you in on a little secret: you can really do either for most perennials, as long as you manage your expectations. There are a number of perennials that, if you divide them in the spring, you will likely not get any blossoms that year. If you’re okay with that, divide away.
For me personally, my spring tends to be much more hectic than my fall, so unless it’s pressing, I wait to divide my ornamentals in the fall.
However, this year, I am tackling this giant mat of daylilies in the spring. I’m completely redoing my front flower bed. The daylilies don’t really bloom anymore, as they’re too crowded, and I don’t really like where the previous owner of my house put them. So, I’m going to dig them up, split them and put them on either side of the two boulders in my flower bed.
They will have more room and will resume blooming more vigorously next year, and it will look nicer overall.
Some basics for splitting perennials:
- Divide them at the front or back end of the season, either before they start growing in earnest, or once they finish blooming/growing for the year.
- Woody centers, crowded rhizomes or poor blooming/growth are usually indicators that your plant is too crowded and needs to be split.
- Use clean, sharp tools such as a spade, garden fork, and a horihori or gardening knife to lift and cut the clumps.
- Make sure each new clump that you plan on replanting has a good portion of roots or rhizomes from which to put out new growth.
- If you can’t plant them right away, put your divisions in a bucket, root-side down, with a bit of water and keep the bucket in a sheltered area. Plant as soon as you can. (Although last year, I managed to keep a bucket of hostas happy from spring until I could plant them in the fall!)
- Don’t forget to share! If you don’t plan on shopping for free plants in your own garden, post your extras on Facebook Marketplace or leave them in a bucket at the end of your drive with a FREE sign.
4. Amend and Feed Lightly
For the most part, perennials don’t need a ton of fertilizer. There are a few well-known heavy feeders, such as roses, peonies, daylilies, etc. But you don’t need to go wild in the spring with the fertilizer.
In my experience, I’ve found the best thing you can do is to apply about 2-3” of good-quality compost every year around the base of each plant. Be careful not to put it right up around the crown. You want to make a ring out to the plant’s dripline, or rather, where the dripline will be once the foliage has filled in for the season.
Adding compost provides slow-release nutrients.
It continuously improves your soil by adding organic matter every year. And it inoculates the soil with healthy bacteria and other beneficial microbes. For most perennials, this is really all you need for healthy, vigorous blooms. Check out this article on which perennials do better if you don’t fertilize them at all.
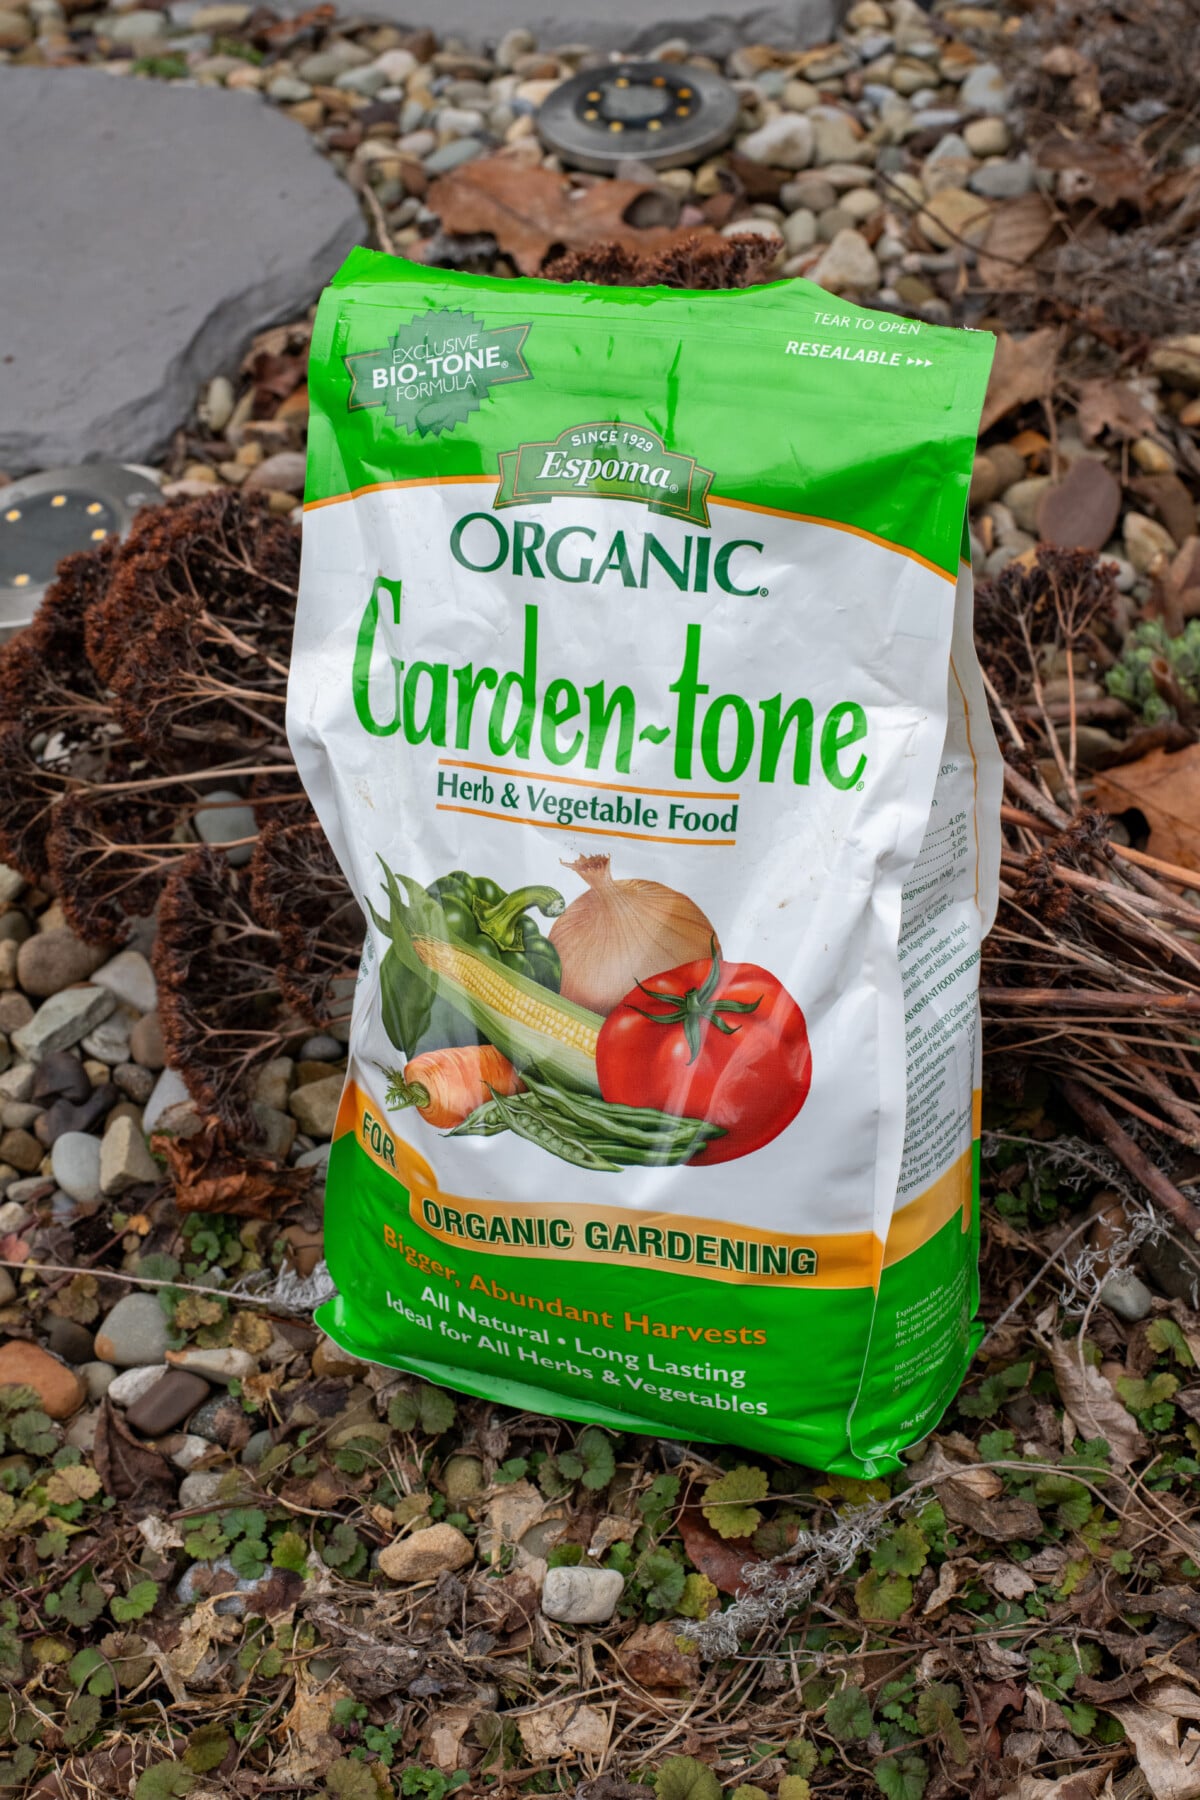
If your soil needs a nutrient bump or you’ve got new plants that need a good start, scratch in a quality, balanced fertilizer along with the compost. I always keep a bag of Espoma Garden-Tone on hand. Its NPK of 3-4-4 makes it the perfect balance for perennials that need a bit more of a boost than compost alone, but don’t need a full-blown, plant-specific blend, like roses.
5. Mulch
Finally, mulch. Yup, after your perennial spring tune-up, putting down a fresh layer of mulch locks it all in for the season.
Depending on what your preferred mulch is, you may only need to put a light layer down to freshen up last year’s mulch. I love the wood chips you can get from local arborists for free. They do an excellent job of weed suppression and break down slowly. I don’t need to worry about doing much to them every year, and I like the natural rustic look.
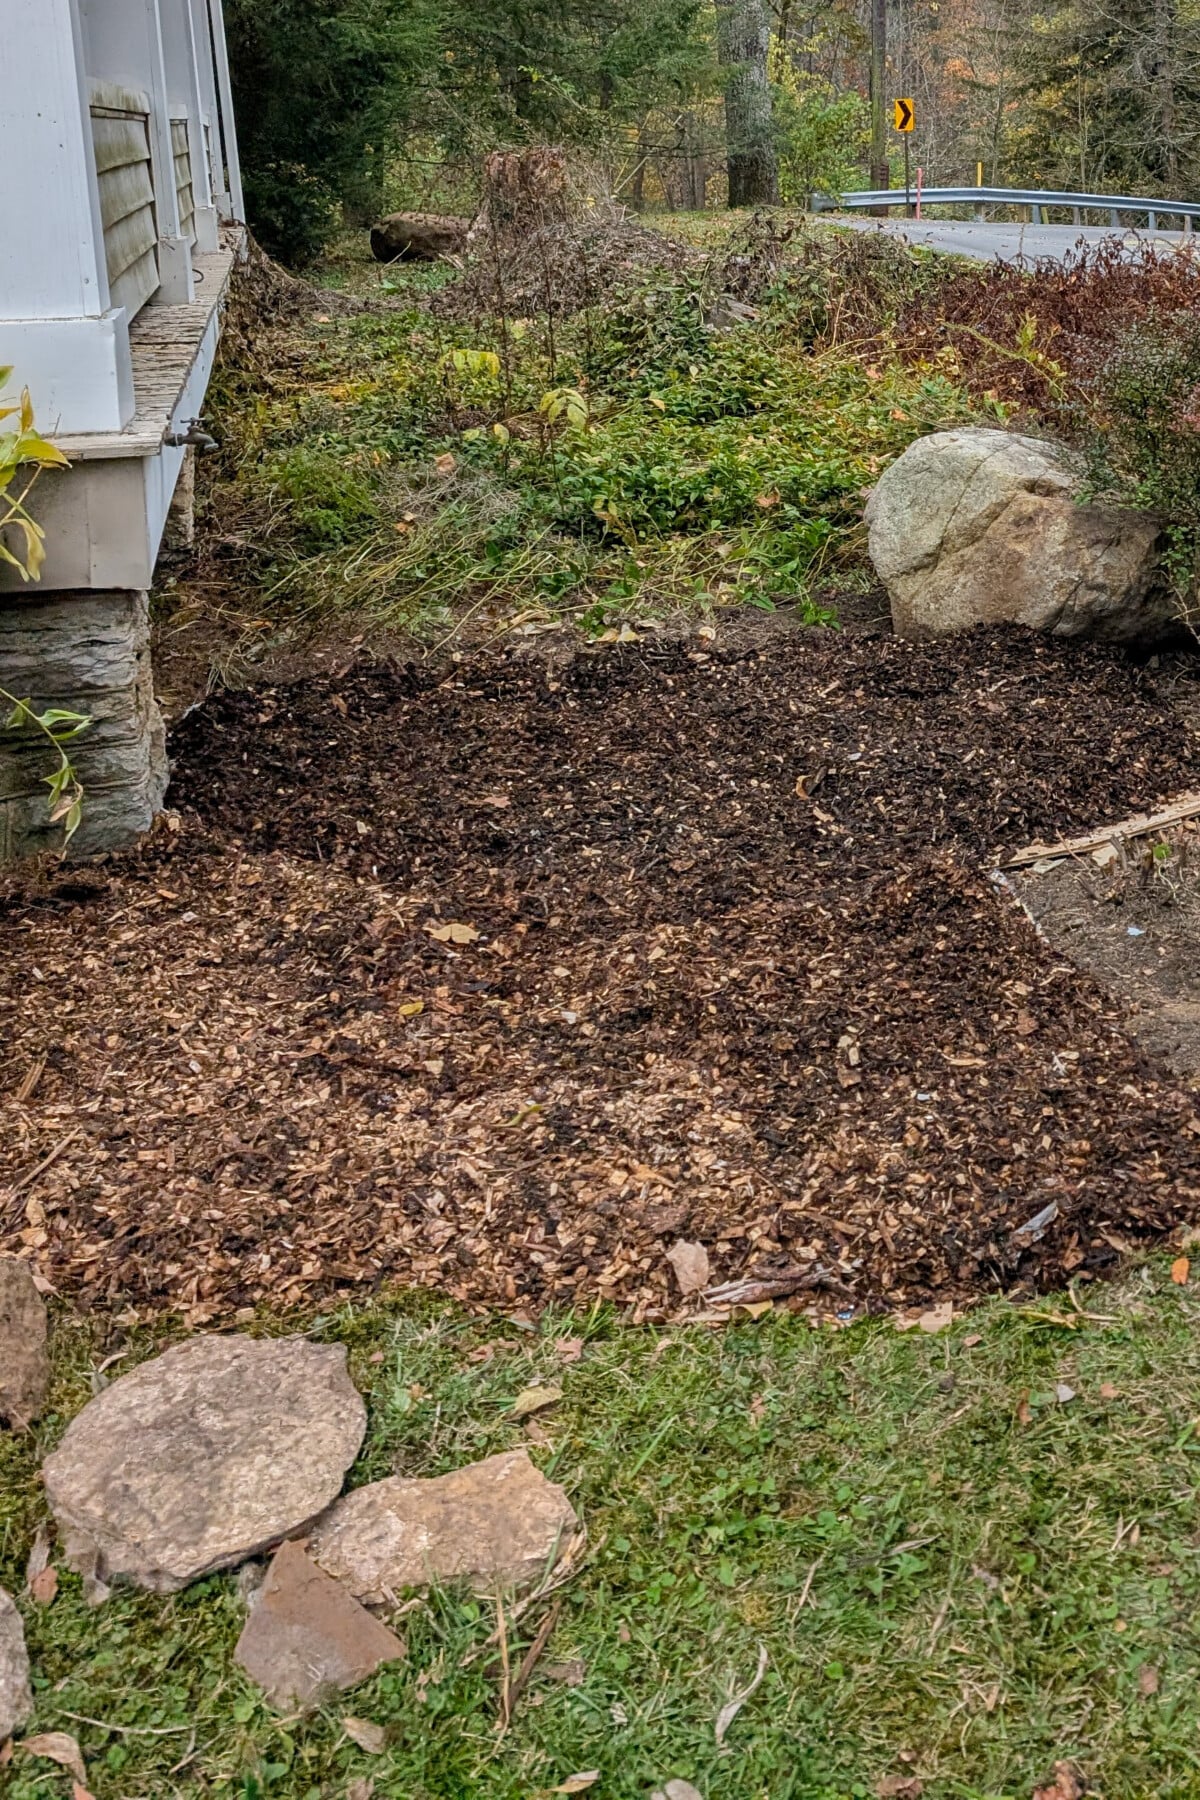
If you go in for dyed mulches, it might be best to remove the layer from the previous year or at least some of it before adding a fresh layer.
That way, you aren’t compacting mulch around your plants every year. That kind of mulch breaks down slowly, and as most folks like the look of fresh mulch, they end up piling more on each year at a rate too fast for it to break down sufficiently. In the end, this can really damage your plants.
Mulching your perennials every spring keeps the weeds in check and keeps moisture in the soil. That makes a huge difference in an especially warm, dry summer.
Those five things are really all you need to do to set yourself up for an entire season of gorgeous, healthy perennials. But there is one little secret you might want to know about if you want extra blooms this year. Have I told you about the Chelsea Chop?

Get the famous Rural Sprout newsletter delivered to your inbox.
Join the 50,000+ gardeners who get timely gardening tutorials, tips and tasks delivered direct to their inbox.