


Get on board with my favorite way to grow spuds – the 5-gallon bucket. Inexpensive and accessible, easy and satisfying, there’s no better way to grow spuds than with the unassuming 5-gallon bucket sold in every big box store across the nation.
If you’ve wanted to grow potatoes, but couldn’t find the room in your smaller garden, then this is the answer to your problem. Even if you have the room, there are some good reasons why you may wish to consider growing potatoes in buckets anyway.
An Ode to the Potato

Oh, the potato! It’s such an underrated and overlooked vegetable when it comes to the home gardener. How boring, how mundane. It grows in the ground. You can’t walk out to your garden with your cup of coffee and marvel at how big those potatoes are getting.
And why would you waste the space on potatoes when there are hundreds of tomato varieties to try each year?
Potatoes are cheap and easy to come by. Let’s leave it to the commercial farms and save our backyard plots for more interesting produce.
While that may be, when it comes to the actual cooking of the potato, you would be hard-pressed to find a more versatile and hardworking staple in the kitchen.
Anyone with a culinary penchant and a WiFi connection will tell you there are hundreds of thousands of ways to cook a potato. Many more than the affable Samwise Gamgee could ever list to the doubting Gollum.
Yet Samwise understands the entire point of potatoes – comfort.
There is no other vegetable that elicits comfort and the sanctuary of ‘home’ than the humble potato.
I mean, come on, even the pickiest of toddlers will eat some form of potato. Have you ever seen a 3-year-old stick their nose up at a tater tot?
I’m here to tell you that even if you have the palette of a 3-year-old toddler, you are missing out on a culinary treasure by not growing at least a few potatoes yourself. As with all produce that hasn’t been run through the gauntlet of our food supply chain, potatoes grown in your own garden are far superior in flavor and quality.
Growing Potatoes in a Bucket Is Easy
Truly. Anyone can do it. The hardest part is deciding whether you want to grow early-season, mid-season, or late-season potatoes. Different varieties of potatoes require different amounts of time to reach maturity, peak flavor and storage capacity. As I’m sure you’ve already guessed, they are grouped into three different categories.
- Early-season potatoes (or ‘earlies’ for the British crowd) mature first, at around 70-90 days. These are also known as your new potatoes, meant to be eaten quickly after harvesting. They don’t have the thick skin needed for storage. Your Red Norland potatoes are a classic early-season potato.
- Mid-season potatoes (second-earlies) will be ready to harvest from 90-110 days. Quite a few of the fingerling potatoes are mid-season potatoes, including French fingerlings.
- Finally, we have the late-season (main crop) potatoes, so named because they take the longest time to develop and are often the most well-suited for storage with their thick skins and floury texture. Russets are by far the most well-known late-season potato.
Choosing Seed Potatoes
It’s wise to purchase seed potatoes from a reputable seed purveyor. Ideally, you want certified seed potatoes, as these will give you the best growth and be less likely to carry diseases that could infect your soil. While you can grow potatoes using grocery store potatoes, I wouldn’t recommend it.
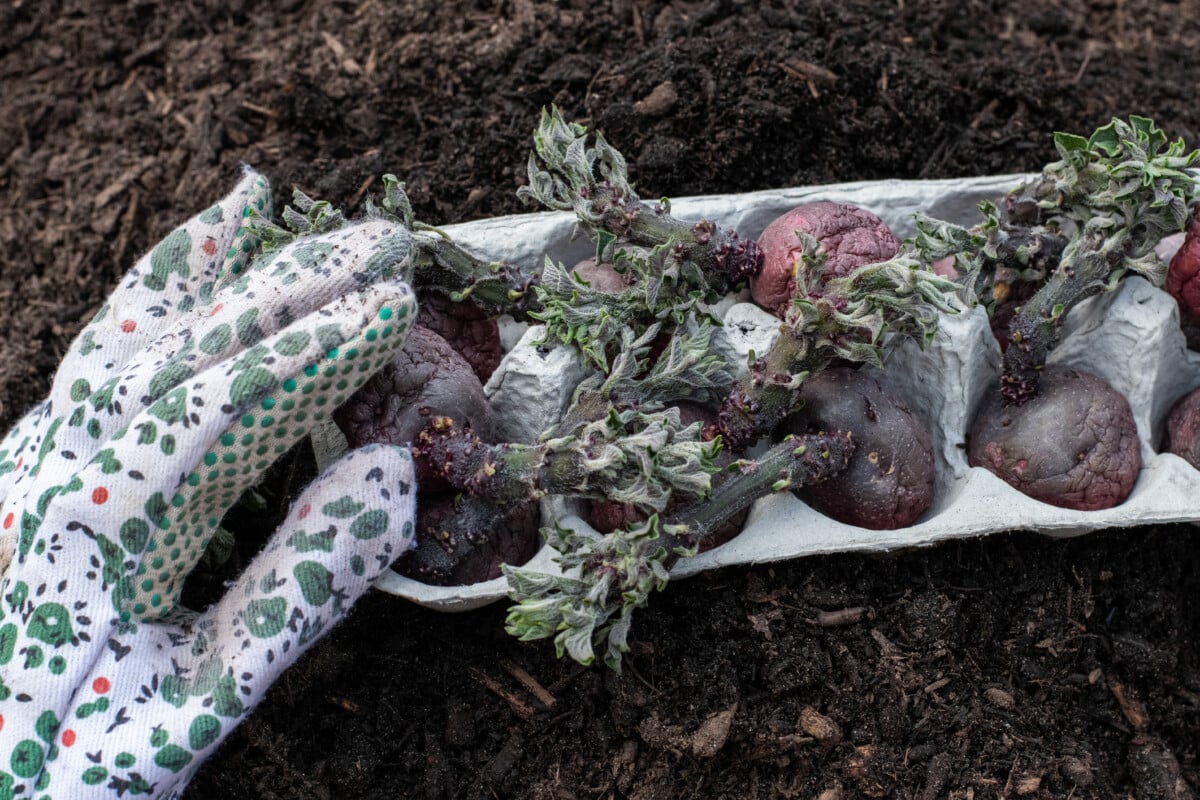
Chitting Seed Potatoes
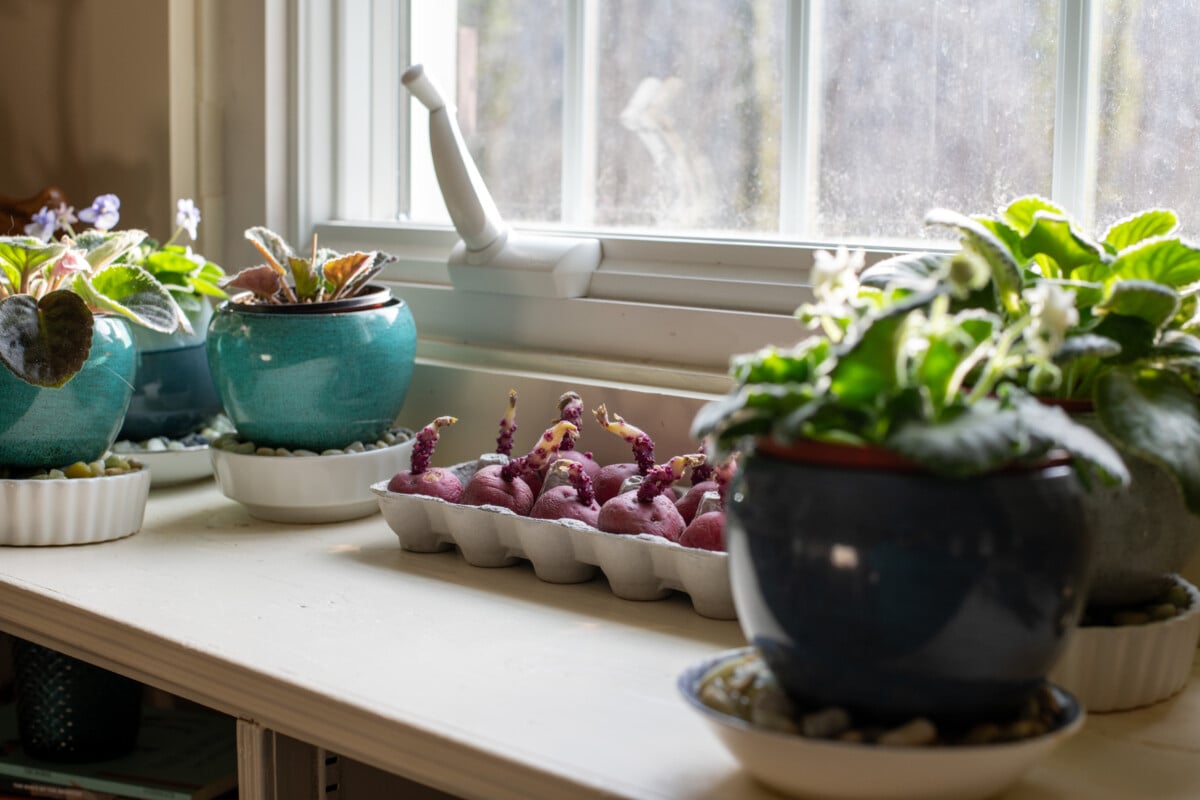
Once you have your seed potatoes, you should chit them. I’ve written an article on how to (and why you should) chit potatoes here. But the general idea is to place your seed potatoes in a cool and bright location to encourage them to break dormancy and begin sprouting a few weeks before you plant them.
Prepping Potatoes for Planting
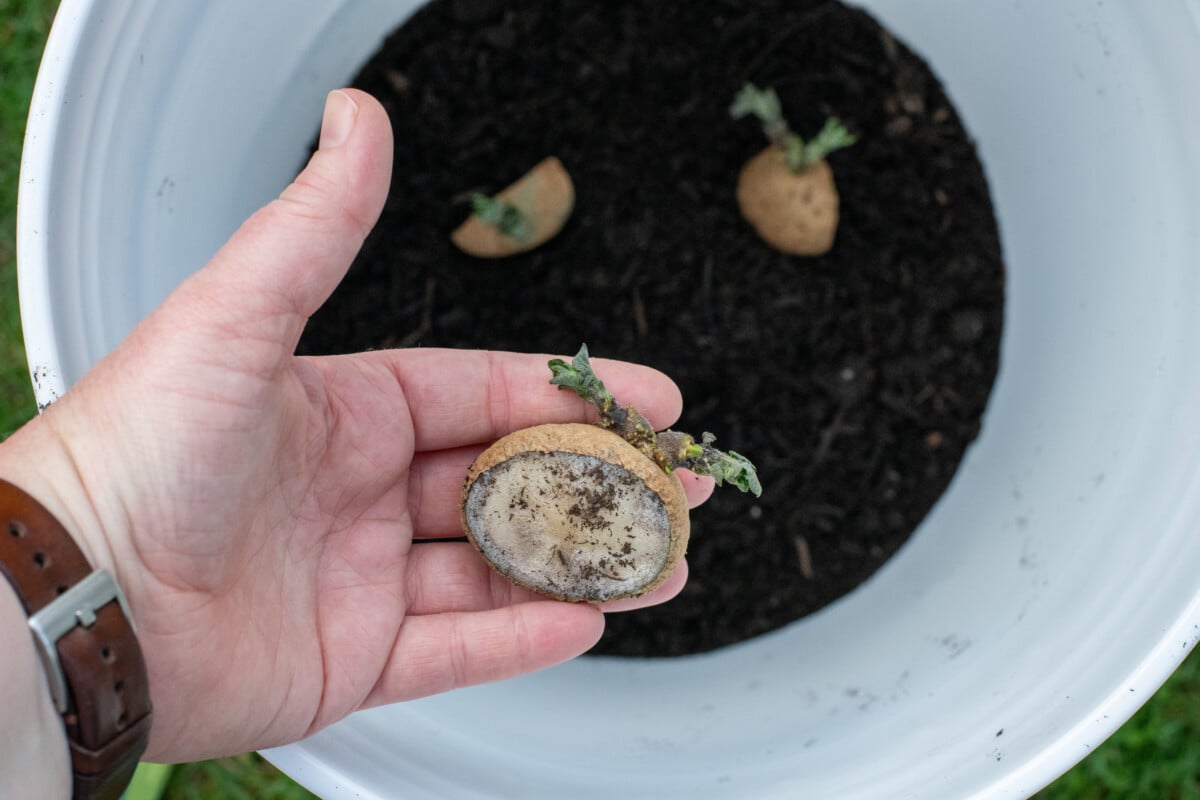
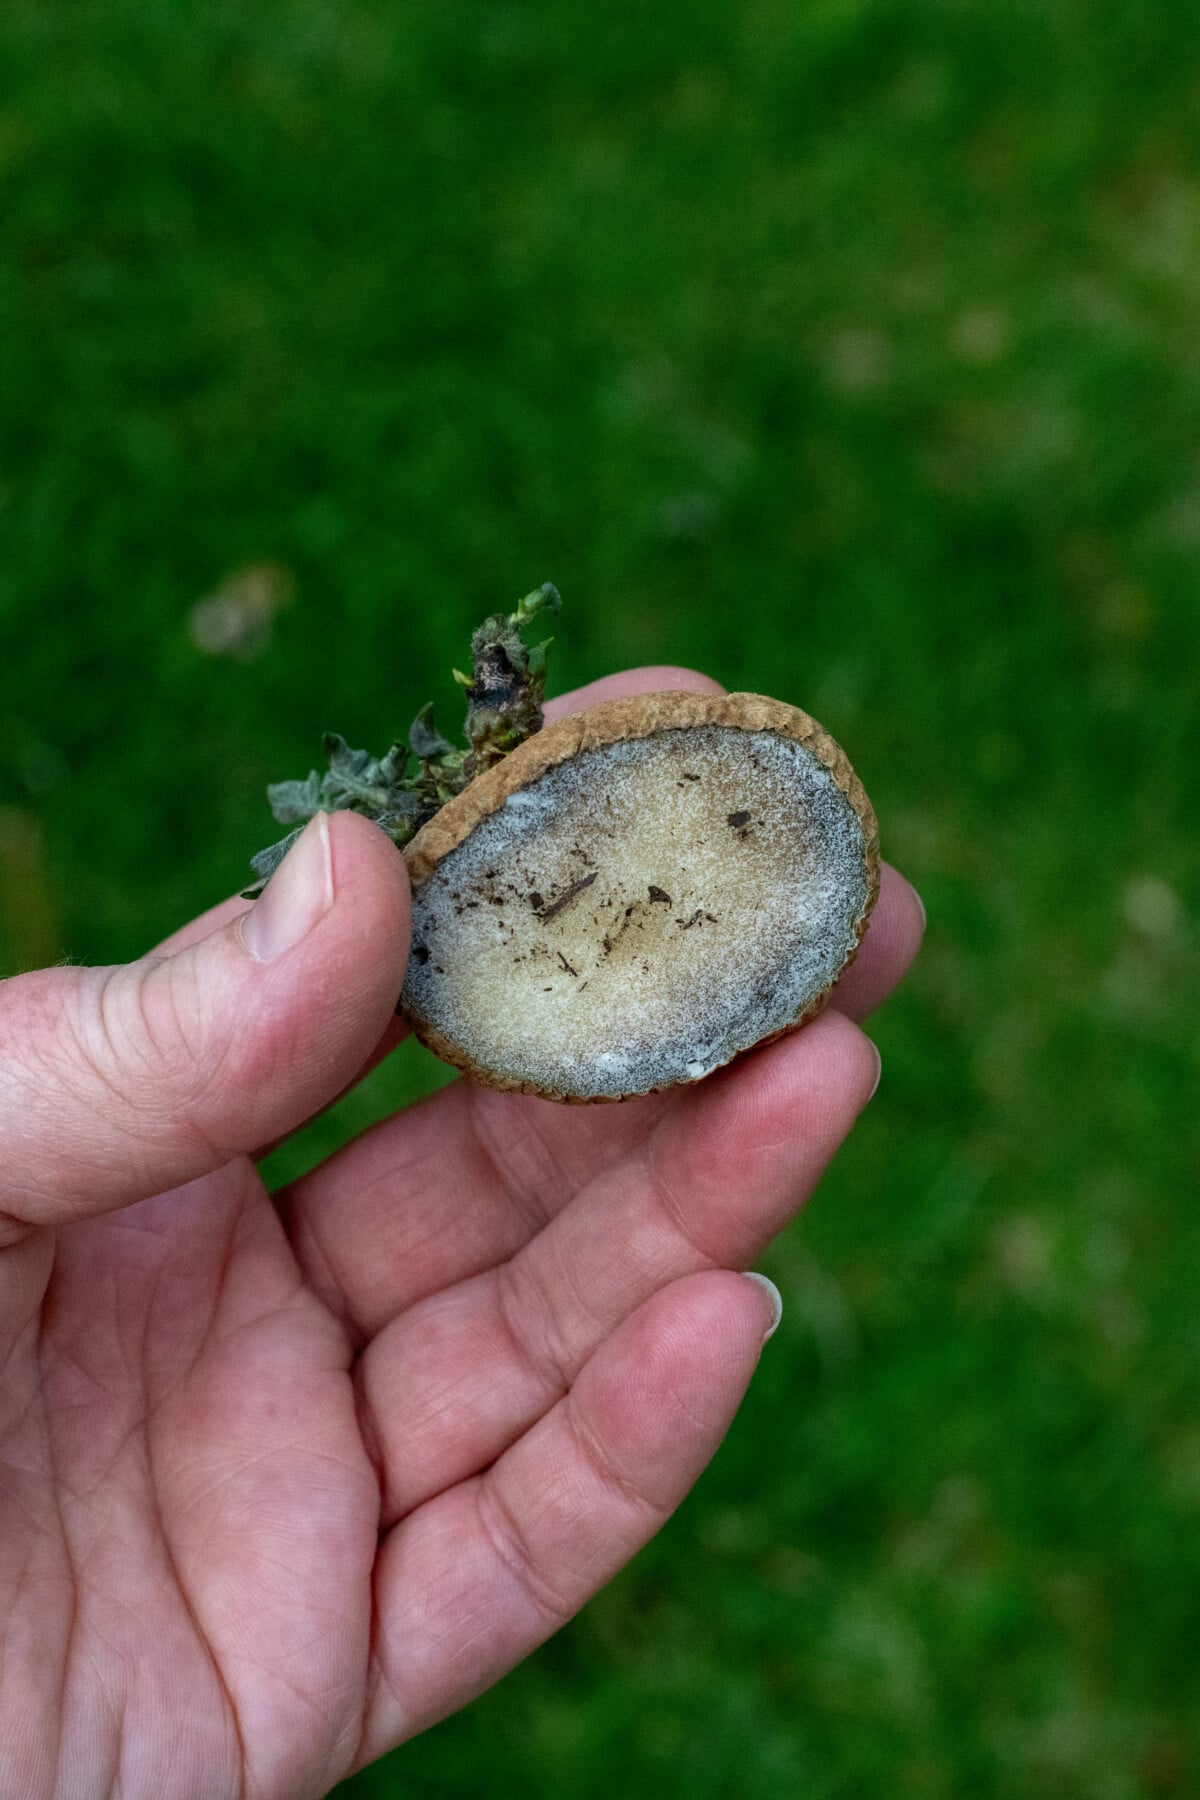
When it comes time to plant your seed potatoes, you’ll have some decisions to make. You need at least one sprouted eye to grow potatoes. With that in mind, for smaller potatoes with only one or two sprouts on them, you can plant the entire potato.
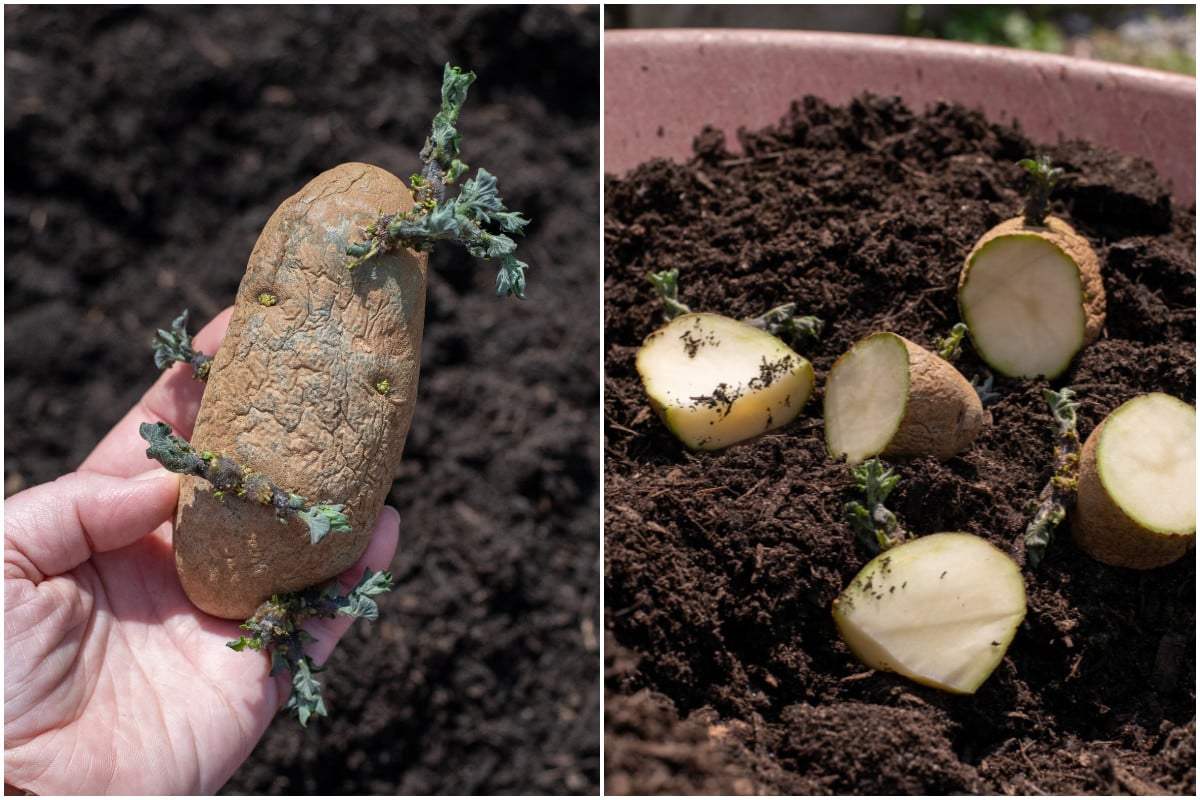
For larger potatoes with many sprouts, such as this Russet, you’ll want to cut the seed potato into individual pieces, each with a sprout on it. Let the cut potato pieces dry out or scab over. You can do this by leaving it out in the bright sun for an hour or two, or simply waiting and planting it the next day. This will prevent the seed potato from rotting once it’s buried in the soil.
On to the Bucket
We’re going to plant our potatoes around the same time you would normally plant onion sets: as soon as the soil is workable.
Now, let’s take a moment to discuss one of the benefits of growing potatoes in buckets: we control when the soil is workable.
Spring is unpredictable. A rainy, cold spring can mean seed potatoes will rot in the soil, without ever sprouting. If you wait until the soil dries out a bit more, then you run the risk of not having enough time for your long-season potatoes to develop fully.
Growing potatoes in buckets means we don’t have to worry about waiting for the soil to dry out.
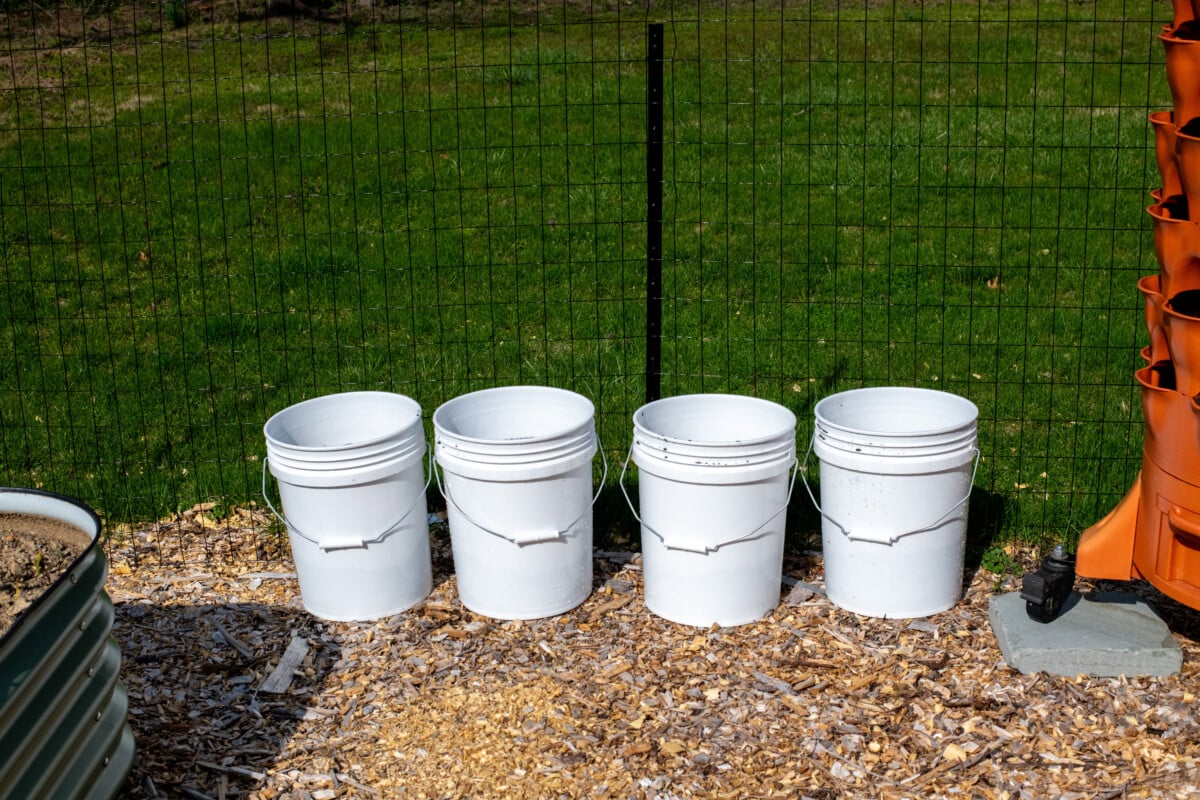
Prepping Your Bucket
You need a clean, food-safe 5-gallon bucket. Nearly every big box chain store sells them for around $5 a pop. But, if you don’t mind a little running around, you can easily get 5-gallon food-safe buckets for free. Call a few local burger joints or diners and ask if you can have their empties. You wouldn’t believe the number of things that come in 5-gallon buckets for the food service industry. (I once made nesting boxes out of 5-gallon pickle buckets.)
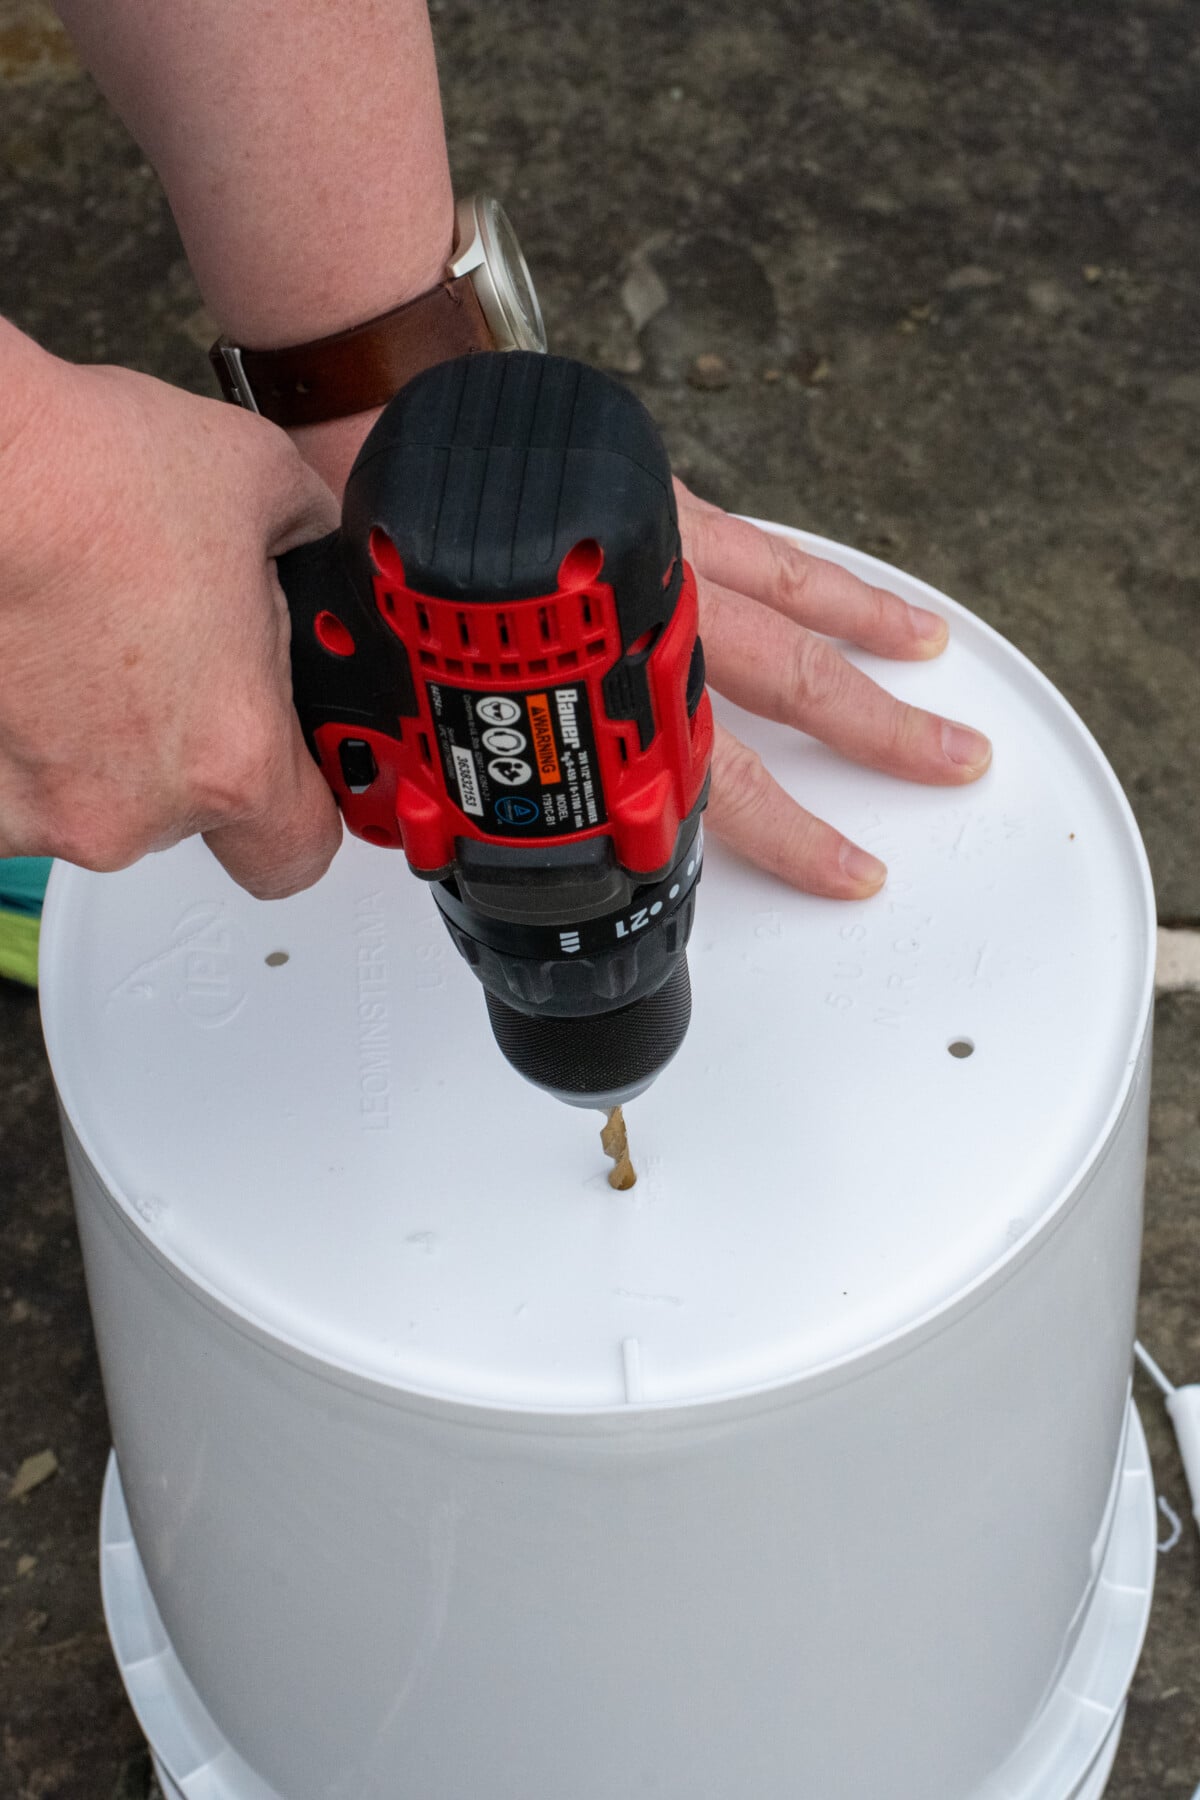
Using a power drill, drill four to six holes in the bottom of the bucket. (I used a ¼” drill bit.) This will allow excess water to drain out of the bottom of the bucket.
The Soil
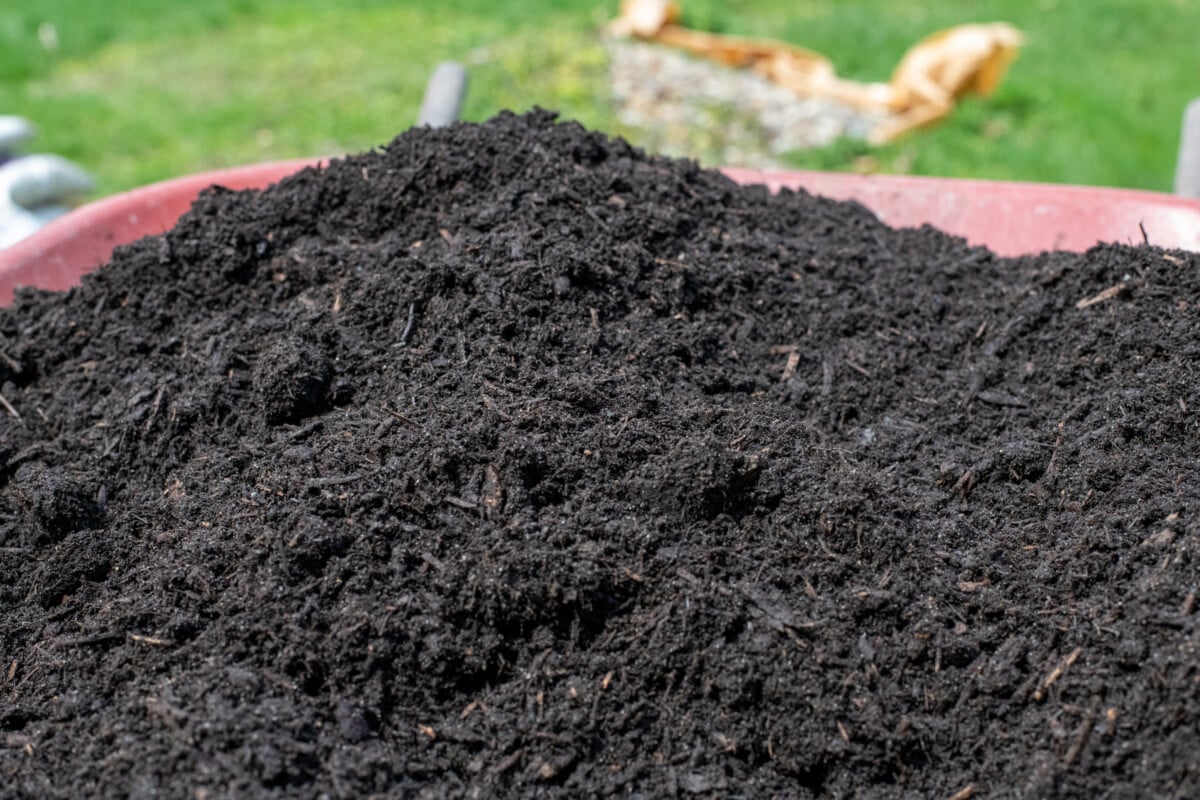
Potatoes love rich soil loaded with organic matter. They like something that drains well, but stays moist. I’ve used numerous types of soil to grow potatoes in buckets, from all-purpose potting mix to dirt straight from my garden, to special raised bed mixes. They all work fine, just mix in a good amount of compost or well-aged composted manure in as well, in a ratio of 2:1, soil to compost.
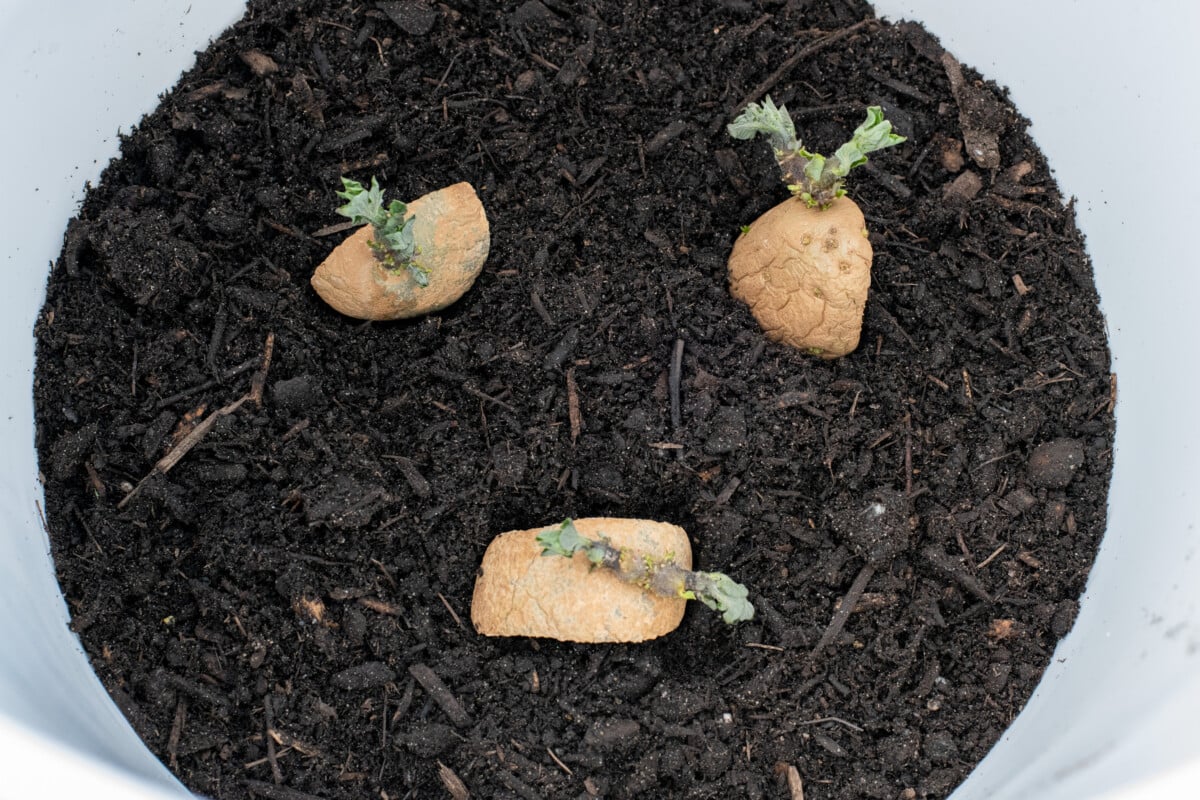
Put a 4” layer of the soil mixture in the bottom of the bucket. Place two to three small seed potatoes or seed potato pieces onto the top of the dirt, spreading them evenly apart. Cover the seed potatoes with about 2”-3” of dirt and water them in well.
Place your potato buckets where they will receive 6-8 hours of full sun each day. Here’s a great spot to discuss another benefit of growing potatoes in buckets. As the season progresses, my little garden has certain areas that are cast into shade. Since my potatoes are portable, I can easily move them around the garden, or even my yard, throughout the summer to ensure they receive the most sun possible.
Hilling Your Potatoes
Green shoots will begin to grow up from the buried seed potatoes. Once the shoots have reached three or four inches tall, fill the bucket with more dirt, slightly burying the shoots as you did the potatoes. Continue this little routine until the dirt fills the entire bucket, and let the potato plants continue to grow.
Feeding Your Potatoes
Phosphorus and potassium are needed for good tuber growth, so for spectacular spuds, choose a fertilizer that’s high in these two nutrients. I like to use a balanced fertilizer, such as Espoma Garden-tone, at the time of planting, then I switch to side-dressing with bone meal (phosphorus) and potash (potassium) as I hill up the potatoes every few weeks.
Keep in mind that since you are growing potatoes in buckets with drainage holes, you’re flushing nutrients out of the bucket each time you water your potatoes. You’ll need to feed your potatoes a little more often than you would than if you were growing them directly in the ground.
When to Harvest Your Potatoes
You’ll have a pretty good idea of when to harvest your potatoes based on what type you’re growing: early, mid or late-season. But the key is to watch the foliage. The leaves will begin to yellow and then turn brown, a sign that the plant is now directing all of its energy into bulking up the tubers below the soil. You can harvest your potatoes a couple of weeks after the leaves die back.
Now, here is my absolute favorite part of growing potatoes in a bucket, as well as another benefit. To harvest your potatoes, turn out the bucket and pick through the soil. It’s like a little dirt treasure hunt!
When you’re done, you can scoop the remaining soil back into the buckets for the next season’s crop of potatoes or mix the dirt into your garden.
If you plan on storing your potatoes, you’ll need to cure them first. You can learn all about curing and storing potatoes here.
Once you’ve eaten your first homegrown potatoes, one thing will be clear: you’re going to need more buckets.

Get the famous Rural Sprout newsletter delivered to your inbox.
Join the 50,000+ gardeners who get timely gardening tutorials, tips and tasks delivered direct to their inbox.