

Hold up! Before you put that pepper seedling in the ground, read this. There are a few important things you need to do when it comes time to transplant your pepper seedlings. Doing so sets your pepper plants up for a season filled with your best ever harvest of large, juicy, flavorful peppers.
Growing Peppers – Garden Achievement Unlocked
Peppers are sneaky buggers. Growing them seems easy enough to do. After all, they’re in the same family as tomatoes and potatoes, and those are pretty simple to grow. But if you don’t know how peppers are different from their cousins, they can catch you out.
Lord knows they caught me out for years.
I fell into the trap that scores of gardeners fall into – treating peppers like any other long-season plant. It took me forever to nail down how to grow lots of juicy peppers rather than a handful of thin-walled, stunted little things.
I realized that the majority of what really makes pepper plants thrive happens at the beginning of the season.
If you miss this important window of opportunity, it’s hard to make up for it as the growing season progresses. So, let’s take a look at the things you need to do when planting pepper seedlings.
1. Give Peppers the Goldilocks Treatment Before You Plant Them
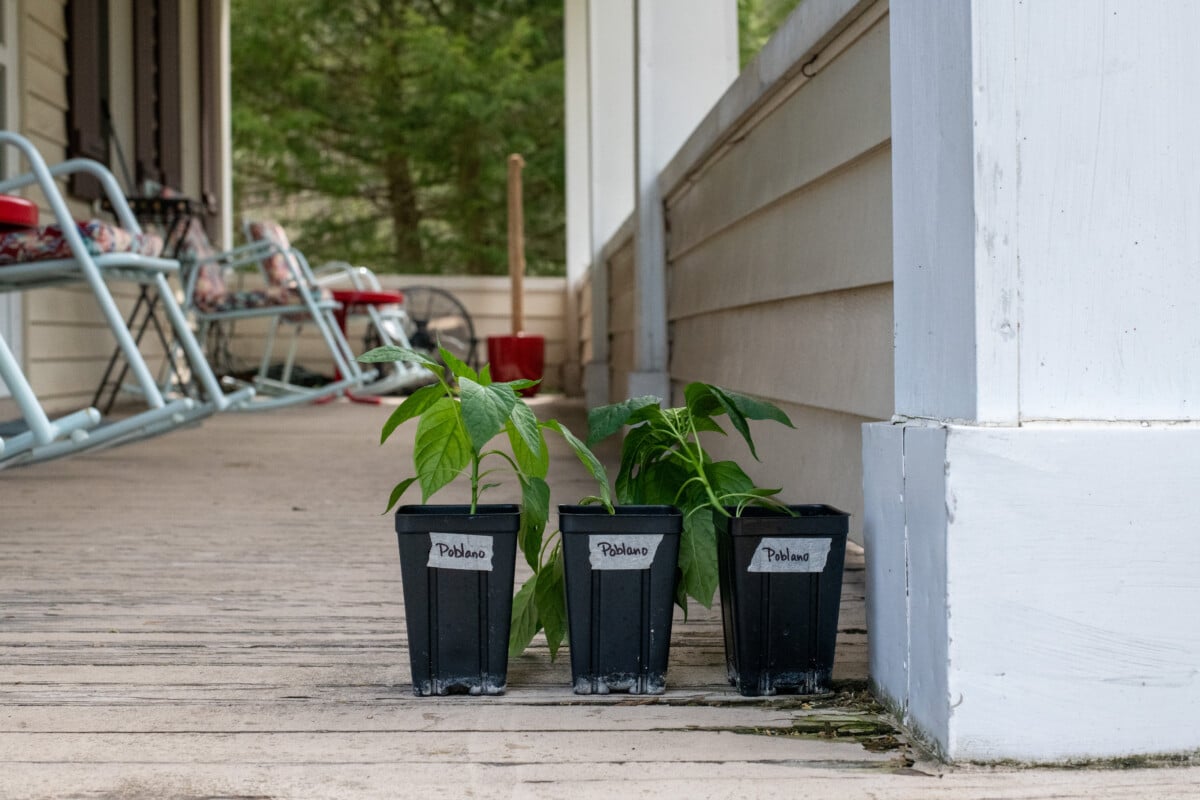
For most seedlings, a week of hardening off is a sufficient amount of time to get ready for the leap from pampered houseplant to garden occupant—but not so with peppers. Peppers need an extra week to acclimate before they go in the ground.
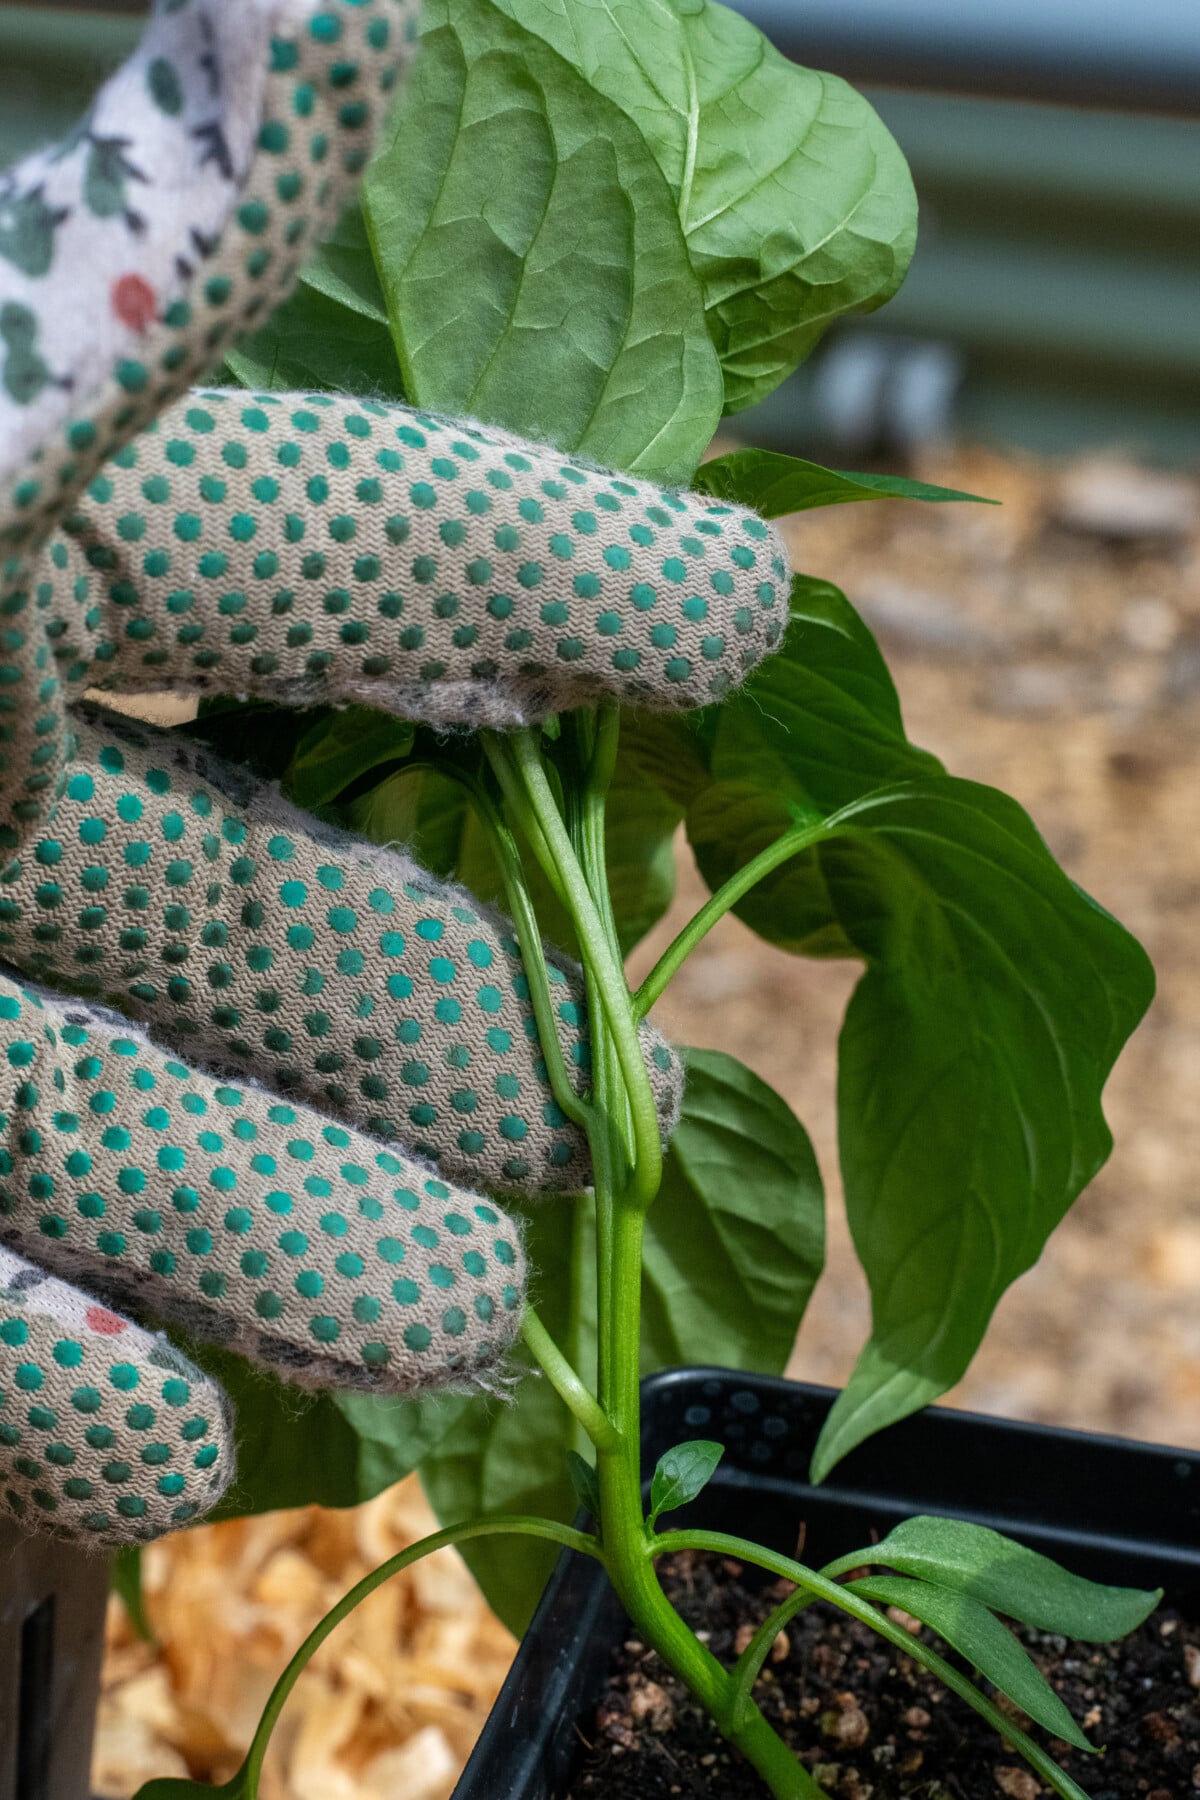
Peppers tend to look quite hardy with their thick outer skin and sturdy stems. Unfortunately, it’s all for show. Like most long-season crops, we start peppers indoors to give them a jump on the growing season. But when we say peppers are long-season crops, we mean looooong-season.
The seeds take much longer to germinate than most vegetables. The seedlings are slower to grow than tomatoes or even eggplants. So even if you were to start your pepper seeds at the longer end of the recommended 8-12 weeks, you still end up with a fairly small seedling compared to other vegetables you will be planting.
Peppers are the one plant I recommend starting extra early indoors.
Unlike tomatoes, which can become root-bound and too big for your indoor growing space if started too soon, it’s almost impossible to start peppers too early. For reference, I like to start mine around Christmas, and my predicted final frost date is usually the last week of April/first week of May.
Because they are such slow growers, when it’s time to move peppers outdoors, you end up with a smaller seedling that’s more susceptible to things like frost damage, wind desiccation and stunted growth due to cool soil temps.
So, peppers get the Goldilocks treatment. Everything needs to be just right before you move them into the ground.
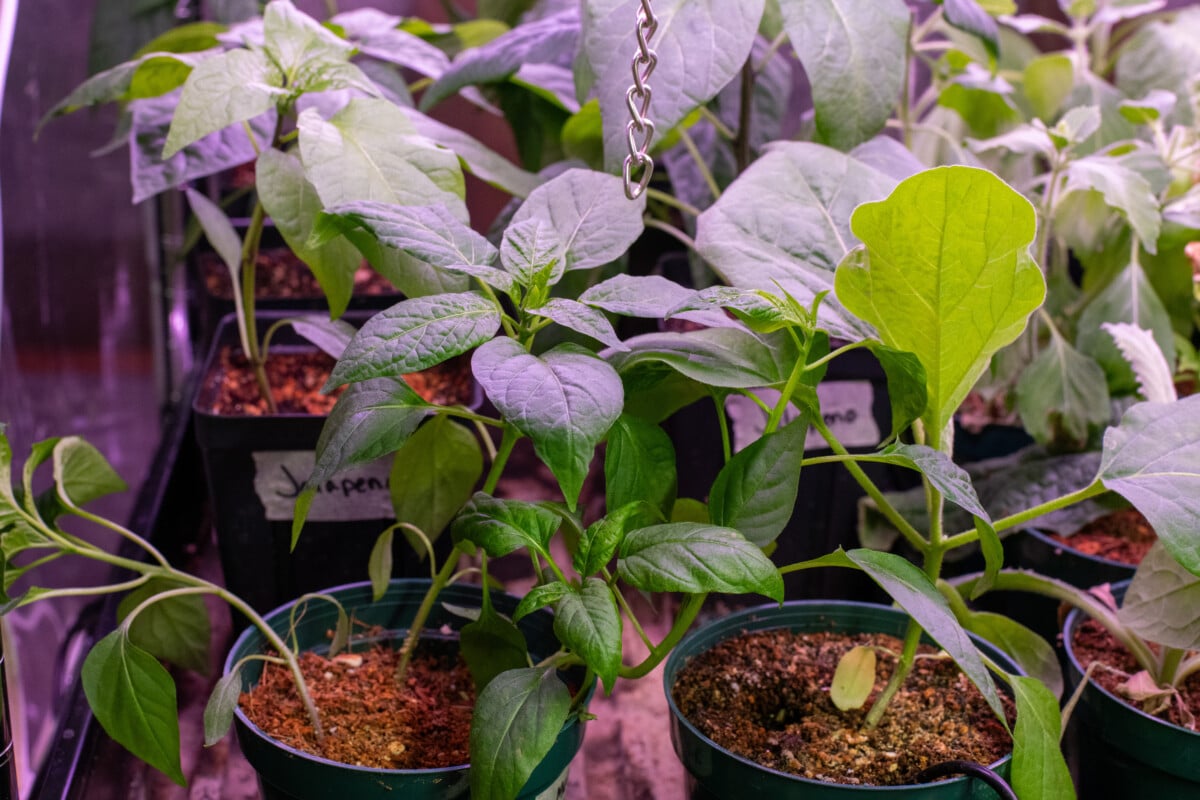
Start hardening off peppers two weeks before you intend to plant them. Keep them somewhere sheltered from the wind, with filtered sunlight. Gradually introduce them to brighter and brighter light for longer periods of time.
While you don’t want to transplant peppers if there is still a danger of frost, soil temperature is far more important than air temperature for getting these plants off on the right foot.
If you’ve started peppers from seed, then you know only the warmest soil temps will get them to germinate. Peppers are native to Central and South America. To do well outside, they need warm soil, too. Naturally, southern gardeners have a much easier time growing peppers than those of us in the northern US.
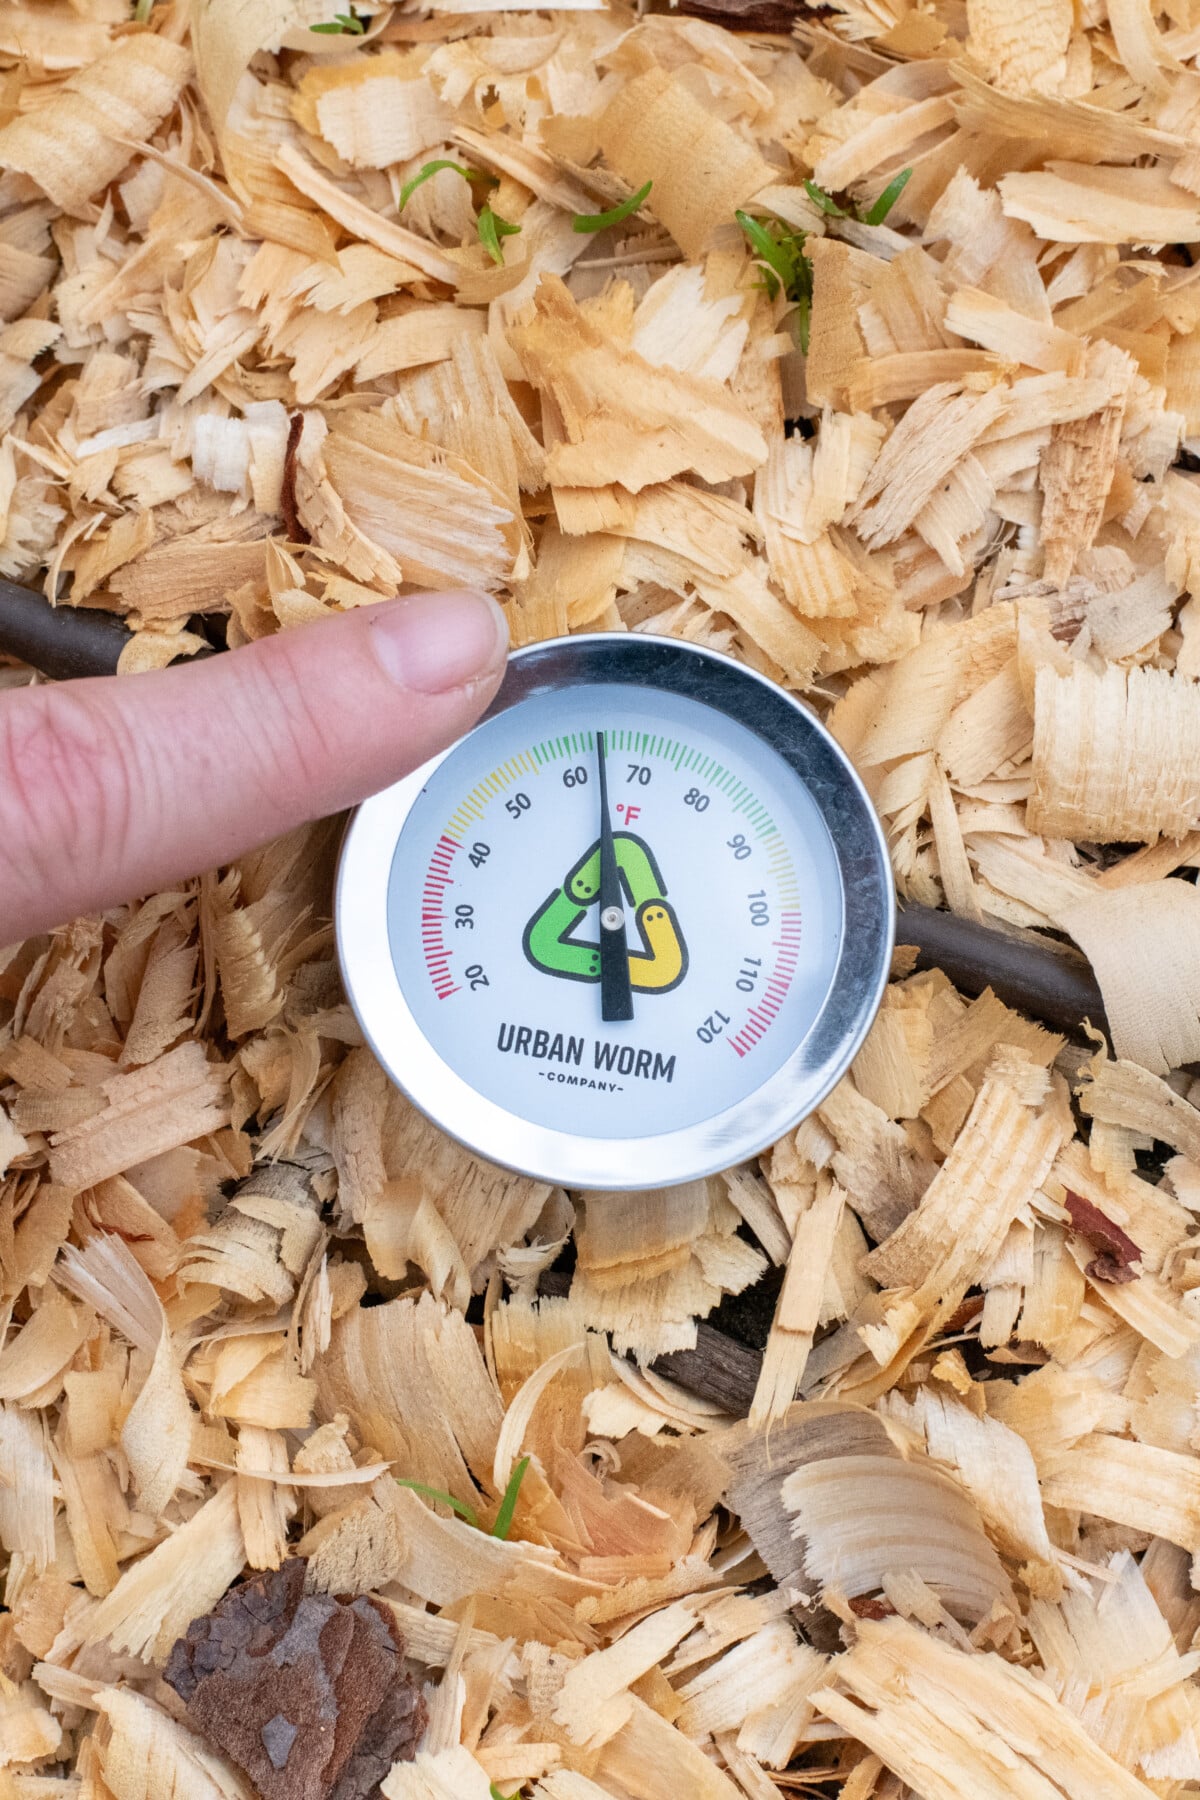
Peppers need soil temps of a consistent bare minimum of 60°F, but they do much better at 65°F and above. If you plant peppers in soil that is too cool, they sulk, and it takes them weeks to bounce back, even after the soil has warmed sufficiently. Trust me on this one, patience is key. It’s better to wait than to plant them in soil that is too cold.
2. What You Put in the Ground Matters
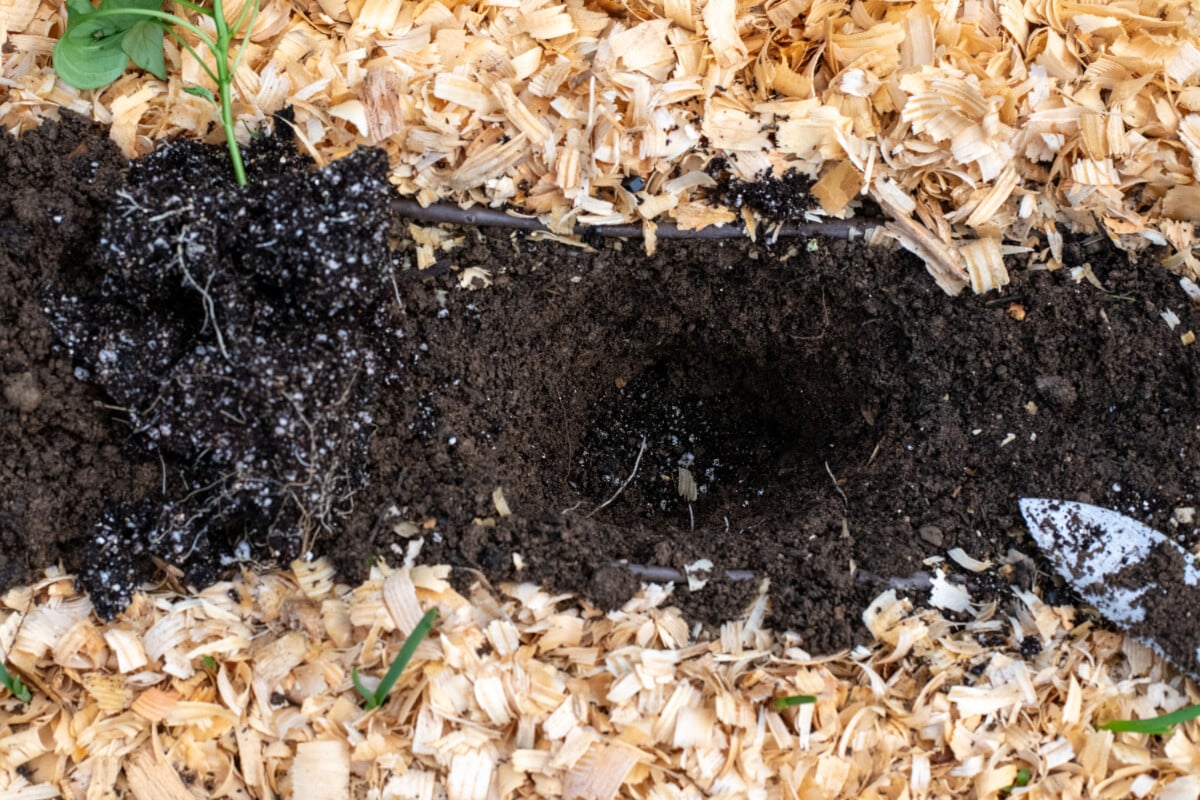
You’ve given your peppers the Goldilocks treatment, and now it’s finally time to put them in the ground. But wait, before that root ball even goes near that hole, you’ve got an opportunity. You can bury amendments in the ground that will feed and support your pepper plant for the whole season. Once you mound that soil up around your pepper seedling, you lose that chance. So, let’s be smart and take advantage of it.
There are three things I always recommend putting in the planting pocket before you put your peppers in: mycorrhizae, compost and fertilizer.
Mycorrhizae

Mycorrhizal fungi are probably my favorite recent gardening discovery in the past decade. I say recent, but plants have relied on their symbiotic relationship with mycorrhizae since plants were nothing more than single-celled algae, making the leap to land.
However, it’s only in the past decade that gardeners have learned to cultivate the powerful bond between plants with vascular root systems, such as peppers, and beneficial fungi. And let me tell you, the results are nothing if not extraordinary.
If you want healthy plants above ground, then you have to make what’s happening in the soil a priority. When you inoculate the roots of your pepper plants with mycorrhizal fungi, the fungi become a part of the seedling’s roots. The fungi continue to grow and enable the roots to grow faster and larger as well. You end up with a massive root system, which is better suited to finding water and nutrients deep within the ground.
The mycorrhizae also secrete enzymes that unlock nutrients in the soil that would otherwise be unavailable to the plant. In the end, you get larger plants that have access to more nutrients, and the plants are more disease and drought-resistant.
If you’ve never tried mycorrhizae, I can’t think of a better plant to showcase mycorrhizal fungi’s capabilities than peppers. I’m switching it up this year and trying a different brand, Great White, as I’ve heard good things about it.
Compost
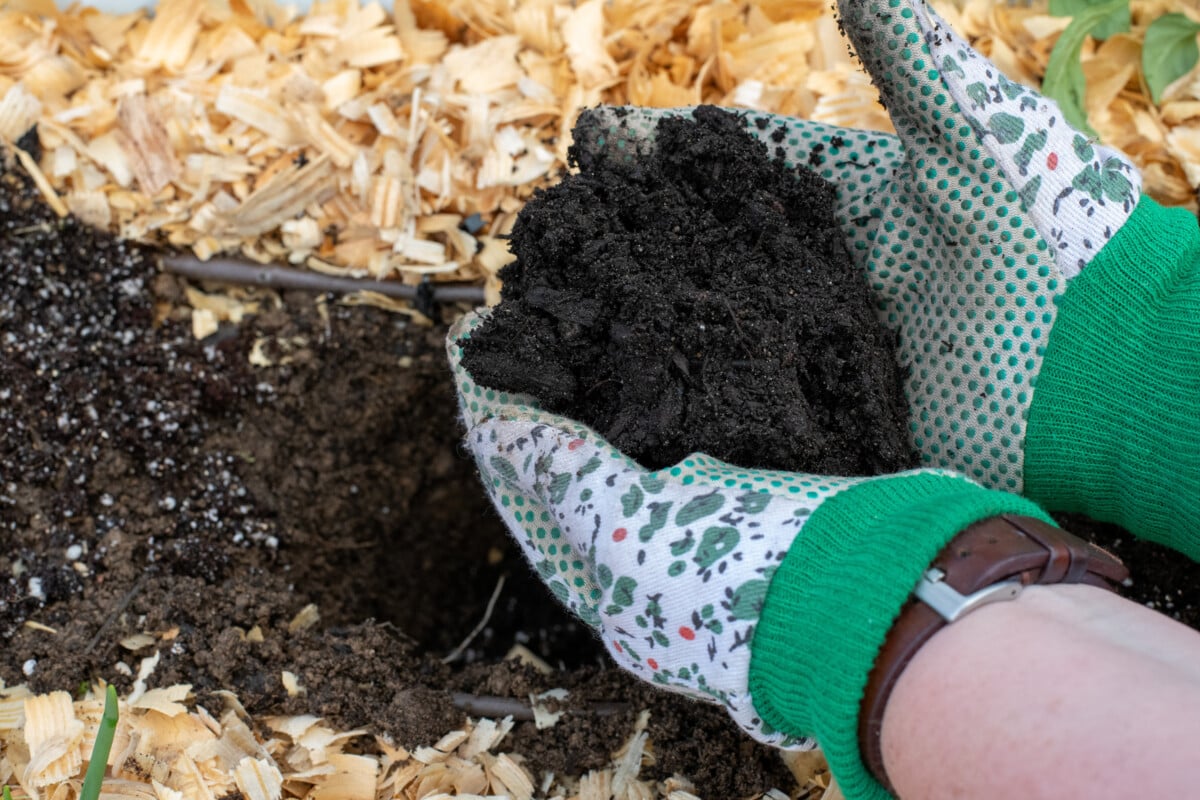
Compost is a no-brainer for most gardeners. A little bit here and there throughout the season nourishes and replenishes your soil over time. We need to treat our soil like a bank account. You can only withdraw so much before the account is negative. As we grow, it’s important to make deposits, and compost pays back your soil with interest.
Compost provides important organic matter, which slowly decomposes over time, supporting the soil structure. It also adds trace nutrients and minerals to the soil.
It’s one of those things that’s so important and so often habit, that most gardeners don’t even think twice about it. If you aren’t in the habit of mixing in a little compost with every planting, be sure you start this year. Your peppers and your garden as a whole will thank you.
Fertilizer

Yes, you should add some fertilizer when you plant your pepper seedlings. But go easy. The plants are still small, and the most important thing they need at first is phosphorus to support root growth. We’re paying attention to what’s happening below the soil, remember?
I find that mixing bone meal and a little balanced fertilizer into the bottom of the hole and then putting the compost in on top of it is just the ticket. You get a slow-release feed without the risk of burning tender roots. Espoma is my go-to for a quality, balanced fertilizer via their Garden-Tone.
What you don’t want to do is dump in a high-nitrogen fertilizer. For one, the plant doesn’t have the root system to support that kind of growth yet, and it can lead to tons of weak foliage. Think of where the plant will direct energy first (root growth) and support that with the proper nutrients.
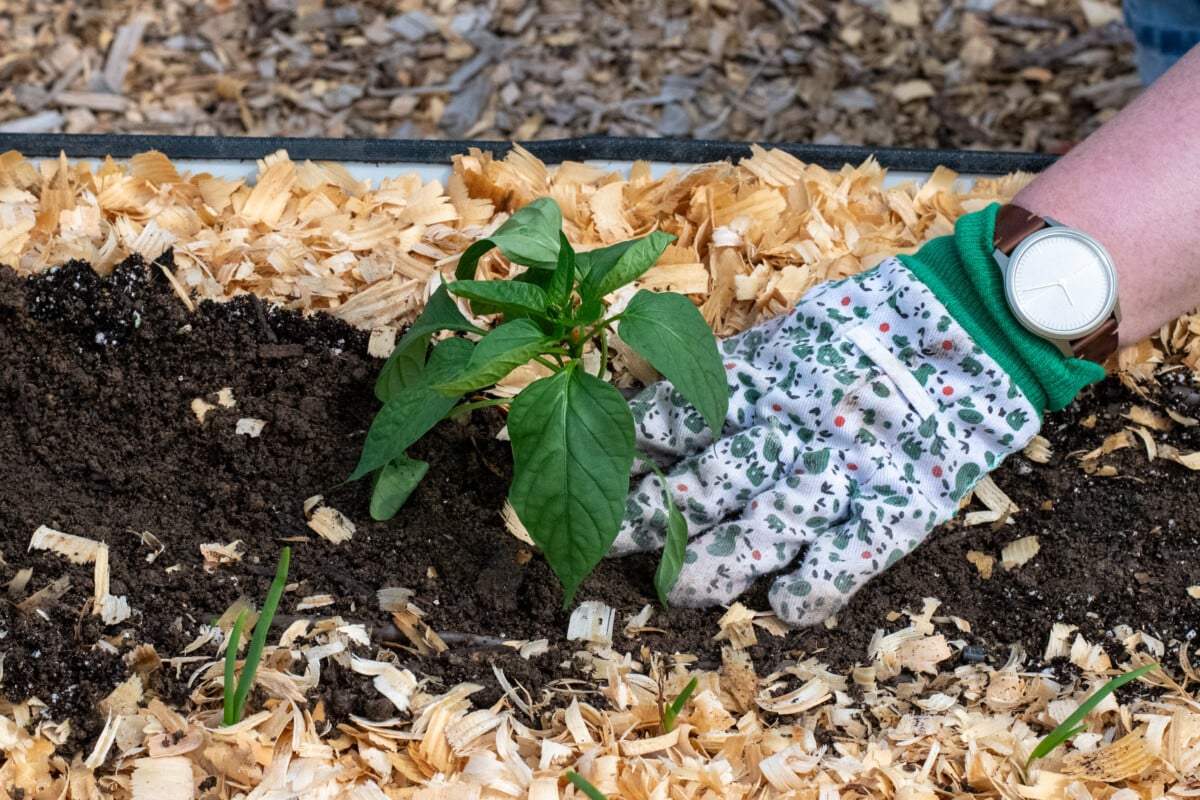
3. Water In Well, Then Go Easy
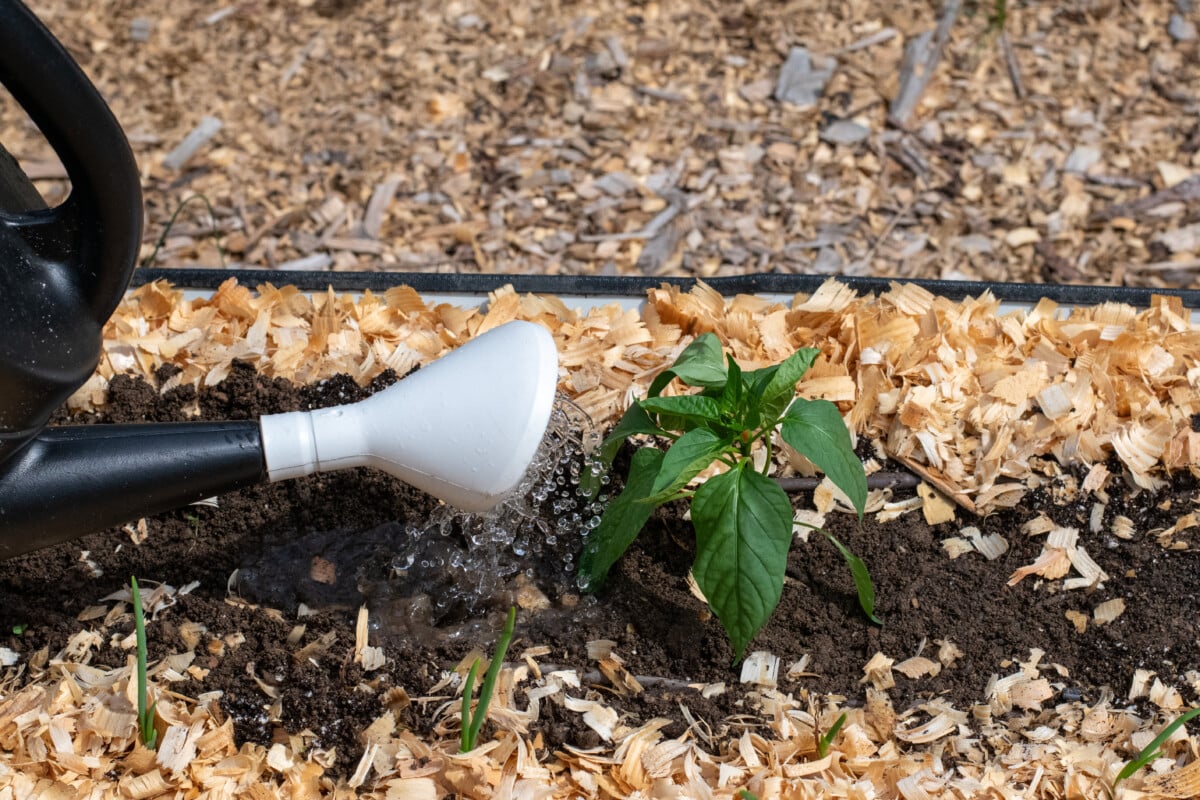
After you’ve put everything in the hole, including your pepper plant, push the soil back in around it and pat the top of the soil firmly. You want the roots to have good contact with the soil and to press out any air pockets.
Now give your thirsty little pepper seedling a drink. The sooner the better. Watering immediately after planting will diminish the effects of transplant shock. Roots exposed to air dry out much faster than we realize, so wetting them again as soon as you’re able really helps to minimize the damage.
Watering regularly thereafter helps the plant to get established; however, when it comes to pepper plants, too much water, too soon can rot the plant.
Pepper plants are susceptible to crown rot caused by a water mold known as Phytophthora capsica. It thrives in warm, waterlogged soils. If you’re overeager and water a plant too often that doesn’t have an established root system yet, then that water sits in the soil.
For the first few weeks after you’ve planted your peppers, don’t use the calendar to determine when to water; use your finger. Stick your finger an inch or two into the soil. If the soil is still moist at that depth, leave it be. If it’s dry, water your plant. It’s good for the soil to dry out between waterings, as this is what encourages roots to push deeper down into the soil.
This is one area where peppers are like tomatoes – water them deeply but infrequently.
4. Give Me Shelter
More so than most new seedlings, peppers need to be sheltered from the wind. When they are first getting established, they are more susceptible to wind desiccation, especially if you didn’t harden them off for the full two weeks.
Windy days and spring go hand in hand, but that breezy weather quickly strips new seedlings of moisture, drying out the plant. The plant loses moisture through the stomata on its leaves, and the root system, still underdeveloped, can’t replace that moisture fast enough.
Now, I know what you’re thinking. “Well, wouldn’t watering it a bit more help, Tracey?”
In theory, yes, but if the root system can’t move that water up to the plant fast enough to replace the lost moisture due to wind, then it sits in the ground, and we’re looking at crown rot again.
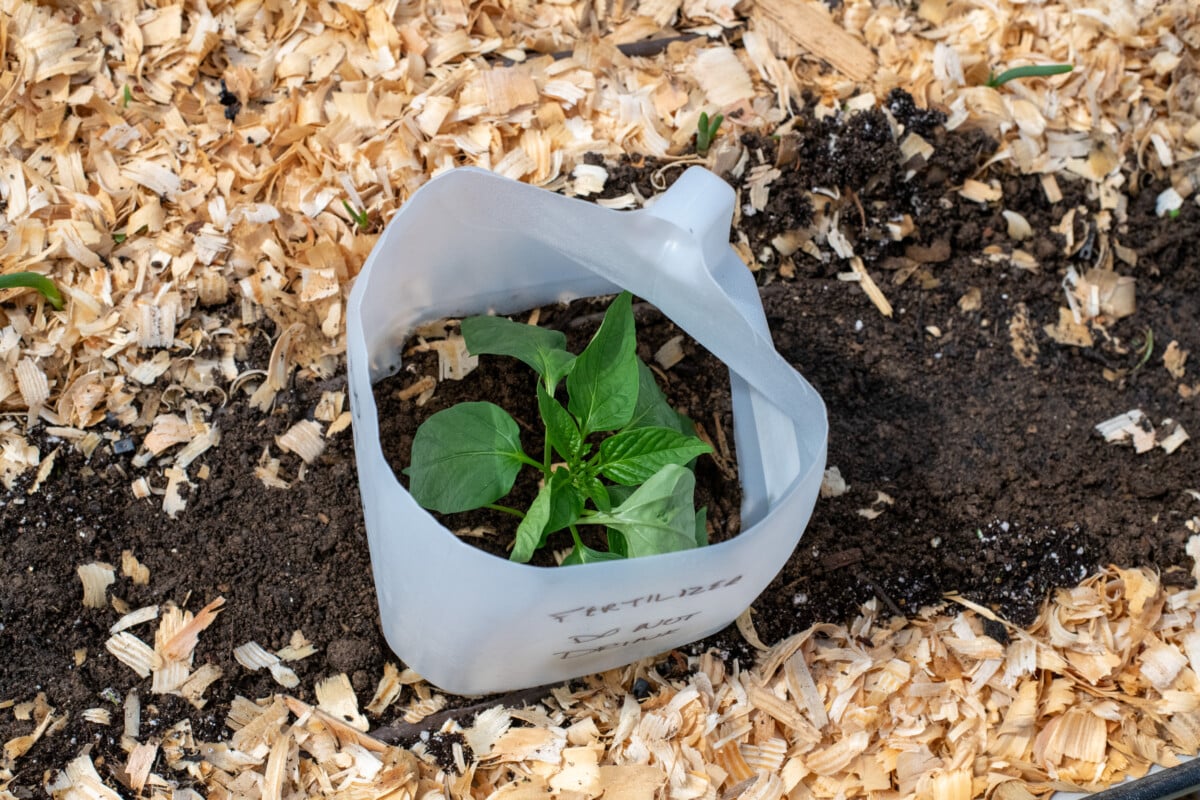
If the forecast includes a few windy days for the first few weeks, you’ll want to provide a wind buffer for your pepper plants. My dad used to cut the bottom off a bucket and put that around the plant. It could still receive sun, but was protected from the wind. You can do the same with old coffee cans or milk jugs. Use anything tall enough to provide a bit of shelter without obstructing growth or sunlight.
After a couple of weeks, the root system will have grown substantially, especially if you used mycorrhizae, and the plant will no longer need shelter.
5. Pinch the Flowers
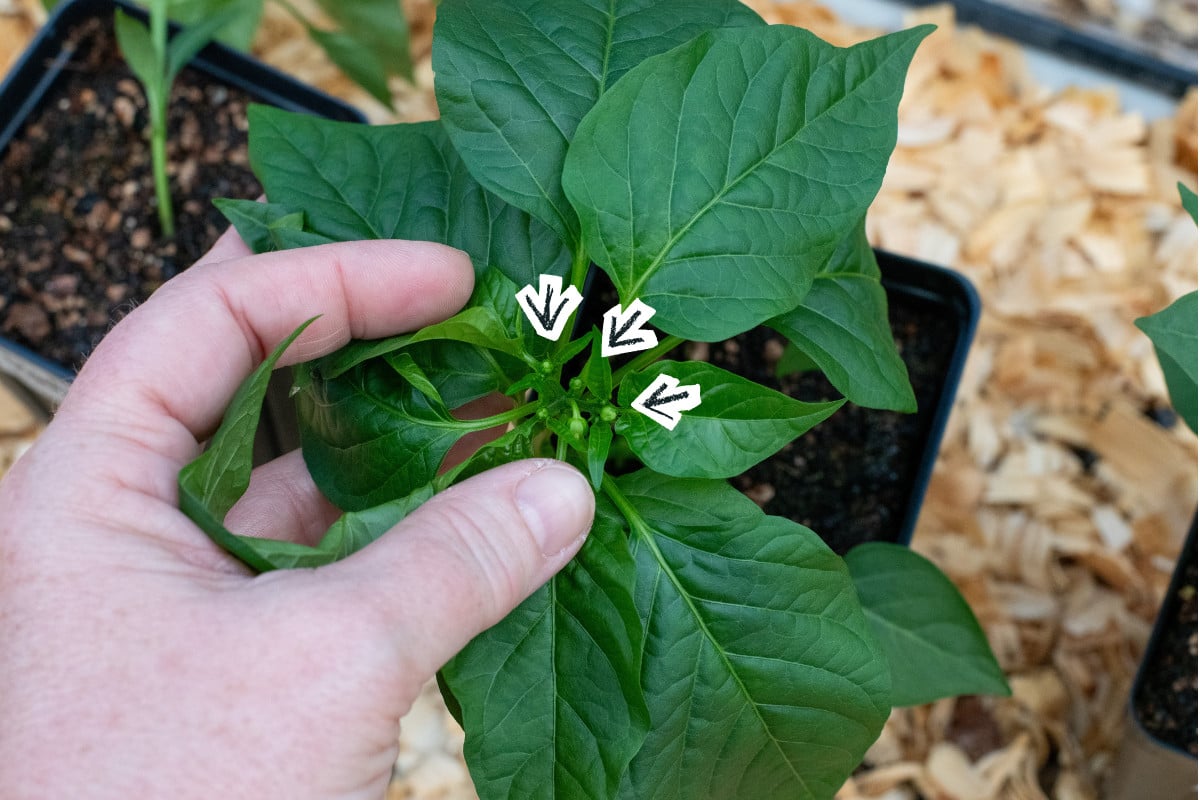
Last but not least, if your new seedling is gung-ho to make peppers and is already putting out flowers, nip it in the bud. Literally. Pinch off the first sets of flowers to encourage your pepper plant to grow fuller and taller.
I know it seems counterintuitive, but unless you live in the shortest of growing seasons, you’ll be rewarded with more peppers in the long run, as the plant will be larger and able to support more fruit.
Spring is one of the busiest times of the year for gardeners. But if you take the time to set your peppers up right when you plant them, you will enjoy less work and more peppers all season long.

Get the famous Rural Sprout newsletter delivered to your inbox.
Join the 50,000+ gardeners who get timely gardening tutorials, tips and tasks delivered direct to their inbox.