Gardening comes with a lot of anecdotal wisdom, and not all of it works. However, one bit of gardening advice that’s proven to work time and again is to plant tomatoes on their side in a trench or bury them deeply in the soil.
You can find this advice all over the internet, but it’s rarely explained how and why it works. Or which tomatoes should be planted sideways and which deeply. There are rules to getting this trick to work well.
Let’s demystify tomato planting once and for all.
We’ll examine why planting sideways or deeply works with tomatoes but not other plants. We’ll discuss the rules when determining what tomato varieties should be planted this way.
I’ve often said that to grow a thriving houseplant, you have to understand its native environment. The same can be said of tomatoes, and it all starts in South America.
Wild Tomatoes & Their Heavy-Feeding Garden Cousins
Tomatoes have a reputation for being the prima donna of the vegetable patch, and it’s not hard to see why.
They can be water hogs, but don’t you dare get it on their leaves. Pests and disease? They’re prone to all manner of them. Tomatoes require lots of nutrients to grow the abundant fruits we expect of them. And don’t forget, they have to be staked, or they fall over and snap and can take up a ton of room if not pruned regularly.
But it’s not their fault. Not really.
Tomatoes are finicky because we made them that way.
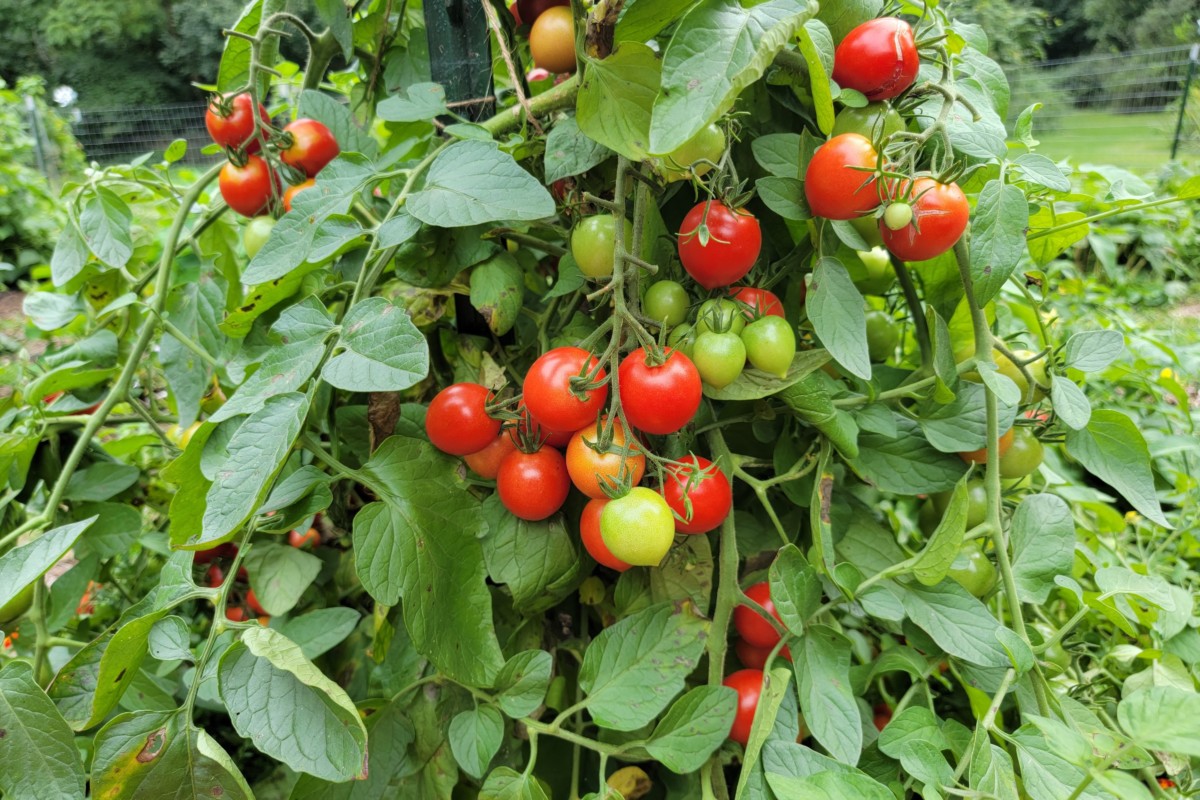
Everything we love about tomatoes – size, color, flavor and abundance – is manmade. Yup. The tomato you hold in your hand each summer, even that heirloom variety, is the result of millennia of selective breeding to achieve specific traits. These tomatoes look nothing like their ancestors in South America.
In our quest for bigger fruit with more flavor, we’ve bred out the traits that allow their wild cousins (Solanum pimpinellifolium) to thrive in the harshest environments. Wild tomatoes are tough as nails, growing in extreme desert-like conditions and on cold mountain tops. They’ve adapted to survive drought and resist diseases and pests. (But they’re disappearing fast.)
What does all of this have to do with planting tomatoes sideways?
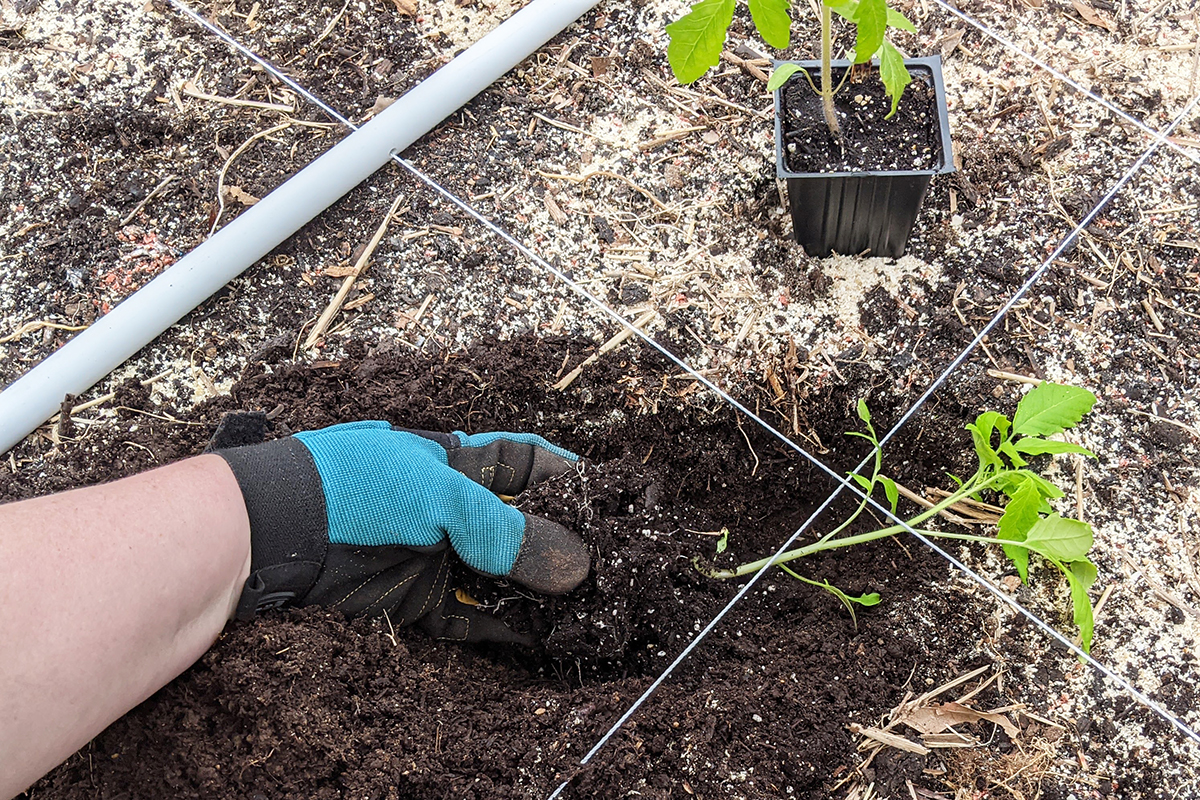
Well, when you plant tomatoes very deeply or on their side, we’re mimicking the conditions native tomatoes use to their advantage in the wild. Let me explain.
Adventitious Roots
Wild tomatoes take advantage of a trait that all tomatoes have and use it in a way that our garden-grown tomatoes can’t – adventitious roots.
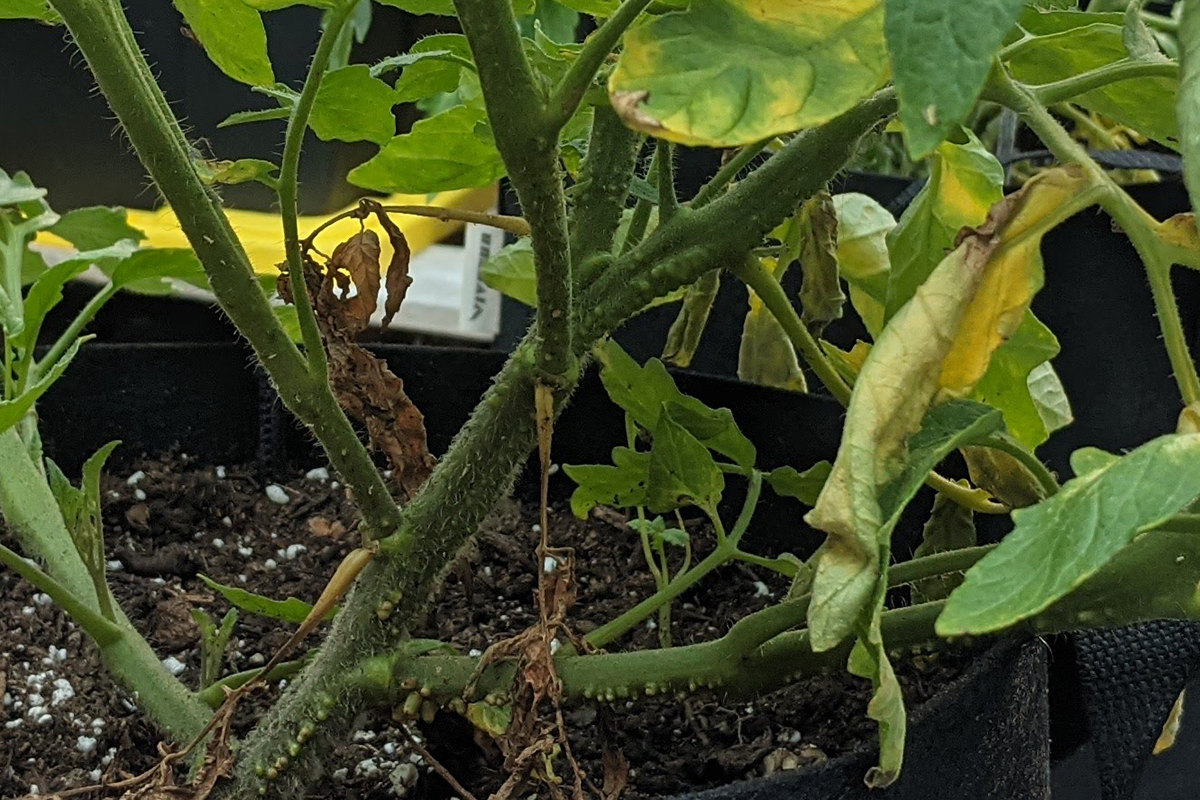
For most garden vegetables, you have to plant them at the same level in the garden as the soil in their pot; otherwise, the stem will rot, and the plant will die.
Tomatoes are different.
Because of the extremes in their native territory, from mountains to deserts to jungles (Peru and Ecuador), they’ve adapted to grow no matter where their seeds land through the means of parenchyma cells.
These non-descript cells are located just below the epidermal layer, all along the plant’s stems. They can morph to serve different purposes. For instance, if the tomato grows in a dark, murky rainforest, the parenchyma cells can be enlisted for photosynthesis.
One of the coolest things parenchyma cells do, though, is turning into roots, known as adventitious roots.
The tomato hairs, or trichomes, are often mistakenly credited for this cool trick. Nope, it’s all up to the parenchyma cells. (But tomato hairs have their own set of cool tricks.)
If you’ve ever taken a close look at the stem of a tomato, you may have noticed lots of tiny bumps on the plant’s skin. These are the parenchyma cells beginning to divide just below the surface, ready to grow into new roots. This phenomenon is called root primordia.
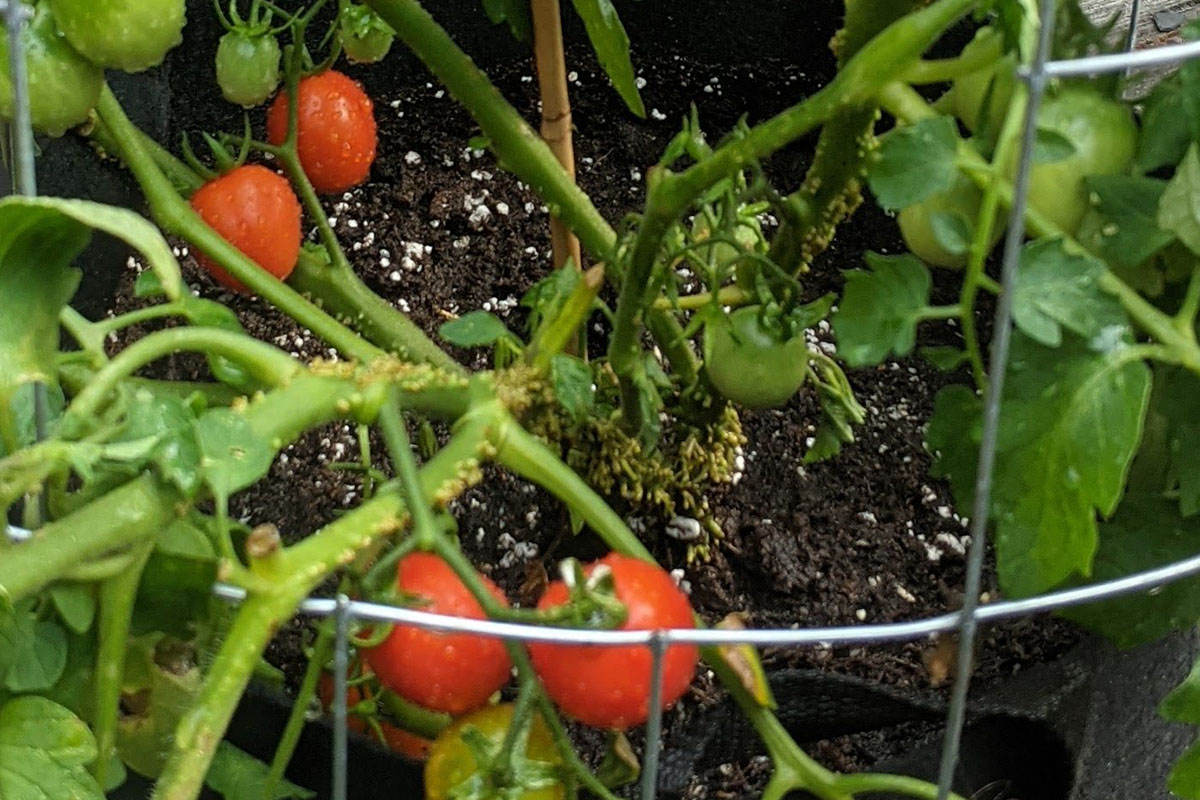
When the roots begin to grow, they can look a little freaky, like tiny cream-colored worms coming out of the stem.
(Sometimes, it can be a sign that your plant is stressed; if you notice them, your plant may need deeper, more thorough watering.)
But back to wild tomatoes.
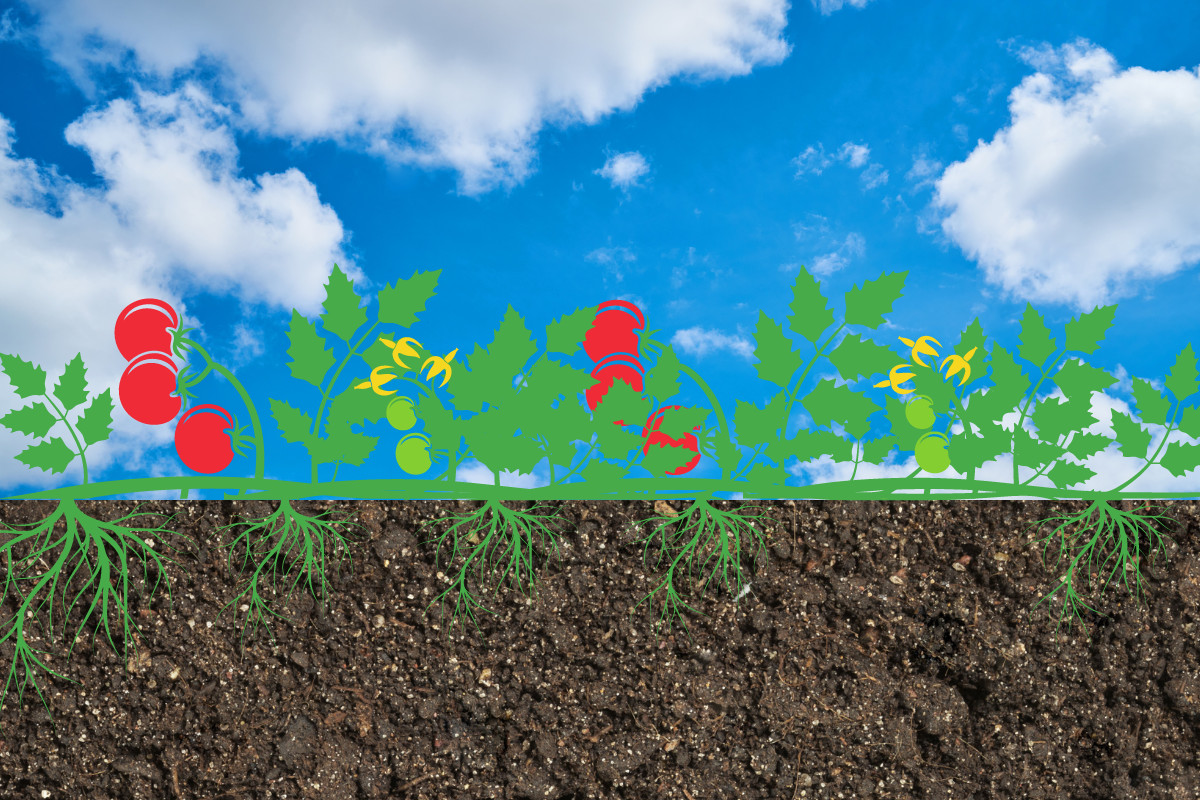
Wild tomatoes are creeping vines that grow along the ground; they can get pretty long. A single root system where the plant is submerged in the soil isn’t going to be enough to support them.
Wherever the stem touches the soil, these parenchyma cells grow adventitious roots to anchor the plant more firmly and provide another place to access water and nutrients from the soil. You end up with a whole system of contact points along the entire plant.
Now, let’s look at the tomatoes we grow.
We grow tomatoes up off the ground to prevent disease. Remember, our tomatoes are big babies that are susceptible to everything.
This protects not only the plant but also the fruit because that’s what we want out of this whole endeavor – delicious sun-ripened tomatoes.
Whereas a wild tomato’s only goal is to make many small fruits that will rot, ferment and leave new seeds in the soil.
For them, growing on the ground is the way to go, especially if you’re already tough as nails.
Because we’re growing our tomatoes upward, they don’t benefit from the extra adventitious roots that would normally develop along a plant growing on the ground. They only have one source for acquiring water and nutrients.
Aha! Suddenly, our prima donna tomatoes’ heavy-feeding habits make sense.
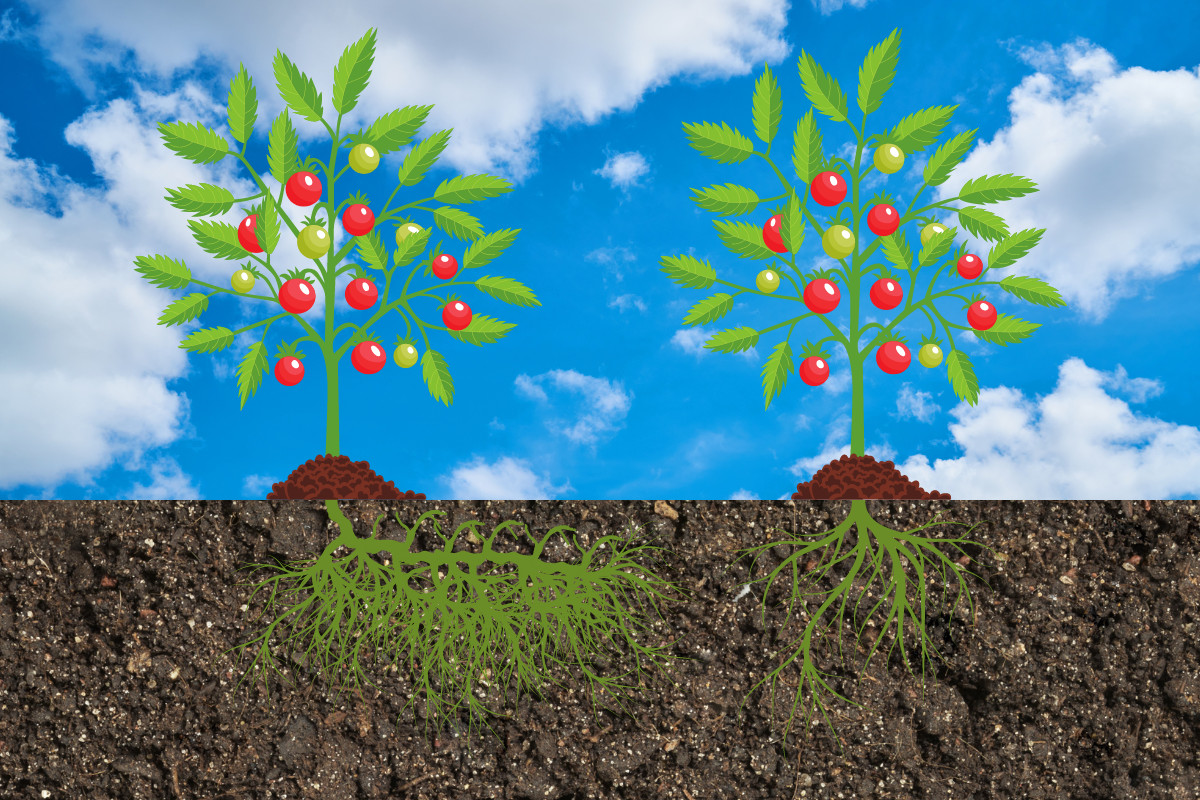
By burying the plant sideways or very deeply in your garden, you’re putting more of the stem underground from the start to enable lots of adventitious root growth. This means your tomato plant now has a much more complex root system, making it easier to take up the water and nutrients needed to make bushel after bushel of tomatoes.
The Secret is in the Soil
Of course, there’s another advantage wild tomatoes have that our garden-variety tomatoes don’t. But lucky for you, you can buy this secret weapon.
What is it?
Mushrooms.
Yup, microscopic fungi in the soil attach themselves to the roots of wild tomatoes, increasing the root surface area as much as 50 times. These fungi also “predigest” many nutrients in the soil that plants need, making them immediately available for the plant to use.
This symbiotic relationship occurs among 90% of all plants worldwide.
Unfortunately, because of popular gardening practices (cultivating and tilling), these naturally occurring fungi are often hard to find in our gardens. But don’t worry; you can purchase mycorrhizae and inoculate your tomatoes when you plant them.
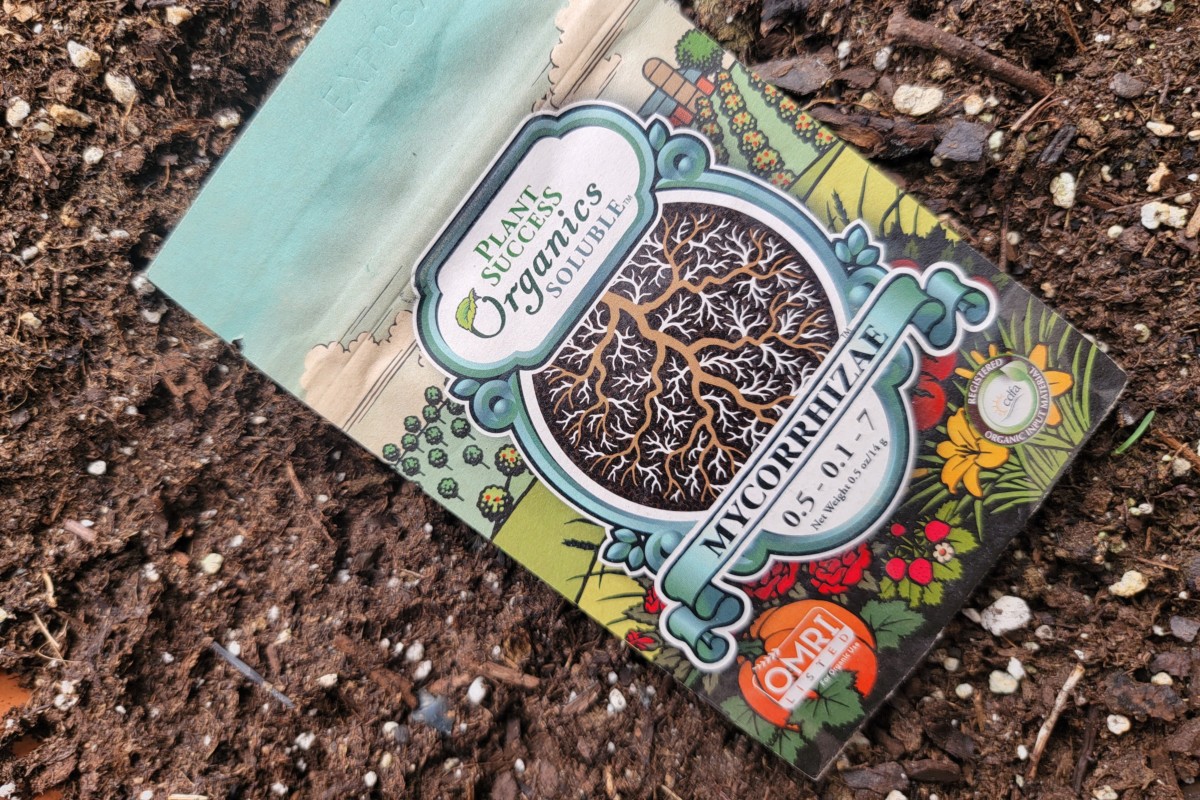
The benefits of mycorrhizae go far beyond healthier roots; read more about it here.
If you want to get serious about the microbiome in your soil and thus your yields, consider putting away the rototiller for good and switching to the no-dig gardening method.
Now that the ‘why’ of trenching tomatoes makes sense. Let’s learn the ‘how.’ Believe it or not, you can’t just stick any tomato in the ground sideways and get great results. There are rules to follow. And if you’re serious about growing pound after pound of sun-ripened tomatoes, I’ve got a secret potting-up method for seedlings that works hand-in-hand with trenching tomatoes.
Trenching Tomatoes and Tomato Planting Rules
To take advantage of adventitious root growth, you need to know if you’re growing an indeterminate or determinate tomato.
Indeterminate
Indeterminate tomatoes are most like their wild relatives in that they are vining and will continuously produce new fruit along the vine all season long. These are usually your heirloom or late-ripening varieties. Indeterminate varieties will continue to put out new growth the entire season, much like their wild cousins vining along the ground in South America.
Because of their vigorous growth, they need consistent pruning; otherwise, they risk snapping as they grow taller.
They’re also great at taking over the entire garden if you don’t keep up with them and often benefit from heavy late-summer pruning.
Due to their natural vining habits, the stems are not as thick as determinate varieties, making them more pliable and easier to train. Indeterminate tomatoes do amazingly well, espaliered or trained to grow up a string. With this method, you can skip the cages.
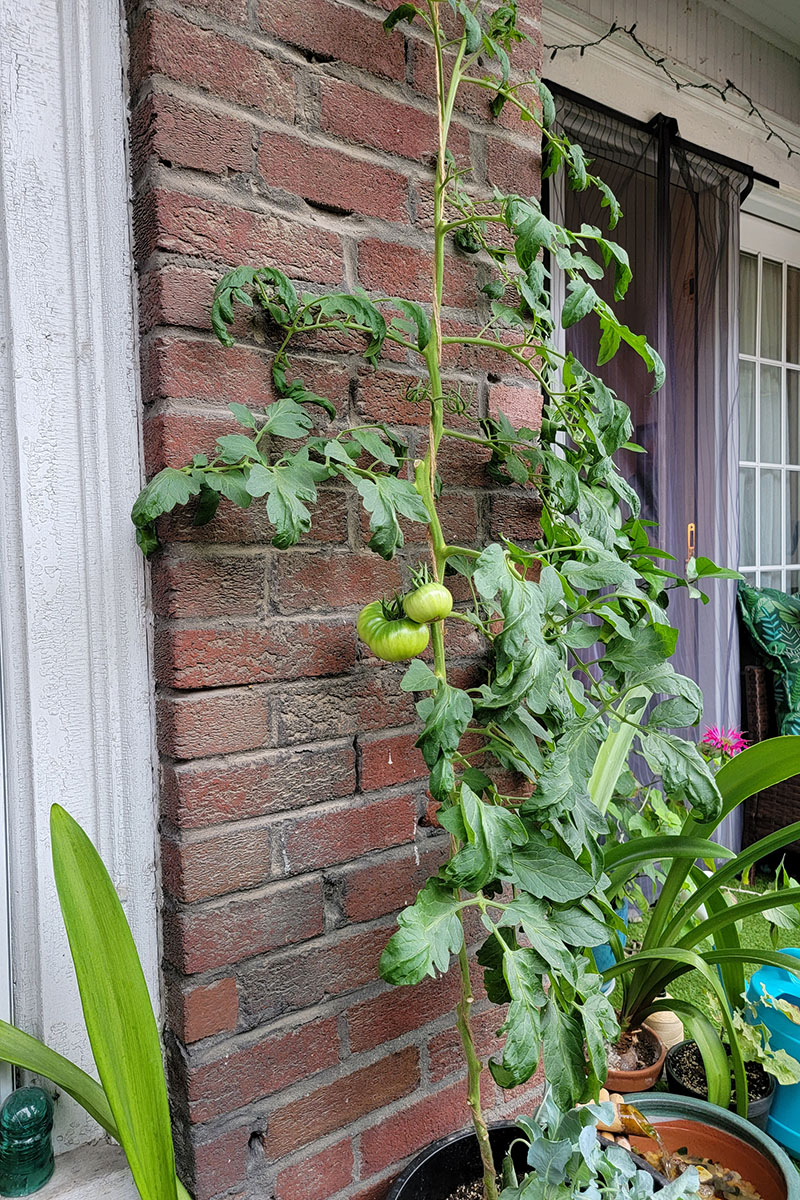
Indeterminate tomatoes are the best candidates to be grown sideways in a trench.
Their stems tend to be a bit longer at the base than determinate varieties and are inherently more flexible. This natural flexibility and vining habit allow indeterminate varieties to self-correct and grow upright again quickly while putting out new adventitious roots along the trench.
Determinate
Determinate tomatoes are varieties created to have more of a bush habit, making them great for container gardening. These are often your short-season and hybrid tomatoes. These guys stay pretty compact and don’t vine out. When they come into fruit, it happens all at once.
Unlike indeterminate tomatoes, determinate tomatoes don’t need much pruning. They have a specific height they will grow to and then stop. Excessive pruning of determinate varieties leads to less fruit overall. While some are small enough not to require it, they still benefit from the protection of some kind of tomato support.
Determinate varieties are excellent for folks with short growing seasons or if you want a whole bunch of tomatoes all at once for canning and preserving.
Because they grow on short, stocky stems meant to stand up to the weight of all that fruit, they aren’t the best candidates for growing sideways. If you plant a determinate tomato sideways, you risk snapping the stem trying to stake it to grow upright again. They can also topple over when they are heavy with fruit later in the season. (Think of a Christmas tree that isn’t centered in the stand.)
Determinate varieties are the best candidates for planting in a very deep hole.
This, again, allows for lots of adventitious root growth but keeps the plant centered, straight up and down, so it’s strongest where it needs to be – along the main stem.
Okay, let’s plant some tomatoes.
Planting Tomatoes Sideways or Deeply
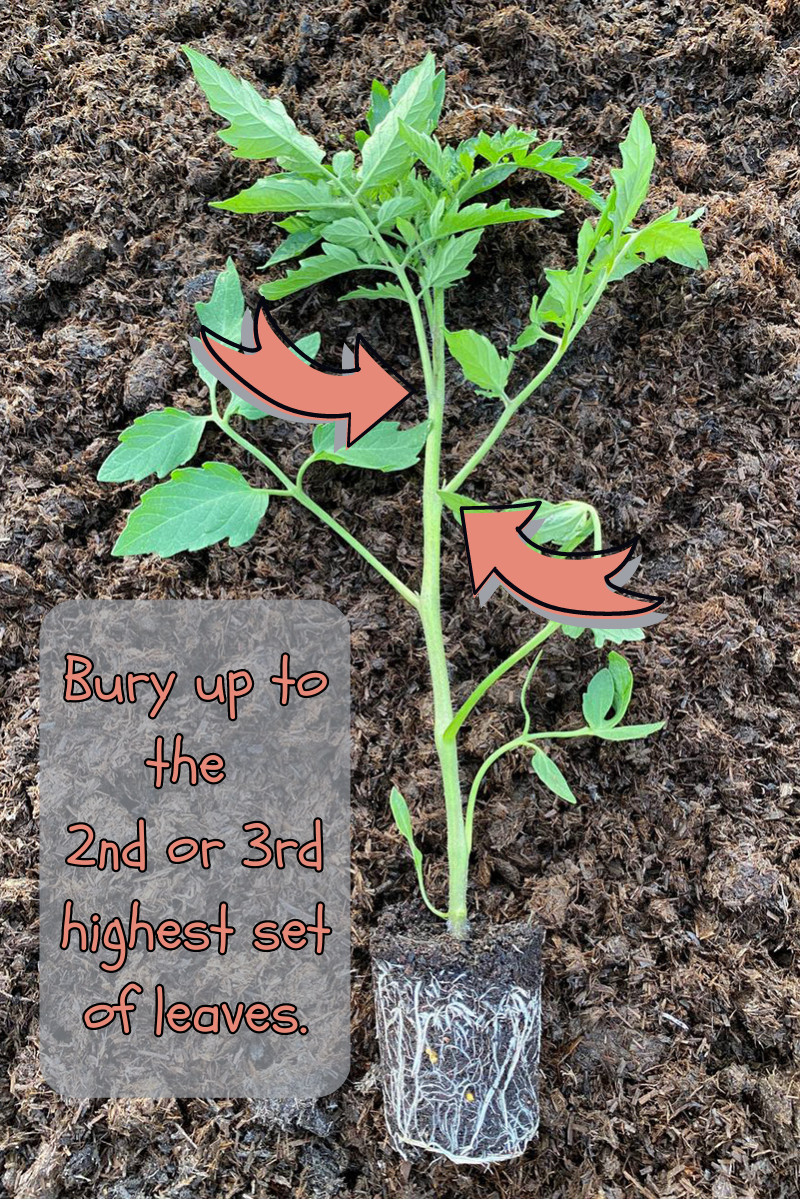
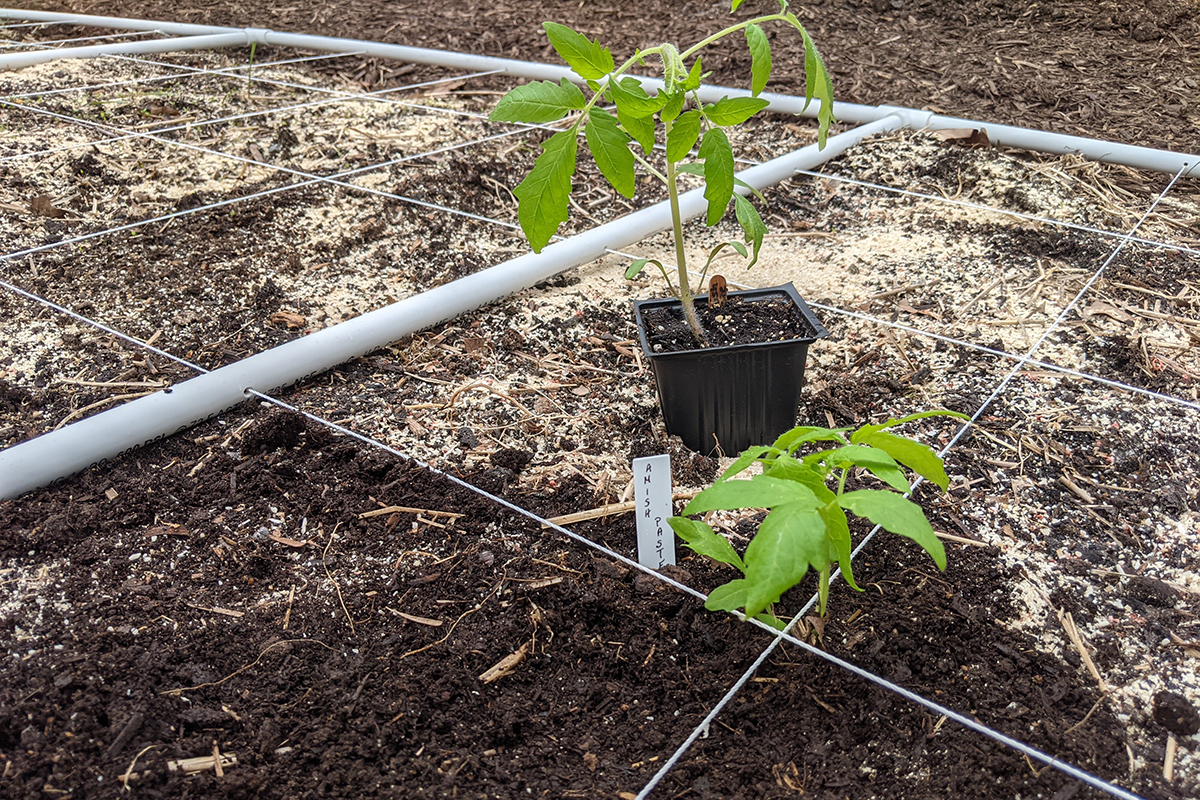
You want to bury as much of the plant as possible, so start with a tomato plant at least 8”-12” tall. The taller, the better.
If you’re growing tomato plants from seed, start them about 12 weeks before planting them outside. This extra time will ensure you have a nice, tall plant. (Not to be confused with leggy seedlings.) Don’t forget to harden off seedlings before moving them to the garden.
If you purchase your plants from a nursery, select the tallest, healthiest plants available.
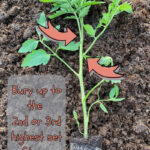
Whether you’re burying the tomato plant sideways or deeply, the end result should be that only the very top of the plant is aboveground. Bury just below two or three sets of leaves from the top. I know it doesn’t sound like much will be left, but remember, we’re planting a foundation underground. The gain in extra roots will catch up with what’s above ground quickly, and your tomato plant will take off.
To Cut or Not to Cut
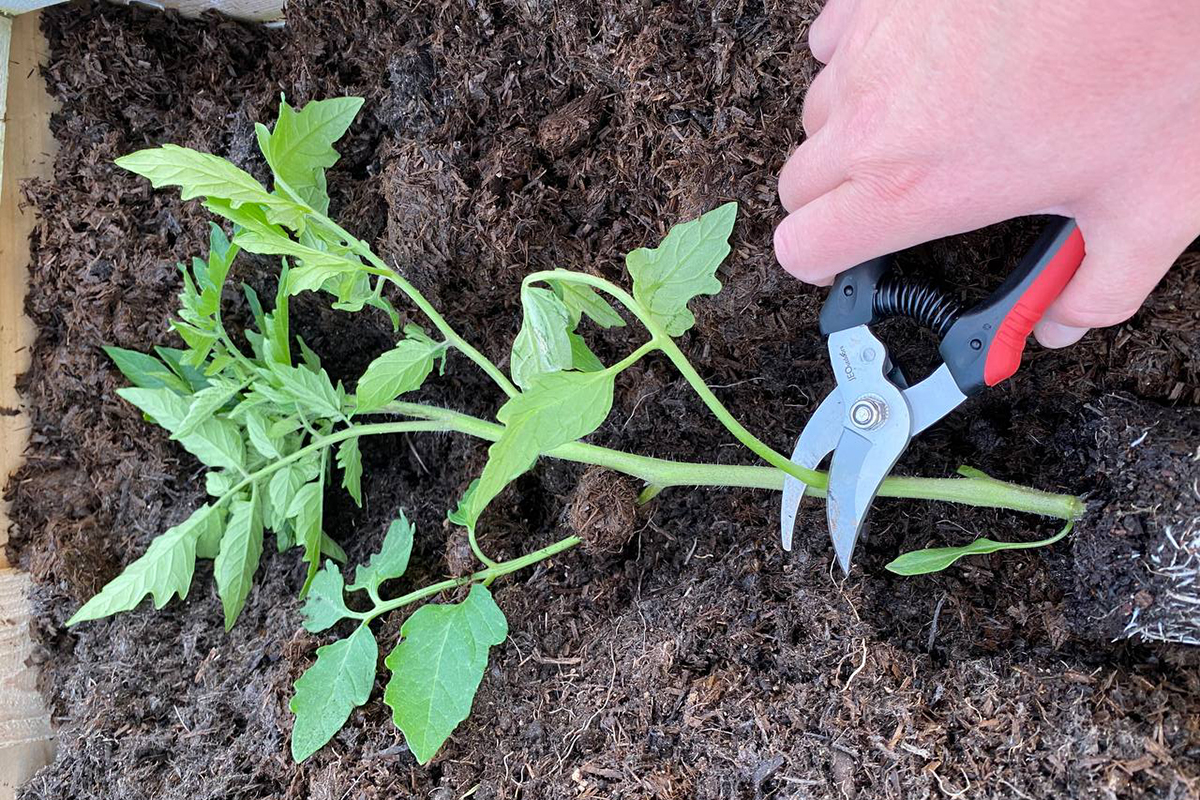
Different articles about planting tomatoes sideways share two thoughts on stems branching off from the main stem. Some tell you to remove them, while others say it’s unnecessary. Which is correct?
Burying the Plant Without Removing Stems
Proponents of this method cite the fact those extra stems will also produce adventitious roots. They’re right, so it’s unnecessary to remove the extra stems. Cutting stems from the plant also opens the plant up to disease. While this is true, the risk is minimal and is mitigated by letting the plant scab over for a day or two before you plant it.
Removing Stems Before Burying the Plant
The other side of that argument says to remove the stems before you put the plant in the ground. This is usually to make the plant fit better, but there’s another smart reason to do this. We’ve already noted that you’re injuring the plant by removing extra stems. This will release chemical signals within the plant to heal itself. If the plant is buried underground (without light), it will heal itself not by making new stems but by making lots of new roots.
If you want my opinion, it’s six of one and half a dozen of the other. Do what works for you.
Sideways
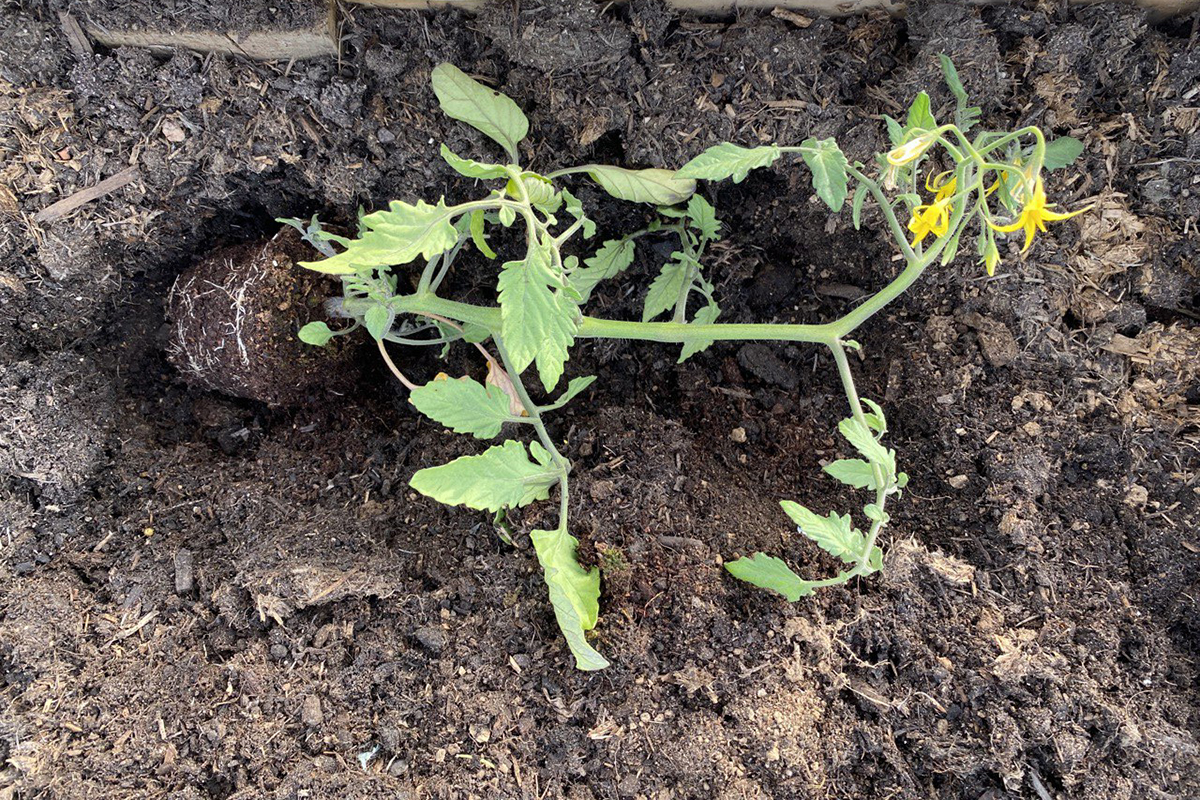
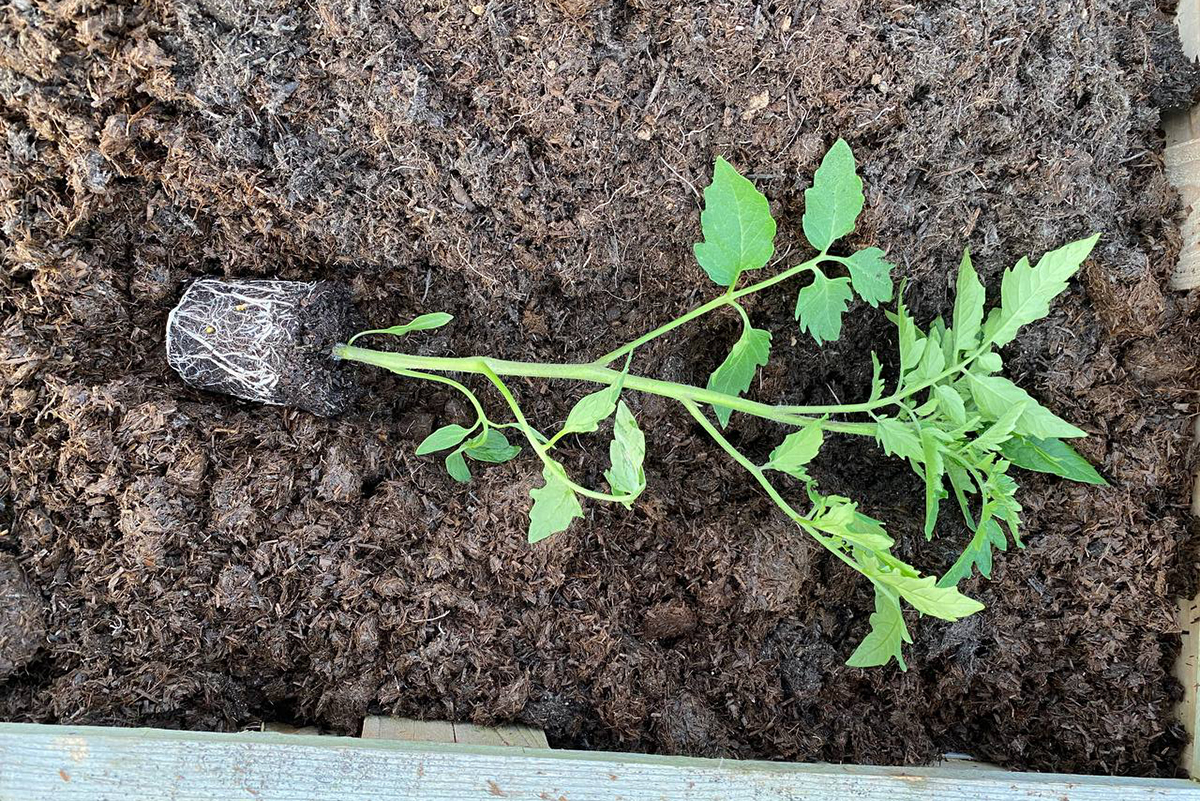
Dig a trench long enough to accommodate the plant. The trench should be between 6”-8” deep. If your soil is hard and compacted, you may want to dig deeper and add compost first to make it easier for new roots to penetrate the soil. This will also get the plant off to a good start with the extra nutrients provided.
Remove the plant from its pot and gently loosen the root ball before laying it sideways in the trench. Leave the top two or three sets of leaves above the soil. Press the soil back and around the plant lengthwise and water it well.
Gently tie the base of the stem to a stake to encourage the plant to grow upwards. If you’re using a tomato support that requires you to push it into the ground, be mindful of where the trench is. You don’t want to stab your carefully trenched tomato with a cage.
Deeply
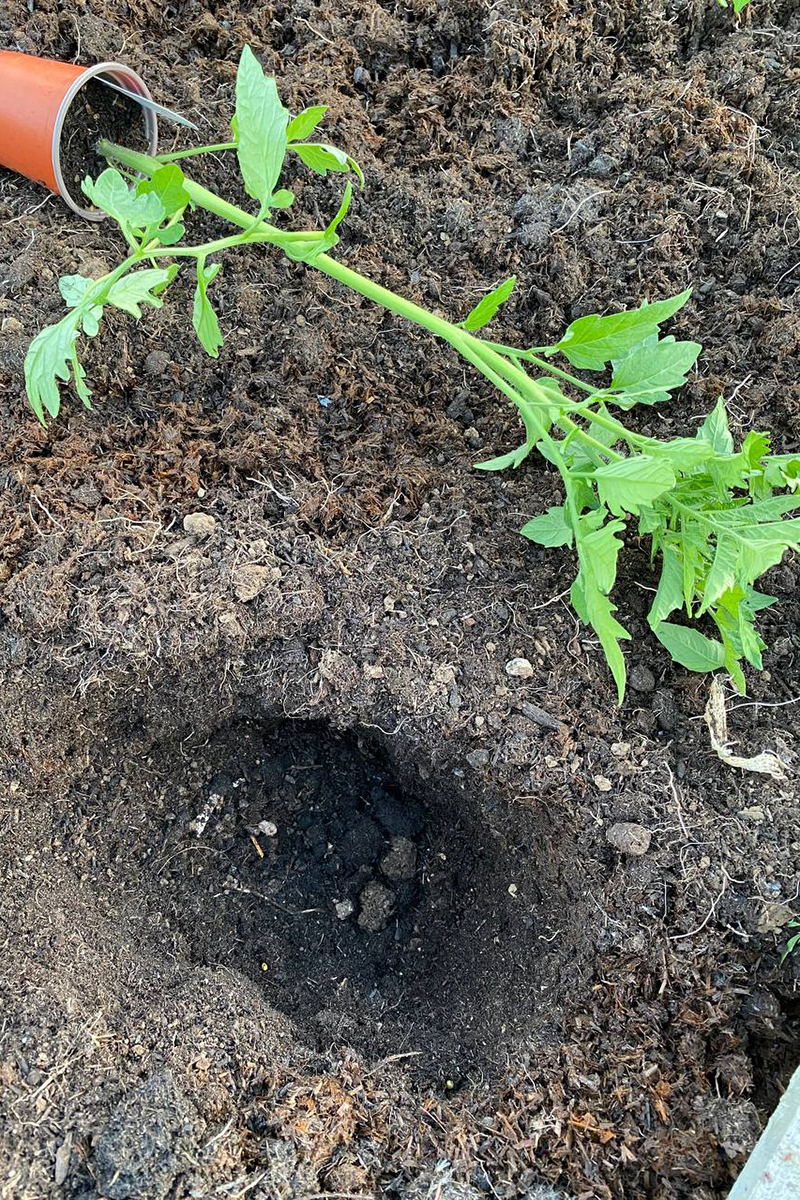
Dig a hole deep enough so that only the top two or three sets of leaves are aboveground. Again, if you have compacted soil, dig down deeper than needed to loosen it, making it easier for roots to grow deeply, and add plenty of compost.
Remove the plant from its pot, gently loosening the root ball and place it in the hole. Fill and press in the soil to just below the second or third set of leaves from the top.
If you can’t dig deep enough for some reason, whether it’s because the soil is too hard or you’re growing in a raised bed with a bottom or a container, don’t fret. You still want to bury the plant as deeply as possible, but now you’ll heap soil around the stem aboveground. Firmly pack it in place, creating a mound.
Alternatively, you can plant sideways; remember, if it’s a determinate tomato, be extra careful with the stem and the risk of a toppling plant later. You might want to plant it at an angle to make it easier to stake upright.
Water, Mulch and Wait
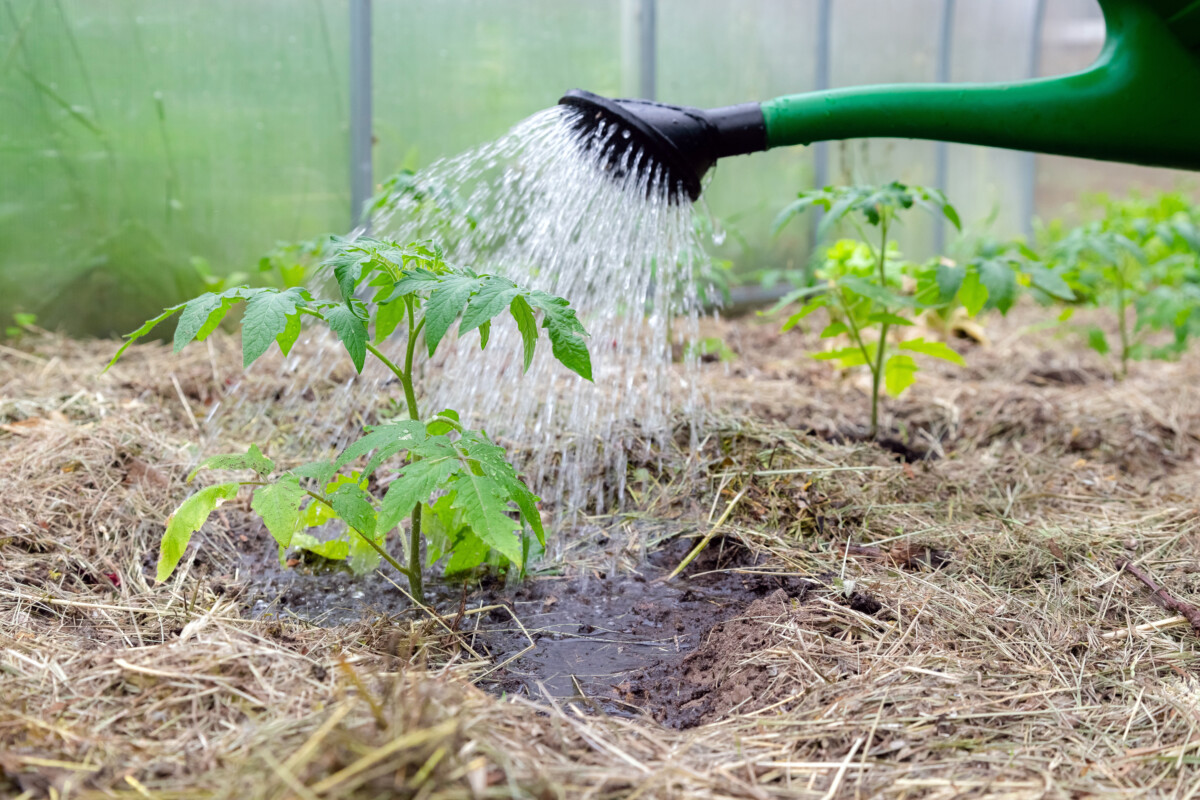
Immediately after planting, water the plant well and lay down a layer of mulch between 2”-3” thick. Water the plants every day or two for the first week to encourage root growth.
Growth above ground will slow down while the plant grows new roots.
(Unless you’ve utilized my secret potting-up method to jump-start stem root growth.)
Once you notice the plant growing aboveground again, it’s well established. From then on, water deeply but less frequently to encourage all those new roots to head deep into the soil. Now is also a good time to start fertilizing tomatoes.
I know it’s a bizarre way to start off a plant, but as the wild tomatoes in South America have shown us, nature really does know best.

Get the famous Rural Sprout newsletter delivered to your inbox.
Join the 50,000+ gardeners who get timely gardening tutorials, tips and tasks delivered direct to their inbox.


