

People who start their plants from seed are some of the craziest gardeners.
We’re even crazier than tomato-growing fanatics. And if you’re a tomato-growing fanatic who also starts their seeds? Well, I’m pretty sure there’s a support group for us. It meets every Tuesday at 7:00 at the local library annex.
“Hi, my name is Tracey, and it’s been four weeks since I started my Green Zebra tomatoes…they’re doing great too! I have them under an LED grow light set up, and I started fertilizing them with my secret recipe for compost tea.”
People who start their own seeds are dedicated.
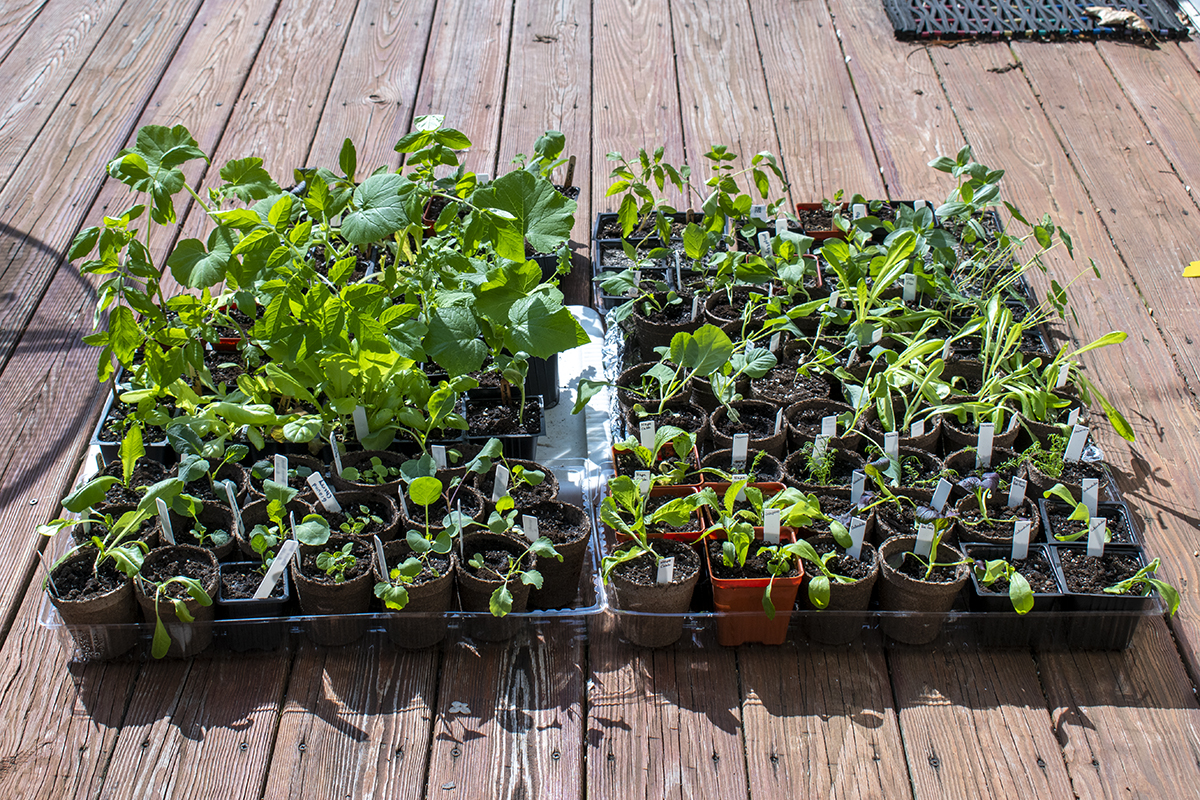
Beginning in the middle of winter, we have every windowsill lined up with red solo cups with seedlings sprouting from them. The dining room table becomes a potting up station covered with seed packets and sprinkled liberally with potting mix from January to May.
This labor of love isn’t without its drawbacks, though.
We lose fragile seedlings because we forgot to water them for one day – one stupid day. Then we lose another half dozen because we overcompensate and drown the survivors.
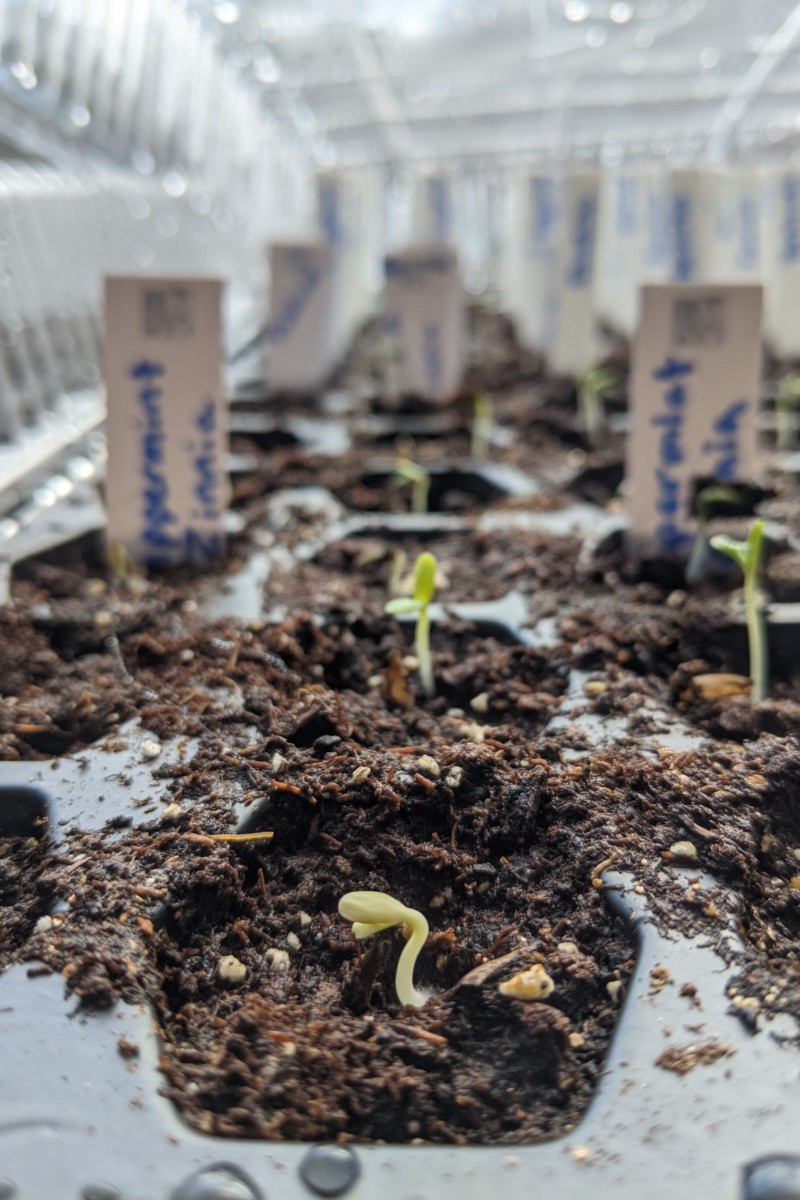
We stare at that row of uninterrupted dirt in our seedling flat for two weeks waiting for those finicky red cabbage seeds to germinate. Finally, we give up and start another row of cabbage seeds, only to find the original seeds have finally pushed up through the dirt two days later.
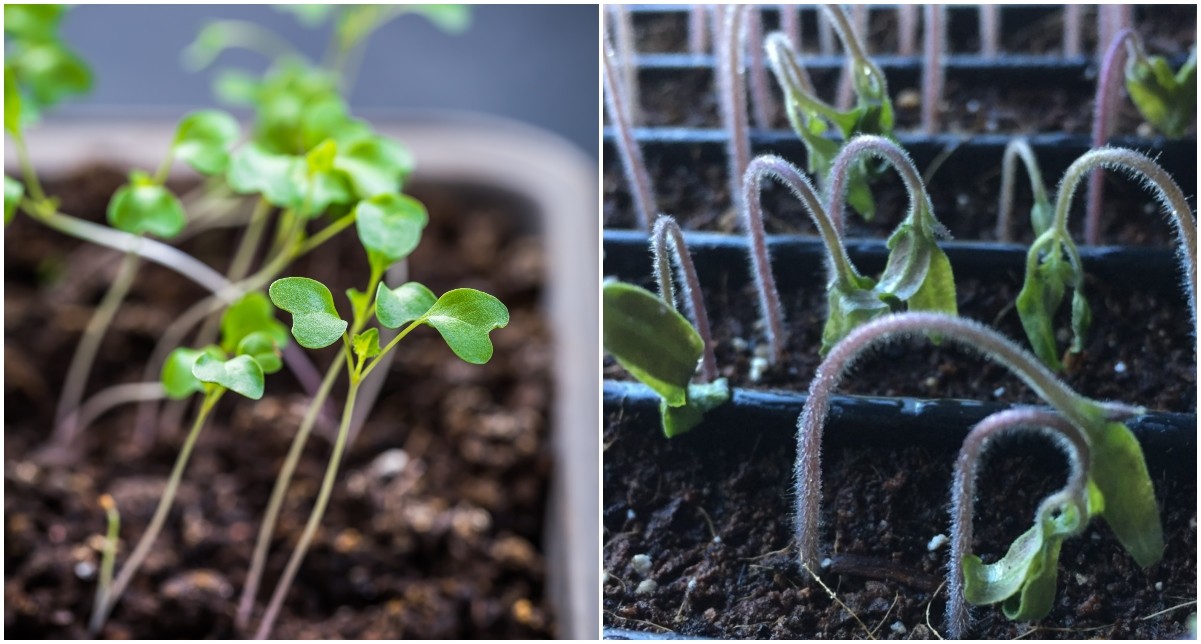
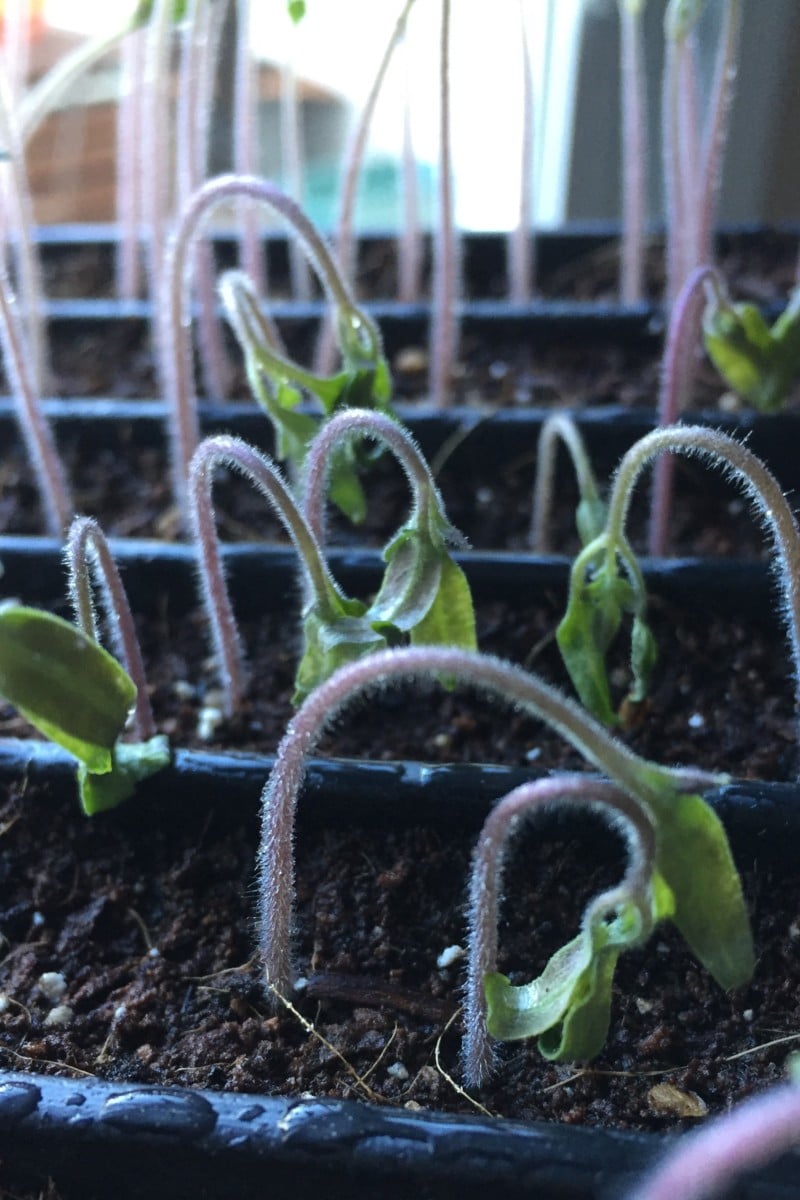
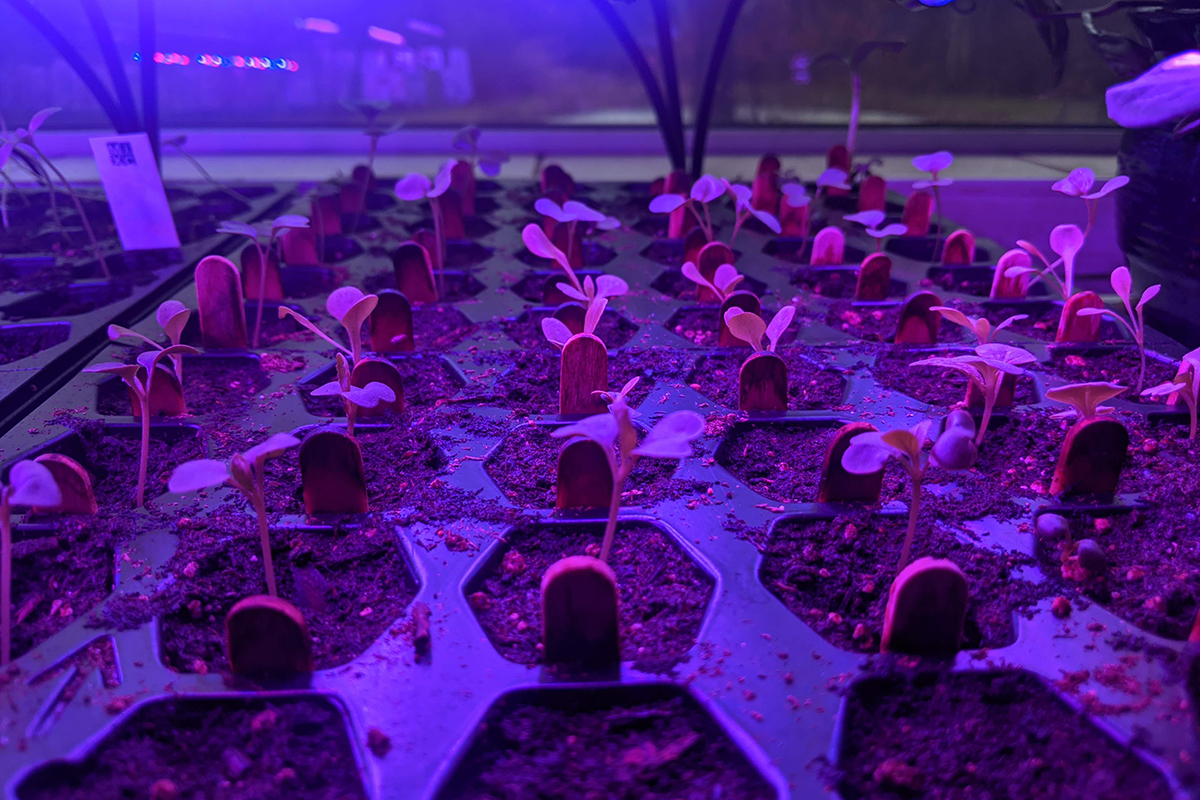
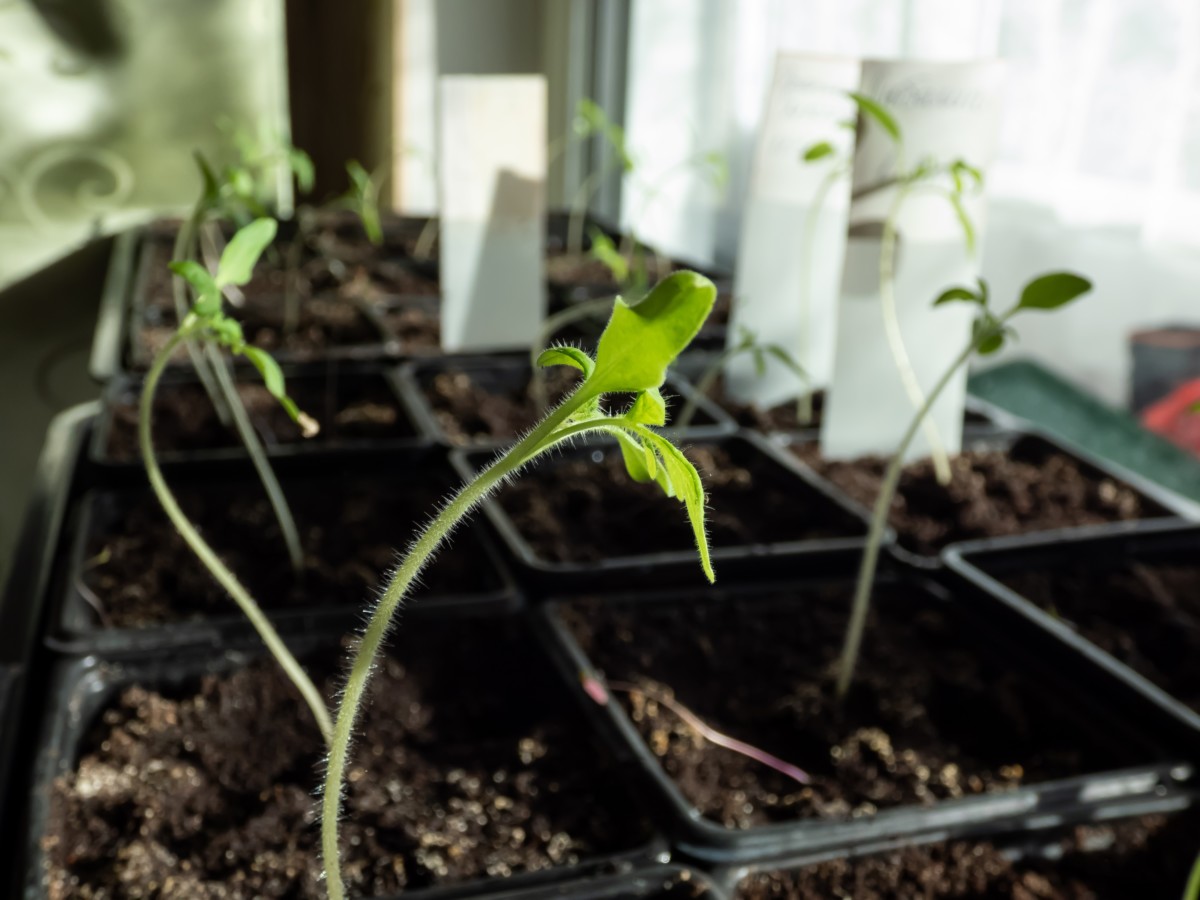
And then there is the bane of every seed starter’s existence – leggy seedlings.
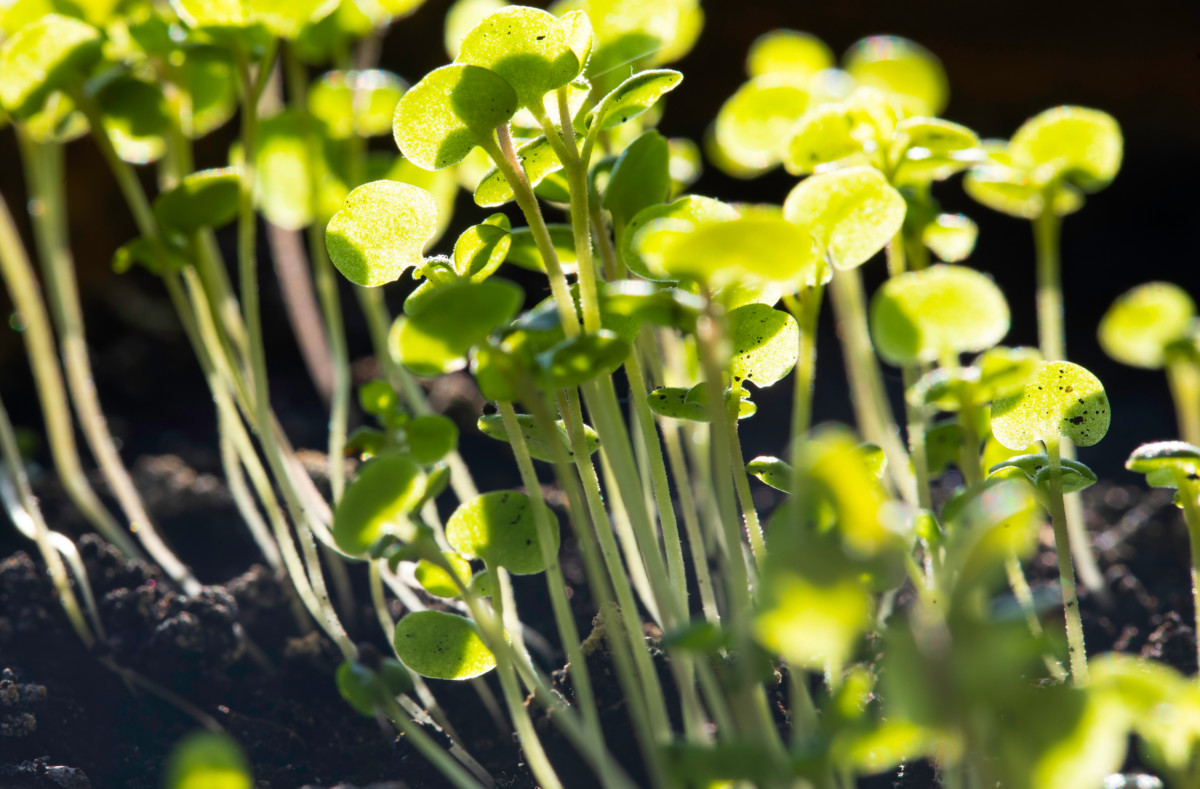
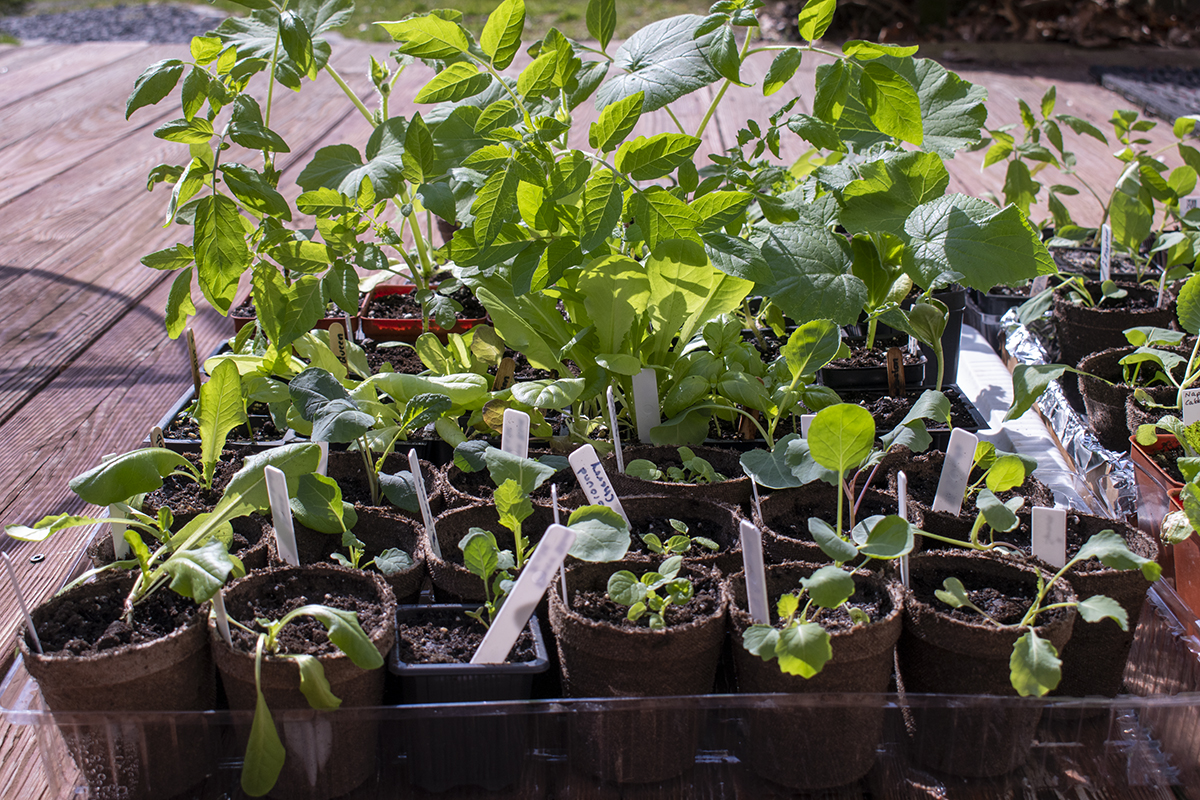
Germination gets off to a good start, but before we know it, our beloved babies are stretching as far as they can to reach the light. They look like 90s supermodels – gaunt, thin and willowy. Their stems are pale and pearly white, and a sneeze will knock them over.
Sure, we may have seedling varieties that our next-door neighbor who buys his garden supplies at Lowes has never even heard of.
“We’re growing Polish Nimba zucchini this summer, Bill. What are you growing?”
“Uh, the label just says ‘summer squash – zucchini’.”
But we’re secretly jealous of Bill’s four-pack of ‘summer squash – zucchini’ seedlings with their short, thick stems and lush dark green leaves. Our Nimba seedlings look more like the green wacky inflatable tube man dancing out in front of the car dealership downtown.
Fixing this problem is one of the most prevalent questions we get asked on our Rural Sprout Facebook page every spring. And you can bet Google gets its fair share of “How to Fix Leggy Seedlings” searches each year.
So, today we’re going to talk about leggy seedlings.
We’ll look at what causes them and how to prevent or fix them.
Better yet, we’ll look at why Bill’s box store seedlings look like they do. Knowing how nurseries get large, robust seedlings will give us the clues we need to do the same in our little card table greenhouse set up in the spare bedroom.
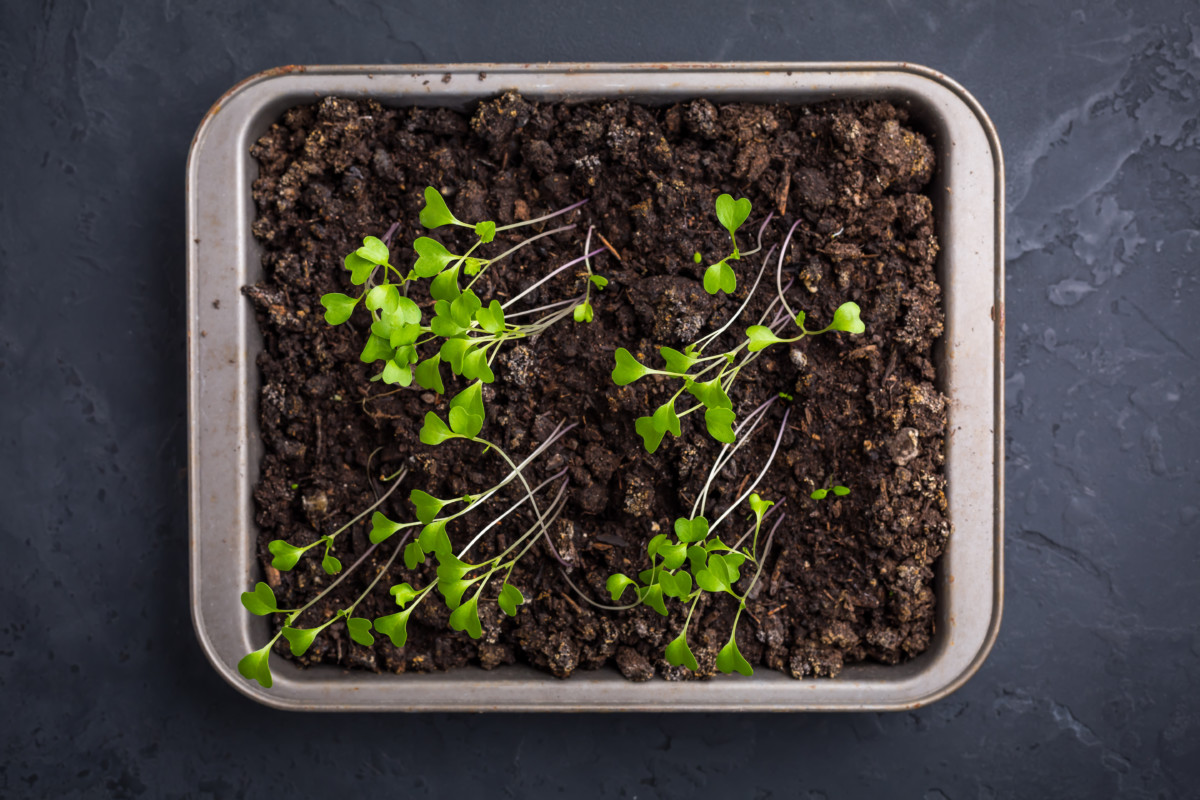
Notice the Difference?
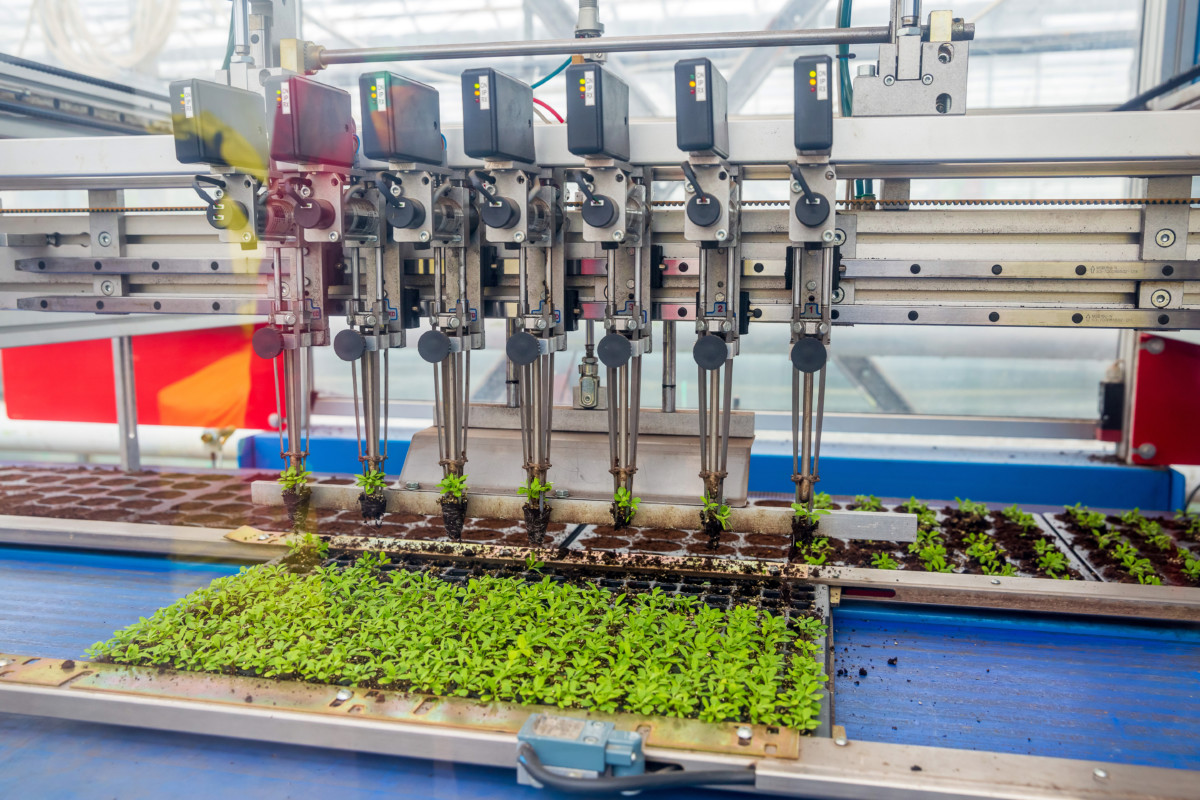
Most commercial nurseries use machines to plant seeds in large flats full of individual seed cells. Then these flats are watered and kept in rooms where the temperature and humidity level are carefully controlled to encourage quick and prolific germination.
Once most of the seeds in each flat have germinated, they’re moved out of this warm, moist environment. Depending on the plant’s needs, sometimes they will continue to be grown in an area where the temperature is kept on the warmer side, usually around 68 degrees F.

But for the most part, these flats full of fledgling seedlings head on out into the general population of the greenhouse.
Most of you have purchased plants from a nursery before and are familiar with the types of buildings they’re grown in. They’re very large buildings made entirely from translucent plastic.
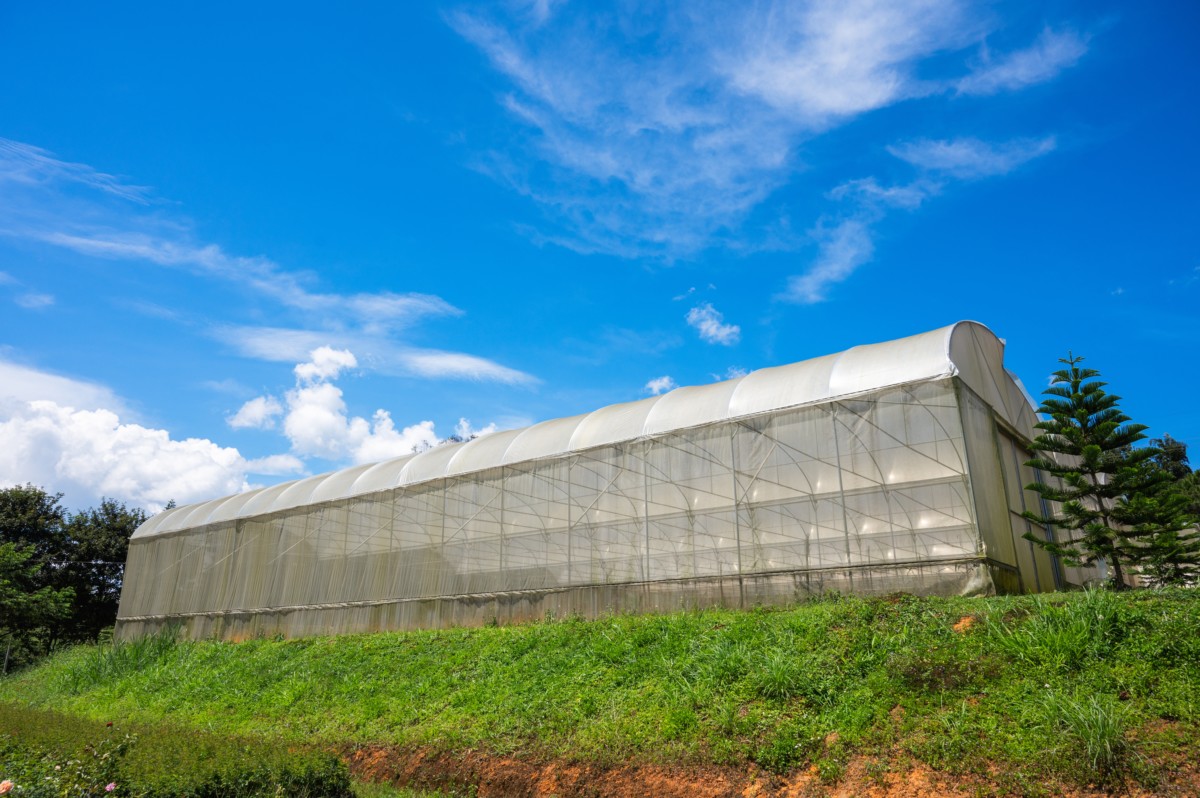
This means the plants are constantly in the light.
Even on cloudy days, they’re still receiving light. And if supplemental grow lights are used, these babies get nothing but the best – metal halide and high-pressure sodium lights. The combination of these two types of lights is what gives most nurseries that familiar pinky-peach glow at night.
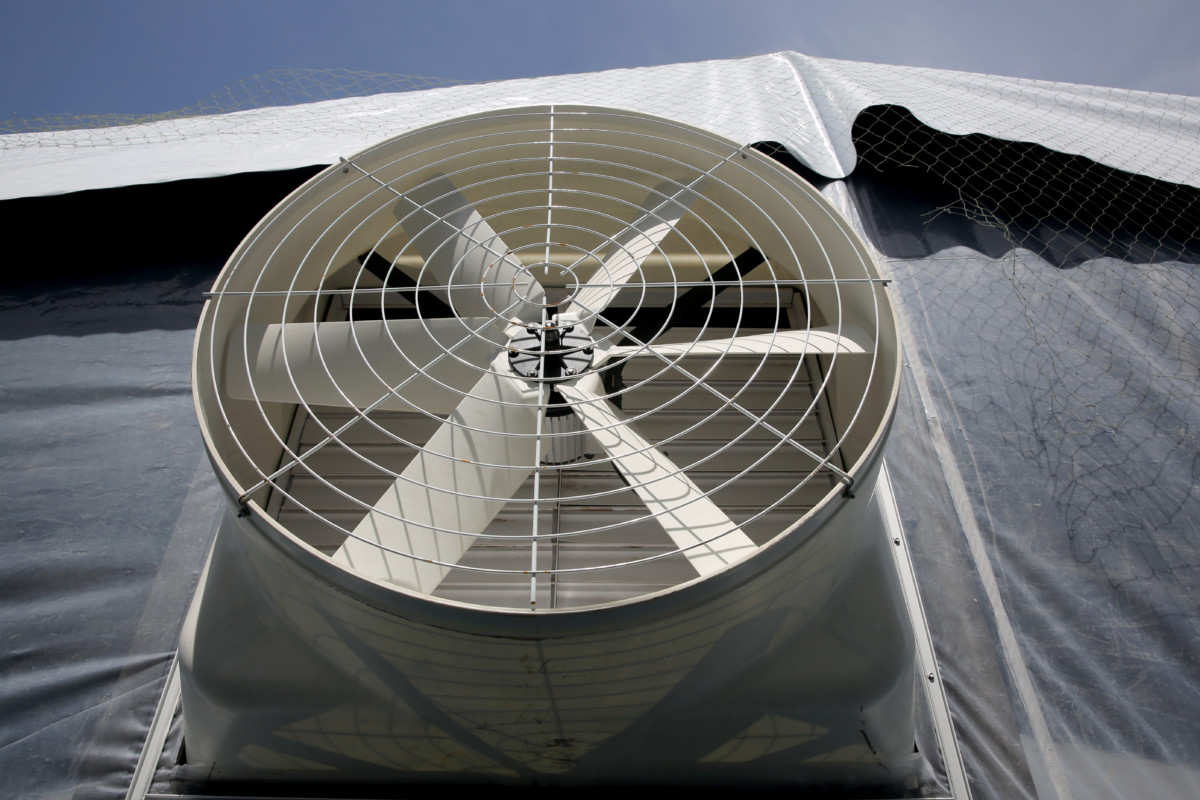
These buildings have large industrial fans at either end of the top of the building to create airflow and discourage stagnant air where mold and disease can take hold.
Bill’s ‘summer squash – zucchini’ and its flatmates will periodically receive fertilizer to give these tiny plants all the necessary nutrients to grow healthy. They will be watered consistently, most likely with an automated irrigation system. If not, there will be nursery staff whose job is to make sure all the plants are watered as often as needed.
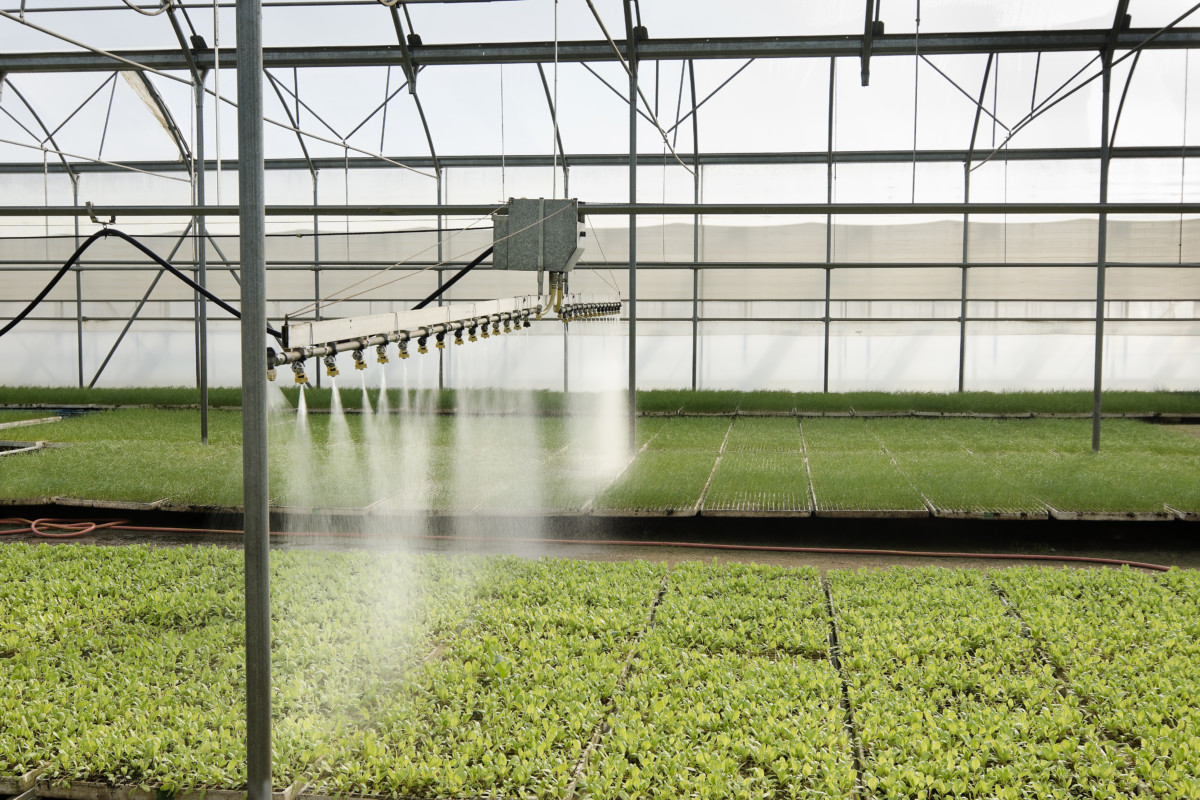
When a seed is germinated in a commercial greenhouse, the resulting plant gets the best care from people whose only job is to grow healthy plants in an environment only set up to grow healthy plants.
Trying to mimic that experience in our spare time at home seems nearly impossible, but it’s not, and with a little effort, you can grow robust and sturdy seedlings too.
Now, let’s take a look at what causes those leggy seedlings and how to prevent them in the future, and we’ll talk about how to get them back on track.
1. Germination Needs are Different from Growing Needs
One of the first things we do at home that leads to leggy seedlings is not changing the growing conditions once our seeds have germinated.
When trying to germinate certain seeds, a little extra heat helps, so many home growers employ a heated seedling mat or even an electric hot pad.
We also know that you need very high humidity and moisture for a seed to germinate, hence the sale of those nifty little seedling trays that pop up in stores every spring. You know, the ones with the rows of individual seed cells and the clear plastic lid that goes on top.
While all of this is wonderful and does its intended job, many of us are guilty of leaving all of this in place even after our seeds have germinated.
And that’s where the trouble begins.
That extra heat can push your new seedling into overdrive, causing it to stretch and grow vertically too fast. And that clear plastic lid now holds in too much moisture and prevents airflow.
The first thing you can do to prevent leggy seedlings is turn off the heated mat and remove any coverings that keep your soil moist once most of your seeds have germinated. This will also prevent new seedlings from rotting.
2. Let There Be Light
Here’s the thing about starting seedlings indoors – you’re indoors. No matter what you do, your seeds will not be getting nearly as much light as they would outside (or in that fancy commercial greenhouse).
As plant parents, we’re terrible judges of how much light is enough light. I can almost guarantee that whatever light you’re giving your seedlings, they probably need more.
If you’re using a windowsill to start seedlings, make sure you’re using a southern-facing window; otherwise, you won’t get enough light. And get those seedlings right up against the glass.
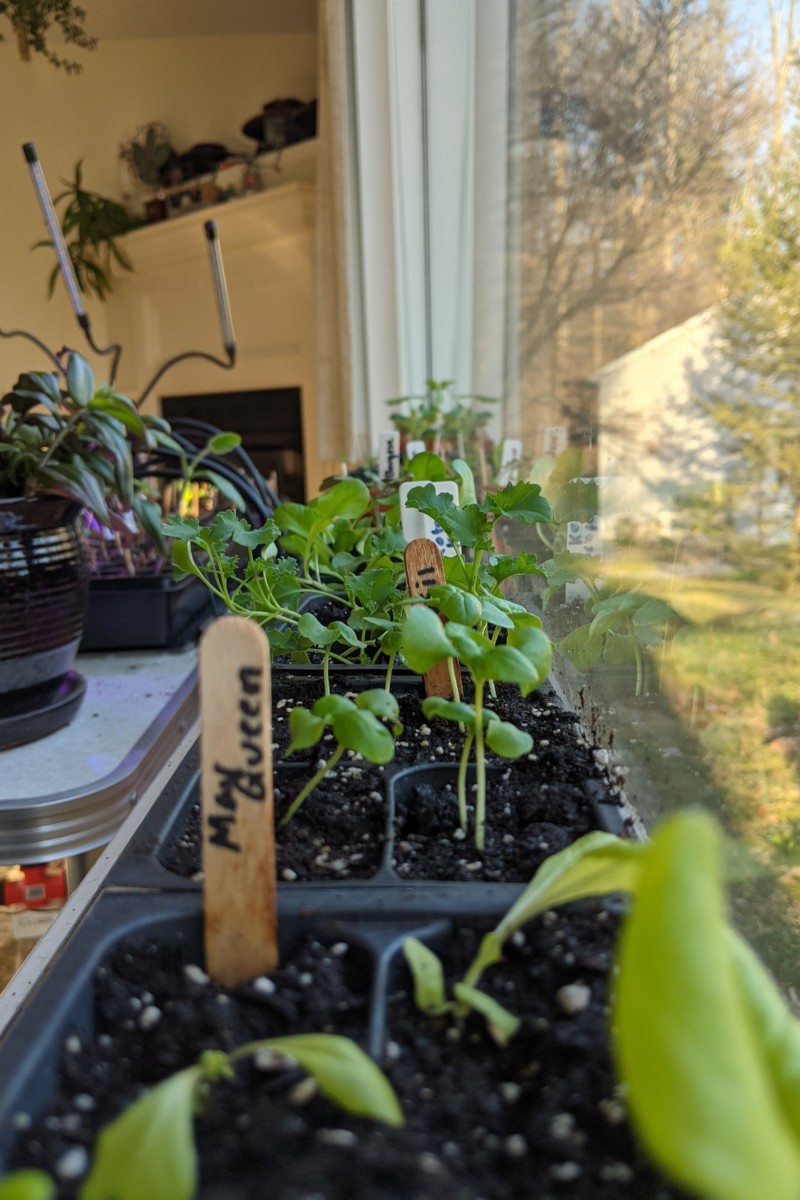
Rotate your seedlings every day, so they receive light on all sides.
For the best indoor seedling success, you should invest in grow lights.
LED grow lights have come down in price and are getting better every year. For seedlings, choose something in the blue and red spectrum. (I love GE’s line of LED grow lights.) Place the grow lights about 2” above the seedlings, adjusting the height as they grow.
(If you’re serious about growing amazing seedlings, it might be time to look into a proper hanging grow light set up on a shelving unit.)

I know this probably isn’t the news you want to hear, but this is the most important element in preventing leggy seedlings – lots and lots of light.
3. Feed Your Babies
A seed needs no nutrients to germinate. It already contains everything inside it to grow a tiny green plant. But like most babies, once they arrive on the scene, they need to be fed. Most seeds are started in a soilless potting mix with no extra nutrients, so once your seeds have germinated, you’ll want to begin fertilizing them.
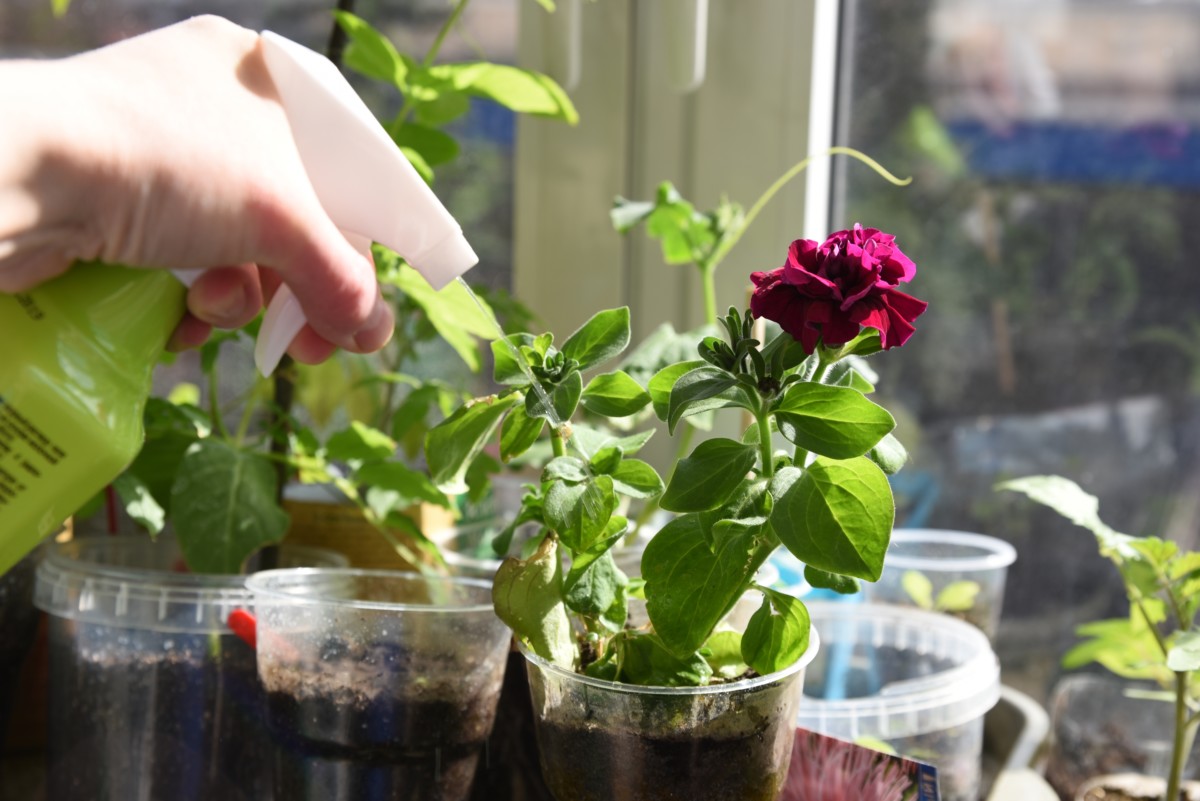
Choose a fertilizer known for its low risk of burning plants, such as worm casting tea or liquid fish fertilizer and feed the new plants at a quarter strength. This is especially important to start if you’ve already got leggy seedlings. They need those nutrients to develop properly.
4. Turn the Heat Down
If you think about it, most of us start seeds inside during the late winter months when it’s coldest outside. Naturally, we keep our homes warm and toasty at this time of year. Of course, we want our fledgling seedlings to stay comfortable, too, so lowering the temperature is the best way to do that.
Yes, you heard that right.
As we mentioned above, that excess heat will kick your plants into high gear, and it won’t be long until they’re completely stretched out. Keeping your plants somewhere cool (in the low 60s) will encourage them to grow slowly and thus become heartier.
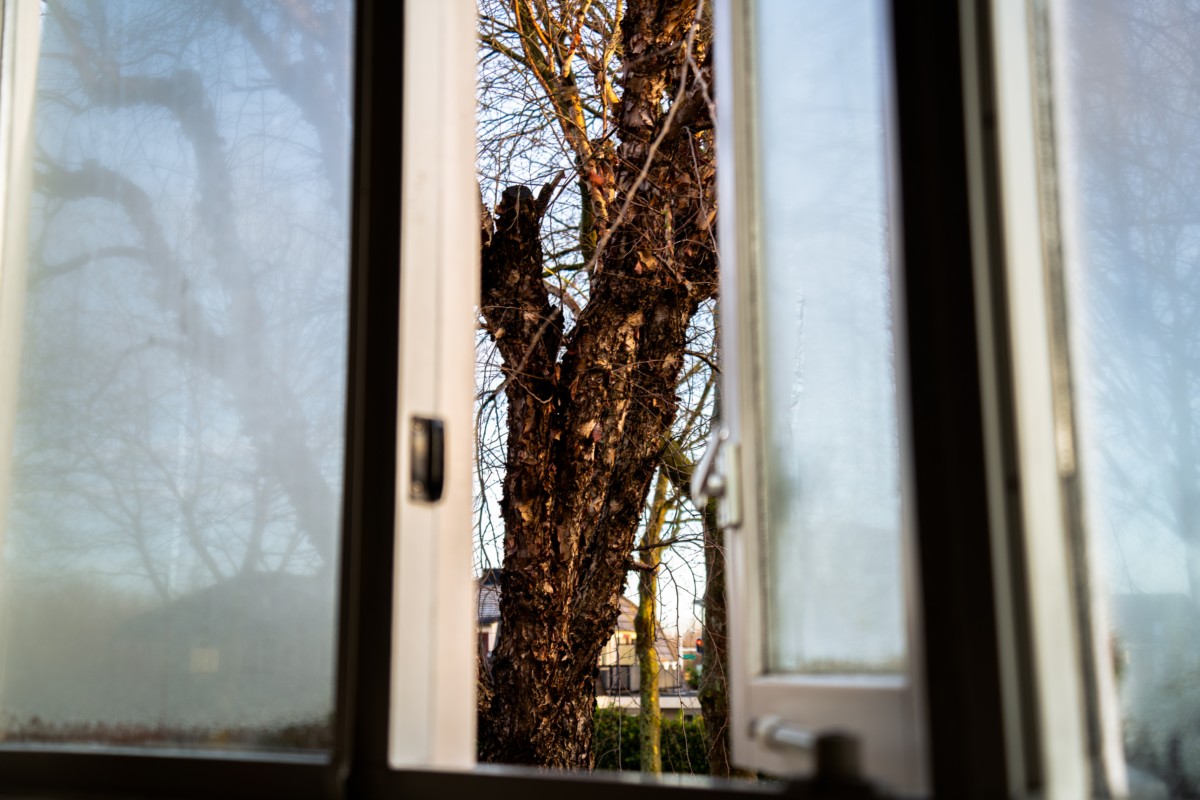
The easiest way to do this is to put them in a room where you can open a window a crack but keep that room closed off from the rest of the house, or if you’ve got the setup, consider growing seedlings in a cooler basement under grow lights.
5. Be Your Seedling’s Biggest Fans
Finally, if you’ve got leggy seedlings on your hands or want to prevent them from getting leggy, you need to move the air around them. Creating gentle air currents where you’re growing your plants will mimic the natural breeze outside and signal the plants to grow thicker, sturdier stems.
Obviously, you don’t want a breeze strong enough to blow leggy seedlings over.
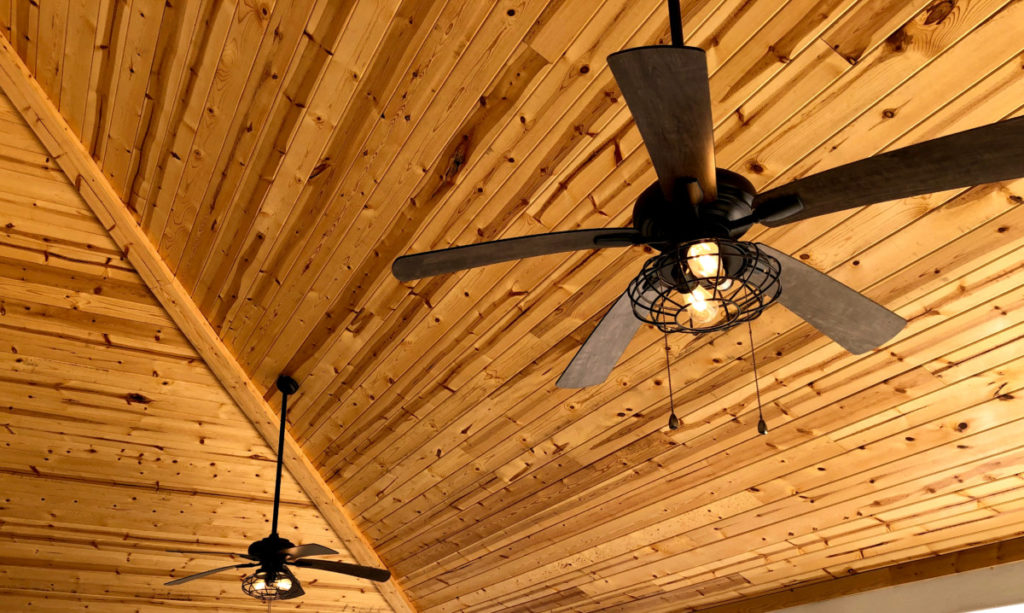
The amount of air should cause barely perceptible movement among your plants. A ceiling fan set on high, so it’s pushing air down (spinning counterclockwise) should be just right. Or a small desk fan set on low will do the trick, moving the fan away until you can just see the seedlings moving.
It’s important to check your seedlings frequently when you have a fan on them, as they will dry out faster and need to be watered more frequently.
Leggy Seedling Rehabilitation
If you’ve got leggy seedlings on your hands, you need to put them in rehab, where all five of these important needs are being met. The sooner you address these issues, the better luck you’ll have getting your seedlings back on track.
The good news is that once all their needs are sufficiently met, it only takes a couple of weeks for seedlings to start firming up and looking better. Before you know it, you’ll have stocky seedlings ready to weather the outdoors.
The Number One Best Kept Secret for Fixing & Preventing Leggy Seedlings
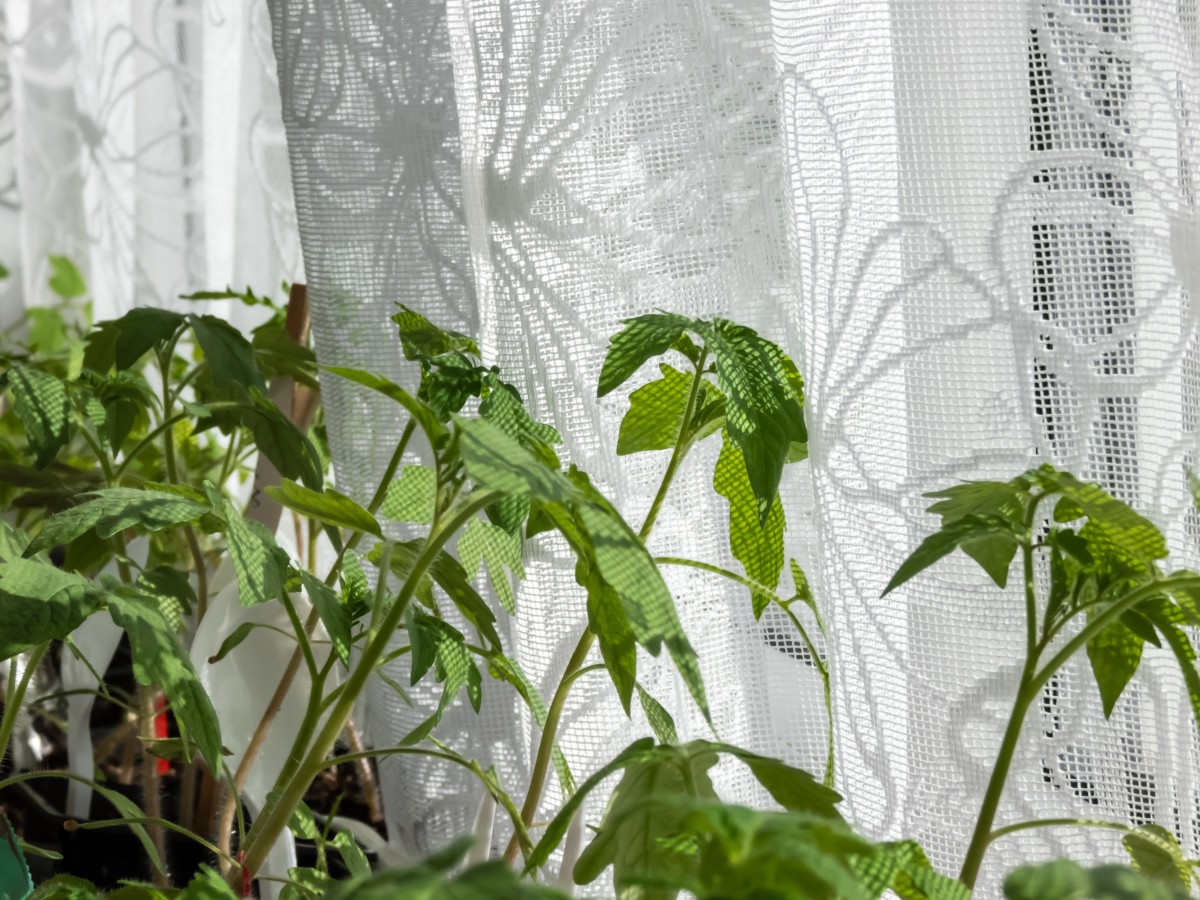
One of the best things you can do to prevent or fix leggy seedlings is to take them outside. We always recommend hardening off seedlings about a week or two before you intend to transplant them in the garden. But really, you should be taking your seedlings out long before that.
Hardening off your seedlings should start as soon as you get that first nice day if you’re doing it right. Don’t wait to bring them outside for the first time a week before you transplant them.
Outdoor growing conditions are what make plants robust. They adapt to direct sun overhead and develop that nice dark green. They grow thicker stems to stand up to the breeze. Their soil dries out, and they develop sturdier root systems when you water them deeply.
Every outdoor exposure makes your plant hardier, so get them into their natural growing environment as soon and as often as possible.
We get overprotective of our seedlings and don’t bring them out of the house until they’ve become starved, lanky teenagers. And by that time, they’ve got so much ground to make up.
Of course, you can’t just plop your tiny seedlings on the porch and walk away. You need to pay attention to the temperature and other factors such as wind or rain. But even seedlings that are only a couple of weeks old can tolerate half an hour to an hour outside on days that are 60 degrees and above.
Spring is full of stops and starts when it comes to nice weather.
It will be 70 degrees out one day, and two days later, it will snow. The point is, while you spend those last few weeks waiting for the weather to sort itself out and the soil to warm up, use the nice days to get your seedlings outside and strengthen them up a bit.
It may not seem like much, but those half-hour increments add up to beautiful, sturdy transplants in the long run. And as the seedlings grow and you take them out more often, they can stay outside for longer periods.
By the time that final frost has come and gone, and overnight temperatures are steadily mild, you may not need a week to harden off your transplants. They may already be tough little seedlings ready to outgrow poor Bill’s ‘summer squash – zucchini’.

Get the famous Rural Sprout newsletter delivered to your inbox.
Join the 50,000+ gardeners who get timely gardening tutorials, tips and tasks delivered direct to their inbox.