

When it comes to growing food, there is one plant that seems to baffle gardeners more than any other – tomatoes.
I have no idea what it is about these tasty fruits that make us lose our minds, but they’ve had gardeners scratching their heads ever since we started cultivating them.
There’s an entire gardening subculture dedicated to these mystifying nightshades.
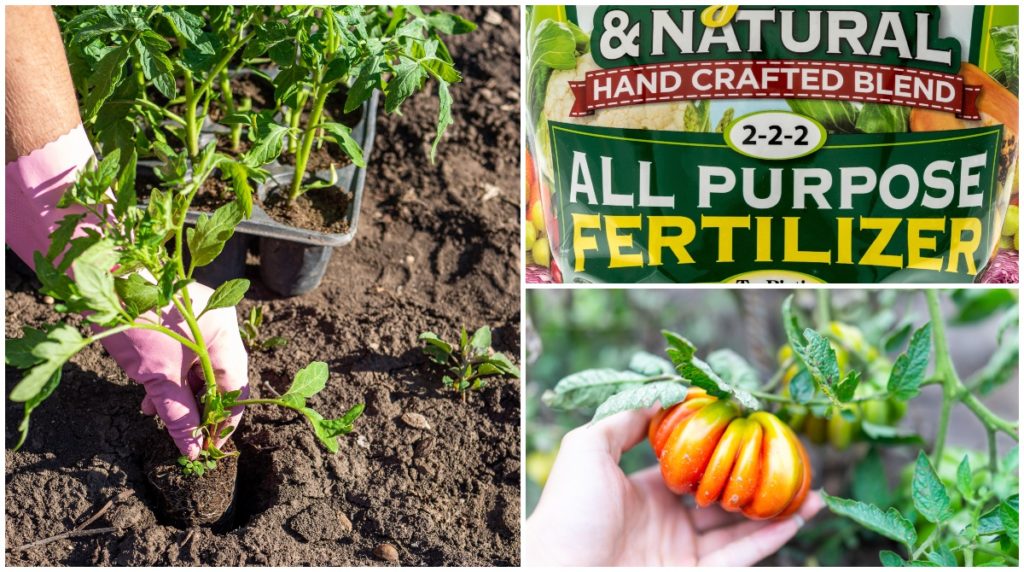
If you want proof, walk into any garden center or nursery and head to the fertilizer section. You’ll notice two types of fertilizers for vegetables – all-purpose and tomato fertilizer.
It doesn’t stop there; you’ll also find towers of stacked wire tomato cages. Even though numerous plants benefit from being staked or caged, the cages are always advertised as tomato cages.
Read More: 9 Plants to Grow In Tomato Cages That Aren’t Tomatoes
What about my poor eggplants? Why don’t they get a cage? Or how about my pepper plants. Why does it always have to be the tomatoes?
Where’s my cucumber-specific fertilizer? Or how about Brussels sprout fertilizer? Why do tomatoes get their own special bottle of fertilizer?
Over and over again, you’ll see gardening products specific to tomatoes but not other plants.
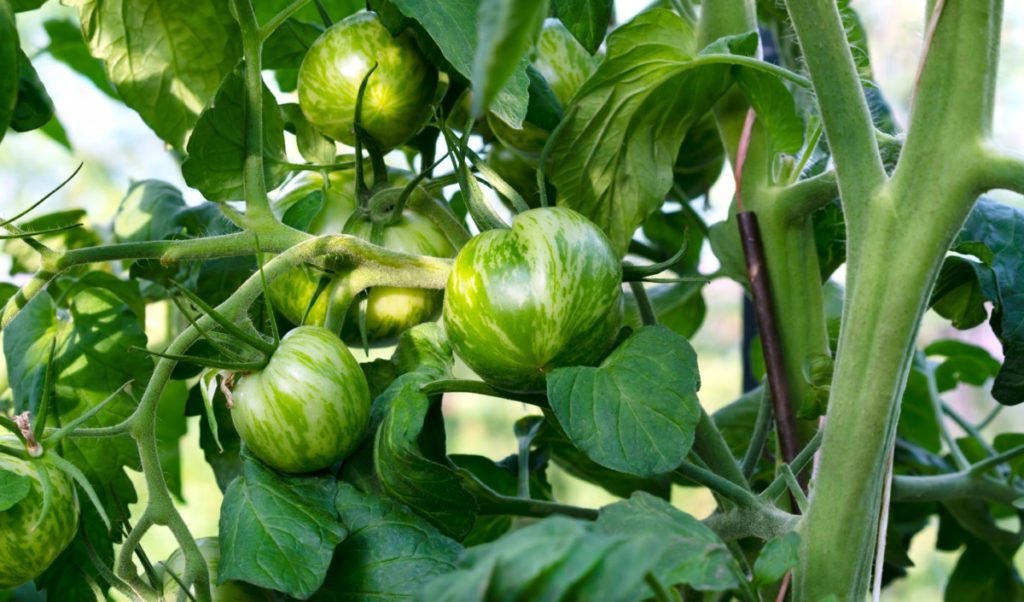
Part of why tomatoes are such a challenging crop is because they’re heavy feeders, and their nutrient needs change throughout the life of the plant.
Today I’m going to help demystify the fertilizer needs of tomatoes. We’re going to take a look at how to fertilize tomatoes throughout their entire life cycle. We’ll start from poking that tiny seed in a starter tray to yanking up the spent plant at the end of the season.
Let’s jump in, shall we?
Psst, It’s Not What You Can See
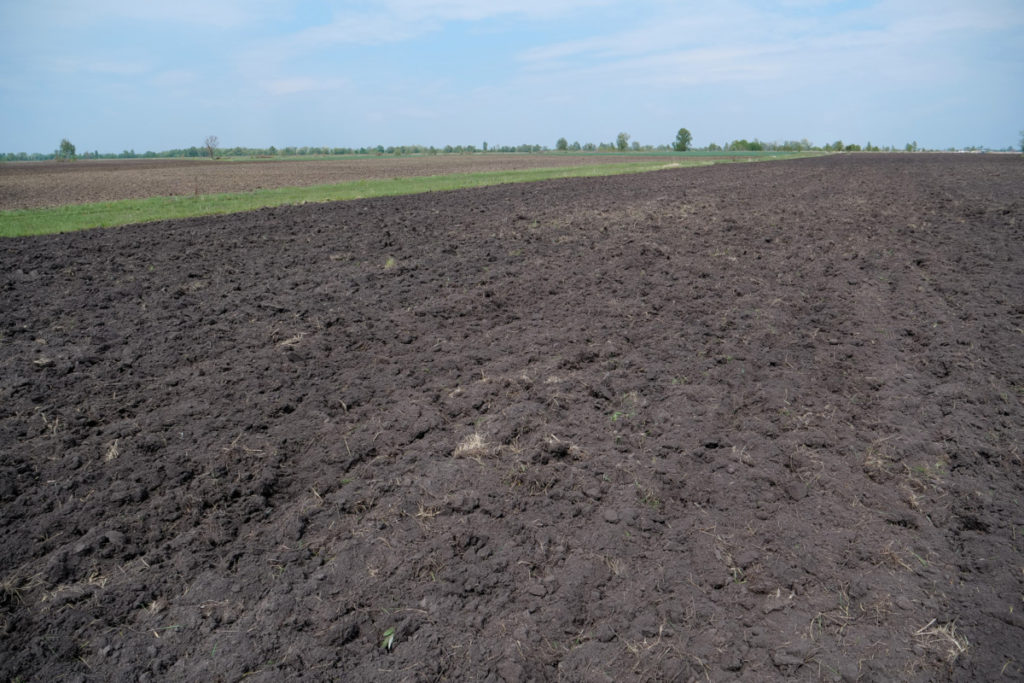
Healthy soil is the key to growing healthy plants. The soil is where the nutrients your plants need are stored. When you’re feeding a plant, what you’re doing is replenishing the soil with naturally occurring compounds that the plant can then synthesize into energy.
If your soil can’t hold onto those nutrients, then all of your fertilizing efforts will have little effect.
Over the years, our soil health has declined, and we’re only now beginning to see the results of decades of tilling and turning over the soil both in our backyards and on commercial farms.
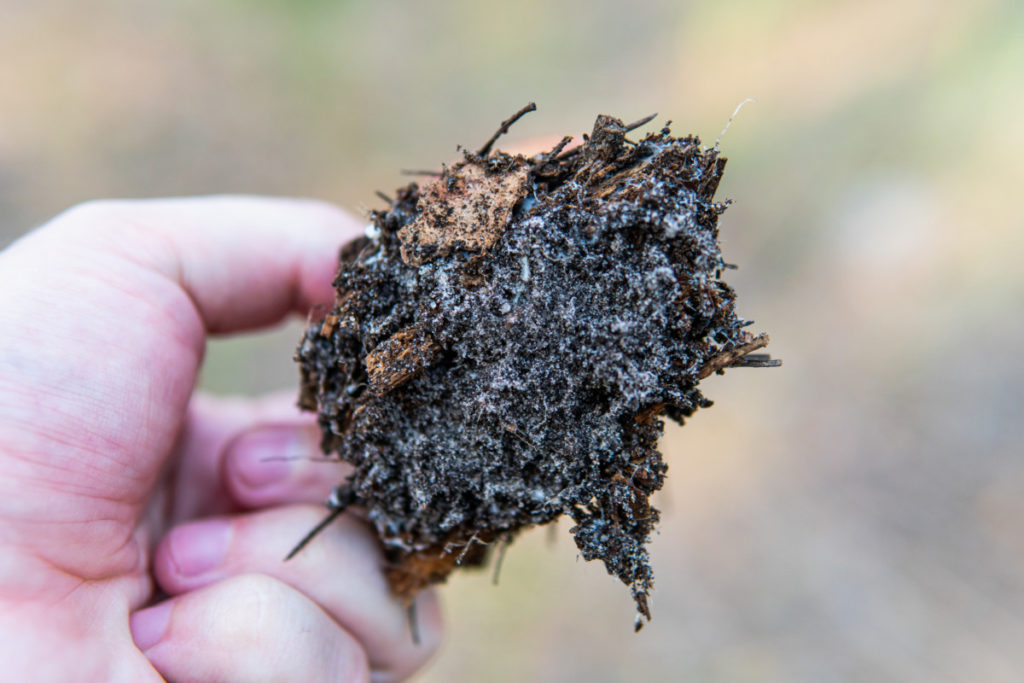
We’re finding that this repeated unearthing destroys an important network of fungi or mycorrhizae and helpful bacteria naturally found in the ground. There is an entire microbiome beneath your feet that, when healthy, holds these nutrients in the soil and helps break them down, making it easier for plants to utilize them.
It is rare to find uncultivated plants growing in nature without this mycorrhizal partnership.
Before you plant that first seed in the ground, it’s important to ensure the soil is set up to retain the nutrients you’ll add throughout the season. For that matter, I strongly urge you to put the ol’ Wheel Horse away and try your hand at a no-dig garden.
All of your plants will thank you, not just your tomatoes.
Our own Cheryl converted me to no-dig gardening, and I couldn’t be happier with the results. You can start your no-dig garden journey with these two helpful pieces.
6 Reasons to Start a No Dig Garden + How to Get Started
12 Common Mistakes That No-Dig Gardeners Make
You can begin to remediate your existing soil by inoculating with a quality mycorrhiza as you plant your seedlings outside each year. Nature is pretty good at fixing our mistakes once we stop making them.
Within a few years of adding mycorrhizae to your soil and switching over to a no-dig method, you’ll be amazed at the improvement in your soil health. It will show in your plants.
To learn more about mycorrhizae and how to use them in your garden, check out my article –
Why You Should Add Mycorrhizae to Your Soil – Stronger Roots & Healthier Plants
A Note About Container and Raised Bed Gardening Soil

To get the best from your fertilizing program, it’s important to inoculate the soil you use in containers and raised beds with mycorrhizae. Bagged potting mixes or soils you mix yourself to use for this type of gardening will not have the naturally occurring fungi network. By inoculating the roots of starter plants when you transplant them, you’ll be giving their root systems a big boost.
By creating a microbiome in your raised beds and larger containers, you create living soil that you can use for more than just one season.
Those Three Weird Numbers on Your Bottle of Fertilizer Explained
When talking about fertilizers, you’ll often see the acronym NPK, or you’ll see a ratio printed on the packaging containing three numbers. These are your macronutrient ratios.
The three most common macronutrients plants need are nitrogen, phosphorous and kalium. (Which is potassium in Latin, hence the K.)
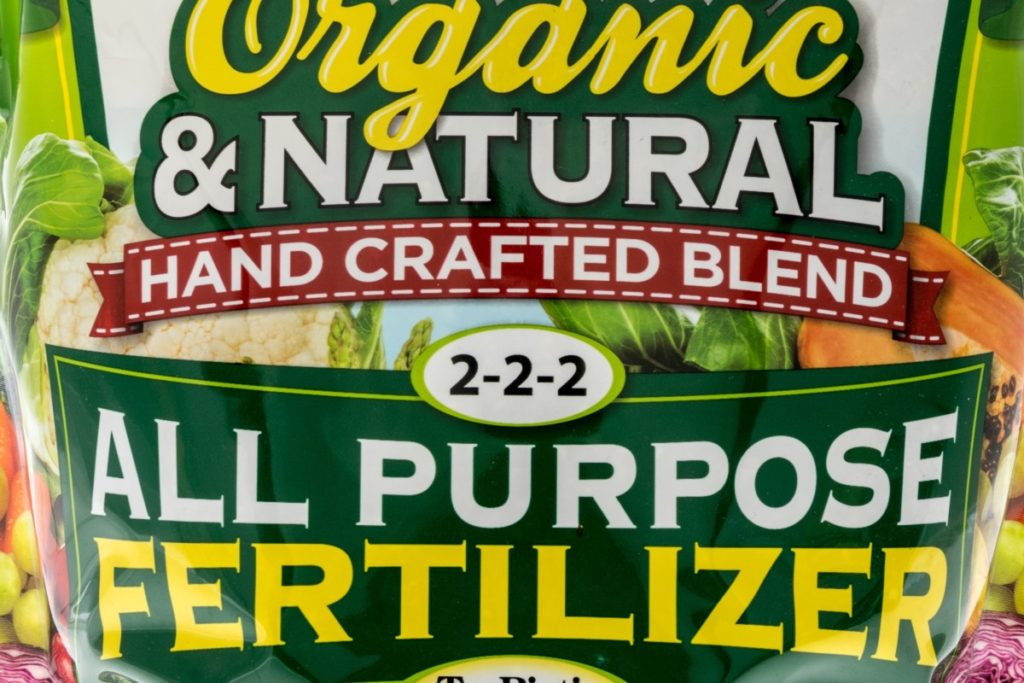
When reading fertilizer packaging, the ratio you see is the NPK ratio by volume. For instance, a fertilizer with the number 8-6-10 on it contains 8% nitrogen, 6% phosphorous and 10% potassium. The rest is a filler that may contain inert ingredients or a blend of micronutrients.
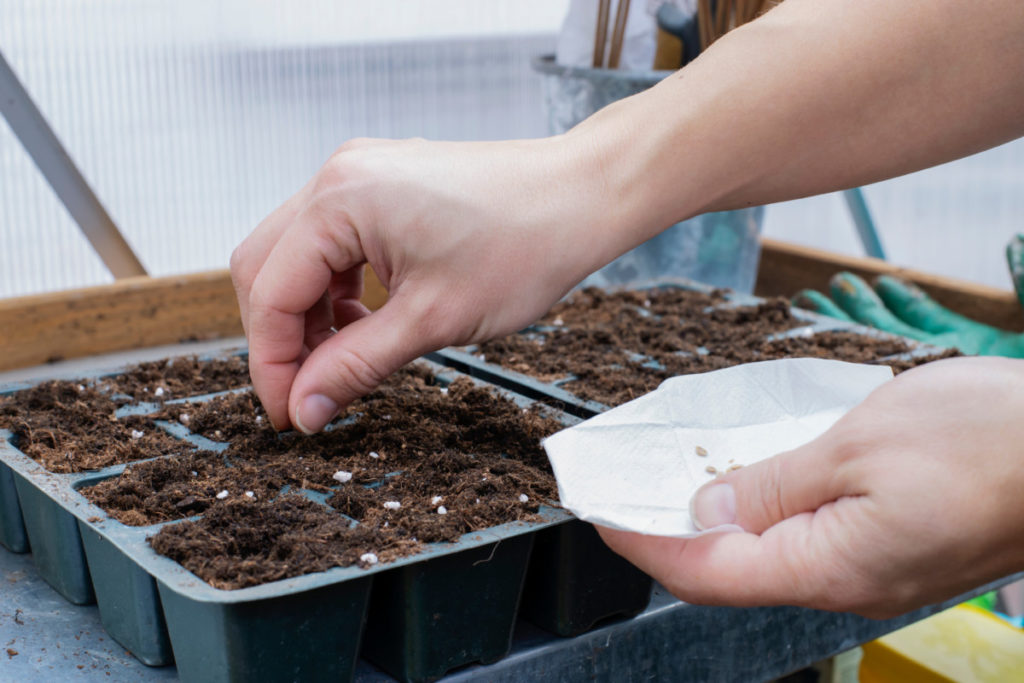
Your Tomato’s First Meal
When you’re starting tomatoes from seed, it’s important to use a quality seed starting mix. Your average potting soil will be very dense and heavy with humus, whereas seed starting mix is much lighter. It’s mainly composed of peat moss or coconut coir and vermiculite. The idea is to have a fine, light mixture that won’t impede the development of a germinating seed and its root system.
Many gardeners make the mistake of adding fertilizer to their seed starting mix or purchasing a mix advertised as having fertilizer.
I’m going to let you in on a little secret.
Fertilized seed starting mixes are completely pointless.
Yup, you read that correctly.
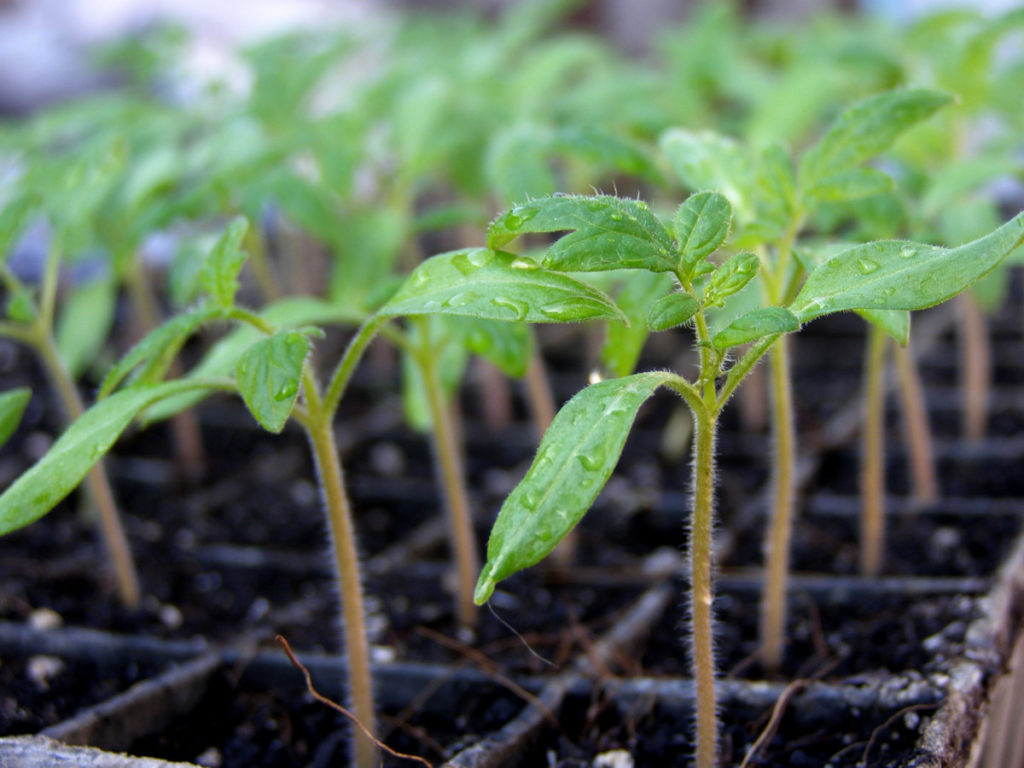
You see, all of the nutrients that a brand new seedling needs are contained within the seed. This is why you can germinate seeds in the dark without soil. Nutrients in the soil only come into play once the plant begins photosynthesis, and this doesn’t happen until your tomatoes develop “true” leaves.
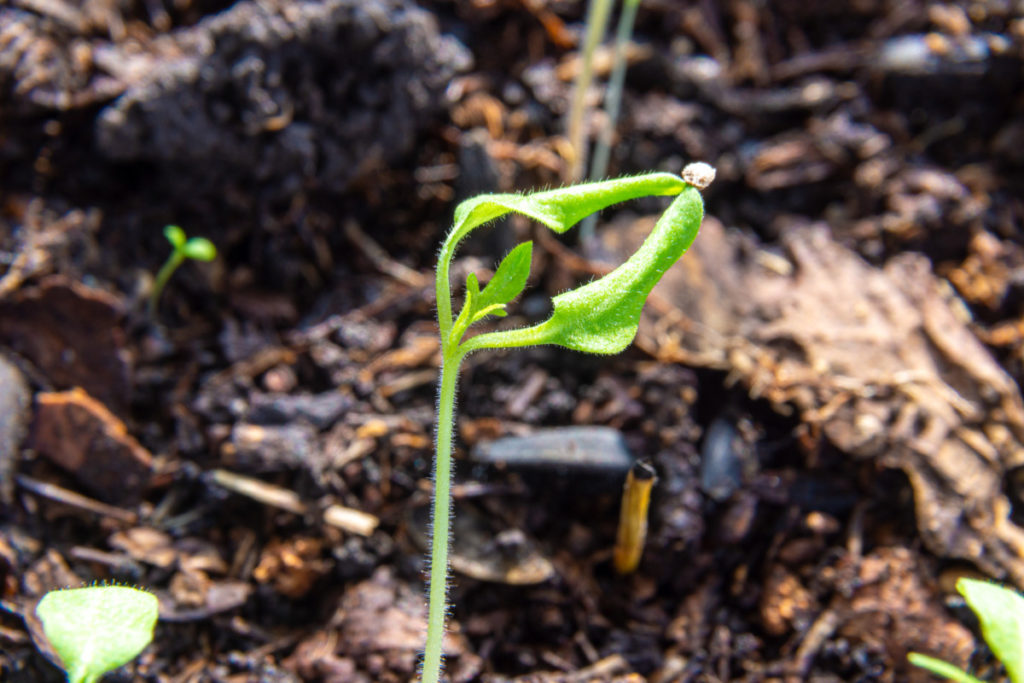
If you’ve ever started seeds before, you’re familiar with that very first set of leaves that pop up out of the soil. (Often with the seed still stuck to them.) They’re usually more rounded than the rest of the leaves that will grow on the plant.
These first leaves are called cotyledons, and they contain the nutrients the plant needs for its first phase of growth above ground.
Seedlings are incredibly delicate and prone to fertilizer burn, even from fertilizers that claim they won’t burn plants. Don’t run the risk of killing your tender new tomato roots with fertilizer that the plant can’t even use yet. When starting from seed, skip the fertilizer.
Your Tomato Plant’s First Real Meal
A common tomato fertilizing question is, “When should I start fertilizing my tomato seedlings?”
We’ve already established that tomatoes are heavy feeders, but if they don’t need fertilizer to get started, when should you begin feeding them? The answer lies in what we discussed above.
You’ll want to begin fertilizing your tomato plants when the first set of true leaves are well established.
After the cotyledons, your tomato plant will begin to grow true leaves that are capable of photosynthesis. Once the first set of true leaves are fully formed and the seedling is between 2-4 inches tall, it’s time to fertilize. And your tomato seedlings will need it as they’re growing in soil with little to no nutrients.
Half-Strength
When you’re fertilizing seedlings in general, not just tomatoes, it’s best to feed them at half-strength.
As I stated above, the developing root systems are highly susceptible to fertilizer burn. They’re growing in a compact space with no rain, so it’s easy for salts to accumulate in the soil, quickly leading to root burn.
By cutting your liquid fertilizer strength, the plants will still be getting the necessary nutrients without the risk of feeding at full strength.
What to Feed Tomato Seedlings
Liquid fertilizers are the best option for feeding seedlings. They’re much easier to measure and mix than a powder. And as we’ve already covered, this is important when the plant is small.
Choose a good NPK fertilizer that has a balance of all three nutrients. If you’re going to go heavier on any of them, make it the P – phosphorus. Phosphorus is important for proper root development at this stage.
Read the packaging to find the NPK listing. Just because plant food is advertised for tomatoes doesn’t mean it’s good for them at every stage of development. When they are seedlings, you want everything in balance.
A couple of great options are:
Neptune’s Harvest Tomato & Veg
TRUE Organic Liquid Tomato & Vegetable Feed
Happy Frog Organic Fruit and Flower Fertilizer
Feed From Below
To protect tiny tender leaves, it’s best to water your seedlings from below. Mix up your half-strength fertilizer with water following the package directions and pour it into the seed starting tray.
Set your seedling cells into this tray and let them soak up the liquid fertilizer for about twenty minutes. Dump out any remaining fertilizer mixture.
A helpful hint – when measuring liquid fertilizers, those small oral medicine syringes that come in children’s medications are perfect. You can also purchase them in the infant or pharmacy section of the store.
Tomato Seedling Feeding Frequency
Once you begin fertilizing the seedlings, you’ll want to feed them once a week until they’re ready to be potted up into individual containers.
Fertilizing Established Tomato Plants or Nursery Starters
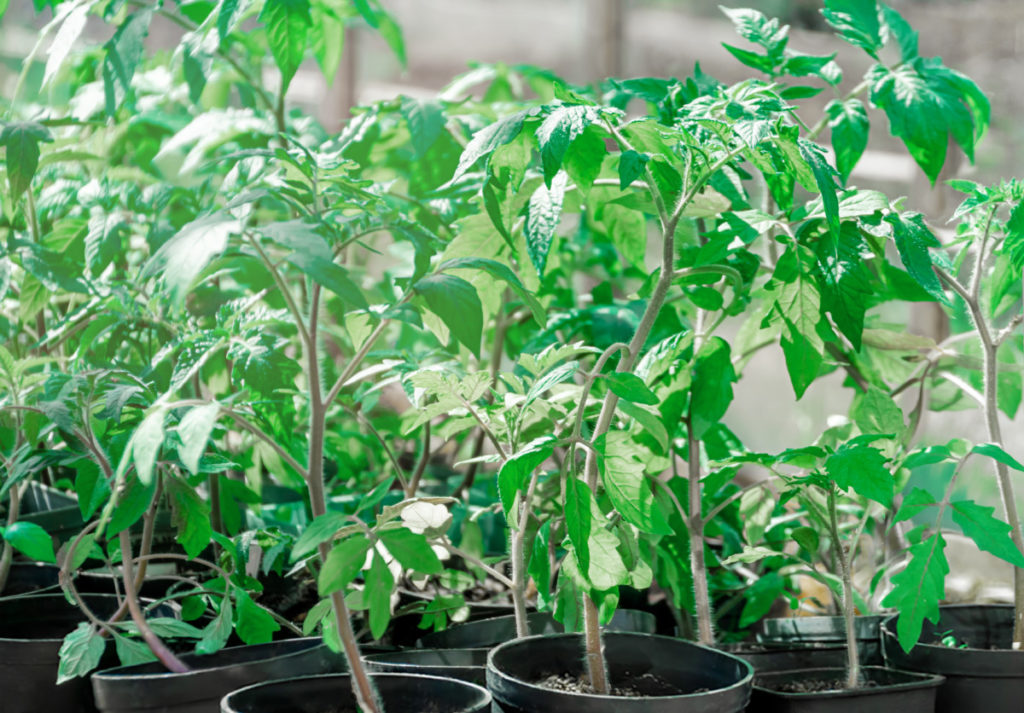
Perhaps you’ve skipped starting your tomatoes from seed and purchased plants at the nursery. Or your seedlings are potted up now and well-established in their pots. In either case, your tomato’s feeding needs change a bit.
You’ll still want to continue to use a balanced NPK fertilizer or something with a little more phosphorus. However, at this stage, once the plant is around six inches tall and well established, you can switch to feeding full strength.
Continue feeding your plants once a week.
Feeding Tomatoes Outdoors
When the tomato plants are big enough, and the weather is past the danger of frost, it’s time to plant your tomatoes outside.
If you’re planting tomatoes in the soil, it’s a good idea to add a slow-release fertilizer and mycorrhizae inoculant to the hole before planting.
Those using containers will most likely have potting soil with fertilizer already added. If you’re using a brand of fertilizer or your own mix that isn’t fertilized, you will also want to mix in a powdered or pelleted slow-release fertilizer.
Organic gardeners can easily come up with a good mix using blood meal, bone meal and wood ashes.
Once your plants are in the ground or transferred outside, it’s a good idea to take a two-week break from feeding your plants to allow them to acclimate and to wash away any accumulated salts from the root system.
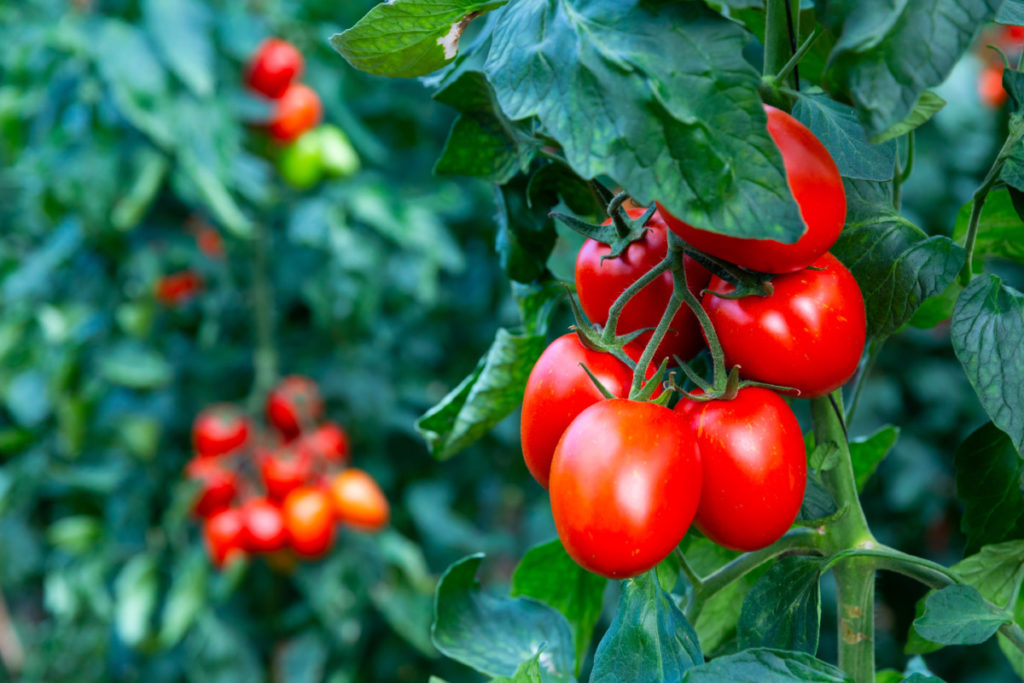
Flowering Tomato Fertilizer
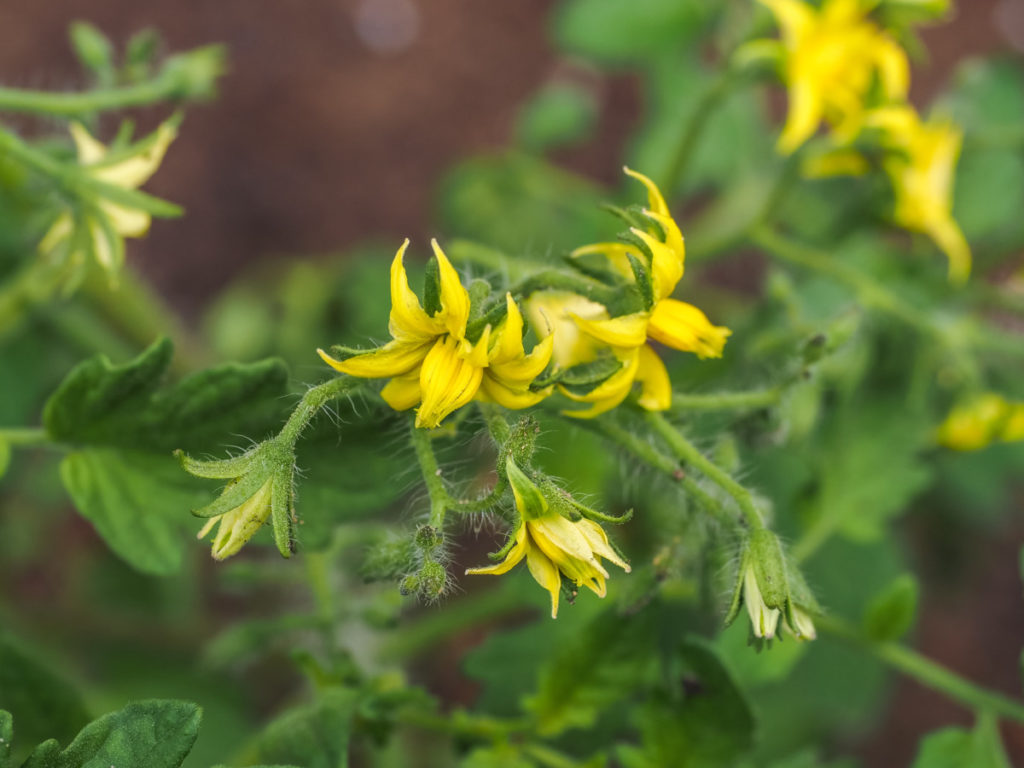
When your plant begins flowering, it’s game time. To get lots of tomatoes, you want lots of flowers, and that means potassium.
As your tomatoes begin to set flowers, switch to a fertilizer with an NPK ratio higher in potassium. Alternatively, you can continue using a balanced fertilizer and adding in something that only has potassium, like wood ash or Down to Earth Organic Langbeinite Fertilizer Mix.
Feeding Regularly
Once your tomato plants are producing flowers, you’ll need to continue to fertilize them on a regular schedule. Depending on whether you’re growing in the ground or containers will determine how often.
Tomatoes grown in the ground should be fertilized about every two weeks. Container-grown tomatoes will need to be fertilized more often, usually weekly. If you’re growing tomatoes in porous grow bags, you may wish to experiment with fertilizing more frequently than weekly.
In general, plants do better with more frequent feedings at a lower strength than those with fewer feedings at higher strength. Tomatoes do well with slow-release fertilizing options like stakes or pellets.
Jobe’s Organics Vegetable & Tomato Fertilizer Spikes
It’s a good idea to skip a feeding every few weeks and flush the plant with plain water. This will wash away any accumulated salts in the root system. This is especially important in container-grown tomatoes.
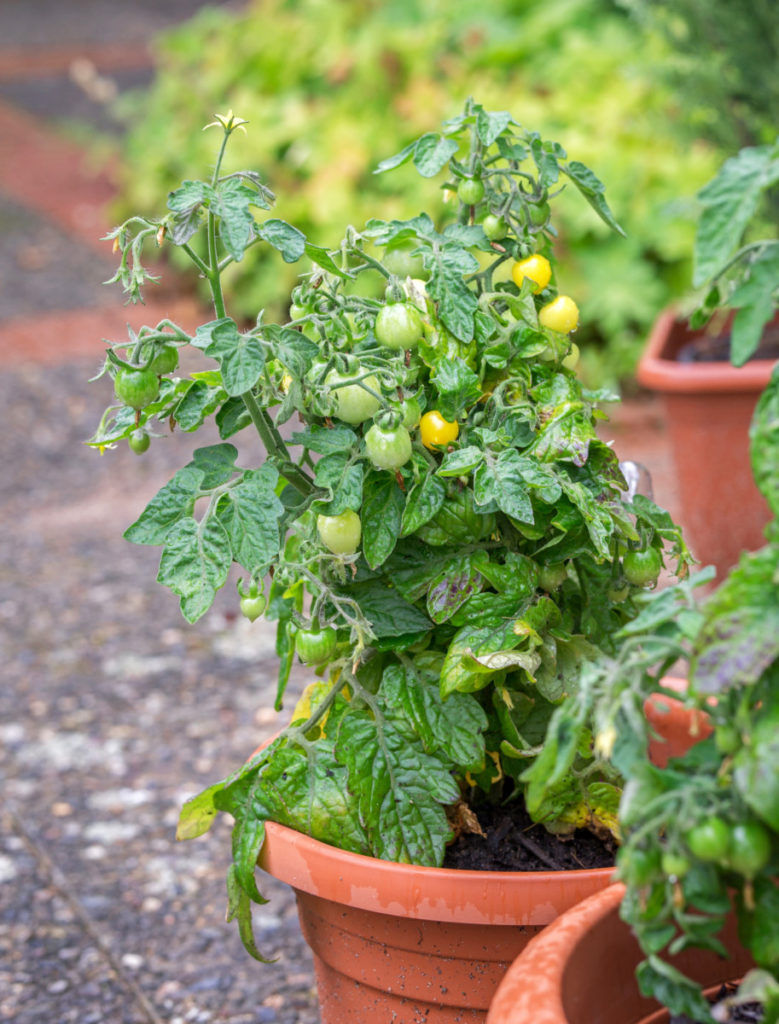
How to Fertilize After Your Tomatoes Set Fruit
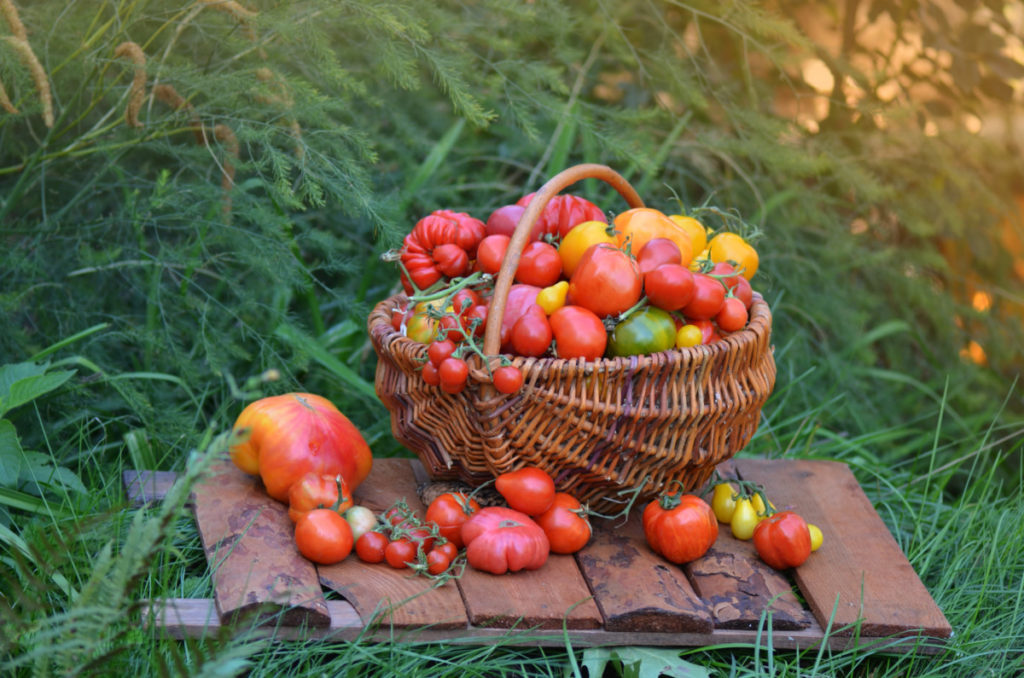
You’re harvesting tomatoes; you made it! You’ve successfully provided your tomatoes with the correct nutrients at the correct time.
Once tomatoes begin setting fruit, you can usually switch to a balanced NPK fertilizer or continue with one that is lower in nitrogen than phosphorous and potassium.
Keep an eye on your plants and look for signs of a nutrient deficiency.
Dr. Earth Premium Gold All Purpose Fertilizer
Purely Organic Products Tomato & Vegetable Plant Food
- Pale yellow-white leaves are a sign of nitrogen deficiency.
- Phosphorous deficient tomato plants usually have a stunted look to them, can have purplish stems, and may develop spots on the leaves.
- Potassium deficient tomato leaves have a stained-glass look, with the veins remaining green and the rest of the leaf turning yellow. The tips of the leaves may also turn brown.
What’s Up with Tomatoes and Nitrogen?
You may have noticed a distinct lack of nitrogen-heavy fertilizers in all of these scenarios. That’s because as long as your soil isn’t nitrogen deficient, there isn’t really a stage of growth that relies heavily on nitrogen. A balanced fertilizer with all three macronutrients provides the right amount of nitrogen. And even if there is a deficiency, it doesn’t take a lot to bring back balance.
It’s important to test your soil throughout the season, but most importantly, at the beginning and end of the season, to give yourself time to amend the soil with the proper nutrients.
In general, fertilizers that contain a higher ratio of nitrogen to phosphorous and potassium leave you with bushy tomato plants and hinder fruit production.
End of Season Fertilizing
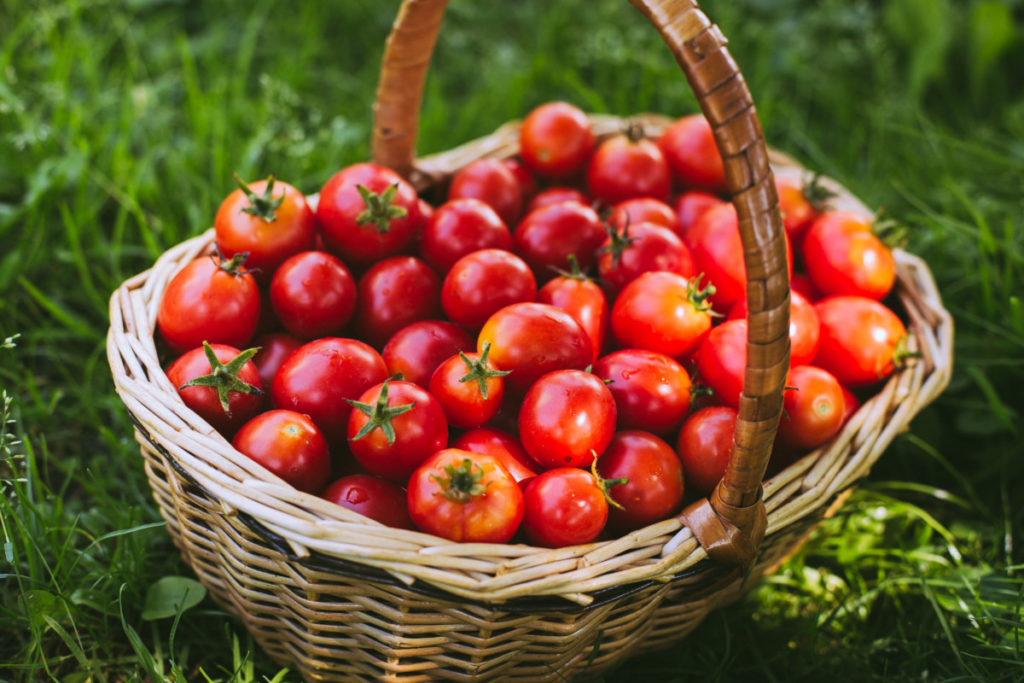
Now that your season is over and you’ve successfully grown a bumper crop of gorgeous tomatoes, you can pull up the plants and call it a year. But with a little extra effort, you can set yourself up for success next season too.
As mentioned above, it’s important to test your soil at the end of the season; doing so will give you a heads up of any nutrient deficiencies and allow you plenty of time to remediate the soil.
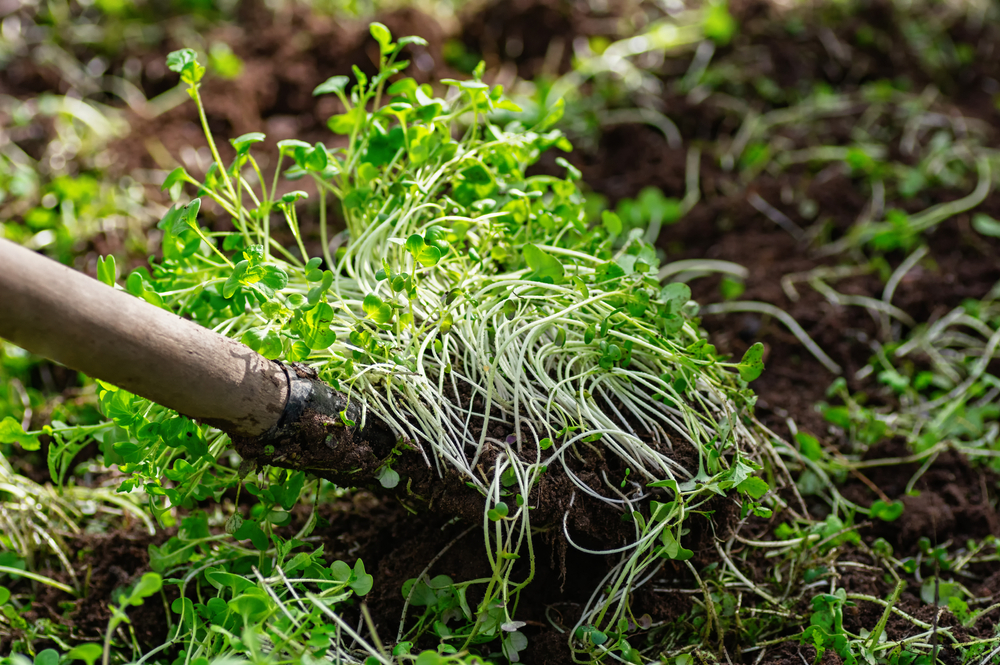
Consider growing a green manure crop during the winter to replenish nutrients in the soil. And it’s always a good idea to practice crop rotation—plan to plant root vegetables such as carrots, radishes and turnips where your tomatoes were next year. And plant next year’s tomatoes where you planted this year’s spinach, kale and lettuces.
Wrapping up, I know this can all seem like a lot to take in.
With a couple of seasons under your belt, you’ll become accustomed to knowing what your tomatoes need and when. You’ll be able to spot nutrient deficiencies before they cause problems, and you’ll establish a feeding schedule.
Before you know it, you’ll be wondering what to do with all of those tomatoes you grew. I’ve got a few ideas for you.
15 Terrific Ways to Use a Ton of Tomatoes
26 Ways to Preserve a Bounty of Tomatoes

Get the famous Rural Sprout newsletter delivered to your inbox.
Join the 50,000+ gardeners who get timely gardening tutorials, tips and tasks delivered direct to their inbox.