

As most of our readers know, when it comes to anecdotal gardening lore, I approach it with a raised eyebrow and a grain of salt. But there is one truly bizarre piece of tomato-planting advice shared among gardeners that actually works, and works well, too.
You should always plant your tomato seedlings sideways.
Hear me out. I’ll explain why this works, how to do it and why it works specifically with tomatoes, but not other vegetable seedlings. (There is a trick to it, and it’s important to know what kind of tomato you’re planting first.)
How We Went From “The Normal” Way to “Sideways”
If you’re a regular here at Rural Sprout, then you know I’m all about a plant’s native environment.
You can learn so much about what a plant needs to thrive just by learning about where it grows wild, without a human fussing over it. Tomatoes are no different, so we’re going to take a quick look at where they started out.
Tomatoes come from South America. Solanum pimpinellifolium is the OG wild tomato.

They grow in some pretty extreme environments down there. You can find them growing on mountainsides, on the jungle floor and even in dry, arid conditions. And pests? Meh, they’ve adapted to withstand pests and disease. Wild tomatoes are tough as nails. These plants are gritty, and they will survive on spite and rocks if they need to.
I know, I know! I’m thinking about my own tomatoes, too, and thinking, “Seriously? Could you guys be any more wimpy?”
But it’s not their fault. We are responsible for our wimpy tomatoes. We bred all the toughness right out of wild tomatoes to get what we grow in our garden today. I forgot to mention that wild tomatoes are puny, roughly the size of a dime, often smaller, and they don’t taste all that great. But millennia of selective breeding have changed that.
It’s a trade-off.
We took wild tomatoes and bred them until they were larger, juicier, sweeter, more resistant to cracking, etc. And we’re still going at it! One of my favorite things to look for in every seed catalog is what new tomato varieties are available each year.
With all of this breeding, we turned tough, scrappy plants into pampered babies.
Our highly-cultivated tomatoes demand every last ounce of fertilizer in the garden shed, they want to be watered consistently and deeply before they even think about putting out fruit, don’t you dare let an insect come near them, and they get so very tired standing up under their own weight, so if you wouldn’t mind, be a dear and stake them up before they collapse and die.
Truly, I’m okay with this because I love growing and eating tomatoes and because we didn’t breed out one important wild tomato trait, and it can make a huge difference in your tomato harvests every year.
Adventitious roots.
Adventitious Roots

Remember the scrappy South American tomatoes? They grow on the ground, creeping along a bit like ivy. (Can you imagine what would happen if we tried to grow our tomatoes directly on the ground? I’d give it five days before they would be dead from some soil-borne bacteria.)
They do this through the use of parenchyma cells. Think of them as the blank checks of cells. They haven’t been coded yet; they hang out just below the epidermal layer of the tomato’s stem, waiting to be told what to do.
“Hey! We’re growing on a rocky mountainside. Can we get a bit more grip here?”
Parenchyma cells react to the environment and turn into new roots, allowing our wild tomato to grip the rocky soil better.
“It’s a bit dark here, deep in the rainforest.”
Parenchyma cells are put to use for photosynthesis.
You get the idea. But it’s that first example that we’re interested in.
If you took a zucchini seedling and buried it in the soil, leaving only a ¼ of the plant above ground, it would rot and die.
If you take a tomato seedling, and do the exact same thing, those parenchyma cells would sense that much of the plant is now underground, and the plant would put out new roots all along the buried portion of the stem.
This fun little trick really only works with tomatoes because of those parenchyma cells.
Sometimes, newer gardeners often mistake the spiky hairs on tomato stems as new roots. Nope, these are called trichomes, but they also have their own set of cool tricks.)
You can even see parenchyma cells at work on your own plants. Check the lower stems for little pale bumps just below the skin. This is known as root primordia. It often shows up when your plants experience water stress.
“Okay, that’s great, Tracey. How does this help me get tons of tomatoes?”
Ah, I’m so glad you asked. Remember the creeping-along-the-ground cousins? Wherever they touch the ground, they put out roots. Think about it, if you’re a long, creeping vine, you need lots of roots working to give you nutrients and water. So, they put down roots all along the vine, rather than just where it emerges from the ground.
Now, back to our own gardens.
Have you ever wondered why cultivated tomatoes are such heavy feeders? Could it possibly be because we’re growing a large, creeping vine (albeit upwards) with only a single point of contact with the soil?
Have you ever tried to drink a really thick milkshake through a tiny straw? It’s a bit like that.
What our tomatoes need is a whole lot more straws like their wild cousins, but we already know letting them grow on the ground, sprawling across the garden, isn’t going to work.
That’s where burying them sideways comes in.
When you plant your tomato seedlings in the spring and bury them sideways, you’re giving your plant the opportunity to grow a ton of new straws, or rather roots, along the portion of the stem you buried. (You can also bury them straight down, but much deeper than normal, if your garden setup allows you to dig down that far.)
Think about it, for nearly all of the seedlings we plant in our gardens each year, we are instructed only to bury them up to where they were in the pot. Otherwise, the stem rots and they die.
But not with tomatoes, they’re practically begging to be buried sideways. Tomatoes need a massive root system to do well, especially if you live in areas where drought can be an issue. Burying them on their side can lead to two, if not three times, the amount of root mass below the soil. It all depends on how much of the seedling stem you bury.
Not only does this mean more tomatoes from each plant, but it also means you have stronger plants that will handle pest damage, disease and drought a lot better, too.
If you’re ready to give it a try this year, let’s take a quick look at the rules so that you can get it right.
Burying by the Rules
How you bury your tomato seedlings depends on whether you are growing determinate or indeterminate tomatoes.
Indeterminate Tomatoes
These guys still act like wild tomatoes because they vine and will keep right on growing and producing fruit as long as the weather and your pruning shears will allow.
They inherited their taste for total garden domination from their wild cousins and need to be pruned regularly to keep them in line. I highly recommend string-training indeterminate tomatoes as it saves you garden space and makes seeing and picking the fruit so much easier.
Indeterminate tomatoes were made to be buried sideways.
Unlike determinate varieties, indeterminate tomatoes have pliable, longer stems, which makes them great at correcting the sideways angle they will stick up out of the ground after they’ve been buried, and growing straight up again.
Determinate
Determinate tomatoes, also known as bush tomatoes, have a stockier, thicker stem. As their name implies, they grow more like a shrub. These are almost always short-season hybrids. They also put out all of their fruit all at once, and you shouldn’t prune them. (You’re reducing your tomato yield when you do.) If you want tons of tomatoes all in one go for canning, these are the ticket!
Unfortunately, these guys are a little trickier to grow sideways.
They’ve been bred with thick stems that are meant to hold up to the weight of all the fruit they bear, all at once. However, that’s only with the plant growing straight up and down. If you bury the stem, you’re putting an unbalanced load on it as the plant grows, and once all that fruit sets, the stem can snap. Not the outcome you were hoping for, I’m sure.
However, you can still take advantage of adventitious root growth by burying the seedlings very deeply, straight down in the ground. Not only do you get more roots, but it also makes their sturdy stems even sturdier, as it has more roots in the ground to hold it in place.
Let’s Bury Some Tomato Seedlings
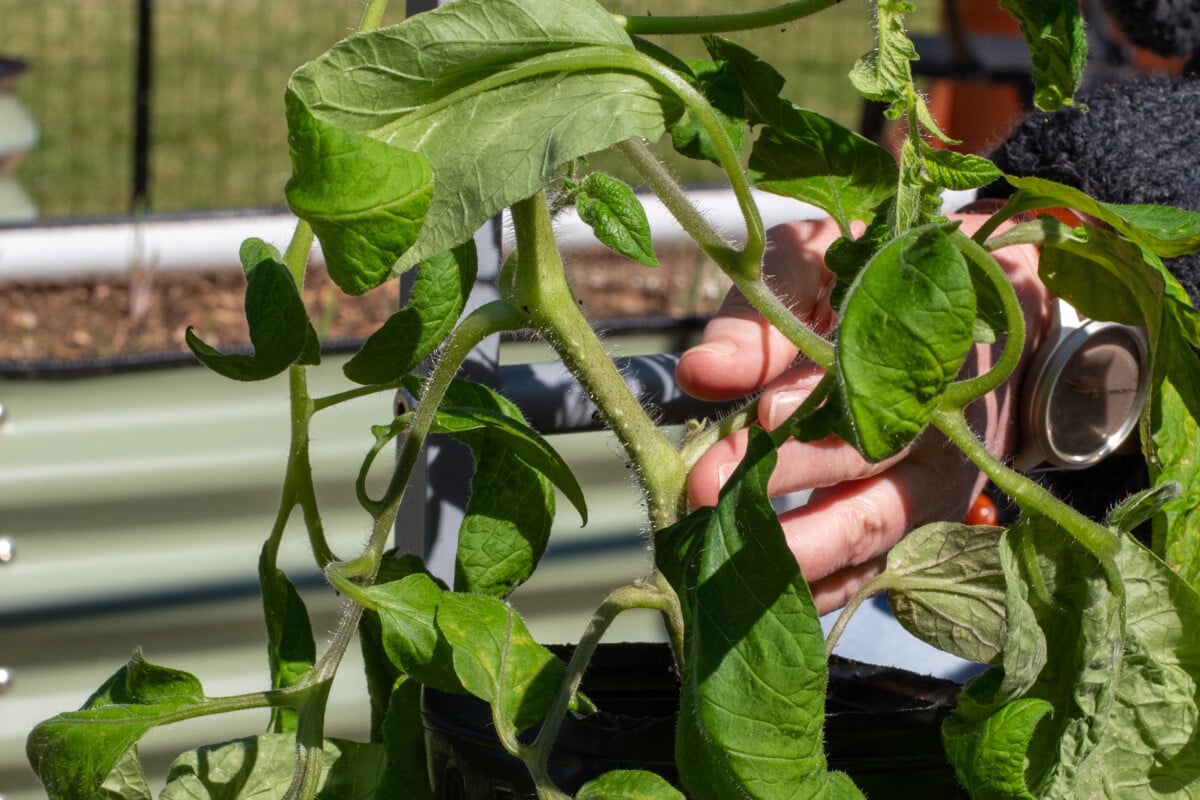
We’re going to bury as much of the seedling as we can, so it helps to have stocky, tall tomato seedlings.
A Side Quest for Monster Tomato Seedlings
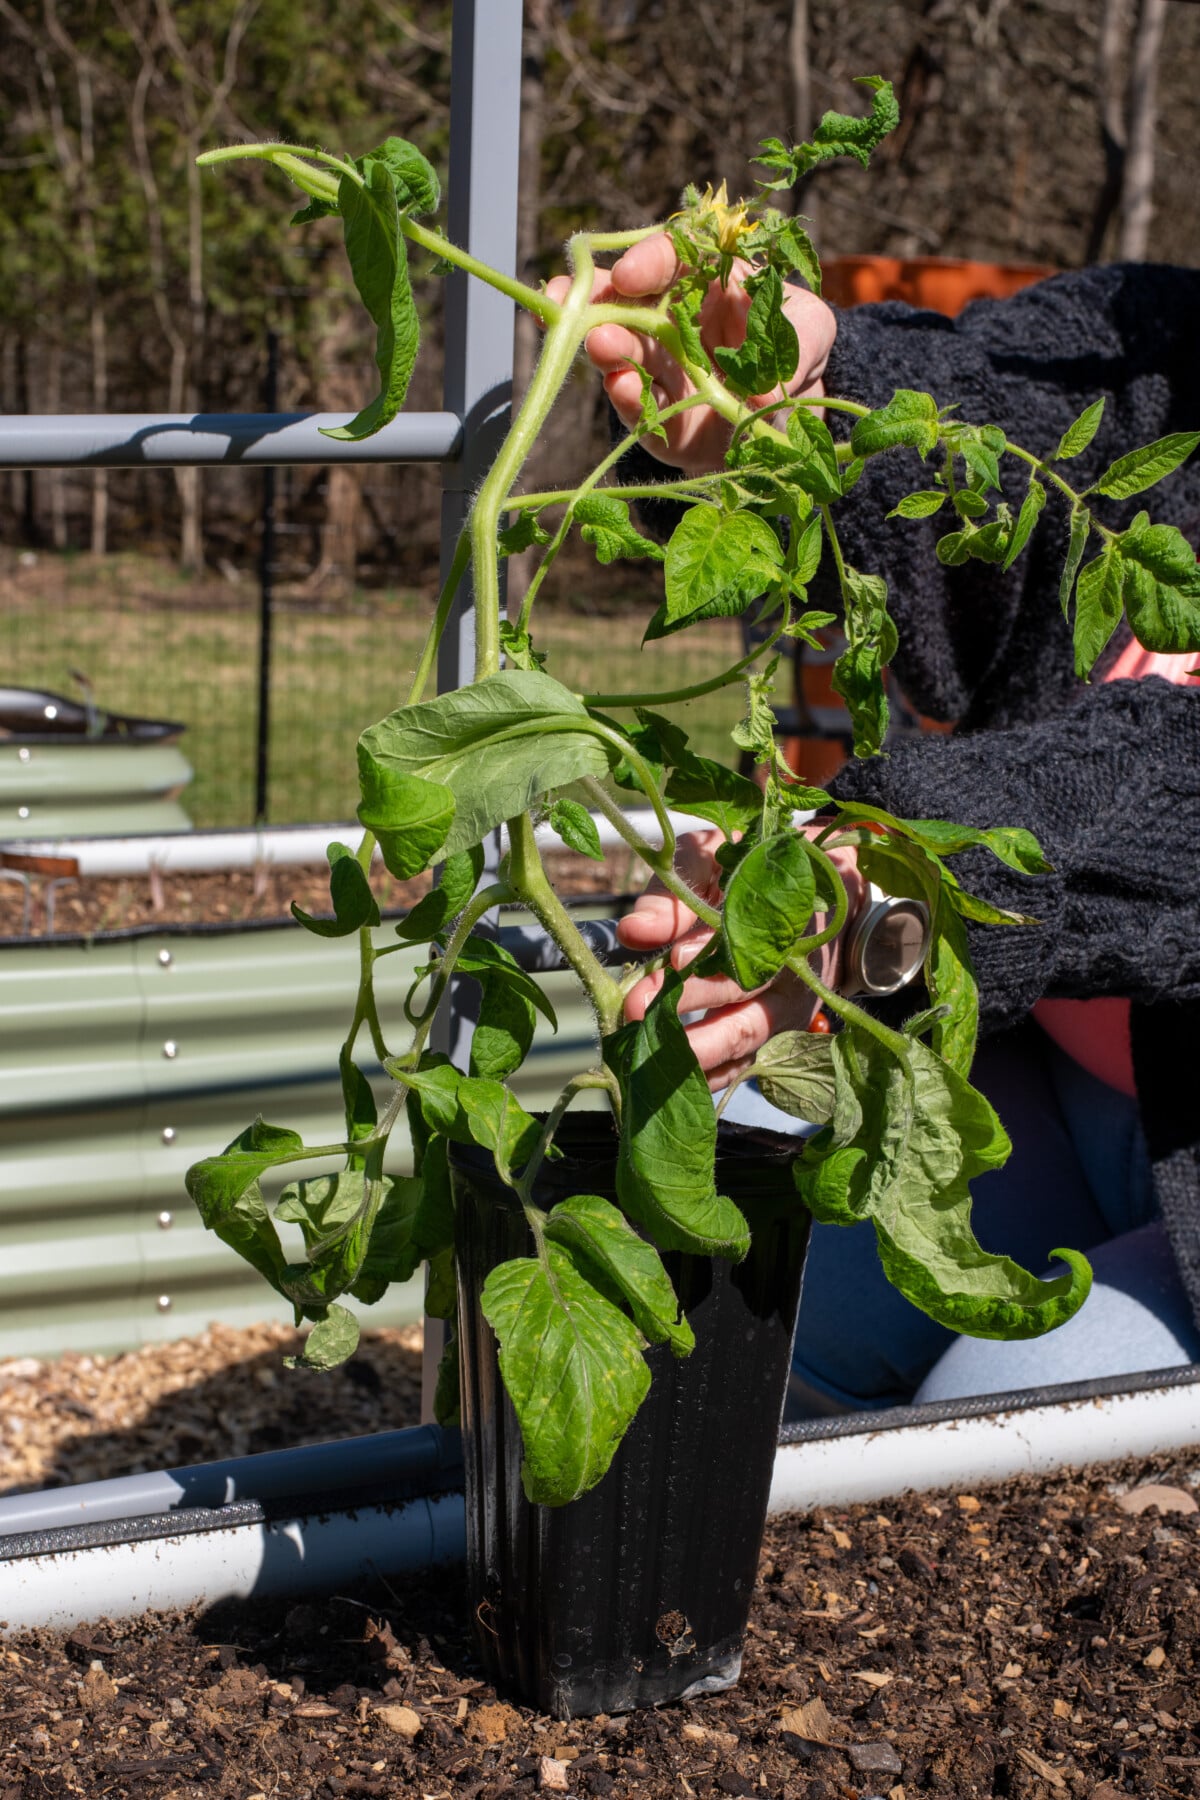
We’re going to pause for a moment because I used to grow the saddest little stretched-out tomato seedlings you ever saw. Then I learned about planting tomatoes sideways, which led me to discovering an ingenious way of growing monster tomato seedlings, without fail, every single year.
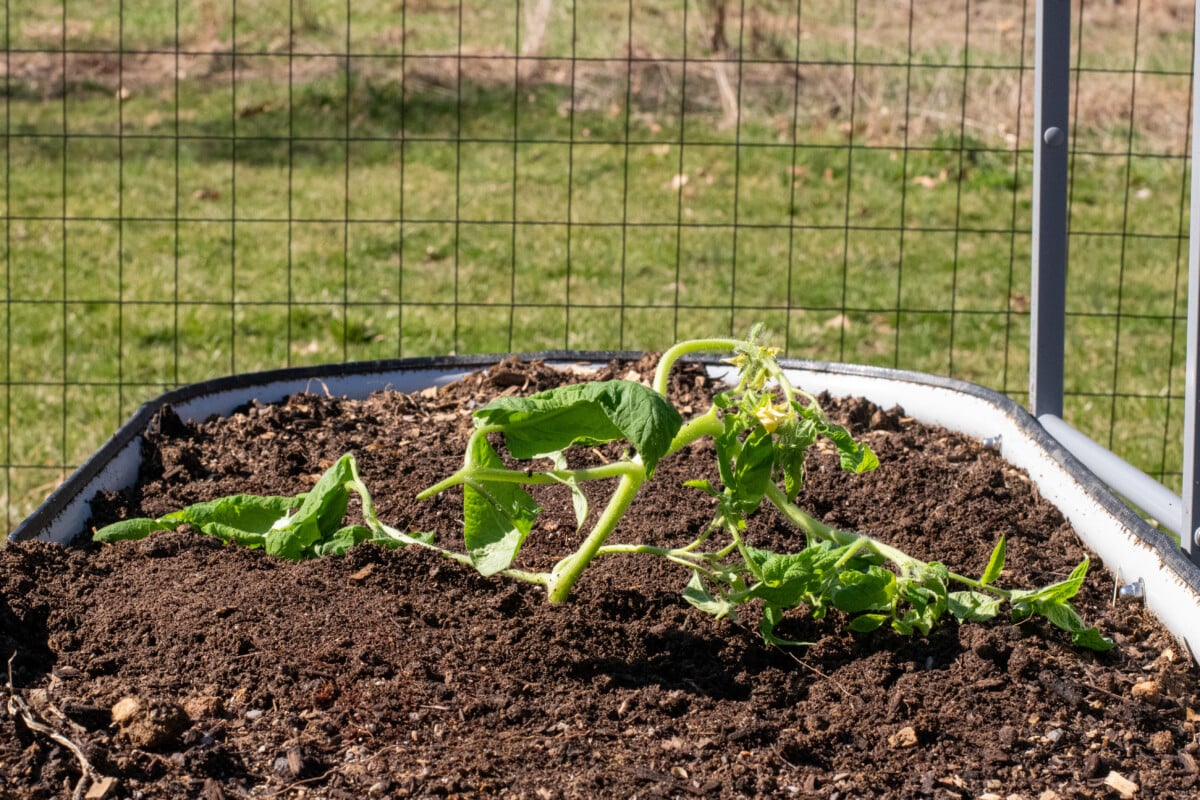
Every single tomato seedling photo you see in this article is mine. I grew them using my method, and you can see by the stems that they look less like tomato seedlings and more like tomato teenagers! (Is that a thing?) They grew so big this year that they grew right past my grow lights and started bending back on themselves!
Because I want everyone to be able to grow monster tomato seedlings, I will show you how to do it right here. (And yes, those tiny little seedlings in that article are the same huge ones you see here, a month later.)

Okay, burying tomatoes sideways, where was I?
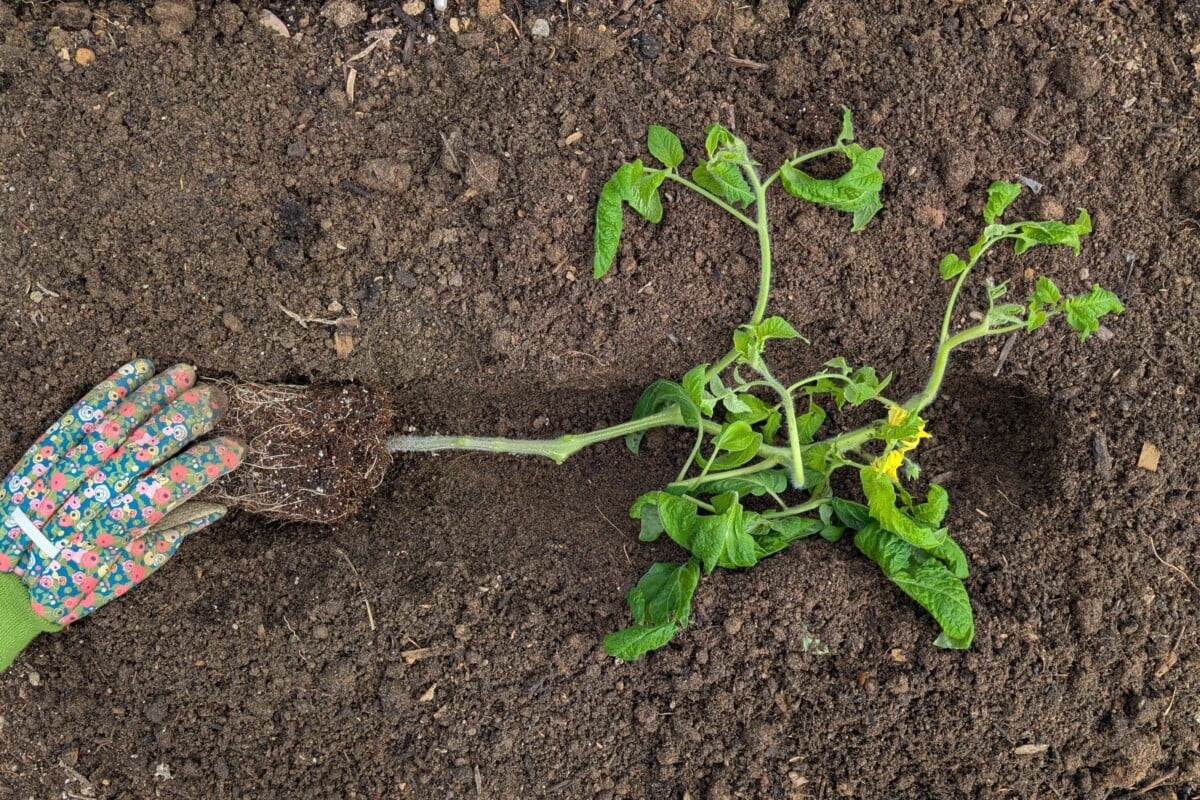
Oh, yes. You want to bury as much of the plant as possible. If you grew them yourself, don’t forget to harden off your seedlings first. If you buy your tomato seedlings, choose nice, tall plants.
Regardless of whether you opt to bury them sideways or go with the deep and straight route, in the end, only about 1/3 to ¼ of the plant will be above the soil once we’re done.
Remove the Branches from the Main Stem
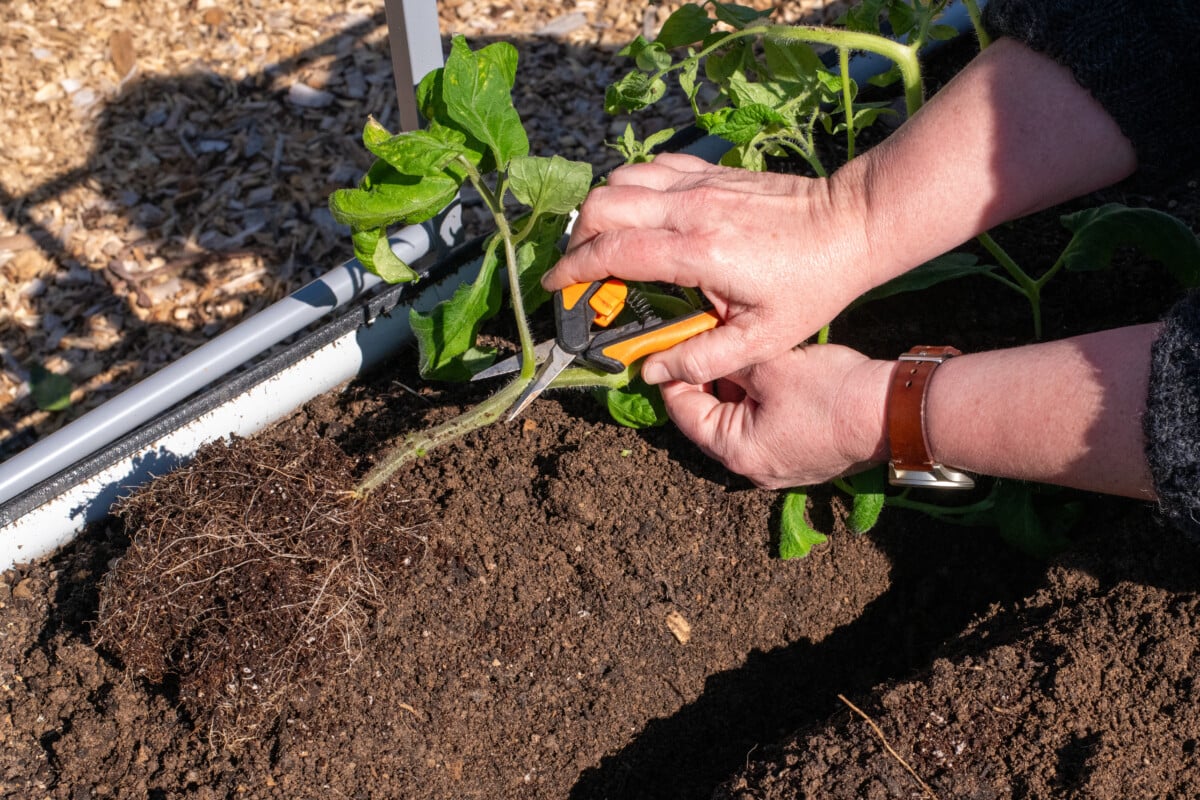
Using clean and sanitized scissors or garden snips, cut off the branches along the main stem, leaving 1/3 to ¼ of the leaves at the top. You want a minimum of three sets of leaves left.
Don’t panic! I know it sounds scary. Because we’re allowing our plant to make more roots first, it will crank out a ton of new growth above ground once it has more roots to feed it.
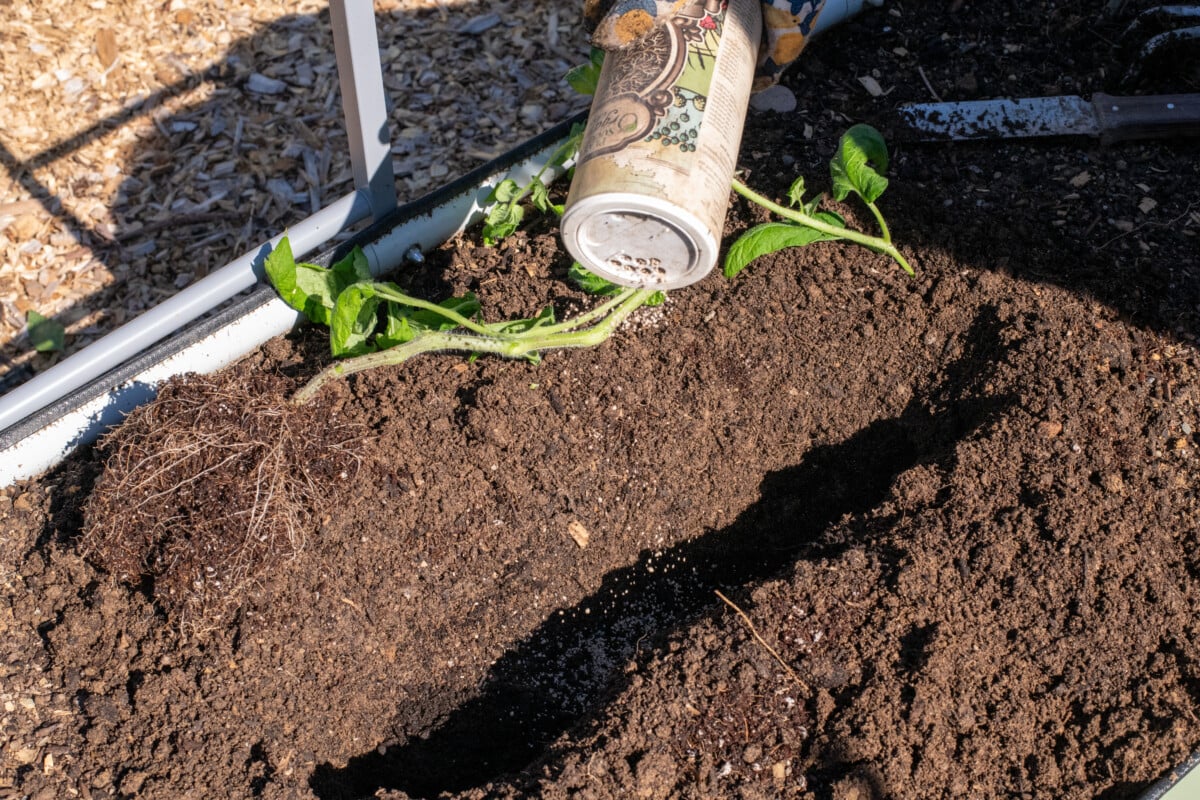
In fact, if you really want to go all out, I highly recommend adding some mycorrhizal fungi to the trench before you bury the tomato. These beneficial fungi act like a secondary root system, giving your tomato an even larger nutrient and water network below the ground. Mycorrhizae do so much good for veggies with vascular root systems. You can read about all the other benefits of using mycorrhizae here.
Sideways Tomatoes
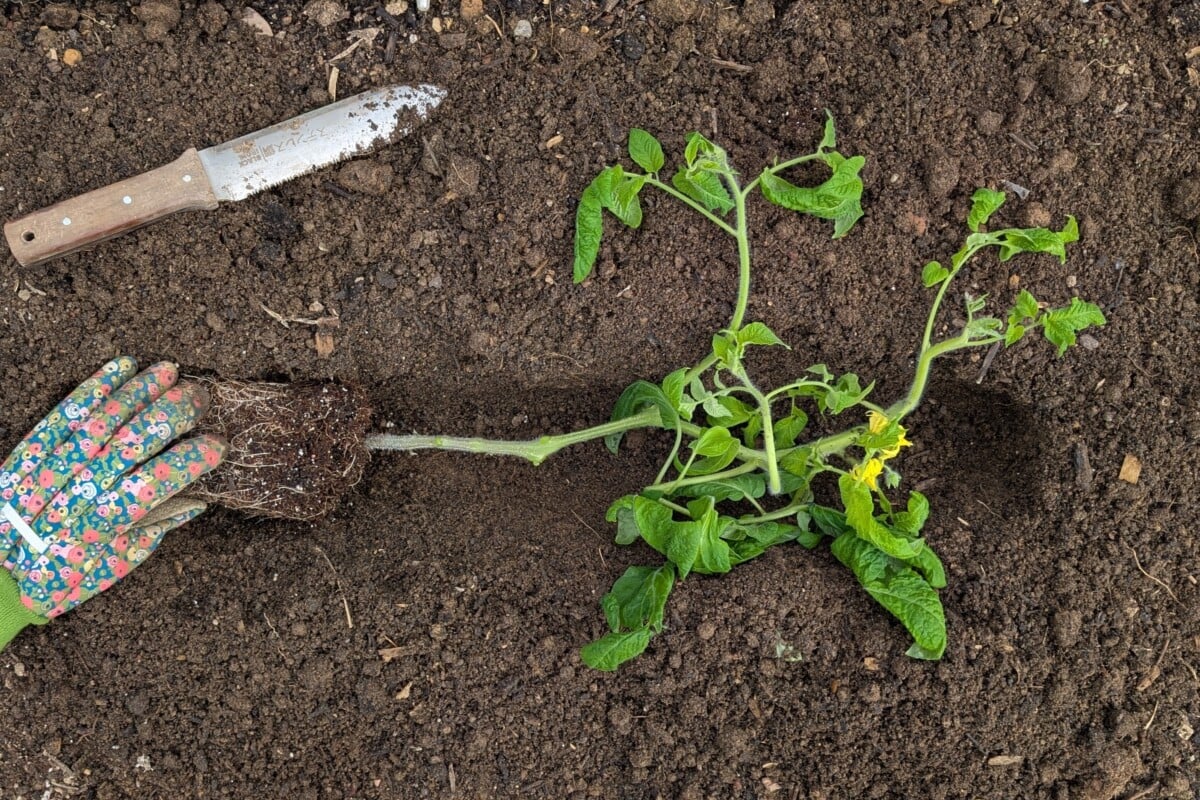
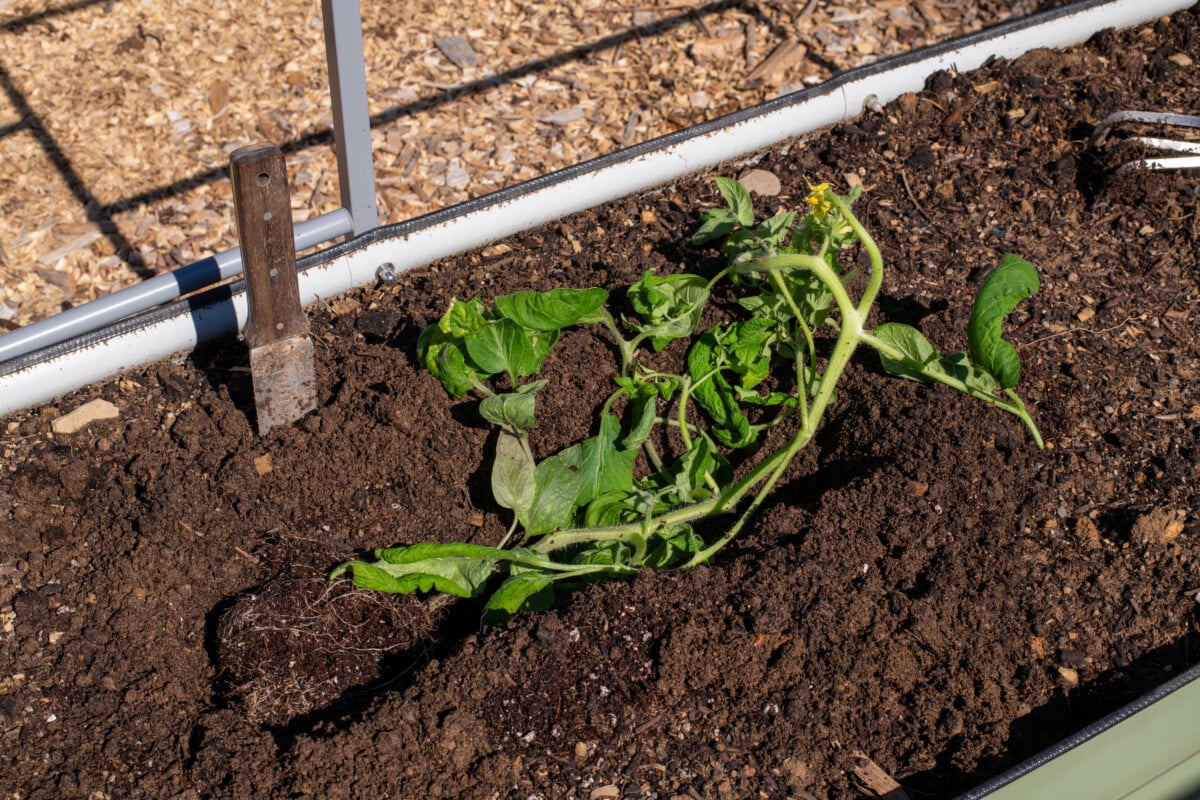
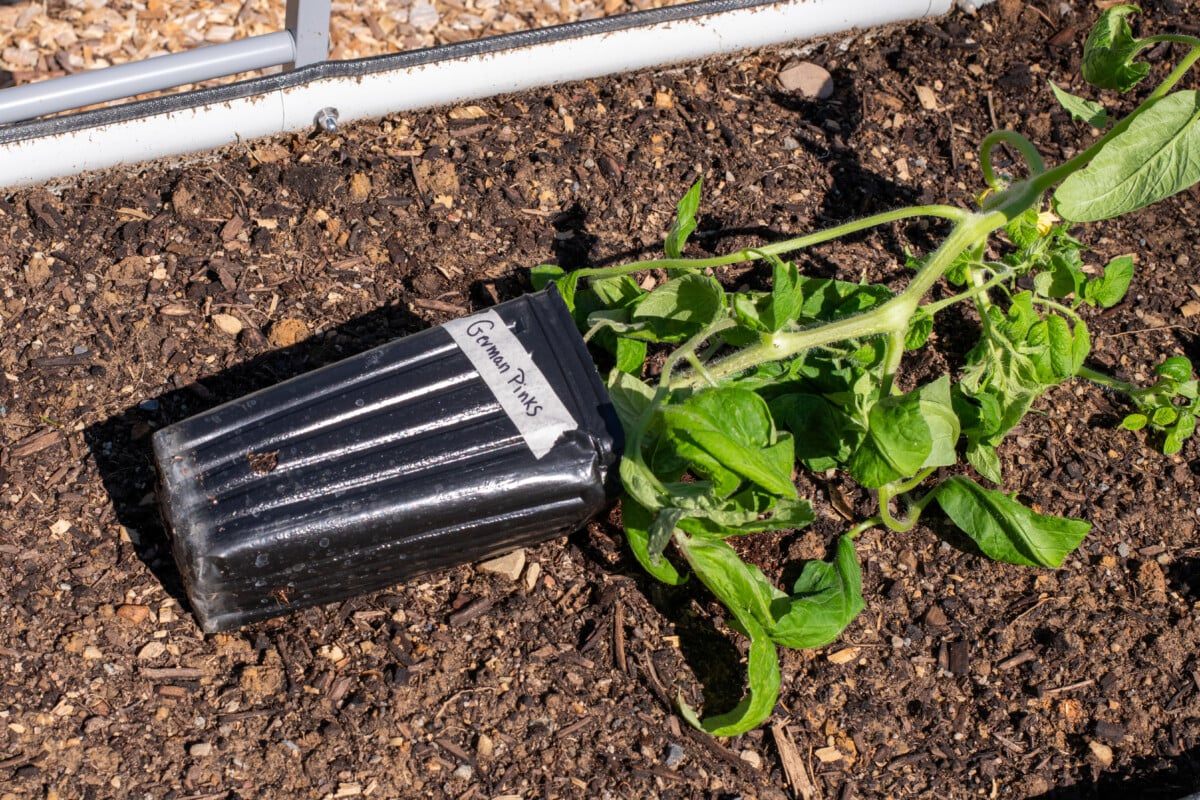
You’ll need to dig a trench that’s roughly 6”-8” deep, and that’s long enough to bury all but the top 1/3 to ¼ of the plant. Add in a bit of compost and mycorrhizae (if you’re using it).
Gently remove the plant from its pot and lay it sideways in the trench with the top of the plant sticking out of it. Now press the soil back down around the plant, up to about 1” below the first set of leaves and water it in.
The tomato will naturally grow toward the light (upwards), but I always tie the portion above ground to a stake to give it support while it reorients itself. Just be careful you don’t push the stake through the portion of the tomato that’s buried.
Deep Tomatoes
Alternatively, you can get the same results by burying your tomato deeply. Not everyone is able to do this due to the nature of their soil or garden beds. The idea is the same, though, to bury a portion of the stem, although you’ll be burying it straight down rather than on its side.
Dig a hole deep enough to accommodate all but 1/3 to ¼ of the plant. Add your compost and mycorrhizae, and then bury the plant, leaving the remaining leaves aboveground. Water the plant well.
And Now We Wait
Mulch is a gardener’s best friend. Once you’ve buried your tomatoes and watered them in, put down a 2”-3” layer of mulch over the soil. Mulch will keep the soil moist, reduce erosion, keep the soil cool in the hottest parts of the summer and keep weeds to a minimum.
Keep an eye on your soil for the first week. Poke a finger in the ground and water your tomato plants if the soil has dried out. It should be damp but not soggy, as this will encourage root growth.
For the first week, you may not notice much new growth, but once the tomato plant has acclimated, it will start growing again. (This is another reason to give my monster tomato seedling method a try. They bounce back quicker.)
As the tomato is established and begins growing, remember to water deeply but less frequently; this will encourage the plant to stretch all those new roots deep into the ground to find water. This is what will keep your tomatoes going during periods of drought.
I’ve been growing tomatoes for around 40 years, and I’ve seen lots of tomato fads come and go. (Remember upside-down tomatoes?) But this is one of those tricks you learn and never let go of because the results speak for themselves.

Get the famous Rural Sprout newsletter delivered to your inbox.
Join the 50,000+ gardeners who get timely gardening tutorials, tips and tasks delivered direct to their inbox.