

Right now, millions of gardeners are out there digging in the dirt, sowing seeds, and putting carefully tended seedlings in the ground. They’re dreaming of fresh salads made up of ingredients that come entirely from their garden. Juicy, round tomatoes, crunchy carrots, and tender, crispy lettuce are their goals. And without knowing it, many of those same gardeners are making some pretty common spring gardening mistakes.
The mistakes we make in the spring can follow us all season long, leading to wasted time, fewer vegetables and even a few dead plants.
But you don’t have to be one of those gardeners. Instead of learning these lessons the hard way, you can learn from the mistakes of others. As the saying goes, an ounce of prevention is worth a pound of cure. Consider the three minutes it takes you to read this as your ounce of prevention. You might even find yourself nodding your head as you come across a mistake you made in the past, but have since learned from.
Before we get too far in, I will be the first to confess I have made all of the mistakes on this list myself, and not all of them in the distant past. I am currently dealing with mistake number three. Again. All of which is to say, if you find you’ve made one of these mistakes, don’t beat yourself up. It happens to us all. Very few will set you back permanently, and all of them can be corrected with a little effort. You’ll learn this season and be all the wiser the next.
Unless you’re me, then you’ll keep making mistake number three year after year.
1. You Didn’t Amend the Soil Before You Started Planting
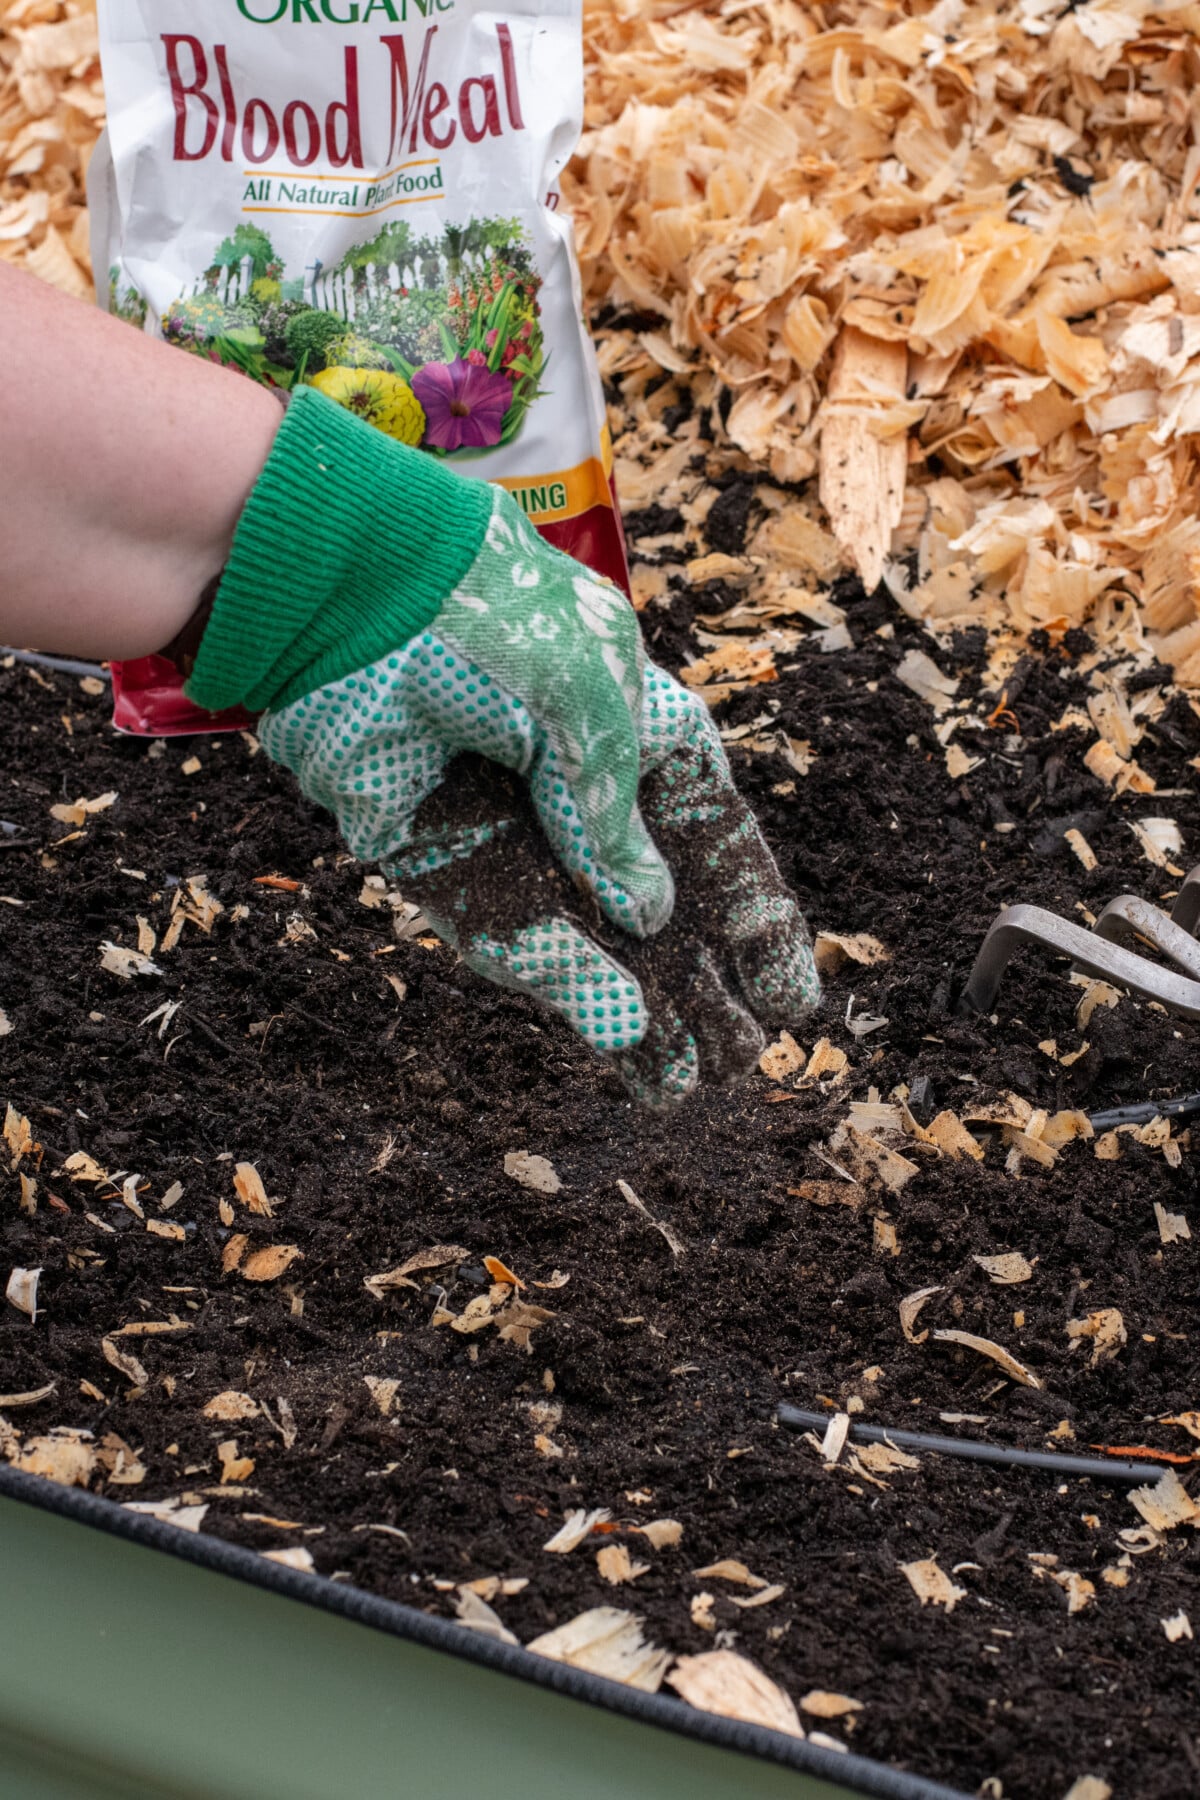
This particular mistake catches out even seasoned gardeners, and most of the time it happens because we’re in a hurry, not for lack of planning. We all know that spring, before we start putting seeds and seedlings in the soil, is the best time to amend.
It’s the one time we have to make sure all the right nutrients your plants will need are buried down in the soil, right where the roots can easily access them.
It’s one of those mistakes that can cost you time (and a few four-letter words) for the rest of the season.
Adding compost, fertilizer, mycorrhizae, worm castings, and more is much easier to do when you don’t have to work around existing plants. Side-dressing, and scratching amendments and fertilizer into the soil once plants are established, and you’ve put down mulch, is a real headache.
If you’ve already planted, you can correct the mistake by using a liquid fertilizer, like the ones Farmer’s Secret makes, but if you have a large garden, even this can be a time-consuming task.
Last summer, I was so excited to have my new raised beds put together and filled, finally, and I had already missed the spring planting season, so I was in a rush to get my long-season crops in the ground. I had a lovely dripline irrigation system set up to water all of my raised beds. (It’s this one here. I love it.) But my bag of Espoma Garden Food sat unbothered in my garden shed. It meant that I was out there every other week, lugging a 2-gallon watering can, full of liquid fertilizer, back and forth between the spigot and seven large raised beds. Around August, when it was consistently in the low 100s and 80% humidity, I really regretted my hasty planting earlier in the season.
2. You Didn’t Mulch Early or at All
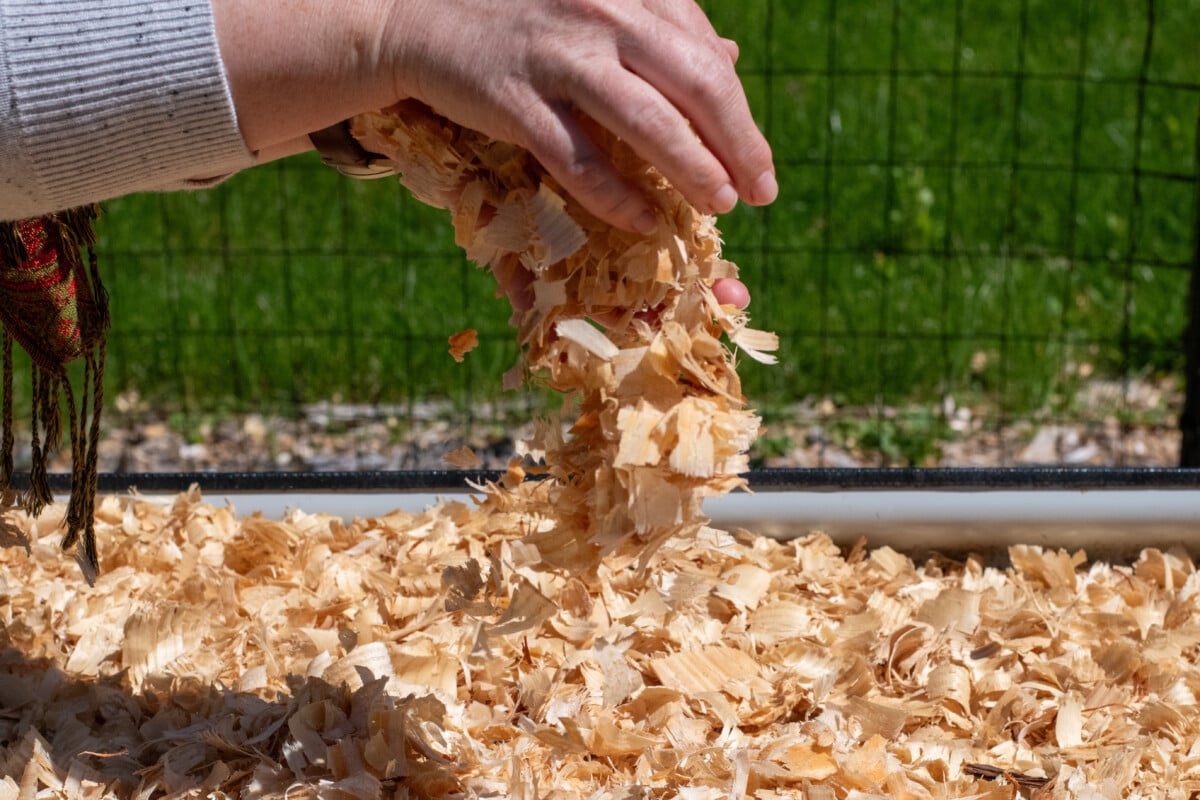
If there is one single thing you can do that will make your job as a gardener easier all season long, it’s mulching your garden. I will admit that it took me ages to get on board with this. If they ever develop time travel, past me can fully expect a visit from future me, holding a bag of pine flakes and telling me to get my act together. (Yes, pine flakes. I’ll get to your questions in a moment.)
Mulch does so much for your garden:
- Mulching prevents water from evaporating from your soil. This means you end up watering far less. (A true lifesaver if you have a water bill.) The soil stays cooler in the hottest months of the year since less water evaporates. Cooler soil means cooler roots, which can prevent crops like spinach from bolting, and can ensure tomatoes keep ripening in the hottest weather in late summer.
- Mulching keeps weeds to a minimum. It’s a no-brainer. You end up with fewer weeds, especially if you mulch early. Any weeds that do show up are so much easier to spot and pull up. Remember that moist soil? It makes pulling up weeds super easy.
- Mulching keeps your soil from developing a hard, concrete-like crust when it rains. This means you have much better germination rates, as your seeds don’t have to fight so hard to break through the soil. It also prevents soil from splashing up onto the underside of your leaves, which means fewer occurrences of soil-borne plant diseases.
- Finally, mulching your garden keeps soil in place. It prevents erosion, which can be a real problem if you garden directly in the soil and get heavy spring rains. Not only can you lose soil, but seeds and seedlings can wash away with a hard enough rain. Likewise, if you garden in raised beds, you know how expensive it can be to fill them. Mulch keeps that very expensive soil right where it’s meant to be – in your raised beds.
Mulching early has a number of benefits.
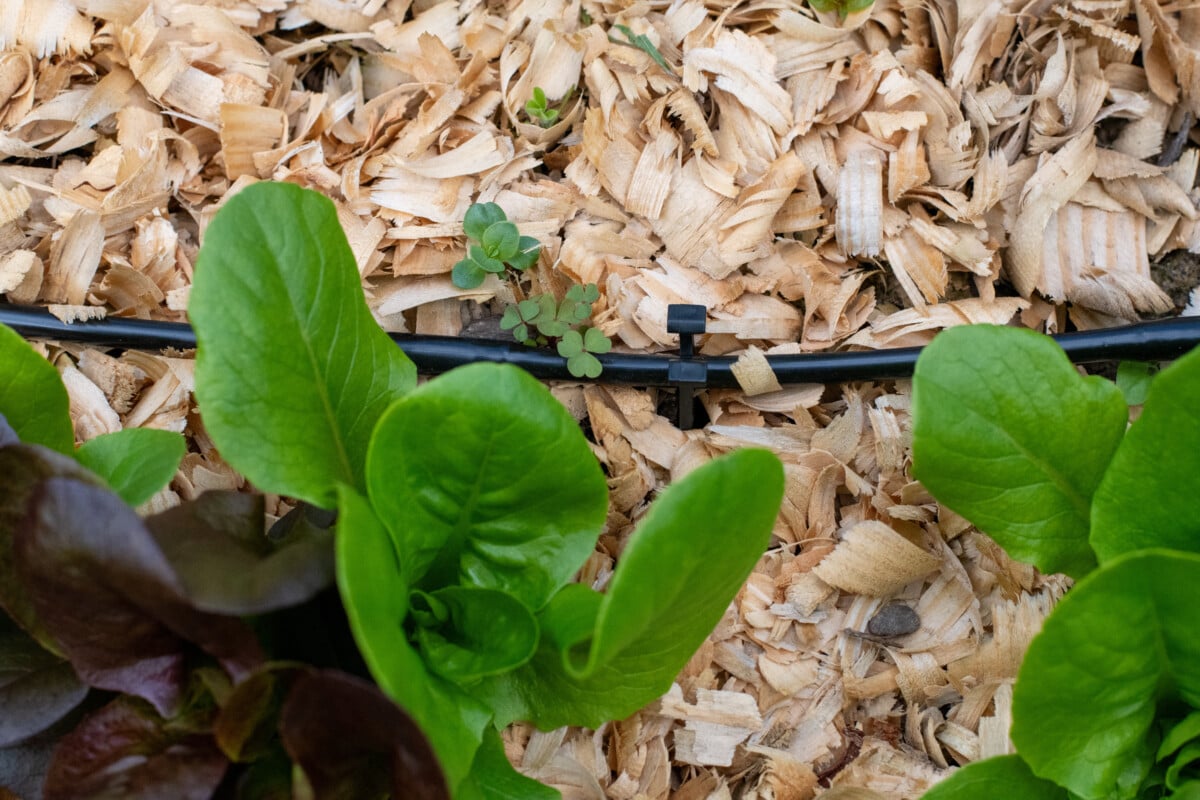
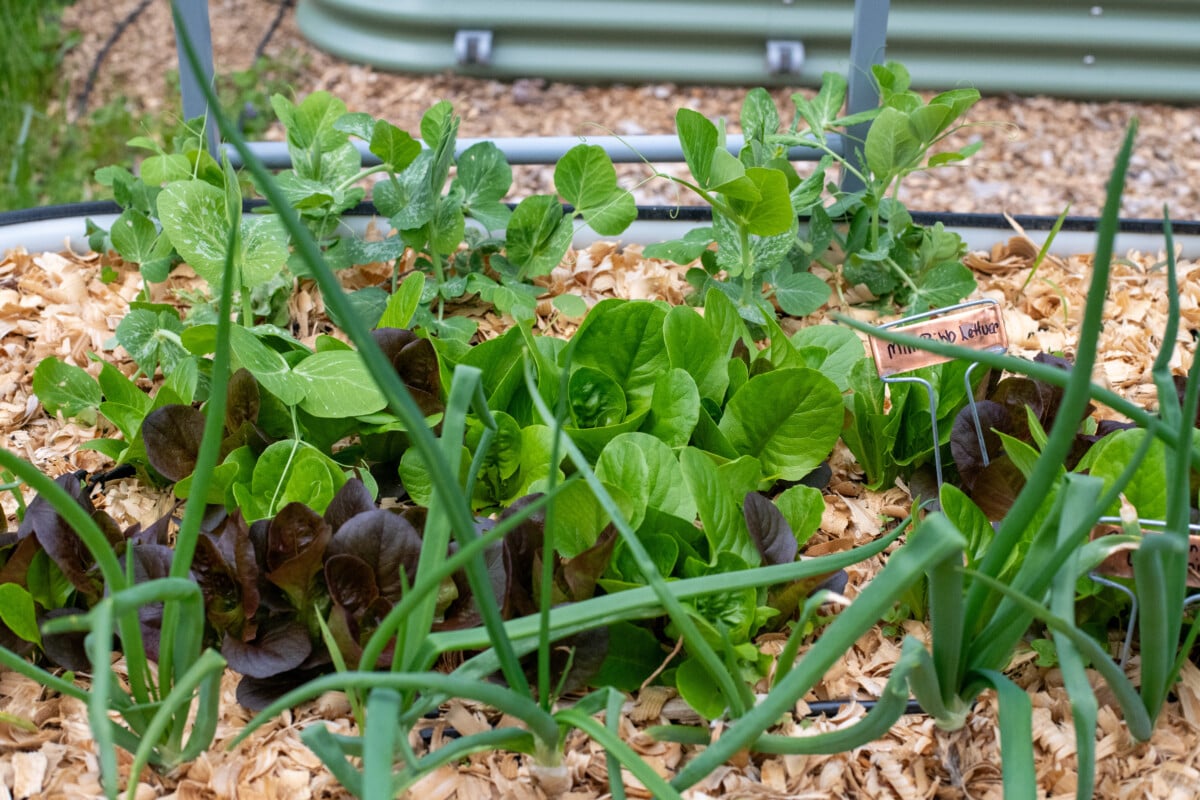
It keeps seeds in place, so they germinate and grow right where you plant them. They aren’t pooled up together where they landed after a spring rain or two. As we’ve already discussed, mulched soil stays moist, which is key for good germination. Mulch also keeps birds from getting at your seeds.
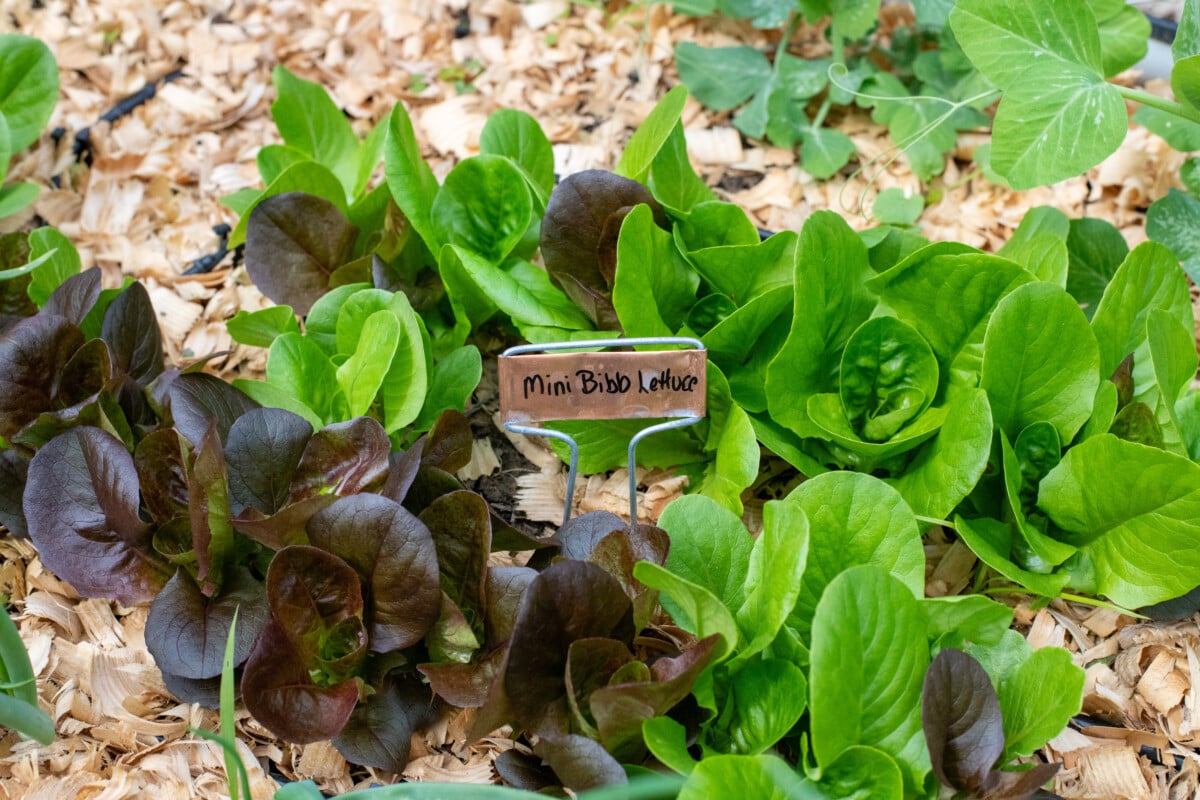
I mulch as soon as I’m done sowing my cold-weather seeds. Because I use pine flakes, rather than something heavier, the emerging seedlings are protected from the cold until they grow tall enough to grow above the mulch, and the lightweight mulch doesn’t smother them. I end up with better germination rates, fewer lost seeds and sturdier seedlings. It’s a no-brainer.
I’ve also had a lot fewer slugs with pine flakes. Not to mention, they are incredibly affordable and easy to find at my local farm supply or home improvement stores.
You don’t have to worry about nitrogen being tied up in the soil, bound to the pine flakes. The flakes are sitting on top of the soil; they don’t get buried in it.
No matter what material you choose, mulch and mulch early.
3. You Didn’t Leave Room for Warm-Weather Crops When Planting Your Cool-Weather Crops
I am guilty of this one. Not just once in a while, but nearly every single year. Come May, you can find me in my garden gently pleading with the peas I planted.
“Please, please grow faster. I need this space for the tomato seedlings.”
Somehow, I, and quite a few other gardeners, always imagine our spring gardens have a clear delineation between our summer gardens. We picture a neat and tidy cut-off when the cool-weather crops will peter out just in time for our seedlings to go in the ground.
That never happens. (At least not in my garden.)
Most cool-weather crops will happily grow alongside your long-season vegetables, such as tomatoes, eggplants and peppers. Your cool-weather crops will likely be quite advanced, if not mature, by the time you start planting warmer-weather vegetables, so you need to plan a bit of space where you can transplant all those seedlings among your spring vegetables.
You don’t need much space. The warm-weather vegetables, such as tomato and pepper seedlings, will still be quite small. However, they will grow quickly. If you plan it right, your long-season vegetables will provide shade for spring vegetables that may bolt in the oncoming heat without the protection. Doing this is a great way to extend your cool-weather growing season.
By the time your long-season vegetables start to take off and significantly shade out your cool-weather crops, the spring vegetables will be mostly finished until you can plant more in the fall. That is, if you plan ahead.
If you’re reading this and thinking “Oops”, know you aren’t alone. In the case of my peas, I’ll let them climb up my tomatoes and grow together. You may need to pull up some of your spring plantings to make room for warm-weather crops, but it’s unlikely that you’ll need to unearth them all. You only need enough room to fit each new seedling in the ground. Since you are hosting a lot of plants in one space, you’ll need to provide extra nutrients and water more often.
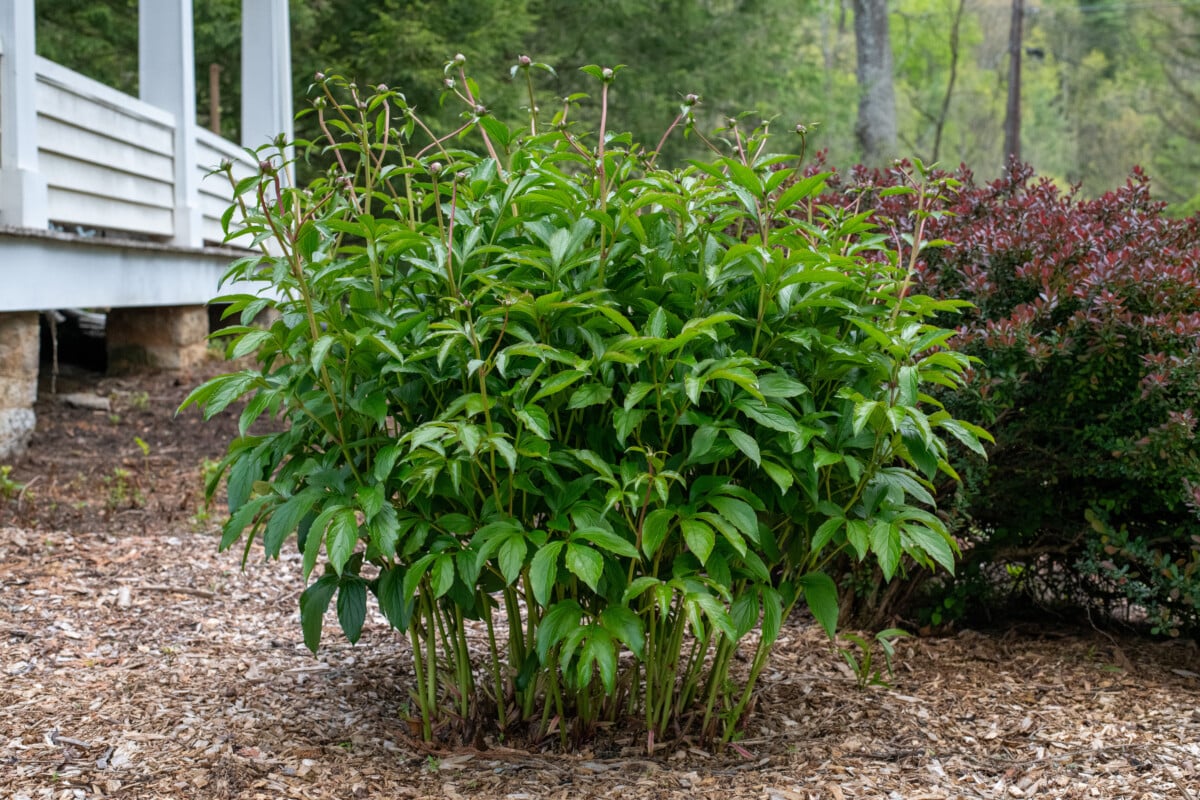
4. Forgetting to Install Plant Supports or Stakes Early Enough
Peonies and tomatoes. They’ll get you every time. Of course, they aren’t the only plants that need support throughout the growing season, but they are two of the most notorious for growing faster than you can get supports around them. If you don’t have the supports installed before the plants need them, you’re likely to miss that window.
Trying to install plant supports after the plant has begun to fill out and expand often leads to snapped branches, which means fewer blooms or vegetables. Or worse, snapping the central stem and accidentally killing the entire plant. (I’ve done this with a few tomatoes over the years.)
Even if you’re planning something as simple as string-training tomatoes up a stake, you need to start early. Otherwise, the plants can flop on their side. It only takes a few days for the stem to harden and the plant to start growing that way, then when you do get around to training it to grow upwards, you run the risk of snapping the stem at worst, or having to spend time training the stem to grow upright again.
String-training should, ideally, start a week or two after your seedling has been planted. It needs time to recover from transplant shock and for the central stem to firm up. Then you need to start guiding it up the string. (Learn how to grow string-trained tomatoes here.)
Regardless of what support system you use or whether it’s for an ornamental or a vegetable, it’s always best for the small, seedling to grow up around and through the support, rather than trying to install the support at the right time before it gets too large.
5. You Didn’t Bury Your Tomatoes Deeply or Trench Them
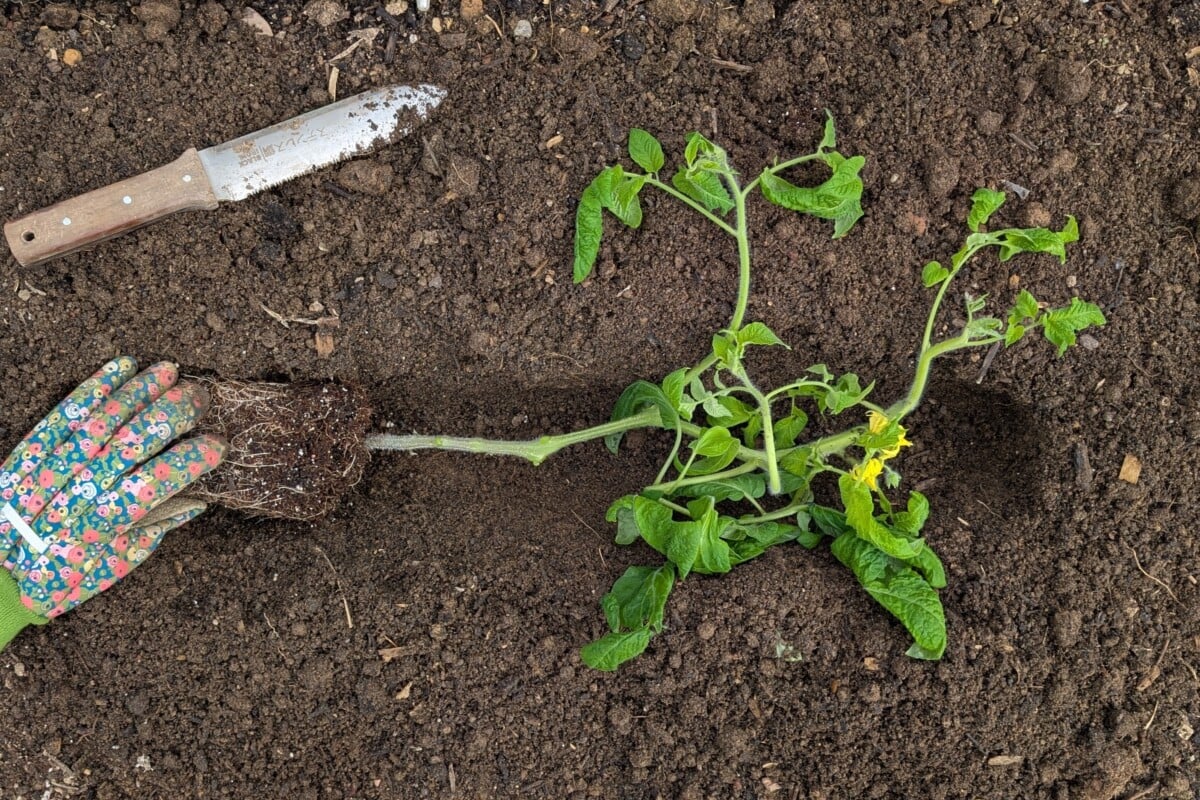
Finally, you plopped your tomato seedlings in the ground and called it a day. Everyone knows that tomatoes are notorious heavy feeders, and they require a lot of water to grow. When you’re starting them out, you have a chance to double or even triple their root system, depending on how you plant them.
Tomatoes have special cells, just below the surface of the stem, that react when the stem touches the soil.
These specialized cells (parenchyma cells) turn into root cells. Anywhere the stem is buried or touching the soil, it will grow more roots. You can either bury your tomato, stems and all, halfway to two-thirds up the stem, or you can dig a trench and plant it on its side. Again, burying it halfway to two-thirds up the stem.
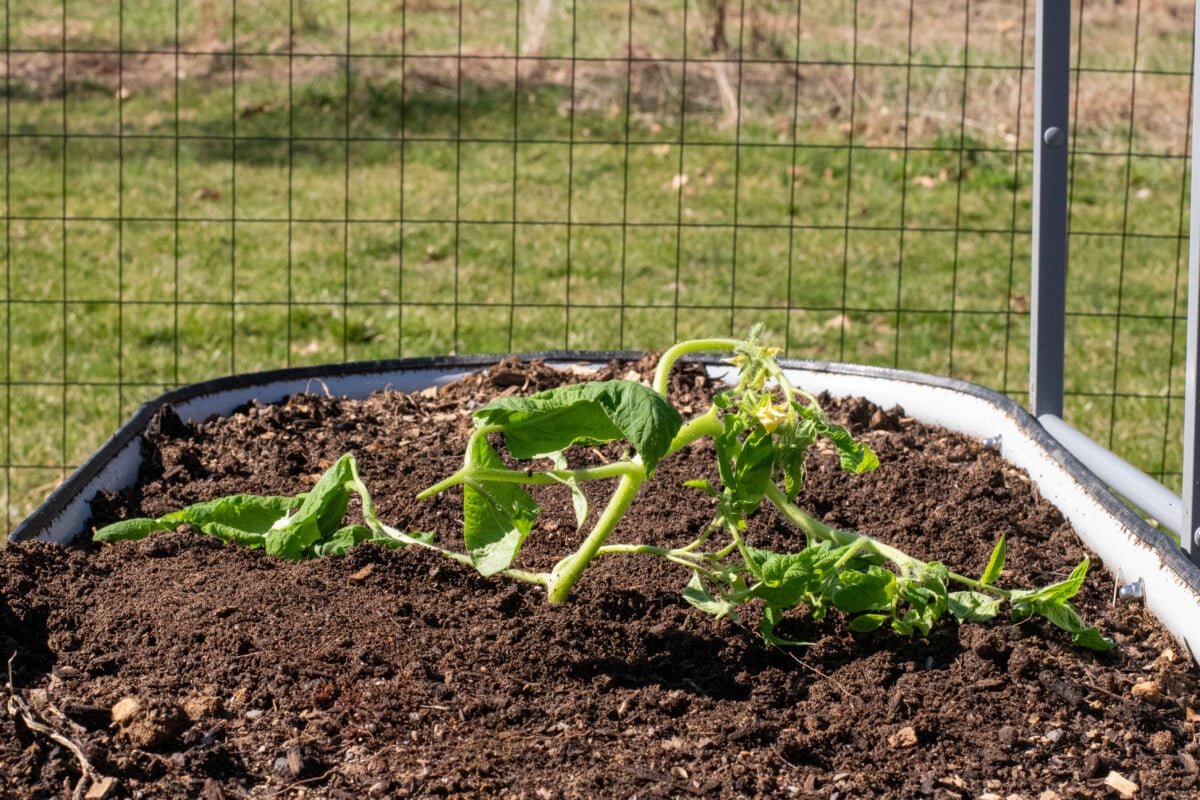
In either case, the portion that’s been buried will start putting out more roots, which allows the plant to support much larger and faster growth above ground, as well as more fruit per tomato plant. Because the tomato has more roots, it is also less susceptible to periods of drought, which can be a real plant-saver if you live in an area that has water restrictions for certain times of the year.
You can read all about how to bury tomatoes and why it works right here. You’ll want to click on the link if you’re growing determinate tomatoes, as they require a little special handling when using this method to grow them.
And that’s that, my friends. How many of these mistakes have you made in the past? How many are you making right now? Luckily, it’s still early enough in the season to sort them out and enjoy a summer filled with fresh vegetables from the garden.

Get the famous Rural Sprout newsletter delivered to your inbox.
Join the 50,000+ gardeners who get timely gardening tutorials, tips and tasks delivered direct to their inbox.