

Wise gardeners know that herbs make excellent companion plants. And any gardener who enjoys cooking will surely have culinary herbs among their vegetables each year. But many folks don’t realize they’re forgetting something important before planting their herb seedlings in the garden – pruning them.
If you want to enjoy bigger harvests (All the pesto! Sage for days! Gallons of peppermint iced tea!) and stronger plants that are less prone to storm damage, then pruning your herbs before you plant them in the garden is the way to go.
Why It’s Important to Prune Some Herbs Early
Many of us prune garden-dwelling herbs when they start to invade where they’re not wanted. And then there are those of us who don’t bother pruning them. (Hi friend, I saved you a seat.) But if you want to set yourself up for success and a bountiful harvest of fragrant, flavorful herbs, the best time to prune them is while they are still small, before the plant is established.
By pruning certain herbs early and relatively hard, you are, in essence, inhibiting the plant’s ability to photosynthesize. In response, the plant will send out enzymatic signals triggering the plant to grow more leaves.
The plant will begin pushing out new growth wherever possible to compensate for the lost leaves.
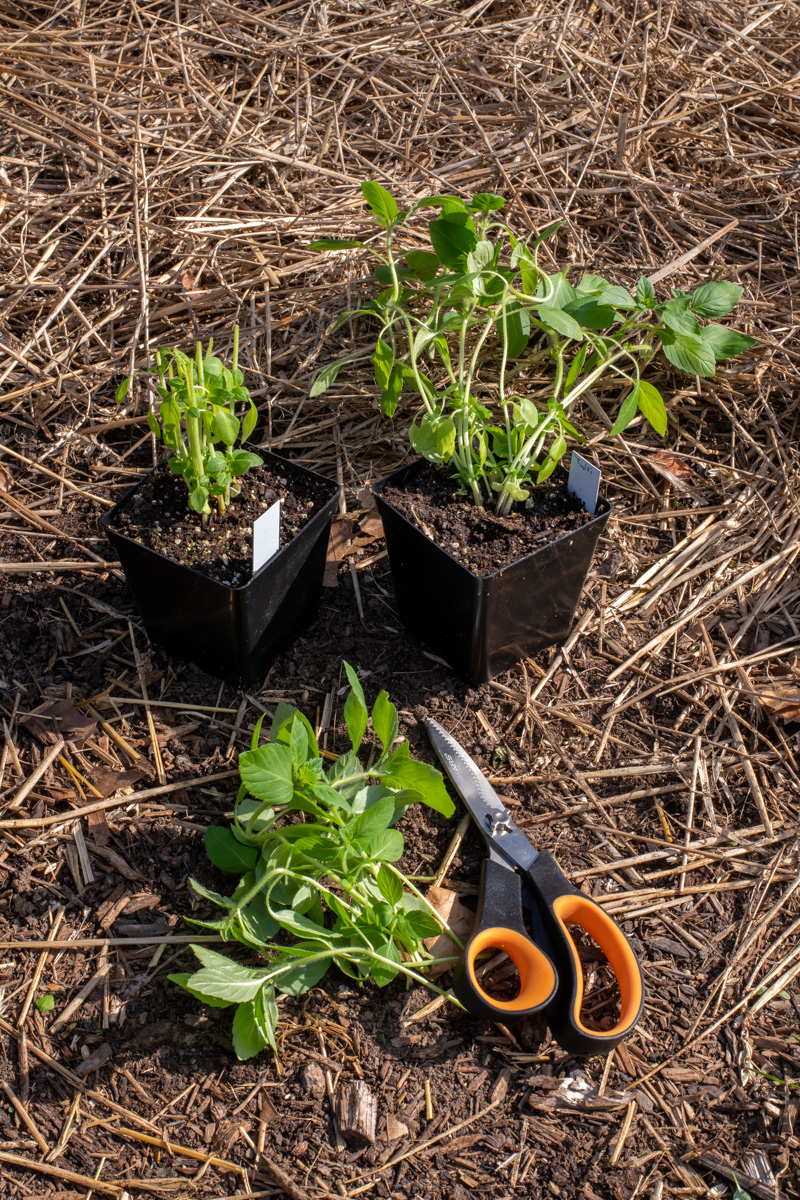
This is also the best way to correct leggy seedlings that are stretched a bit indoors. We’ll be cutting them back close to the base of the plant. All of the new growth resulting from this hard pruning creates a stronger, bushier foundation, making for a sturdier plant for the rest of the growing season.
You can say goodbye to tall, leggy herbs and herbs knocked down by heavy rains or windy storms. Doing a little trimming now ensures your plant has a strong, solid base.
What Herbs Benefit from a Pre-Garden Prune?
Many herbs will benefit from being pruned before they’re put in the ground, but not all. I use a simple rule to determine which herbs should be pruned and which shouldn’t.
If the herb grows new leaves/stems where an existing stem meets the central stem, then it should be pruned back before you plant it.
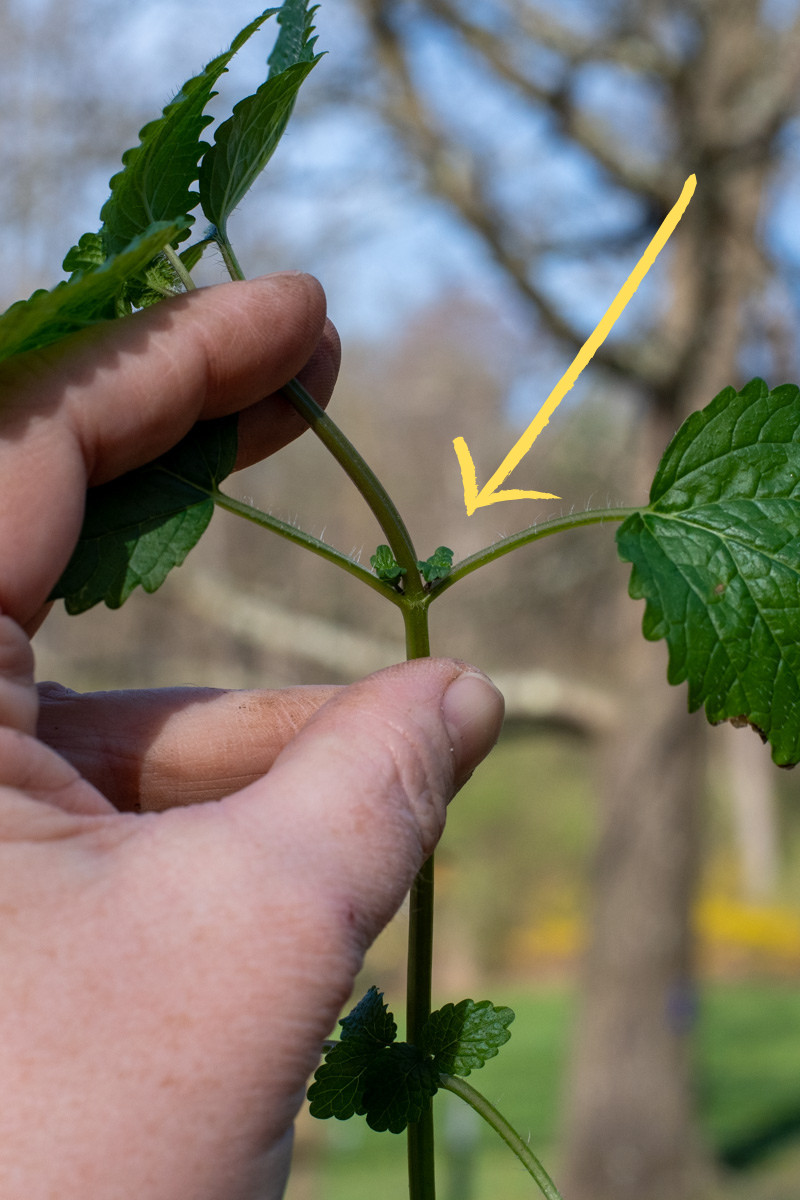
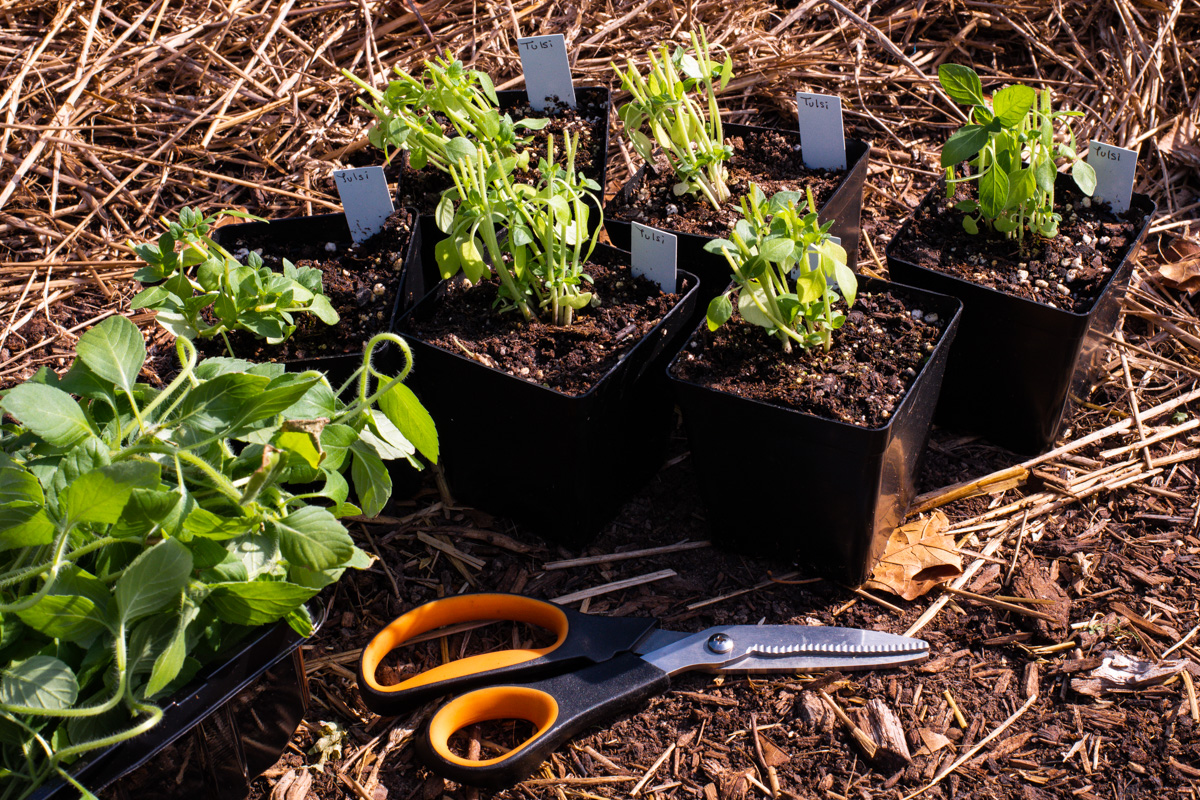
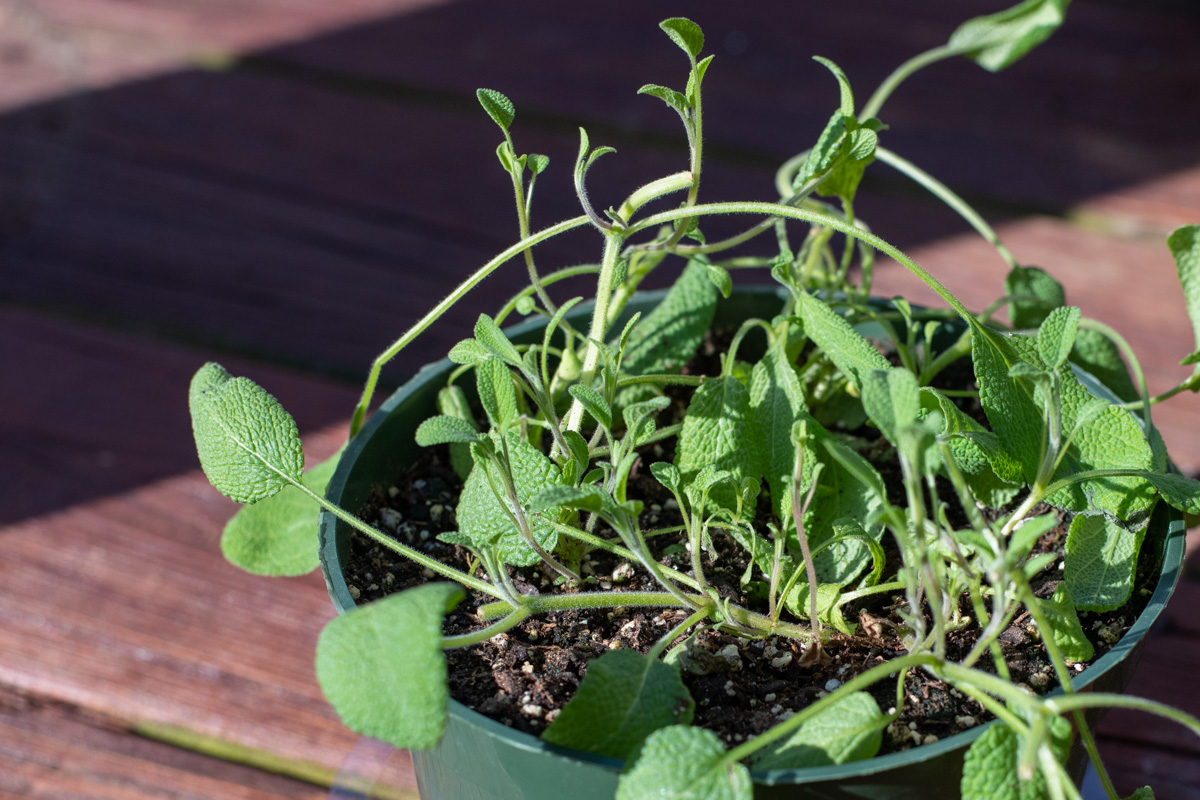
Your mints, basil, sage, lemon balm, thyme etc., all grow in such a manner that new leaves develop at the base of an existing leaf stem. These herbs tend to grow up more readily than out unless they’re encouraged to do so. This vertical growth often leads to leggy herbs all season long.
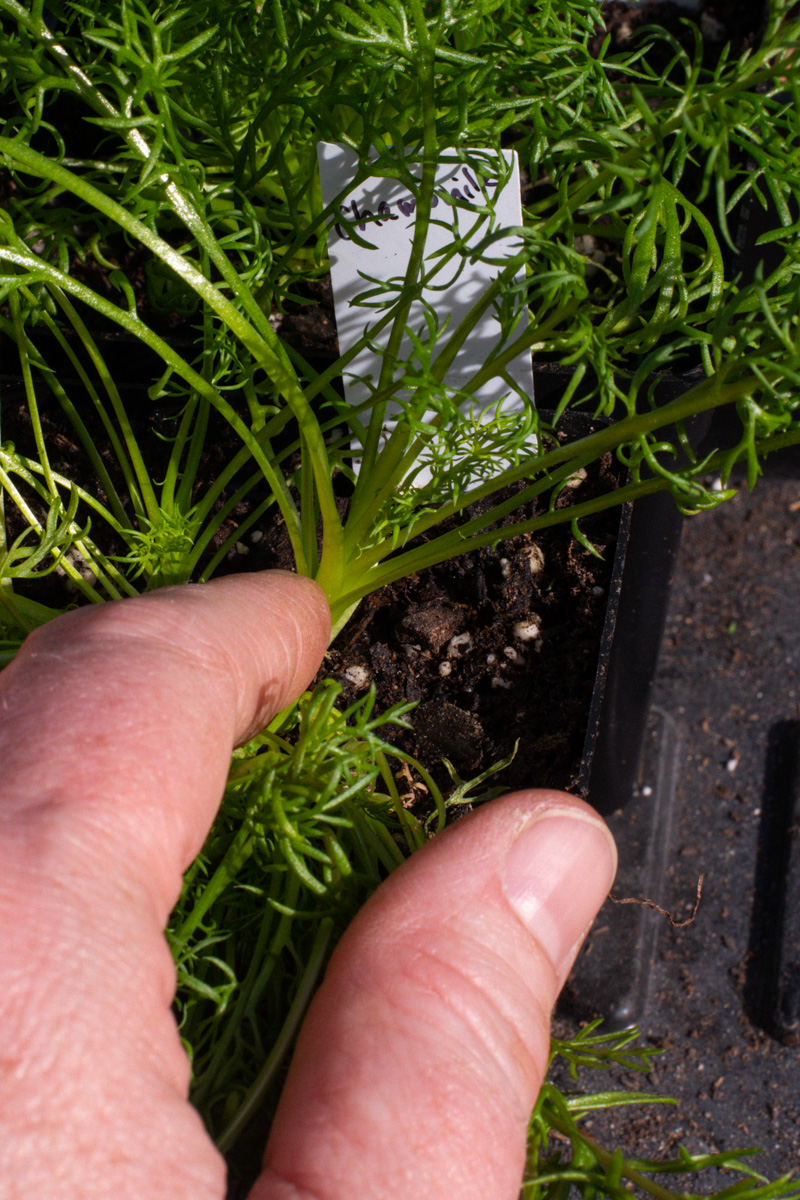
Herbs, like chamomile, which produce new growth from the center of the plant, like a fountain, won’t benefit from this kind of pruning, and it will hinder their growth.
As long as there are new leaves starting at the stems, you’re good to go.
How to Prune Herbs Before You Plant Them
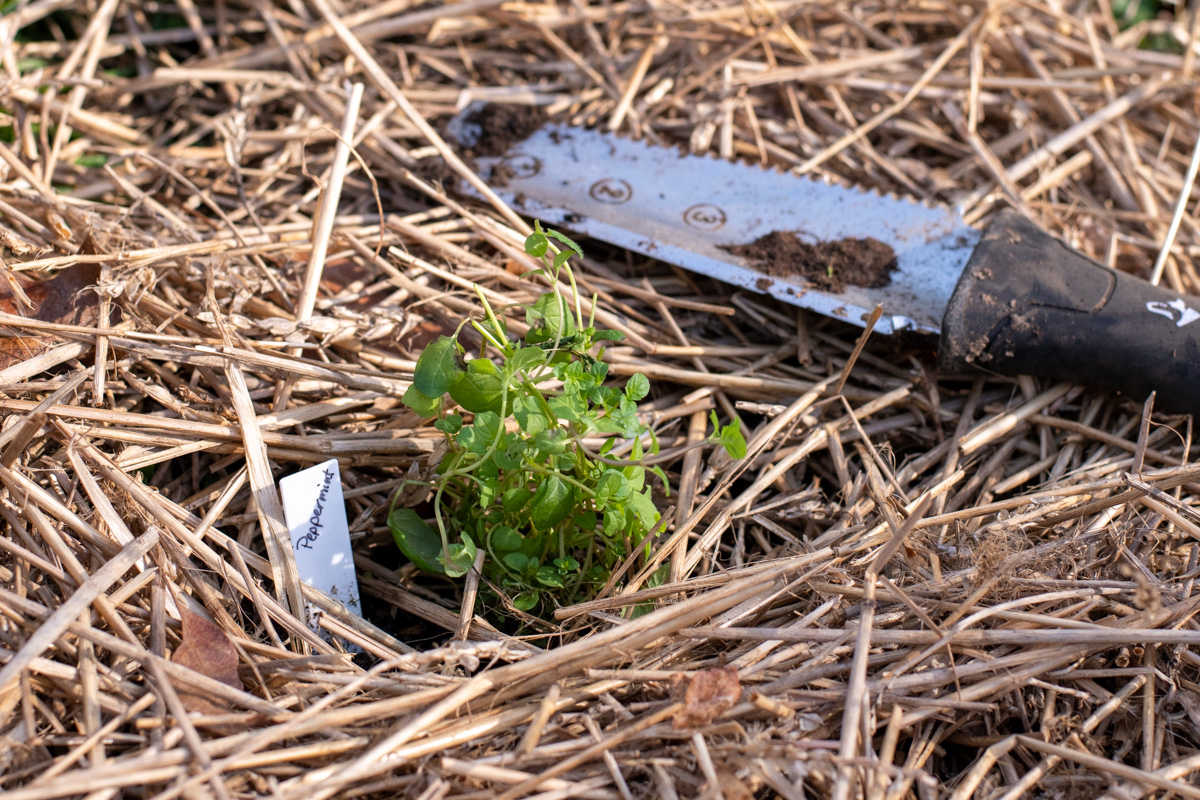
Because we’ll be pruning the plant back pretty hard before planting it outside, it’s important to make sure all danger of frost has passed. You will also need to give the plants plenty of time to harden off, bringing them outside for longer periods leading up to when you plan to put them in the garden.
Ideally, you should prune your herbs a few days before you plan to plant them to give the plant a little time to recover before dealing with the stress of transplant shock. We all know this isn’t always possible, so don’t worry if you need to prune and plant on the same day. Your herbs will bounce back.
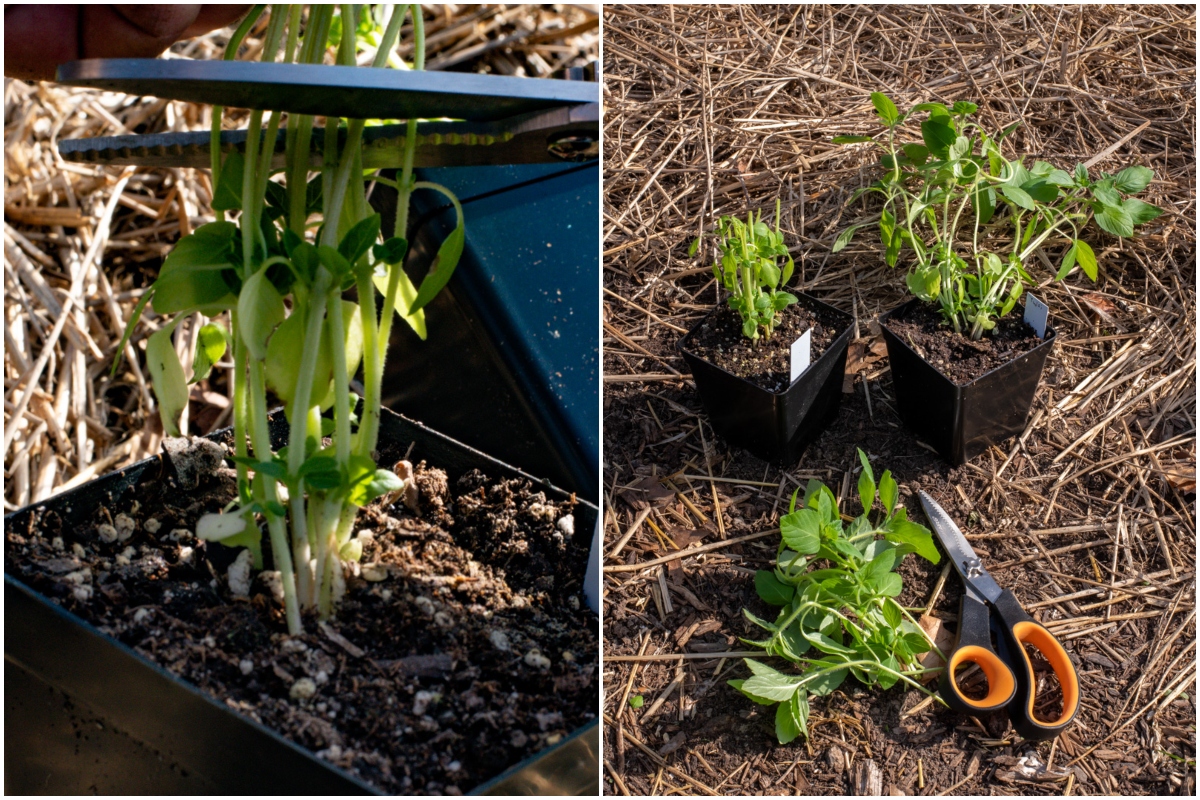
Assess How Much to Cut
Remember, the goal here is to get rid of leggy and weak growth to create a sturdy crown for new growth. Pruning will also stimulate the remaining stem to grow thicker, too.
Take a look at the base of the plant; you will usually see new leaves growing close to the soil as well as a couple of inches up the stem. Look for where the plant really starts to stretch out; you’ll want to remove much of this growth. Don’t be afraid to really trim it back. The plant will recover and start pushing out lots of new growth shortly after.
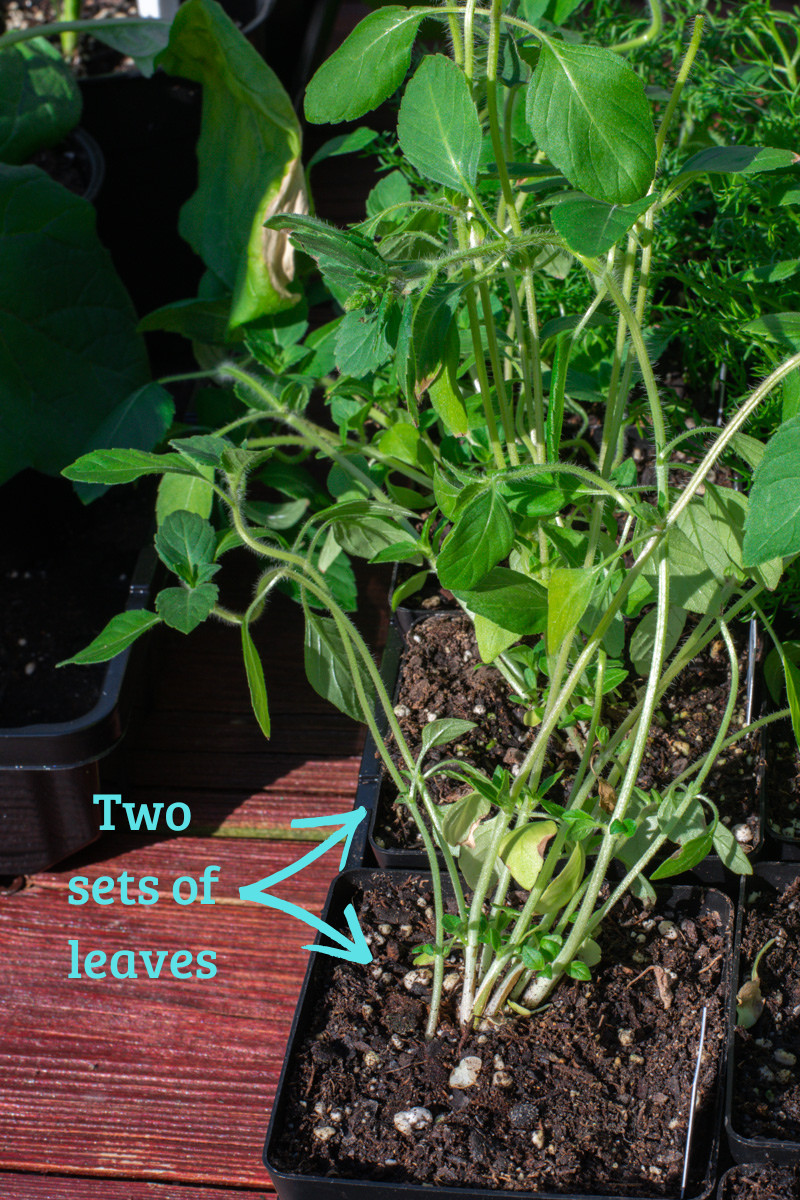
I’ve found a good rule of thumb is to leave at least two sets of new leaves growing from the remaining stem.
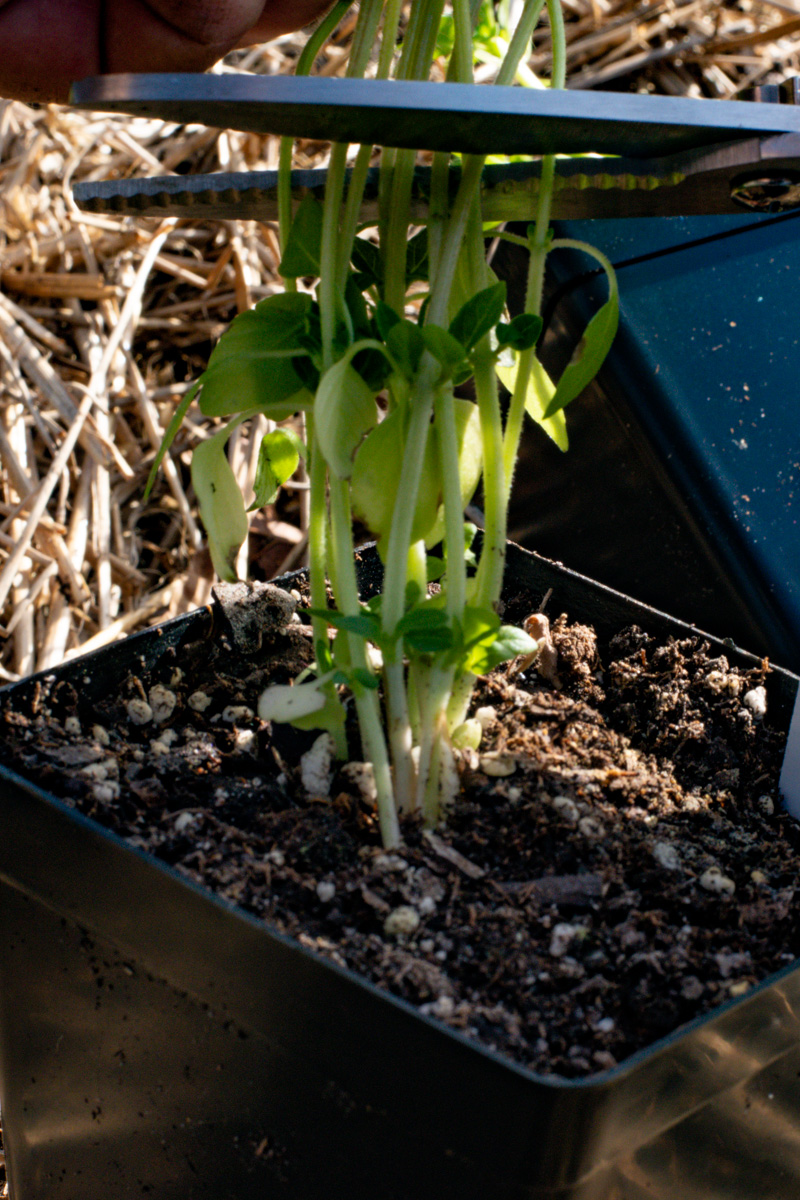
Depending on how bushy your plant is, you may need to trim one stem at a time to determine how far down to cut. Other times you can make one clean cut across the whole plant, and it’s all set. Try to trim as close to the new growth as possible. The cut will scab over in a day or two, and before you know it, you’ll see those new leaves.
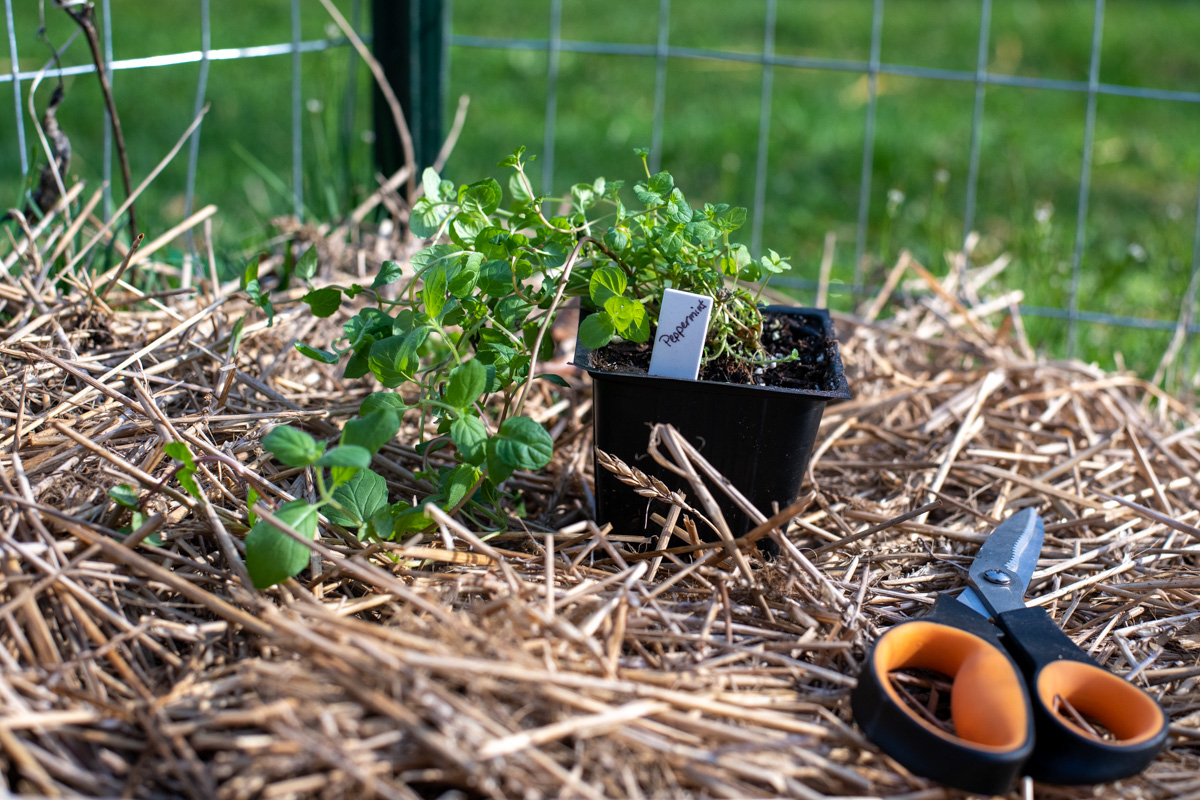
And don’t forget to eat what you prune!
Planting and After-Pruning Care
When planting your herbs, add a little compost to the bottom of the hole first. Fluff up the root ball a bit to loosen up the roots and plant the herb at the same level it was in the pot. Add a layer of mulch around the base of the plant to keep weeds at bay and hold in moisture.
Your herbs may look a little worse for wear for a few days, but they will bounce back quickly. By pruning them back, you’ve set yourself up for the bushiest, healthiest herbs. In a few weeks, if you want to encourage them to grow even bushier, consider pruning back taller growth once again. You’ll end up with sturdier plants overall.

Get the famous Rural Sprout newsletter delivered to your inbox.
Join the 50,000+ gardeners who get timely gardening tutorials, tips and tasks delivered direct to their inbox.