


Year after year, gardeners head out to their vegetable patch to start another growing season equipped with tools, seed packets and assorted seedlings.
So often, though, they lack one of the most important things needed for a bumper crop – knowing what’s going on beneath their feet.
Detailed information about your soil is the key to ensuring your vegetables get what they need. Otherwise, every fertilizer and soil amendment is just a blind guess. Here are a few simple soil tests you can do right at home.
What Makes Good Soil?
In its most simplistic form, the soil is made up of clay, sand and silt.
Sand particles, well, I don’t need to explain those; we’ve all seen sand. These particles are large enough to see when you look at your soil. They don’t pack down, and they allow water and oxygen to get to the roots of your plants.
Silt is smooth and high in nutrients; it’s also good at holding water. You can usually find it in the soil near streams and riverbeds.
Clay particles are the smallest of these three and feel sticky. It compacts easily and is great at holding water and nutrients.
Too much of any of these can create less-than-ideal growing conditions.
If you have too much clay, you run into poor drainage and soil that’s hard to work. Too much sand and nutrients quickly wash out of it. What you want is that magic word – loamy. Loamy soil comprises about 40% sand, 40% silt and 20% clay. This mixture gives you good drainage and holds nutrients, moisture and oxygen.

It’s important to know what kind of soil you’re working with.
This will allow you to add amendments to correct an overabundance of any of these three particles. The point isn’t to despair if you have less than ideal soil (most of us do); it’s more to know where to start. You can correct soil issues. Aside from adding amendments, one of the best things you can do for your soil is to switch to no-dig gardening.
Let’s look at three different soil tests you can easily do at home.
1. Squeeze Test
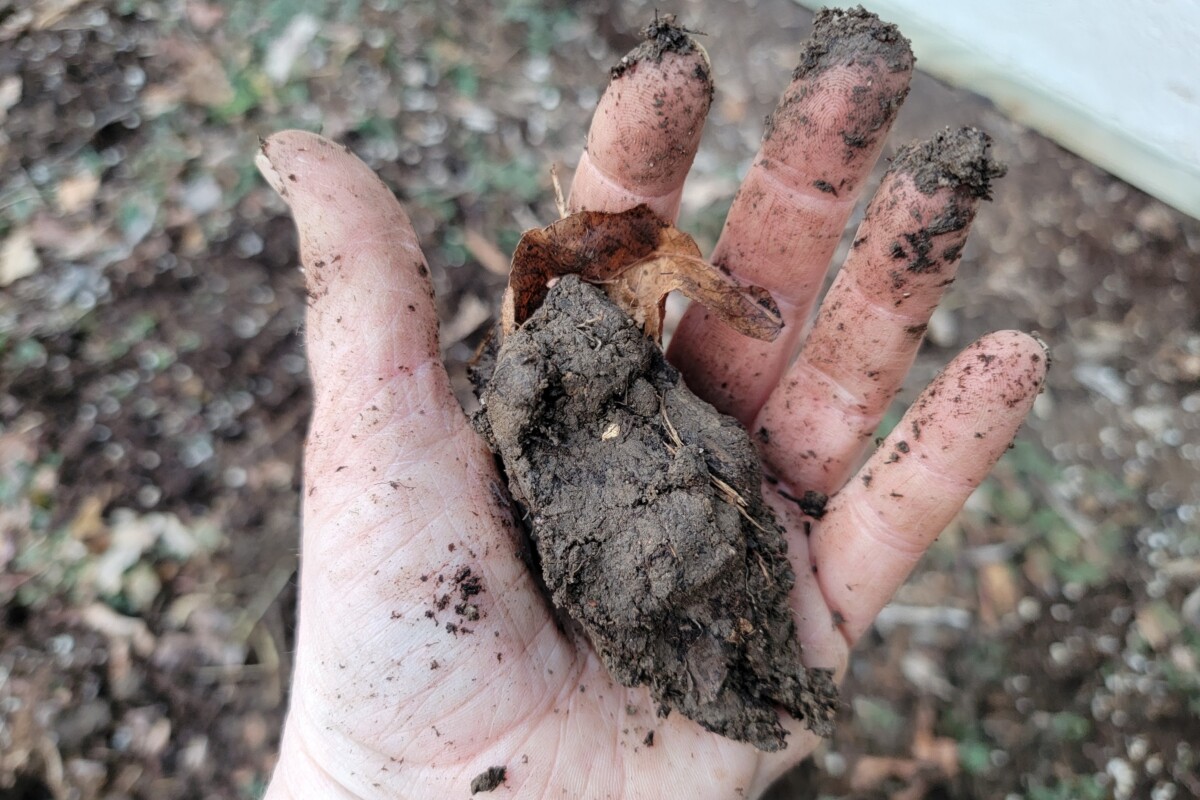
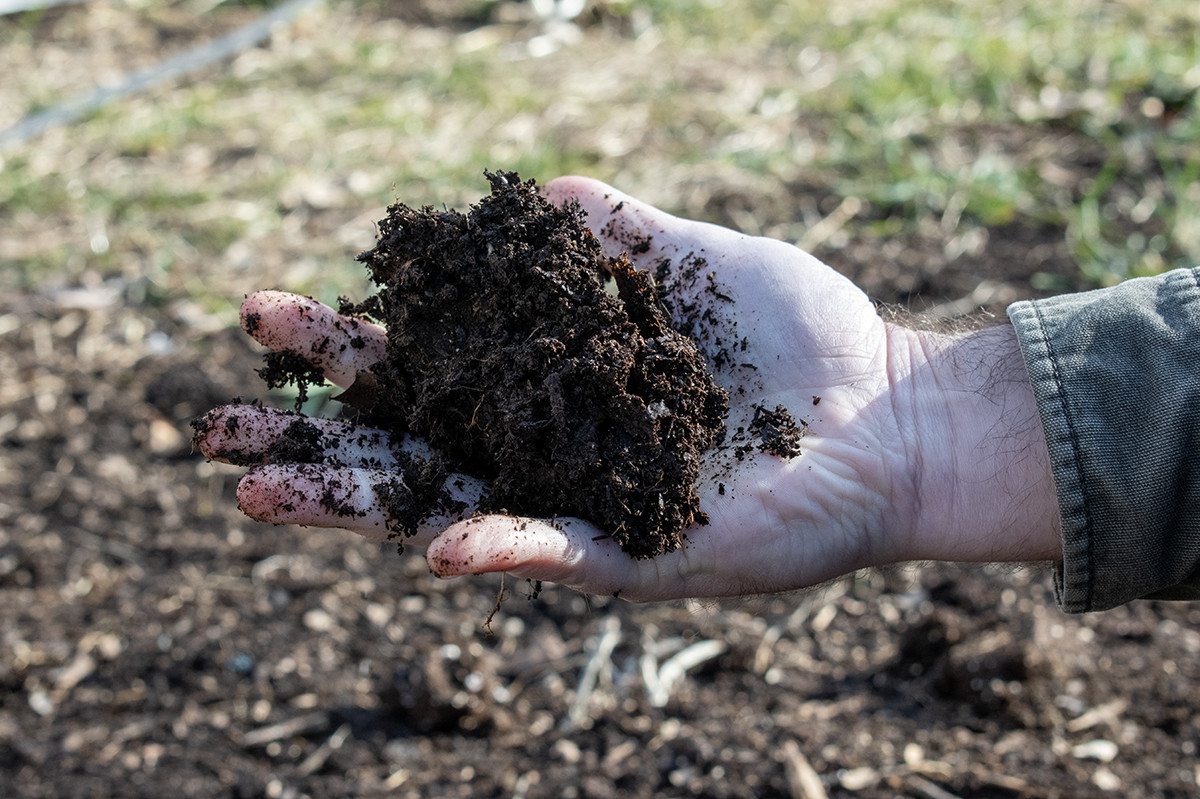
This is one of the easiest and quickest soil tests you can do. Grab a handful of moist (not soaking wet) soil and squeeze it in your hand. Now open your hand and note what happens.
Clay – Soil with a lot of clay will stick together and hold its shape. You may even notice the imprints from your hand.
Sandy – Sandy soil crumbles apart easily when you open your hand.
Loamy – Loamy soil will loosely hold its shape but crumble apart when you poke it a bit.
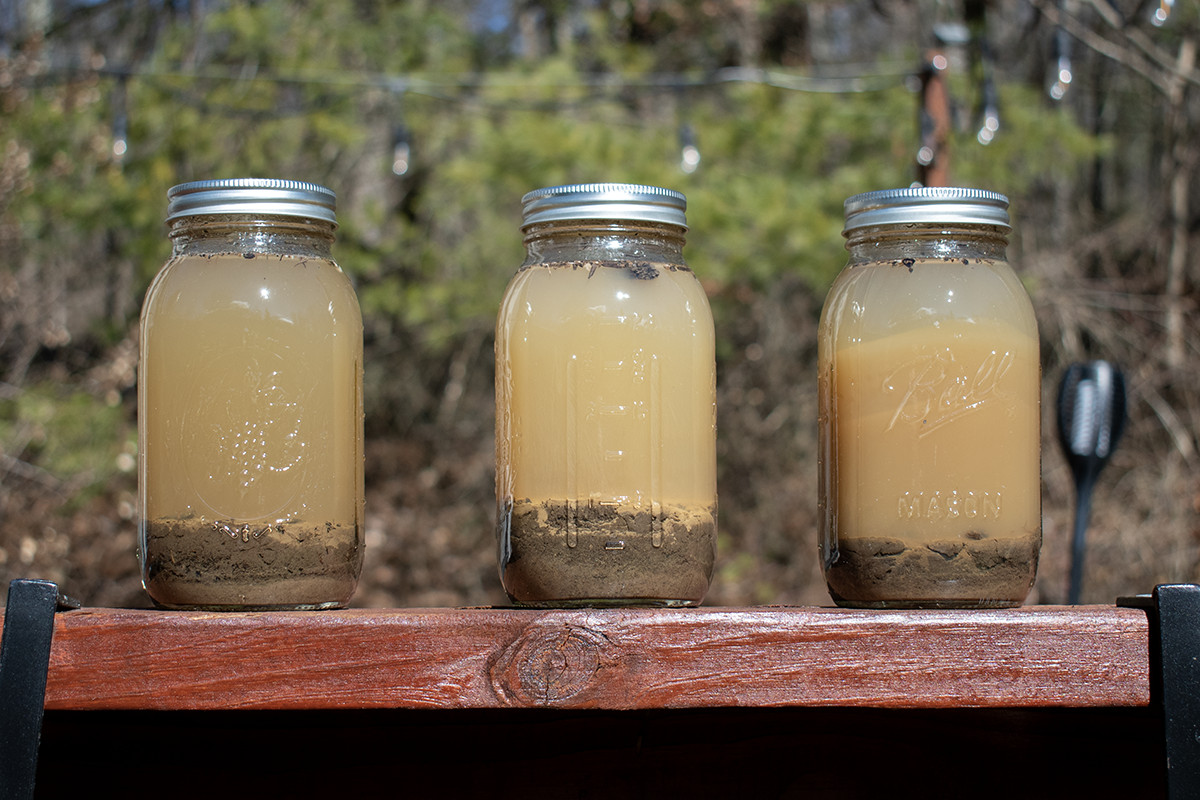
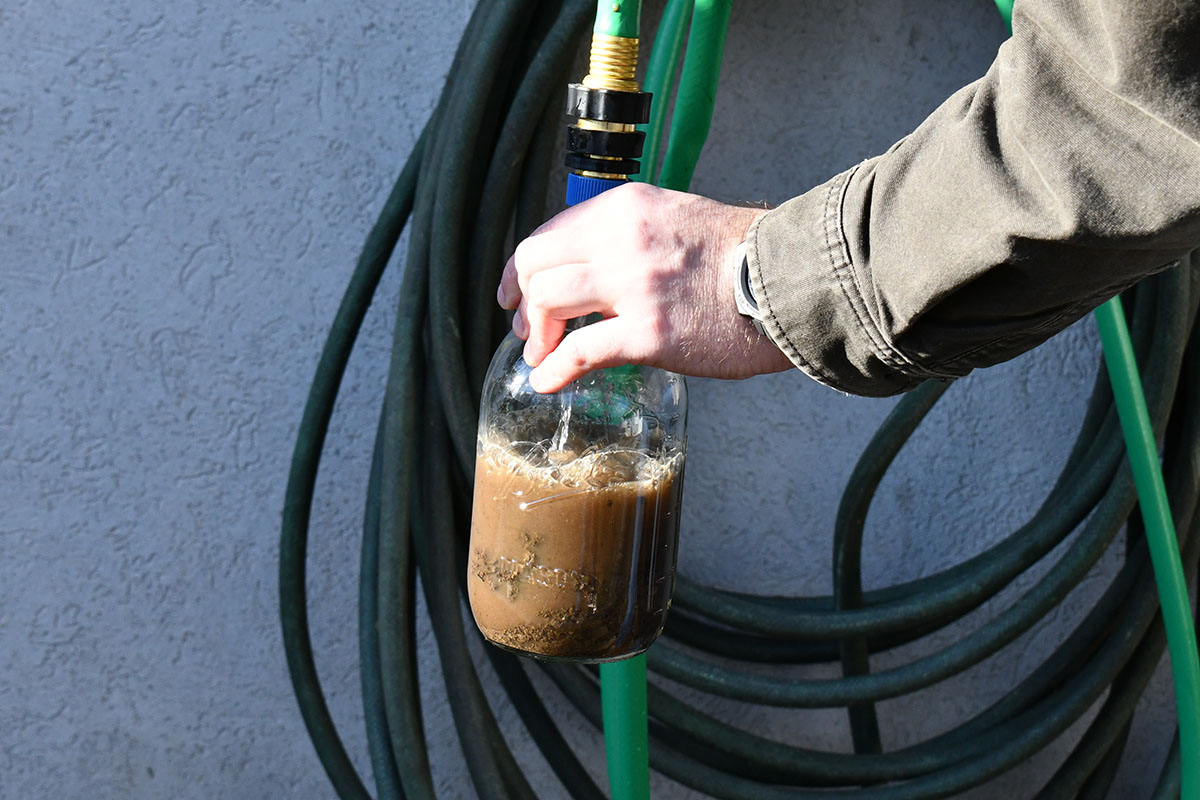
2. Sediment Test
Grab yourself a quart jar and add some soil from your garden (1/3 to 1/2 full). Top it up with water, leaving about one inch of headspace at the top. Cap it and shake the dickens out of it.
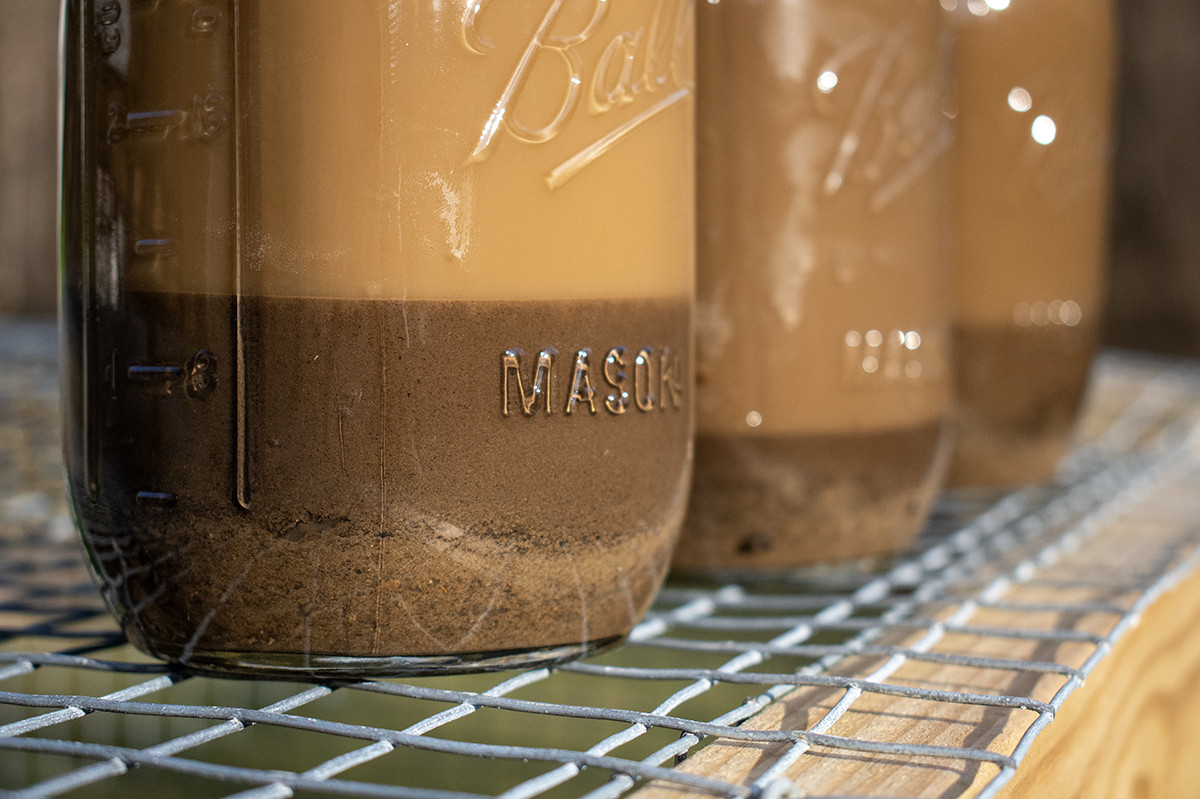
Let the jar set undisturbed for at least 24 hours. The different particles that make up your soil will slowly settle, heaviest (sand) first to lightest (clay). It’s best to let the jar set for several days, as clay takes the longest to settle.
Carefully observe the layers that develop.
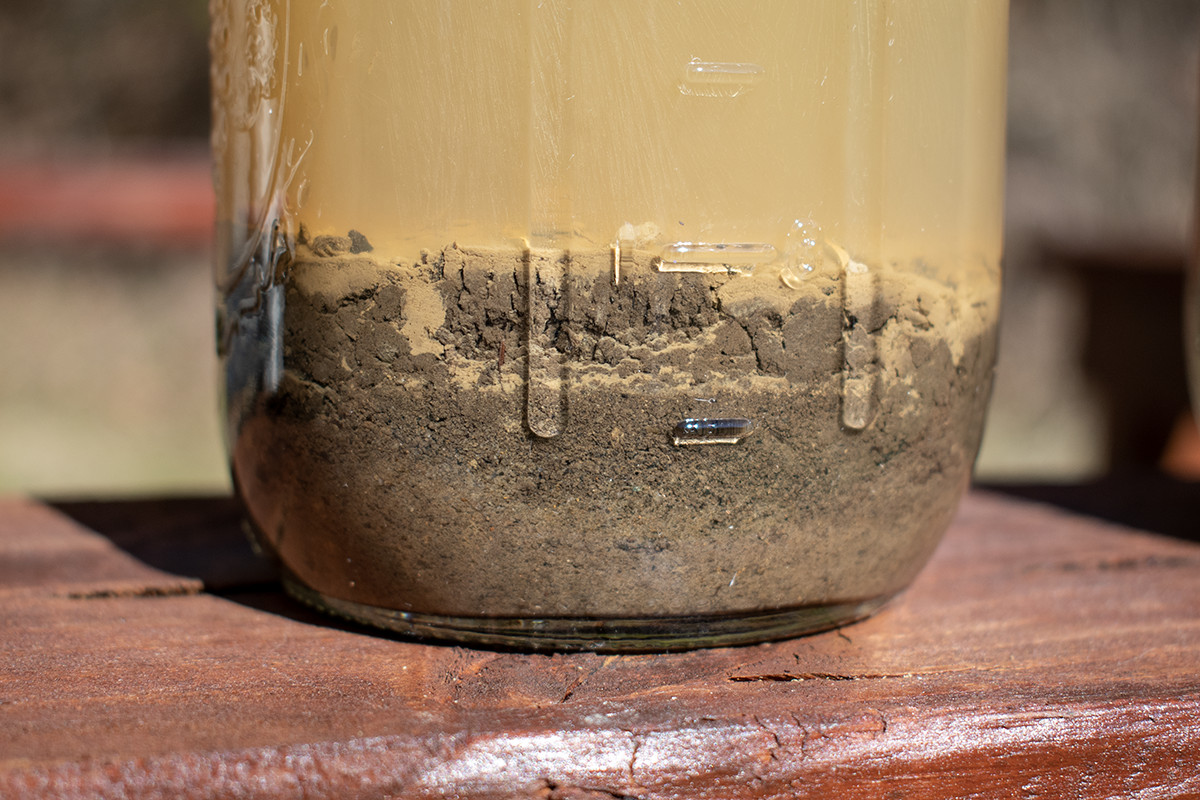
Sand will be on the bottom, followed by silt and, finally, clay. Look at how thick these layers are in relation to one another. You can get a pretty good idea by eyeballing them if you’ve got that 40:40:20 ratio you want. You may want to test more than one area if you have a large garden or multiple flower beds.
If not, what do you need more or less of? This will give you a good idea of how to amend your soil going forward.
3. Worm Test
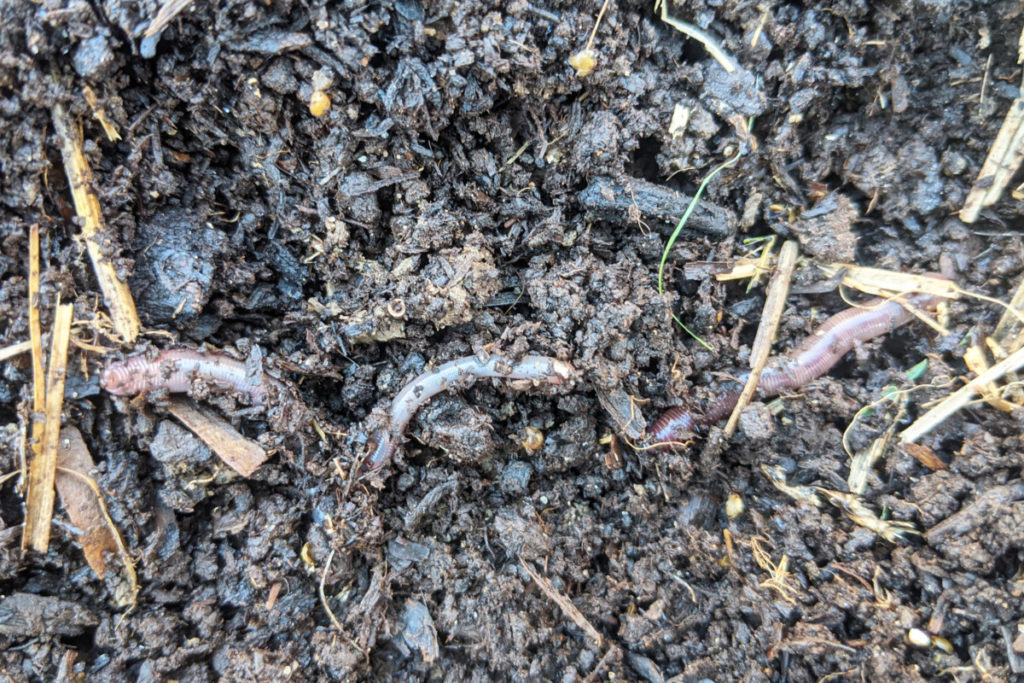
Healthy soil supports life, and a good worm population is one of the easiest signs of healthy soil. For this test, you will need to ensure the soil has warmed up a bit. 55 degrees or more seems to be the magic number.
Dig up one cubic foot of soil (12”x12”x12”) and put it in a bucket or a cardboard box or lay it out on a tarp. Sift through the soil, counting any worms you find. Around ten worms per cubic foot of soil are a good number to shoot for. More than that is better.
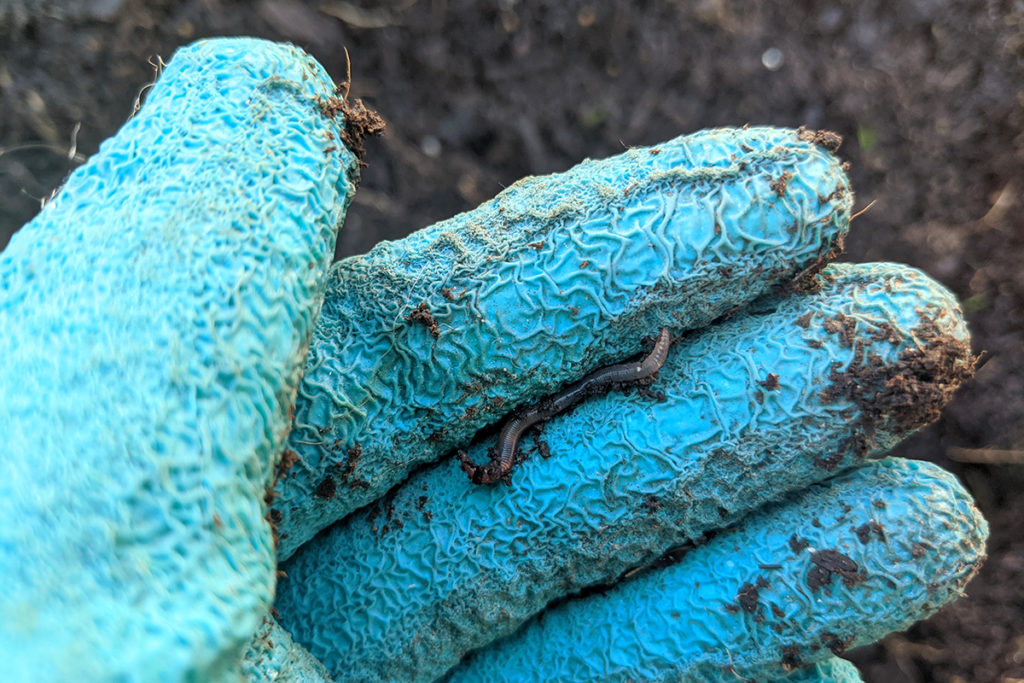
If you find none or significantly less, your soil lacks nutrients and the organic matter needed to sustain worm populations.
One of the best things you can do to improve your soil long-term is to build up the worm population. Begin by adding organic matter to your soil; mixing in plenty of compost is the way to go.
After you’ve amended the soil with compost, you can add worms. They will go through and break down the compost further, leaving worm castings and improving the soil via their movement through it. We did this in our garden, and the results were incredible.
3. At-Home Soil Test Kits
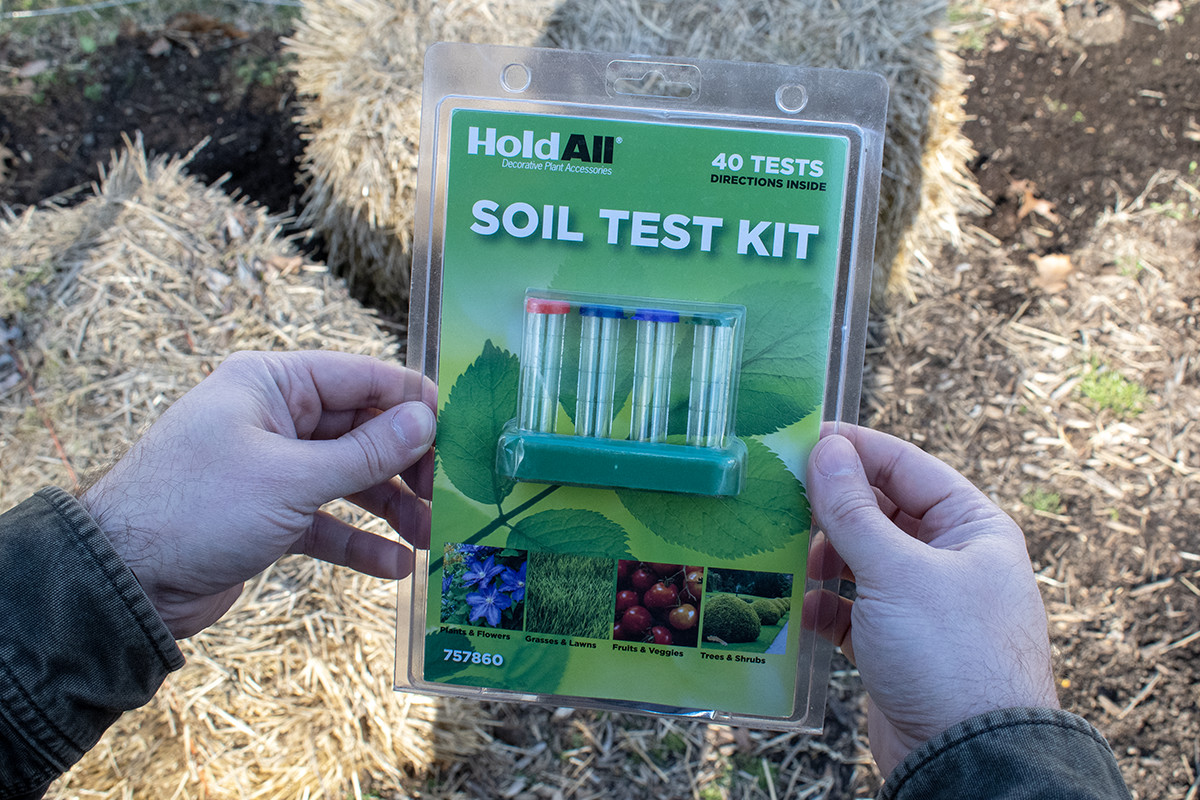
You can usually find these inexpensive kits in your local garden center or big box home improvement store. Some will only test for pH, but most contain everything you need to test pH and the nutrients in your soil. If you’re having a hard time finding one locally, you can order one from Amazon.
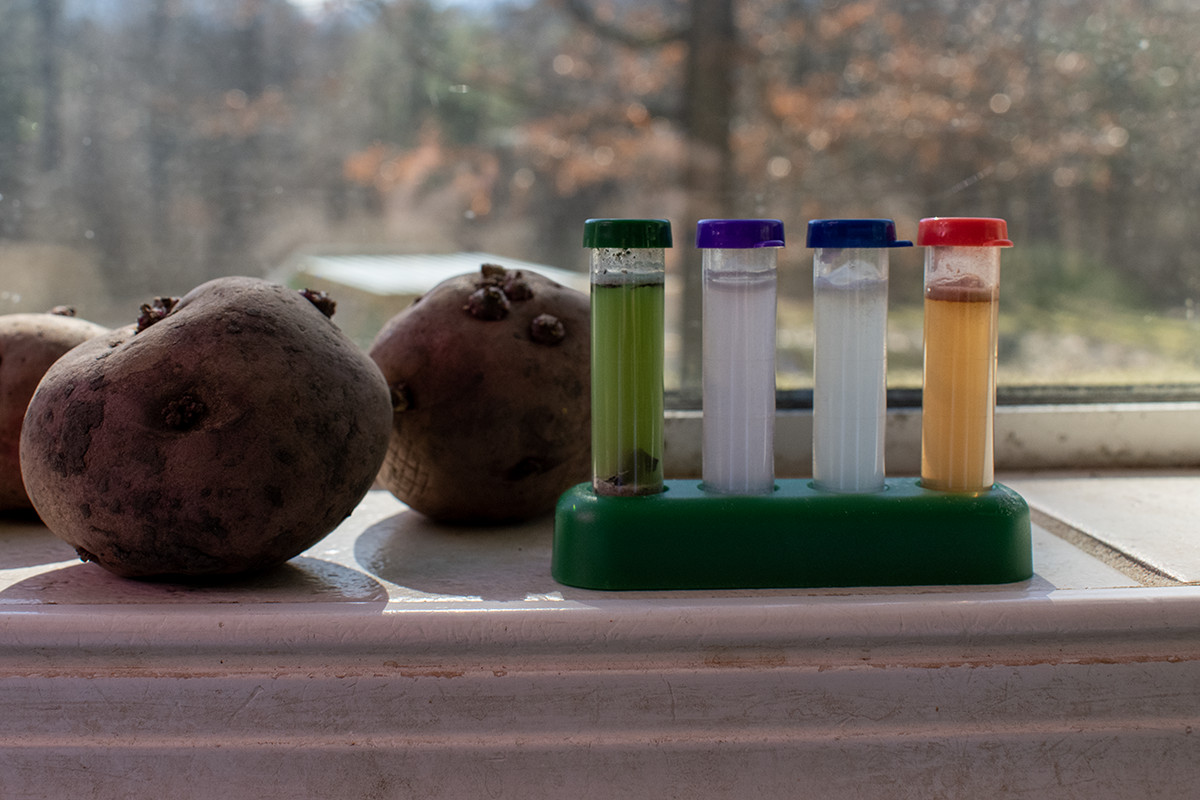
They are a great place to start if you want to get an idea of what’s going on below your feet regarding pH, nitrogen, phosphorous and potash levels. Knowing what nutrients are already in your soil makes fertilizing much easier throughout the season.
These kits do have their own issues, though.
Knowing the soil is deficient in a specific nutrient is one thing; knowing how to fix it is another. And not all of these kits are highly accurate. They can be a useful tool to determine if further testing is warranted.
But if you’re serious about soil testing, contact your local extension office. They offer reasonably priced soil testing that’s much more accurate. More importantly, they usually give you customized recommendations on improving your soil based on the results. It’s well worth the time and money, as you’ll benefit from a much healthier garden.

Get the famous Rural Sprout newsletter delivered to your inbox.
Join the 50,000+ gardeners who get timely gardening tutorials, tips and tasks delivered direct to their inbox.