

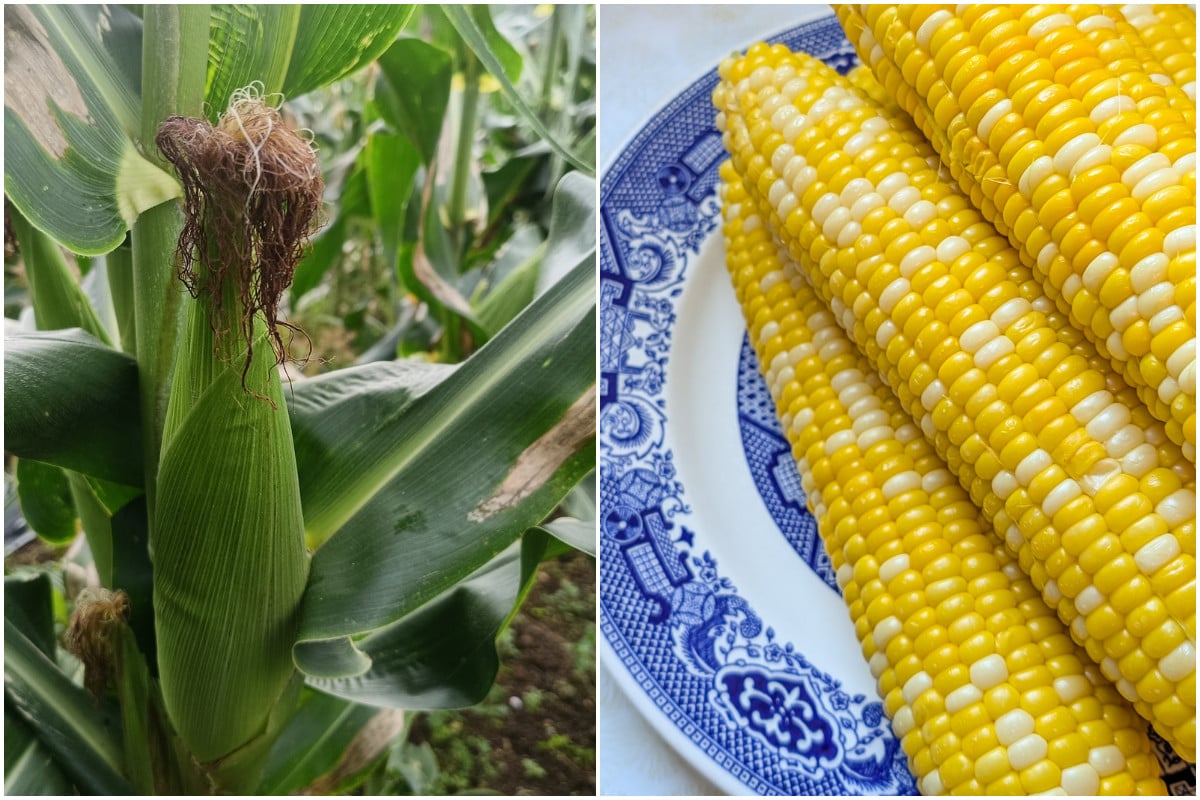
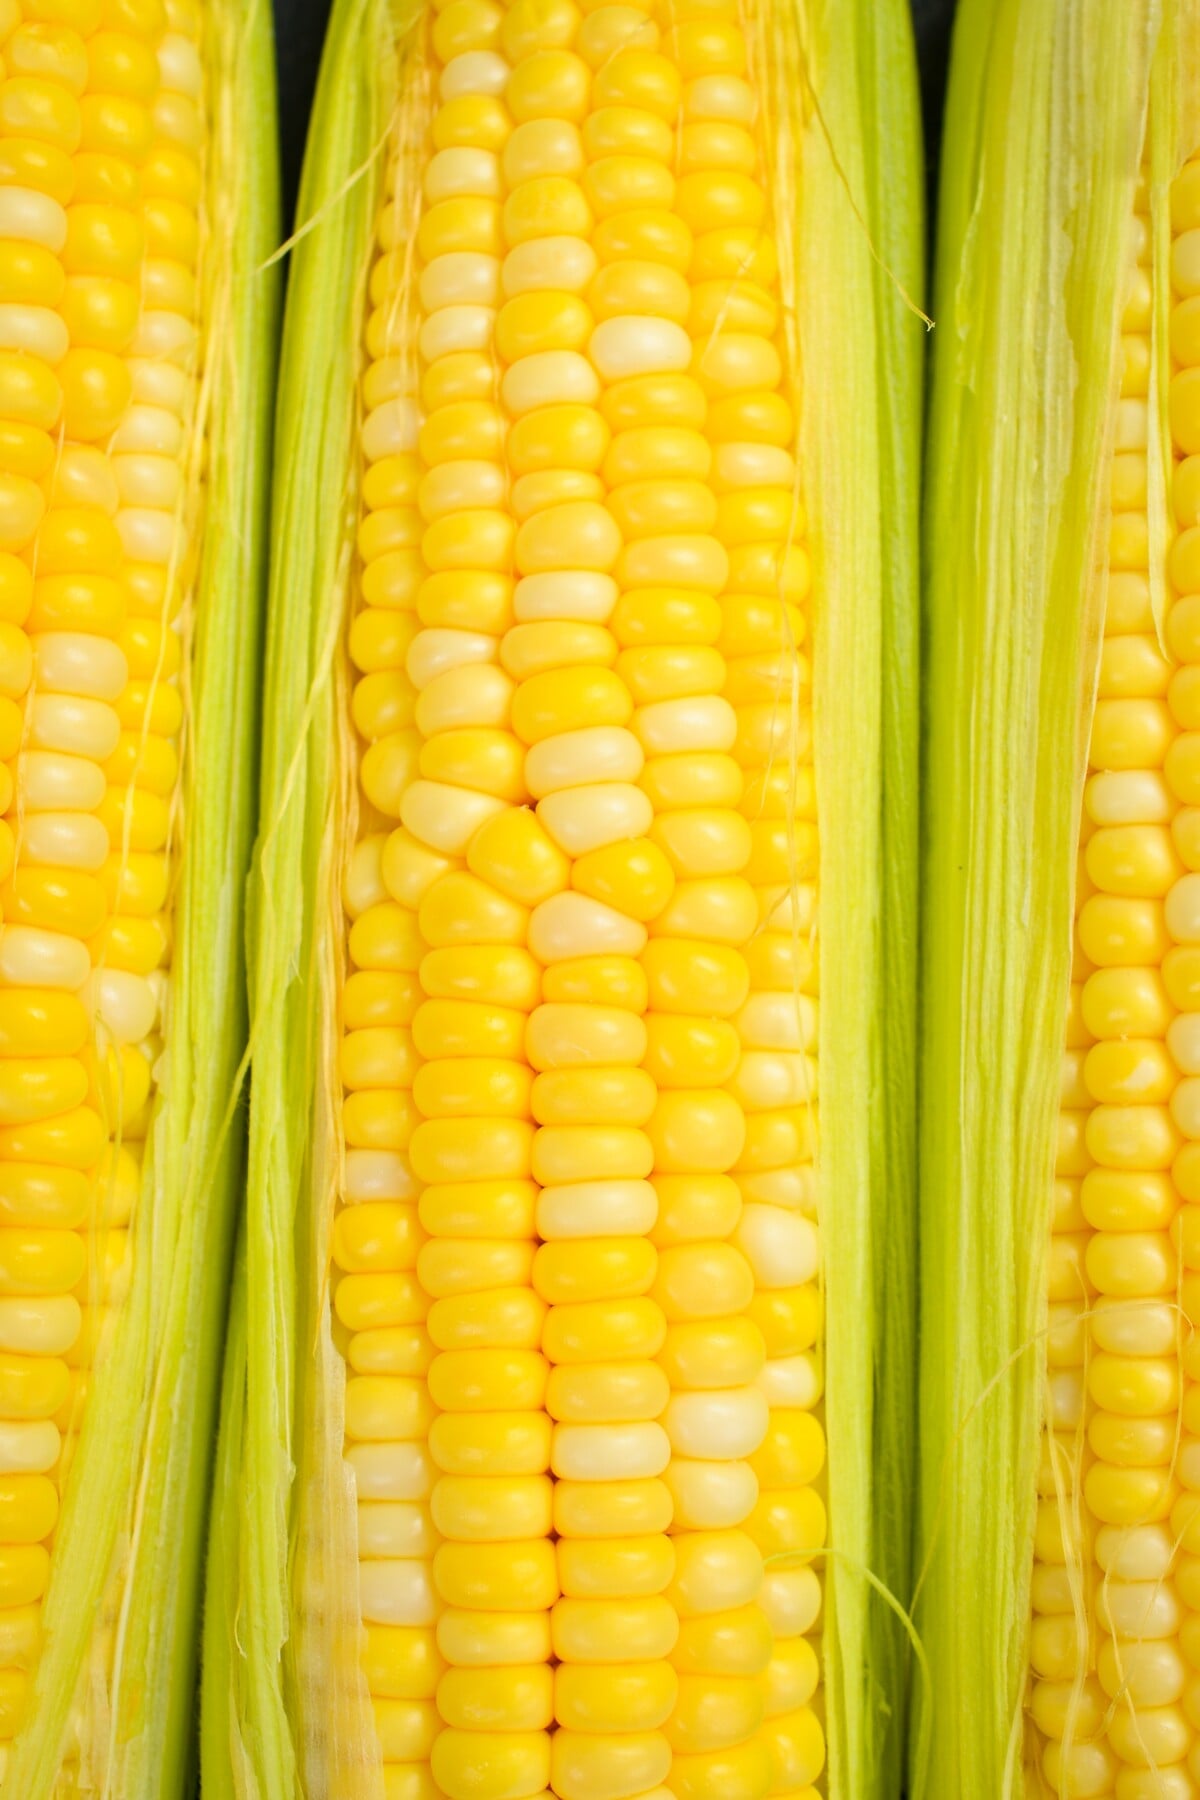
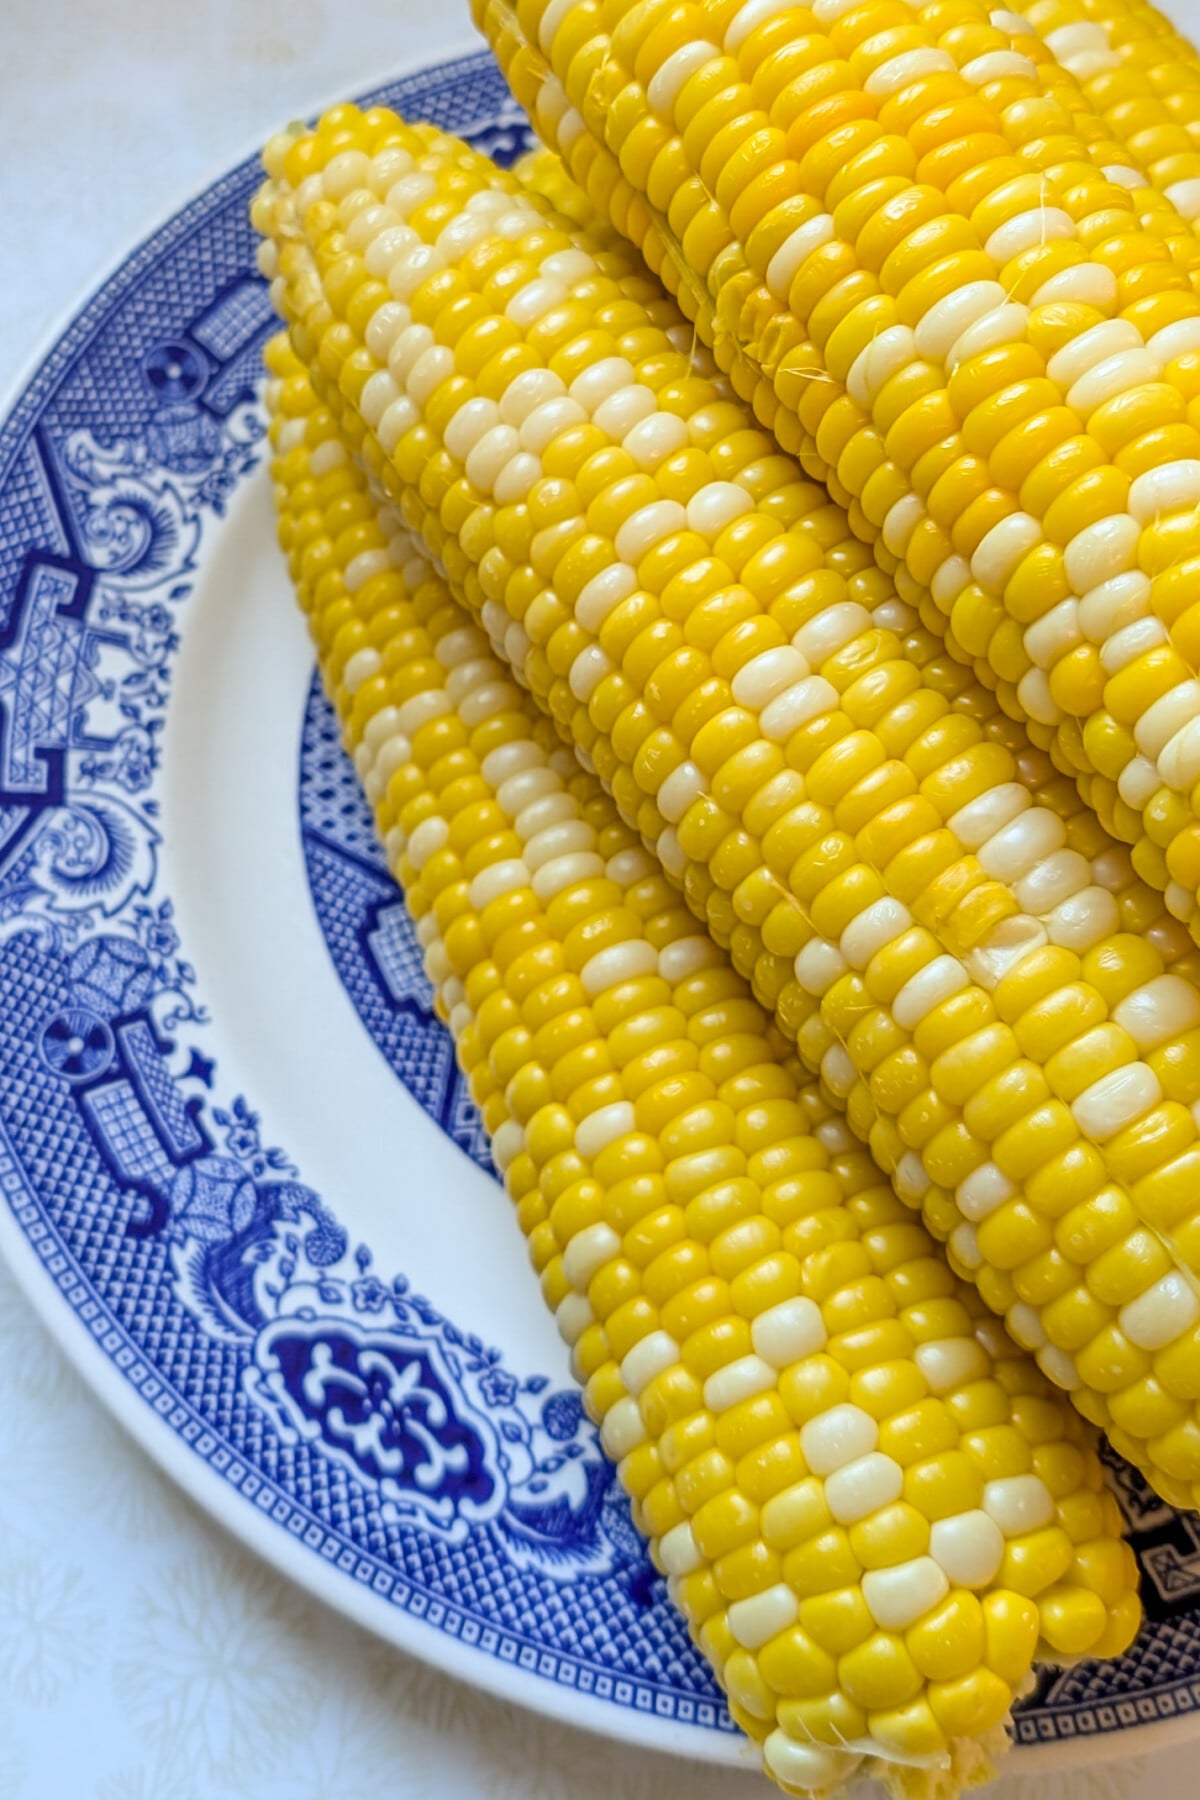
Sweet corn is a summertime favorite and an easy vegetable to grow in your garden. But if you want large, juicy ears, studded with row after row of perfect kernels, there are a few things you need to get right when you plant it. Make this year your best sweet corn crop yet by following these four tips for getting your corn started off on the right foot.
It’s Corn!
If you have someone under the age of sixteen in your life, then you’ve probably heard the cute little ditty that swept across social media a couple of years ago, noting all the wonderful aspects of corn. It’s got the juice!
And those corn-loving kids aren’t wrong.
When it comes to classic summertime foods, sweet corn is at the top of the list. But just like anything else we grow in the garden, getting it right takes some know-how and getting a few things right from the start. Otherwise, you can end up with poor pollination, which means fewer kernels and a disappointing harvest. If you have a smaller garden, then it’s even more important to plant corn the correct way for a small garden. (Yup, we small backyard gardeners need to do things a little differently.)
1. Ignore Air Temperature, Pay Attention to Soil Instead
Every packet of seed corn gives the same instructions as to when you need to plant corn – after all danger of frost has passed. These classic planting instructions hold true for a lot of vegetables, corn included, but they only account for air temperature.
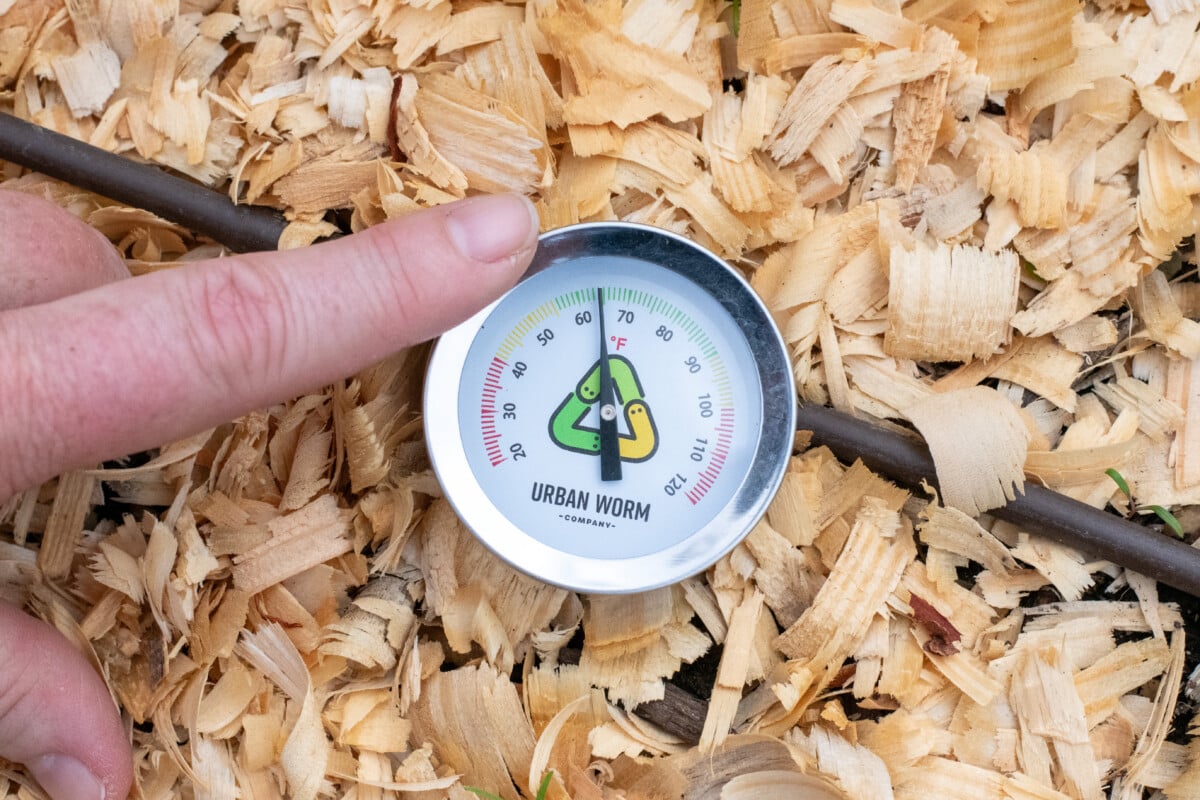
When it comes to germinating corn, soil temperature is much more important. If the soil is too cold, you’ll have poor germination rates or seeds that rot in the soil. The bare minimum soil temperature to plant corn is 55°F. But if you want to ensure success, it’s best to wait for soil temperatures to reach a consistent 65°F to 70°F.
That often means waiting a week or so beyond that all-important air temperature has been reached. One of the cheapest gardening tools I’ve ever bought has also been the one that’s served me well time and time again – a soil thermometer. This little guy right here. I rely on it throughout the gardening season, but especially in the spring. So much so that I started with one and now have four spread around in my raised beds and flower beds.
2. Skip the Rows & Plant in Blocks
This is likely the most important thing you can do to set yourself up for beautiful, full ears of corn. It can also be the most challenging if you have a small space to work with.
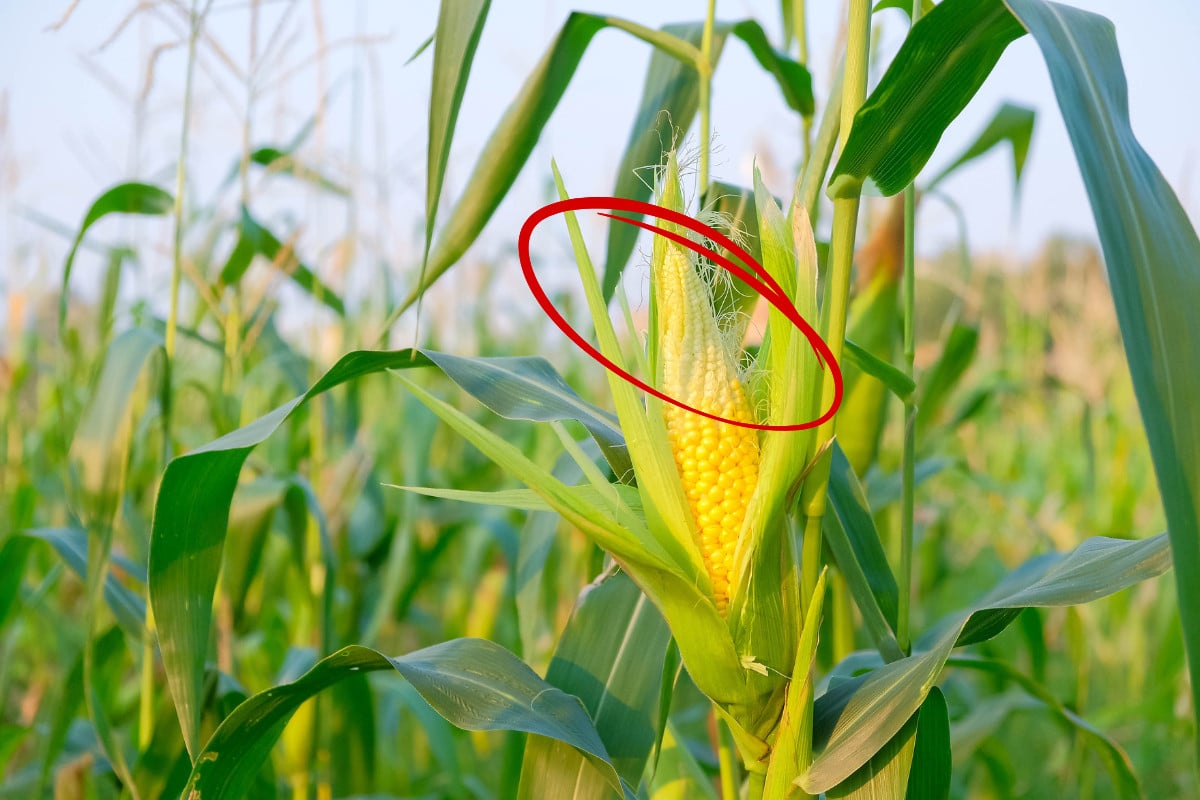
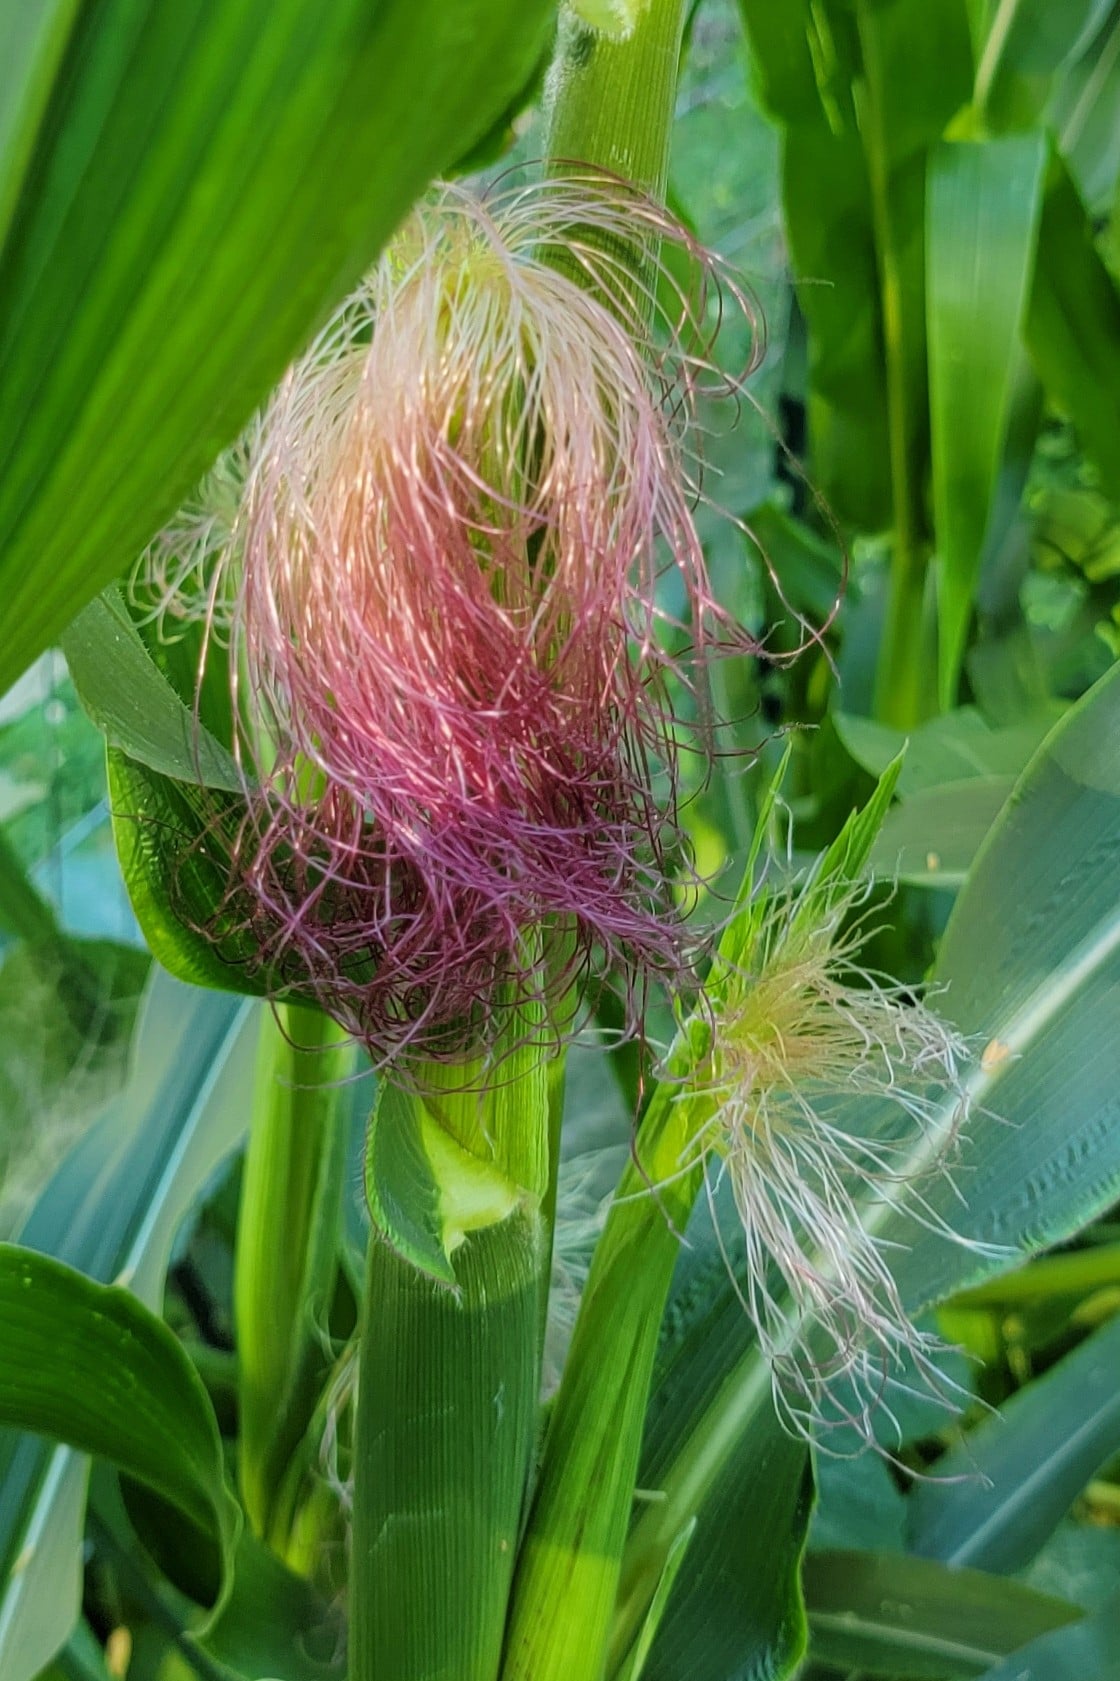
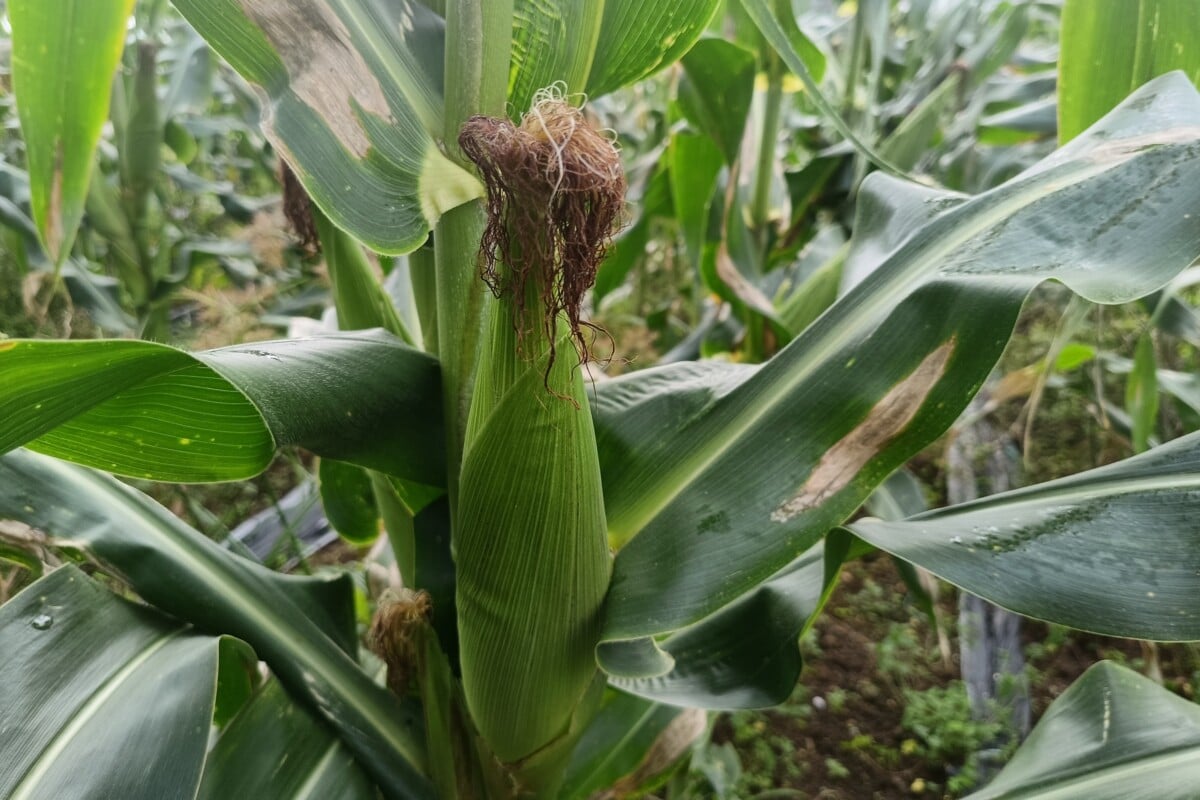
To get those nice full ears, you need really good pollination. All those lovely golden strands of silk serve a purpose. Each one is connected to a kernel (or what will be a kernel if it’s pollinated). The wind blows the pollen down onto those strands of silk. To get a full ear of corn, each one needs to be dusted with the pollen.
Now, picture in your head how corn is usually grown.
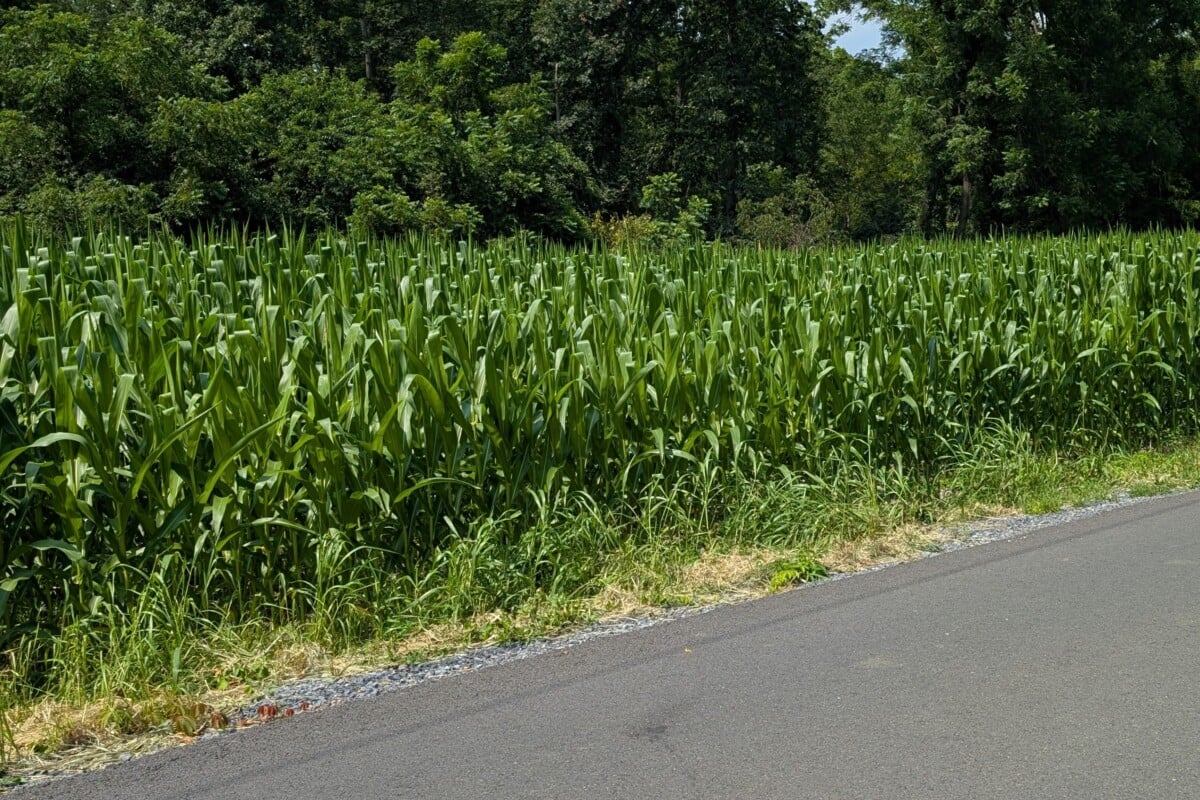
This one is easy for me because I can still see my dad’s long rows of corn in the garden of my childhood. But planting in rows is the worst way we, as home gardeners, can grow our corn. We took an example from commercial growing and used it in our gardens. Unfortunately, we took the wrong part – the rows. What we should have been paying attention to is the overall large grid of corn.
To ensure good pollination, we want to plant our corn in a block (a square). By grouping our corn closely together this way, rather than strung out in long rows, we make the wind’s job easier and ensure much better coverage. To maximize a small space and get the most corn possible, you want to plant your corn in a square, with a seed planted every 6” and rows only 6″ apart. I know it sounds counterintuitive, but it’s going to give you more, fully pollinated sweet corn. Build yourself one of these. It’s a real game-changer!
3. Feed Your Corn – a LOT
If you thought tomatoes were heavy feeders, corn laughs in the face of these puny nightshades. There is a reason corn is notorious for stripping soil of nutrients, and why crop rotation and rest are essential in commercial farming (although not necessarily for home gardeners). Corn requires a lot of nitrogen. When you consider how large a corn plant is, and that it only takes a few months of fast growth to reach that size, this need for a lot of fertilizer makes perfect sense.
Be sure you scratch in a good 10-10-10 fertilizer, such as Espoma’s Garden Food, when you plant your corn. But you’ll need to stay on top of it, as once corn really hits its stride, it will need plenty of nitrogen. Side-dress with a high nitrogen fertilizer, such as blood meal, when your corn is about 12-18″ high.
That old saying, “knee high by the fourth of July,” is more than just a handy measurement of how quickly your corn should be growing. That’s also when corn kicks into overdrive and grows fast. So, be sure to side-dress your corn again with a high nitrogen fertilizer once it’s knee high, as it will need that second feed for the next stage of growth.
4. Plant More Than One Type of Sweet Corn for a Continuous Harvest
And last but not least, this handy tip will ensure that once the corn starts to ripen, you’ll have a continuous supply right through the season. I love the idea of succession planting, and I do it for a number of vegetables I grow each year. But if you’re anything like me, there are probably gaps in your harvest because you forgot to go out and plant that next row of beans ten days later, or another row of radishes the following week. Forgetfulness like this doesn’t work so well with corn because of how long it takes to grow.
Rather than succession planting your corn – planting a few more seeds every week to two weeks – plant all of your corn at once, in a single day. But plant several varieties, choosing them based on when they are ready to harvest. If you choose an early variety, then something more standard and (if you have the room) another variety that matures a little later, you’ll have corn throughout the normal harvest window.
Planting several different types of sweet corn all at the same time is also a great way to try out different varieties without giving up more space in your garden to do so.
Early Varieties to try (65-75 days)
Main Season Varieties to try (75-85 days)
Late Season Varieties to try (85-95+ days)
Of course, if you preserve your corn via freezing or pressure canning, you’ll want to plant all of your corn at once so it’s ready to process at the same time.
If you keep in mind these four handy corn-planting tips this spring, you’ll be well on your way to a summer filled with everyone’s favorite butter delivery device. And if you’re really lucky, you may even end up growing a South American delicacy, too.

Get the famous Rural Sprout newsletter delivered to your inbox.
Join the 50,000+ gardeners who get timely gardening tutorials, tips and tasks delivered direct to their inbox.