

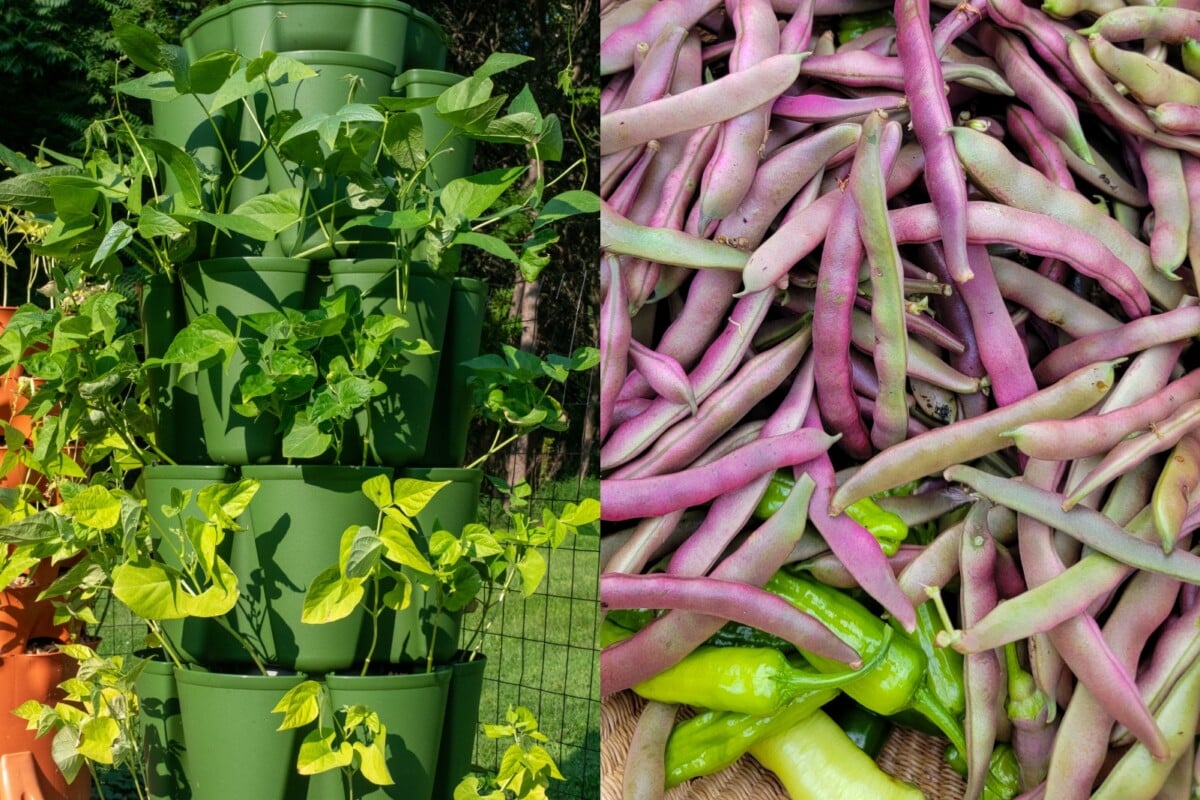
Bush beans are an easy-to-grow favorite of many gardeners. However, if you garden in a small space, then you know they can eat up garden real estate quickly, especially if you want to grow enough to preserve. Unlike their climbing cousins, they aren’t a great candidate for growing vertically. Until now.
Bush Beans and Garden Real Estate
I’m used to growing in small spaces. I’ve had gardens on the rooftop of an apartment building, on a balcony, even in a basement. Over the decades, I’ve gotten quite good at maximizing my gardening space. So, even when I have had room for a much larger garden, I rarely opt for sprawling acreage.
Keeping my garden compact makes it easier to maintain, and this is important as I get older.
This also means I’ve gotten quite creative about the vegetables I grow vertically.
- Tomatoes
- Cucumbers
- Winter Squash
- Cantaloupe
- Watermelon
They all go up.
Growing these vegetables vertically saves me a lot of space. (And a lot of strain on my knees while I care for them.) That means I have quite a bit of room left in my raised beds for peppers, eggplant, carrots, beets, onions, lettuce, kale, brussels sprouts, etc.
But the one thing that I always look at and think, “Man, that eats up a lot of space,” is beans.
I like bush beans.
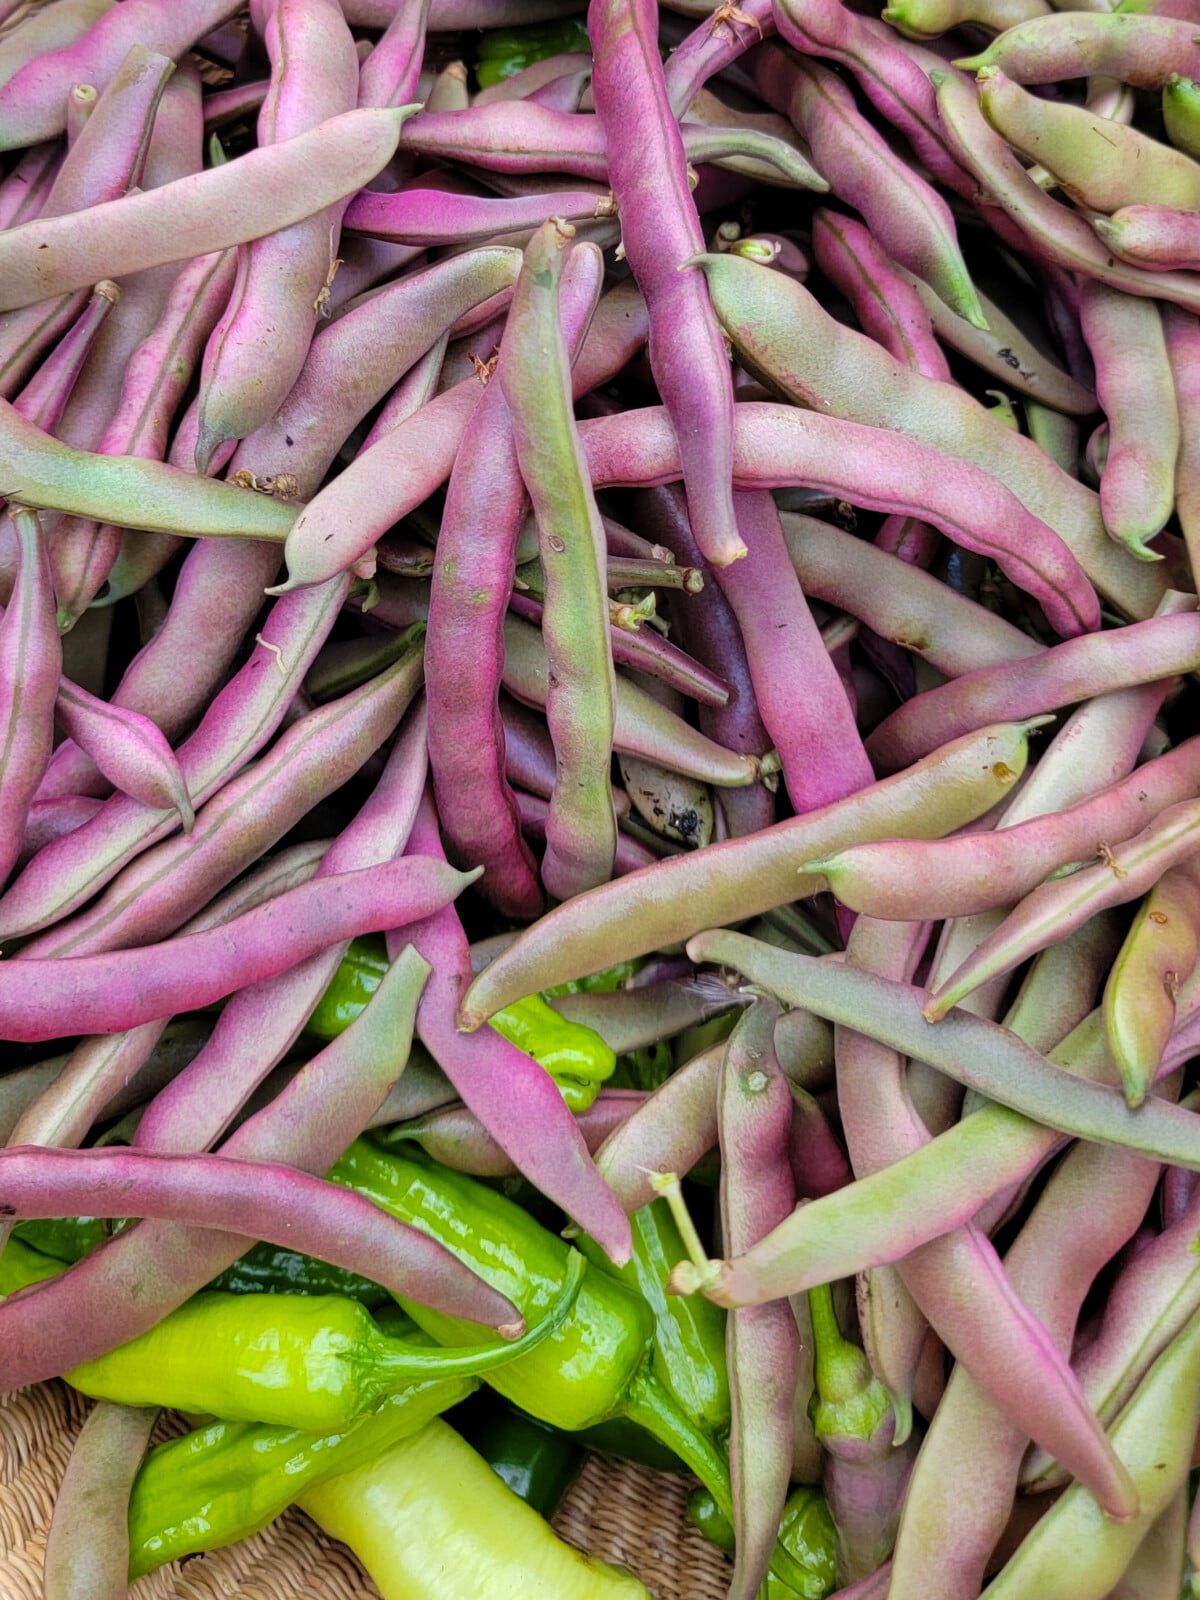
Most of my favorite varieties are bush beans, and that means I have at least one, if not two, entire beds dedicated to beans. After all, they are probably the only vegetable that everyone in my house will eat. So, I make sure I have plenty for fresh eating and plenty for freezing or canning for the winter.
Last summer, I decided I was going to find a way to grow bush beans vertically.
Now, I know what you’re thinking.
“Tracey, you can already grow beans vertically; they’re called pole beans.”
Yeah, yeah, I know that, but as I’ve already said, I like bush beans, and I have another important reason for choosing bush beans over pole beans, which I will explain in a bit. Come on, you know me well enough by now to know there’s always a method to my gardening madness.
A Tale of Two Towers
I have a Garden Tower 2, which I’ve used faithfully over the years for everything from lettuce to strawberries to peppers. It was great on my rooftop garden. It even withstood a tornado last year (after I was done hunting down all of its parts from the woods).
I’ve always thought a second one would be handy, but the price made me hesitant. It’s over $600 for the tower and the casters, which you really do need if you ever plan on moving this thing. It weighs a ton once it’s set up.
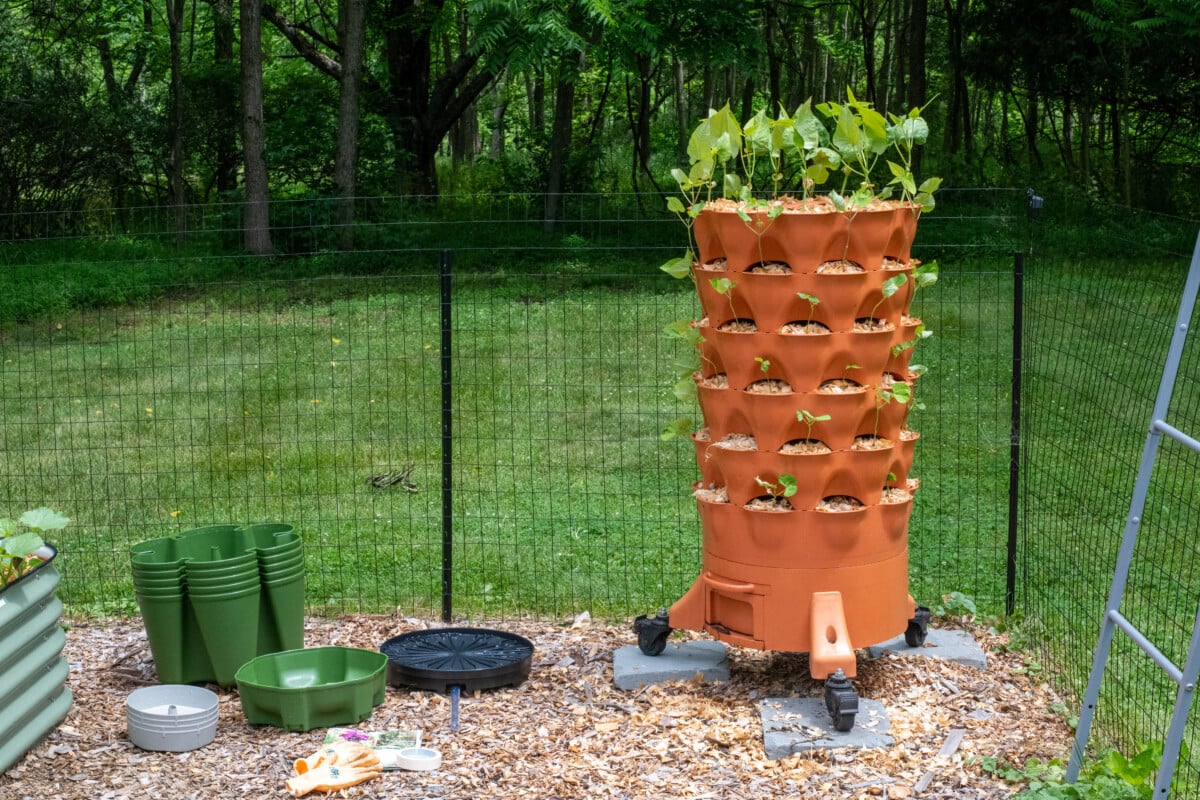
But I kept seeing this new vertical gardening system called Green Stalk.
So, I thought I would check them out. Turns out, they aren’t that new. They’ve been around since 2014. They are a US-based business, and their towers are made right here in the United States. What really drew my eye to it was, well, okay, I’ll be honest, the Garden Tower 2 is kind of ugly. It’s definitely functional, but it leaves a lot to be desired in the looks department.
I loved the look of the Green Stalk, the different color options available, and it’s less than a third of the price of the Garden Tower 2.
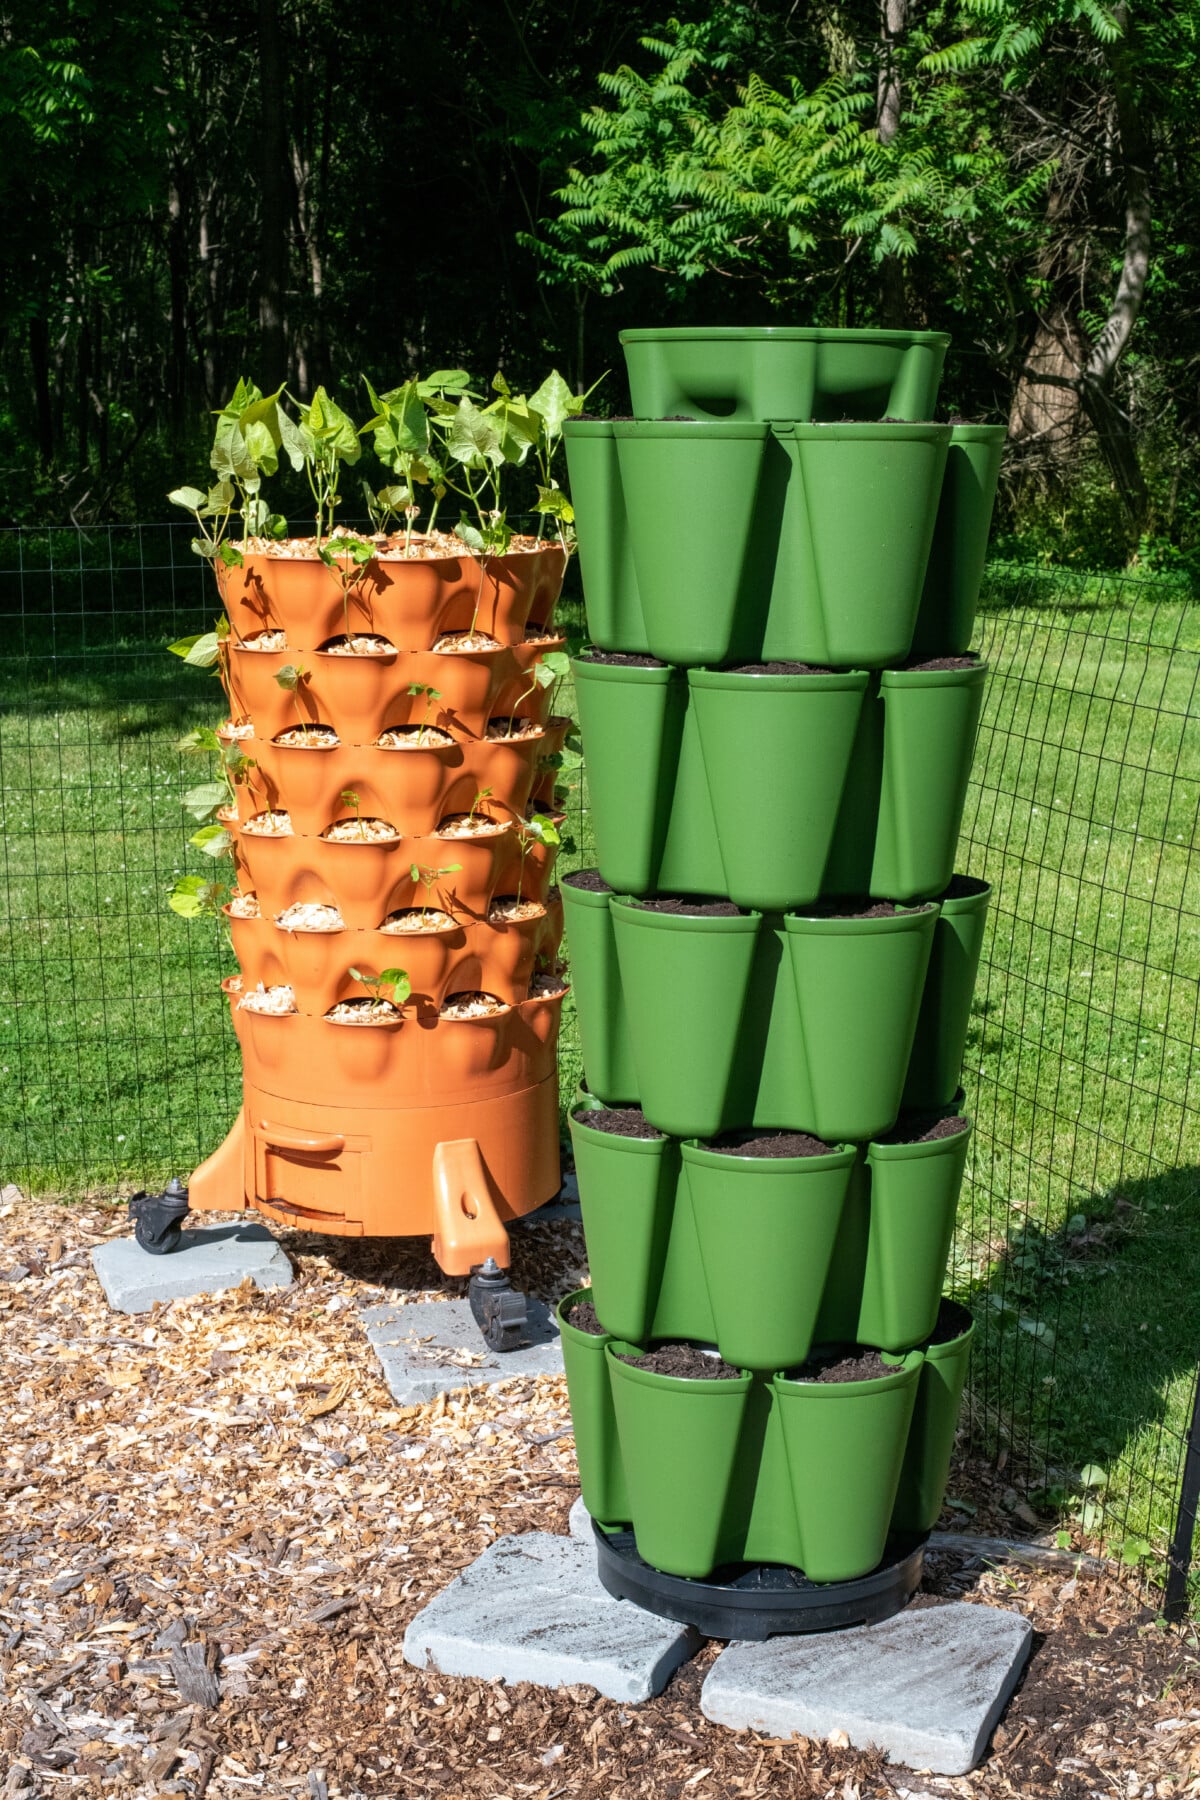
The Green Stalk is also less bulky, taking up less garden space.
The Garden Tower 2 has a vermicomposting tube down through the middle of it. It’s a great idea in theory, but I never keep up with it. Putting stuff into the tube involves putting scraps in via the tunnel at the top. It’s capped, and once your plants grow in, you’re forever trying not to pinch your plants when you put the cap back on. And the tube is pretty narrow. The tube fills up faster than the worms can break stuff down. So, I usually stick to composting and forget about the vermicomposting aspect of the Garden Tower 2. (There are easier and cheaper ways to vermicompost if you really want to.)
The more I looked at the Green Stalk, the more I thought, “This is my answer to vertical bush beans.”
So, I ordered one, and I can’t be more pleased. Sorry, trusty ol’ Garden Tower 2, but you’ve been ousted. I will still use it to grow strawberries. But I’m in love with my Green Stalk.
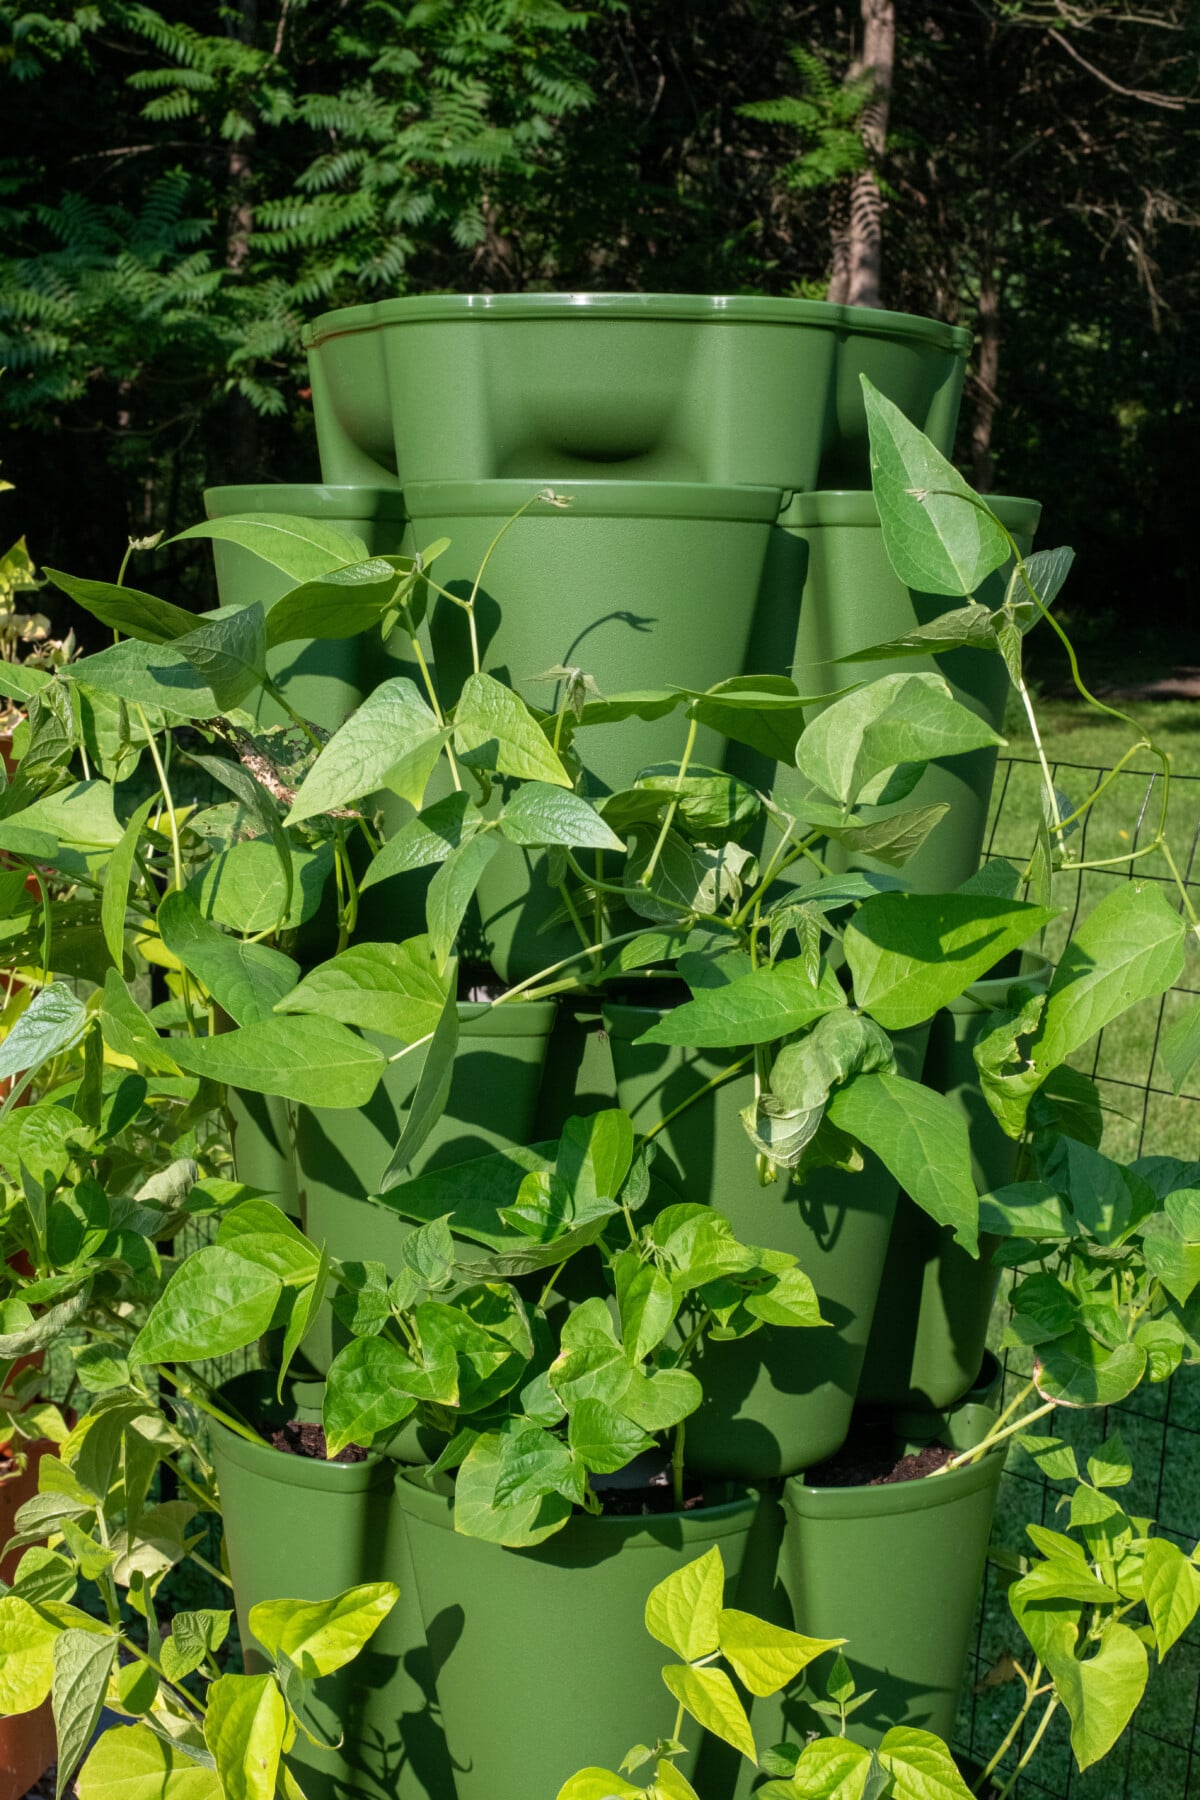
I feel like this is the part where I should say that Rural Sprout nor I are affiliates of the Green Stalk company.
(However, we are a part of the Amazon Affiliate program, which means if you purchase a Green Stalk from Amazon, using our link, we will receive a tiny percentage of the sale.)
I purchased my first Green Stalk from Amazon, but after looking directly at their website, that’s where I will be buying future Green Stalks. There are so many more fun colors available if you purchase directly from them.
I’m not a fan of joining affiliate programs for specific products. That way, you, dear reader, know that when I really like something, it’s because I bought and paid for it myself and find it genuinely useful.
Anyway, getting back to growing beans vertically with the Green Stalk. It was so much easier to put together than my Garden Tower 2. It’s much easier to water. And my beans look great!
I planted two beans per pouch. I keep up with water and fertilizer to make sure the plants aren’t competing with each other. That means for as little as three square feet of garden space, I can grow 60 bush bean plants.
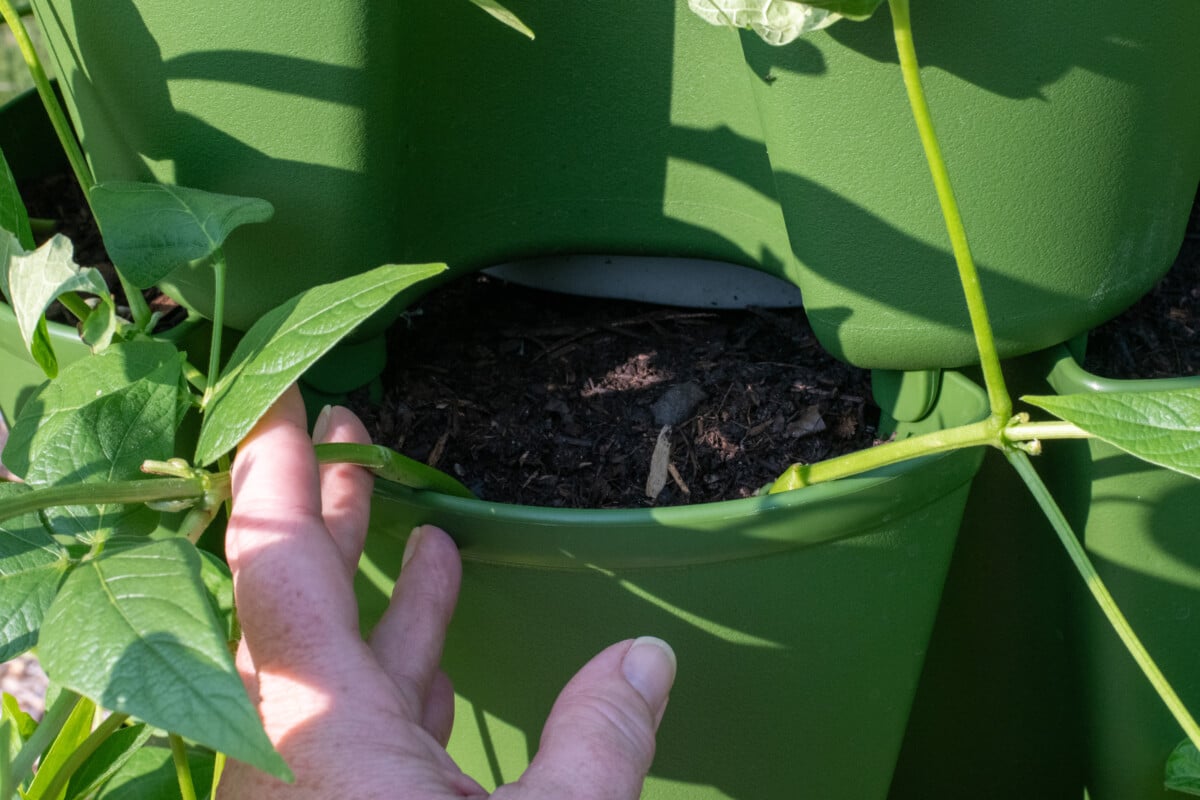
And now we’ve stumbled on the reason why I’ll take growing bush beans vertically with my Green Stalk over planting pole beans. Yes, pole beans grow vertically naturally, but in the same three square feet, I can only plant between 18-24 pole beans.
By choosing to grow bush beans in a vertical planting system, I end up with more beans than I would growing pole beans. I get the most veggie bang for my buck with the smallest footprint.
Don’t get me wrong, I’ll still plant the occasional pole bean, but for my favorites, like cannellinis, green string beans and yellow wax beans. This is now my go-to growing method.
A few tips if you plan to join me in the vertical bush bean revolution, which you should, we’re super cool.
As I already mentioned, it’s important to stay on top of watering and fertilizer. Anytime you grow vegetables in a container, the traditional watering rules go out the window. You will always need to water more frequently because there isn’t as much soil to hold water. Once your beans begin flowering, feed them a fertilizer that’s higher in phosphorus and potassium than in nitrogen.
Mulch. Yes, you read that right. Even here, we need to mulch, as this will help hold water in and keep soil cool during the dog days of summer. You can mulch each pocket once your beans have sprouted and are a few inches tall. Or you can join my other gardening revolution – pine flake mulch – and mulch as soon as you plant your bean seeds. The pine flake mulch is light enough that the bean sprouts have no problem pushing up through it.
Since we’re filling a container with new soil and specifically growing legumes, you may want to inoculate your soil with Rhizobium bacteria. These are the little guys actually responsible for legumes’ ability to create their own nitrogen. (That’s right, the beans have been taking all the credit for the bacteria.)
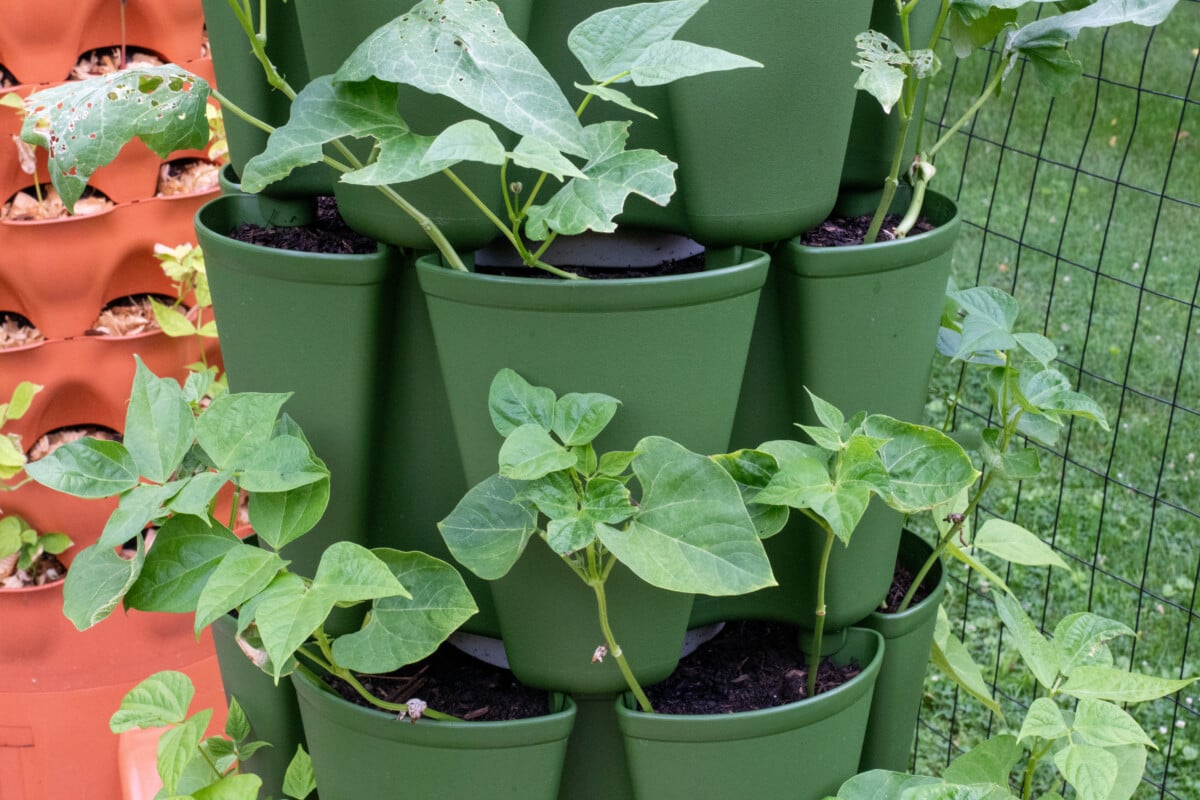
I’m already planning a second bean tower, and I’ve been eyeballing my little kitchen herb garden and thinking that might do really well in a Green Stalk, too. As I lean into keeping my gardening compact and aging-friendly, I’m all about finding ways to maximize my yield. The Green Stalk is definitely helping in that department. And with it, I’m growing more beans, and I’ve freed up soil space for more Brussels sprouts and kalettes.
Get Garden Notes From Tracey, Right to Your Inbox
Pull up a chair on the front porch. Join 54,000+ gardeners who get Tracey\'s friendly notes, seasonal to-dos, and hands-on tutorials three times a week.