

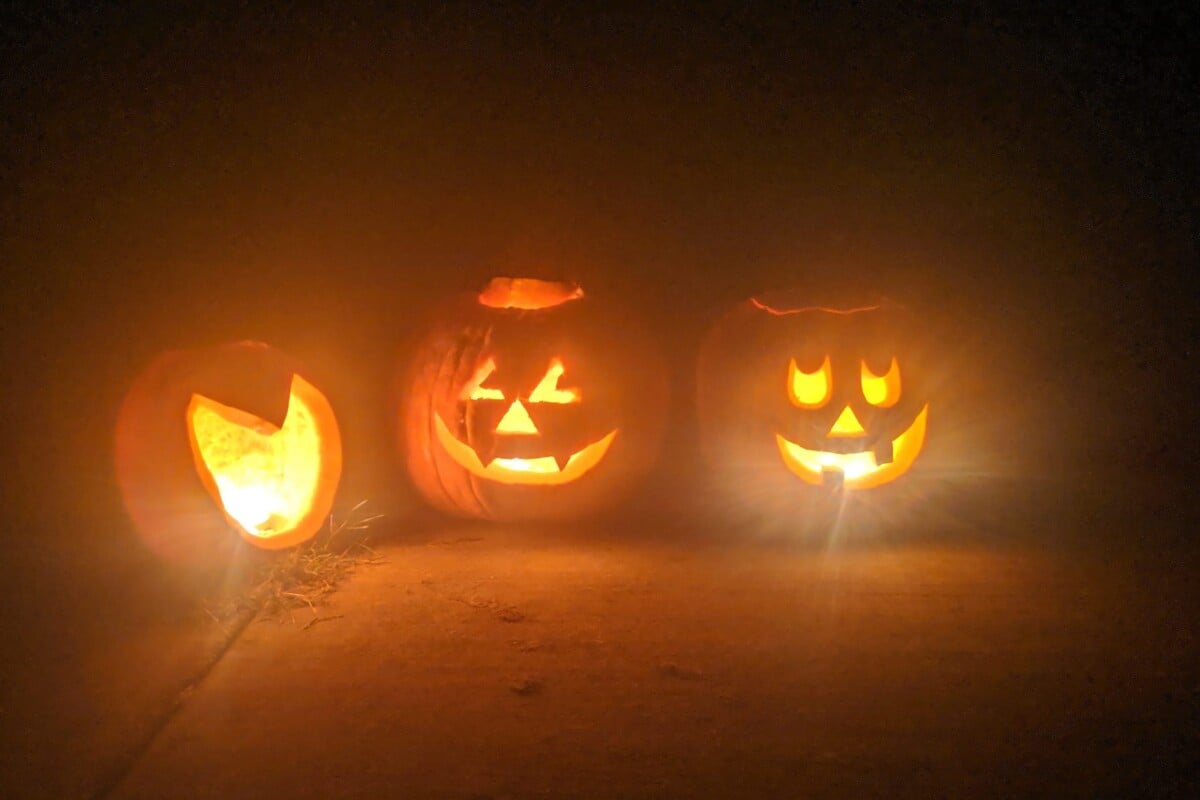
Now that the kids are all too old to go trick-or-treating, I rarely do much for Halloween. My fall decorations are usually just that, fall-themed. You know, chrysanthemums, a few decorative gourds, maybe some corn stalks if I want to go all out.
But there is one Halloween tradition that we rarely skip – carving pumpkins.
There’s nothing more fitting than stabbing the crap out of a squash, scooping out its guts and carving a wry smile into the front of it. (And if you want to be gruesome indeed, toast its seedy insides to snack on later. Mwuhahaha!) It’s very much on brand for the holiday.
However, before you get to that part, there are a few things you’ll want to look for when choosing your carving pumpkin. It’s nothing too complicated, but if you pay attention to these tips when picking out your pumpkin, you’ll have one that will last longer and be easier to carve.
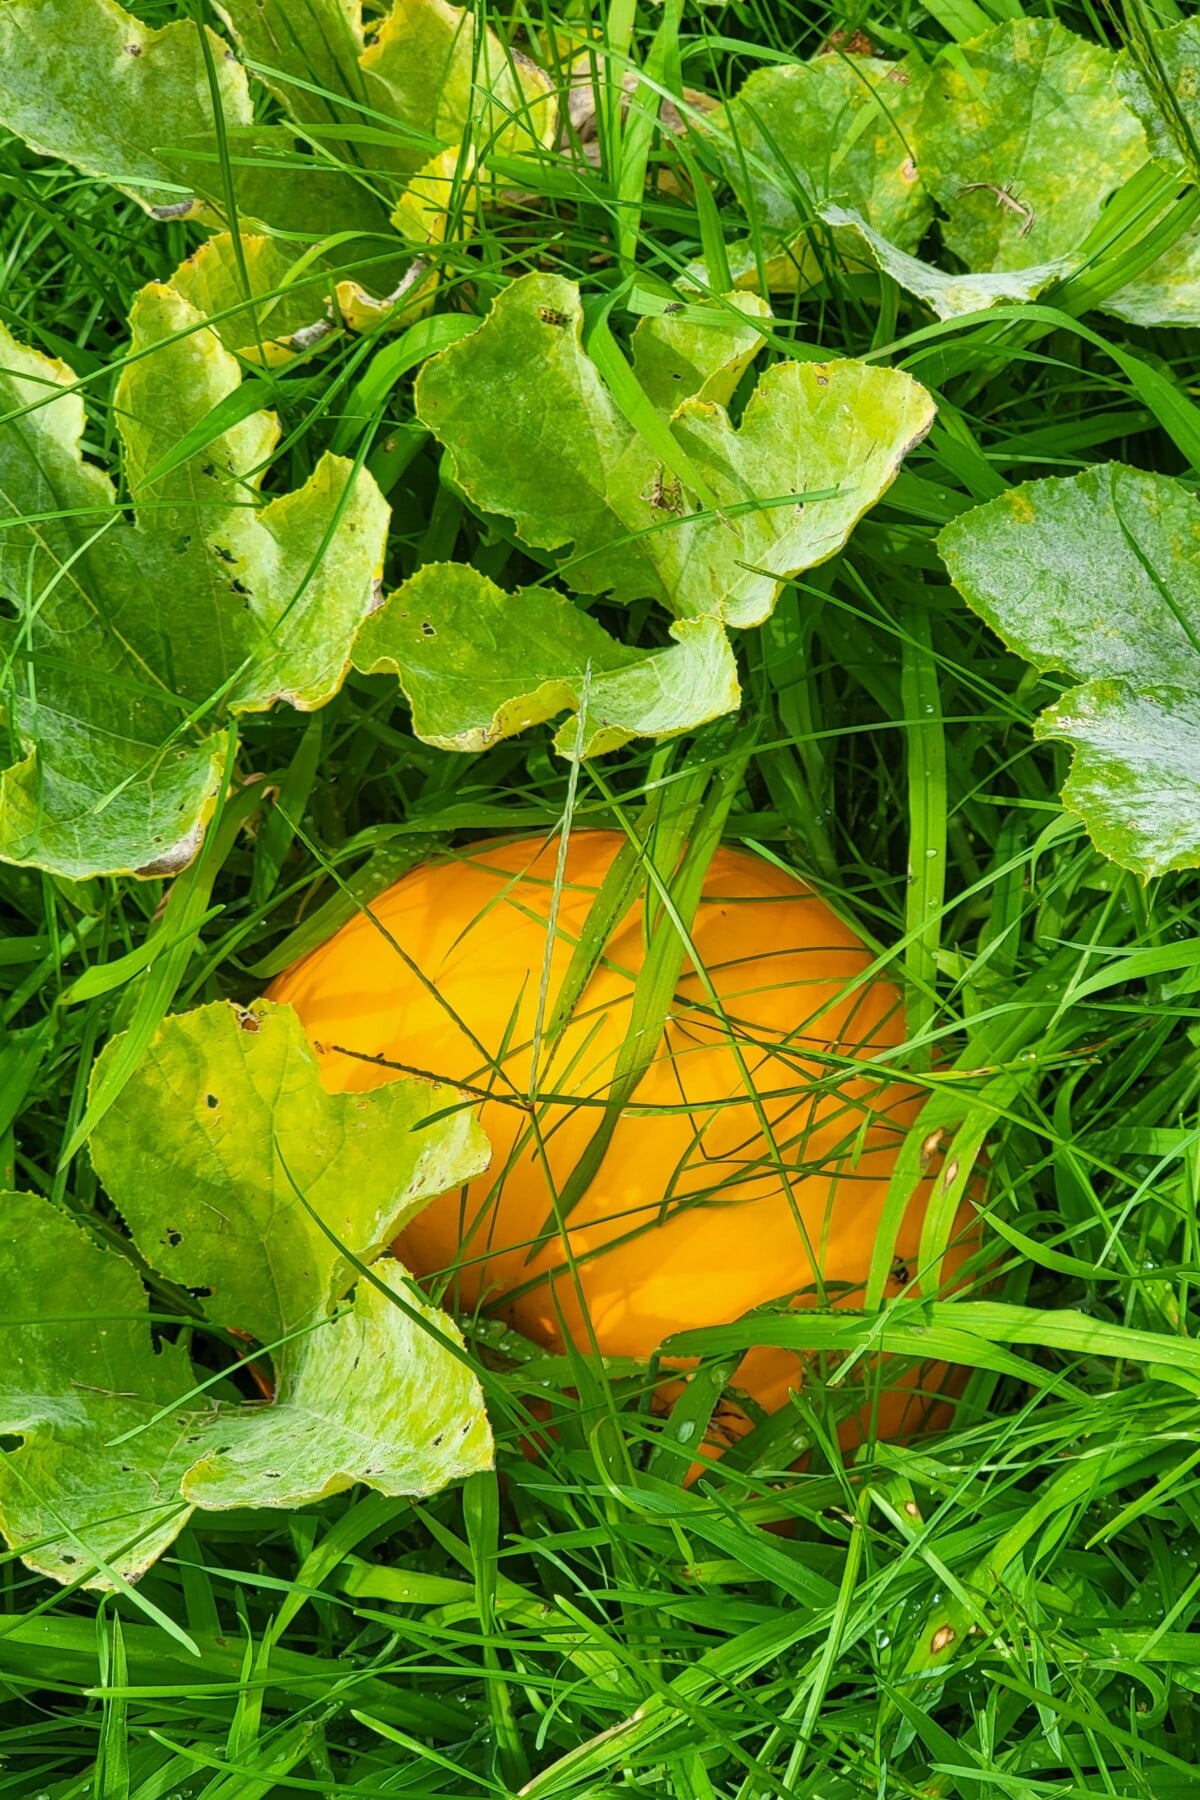
There’s nothing worse than trying to cut a lid into the top and being met with three solid inches of pumpkin. From there on out, you know it’s going to be slow going. Having your pumpkin rot before you can carve it is no picnic either.
Whether you are buying your pumpkin from a big ol’ cardboard bin at the grocery store or heading to your local pumpkin patch, here are five things to look for. (By the way, I also have some good tips for surviving– erm, I mean enjoying your trip to the pumpkin patch with the family.)
A Green Stem
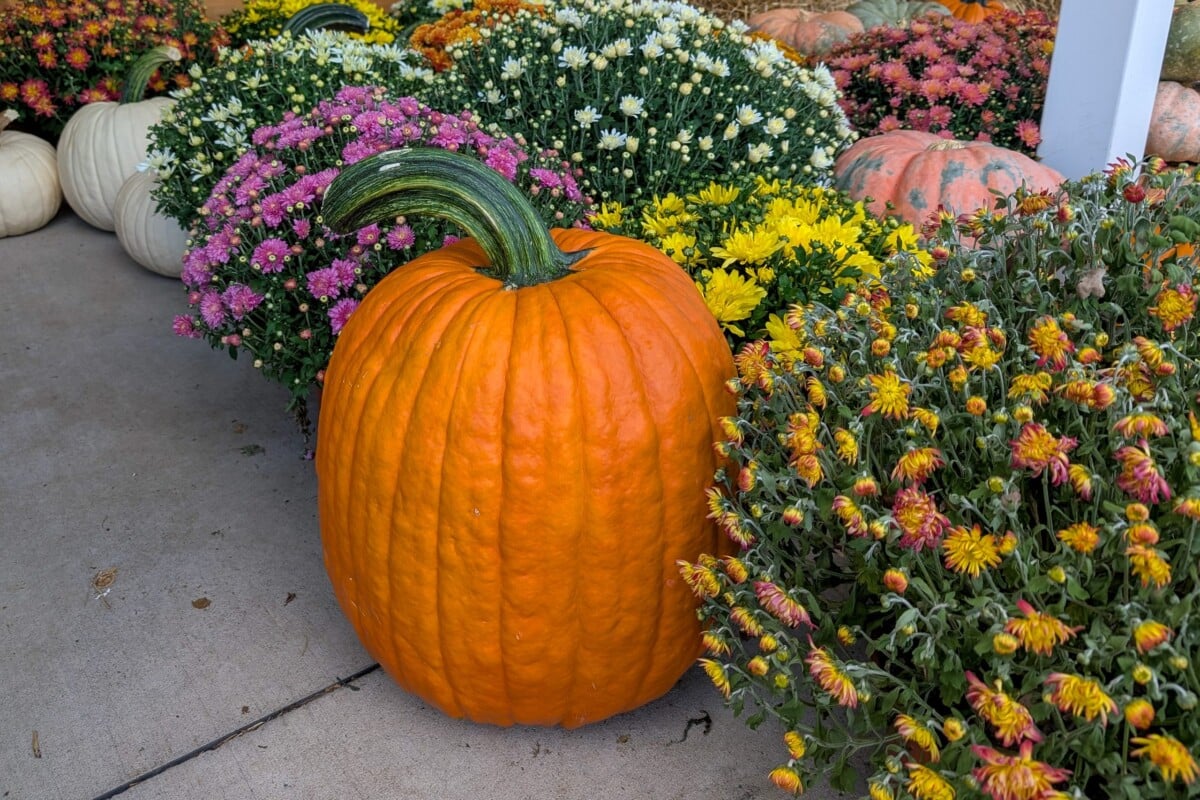
Look for a pumpkin with a nice green stem. This is less of an issue if you are going to a pumpkin patch where you cut your own pumpkin straight from the vine. In that case, be sure you leave a nice four- to five-inch-long stem.
For a pre-cut pumpkin, be sure to find one where the stem is still dark green and between four to five inches long. A brown or faded green pumpkin stem means the pumpkin was picked some time ago and may not last until you’re ready to carve it.
Pumpkins will lose moisture from their stems first, so a longer stem means it will take longer before the pumpkin itself begins to lose moisture. Hence why we want a nice long stem. It’s insurance against a sad, rotting pumpkin.
Don’t be tempted to carry it by the stem, though; it’s not a handle.
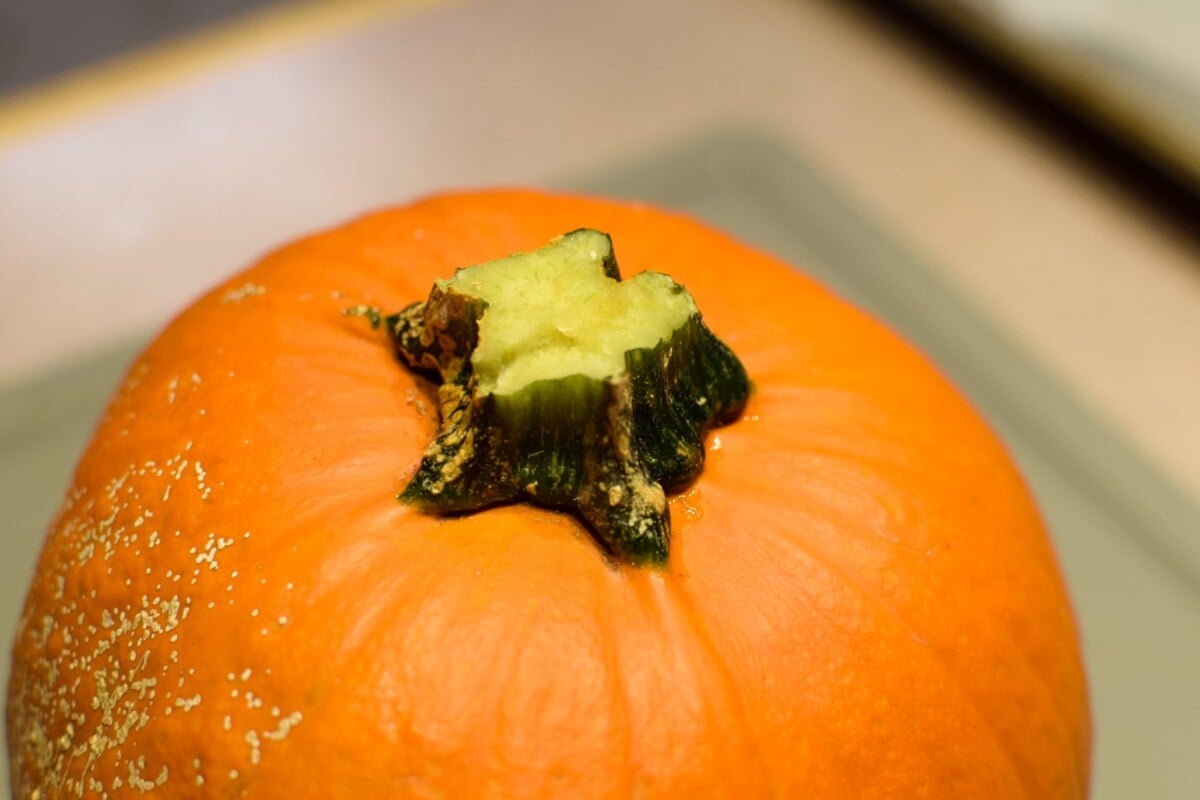
If the stem snaps off, there goes your insurance. The pumpkin will rot much faster as moisture will be lost directly from the top of the pumpkin. Bacteria can now get in as well.
No Soft Spots
Just like you would when shopping for fruit, give the pumpkin a good once-over. Press on it firmly, but not too hard. You’re looking for bruising and soft spots. They may start out small, but they will quickly spread, and you’ll have a rotted pumpkin in no time.
Be sure to check the bottom of the pumpkin specifically, or the spot where it was growing against the ground. The underside of the pumpkin, where it’s been sitting in the muddy field, is the most susceptible place for soft spots. And the best spot for hiding them. Flip your pumpkin over and give it a pat down.
Definitely forego any pumpkins with soft spots.
Will it Rock and Roll?
I like to set my pumpkin on the ground to be sure it will sit well and not have a tendency to wobble. I’ve lost two pumpkins this way. Both ended up rolling right off of the porch/front stoop on windy October evenings. (Insert spooky ghost noises here.) One was right before Halloween after I had spent all that time carving it!
If you checked and your pumpkin didn’t have any soft spots before, it surely will if it can’t sit up straight and rolls off your porch.
Something to keep in mind when choosing pumpkins: it will develop a flat spot wherever it’s lying on the ground as it grows. If it’s the bottom of the pumpkin, that’s where the flat spot will be. If it grows on its side, the flat spot will be on the back, so to speak.
Don’t skip over these sideways pumpkins out of hand!
They make for fun carving opportunities. You can go for a wider grin this way or carve a scene that’s a bit more panoramic than with your traditionally shaped pumpkin. Plus, if you’re carving a face, you might be able to use the stem as a nose.
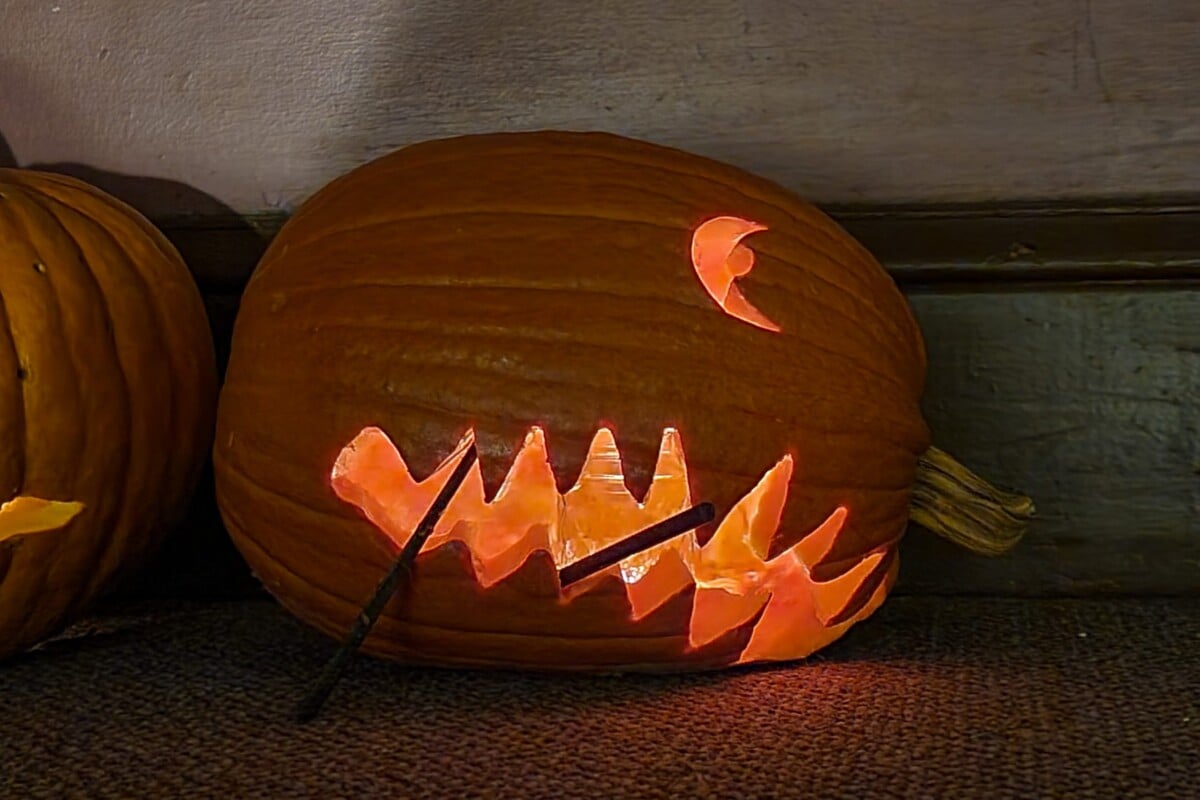
It’s kind of fun to carve something unexpected. Even these weird little pumpkins deserve to be part of the Halloween festivities.
Knock, Knock; Who’s There?
Boo.
Boo who?
It’s Halloween! There’s no need to cry about it.
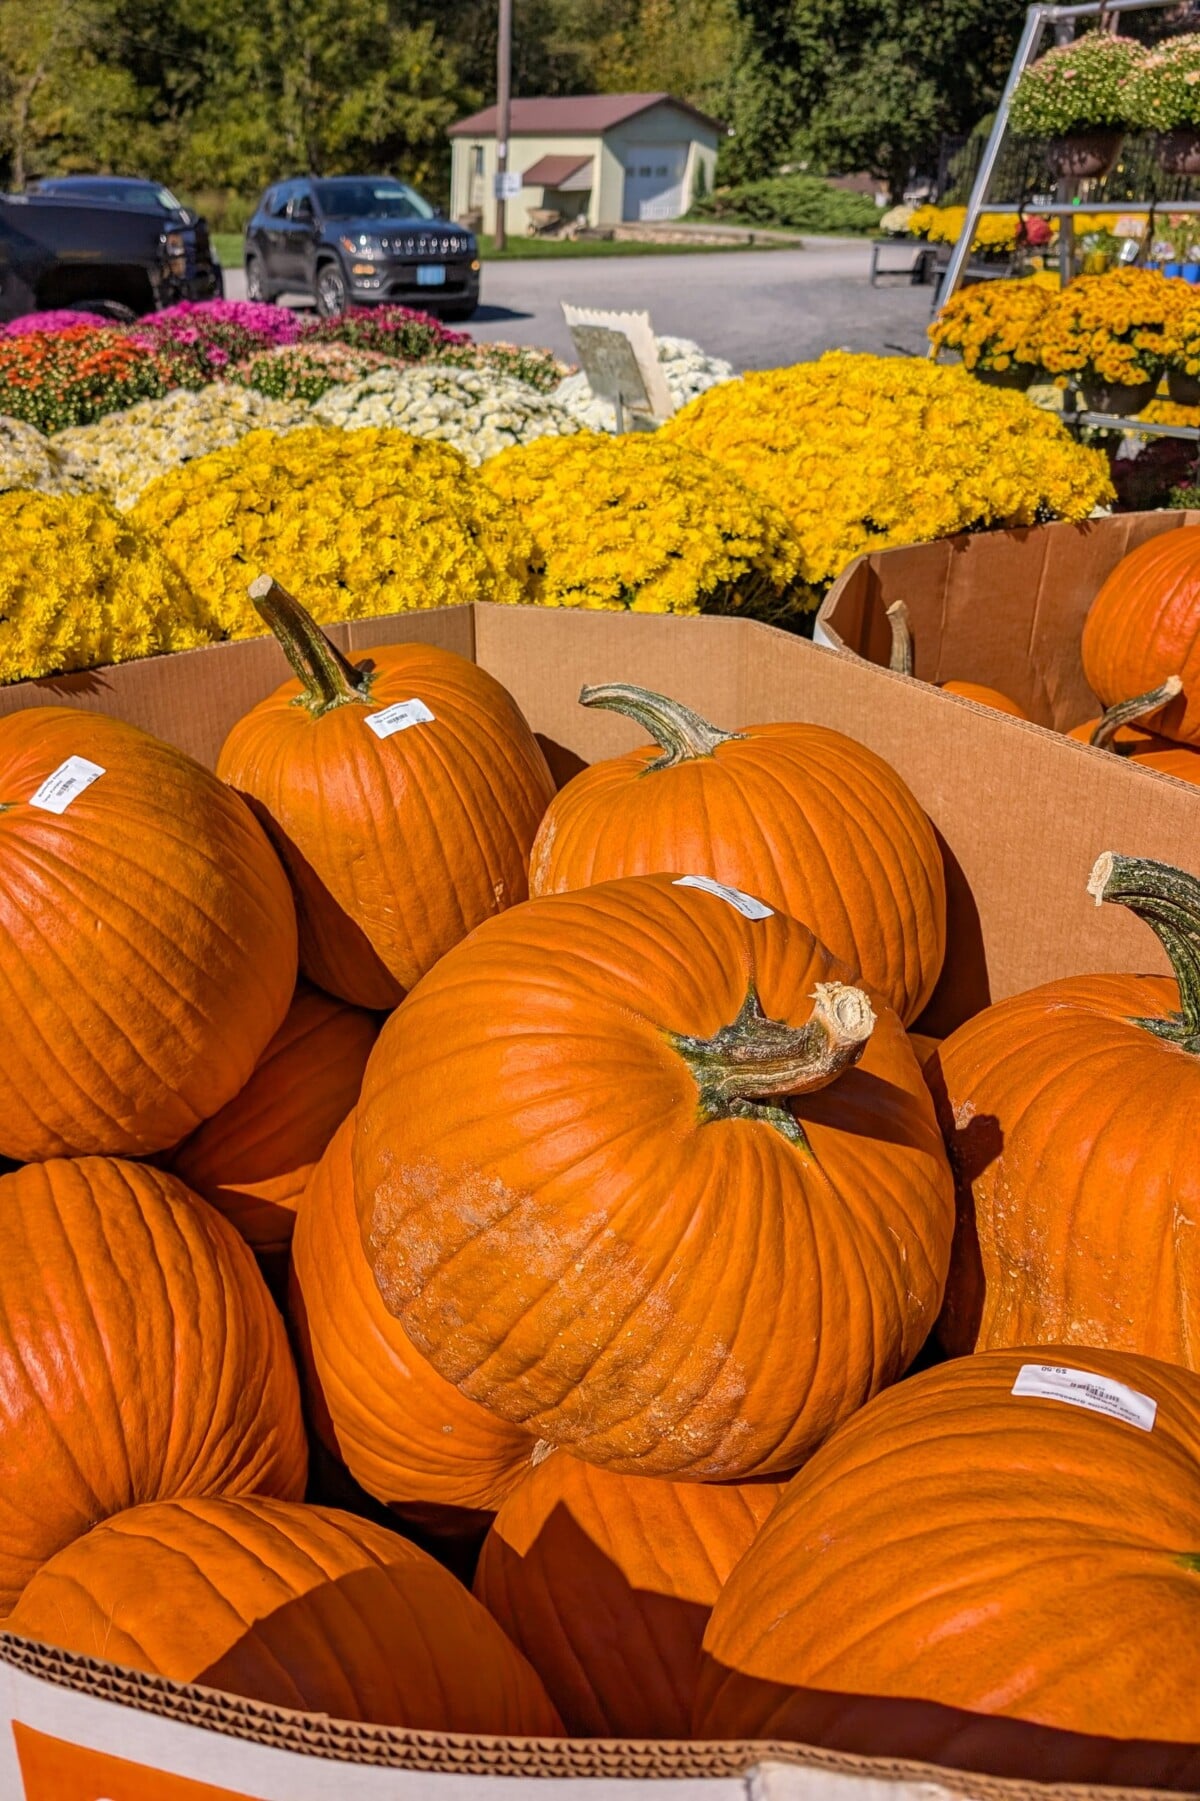
As I mentioned at the start, there’s nothing more frustrating than trying to carve a pumpkin with very thick flesh. If only there were a way to know what you were getting yourself into before you cut your pumpkin open. Actually…
When picking out your pumpkin, knock on the side with your knuckles a few times, just as if you were knocking on someone’s front door. You’re listening for a hollowness to it. It should have a slight reverberation. If you get a solid ka-thunk, the pumpkin has very thick flesh and is going to be difficult to carve. Keep looking for something that has that hollow sound to it when you knock.
A note for the gardeners: if you plan on growing your own pumpkins for carving, Howden and Connecticut Field are great carvers. Howden, in particular, is known for being easy to cut into and not having the ultra-thick walls that make it a real chore. I’m already looking forward to growing a sprawling pumpkin patch next year.
What Are You Carving?
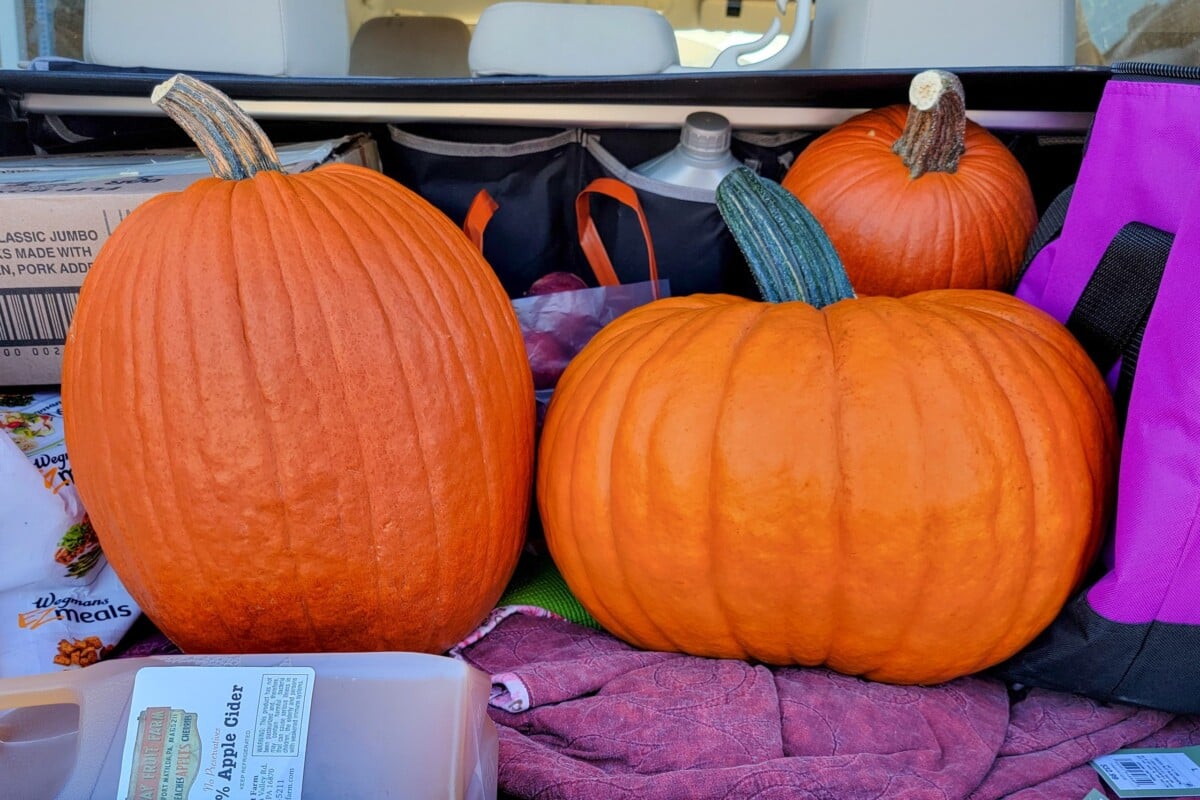
As I’ve already said, it can be fun trying something different this year. If you already have an idea of what you want to carve, you can match your pumpkin to suit your design. But if not, get a little adventurous. If you always choose the classic pumpkin shape, try a taller pumpkin. Taller pumpkins can make for some really funny and interesting faces.
On the other end of that spectrum, a very short, squat pumpkin is more fun to carve a design across, like a moonlit cityscape or tumbling leaves.
As long as it still has its stem and no soft spots, an oddly shaped pumpkin could turn out to be your best jack-o’-lantern yet. For instance, my son once picked out a pumpkin with a funny spherical scar on the side of it. He was very secretive about his design until he was done carving.
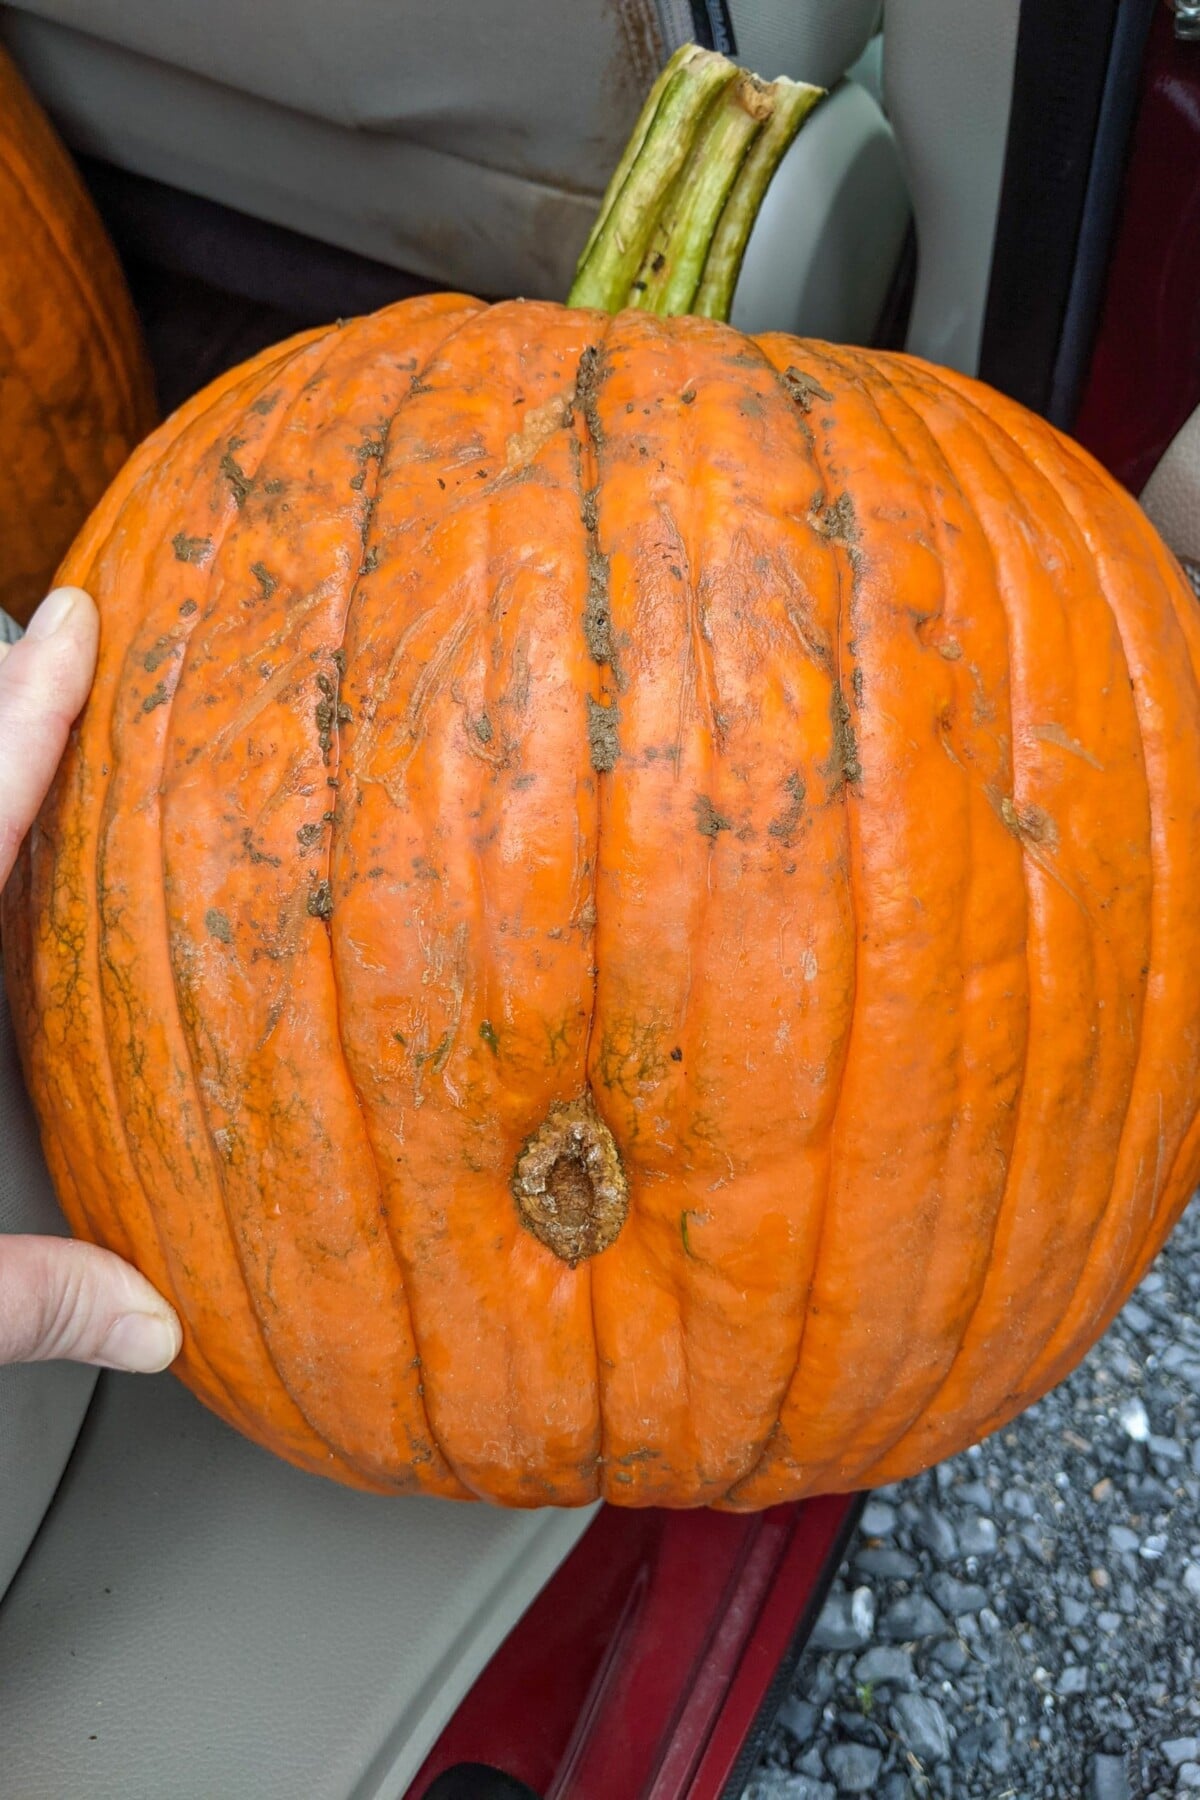
It was the outline of the rear end of a cat with its tail in the air, and the pumpkin scar was, well, you guessed it. Everyone got a good chuckle out of his creativity.
Pick First, Carve Later
As a bonus tip that might go without saying, don’t forget to pick out your pumpkins earlier in the month, but hold off on carving them until a day or two before Halloween. (Don’t forget the right tools for the job.) Once they’ve been carved, pumpkins aren’t long for this world.
Here are a few tips and tricks for carving, and some ideas on ways to dispose of your pumpkin after the Halloween fun is over.
Get Garden Notes From Tracey, Right to Your Inbox
Pull up a chair on the front porch. Join 54,000+ gardeners who get Tracey\'s friendly notes, seasonal to-dos, and hands-on tutorials three times a week.