

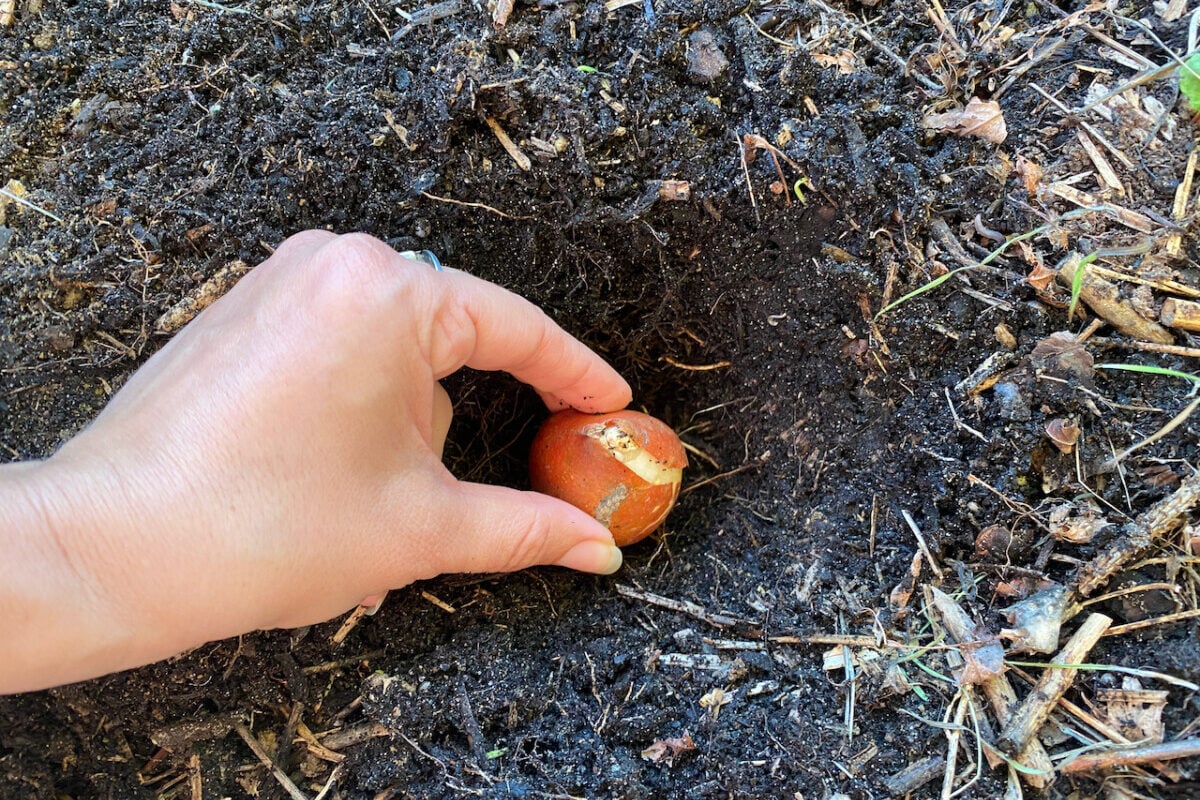
You’d think that after fifteen years of planting tulip bulbs in the fall, my enthusiasm would have tapered off by now. Alas, it hasn’t and probably never will.
Not only do I plant tulips every year, I like to watch other people planting them too. Weird? Yes! True nonetheless!
Which is how I found myself spending a Saturday afternoon watching a much-beloved gardening program on British television. I’m not in the UK, but YouTube delivers every time.
What I found surprising, though, is how much time the presenters dedicated to the planting scheme – going over how to combine the colors, heights and textures of the tulip border – and how little they mentioned, shall we say, more technical aspects of planting tulips.
Luckily, I’m a regular contributor to this gardening website, and I can steer our readers on the right bulb planting path. Here are the mistakes I would have warned viewers about if I were the scriptwriter on that gardening show.
1. There is such a thing as planting tulip bulbs too early
Here’s one garden task when procrastinating will definitely pay off. Finally, procrastinators, it’s our time to shine! (Let’s agree to shine later.)
Planting tulip bulbs is not one of those garden tasks that you should just fit in whenever you have a free weekend in the fall. We have to wait for the temperature to chill. And not just in the air but at soil level too.
The common wisdom says that we should plant tulip bulbs only after air temperature dips into the 40s or low 50F (around 5-10C) at night for at least a week. At that point, the soil temperature should be slightly warmer, around 50 to 60F (or 10-15C).
In my garden, this used to be in late October and early November. But for the past few years, our fall season has been getting milder. So now the bulb planting season is almost always pushed into November.
What we want to avoid is warm soil. And remember that soil stores heat, so it stays warmer even when ambient temperature drops.
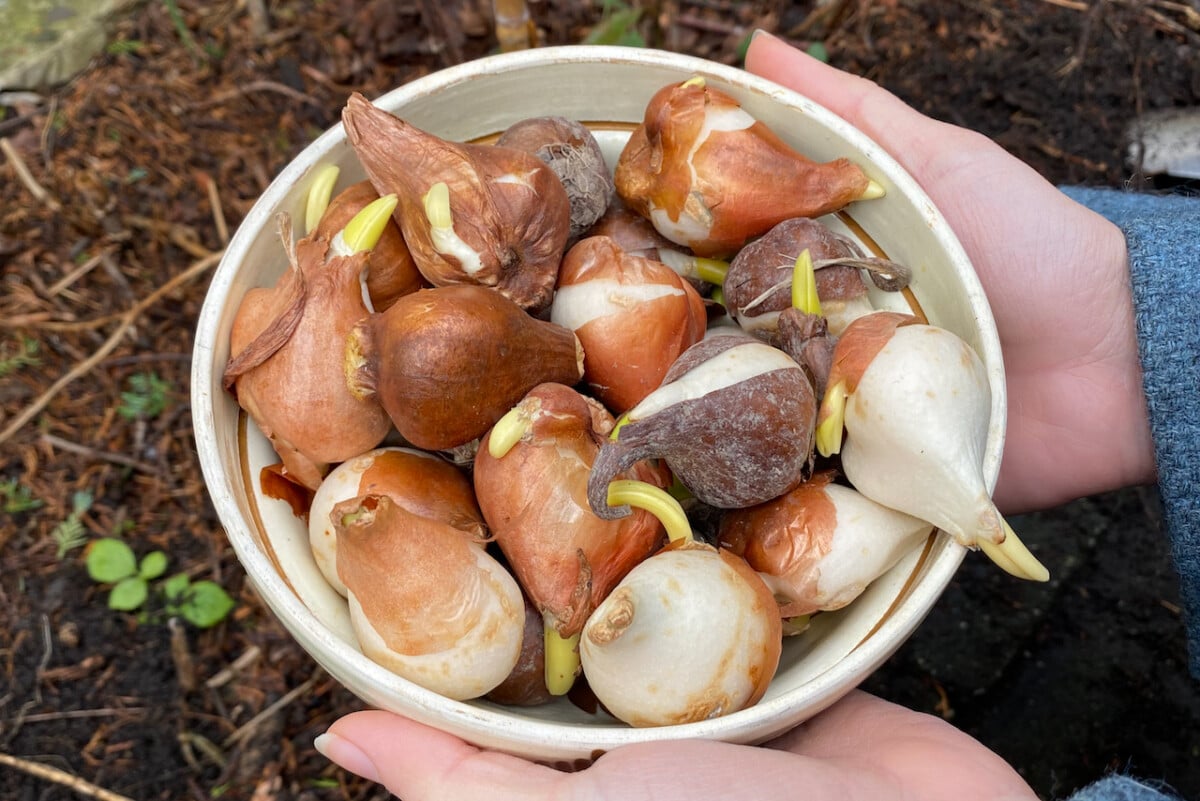
Being surrounded by warm soil can often trigger the bulbs into sprouting new leaves. This is the opposite of what we want to happen before winter. It won’t necessarily compromise the bulbs forever, but it will use up a lot of the energy that they were storing for their spring bloom.
Another disadvantage of premature sprouting is that the bulb will focus its energy on this process at the expense of sending down deep roots. And we need them to root before the soil freezes.
When is it too late to plant bulbs?
Invariably, every single winter, we get this question from our readers: is it too late to plant bulbs?
I say, if it’s still winter (even early spring for some bulbs) and IF you can dig into the ground (meaning it’s not frozen solid), go ahead and plant those tulip bulbs now. I’ve had better results when I’ve planted them too late rather than too early.
And speaking of results …
2. Buying bulbs at the wrong time for the tulips you want
If you’re buying bulbs online, it may feel overwhelming to scroll through pages and pages of tulip choices only to realize that they’re not all going to get us the same results.
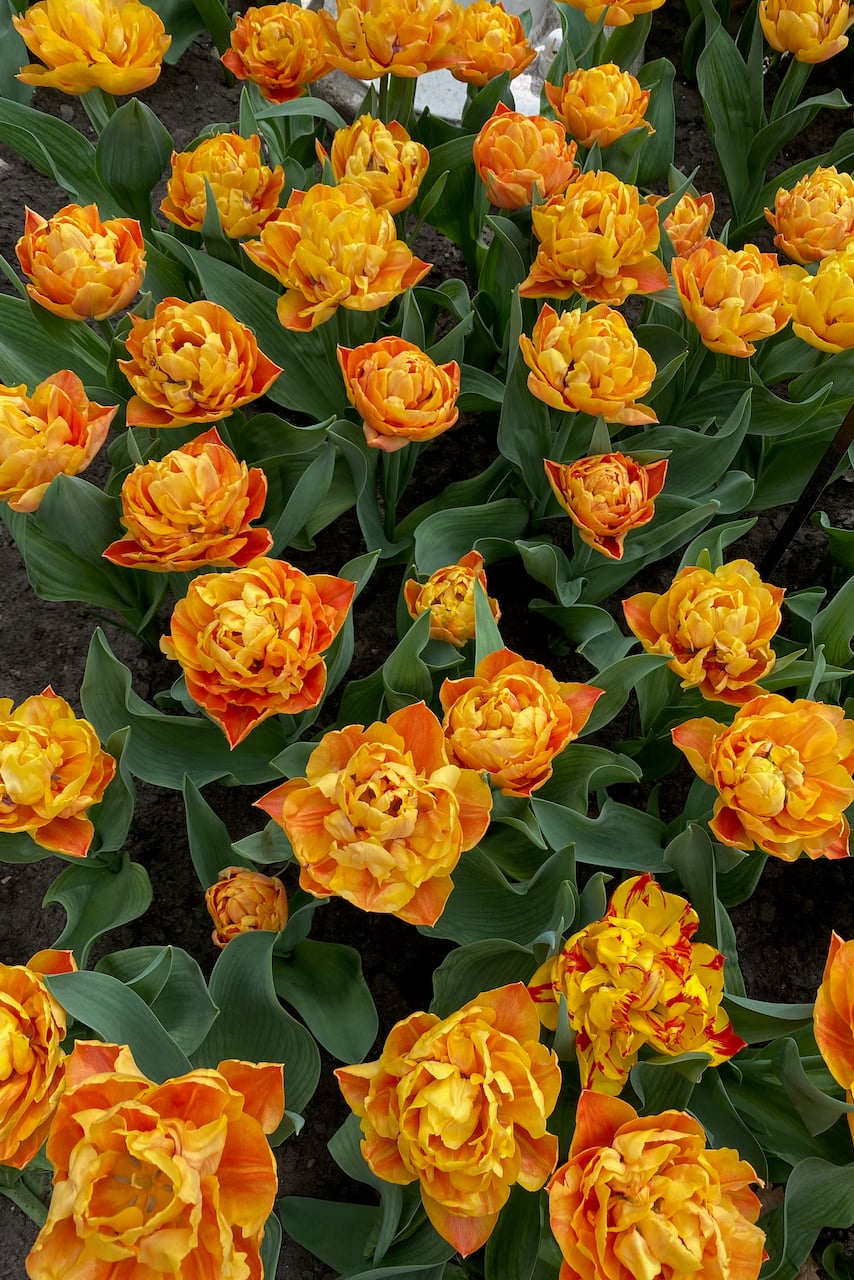
Some vendors categorize tulips by when they’ll bloom. So we have the choice between:
- early blooming tulips,
- mid-season tulips,
- late-blooming tulips.
I’ve also seen them categorized by the type of bloom they have into singles (a single row of petals) and doubles (multiple layers of petals).
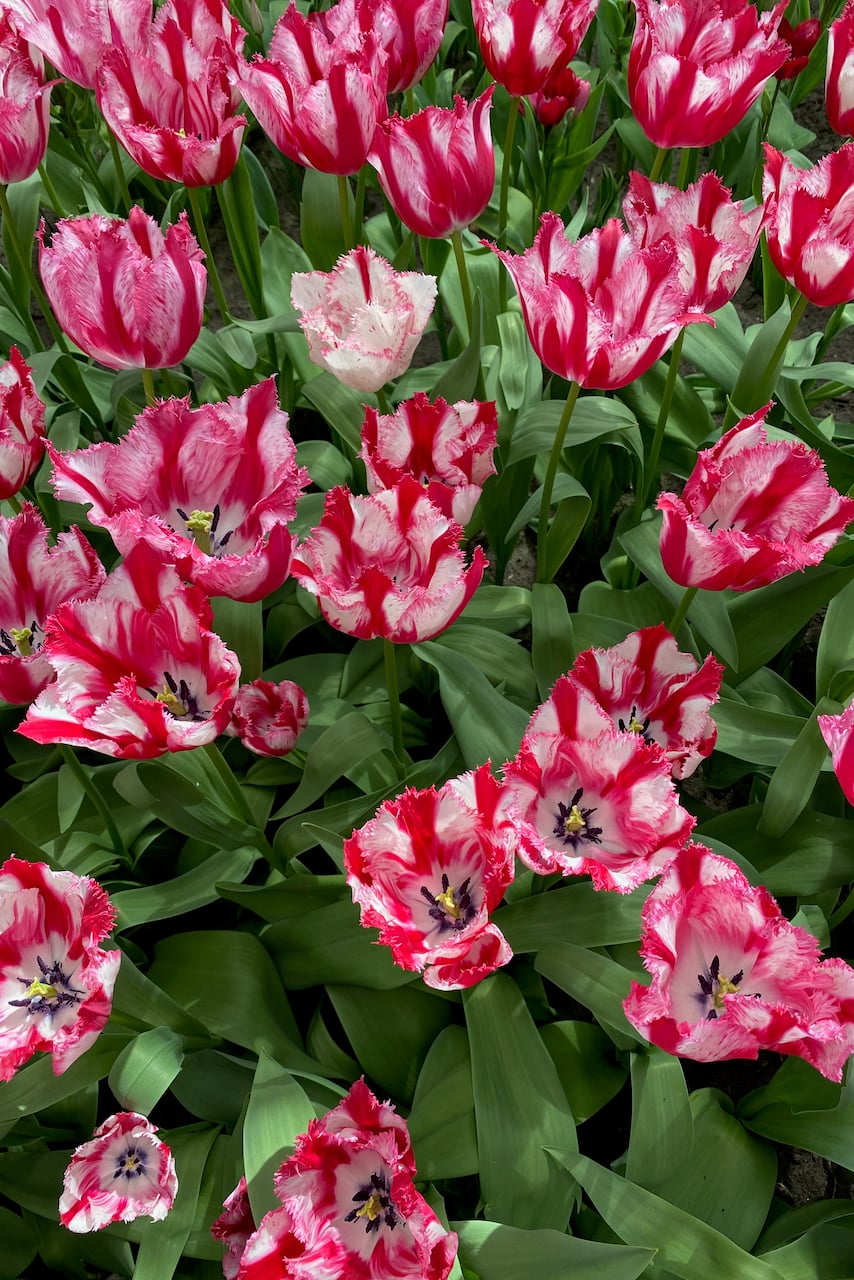
Often, these categories are combined in the description of the tulip, like so: double late tulips, double early, single late and single early.
And then there’s also height to take into consideration, petal shape and, of course, color or variegation. It may sound overwhelming, but it’s actually good fun to browse through catalogs.
My advice for getting the tulips you want.
If you’re shopping with a specific tulip cultivar in mind, or a specific planting scheme, buy your bulbs early. You might even want to pre-order them in the summer, just to make sure you get first dibs when they’re ready for shipping.
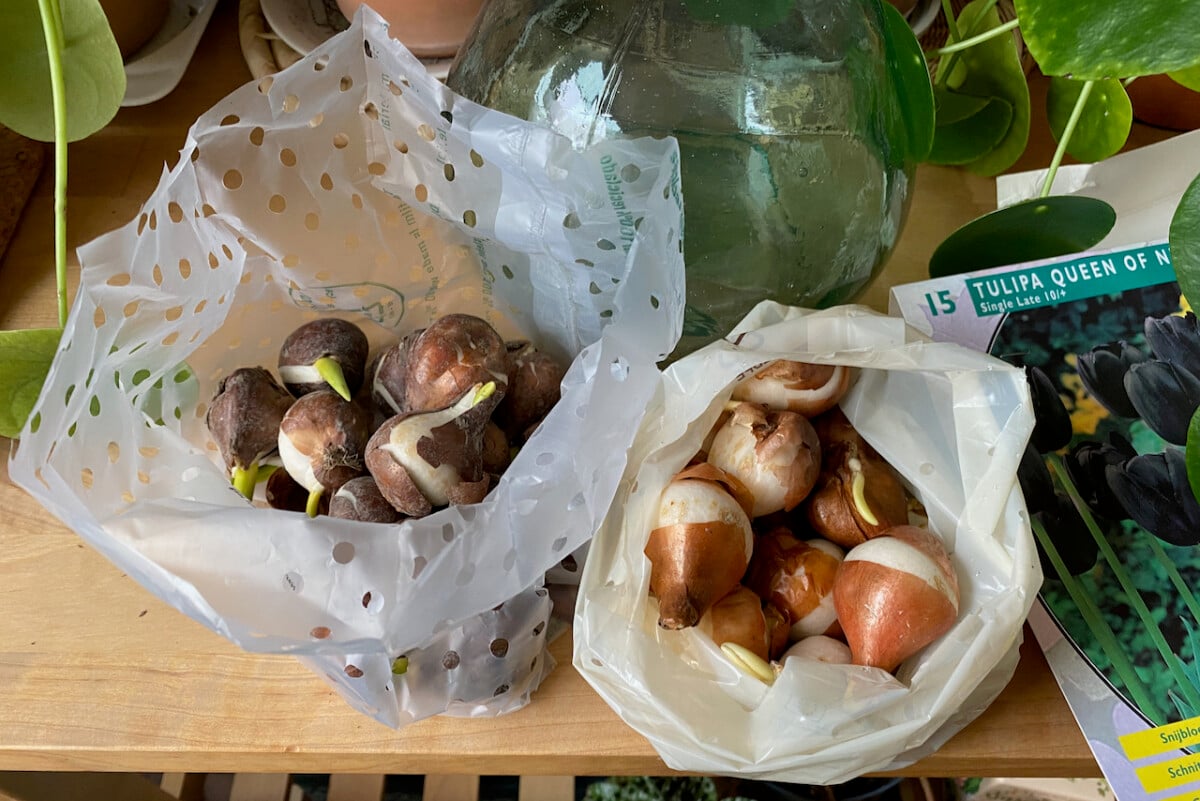
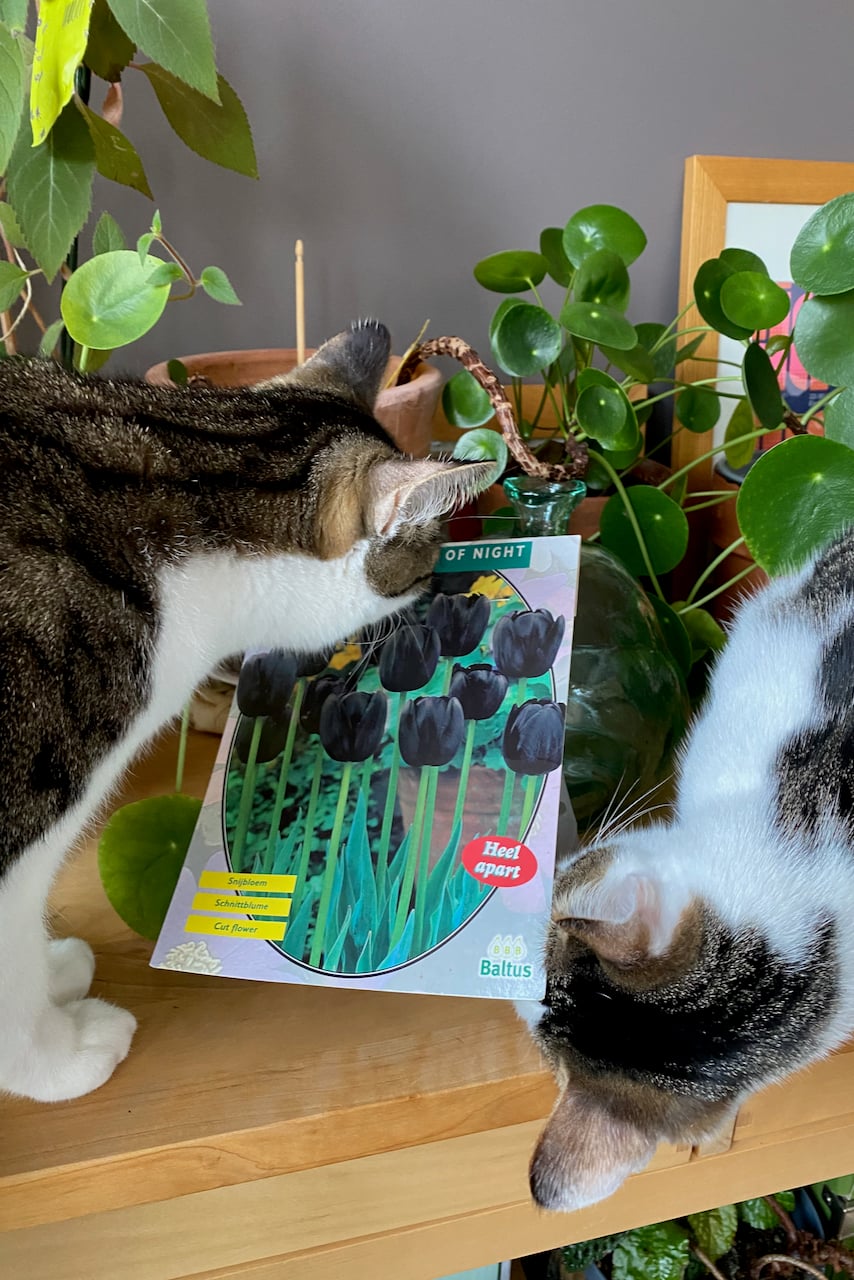
A couple of years ago, I was specifically looking for black tulips, so I ordered ‘Queen of Night’ and ‘Black Parrot’ as soon as the online retailer hit publish on their listing.
However, if you’re a lover of all tulips in all colors, shapes and sizes, it pays to wait until the last minute. That’s me most years. At the end of the season, retailers usually discount bulbs just so they’re not stuck with a large overstock.
That’s the moment to buy in bulk and play the bulb lottery. I don’t know what will be left unsold in December, but I do know it will be very pretty. All tulips are.
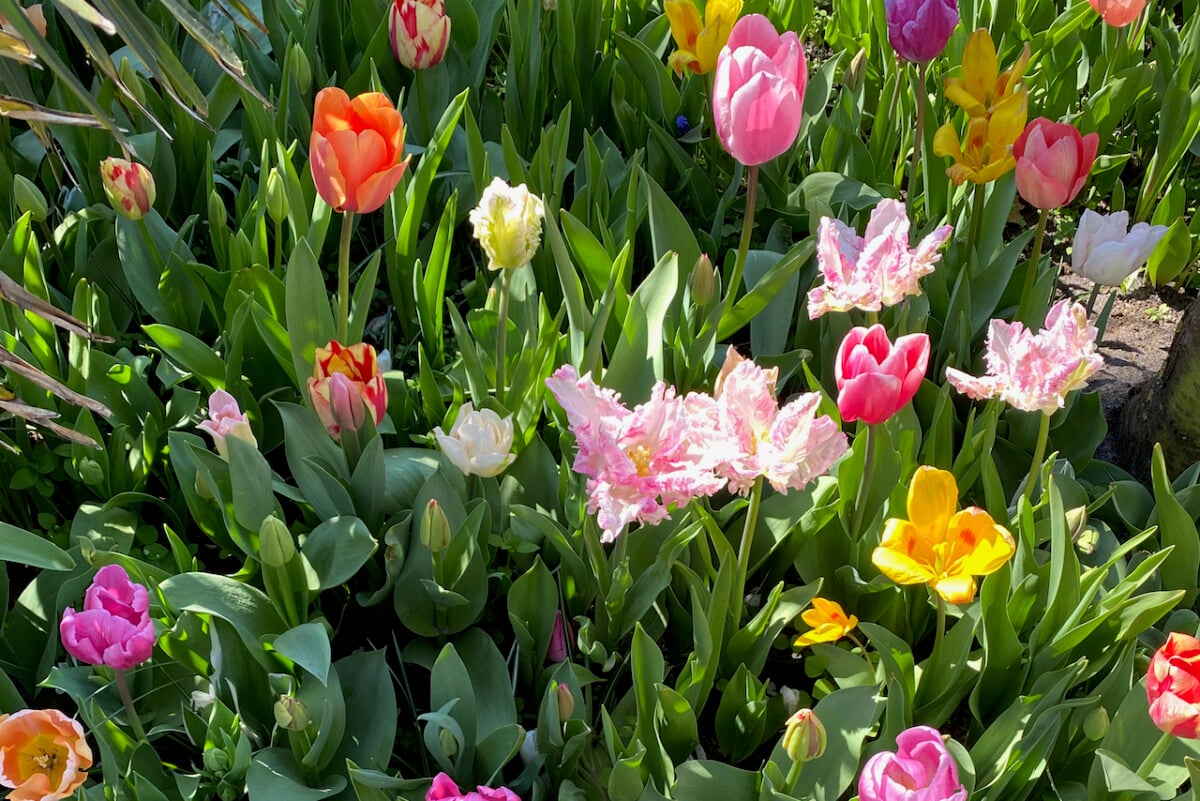
3. Expecting all tulips to come back strong next year.
I hate to be the bearer of bad news, but this is something you should know when you buy and plant tulip bulbs. They might not come back next year. Or at least, not all of them. And even if they all do, the flowers might lack the size and glamour of their first bloom.
Let me tell you why: all of these intricately beautiful tulips that take our breath away and send our imagination into tulip heaven overdrive are very likely hybridized. They were selected over and over again to have a certain color pattern, a certain lacy-ness to the petals or a certain height and posture.
The hybridization that gives them their unique charm also makes them less likely to maintain that charm year after year.
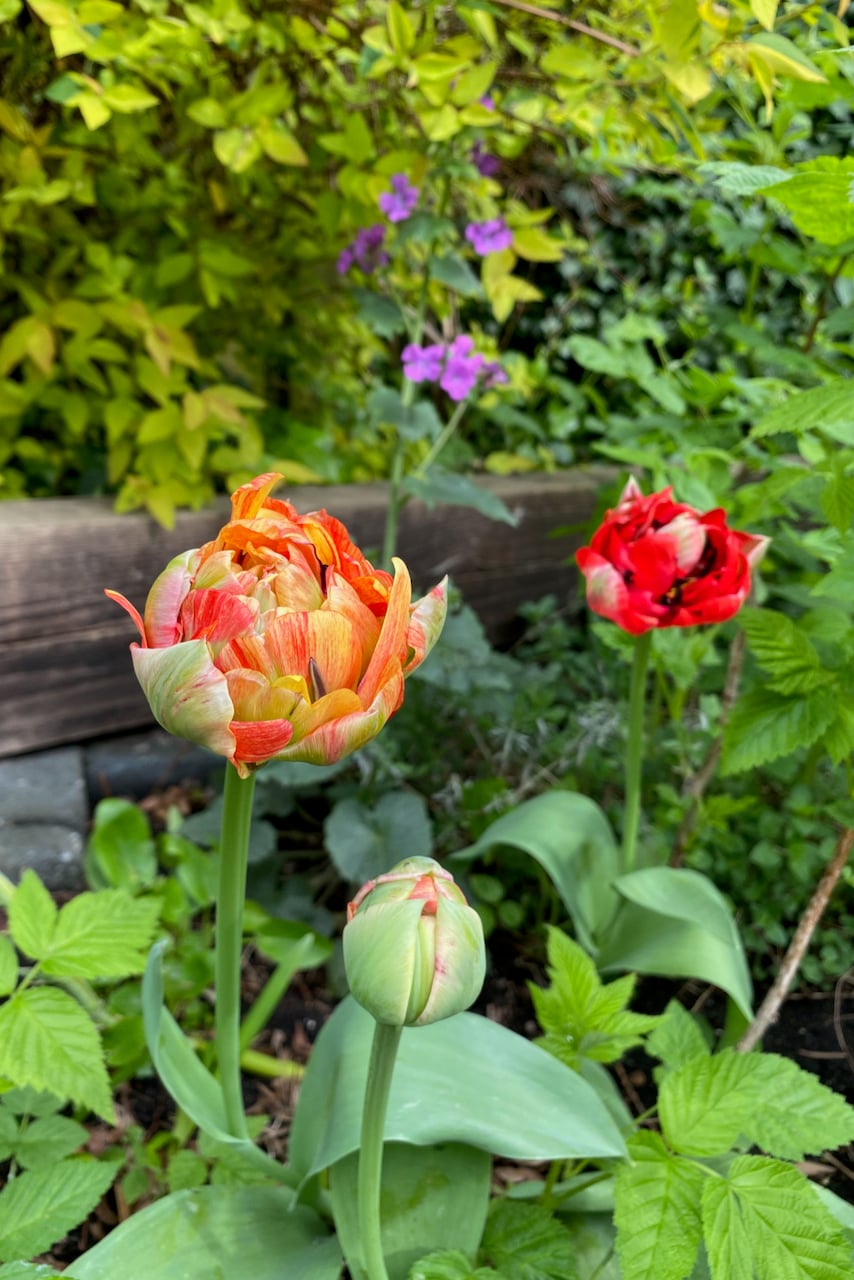
After their first spring looking like what was advertised on the package, most tulips might come back, but it’s very likely that not all the bulbs will bloom.
So you may start with twenty flowers the first year, get twelve the following year, and only three the third year. I’m using these oddly specific numbers because this is exactly what happened with a gorgeous tulip cultivar with frilly petal edges and yellow-red variegation that I planted in my previous garden.
The farther away a cultivar gets from its wild “original” version, the less likely it is to naturalize.
What does naturalize even mean?
It means that we only have to plant the bulb once and leave it in the ground. Not only will it come back year after year, but it will often multiply and give us a bigger, richer tulip patch. The bulbs create small bulblets underground which, in turn, mature and start sprouting their own flowers.
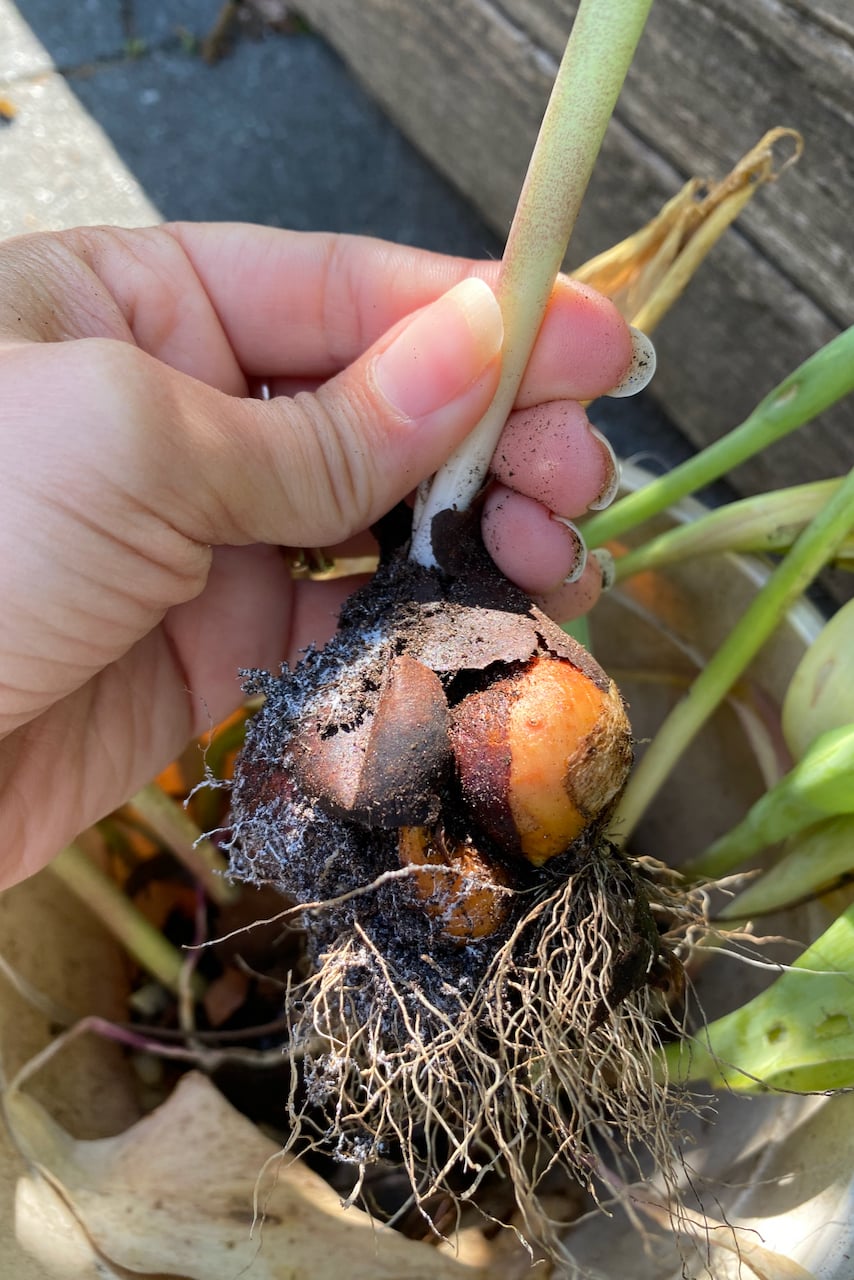
I think some gardeners still operate under the myth that ALL tulips do that. No, they don’t actually. It’s not squirrels munching on their fancy tulip bulbs; it’s just that the bulbs were “single-use.”
The fact that the tulips I mentioned above came back for two more years doesn’t mean they naturalized. They’re considered naturalized only if they come back reliably year after year.
How do we know which tulips naturalize well?
I wrote a pretty comprehensive guide describing the fifteen groups of tulips sold commercially. I did my research at the Keukenhof Tulip Garden in the Netherlands, the largest display tulip garden in the world.
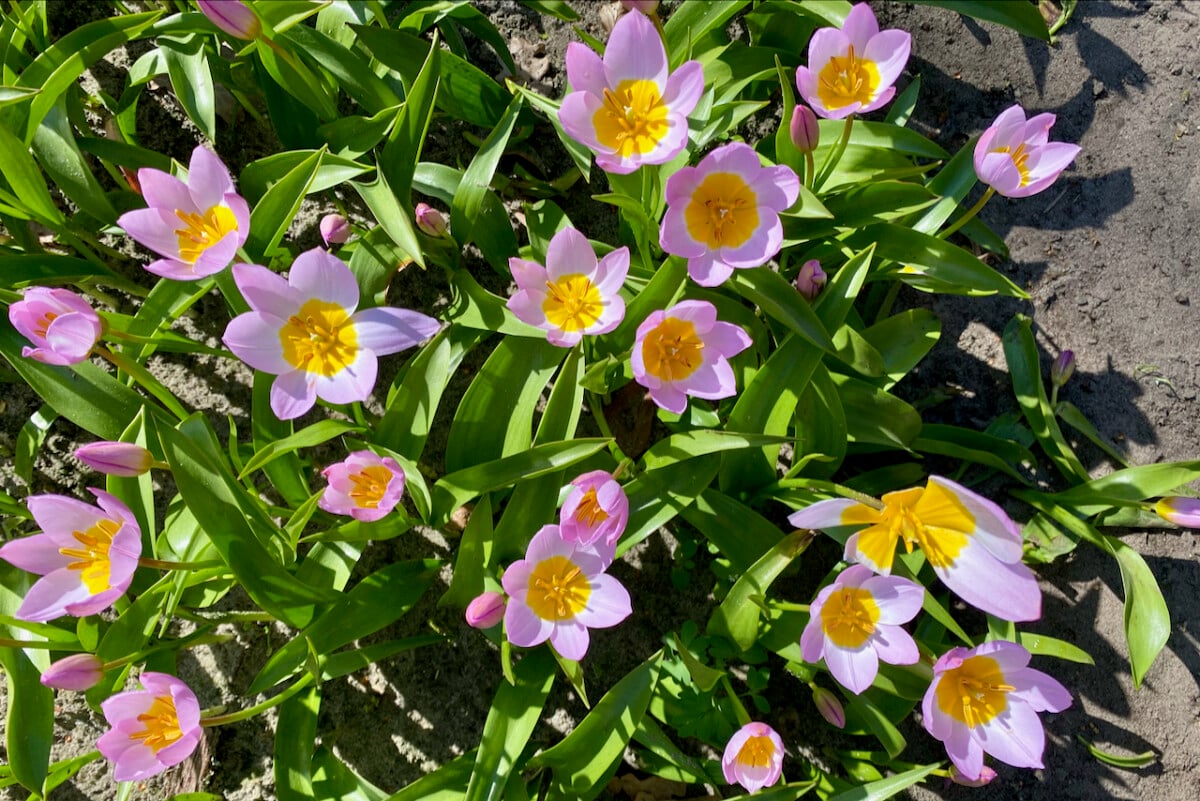
Keukenhof is basically a real-life bulb catalog for wholesalers rather than just a tourist attraction. A good deal of the bulbs sold in the United States are either imported from the vendors at Keukenhof or grown locally from imported specimens. So they know what they’re talking about.
I won’t go through all of the groups again, but I’ll just give you the cliff notes on bulbs that naturalize well. Take a screenshot of the list and keep it handy next time you go bulb shopping.
Tulips that we can naturalize:
Species tulips (also known as botanical tulips) – they have the smallest flowers, but they’re the closest ones to wild tulips. They naturalize reliably and spread quickly. The ‘Lilac Wonder’ cultivar in the photo above is a popular species tulip.
Fosterianna group tulips – these are early bloomers with large, glossy petals and often glossy-looking foliage. The tell-tale sign that you’re growing this type of tulip is their black “eye” in the center of the petals around the pistil.
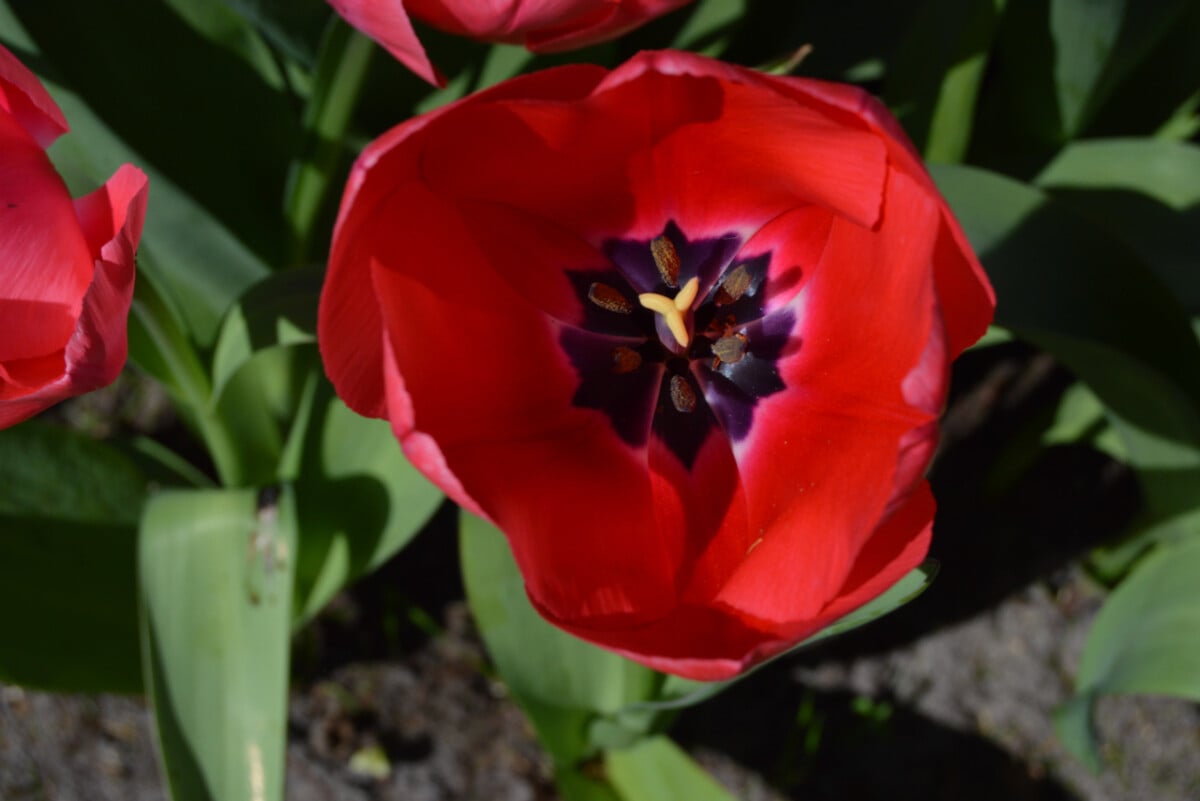
Kaufmanniana group tulips (waterlily tulips) – these tulips are small flowers with star-shaped petals that often resemble those of waterlilies. When the petals open up, they reveal a yellow center.
Greigii group tulips – they are some of the earliest blooming tulips. They have a double-petal pattern, with the three inner petals surrounded by three outer petals. Another distinctive mark is their foliage, which often has a marble-like variegation in different shades of purple or maroon.
Darwin hybrids – they are an old hybrid in the classic tulip shape. These tulips grow on tall stems that end in blooms that open widely in the sun. Darwin tulips are the most common group sold as cut flowers in spring.
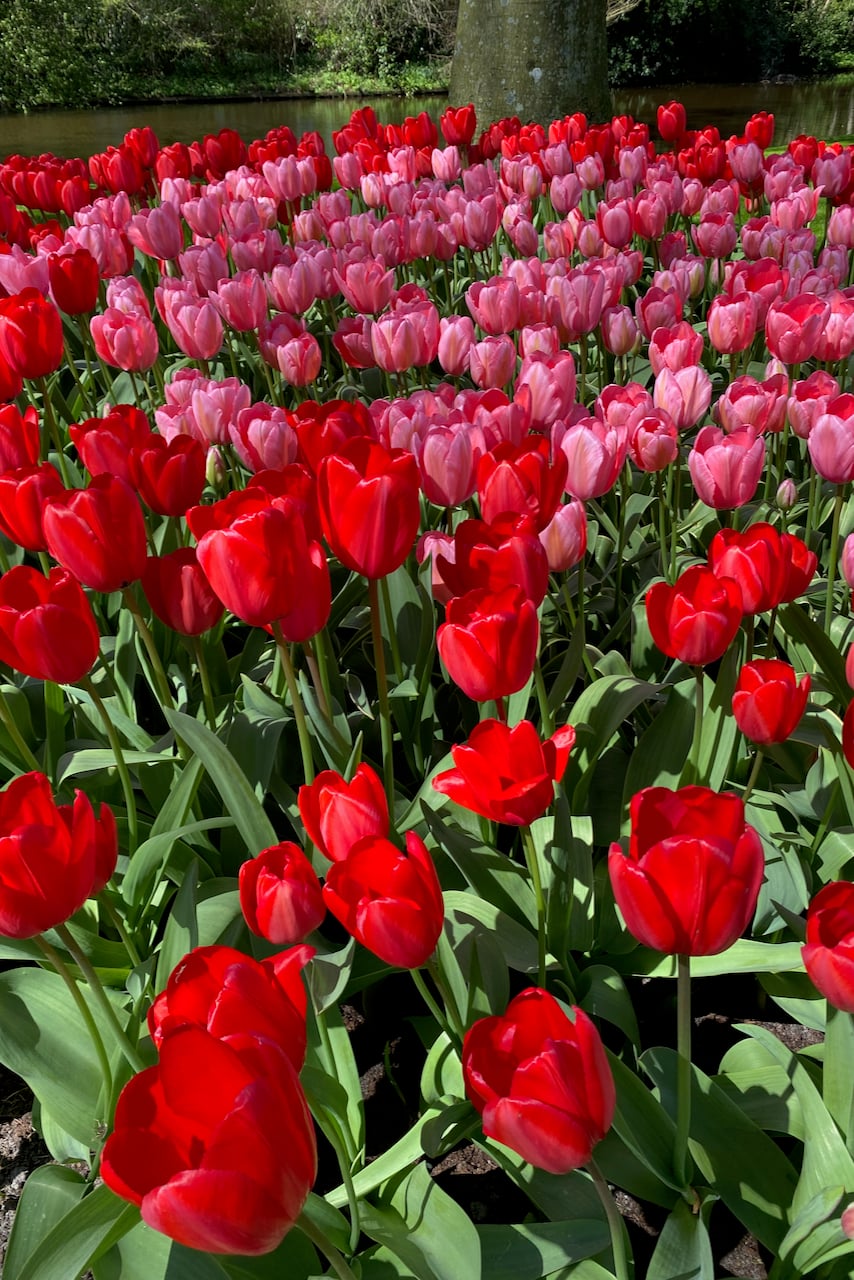
Tulips that will not naturalize well:
Generally, these are the flashier tulips that have all manner of variegation, color streaks, splashes, swirls or other such types of markings. The petal shapes are also impressive, not smooth, but fringed, lacy and frilly.
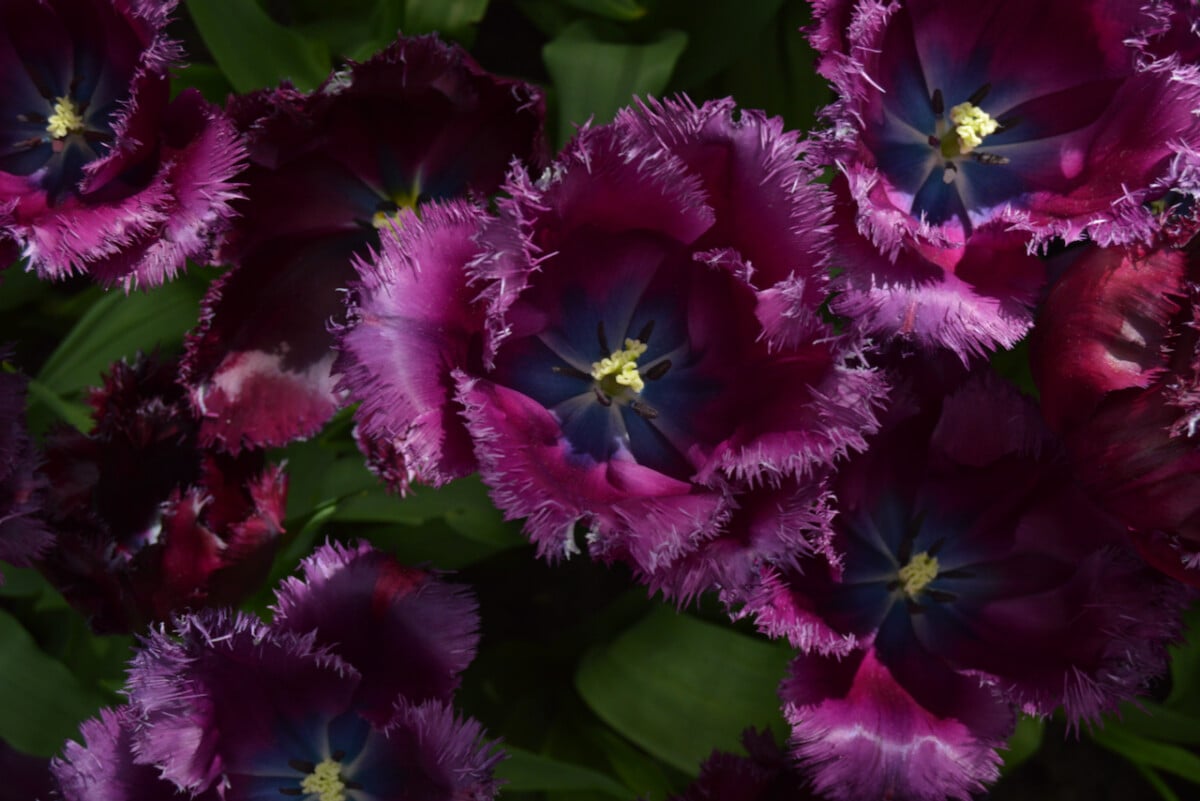
The groups that are hard to naturalize are:
- Rembrandt
- Parrot
- Viridiflora
- Fringed
- Triumph
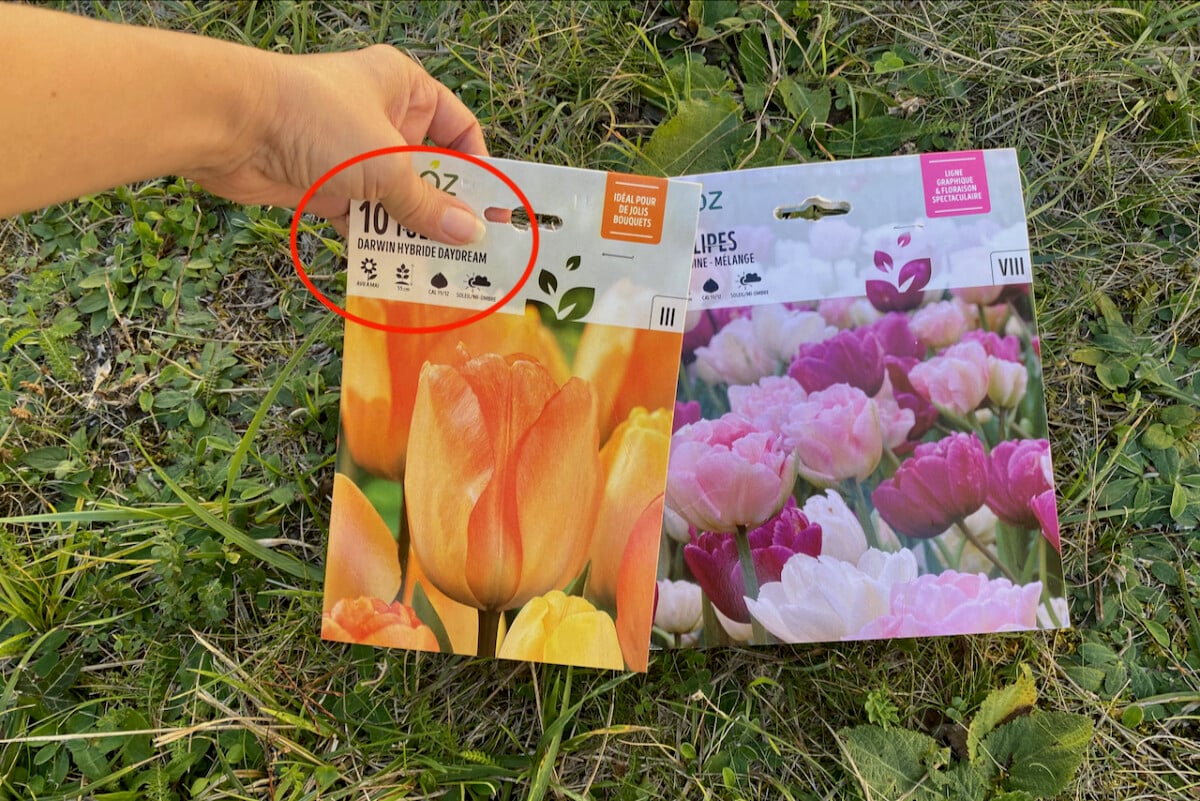
Reputable vendors, especially online ones, will have this kind of information displayed front and center. Garden centers may not have enough room to display the tulip bulbs by category, but you can often find the information on the packaging.
Even if the group is not specified, you may still find a mention such as “naturalize well”, “perennialize well” or “boomerang bulbs.”
Did you know you can naturalize bulbs in your lawn? Not just tulips, but all manner of spring bulbs. I wrote a guide on how to do that > this way.
4. Planting bulbs that are already past saving
I’m not in the habit of digging out tulip bulbs very often. Once they’re in the ground, they stay in the ground. I’ll add to them, but I’d need a very good reason to dig them out every fall. And the latest good reason I had was moving houses. But more importantly, moving gardens.
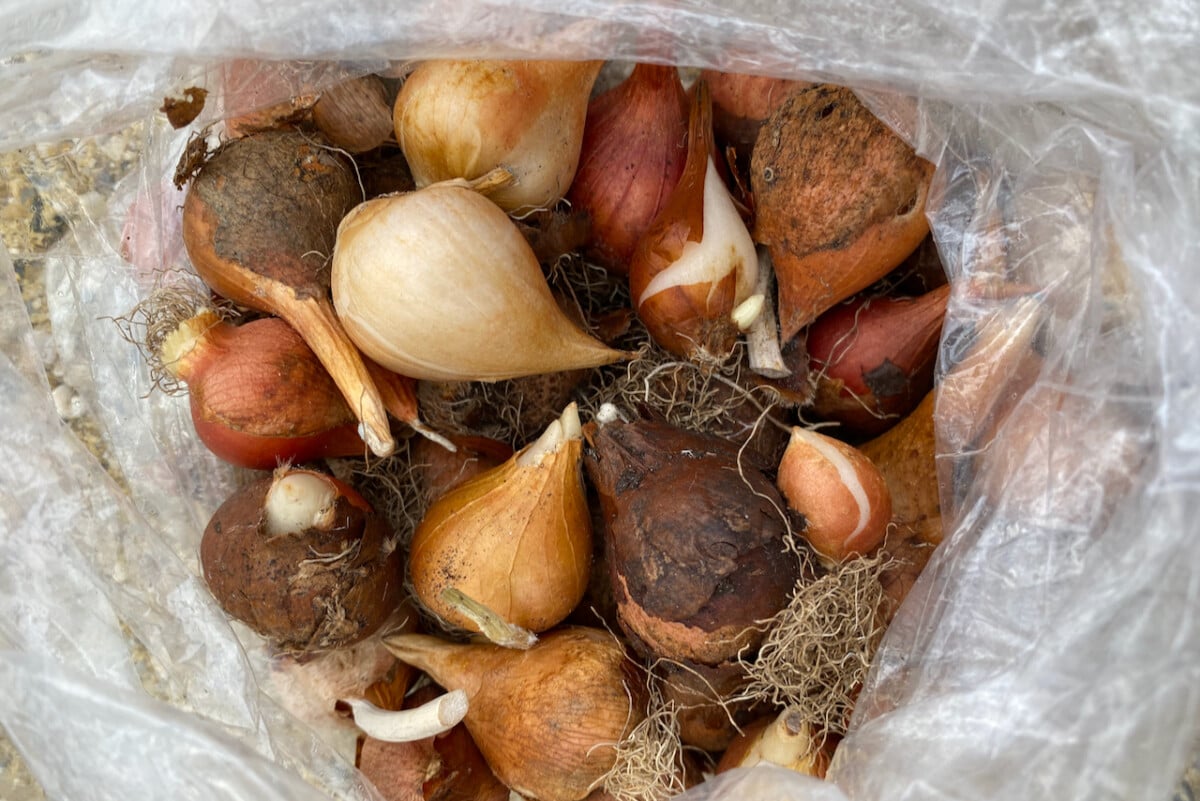
I pulled as many bulbs as I could find, making sure I got a few of each color that had naturalized. In the frenzy of moving, I left the bulbs in bags for too long. And here’s what one of the bags looked like, in spite of being kept in a cool spot.
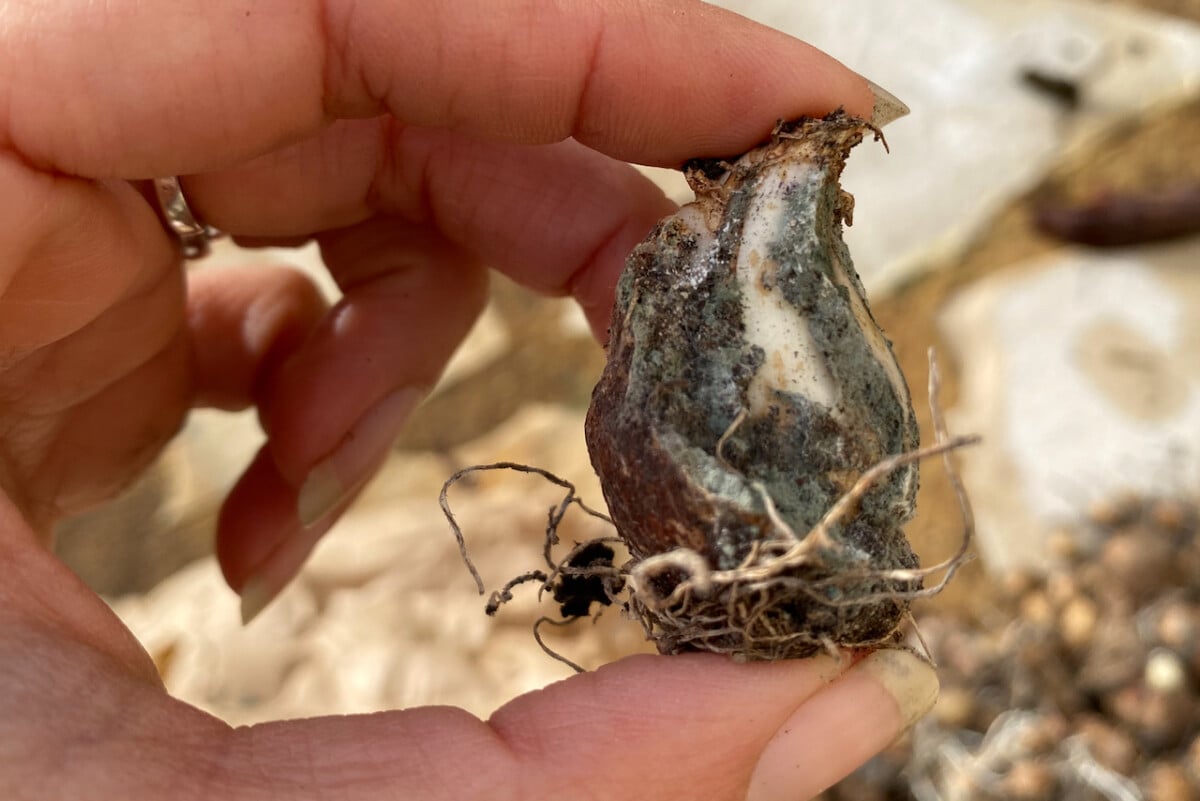
Full of moldy bulbs. Would you have still planted them?
I know the temptation of planting less-than-perfect bulbs. I do it myself all the time. But here’s where we need to draw the line.
If the bulbs are soft and mushy, they’re rotted or rotting and nothing will grow out of them. If they’re shriveled up and dry, we’ll get the same (non) result. And if they’re moldy, please do yourself a favor and discard them.
The damaged bulbs will only take up precious footprint in the garden with no real chance of ever turning into flowers.
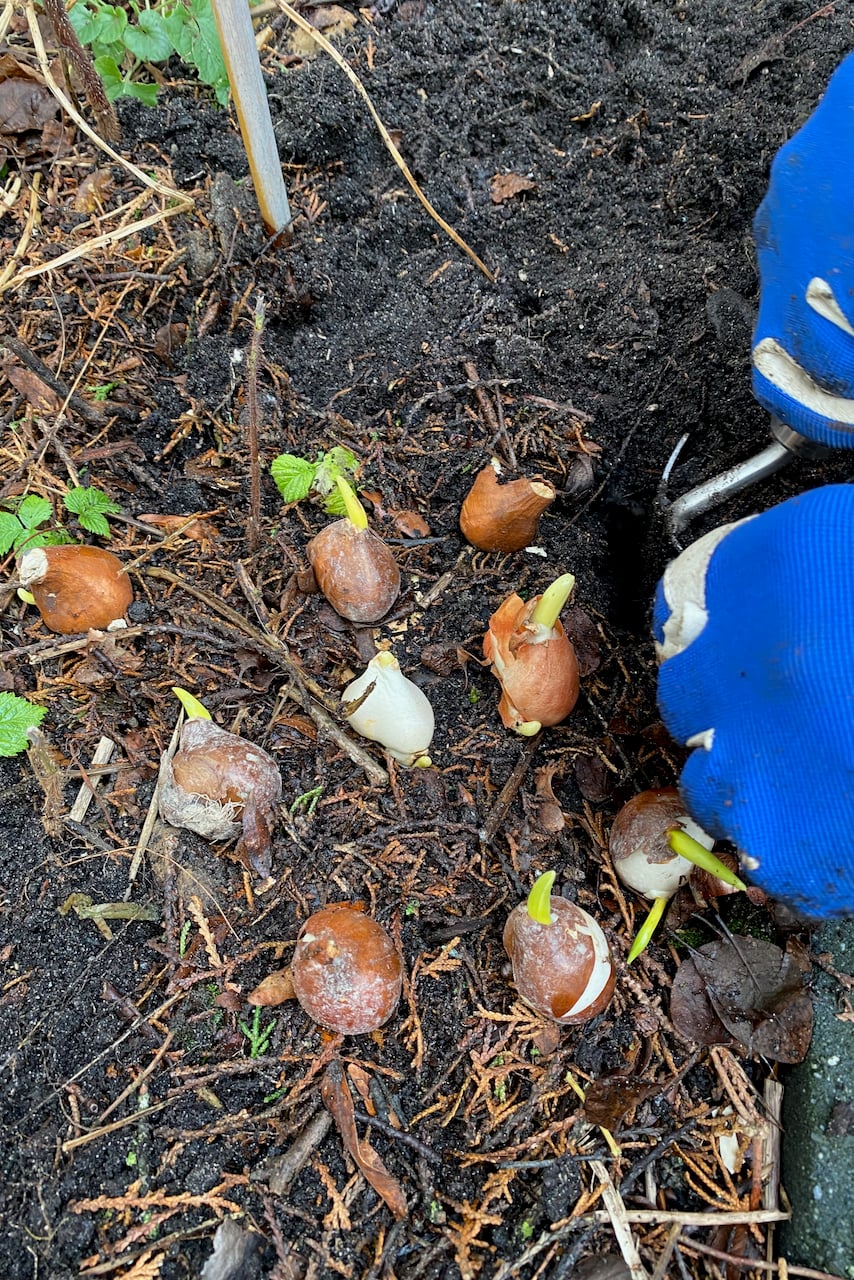
With one caveat, though. If the only sin your bulbs have is that they have sprouted, go ahead and plant them anyway. They’re perfectly viable, and they need to go below ground as soon as possible.
5. Planting too shallow
Common wisdom says that we need to plant bulbs at about three times their height. Obviously, with so much variety in the tulip category alone, different bulb cultivars will have different heights.
On average, that translates to somewhere between six to eight inches, measured from the bottom of the bulb to the surface of the soil. But here’s the trick: you can totally plant them deeper. If in doubt, plant them deeper rather than shallower. (The pointy end faces up, and the flat end faces down, ok?)
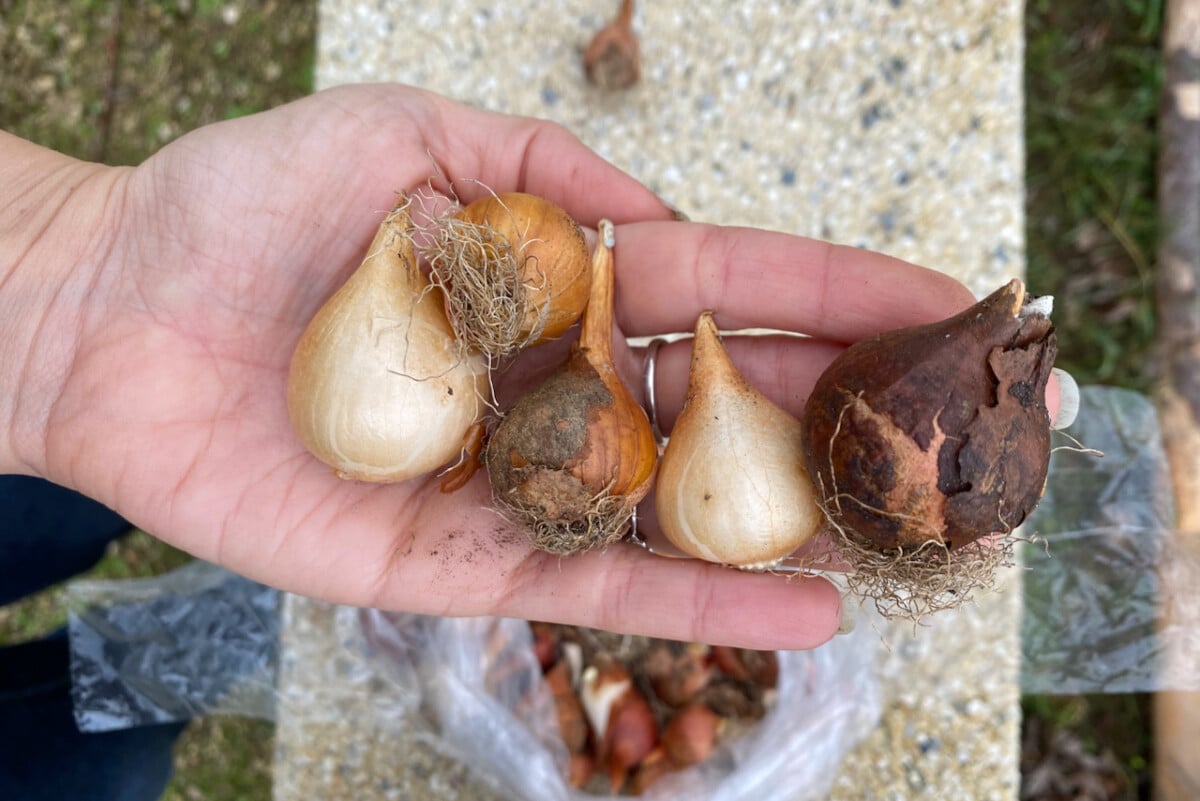
There are a few advantages to this method of planting.
The bulbs will be better insulated against temperature and moisture fluctuations in the winter. Since these are spring bulbs, they’re fine with the cold, so that’s not what we’re worried about. It’s soil warming up prematurely that should concern us, because that might trick the bulbs into premature sprouting.
The second reason applies to bulbs that naturalize well. When bulbs divide and split underground to create new bulbs (that’s the good news), they have the tendency to push the entire group above ground (that’s the bad news). This phenomenon, called heaving, happens more often in clay-heavy soil that dries at the surface. Burying the bulbs deeper means that the bulbs are less likely to heave.
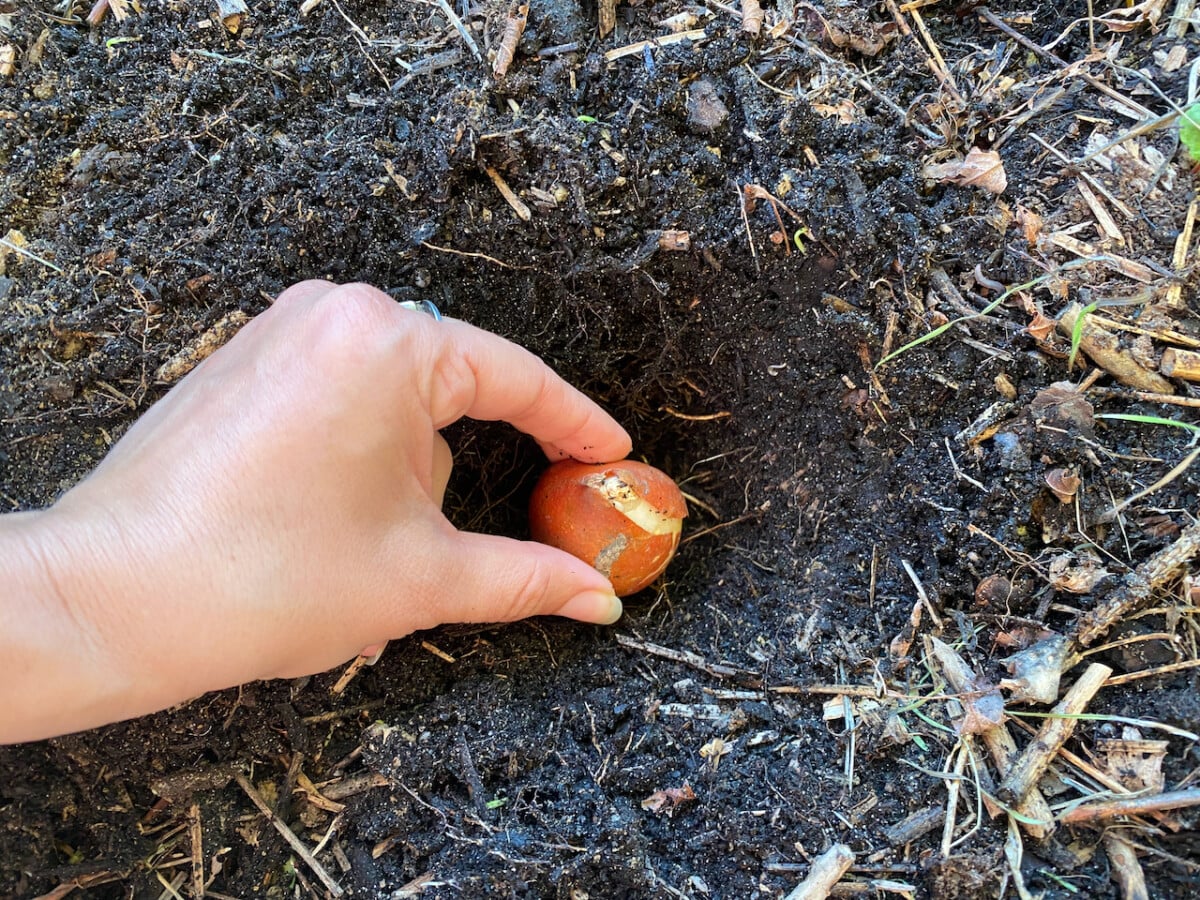
Obviously, don’t dig down into the center of the earth, but don’t scatter them with a sprinkle of soil on top either.
Now that you know all my tips for tulip bulbs, go forth and plant, dear gardener. It’s an act of unabashed optimism to bury something in the fall in the hope that it will delight us with perfectly colorful blooms months from now, when the doldrums of winter will have left us grumpy and cantankerous.
For a step-by-step guide on how to plant tulips, have a look at this guide I wrote and photographed a few years ago.
Get Garden Notes From Tracey, Right to Your Inbox
Pull up a chair on the front porch. Join 54,000+ gardeners who get Tracey\'s friendly notes, seasonal to-dos, and hands-on tutorials three times a week.