

Growing your own food is a rewarding experience. There’s nothing quite as satisfying as the flavor of a tomato plucked from one of your plants and eaten sliced, still warm from the sun.
Likewise, having a garden is an excellent way to save money and to provide for your family without having to rely on whatever picked-over produce is at the grocery store.
While you can find more generic varieties of seedlings at nurseries, you will quickly find that the more unusual varieties need to be started from seed.
Don’t let this deter you; it’s a lot of fun watching your wee baby plants grow.
And starting your own plants from seed opens up an entire world of heirloom varieties for your garden – and your table!
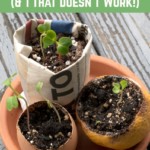
You don’t need fancy pots from the store to get your seedlings off to a good start.
In fact, there are many things you can use right in your home to grow seedlings in, and a number of them are biodegradable. This means when it’s time to transplant your seedlings, you can plant the entire thing right in the garden.
Here I will show you my top picks (as well as one that bombed big time.) I’ll bet you’ll be surprised how many of these you already have in your pantry right now.
Let’s get growing! (Sorry, I couldn’t help myself.)
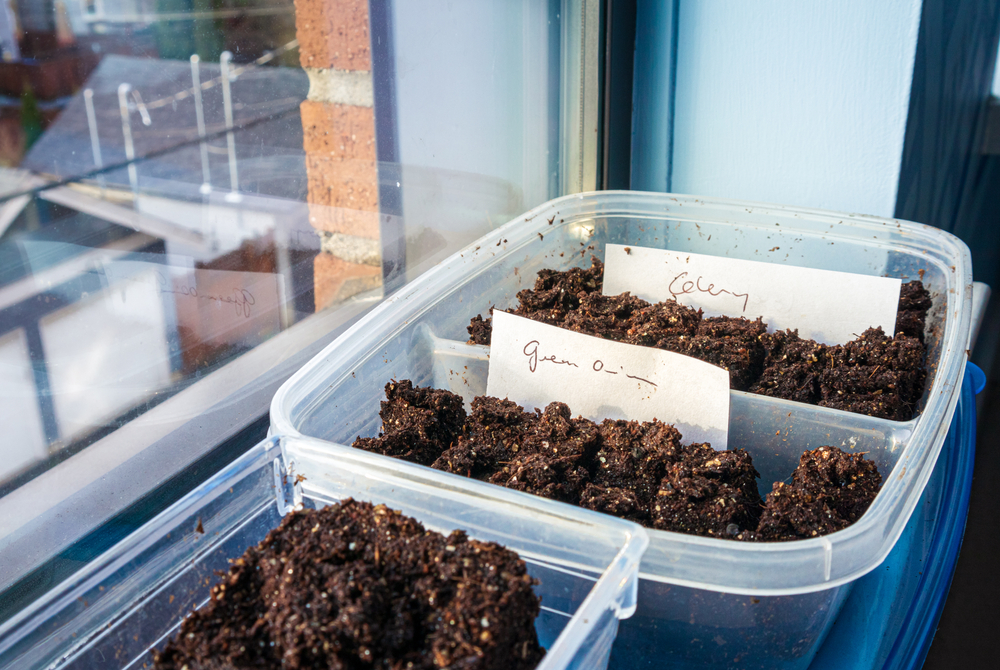
For all of these, I used plain old potting soil mix. Nothing special. If you want to give your seedlings a boost, mix a little compost in with your potting soil before planting your seeds. And if you have no soil at all, have a look at our article on germinating seeds without soil.
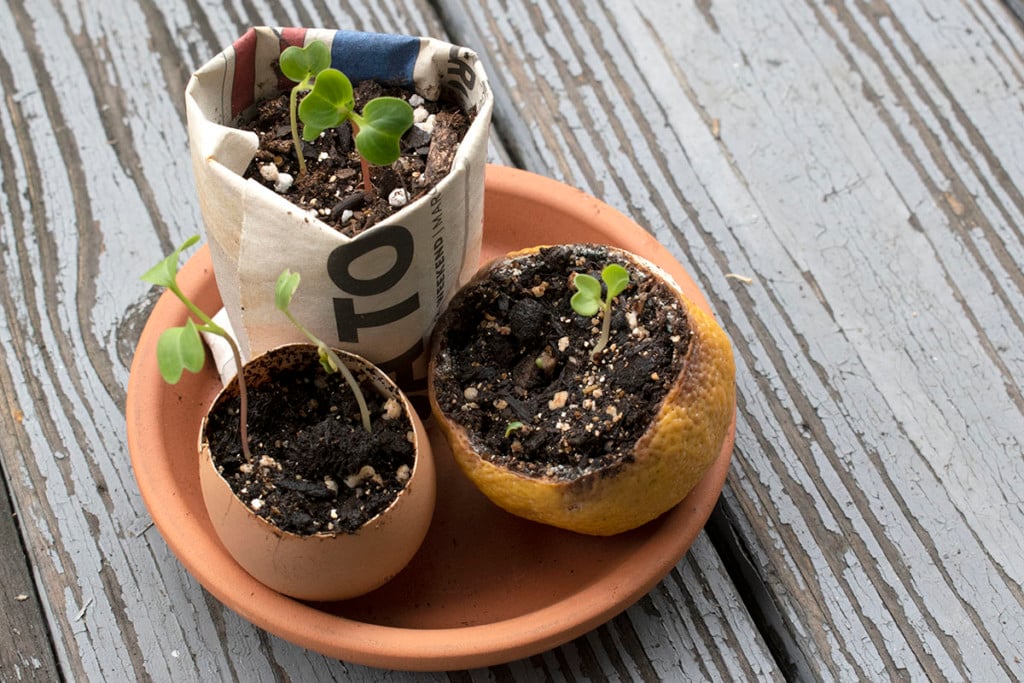
1. Toilet paper or paper towel rolls
These worked surprisingly well. Cut paper towel rolls in half or in thirds. To plug one end, you can either stuff a wad of crumpled up newspaper in the bottom or make 1″ cuts lengthwise around the bottom and fold in the little tabs. About five tabs do the trick. Once I put dirt in them, the tabbed ones stood on their own just fine.
Water these well, as the paper will soak up the water at first. These would be great for larger plants.
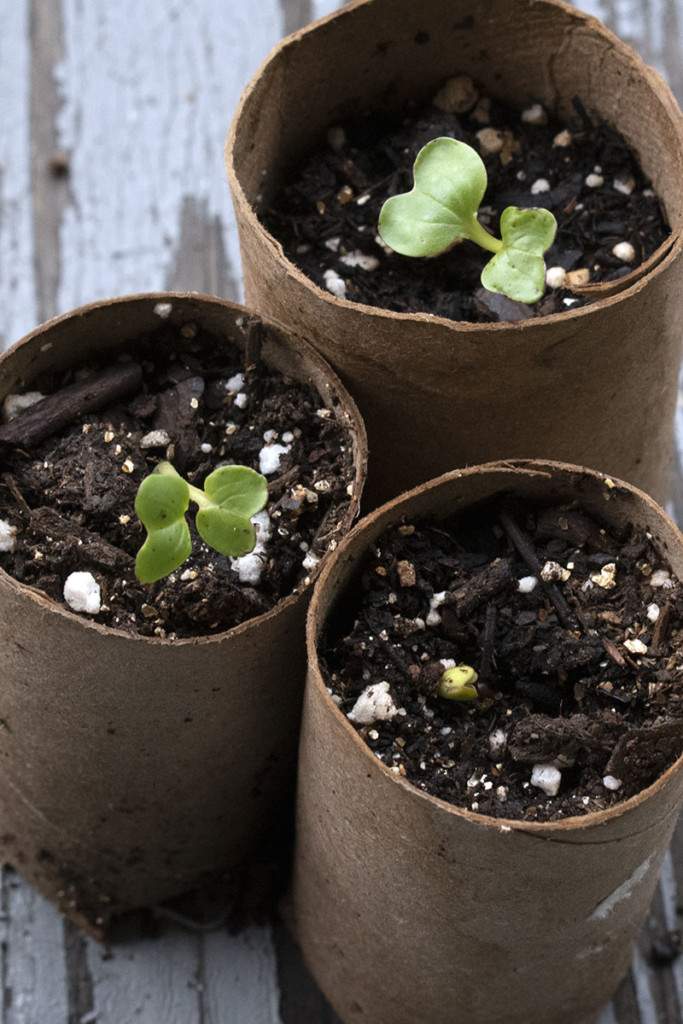
2. Citrus rinds
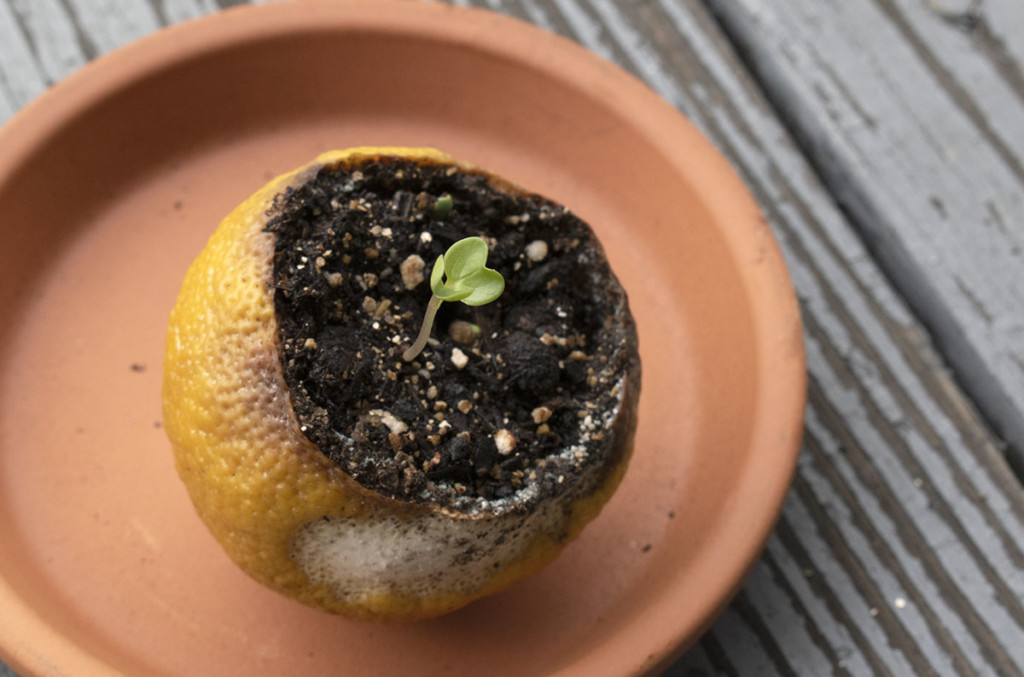
I love this one; it’s brilliant. Use hollowed-out citrus rinds to plant your seedlings. Grapefruit is the best option, and what a great way to compost your peels. I used a lemon rind after I made lemon poppyseed ice cream.
Even with a smaller fruit like lemons, this idea worked great. One thing to note is that the skin will, of course, begin to break down. However, I didn’t notice any smells or have any issues with flies or gnats.
3. Egg cartons
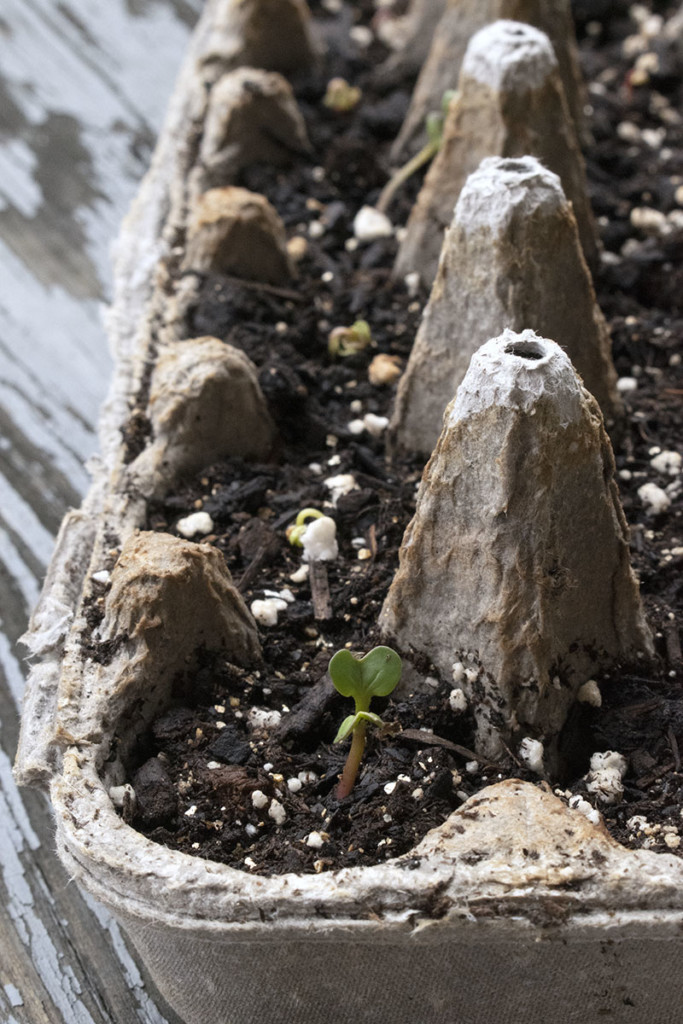
Eggs often come in pressed paperboard cartons; these make excellent little planters. Cut the container along the hinge between the top and bottom. Place the lid under the bottom half of the egg carton; this will help give your planter a little more stability. Fill each egg cup with potting soil and drop in your seed.
I found this worked very well, and it’s a great way to keep plant species or varieties together. When it’s time to transplant your seedlings into the garden, simply cut apart each egg cup with scissors. Because the egg cups are small, I would suggest using this for smaller seed starts like herbs or pepper plants.
4. Eggshells
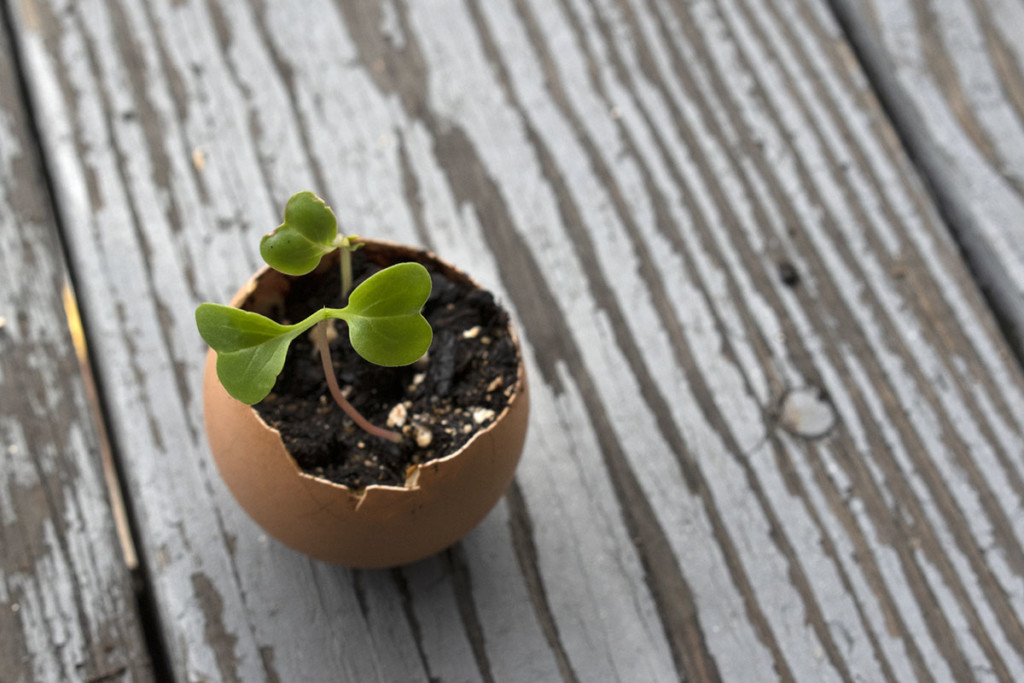
Yes, that’s right, eggshells. I have to say I think this method is by far my favorite.
Eggshells are wonderful for your soil, so planting them directly in your garden is a win-win.
Of all the different options I tried, this one retained moisture the best, which is essential when starting seedlings. It only takes one missed watering for tiny plants to die.
To collect empty eggshells, I paid attention to how I was cracking my eggs, to keep them mostly intact, and to have an opening at the top of the egg. I rinsed them out thoroughly with hot water before planting. Again, I had no issues with bad smells or flies.
When it’s time to transplant your seedling, crack the eggshell a bit before planting it in the soil. This will help the shell break down and allow your plants’ roots to grow.
5. Ice cream cones
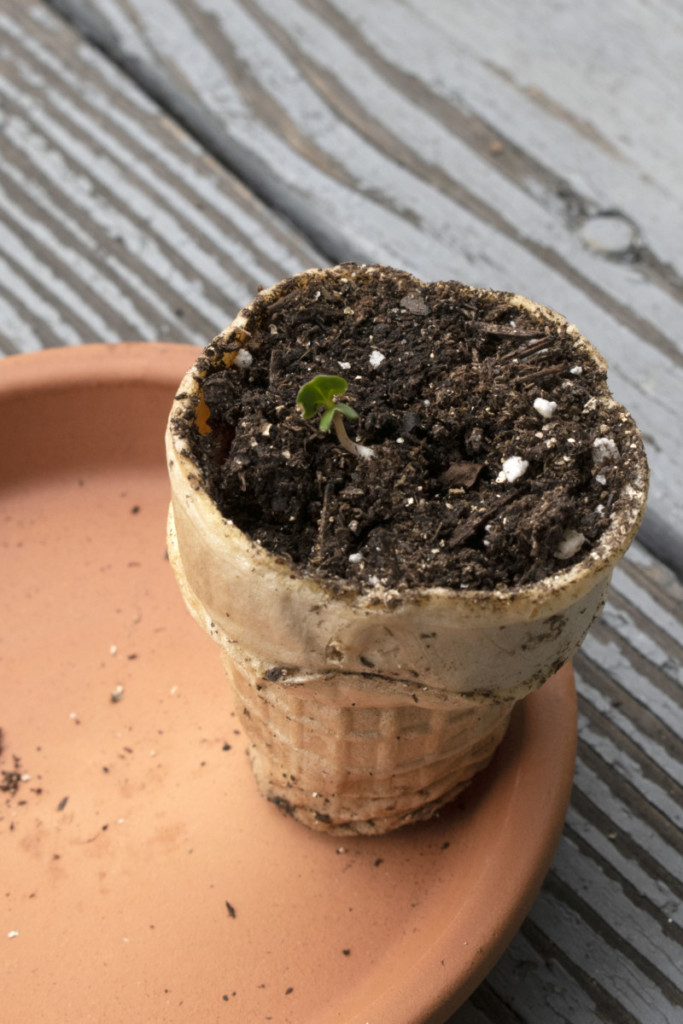
Yup, you heard me right, an ice cream cone. I was a little skeptical of this one, mainly because, as a mom, I’ve cleaned up enough mushy ice cream cones from my kids to know that they tend to fall apart when they become saturated. And yes, they did get mushy the first couple of days of watering, but after that, the cones became stale and hard and held their shape.
I have to say; these are a pretty great option if you have them around your home, especially if the package you have on hand has already gone stale. Give them a try and let me know what you think.
6. Newspaper
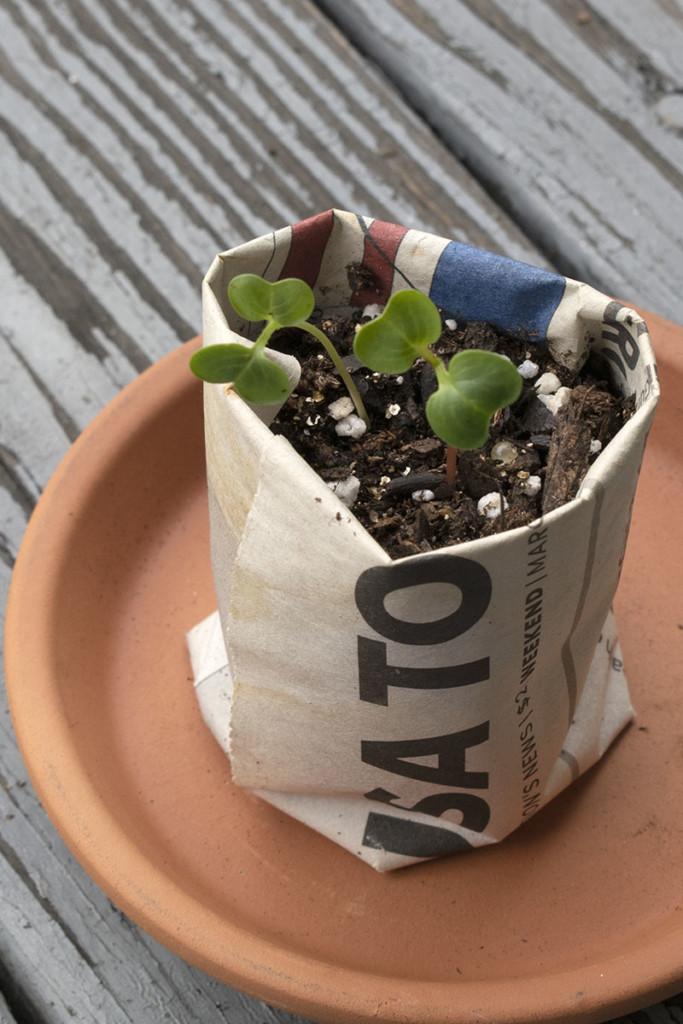
Newspaper pots are a tried and true standby for gardeners in the know. However, as newspaper circulation dwindles, it’s getting a little less common to have a newspaper around the house these days. A sign of the times indeed.
That being said, newspaper pots are easy enough to make and still one of my favorite DIY seedling pots out there. You’ll need a jelly jar or a beer bottle or similarly sized round container and, of course, newspaper.
With the newspaper laid out as though to read, cut 5″ wide strips across the paper from left to right. Then fold down the top 1″ of the newspaper lengthwise to create a crease. Unfold and then roll up the newspaper around your bottle or jam jar.
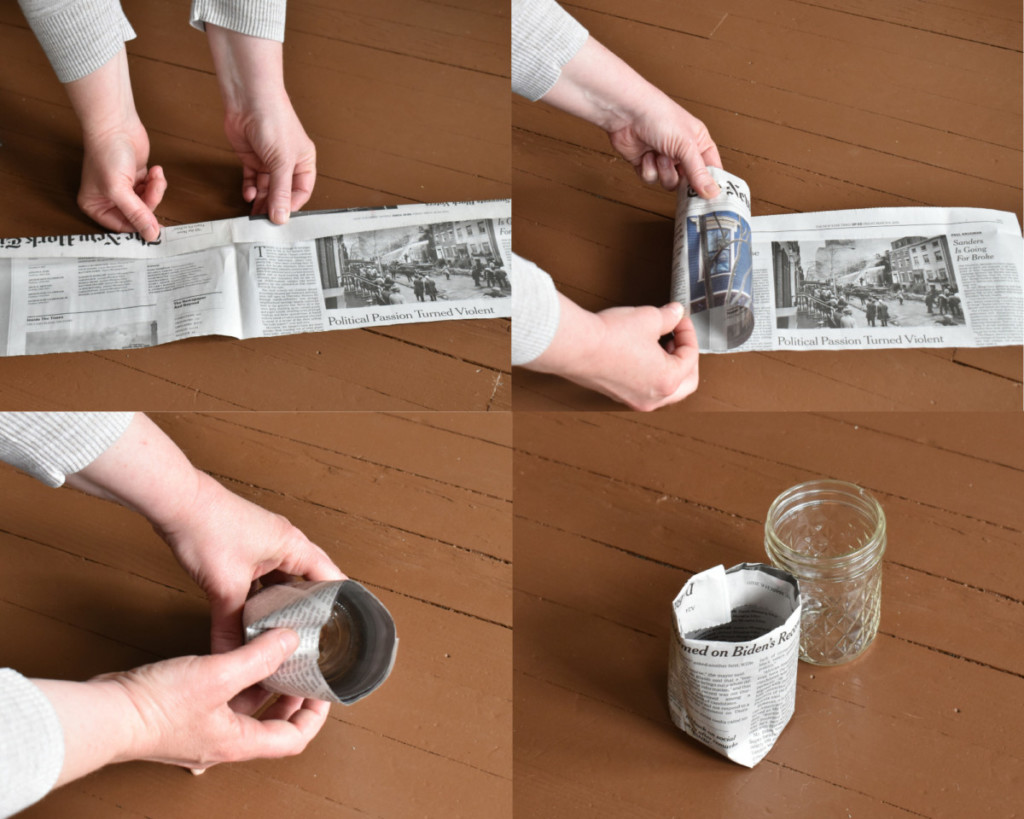
Push the bottom of the newspaper in about 2″ up from the bottom on four sides, creating flaps closing off the bottom. It helps to pinch the outer circumference of the bottom of the pot to hold everything in place before slipping the jar out. Remove your jar and then fold the top creased portion inside the pot.
Make a whole bunch and put them to use!
And finally, the one that didn’t work.
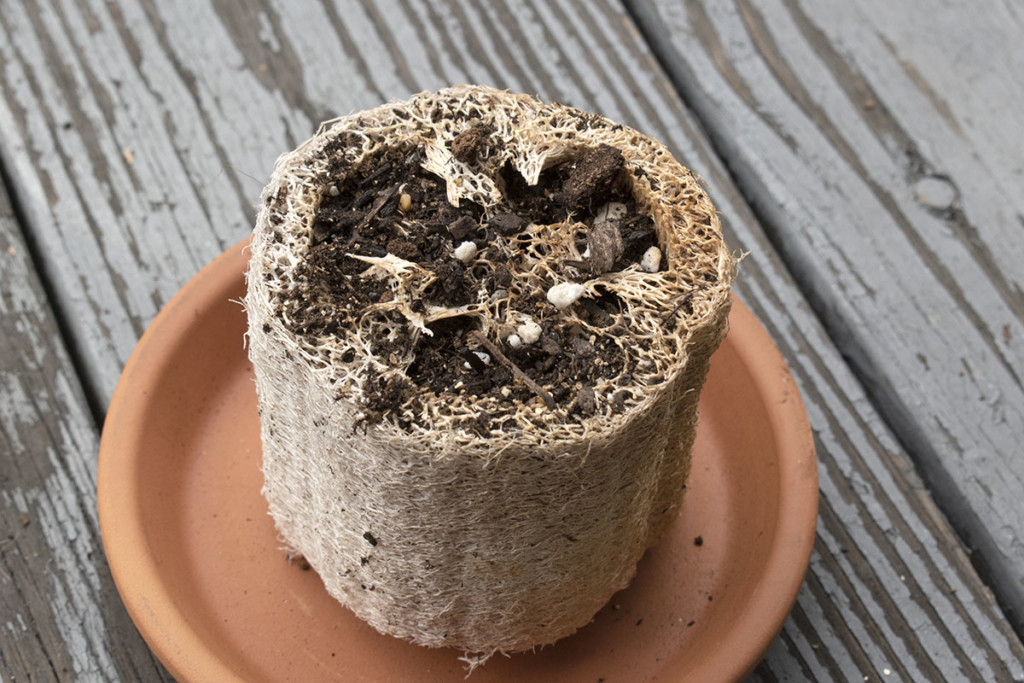
Loofah sponge
I saw this one recommended in several places, but I didn’t have any luck with it. I think it’s just too porous to retain any sort of moisture. Seeds need moisture to germinate. Save your loofas for the tub!
Now that you don’t need to make a special trip to the garden center, you can get started prepping your garden right away. Soon enough, you’ll have plenty of little seedlings ready to be planted directly in the garden – pot and all.

Get the famous Rural Sprout newsletter delivered to your inbox.
Join the 50,000+ gardeners who get timely gardening tutorials, tips and tasks delivered direct to their inbox.