

It’s disappointing to find pests in the garden or that your long-awaited produce is suffering from a disease, but it’s downright crushing when the start of the season is, well, a non-starter.
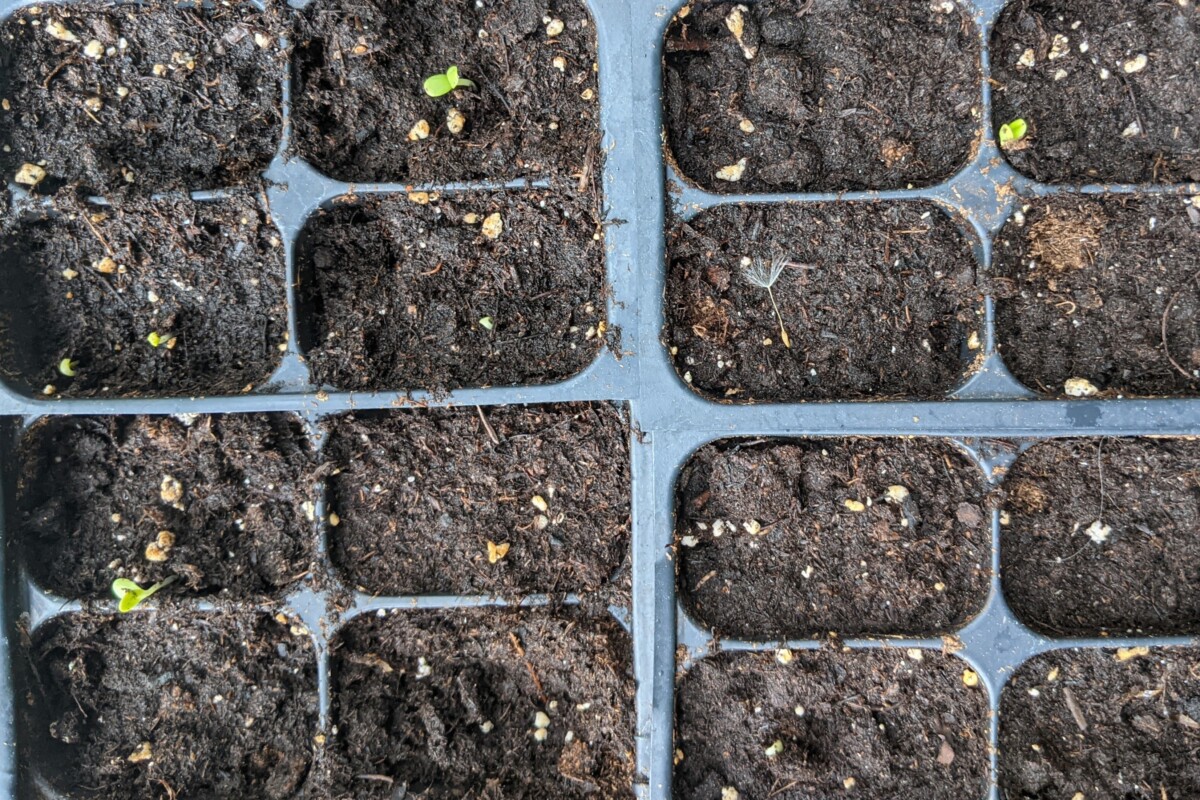
Sowing seeds and finding no green sprouts coming from the soil means something has gone wrong.
Learn the most common causes of no or low germination and how to fix it. Better yet, read this now and set yourself up for success before you sow a single seed. (Most issues are easy to prevent.)
Whether you’re starting seeds indoors or outside, germination requires a number of factors to align for a seed to get the message that, “Hey, it’s time to get growing.” If those requirements aren’t met, you’re often left standing with a moldy mess where tiny green seedlings should be.
These environmental factors – water, temperature, oxygen and light – are pretty easy to control with a little effort.
Let’s check these issues off one by one, and hopefully, by the end, you’ll have found the problem (or problems) while there is still time to sow another round of seeds.
1. Your Seeds Did Not Get Enough Water
Water is the most important requirement for successful germination. We all remember starting a bean seed on wet paper towels in elementary school and labeling the parts of the resulting sprout.
Water is essential for two reasons – it acts as a solvent and kickstarts hydrolytic enzymes.
A waxy outer coating protects the endosperm inside the seed. Water (and sometimes scarification) will break down the coating, allowing the water to penetrate the endosperm. Bam! Once water has reached the inside of the seed, it triggers enzymes within to start the germination process.
This whole process can go awry if water never gets past that outer coating. Here are a few things you can do to make sure the seed gets enough moisture:
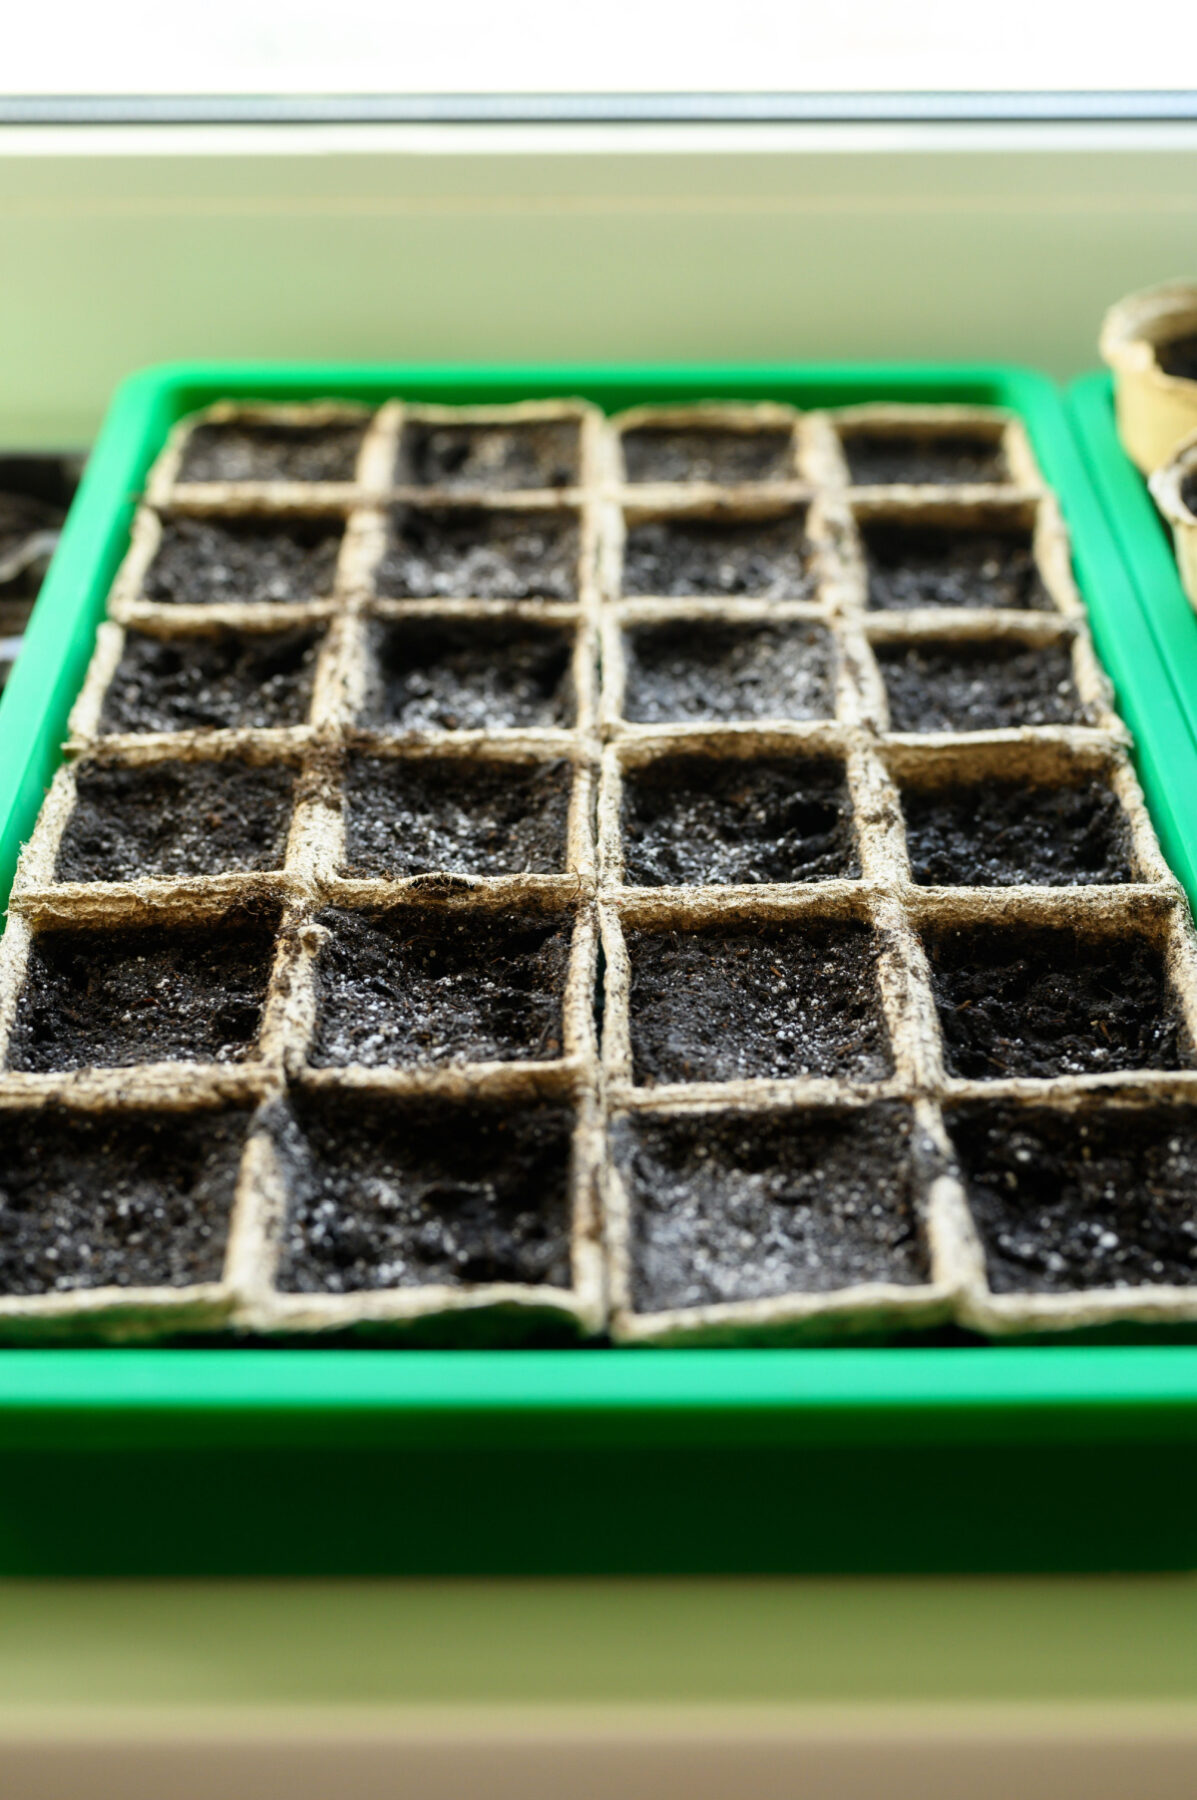
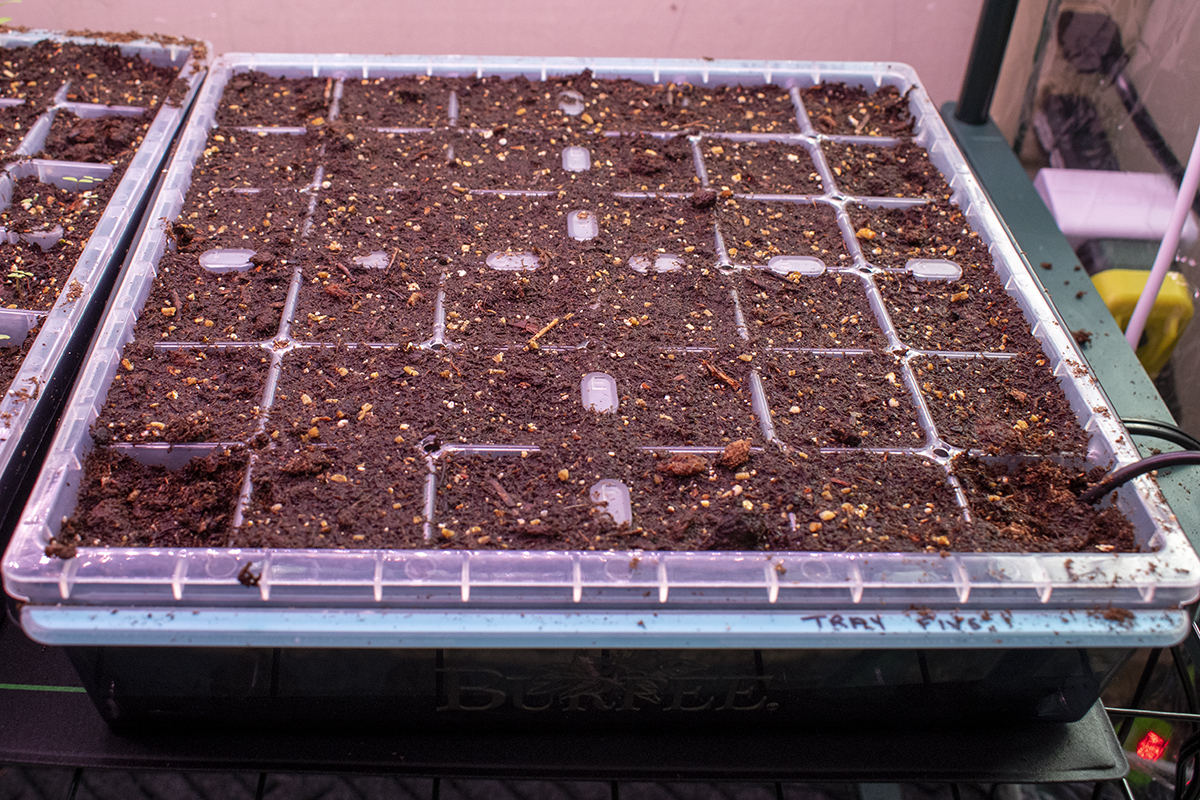
Start seeds in moist, seed-starting potting mix, ensuring the potting mix does not dry out. Covering your seeds until they germinate can help with this.
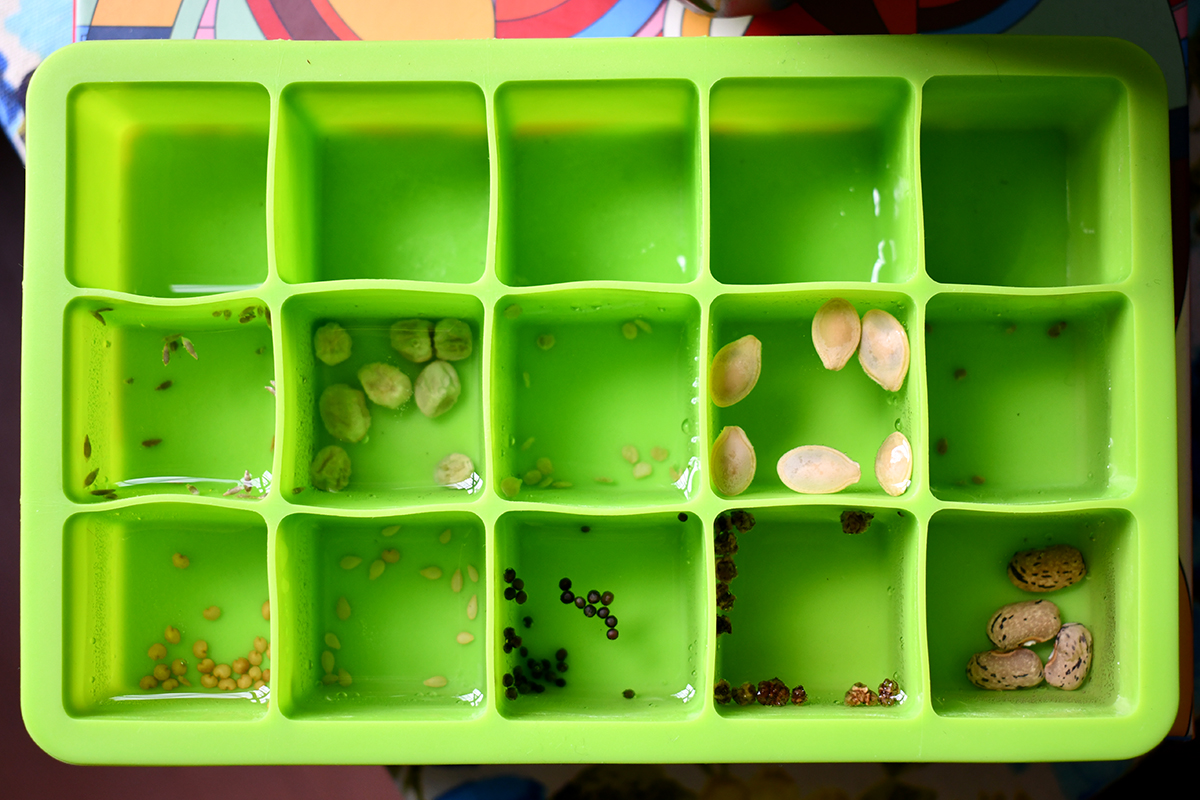
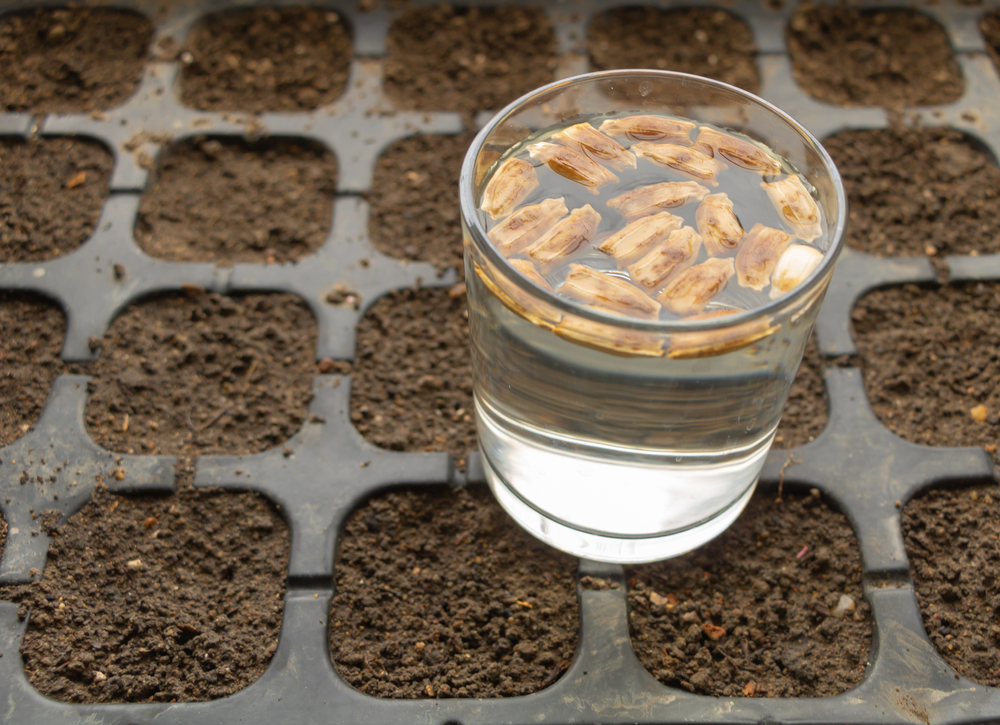
Soak seeds in water or water and hydrogen peroxide for 8-24 hours before sowing them.
Scarrify seeds with a nail file or nail clippers to allow water to penetrate the coating. (See #1 on my list.)
Related Reading:
2. You Drowned Your Seeds
I know; I just got done telling you to make sure your seeds got enough water. But that comes with a caveat – not too much water.
If the potting mix is too wet, it will prevent the seed from receiving some of the other important requirements for germination, like oxygen and light. If left too long in these damp conditions, the seed will rot. Waterlogged soil is also a breeding ground for the fungi that can cause damping off.
If you suspect your soil is too wet, leave it uncovered and set up a fan nearby to help evaporate some of the excess water. Cover your seedlings again once the soil returns to slightly damp conditions.
Getting the moisture right in the soil sounds trickier than it is. You shouldn’t see water squish out when you press on the soil. Stick your finger in the soil before you sow seeds. It should feel pleasantly damp, not sopping wet.
3. Your Seeds Can’t Breathe
Seeds need access to oxygen to metabolize nutrients until they’ve grown secondary leaves and photosynthesis begins.
Again, too much moisture can prevent your seeds from “breathing.” Likewise, if you use a potting mix that’s too heavy, it can compact around the seed, preventing oxygen from penetrating the soil and reaching the seed. Always start seeds in a lightweight, seed-starting mix. Madison has a great recipe for a peat-free seed starting mix.
Finally, make sure you’re burying seeds at the right depth. If they’re buried too deeply, they may not receive enough oxygen to metabolize nutrients.
Always check the seed packet for specific seed depth.
It can be tricky getting the right depth for seeds that need to be buried in less than ¼” of soil. At least, I always find it tricky. Instead of pushing these seeds into the soil or making ¼’ deep furrows, I place them on top of the soil and then sprinkle the right ‘depth’ of potting mix on top of them. Easy-peasy!
4. The Soil is Too Cold or Too Hot
Whether starting seeds indoors or sowing directly in the ground, soil temperature is important for successful germination.
Indoor Soil Heat
Many of us get a jump on the season by starting seeds indoors. Despite our homes being much warmer than the winter temperatures outside, you may still struggle to warm the soil sufficiently.
When sowing seeds indoors, choose your warmest room. You might also want to buy heating mats to put under your seed trays. The mats keep the soil at a consistent temperature, which can be important during the winter in drafty homes or at night when they cool down.
If you’re starting seeds that require high temps to germinate, such as peppers, tomatoes and eggplants, a heating mat with a controllable thermostat is a life-saver.
(These are the heating mats I bought several years ago, and I wouldn’t start a growing season without them. They’re worth every penny and have noticeably improved our germination rates.)
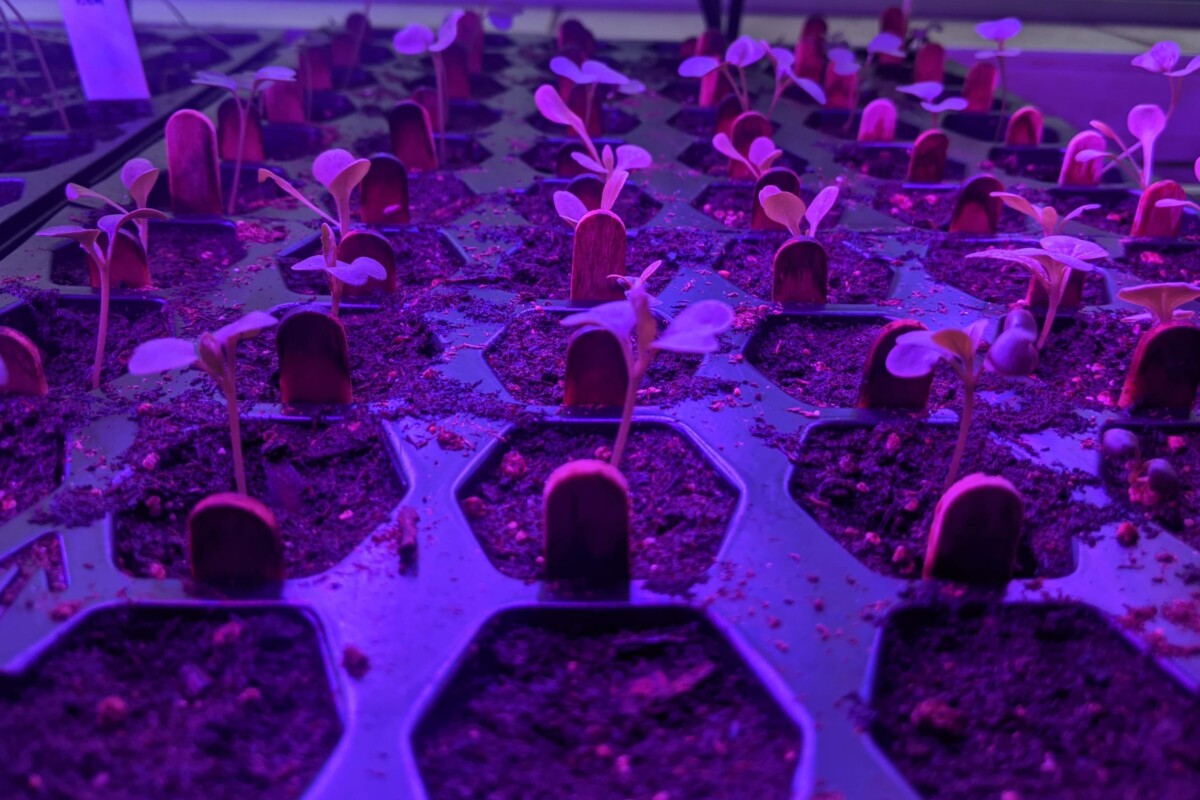
Don’t rely on LED grow lights for heat. Many people make the mistake of assuming their LED grow lights give off heat as well as light. Most are extremely energy efficient and produce little to no heat.
All seeds have a temperature range that they will germinate within. If temperatures fall out of that range, germination won’t happen. Check out this article to learn about the germination temperature ranges for common vegetables.
Outdoor Soil Heat
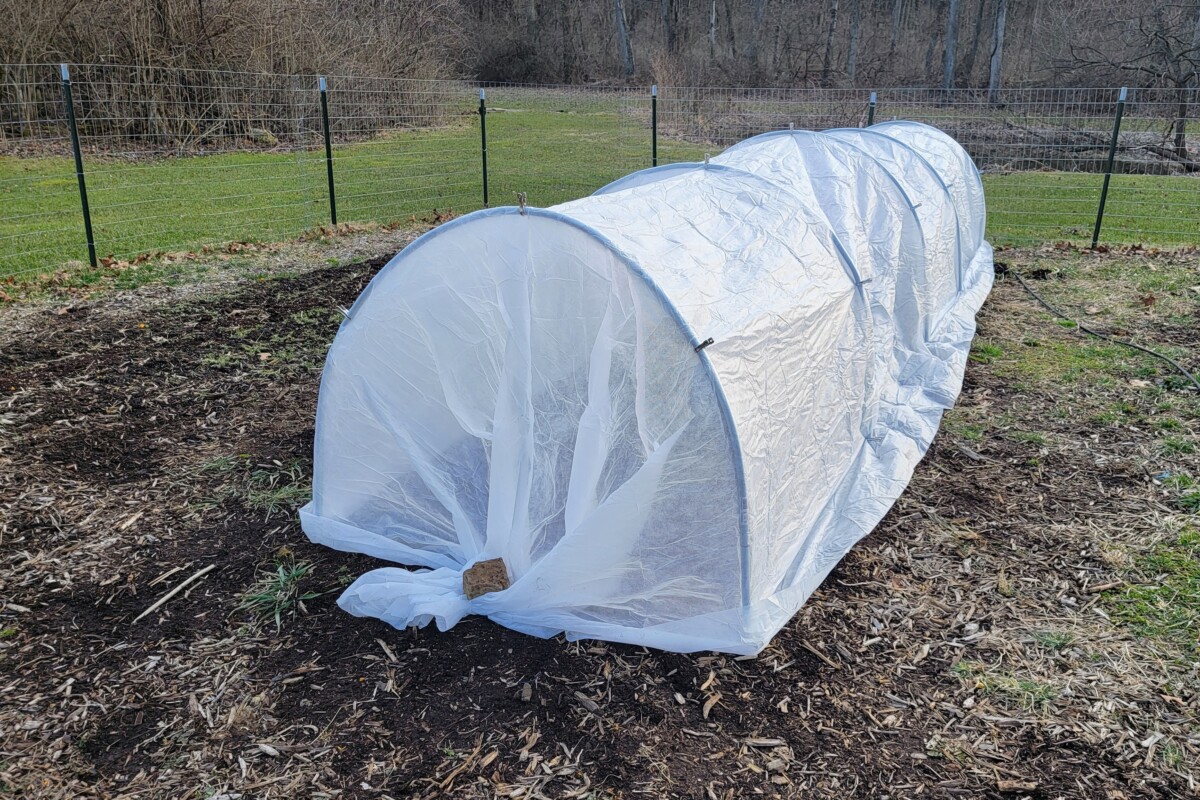
If you’re looking to get a jump on the season, there are a number of cold-hardy plants you can grow outdoors. Even so, the soil will need to warm up a bit for successful germination. Consider covering your garden or using a polytunnel or cold frame to heat the soil up faster in the spring.
I’ve said this in numerous articles, but I swear by this little soil thermometer. It takes all the guesswork out of sowing seeds outdoors. I even use it in the summer when I’m starting fall crops. Speaking of…
A particularly hot summer can cause germination issues if you’re trying to start fall crops. When soil temperatures start to get into the 70s and 80s (F), you might struggle to get cooler, call brassicas to germinate. Consider mulching the ground or using shade cloth to lower soil temps. You could also start seedlings in a cooler spot indoors.
Likewise, when starting seeds indoors, depending on your climate, you might struggle with temperatures that are too hot. Again, that’s why I love my little soil thermometer.
Vernalization
There are a number of herbs and flowers that need to experience a period of cold before they will germinate. This is uncommon in most vegetable seeds. You can keep seed packets for these plants in your fridge for a few weeks. Most seed packets will tell you if the seed needs to be vernalized.
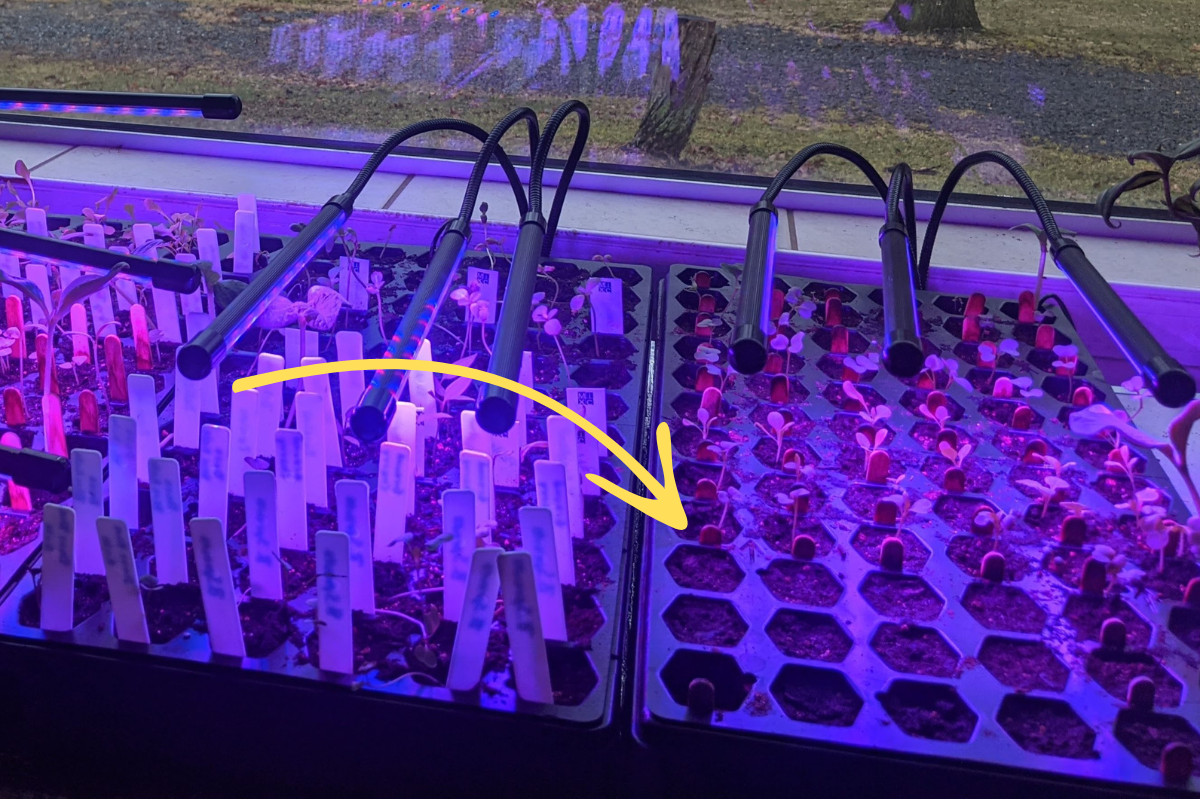
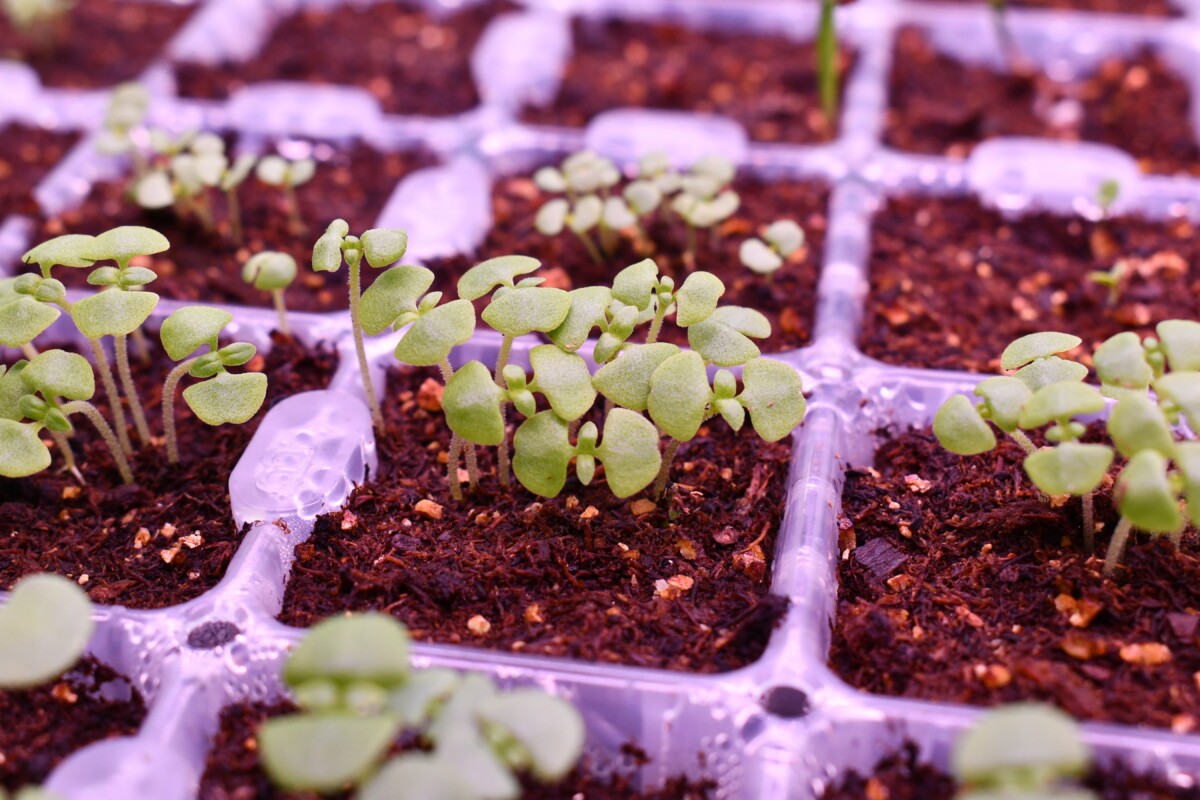
5. Your Seeds Didn’t Get Enough Light
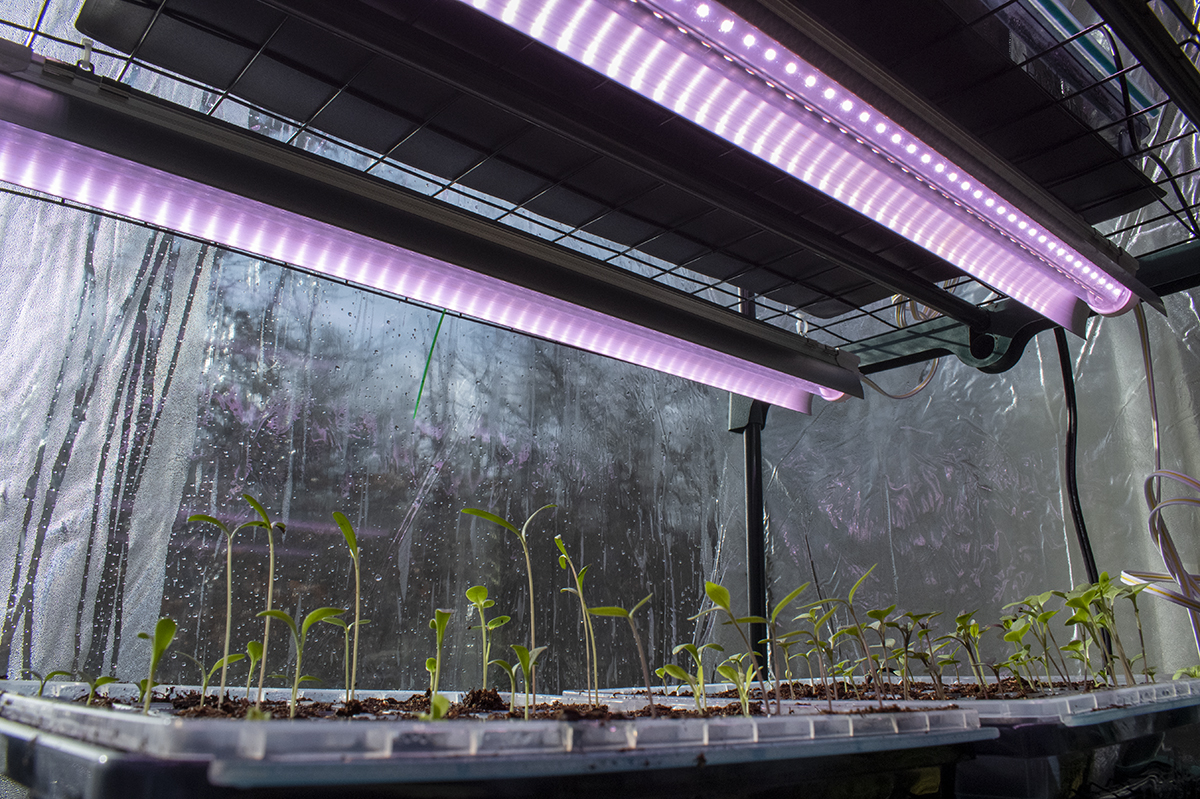
When we think of a seed germinating, most of us think of a seed buried deep in the dark soil, with a tiny radicle stretching up to reach the light above. However, there are plenty of seeds that require light to germinate. Most of these are the ones that are either scattered on the surface of the soil or are only buried in ¼” of soil or less.
Pay attention to how deeply you plant seeds, and use my tip from above for shallow-sown seeds. If you’ve done all of those things correctly, then the light is not strong enough for germination to occur.
I got tired of all the cheap, ineffective grow lights I had bought through the years and decided to purchase a good set. Having enough coverage has always been a big part of my issue. All the lights I had were dinky little strip lights or gooseneck lamps. They just didn’t cut it. I ended up choosing this set of four Barrina T8 2ft long grow lights, and they are amazing.
6. The Seeds Have Succumbed to Damping Off
Pre-emergence damping off happens when fungi infect the seeds, and they don’t germinate at all. But damping off isn’t always a germination issue. Sometimes, you will have seedlings emerge only to have them die off shortly after.
This well-known seedling issue is caused by a variety of fungi found in the soil and outdoor water sources.
These fungi thrive in the cool temperatures and low light that coincide with when most of us start seedlings. There is not enough light to help kill off these naturally occurring fungi.
White mold on the soil or the seedlings is a dead giveaway that these fungi are present.
You can reduce the likelihood of damping off by using sterile seed-starting mixes. If you’re using your own compost or potting mix, Lindsay shows you how to sterilize it in the microwave. It’s easy. Be sure you use clean pots and provide plenty of light and good air circulation where you’re growing your seeds.
A clip-on desk fan not only improves air circulation but can also prevent leggy seedlings by encouraging sturdier stem growth.
7. Low Germination Rates Are Normal for That Variety
A low germination rate might be the norm for a variety you’ve chosen to grow. Through plant breeding, we’ve been able to improve many characteristics of particular cultivars, including germination rates. This is why you’ll always have better germination rates with hybrid varieties.
In general, heirloom varieties tend to have lower germination rates.
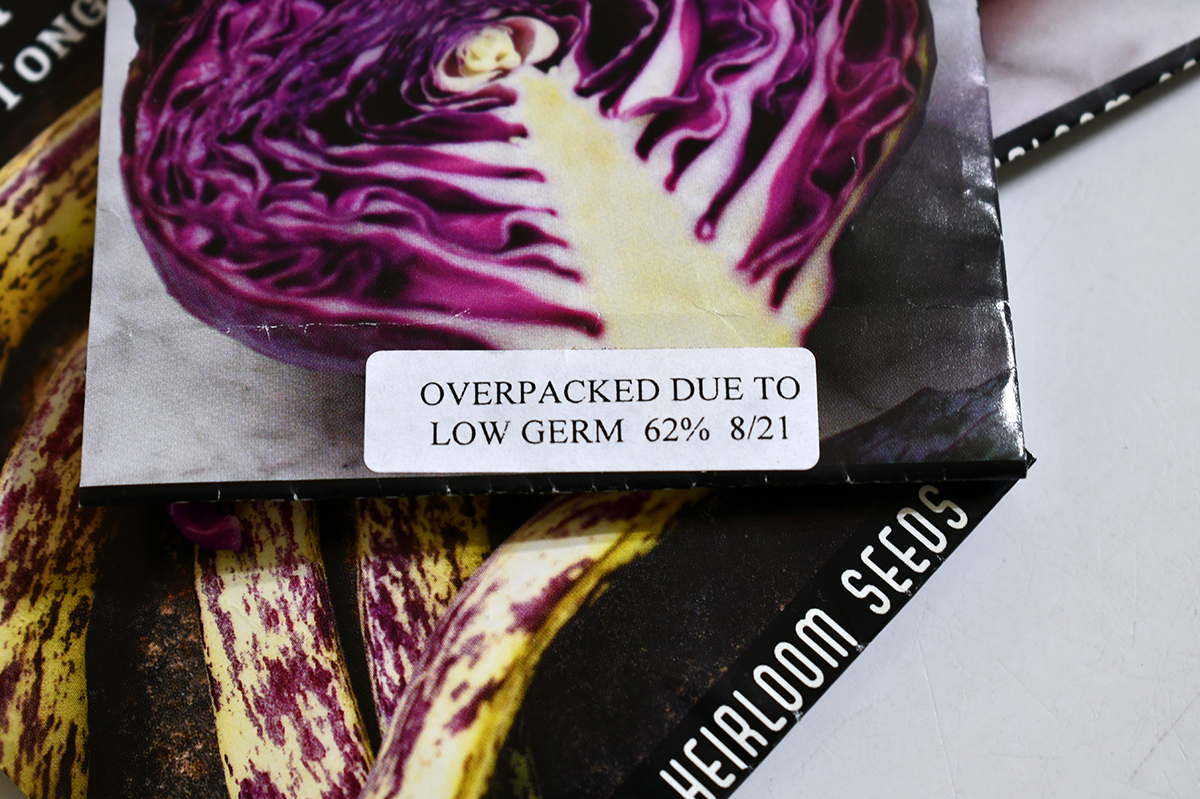
That’s not to say the rates are abysmally low; only now and then you may encounter a variety with a much lower germination rate. One of the reasons I prefer Baker Creek Seeds is they will put extra seeds in packets of varieties that have significantly lower germination rates.
When choosing seeds, it’s always a good idea to read the seed packet or online description thoroughly for germination information. If you’re purchasing online, read the reviews as well.
There’s nothing wrong with choosing to grow a vegetable with a low germination rate.
You’ll have to do a little extra work at the start, that’s all. I always soak these types of seeds in water and peroxide for eight hours before planting them. I also use my heating mats with the thermostat so I can be sure the soil is the ideal temperature for germination. Finally, I plant double the amount of seeds for anything with a germination rate lower than 70%.
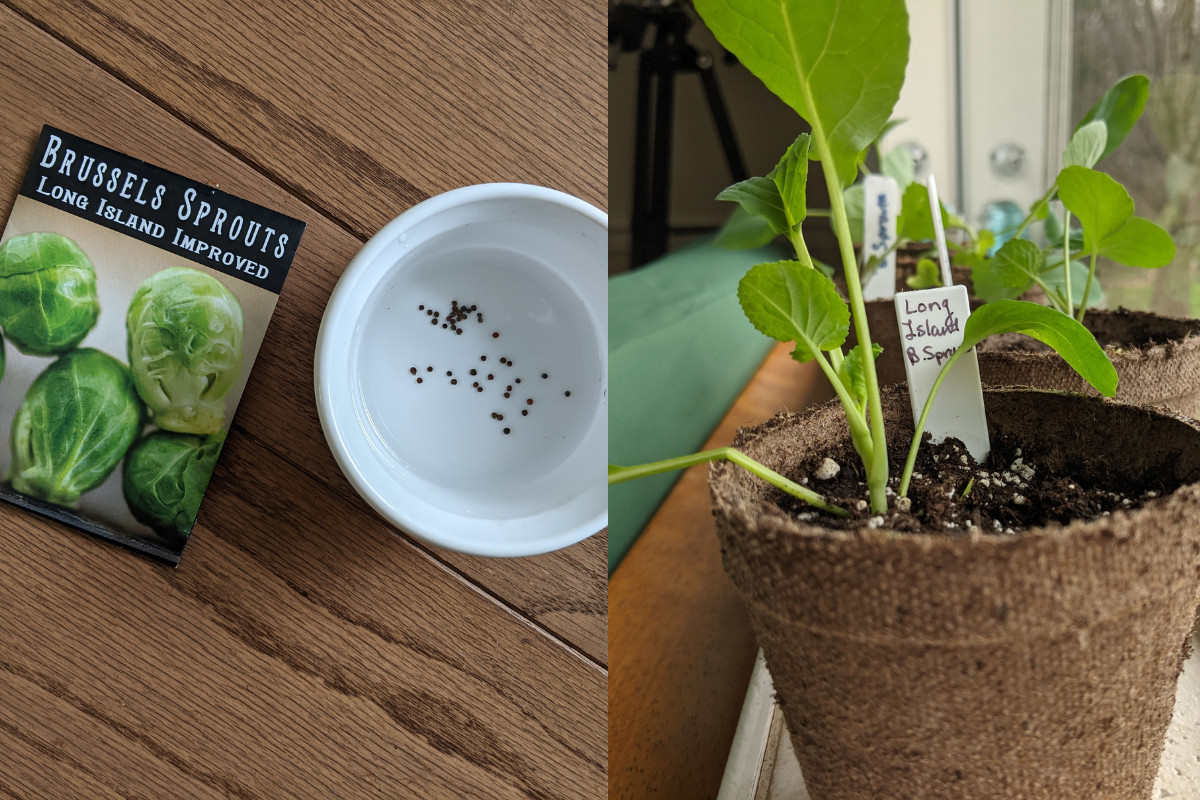
Often, the seeds that take a bit more care to get going at the start end up being some of my favorite vegetables in the garden. In all my years of gardening, there has only been one variety with such poor germination that I decided not to try growing it again. (It was the Red Express cabbage pictured above. There was nothing ‘express’ about it.)
8. The Seeds Were Stored Incorrectly
Let me be clear: if you’re buying seeds from a reputable seed company, it’s rare that you will receive seeds that have been stored incorrectly. Most (if not all) have climate-controlled facilities where they store their seeds.
And the small amount of time they spend in transit or the store isn’t going to have a huge effect on germination.
Incorrect seed storage is more common once we buy them and get them home.
To ensure the best germination rates and viability, both storebought and saved seeds should be stored in an airtight container and kept someplace dark, cool and dry.
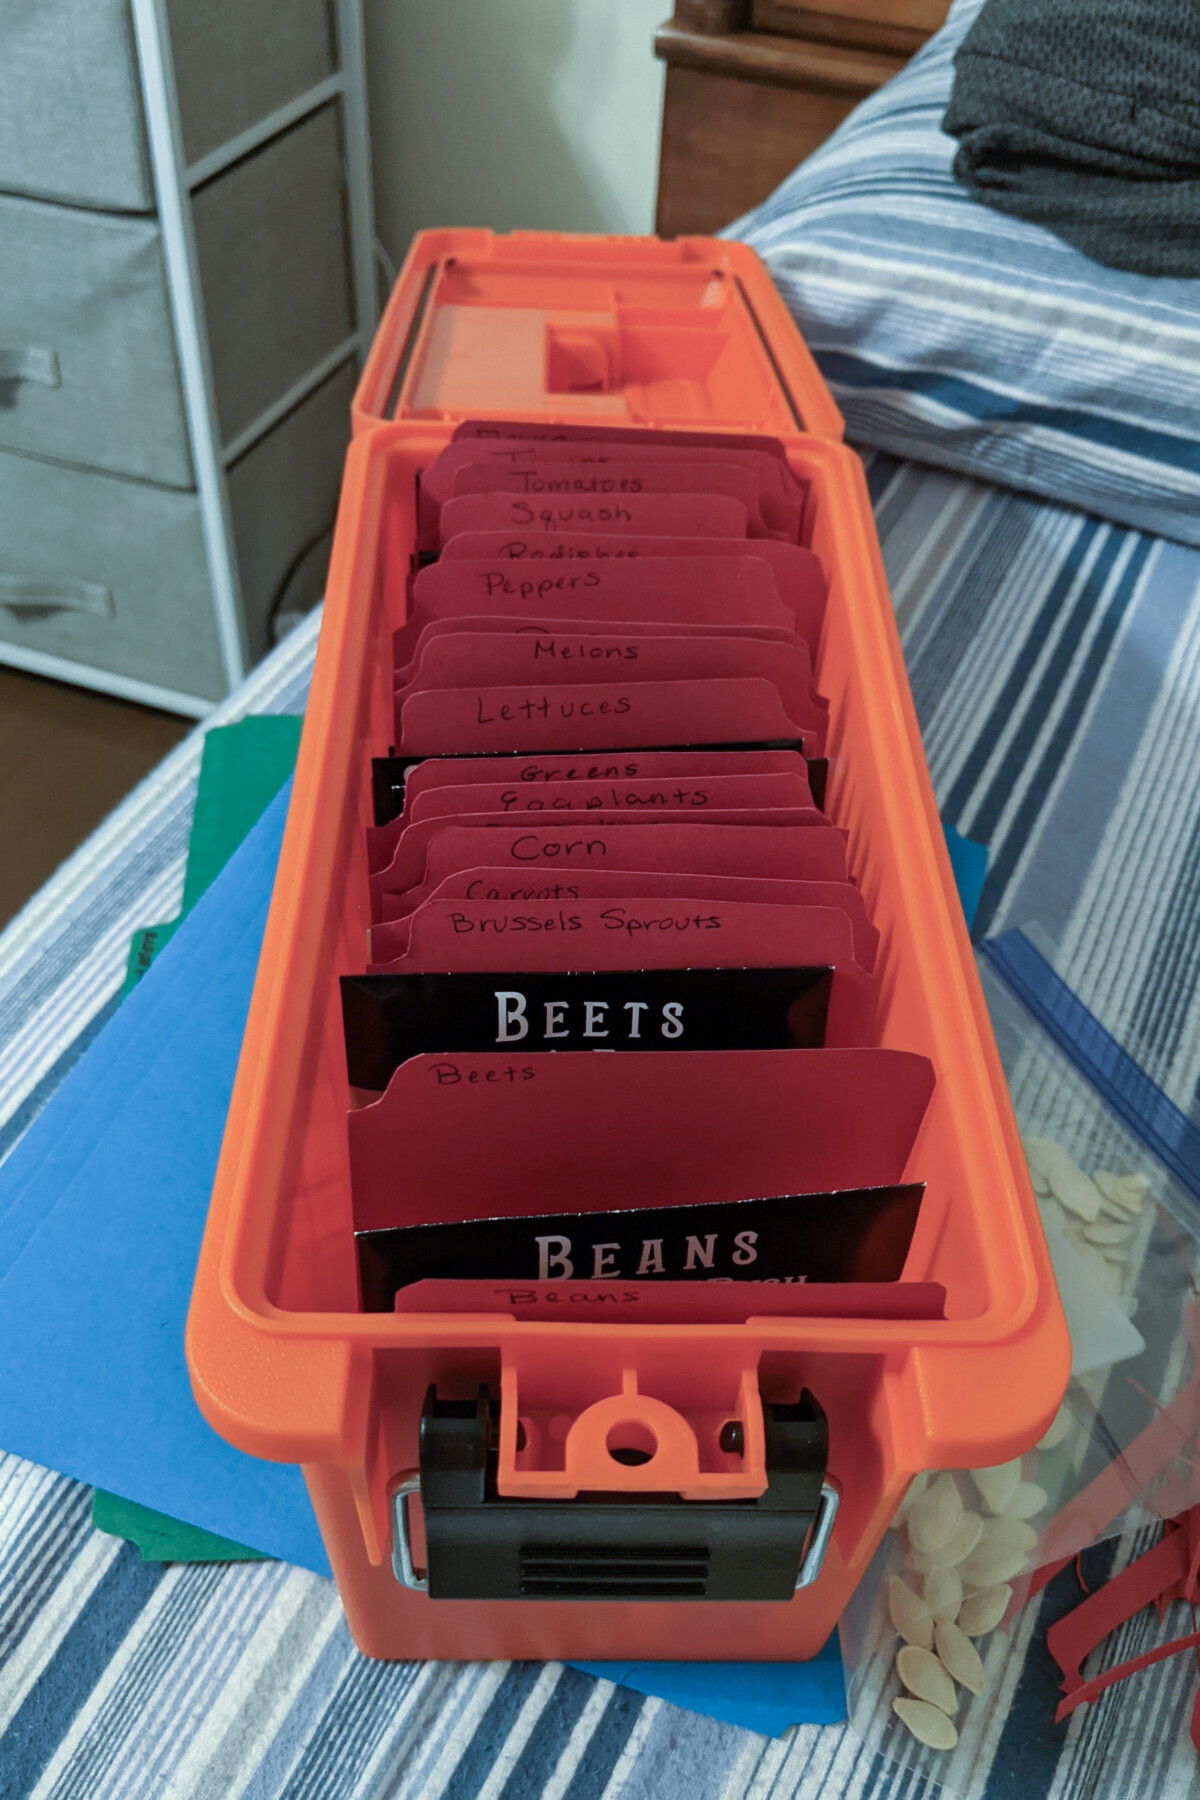
Ironically, the best seed storage containers I’ve found are these inexpensive plastic 30 cal. ammo cans. Most standard seed packets fit perfectly. I toss in a desiccant packet (these are the ones I use), and voila, we’re good to go. Because they’re made to be dry storage, I can keep my garden ‘ammunition’ in the fridge or a cool basement without having to worry my seeds will spoil.
9. The Seeds Are No Longer Viable (Too Old)
Every packet of seeds you buy will have a ‘use by’ date stamped on it, although more often, I see “packed for XXXX growing year.”
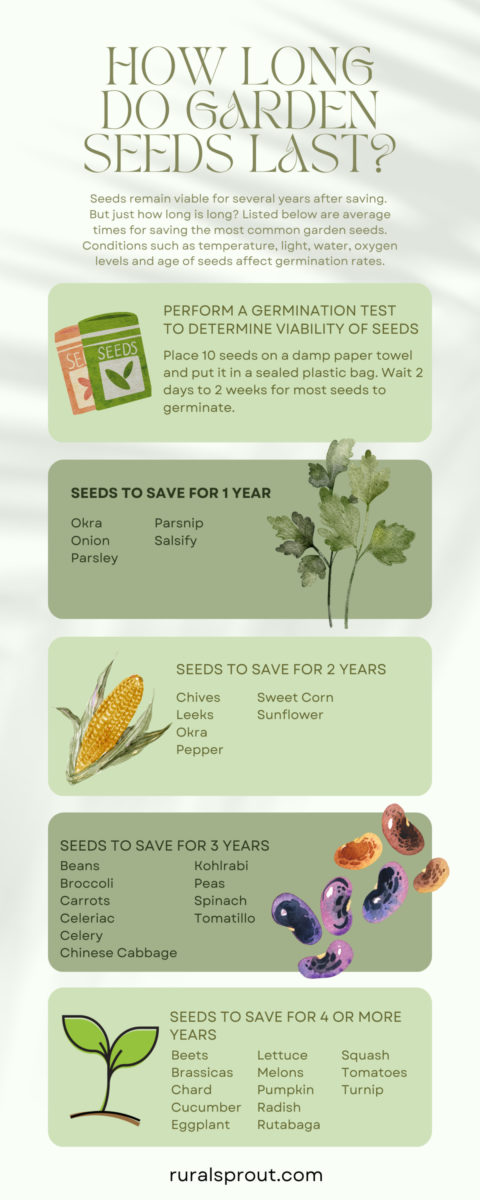
Just like when buying milk, this is a conservative date meant more for avoiding disgruntled customers than for actual viability. Check out this lovely viability chart that Cheryl made for the most commonly grown veggies.
As seeds get older, you’ll want to test them by soaking them in water for 24 hours to see if they will germinate. Cheryl walks you through how to do that here.
10. Someone Ate Your Seeds
If you’re sowing seeds outdoors and you’ve met all the requirements and still have no seedlings, the chances are pretty good that someone ate them.
Don’t look at me. I go in more for cheese, myself.
Last year, I had to plant my dill three times before it dawned on me that the birds were eating the seeds.
Birds, mice, moles and other wee critters love snacking on seeds, especially when you’re kind enough to lay them out so neatly for them. You can prevent seed snacking by covering your seeds until they germinate or using things like scare-tape to keep birds out of your garden.
With a little detective work, you can easily diagnose your germination issues and still have time to get new seeds sown in time for the growing season.

Get the famous Rural Sprout newsletter delivered to your inbox.
Join the 50,000+ gardeners who get timely gardening tutorials, tips and tasks delivered direct to their inbox.