

My typical seed starting mix looks like this.
- 1/3 Compost (from my garden).
- 1/3 Topsoil and well-worked and fine soil. (Hint: soil from mole hills or the hills made by other tunnelling mammals works well).
- 1/3 Leaf Mold (which I make from the leaves that fall in my garden).
But not everyone is lucky enough to have a garden with access to topsoil, many people don’t make their own compost or can’t purchase any and leaf mold is a luxury that takes planning and patience.
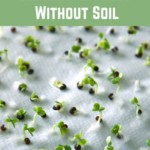
So what if you want to start seeds now without soil?
Fortunately, there are several things you can use to start seeds without any soil or compost or leaf mould/ leaf litter at all.
Many seeds can be sprouted simply by placing them on a substrate that retains water. Others will germinate better when completely surrounded by moisture, rather than simply being placed on top of the material.
Here are some germination methods that can work for many of the seeds you may wish to grow:
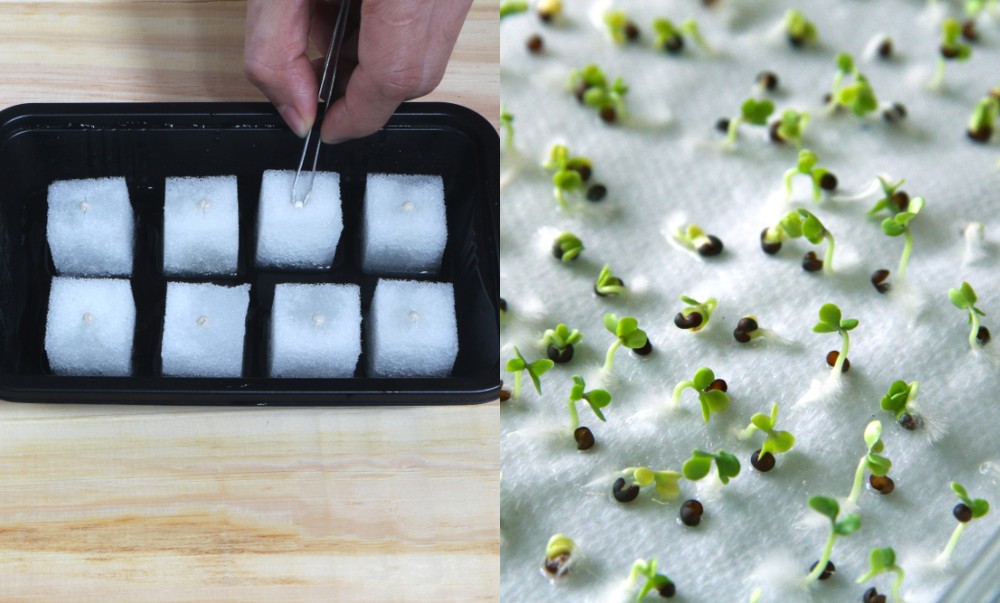
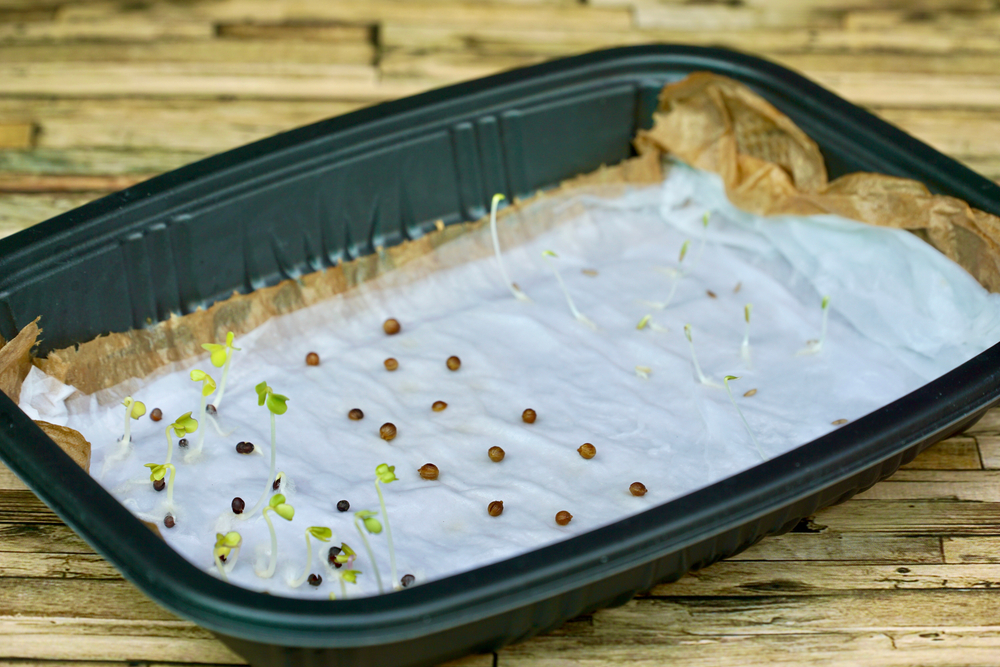
1. Start Seeds On/ In Paper Towels
Cress and brassica micro-greens and many other common seeds should germinate well when placed on top of a fully moistened bed of paper towel.
- Wet the paper towel thoroughly in water.
- Then place it in any tray, tub or other container.
A tray or tub with a clear lid is ideal, as this will help retain moisture. However, you can use whatever comes to hand.
Kids often simply screw up wet paper and place it inside an egg shell or an egg box and place seeds on top. You can use a wide range of containers – often things that you may have lying around.
- Sprinkle the seeds evenly over the surface of the paper. (Small seeds will not usually need to be pre-treated. But larger seeds like peas for example should be pre-soaked.
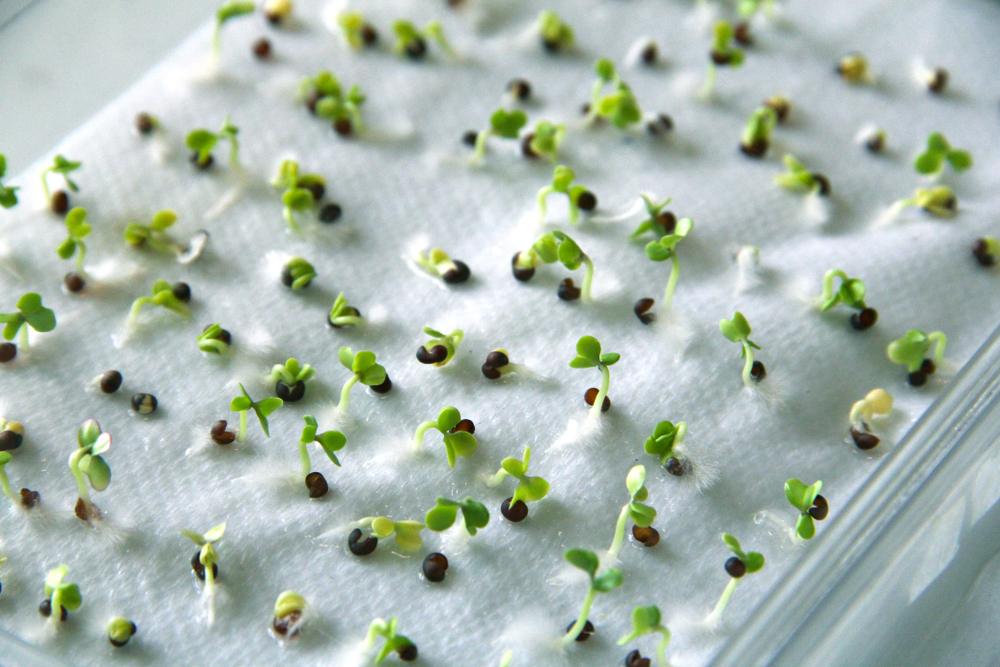
- Place the container with the seeds in a warm spot (with temperatures suitable for the seeds you are trying to grow).
- Make sure the paper stays moist until the seeds germinate and as they begin to grow.
- Carefully remove your seedlings and plant them in soil/ potting mix (or in a hydroponic or aquaponics system) as soon as the seeds develop their first roots and shoots. Or simply eat them as nutrient-rich micro-greens.
(You can also fold up seeds within a piece of wet paper towel and place them within a container (such as a glass jar with lid only lightly screwed on) to retain moisture but still allow oxygen in. Then plant them in soil or use them in water-based growing systems as soon as the roots begin to grow.)
Remember, different seeds will have different requirements when it comes to germination. Some need darkness and some need more light. It is important to take these things into account when determining how exactly to sprout your seeds. However, this method will work for a number of common seeds.
2. Start Them in Pulp Made From Untreated Waste Paper and Card
If you do not have paper towels, you could also consider growing a number of seeds on a substrate of untreated waste paper and card. (For example, you could use toilet roll tubes and cardboard box material, pages from old sketchbooks etc..)
First, make the pulp for the substrate. Simply soak the ripped up/ shredded waste paper and card in hot water, leave them to soak for a while, then wring out the mix and use it in the same way as paper towels.
3. Start Seeds in Sponges
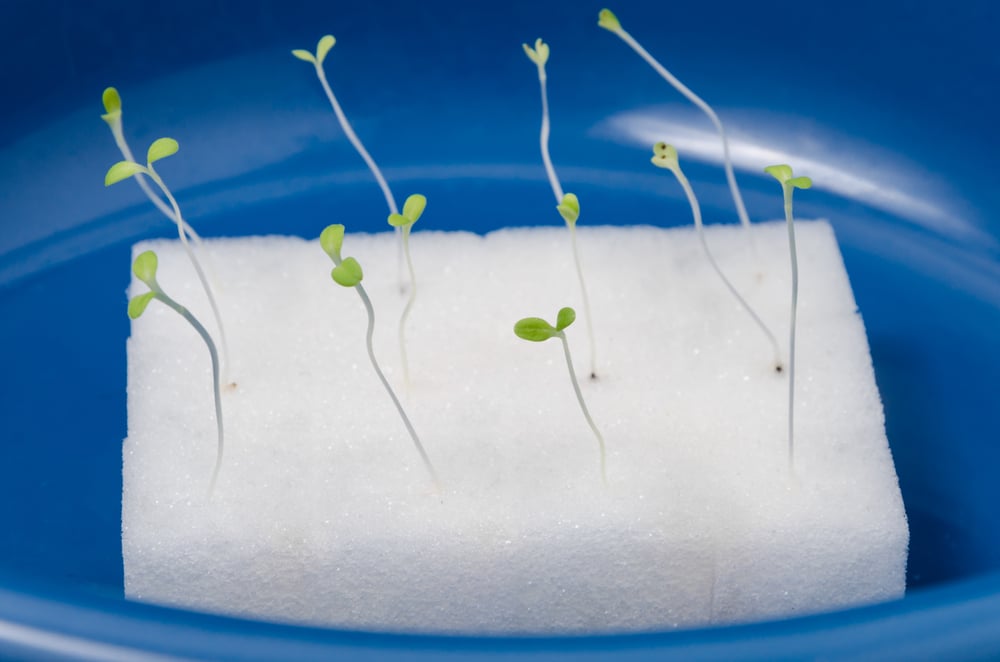
Sponge is another substrate that can be used for seed starting, as this is another material that will hold moisture close to the seeds to allow them to begin the germination process.
Try to choose natural sponges when possible.
4. Start Seeds in Organic Cotton Wool
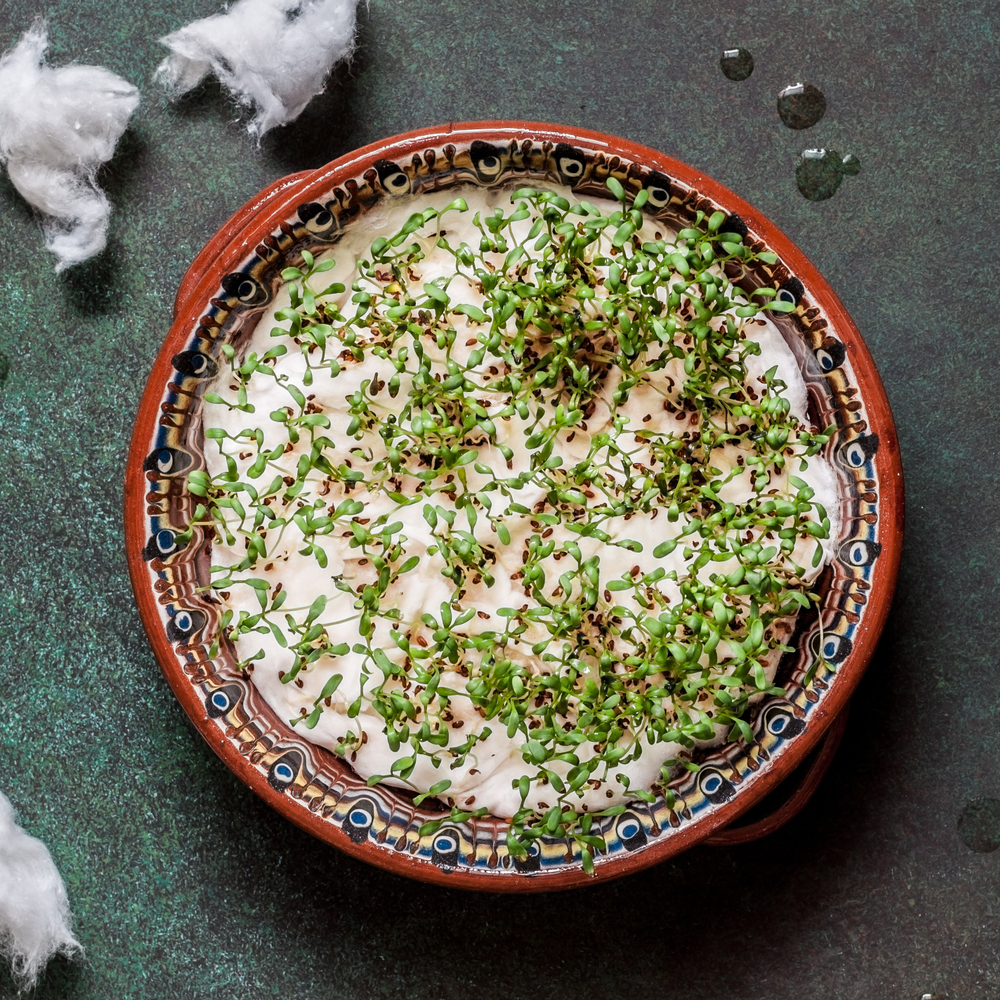
If you have some organic cotton wool for other uses around your home, this could also be soaked and used as a substrate for seed starting.
It is best only to use organic cotton, since cotton not grown organically comes at a huge cost to people and planet.
5. Start Them In Wet Natural Materials/ Plant Fibre Mats in Containers
You can also use wet natural materials such as cotton, linen or hemp in the same way as paper towels, either to grow seeds on top of, or to fold up seeds and keep them moist within a container.
Again, keep an eye on the seeds, as you will need to move them to a growing area or water-based growing system as soon as the roots and shoots have begun to form.
6. Start Them in Fine Wood Shavings
One final substrate option is fine wood shavings (well moistened). The wood shavings commonly used for pet/ animal bedding can work well. And these are something you may already have around your home. Like the other materials on this list, they can be composted after they are used.
7. Sprout Seeds In A Jar
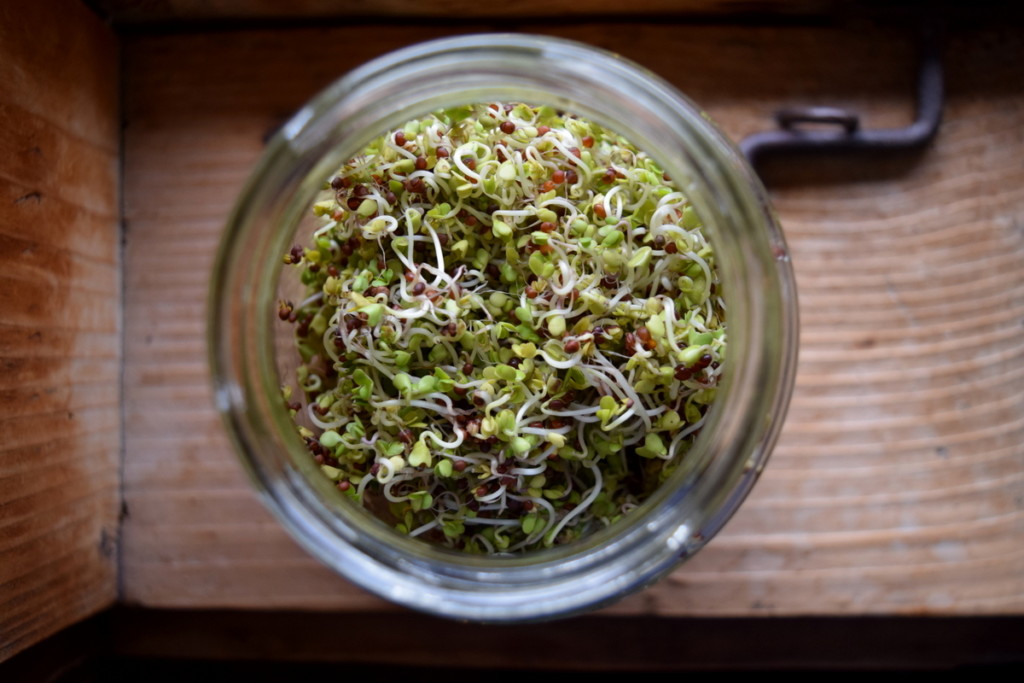
If you want to germinate seeds to use as sprouts, you can do so simply and relatively easily in a jar.
Check out our guide:
Quick and Easy Sprouting Guide: How To Sprout Vegetable Seeds
Germinating seeds is something anyone can do right now. You don’t need to buy anything in to get started.
Don’t let a lack of potting soil or compost stop you from getting growing. You likely already have something you can use, so all you need is the seeds – and make sure you pick the best quality seeds!

Get the famous Rural Sprout newsletter delivered to your inbox.
Join the 50,000+ gardeners who get timely gardening tutorials, tips and tasks delivered direct to their inbox.