

In the realm of sustainable gardening, you’ll quickly find what is old is new again. The techniques of the past, forgotten and rediscovered, are a fount of knowledge and inspiration for the champions of permaculture.
Prior to industrialization, growing food was a wholly organic experience.
Compost, fertilizing teas, urine, Hügelkultur, the 3 sisters, crop rotation, and many more methods are all ancient practices that have stood the test of time and provide invaluable insights for the modern gardener seeking to work in harmony with nature.
With its roots in the Amazon basin circa 450 BCE, biochar is another very old strategy for building fertile soil. For hundreds of years, terra preta (“black soil” in Portuguese) was the solution to the challenges of growing food in dense tropical rainforests, where high humidity and heavy precipitation cause organic matter in the soil to rapidly decompose.
By making “black soil” with the addition of charcoal, the Amazonians captured and held nutrients in place so they wouldn’t get washed away by the next downpour.
We’ll perhaps never know how the indigenous tribes discovered terra preta as a soil management system, but we do know it’s extremely effective for creating rich earth – rife with nutrients and microorganisms – that persists in the soil forever.
What is Biochar?
The ancient Amazonians transformed huge swaths of the rainforest into terra preta, with an estimated total area of 7,300 square miles – or roughly the size of the state of New Jersey.
Surrounded by poor-quality yellow clay soils, the dark earth of terra preta is still there to this day, rich in nitrogen, phosphorus, potassium, calcium, zinc, and manganese.
A thousand years later, it houses high levels of microbial activity and retains moisture better than the native soil. Most remarkably, the long-abandoned terra preta soil regenerates itself at a rate of a half-inch each year.
Terra preta was made by burning tree branches and other woody materials in a pit or trench to create charcoal. The fiery pits would be covered with soil to bring the flames to a smolder. Once cooled, the char would be topped with all sorts of organic waste – kitchen scraps, animal bones, fish scales, manure, and broken pottery shards. The pits would be left to sit for an extended period before the black soil was retrieved and used to grow food.
The secret of terra preta lies in the charcoal – or biochar, as it’s more commonly known today.
Biochar is produced by pyrolysis – the incomplete combustion of wood and other plant materials in a low-oxygen environment. The charred wood becomes a pure and stable form of carbon that never decomposes.
Covered in a zillion tiny nooks and crannies, black carbon is highly porous. The surface area of a single gram of charcoal can range between 1,000 and 10,000 square feet. It has a slight electrical charge that draws in nutrients and water, facilitating nutrient cycling and the growth of beneficial microorganisms.
5 Compelling Reasons to Make Biochar
1. Biochar improves long-term soil fertility
Raw charcoal is like a sponge. When incorporated into a rich source of organic material, it will soak up and store all available macro and micronutrients, including nitrogen, potassium, phosphorus, calcium, magnesium, manganese, zinc, iron, and boron.
Because of biochar’s high cation exchange capacity (read all about cation exchange here), the nutrients are drawn into the porous surface and held there.
When it rains, or the garden is watered, the nutrients in biochar stay put and aren’t lost to leaching and runoff.
While it adsorbs nutrients, biochar also acts as a slow-release fertilizer. As soil microbes and plant roots interact with biochar, nutrients are gradually released into the surrounding earth. Plants take only what they need, and the rest of the nutrients will remain bound to the biochar.
Since biochar never decomposes, it will perform its nutrient retention and exchange services over and over again.
2. It creates permanent housing for soil microbes
The creatures of the soil – the bacteria, fungi, algae, protozoans, nematodes, and beyond – are the unseen heroes of the garden.
Performing several vital functions in the background, soil microbes make nutrients available to plants, produce hormones to invigorate growth, and support plant immune systems so they can resist disease. The more plentiful and diverse this community of earthly microfauna, the healthier plants will be and the more they will yield at harvest.
The porous microstructure of biochar creates an enormous surface area, and within each crack and crevice, there is an abundance of “forever homes” for microbes to shelter.
The astounding porosity of biochar means more microbes can be housed in less space, giving them plenty of room to grow, reproduce, and diversify.
Biochar’s nutrient-retentive properties also ensure the microbes will always have enough food to eat nearby. And its longevity in the soil means it’s a stable and permanent residence for these invisible garden helpers.
With biochar as a habitat, multiple generations of microbial life will be supported and encouraged – not just once but across many growing seasons.
3. It improves soil structure and water-holding capacity
So much of biochar’s power is due to its porous nature.
Ranging from the micro to nanoscale, the huge number of pores and voids in biochar are often interconnected. The teeny channels and pathways allow air, water, and plant roots to move through them.
Biochar itself is porous, but it also makes the soil more porous. Like glue, it binds soil particles together to form aggregates. These tiny clumps create spaces in the soil for improved aeration, drainage, and root growth.
The massive surface area of biochar also leads to enhanced storage for moisture. It pulls in water with capillary action, drawing it up against the force of gravity. It has a moderating effect as well, wicking up excess water during wet periods and releasing it back into the soil during drought.
As more and more areas experience drought each summer, biochar is an easy and inexpensive way to ensure your plants keep growing, even if the rain stops falling.
4. Biochar is carbon negative
Living trees are carbon sinks, absorbing CO2 from the air and holding it in their roots, leaves, and woody bits. When trees die, or branches break, the decaying organic matter emits carbon back into the atmosphere as it degrades.
In addition to all the amazing benefits of biochar in the garden, it also serves to sequester carbon and lock it into the soil for a very, very long time.
Heating wood waste in a low-oxygen environment to make charcoal turns it into a stable form of pure black carbon that is inert and won’t leak CO2. When biochar is incorporated into the soil, it will remain there for hundreds, if not thousands, of years, as the Amazon basin has taught us.
Biochar requires no fancy equipment or advanced technology to make. It’s something that individuals can do right now to capture carbon at home.
If it were to be scaled up globally, it’s estimated that 10% of the world’s biomass turned into biochar would sequester nearly 5 gigatons of CO2 from the atmosphere. All while creating fertile soil for growing food.
5. It lasts a long, long time
Biochar really puts the “permanent” into permaculture! When added to garden soil, biochar is a long-term amendment that only needs to be applied once.
As a carbon-rich matrix, biochar is highly resistant to degradation. Between the charring process and its porous microstructures, biochar is able to withstand things that would normally cause decay. It’s largely unaffected by temperature fluctuations, moisture, soil pH, and high levels of microbial activity.
A Basic Recipe for Making Biochar at Home
To make biochar, you need four simple ingredients: charcoal, nutrients, moisture, and time.
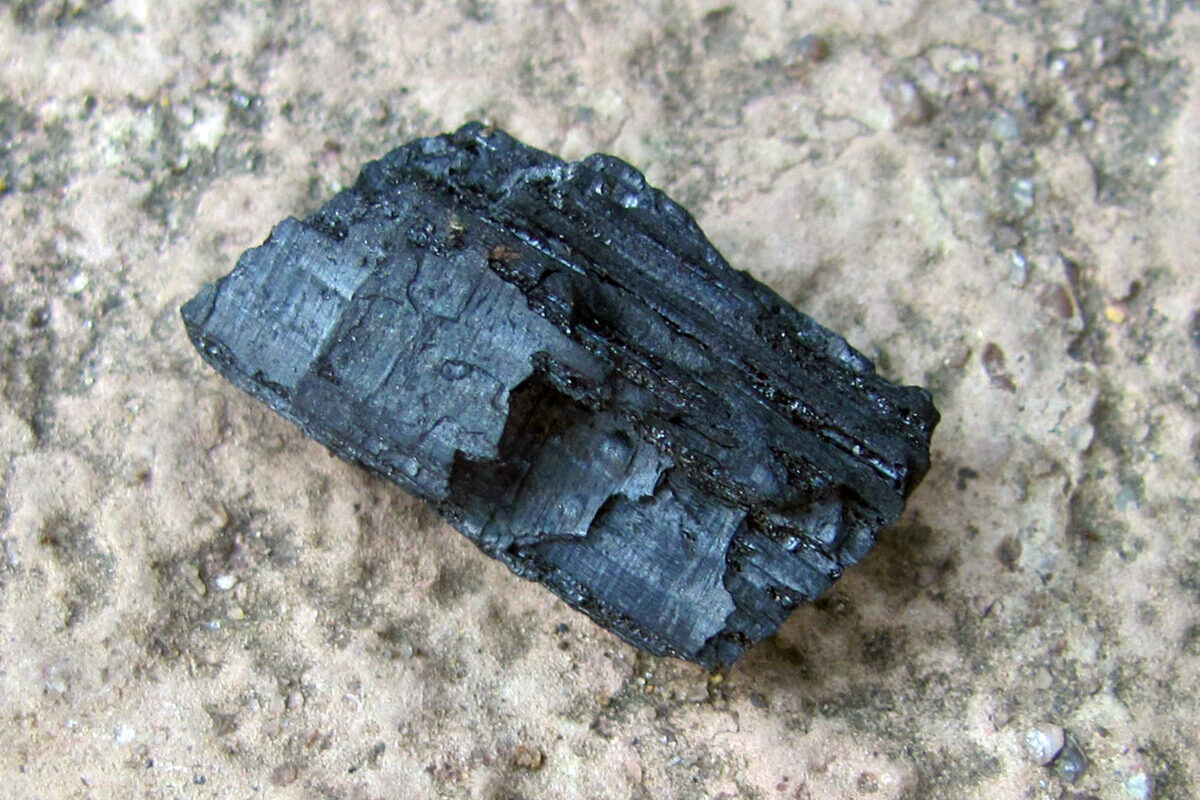
Charcoal
The sustainable way to produce charcoal is to make it yourself from brush and branches collected from your property. Charring landscape waste in a low-oxygen environment can be accomplished in a steel drum:

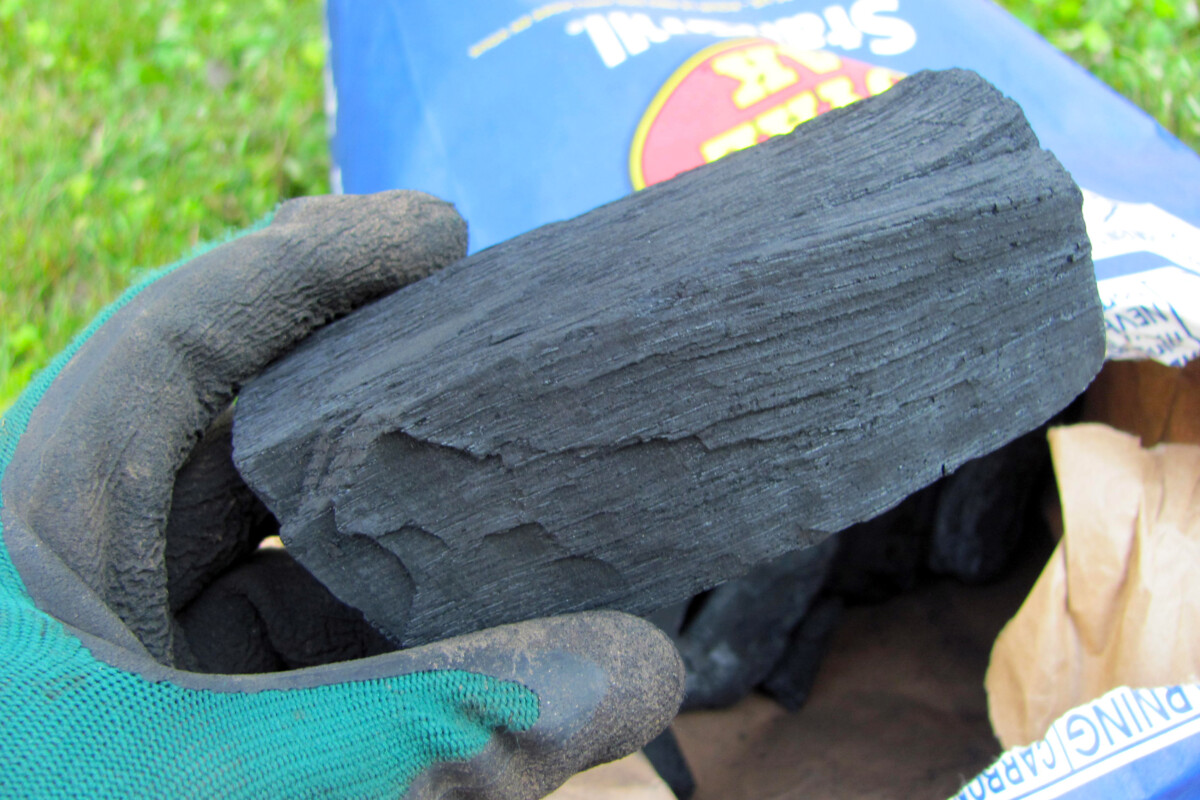
For those of us who want the benefits of biochar, but don’t have access to wood waste or are unable to burn wood waste – due to fire bans or city bylaws –the next best thing is purchasing 100% hardwood lump charcoal.
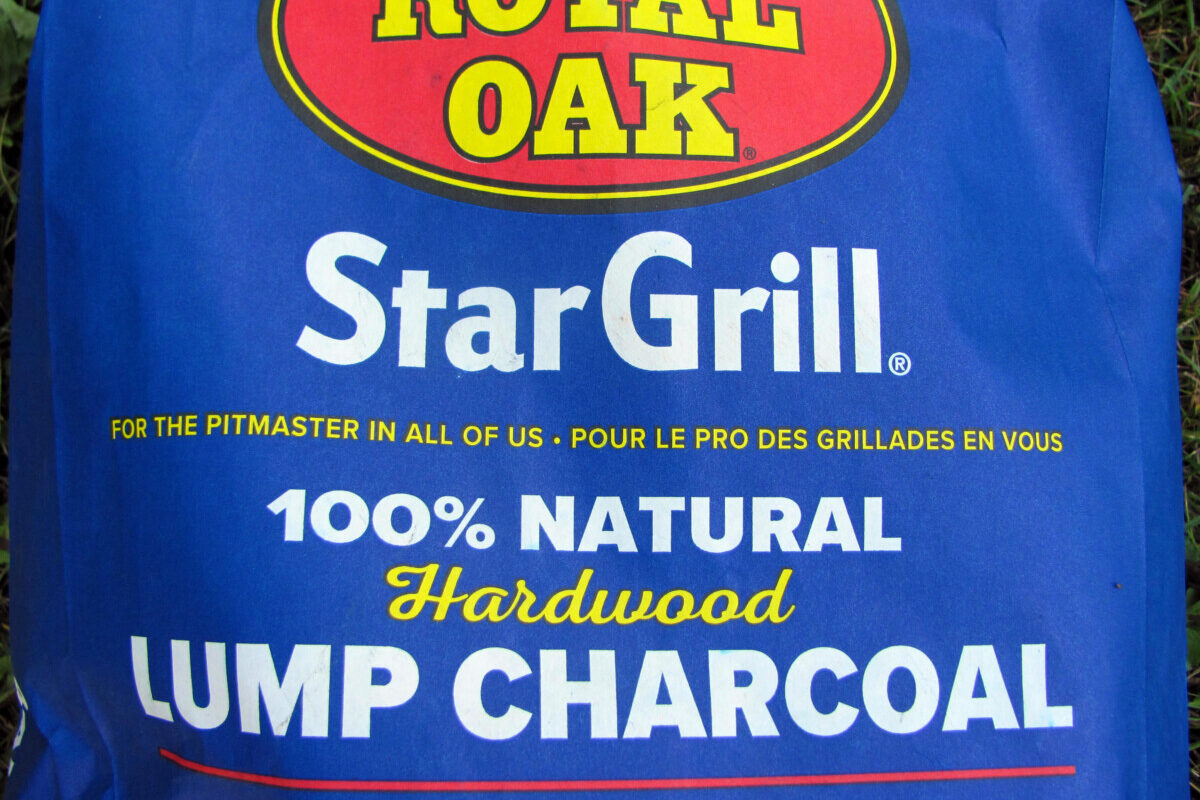
For biochar-making, use only natural charcoal lumps made from wood. Never use charcoal briquettes, as these products will contain undesirable additives and fillers.
Nutrients
Loading it up with nutrients is what transforms charcoal into biochar.
If raw charcoal is added to garden soil, it will steal all the nutrients in the vicinity. During the transition from charcoal to biochar, soil fertility will be locked up and inaccessible to plants.
This is why it’s so imperative to condition your charcoal with nutrients before planting anything in it.
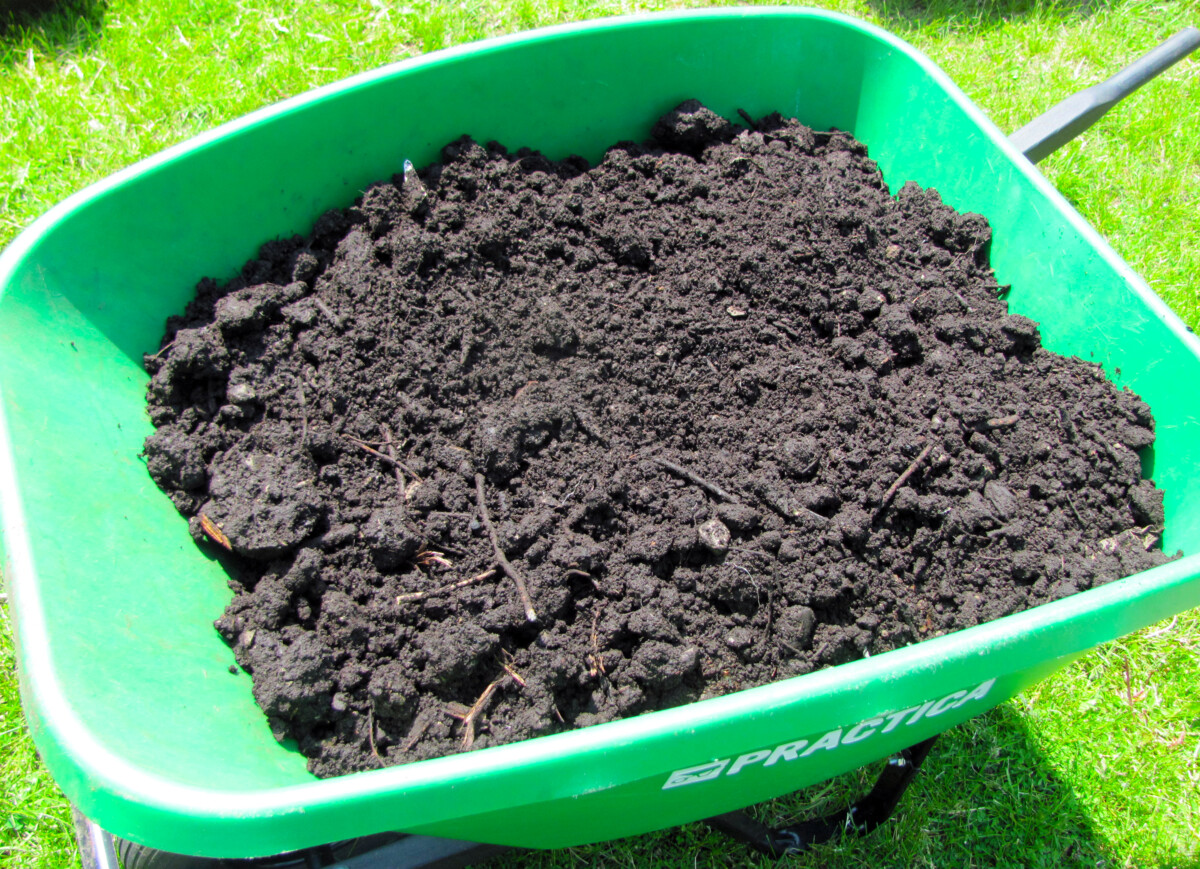
First and foremost, you’ll want a decent supply of bulky organic matter to charge it up with nutrients. Compost (finished or active), animal manure (aged or hot), and worm castings are great for imbuing biochar with ample amounts of N-P-K. Aim for a 3:1 compost-to-charcoal ratio.
Micronutrients, like calcium and iron – are essential additions too. You can round out the plant nutrition formula with eggshells, wood ash, bone meal, and leaf mold.
Then you’ll need some carbohydrates to feed the microbes – and you might find them in your garden shed or pantry. Unsulfured molasses, flour, natural sugarcane, maple syrup, kelp meal, and alfalfa meal are all good choices as feedstock for our community of fungi and bacteria.
Moisture
Throughout the biochar-making process, the pile should always be moist. It’s the same story as in the compost heap, where the helpful microorganisms will die off if it’s ever allowed to completely dry out.
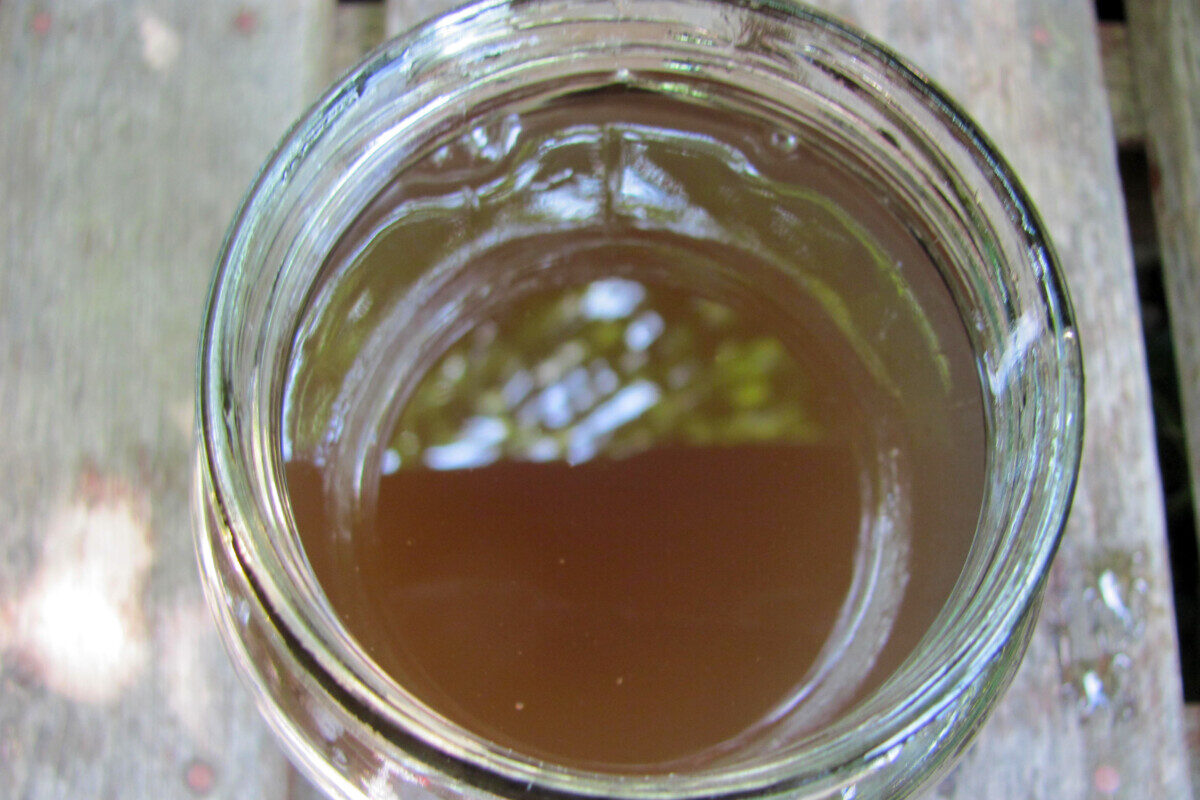
Liquid feeds, like urine or syrup water, will contribute nutrients and microbe food to the biochar as it matures. Another good option is aerated compost tea, which will give the biochar an excellent head start by inoculating it with an infinitesimal number of plant-friendly microorganisms.
Time
With biochar, there is a 2 to 3-month break-in period before it’ll be safe to use around plants.
This can’t be rushed – it takes time for the charcoal to become infused with fertility and living organisms.
The last thing you want to do is use immature biochar in the garden – where its wicking of nutrients will certainly stress out your plants.
The least fussy way to charge and inoculate biochar is by tossing a few cups of crushed charcoal into your actively working compost pile. Co-composting biochar is quickest when the compost is hot. Both will mature together – and when the compost is finished, so is the biochar.
Alternatively, you can make a dedicated biochar heap. A separate pile allows for more control over the charging conditions and the nutrients you use to optimize the biochar. It’ll be easier to retrieve once it’s mature. And since you don’t need much biochar in the soil to see its benefits, a biochar pile will make it easier to calculate the amounts you need to add to your garden beds.
How to Make Biochar
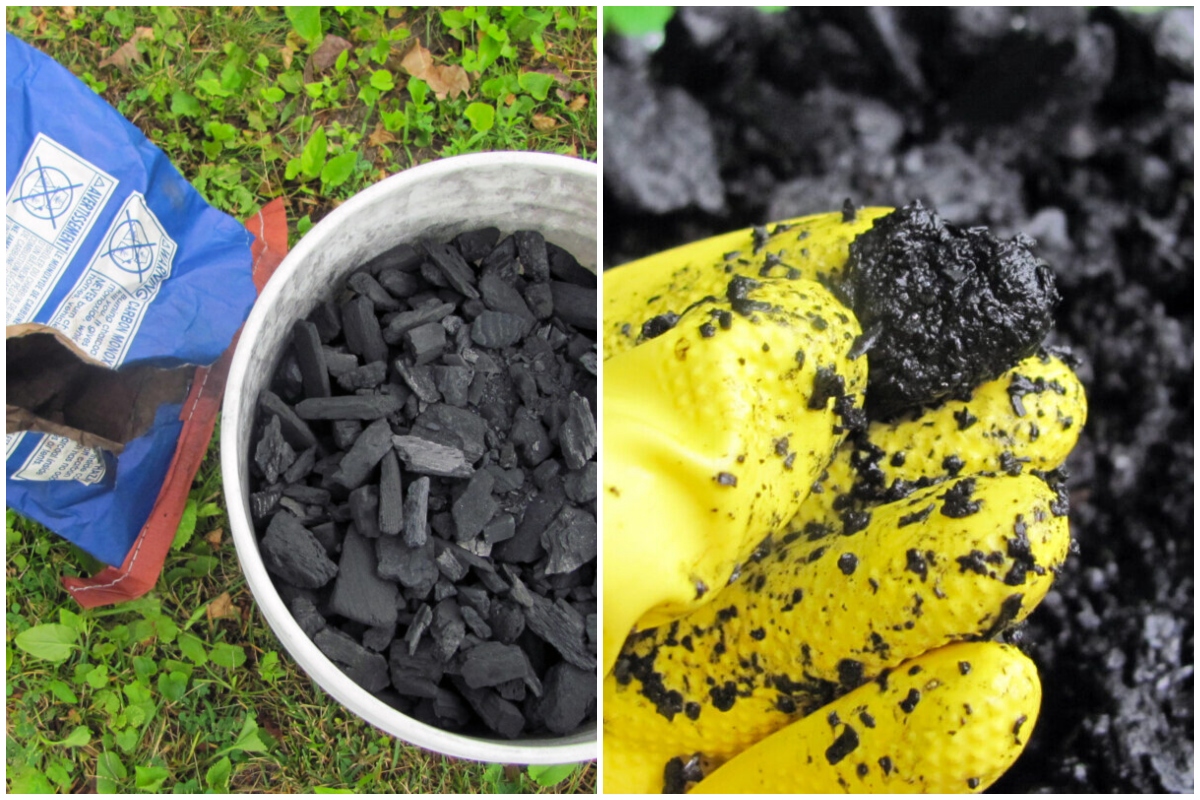
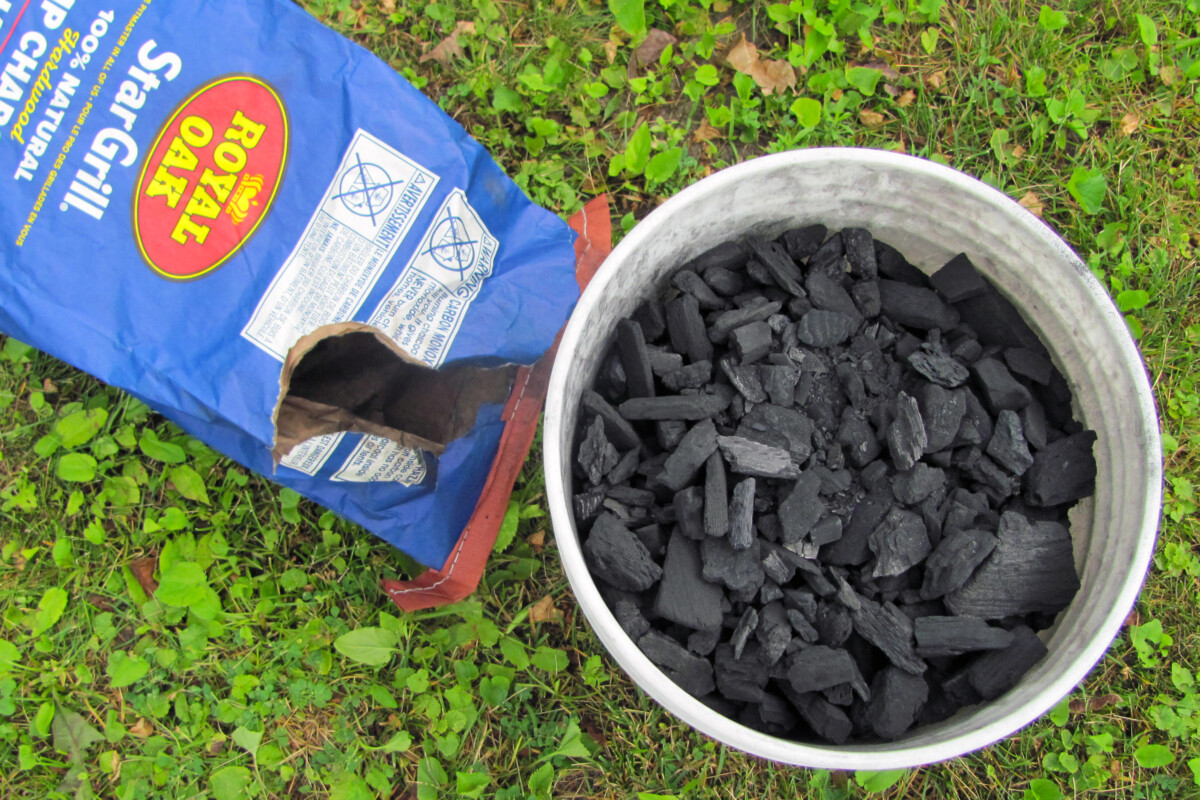
Step 1 – Soak the Charcoal for 24 Hours
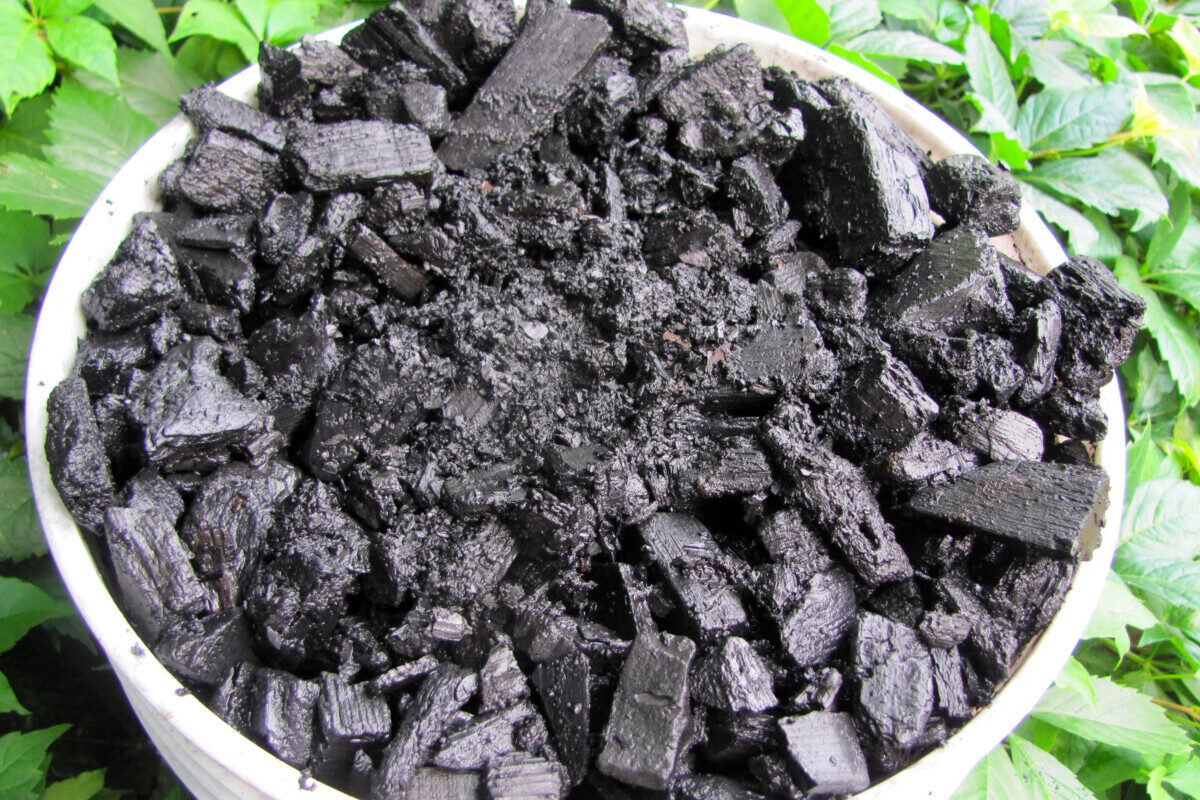
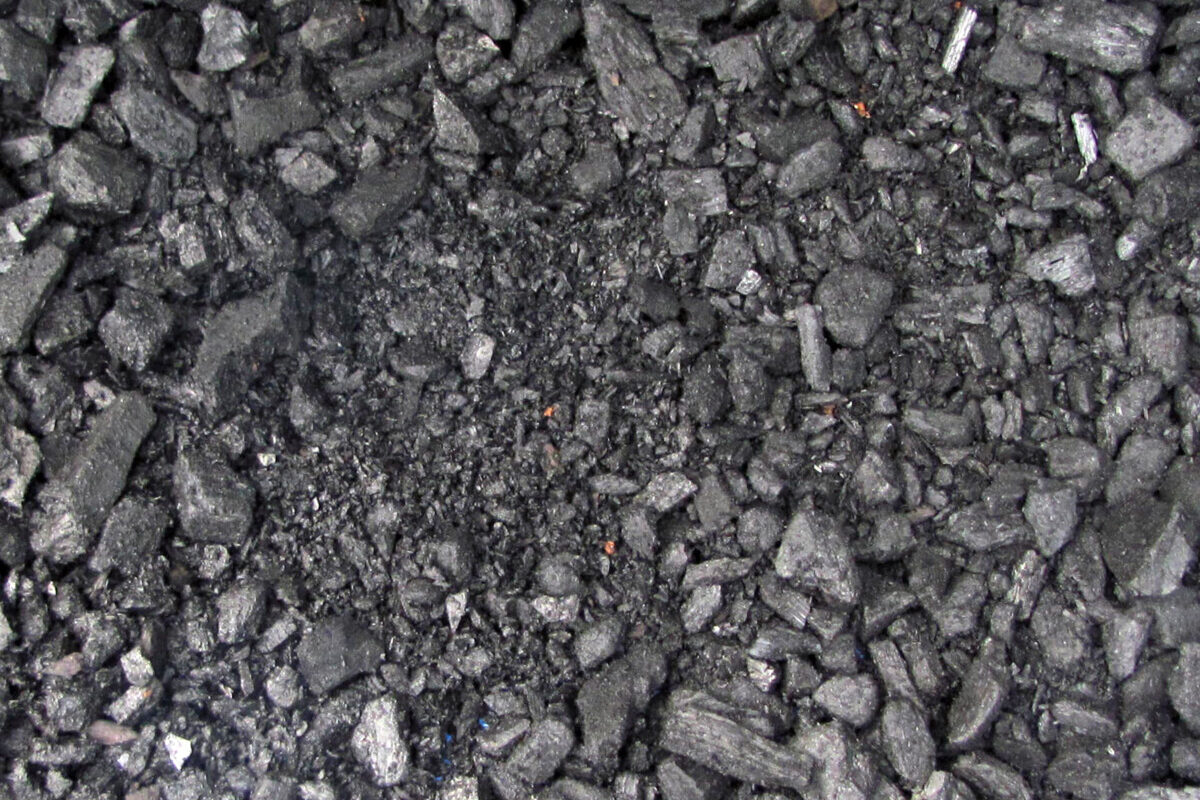
Whether you burned it or you purchased it, charcoal lumps will need to be broken into smaller pieces to increase the porosity and surface area of biochar.
Dry charcoal is terribly dusty. If you try to crush it when it’s dry, it will kick up clouds of black dust that you don’t want to be breathing.
If you do this, always wear an N95 particulate respirator mask.
A much better way to prep your charcoal is by pre-wetting it for 24 hours. This not only softens the charcoal for easier breaking, but there is also virtually no dust created.
Soaking the charcoal in urine or molasses water will prime it with nutrients, though you can use plain water too.
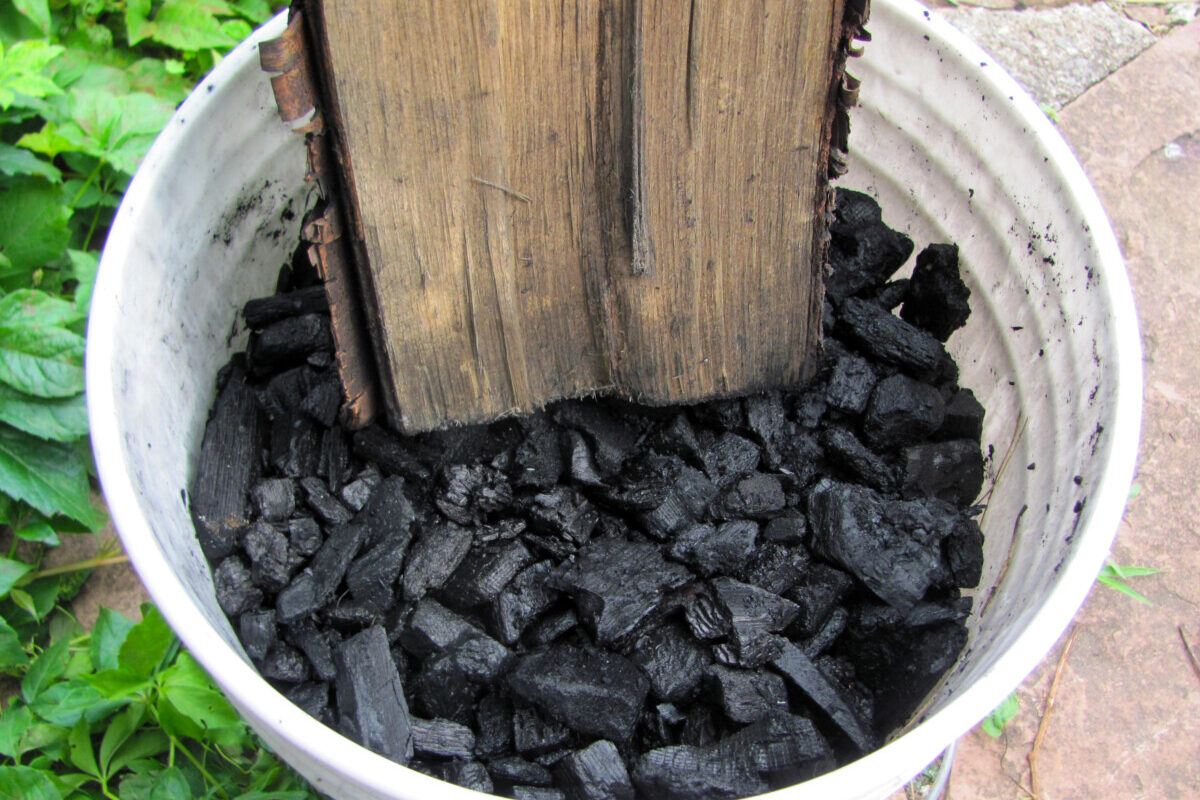
The charcoal is a bit hydrophobic at first, and the lumps will float to the top of the bucket.
Press the floaters down to submerge the upper layer of charcoal. As more moisture is absorbed into the lumps, top it up with more water.
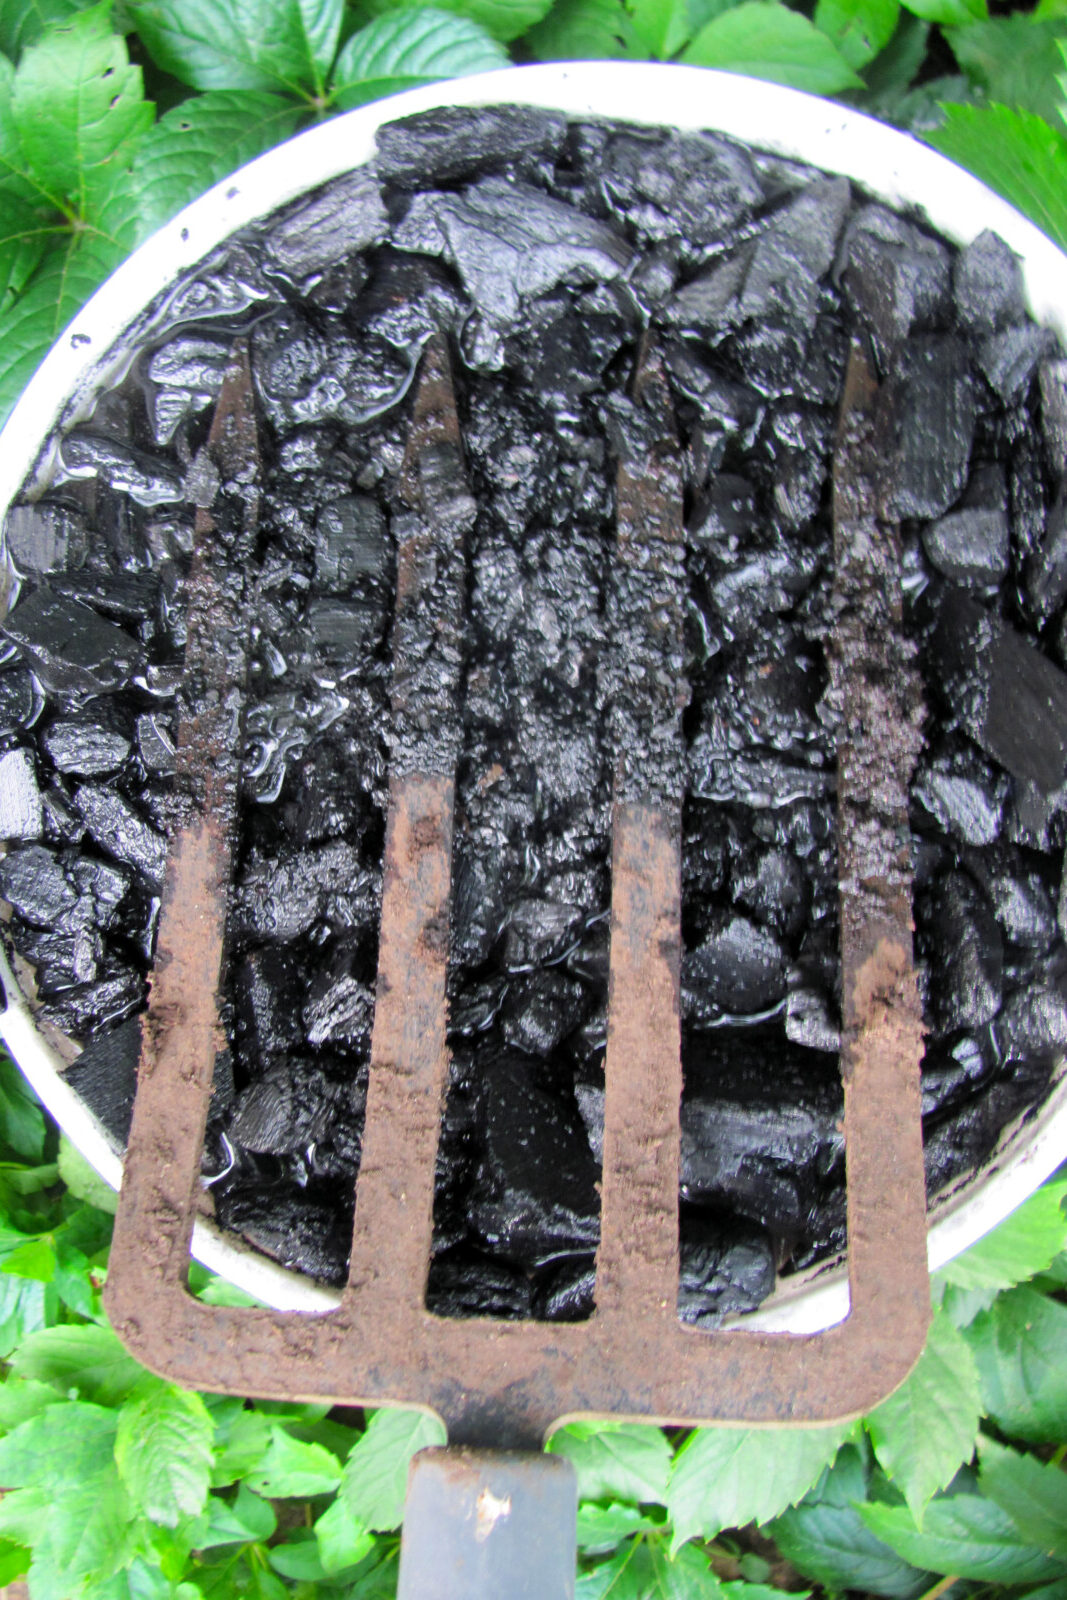
Step 2 – Drain and Crush
After the 24 hours are up, tip out the excess liquid from the bucket. The pre-soaked charcoal is now far less brittle and crumbles readily under pressure.
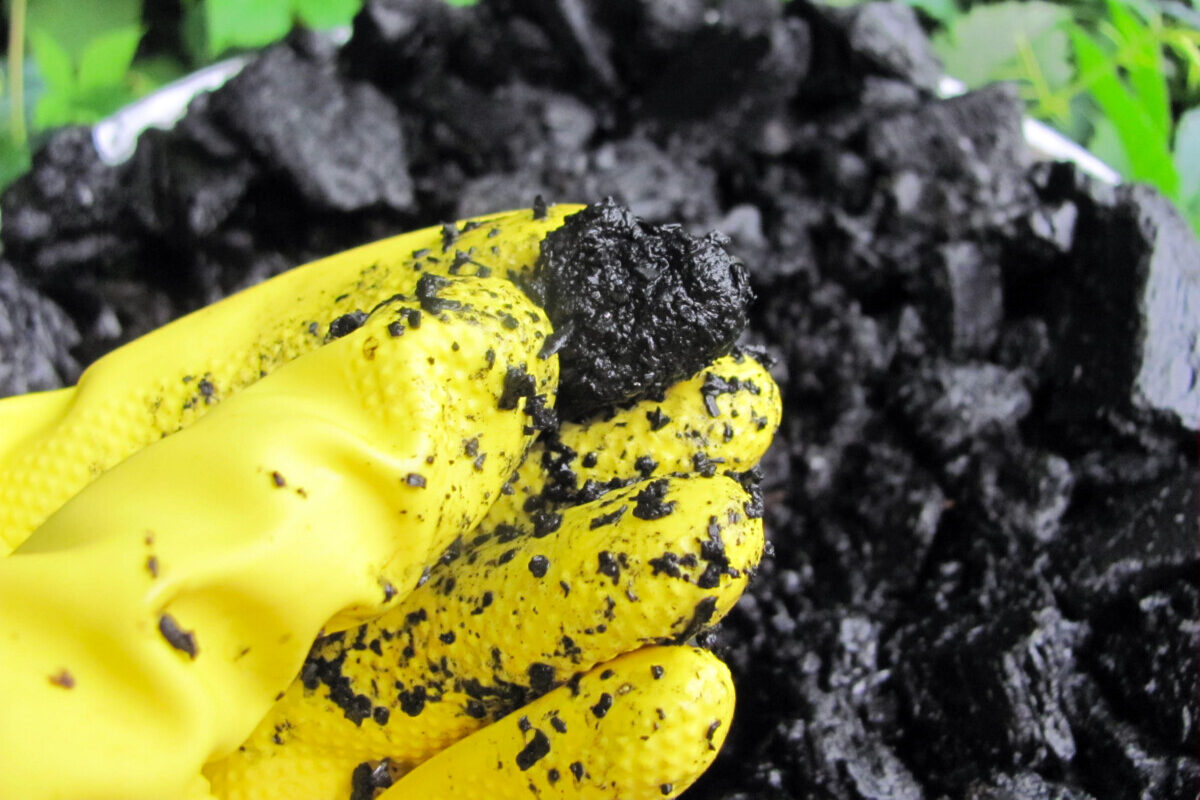
When charcoal is wetted, it’ll be so much easier to smash the lumps into pellet-sized pieces. You can use a blunt piece of wood or a tamper to do this.
Or, lay the charcoal out on a tarp and crush the larger chunks with your feet. You could even bag it up and run over it with your car.
There’s no perfect biochar particle size – different sizes of char will do different things for the soil.
The finely ground bits assist with nutrient retention and soil aggregation for better drainage, airflow, and moisture-holding. The microbes can’t live in dust, however, so larger hunks are valuable as porous refuges for the soil-dwellers.
Aim for a mix of charcoal sizes, with the biggest ones about an inch in diameter.
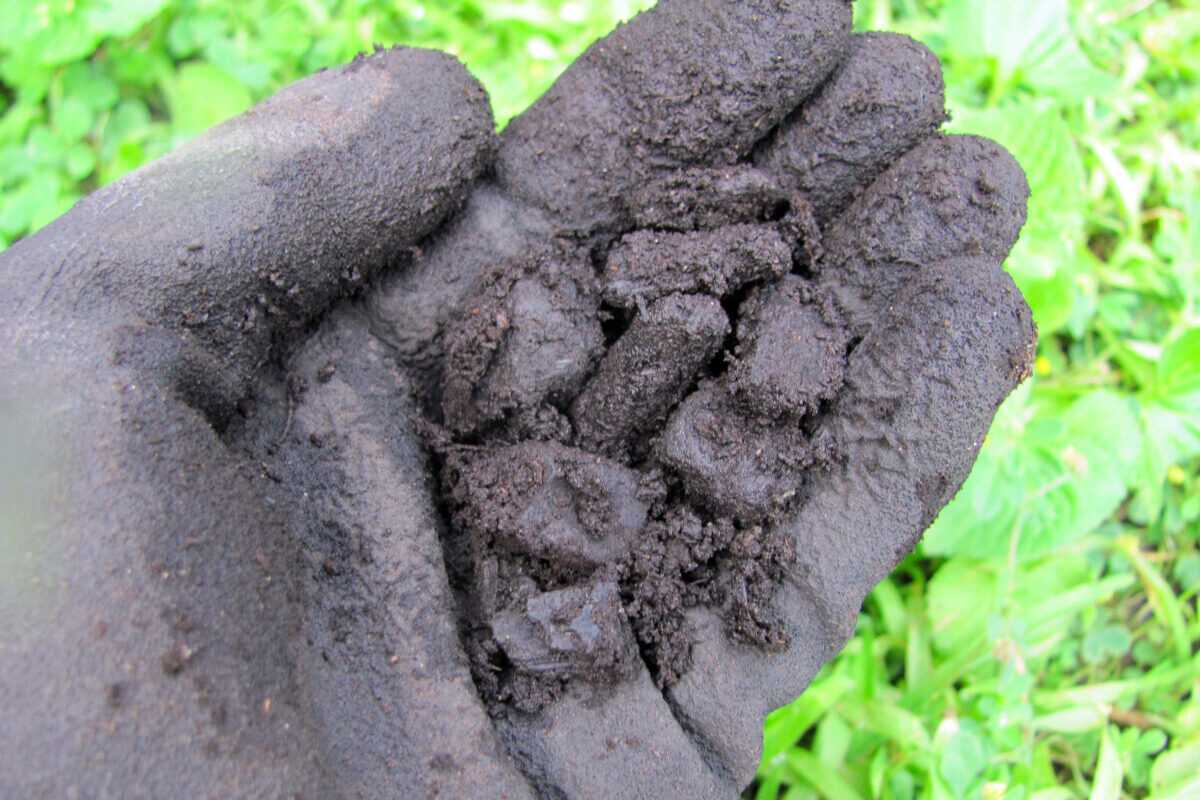
Step 3 – Add the Nutrients
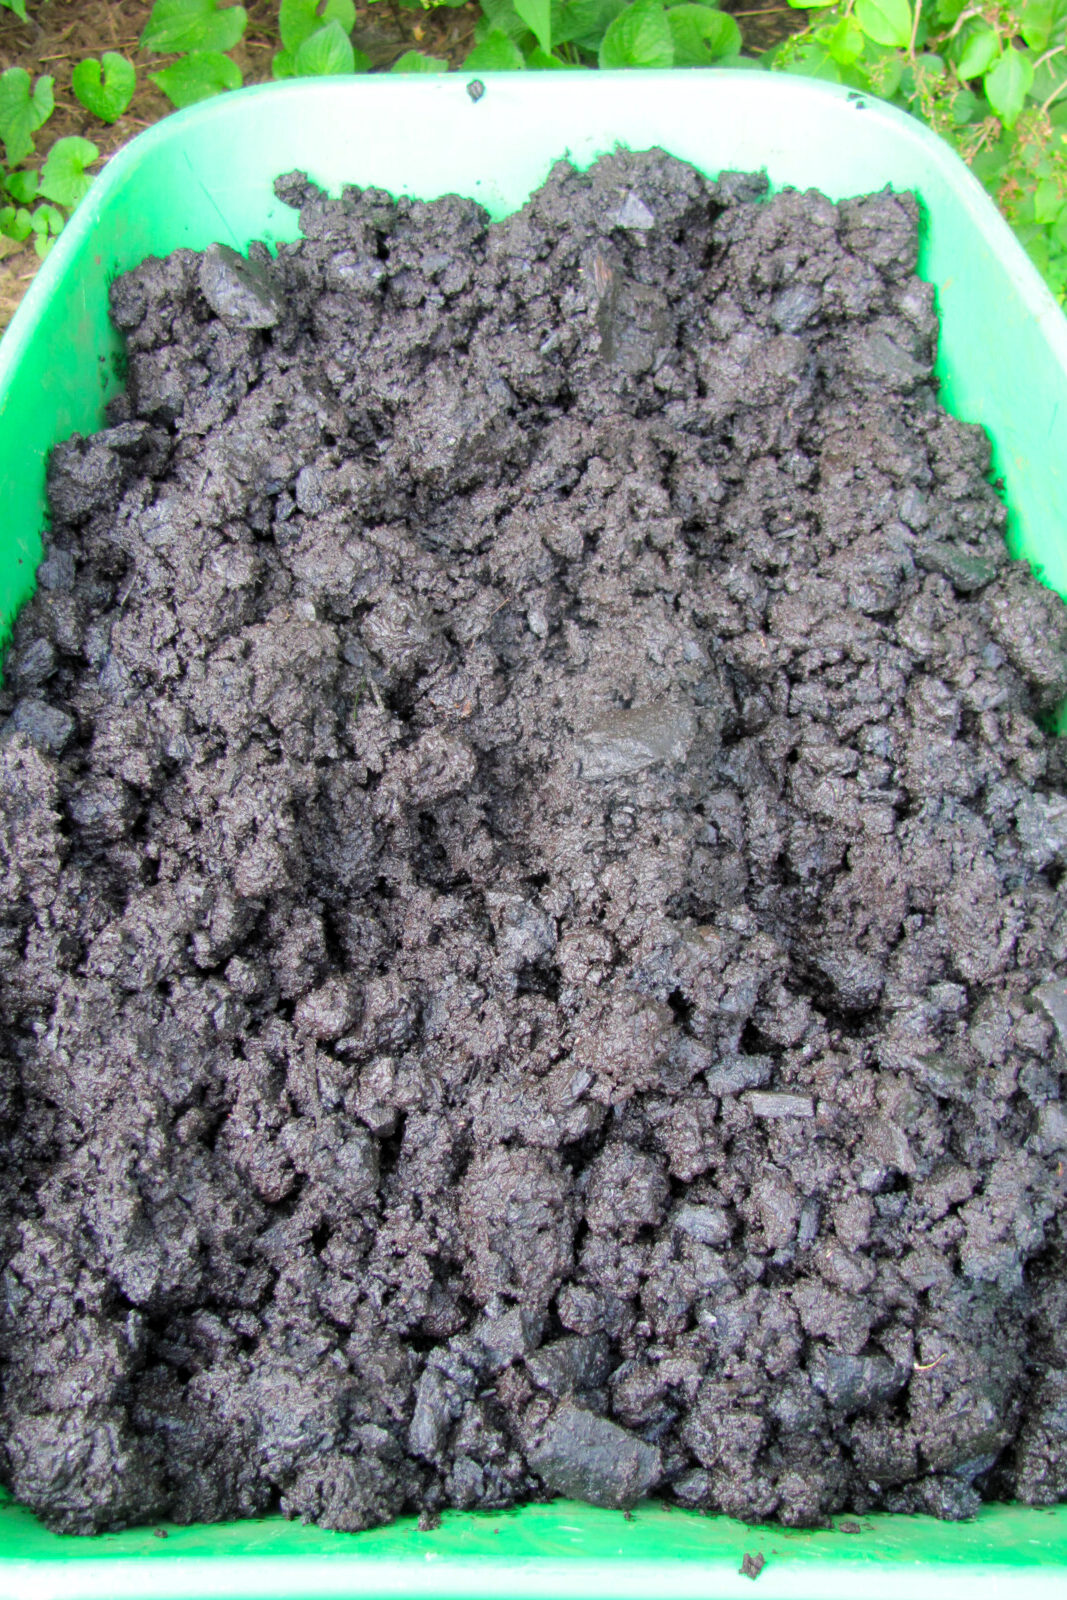
Next, add your nutrient-rich materials to the crushed charcoal. Use about three times as much compost, manure, or worm castings as there is charcoal by volume.
Give it a good turn to mix it all together.
Drop in your extra toppings as well, about one cup of each.
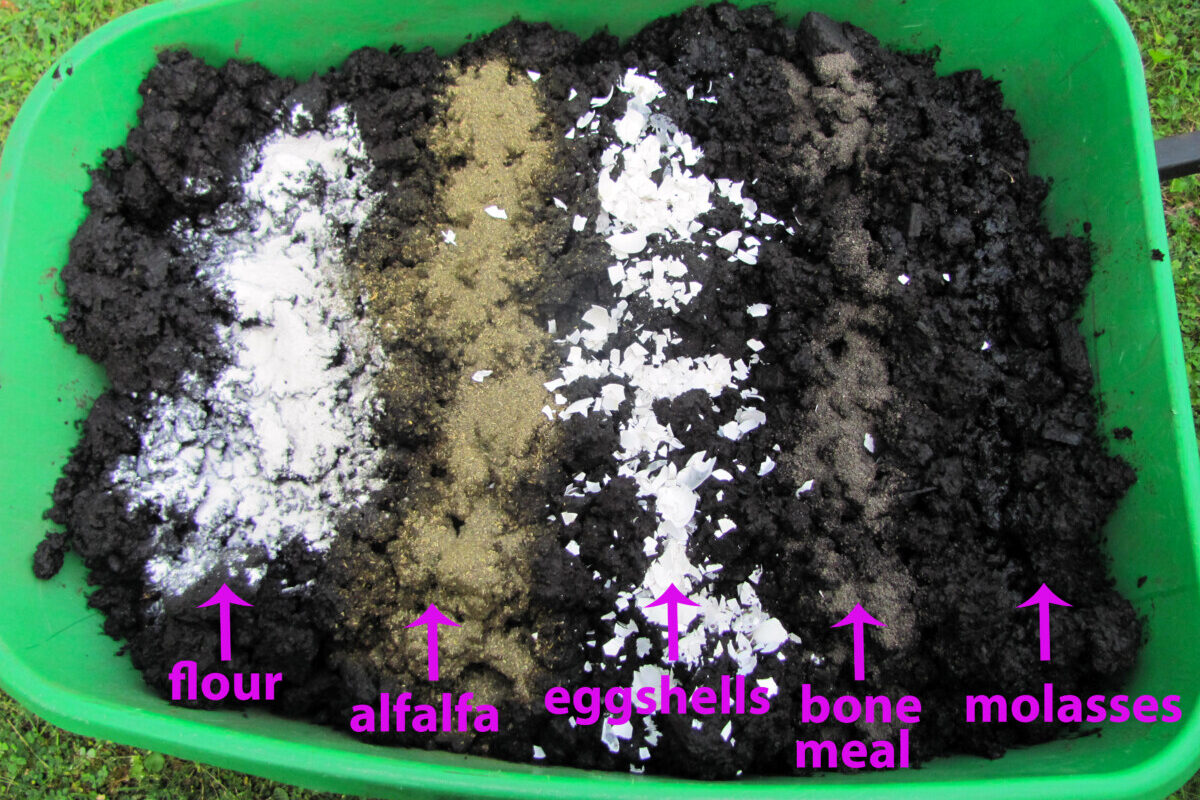
Thoroughly turn the biochar once more with a pitchfork.
Step 4 – Moisten with Compost Tea
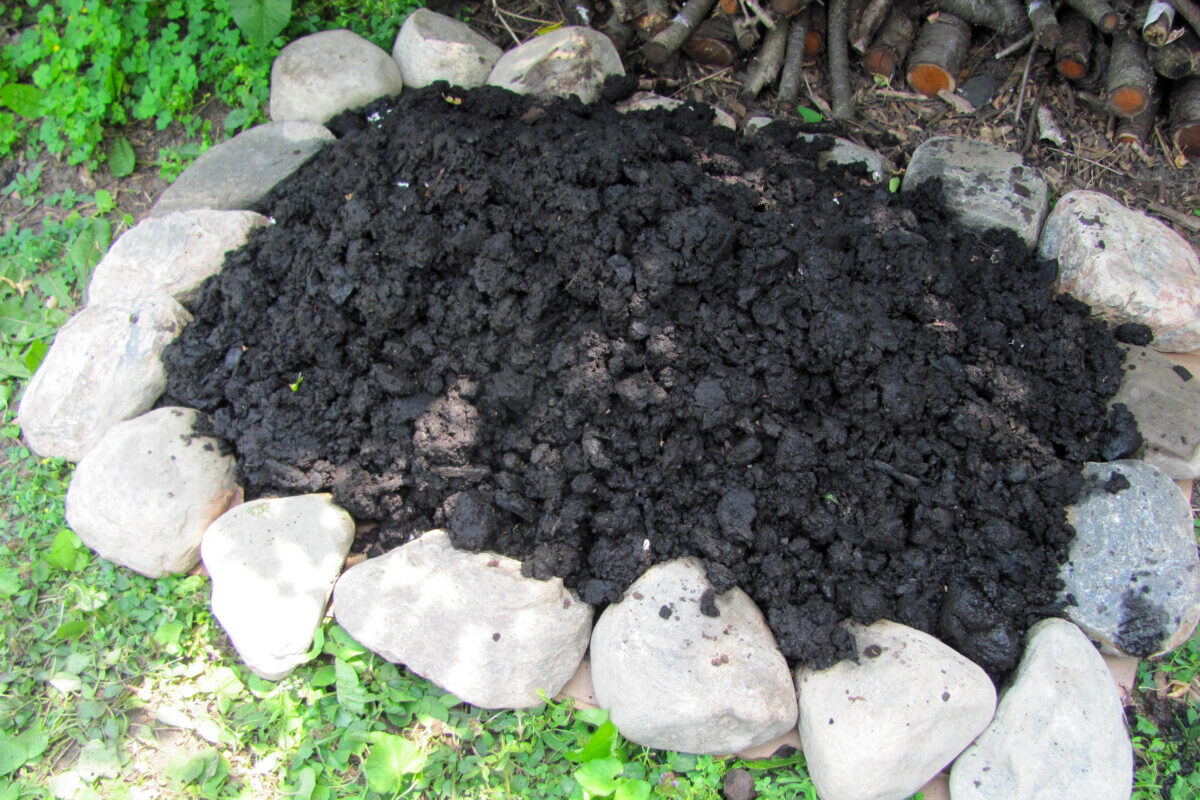
Pick a spot for your biochar pile to age. A sheltered spot, out of direct sunlight, is best.
For the final pièce de résistance, a nice drink of aerated compost tea will seed the biochar with billions upon billions of microorganisms.

Just a light watering is all you need to do. The heap shouldn’t be sopping wet, only about as moist as a wrung-out sponge.
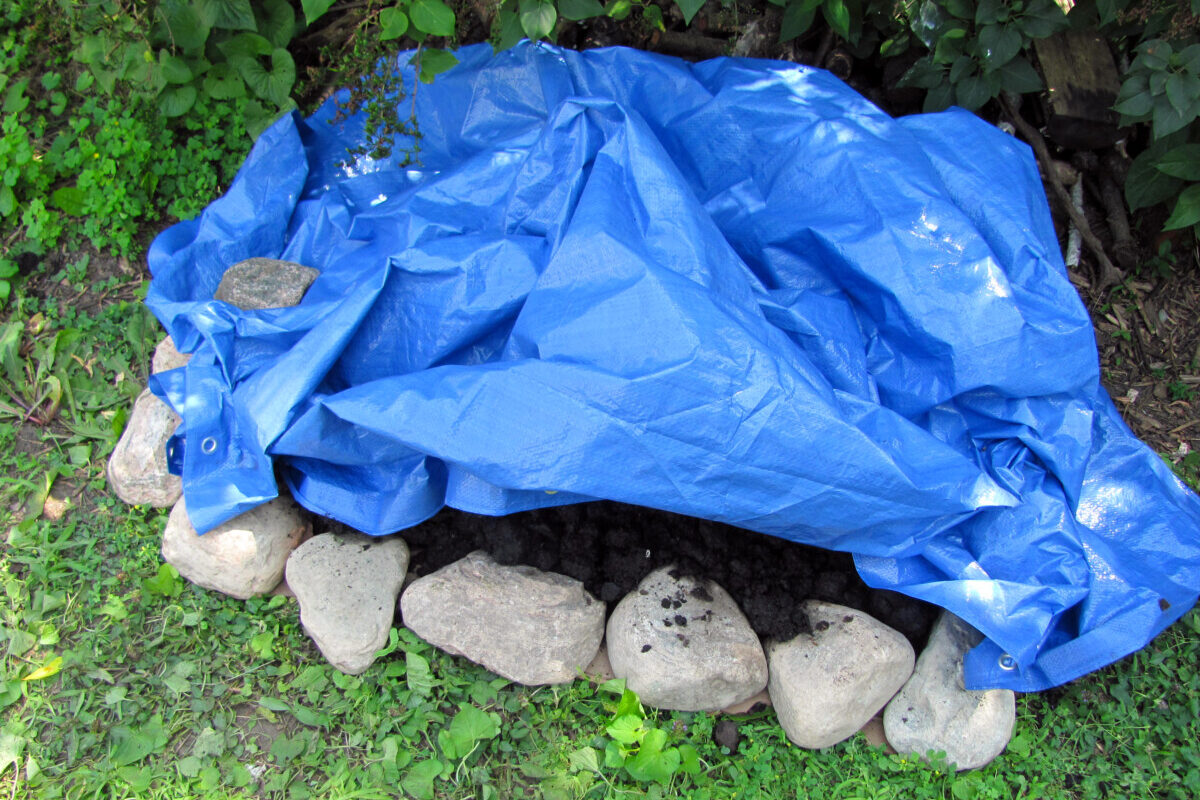
Step 5 – Cover the Biochar Pile Loosely
During the 3-month break-in period, the biochar heap should be kept warm and moist.
Use a tarp (or a few sheets of cardboard) to loosely cover the pile. Leave it partly exposed to air – we want it to be able to breathe.
Step 6 – Wait 3 Months
Arguably, the hardest step – waiting for the charcoal to become biochar!
How to Apply Finished Biochar
Mature biochar is applied at a rate of 10% of the soil volume, so you don’t need much!
Spread it as a top dressing in no-dig gardens before adding compost and mulch. Or use it as a peat substitute in potting mixes.
Biochar is a long-term soil amendment – and not a quick-acting fertilizer.
You will still need to add plenty of compost and other organic matter to your garden soils to maintain a balanced and healthy soil ecosystem.
Biochar only gets better with age. You’ll start to see more vigorous growth in biochar-amended beds by the second or third growing season.

Get the famous Rural Sprout newsletter delivered to your inbox.
Join the 50,000+ gardeners who get timely gardening tutorials, tips and tasks delivered direct to their inbox.