

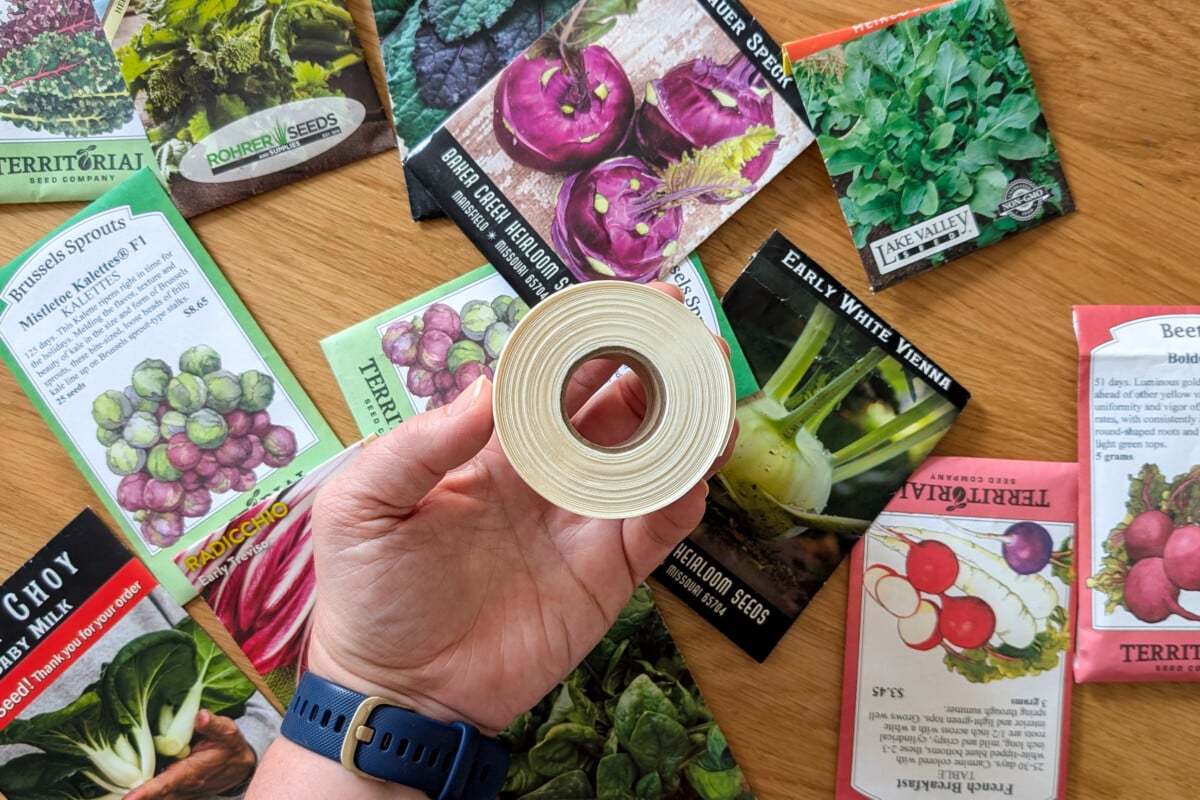
I love the idea of seed tape. Strips of paper with tiny, finicky seeds neatly measured out. You only plant what you need, so you aren’t wasting seeds on thinning. No more trying to see where the heck that lettuce seed landed while trying to evenly space seeds you can barely see.
In theory, seed tape is great. In practice, it’s kind of awful.
But I accidentally stumbled on a product that makes lousy seed tape a thing of the past.
The Problem(s) With Commercial Seed Tape
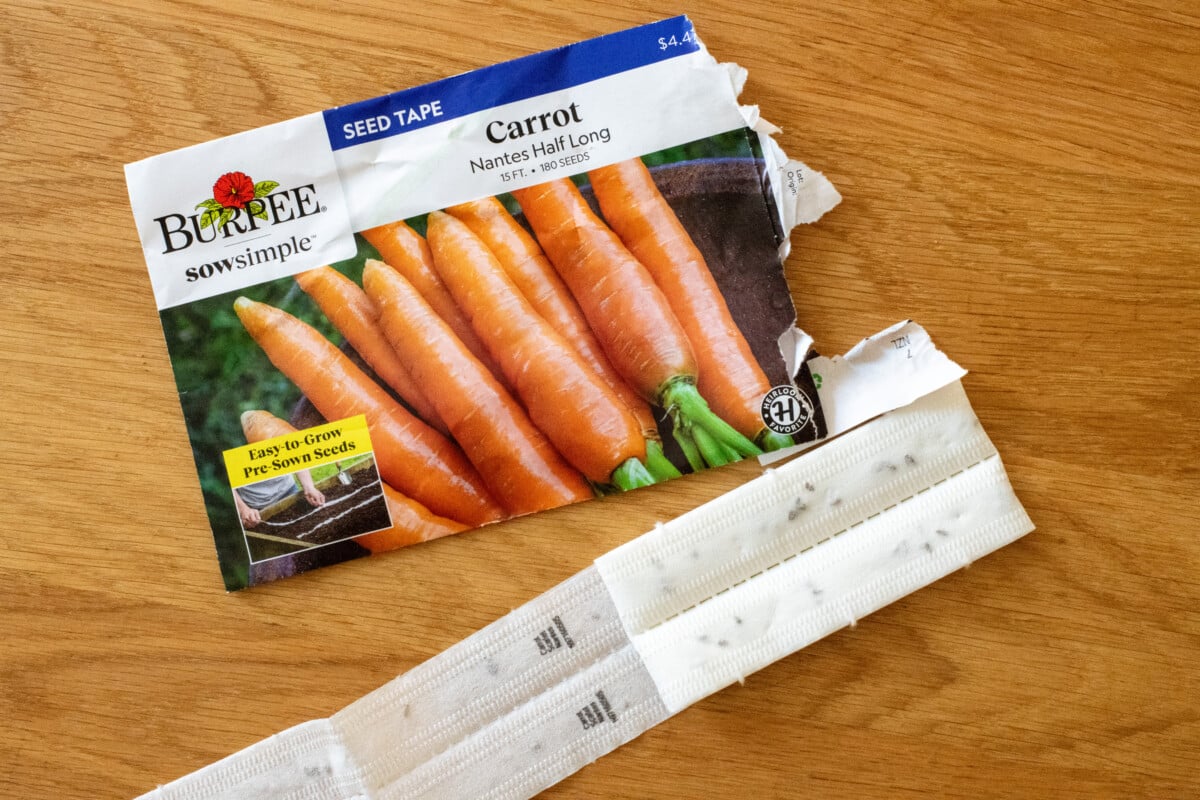
Seed tape has been around for a couple of centuries now. The idea is simple. Seed companies take the headache out of dealing with small, hard to handle seeds by pasting them into paper strips, ready to plant directly in the ground.
Depending on the brand, the seeds either germinate through the paper or the paper breaks down in the soil.
But the biggest gripe nearly all gardeners have with seed tape is selection.
Seed companies only offer their most popular varieties, the old standbys, in seed tape.
If you want to try new varieties or you grow ones that aren’t popular, you’re stuck with loose seed.
Then there’s the tape itself. Over the years, I’ve had mixed results with commercial seed tape. Sometimes the paper doesn’t dissolve well, and I end up with rotted seeds. I don’t want to have to guess whether or not my seeds are going to grow, especially when I’m paying more to have them in seed tape.
For what they are, seeds are expensive these days.
I don’t want to plant a bunch of seeds that I’m just going to thin out in a week or two. You would think that commercial seed tape would make this issue a thing of the past. Nope. It’s a hodgepodge in between those two thin sheets of single-ply toilet paper. (Yes, that’s all commercial seed tape is.) You still have to thin seedlings after they sprout.
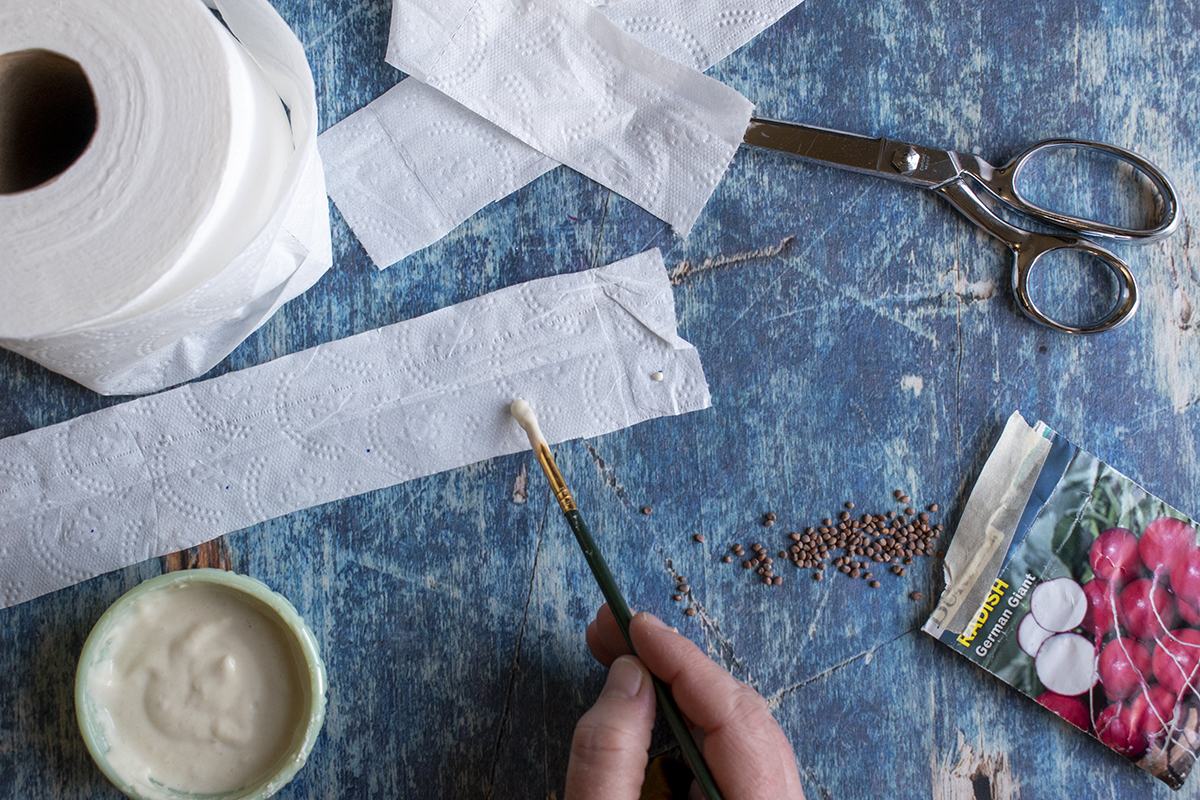
Of course, you can DIY your own seed tape. I’ve done it many times.
All you need is some toilet paper, a little flour paste and a lot of patience. (Here’s my article on how to DIY your own seed tape.)
Can I do it? Yes.
Do I have a million other things I would rather be doing than sitting at my dining room table, making a mess with toilet paper, tweezers and flour paste? Also, yes.
So, I gave up and stuck to loose seed.
But a random conversation with a friend changed all that recently.
I hate all the packaging that comes with most purchases these days. Everything is covered in single-use plastic. It drives me nuts that corporations have made this a customer problem (Hey! You should recycle all of our waste even though it won’t actually get recycled and will end up in the ocean!)
During lunch with a friend, we were discussing this weird trend of having the packaging be as elaborate as the product (ahem, Apple). While we chatted, I casually did a Google search for waste-free packaging and discovered a company called SmartSolve. They make 100% water soluble packaging. (I hope it doesn’t rain before the package is delivered!)
While poking around their website, I noticed that they made water-soluble tape.
The lightbulb went on immediately. 1” wide tape that instantly dissolves in water sounds a lot like the perfect seed tape, so I ordered it out of curiosity.
I have been enormously impressed with this stuff.
The 1” wide tape comes in a roll of 30 yards. That’s 90 feet of lettuce, radish, beet, carrot, turnip, arugula, etc. Even with succession planting, this roll will last me well into next year.
The first thing I did was test it to see how fast the tape dissolved. Wow!

It takes mere moments under a slow drizzle from the faucet. Out in the garden, all I had to do was water my newly planted seeds, like I normally would. The tape dissolved, leaving the seeds in place.
I did a little time-lapse video for you with just the tape folded in half (no seeds in it), so you can see how quickly it dissolved in the soil after being watered.

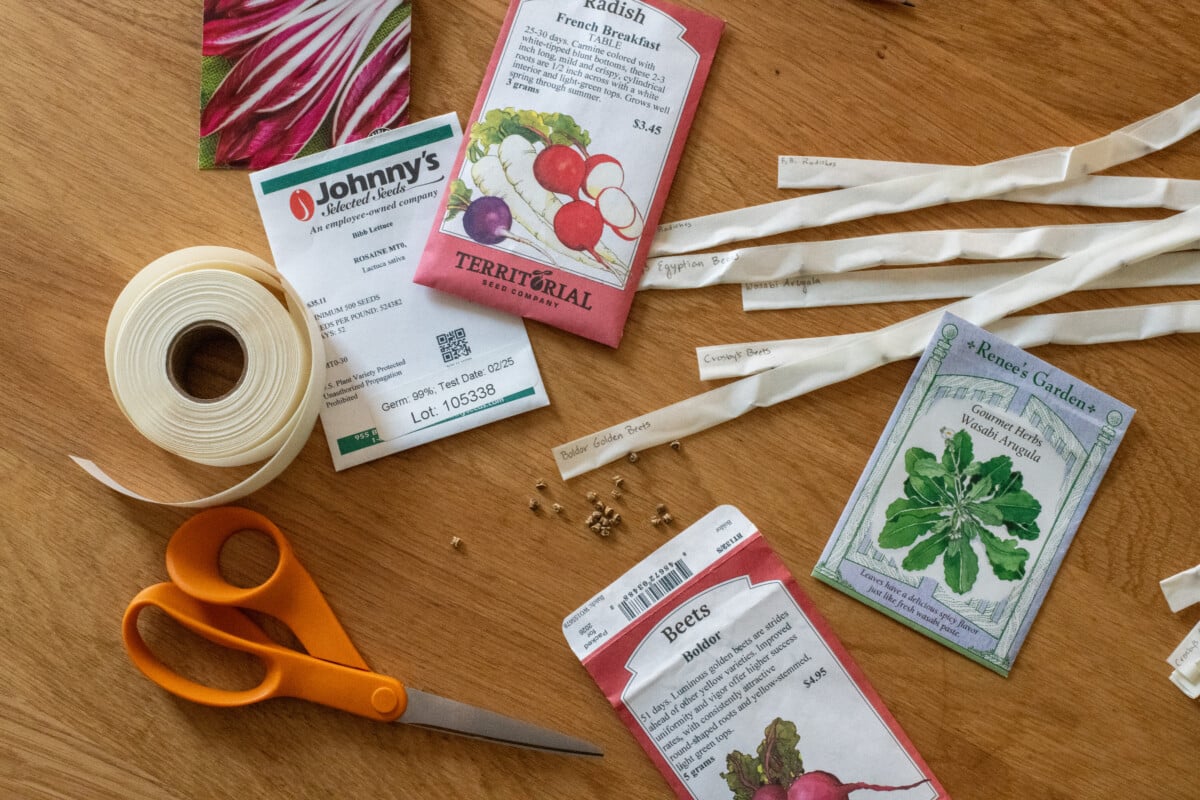
The tape is easy to work with, too. I cut it into one-foot-long segments. The backing peels off easily. I used a pencil tip to hold one corner down, sticky side up, so I could unstick it from my finger.
The tape is quite sticky, so even larger seeds, like beet seeds, don’t move around.
I placed my seeds in a line down the center of the tape at the spacing that I want them to grow in the garden. No seeds wasted on thinning.
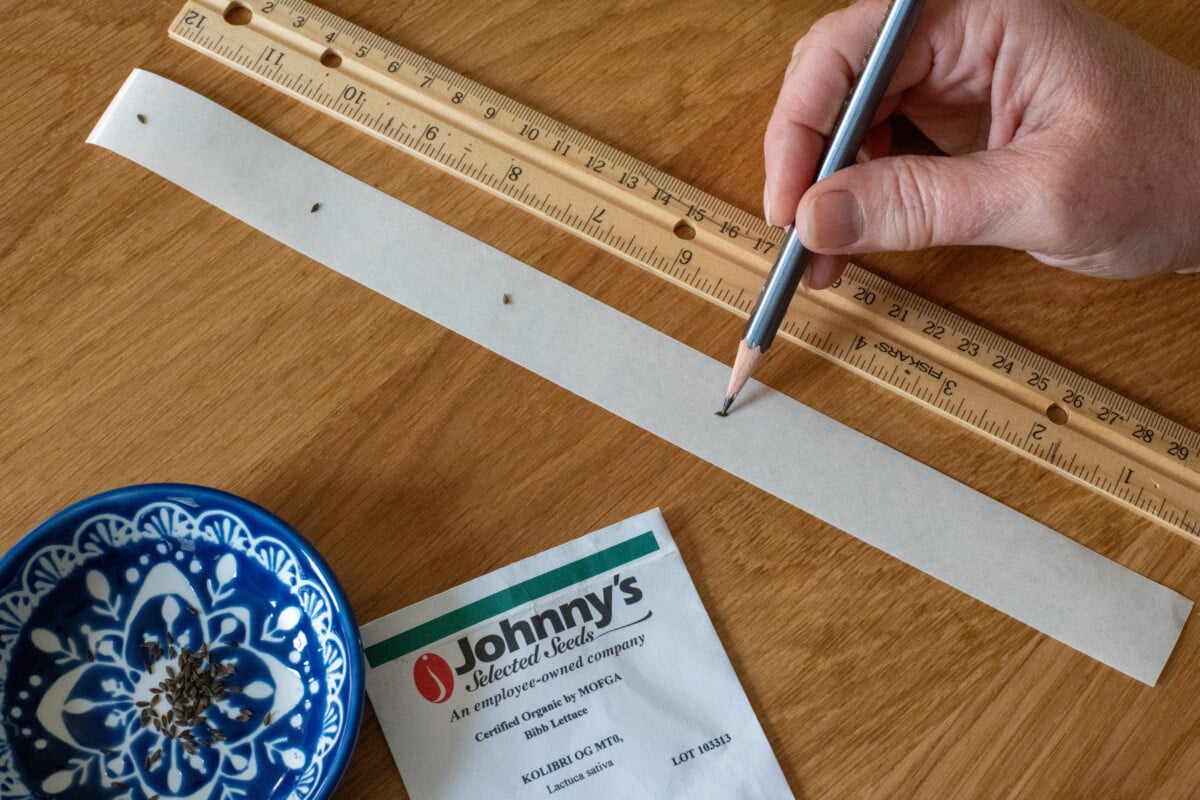
Then I folded the tape in half and wrote what the seeds were in pencil on the finished strip before popping them into a resealable plastic baggie.
This was easier, faster and less messy than using toilet paper and flour paste. It took me about one episode of my favorite podcast (Late Braking F1 Podcast), and I now have seed tape ready for all of my tiny seeds that I succession plant throughout the growing season.
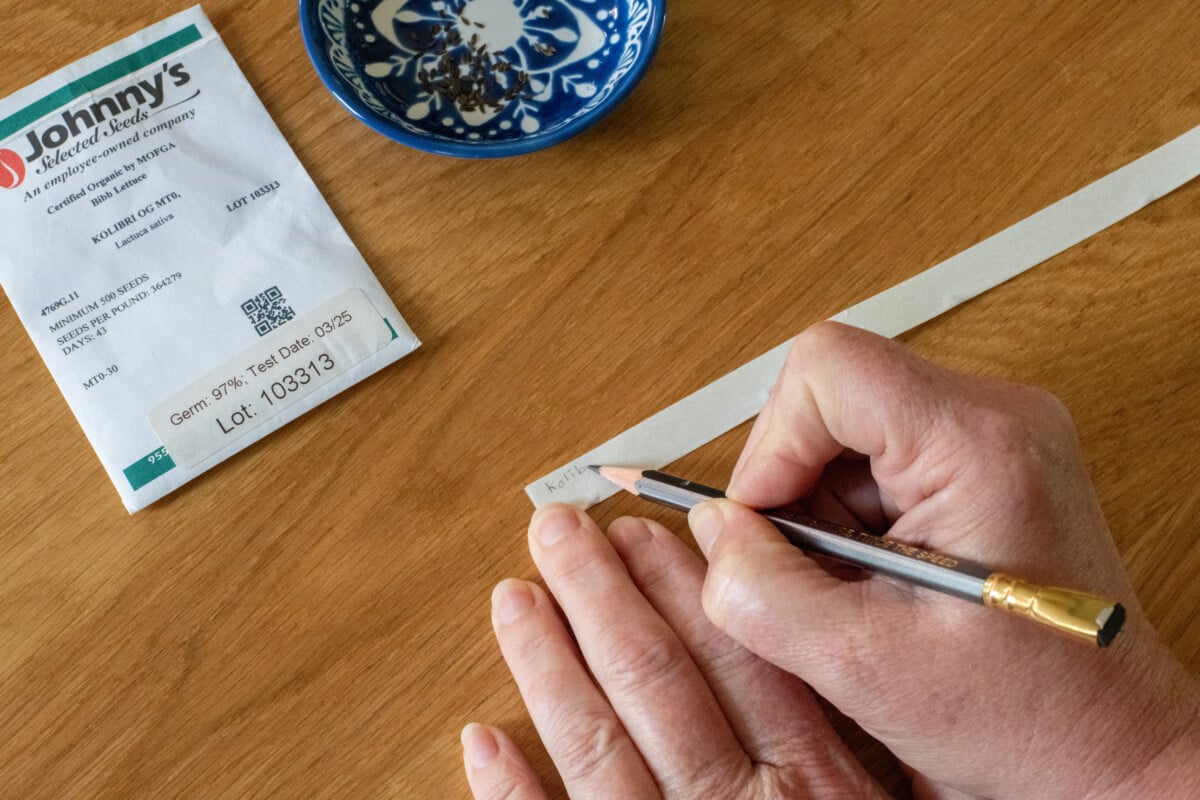
SmartSolve water-soluble tape is now a regular part of my growing season.
A couple of practical notes:
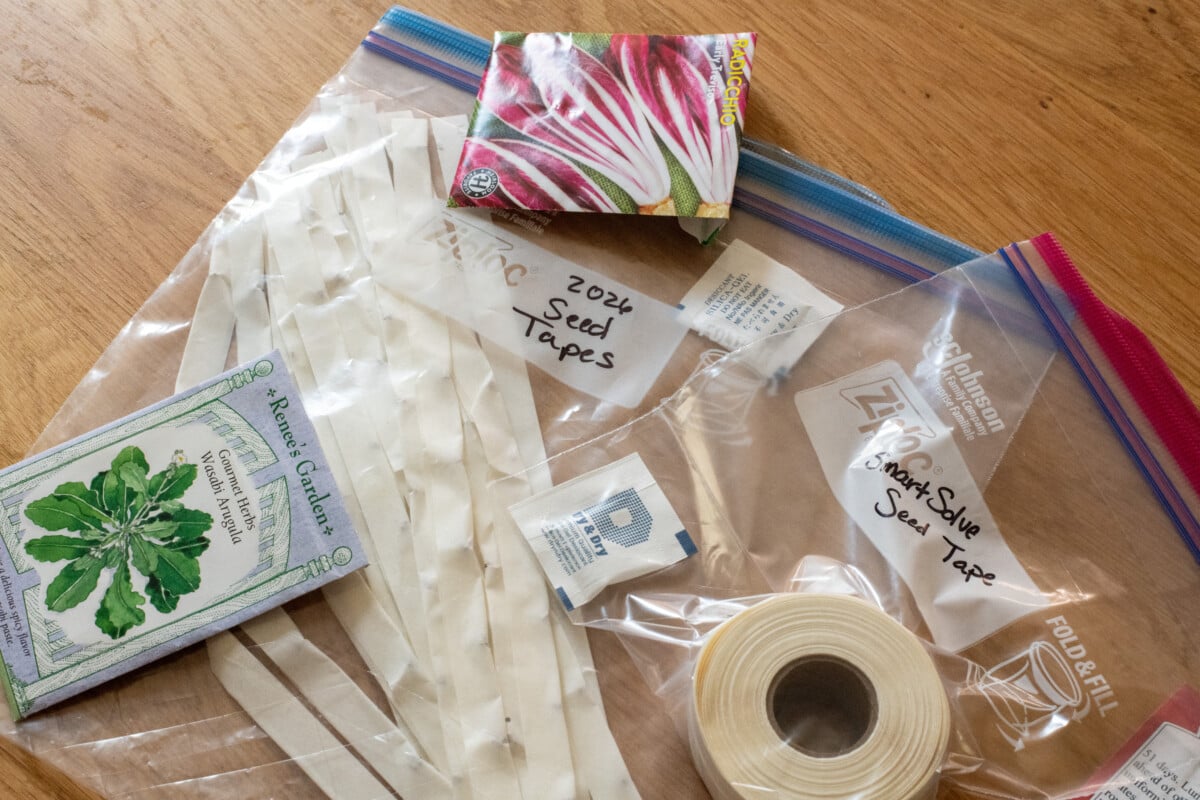
- Because the tape dissolves so quickly, be careful not to spill any liquids on it. My cat knocked over a glass of water onto a couple of the strips I made, and that was that – my seed tape was no more.
- I made my seed tape on a rainy weekend with the windows open, so the house was quite damp. I noticed the next morning that the strips felt limp from absorbing the moisture in the air. Store your finished seed tape in an airtight container until you are ready to plant.
- Likewise, store the roll of tape in an airtight container, so it doesn’t absorb moisture from the air.
SmartSolve seed tape is great stuff if you want to make seed tape but don’t want to deal with the mess of DIY seed tape. Give it a try!
Get Garden Notes From Tracey, Right to Your Inbox
Pull up a chair on the front porch. Join 54,000+ gardeners who get Tracey\'s friendly notes, seasonal to-dos, and hands-on tutorials three times a week.