

When I had a much smaller garden, I could only fit a couple of small shrubs along a fence. Lilac was not one of them.
And yet, I still knew when the lilacs were in bloom because their unmistakable fragrance wafted into my garden from mid-April to early May. I don’t know where from – my direct neighbors weren’t growing any lilacs.
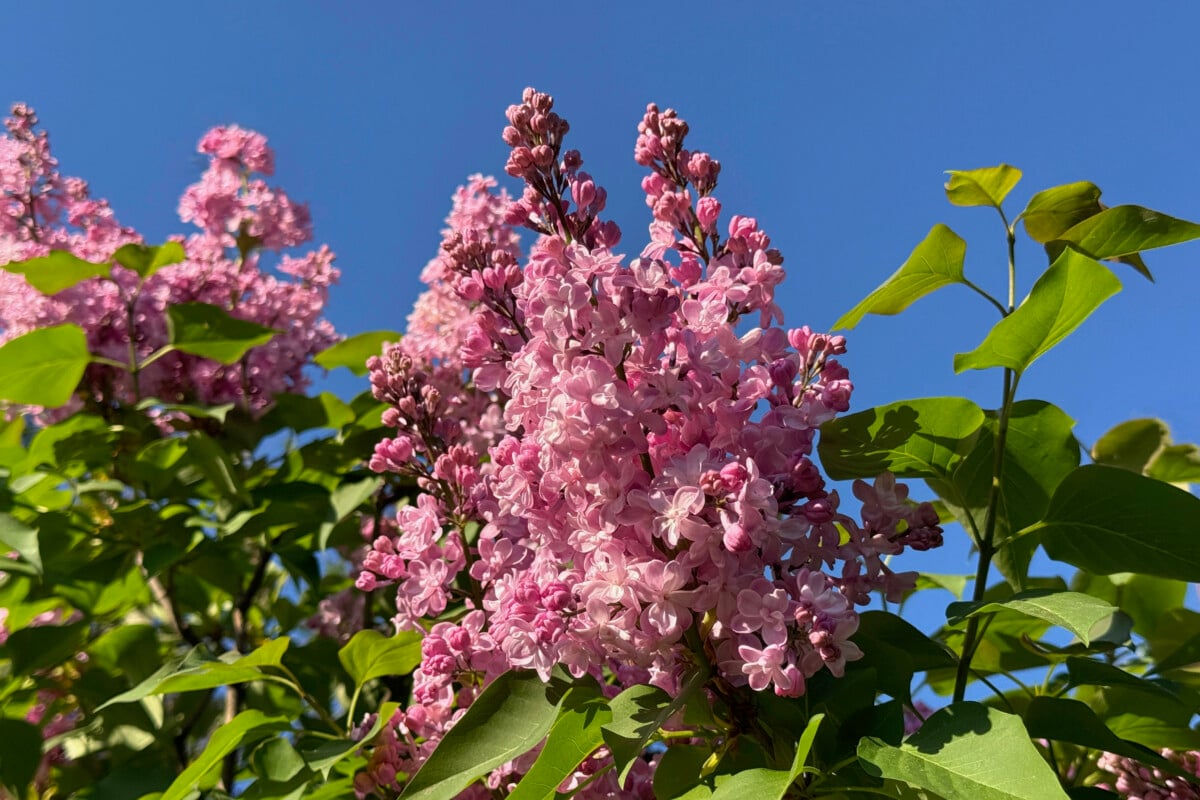
There must have been some people in the neighborhood who did. Lilacs are generous like that, one of the few garden residents that you can smell before you can see.
For an abundance of fragrant flowers, there is one step in lilac care that we must get right: pruning. Let’s explore a few tips on lilac pruning that will pay (flower) dividends for years to come.
Two things you need to understand about how lilacs bloom:
Why are we talking about lilac flowers now, Mickey? I thought we’d be chopping the shrub, not reminiscing about long-gone blooms.
These details have an impact on how and when we’re supposed to prune lilacs, I promise.
Number one: Lilacs always bloom on one-year-old stems.
This means that the buds that grow on your shrub this year will turn into next year’s flowers. Why do we need to know this? Because the longer we wait to prune, the higher the chances we’ll be pruning off some of next year’s flowers.
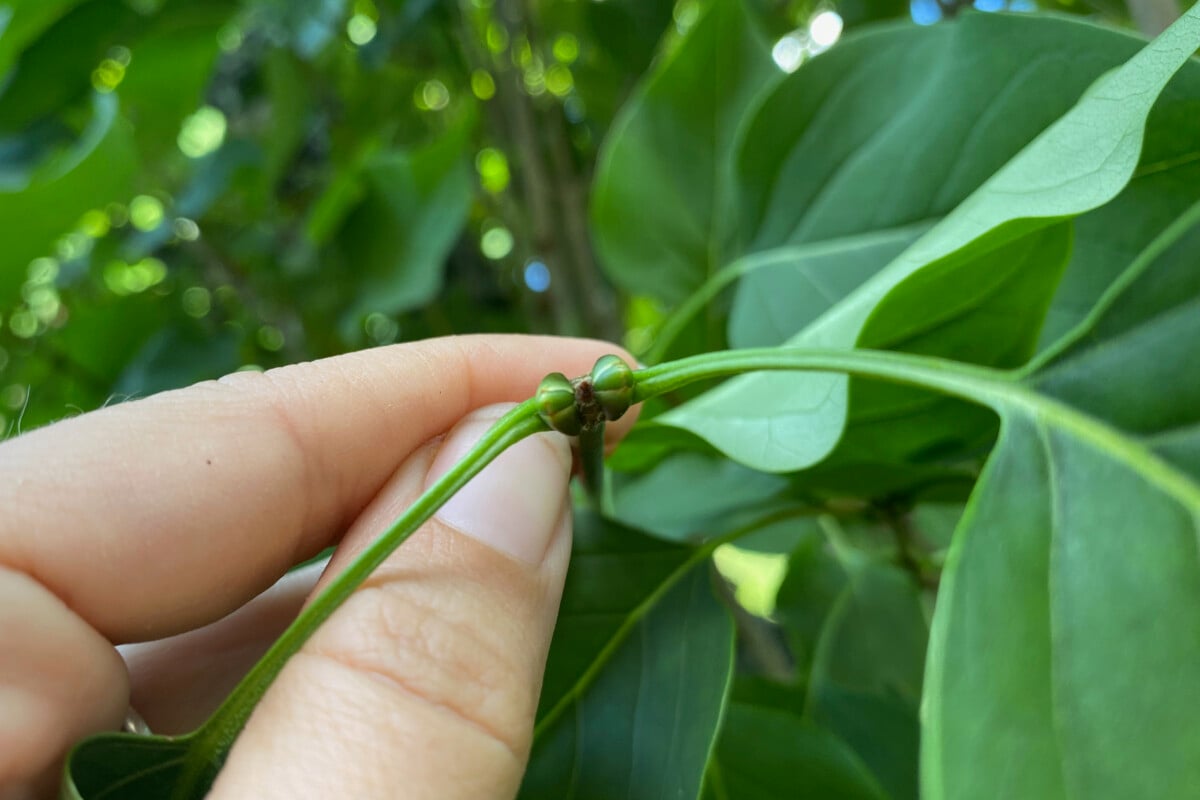
The right time to prune lilac shrubs is the window between when this year’s flowers have faded, but before next year’s blooms have formed. In my garden, that usually happens between mid-May to mid-June, but obviously the timing will vary slightly depending on your gardening zone, the location of the shrub and how old it is.
Number two: Lilacs are tip bloomers.
Generally, common lilacs (Syringa vulgaris) are tip bloomers. This means mature branches that are left to grow taller and taller will only produce flowers at the tippy top of the branch. Sometimes the blooms are up so high that the shrub looks bare and unproductive.
Now keep in mind that there are about twenty-five species of lilacs, comprising overall about a thousand cultivars (with more coming on the market every year).
And there are some newer cultivars that stay compact. So while not all lilacs will have the same growth pattern, enough will to make this detail worth knowing.
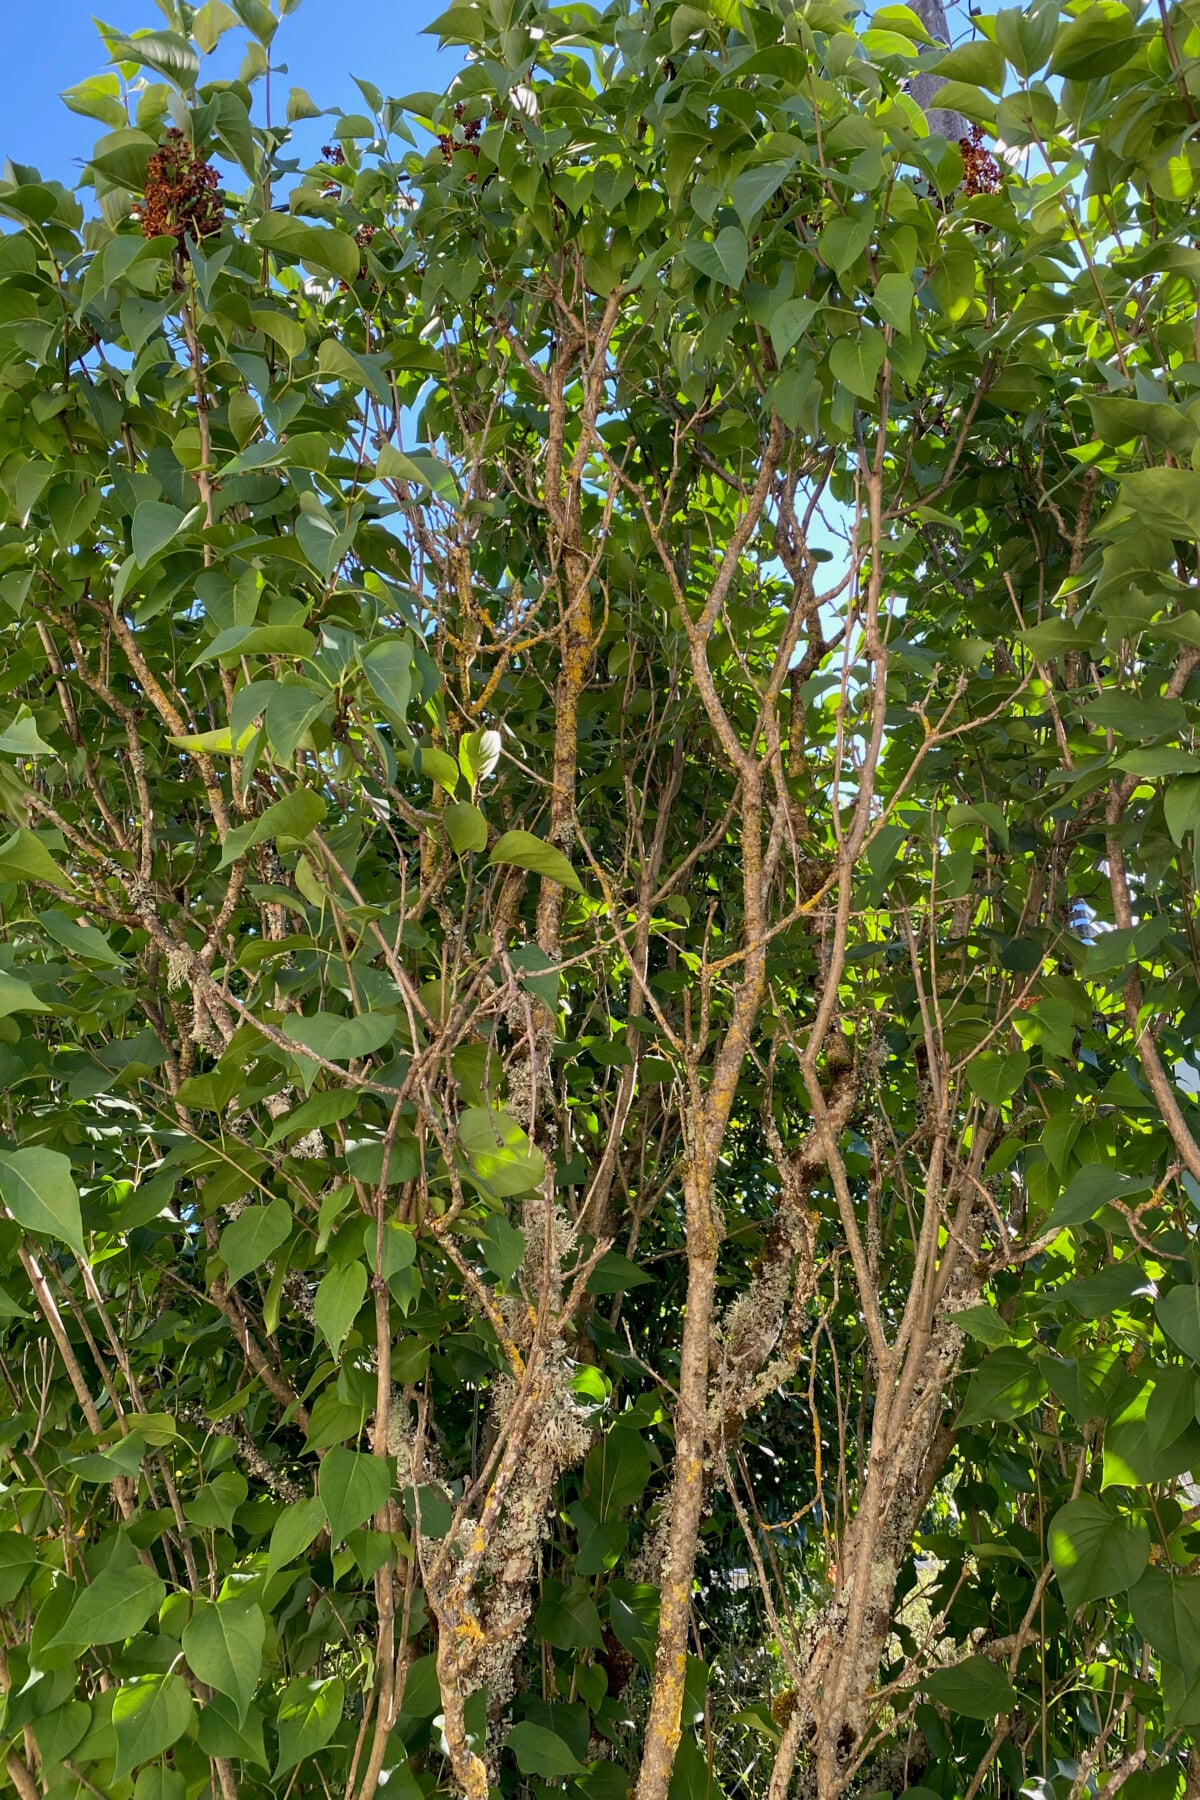
This detail doesn’t become a problem if we do regular maintenance pruning. We could even skip a year or two and not have much catching up to do. But if we ignore the tidying-up part for too long, we’ll need to do some rejuvenation pruning.
I’ll explain more further down in the article. For now, here’s what one of my lilac shrubs looks like in my new (to me) garden. I inherited it from the previous owners, who, I must say, did an amazing job planting shrubs in this yard. But I suspect the lilacs were a bit of a low priority due to their location. A case of out of sight, out of mind.
Regular maintenance pruning for lilacs.
If you regularly prune your lilac shrub, all we have to do now is tidy it up and keep it at a manageable size.
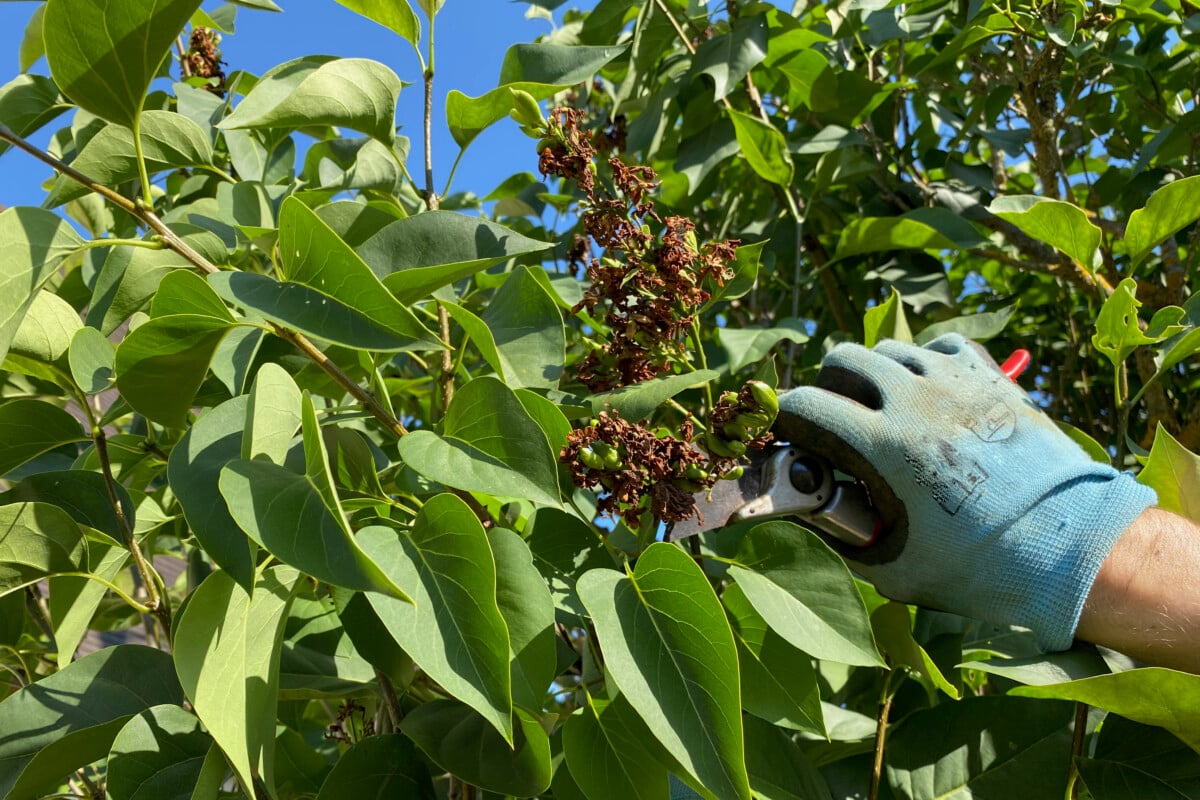
1. Deadhead old flower heads.
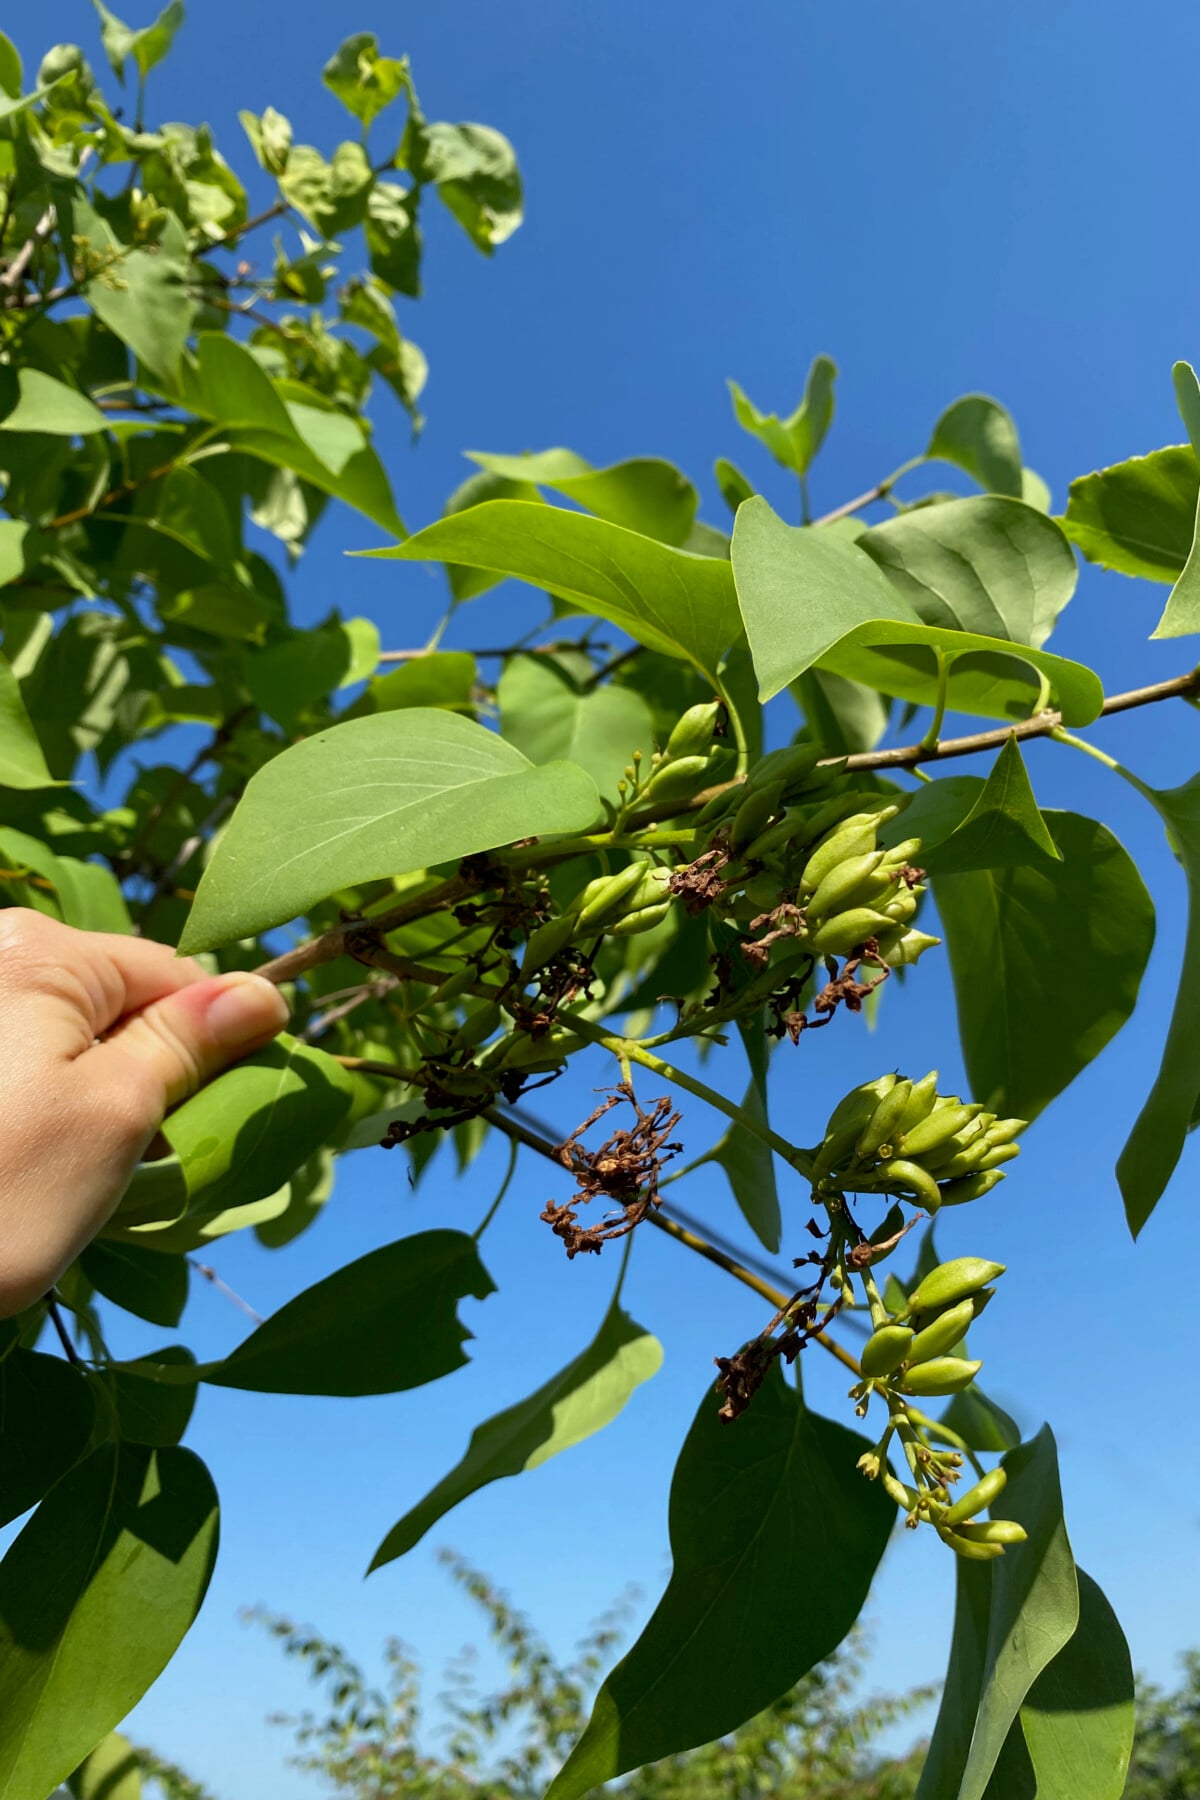
Remember those amazing lilac blooms with a heavenly fragrance? Yeah, they’ve turned into seed pods that don’t serve much purpose.
The seed pods sap the energy of the plant, so if we can get them while they’re still green and forming, that’s even better. Leaving them to mature on the plant is pointless, since there are much better ways to propagate a lilac than growing it from seed.
2. Prune diseased, dying and dead branches.
I like to call this the 3D removal.
Luckily, other than some mildew problems later in the year, lilac shrubs aren’t very susceptible to diseases. But if you happen to find a sick branch, you can prune it off.
We’ll also cut back any branches that are dying or that are already dead.
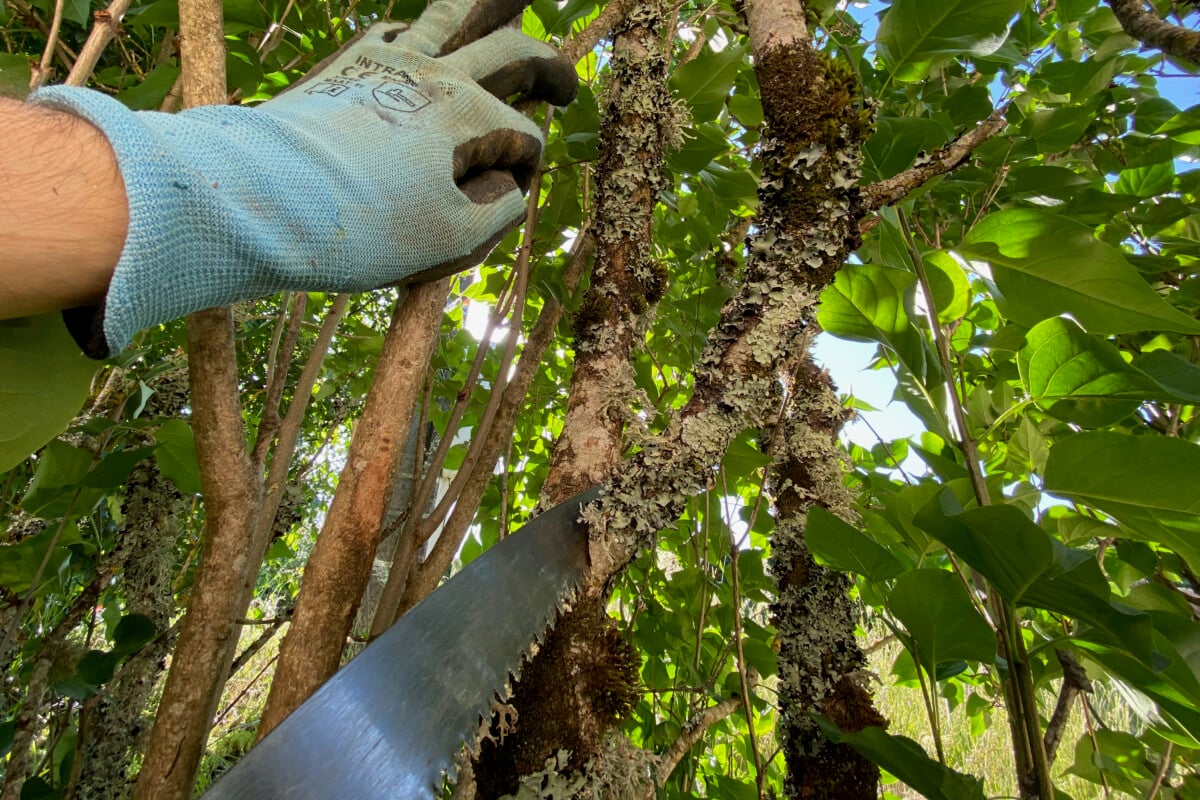
We had a very powerful storm in mid-spring. I didn’t think it did any damage to the older shrubs. But the foliage is fully grown now, so I’m only now noticing some bare branches that snapped back then. They need to be removed.
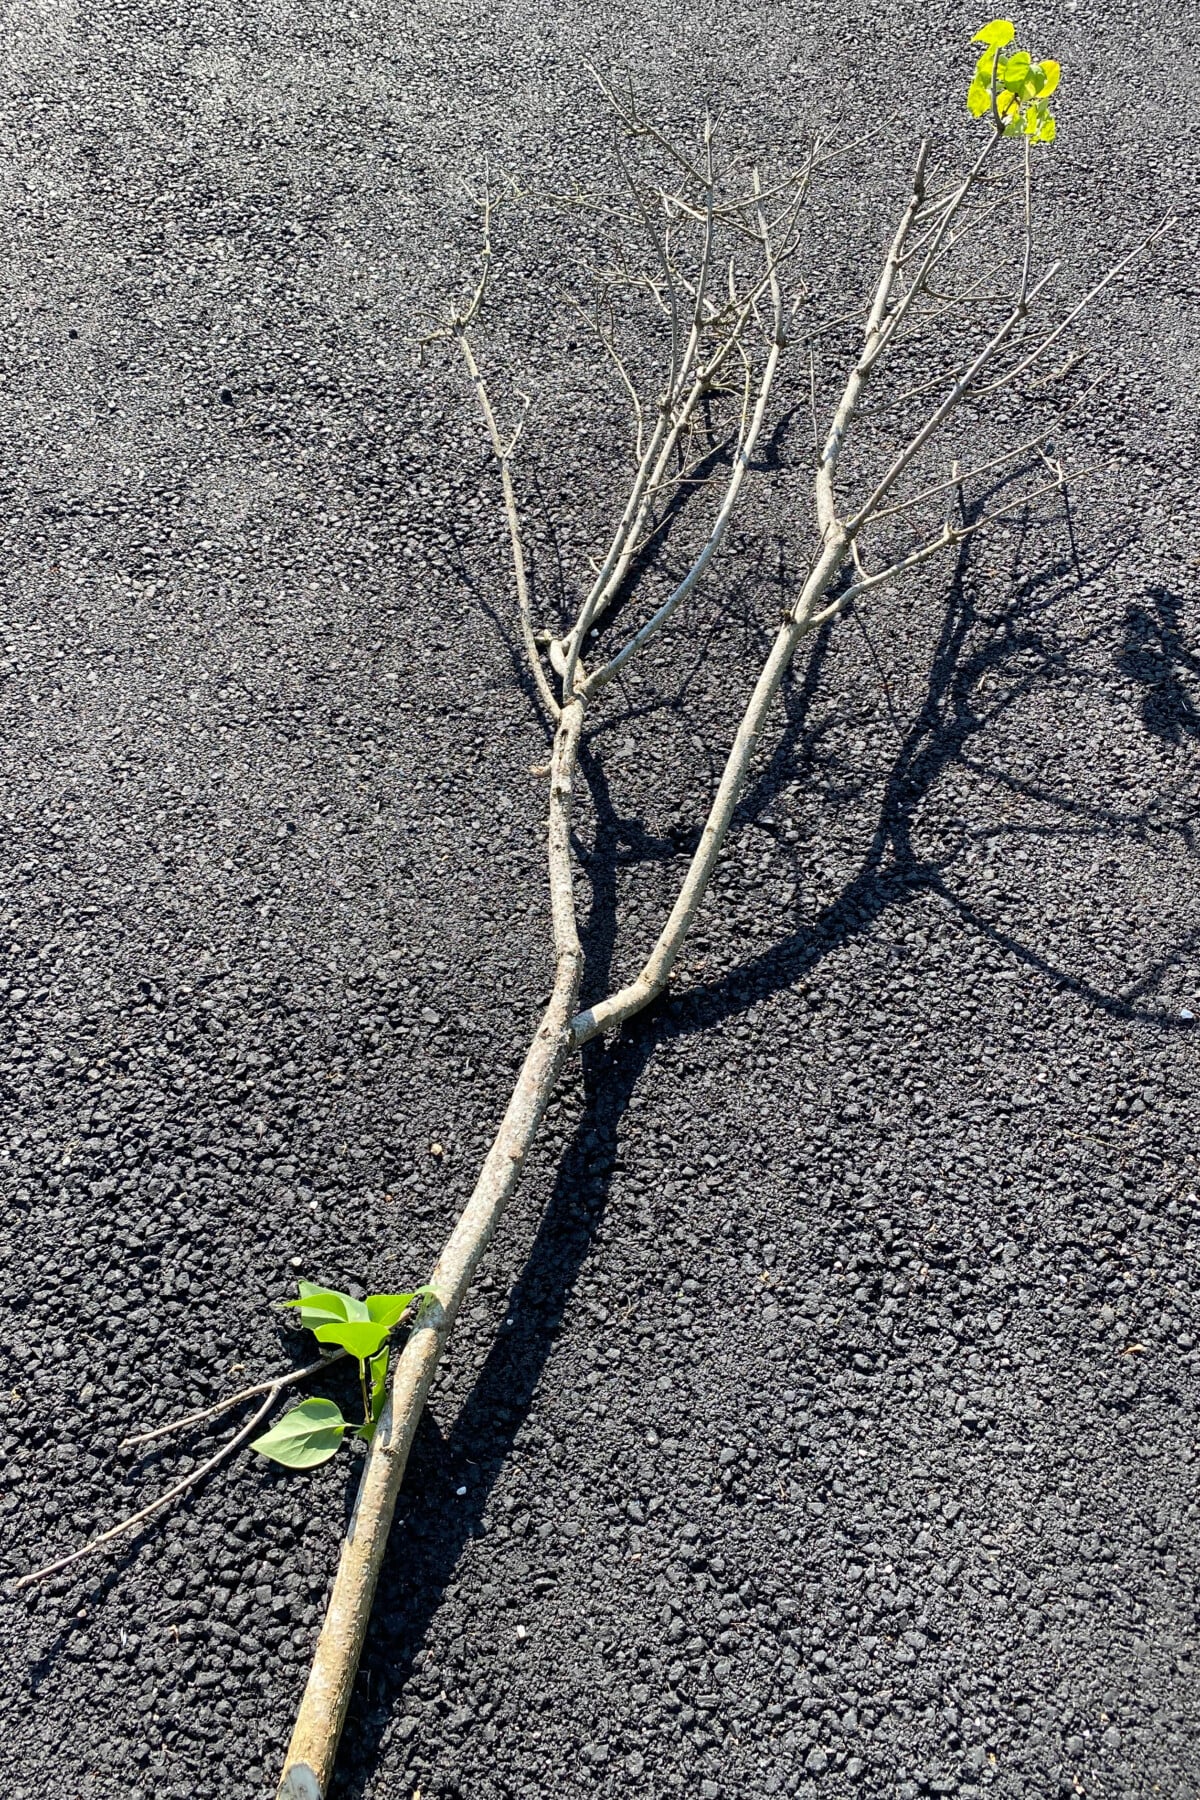
With the lilac that I’m pruning in this article, I don’t think this type of cleanup has been done for years, so there were plenty of dead branches to dispose of. Like, fully dead! Not just partially bare.
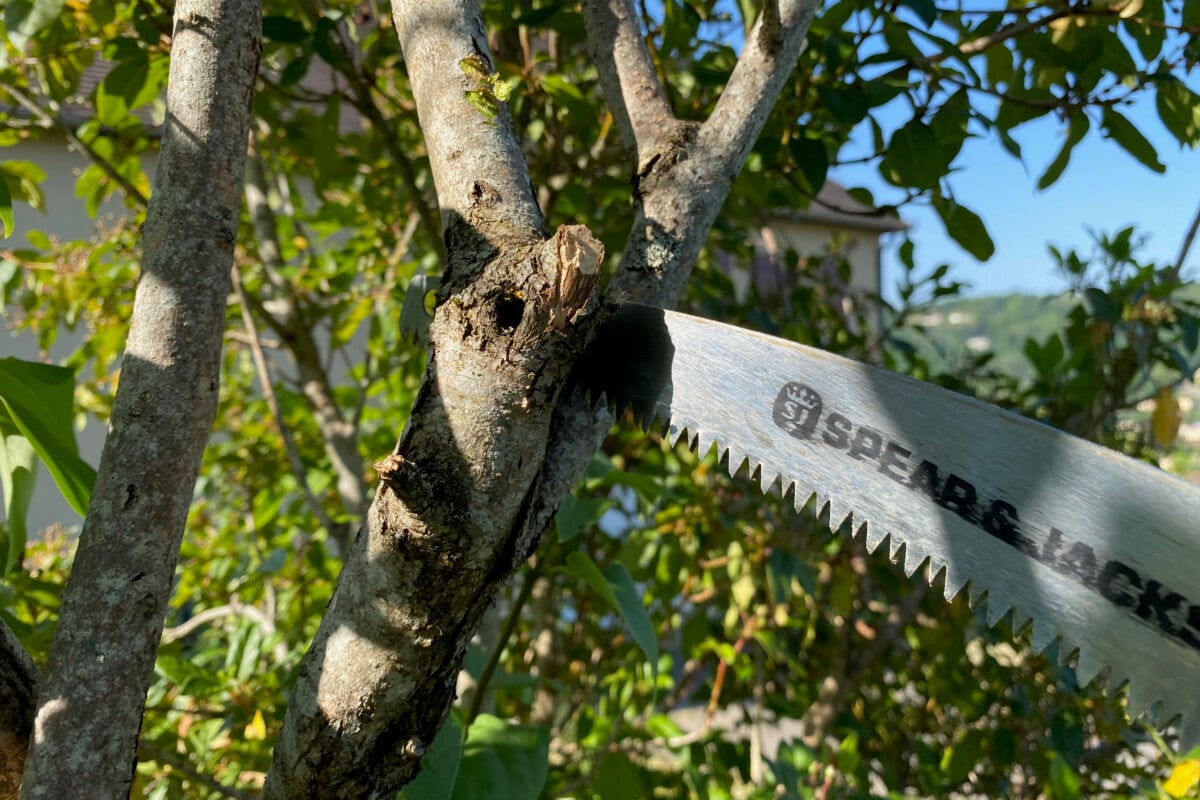
So I’m working my way little by little through the dead branches. I had to cut some of them into several pieces before I could extricate them from the shrub. My trusty Spears & Jackson pruning saw does a great job at that.
3. Cut back the tips to another smaller branch just forming (optional)
This step is optional and only serves to control the overall spread of the lilac canopy. If your lilac has plenty of space to spread its wings, you can skip this part.
Or you can do it for a few branches this year and see what happens, then not do it for a couple of years. Or do it every other year. Or not at all. Your choice.
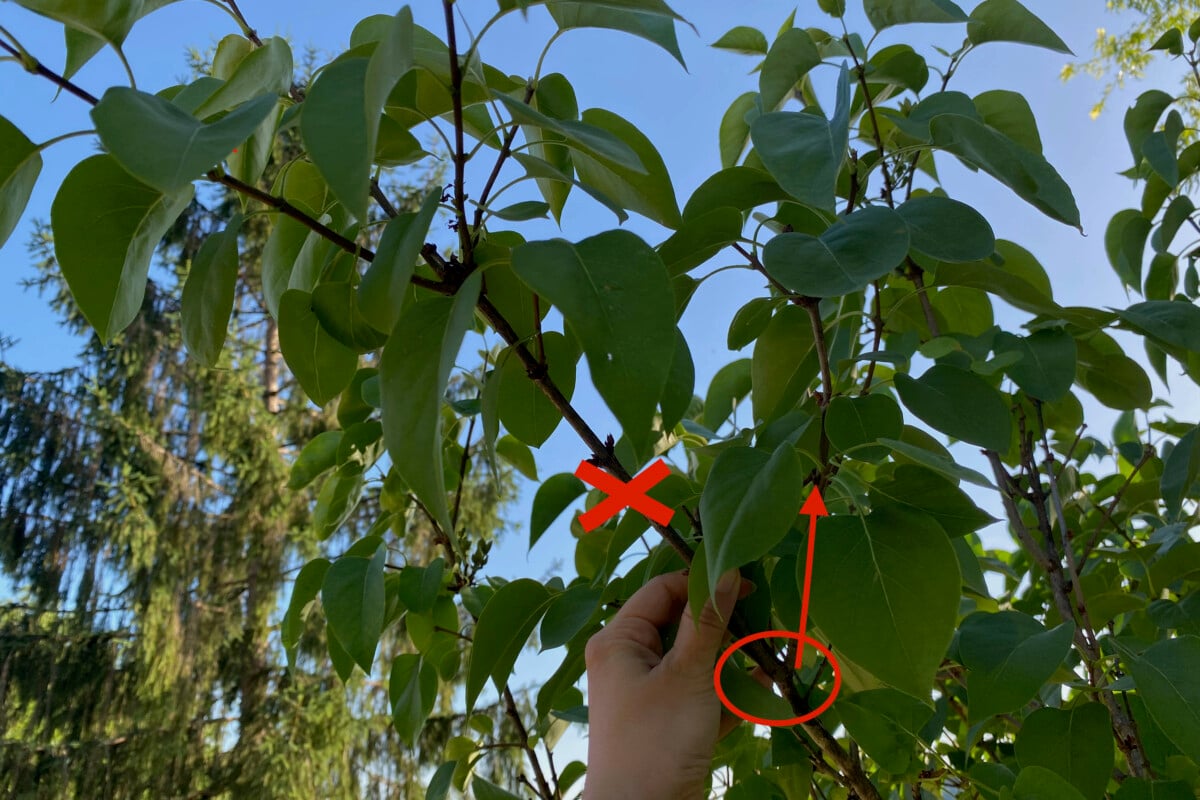
It’s a bit tricky to explain with a bush that’s fully in leaf, but I’ll do my best. Say we’re deadheading this seedpod below. While we’re in the neighborhood, we can also take out the longest stem next to it (let’s call this Stem 1, on the left). But only down to the circled branching that’s growing off it (Stem 2). That way, Stem 2 (on the right) becomes the main stem that will mature and develop flower buds for next year. Does that make sense?
To sucker or not to sucker.
If you’re the proud owner of an older lilac, you will have noticed by now some tiny baby lilacs popping up below the canopy.
These are suckers, and they’re the sign of a happy, established lilac shrub. These suckers grow from the roots of the lilac and resurface a foot or two away from the main plant.
Mind you, newer lilac cultivars have been bred not to send suckers because apparently some gardeners don’t like free plants? (Not me!)
So what do we do with lilac suckers? Should we remove them?
You can remove them if you want to. Simply cut them at ground level or dig a bit to find the root and pull it out.
Here’s what I do with lilac suckers.
Mind you, three of my four lilac shrubs are old enough to send suckers, so I make these choices depending on what makes sense for the location and growth of a particular shrub.
I let some lilac suckers grow into full plants.
The way I see it, if I can turn one bush into a whole hedge, why wouldn’t I? If it makes sense, that is.
In this case, I was planning on planting a semi-hedge here to provide a windbreak for a couple of new garden beds I’m building this year. Luckily, I can now let the lilac develop into a hedge.
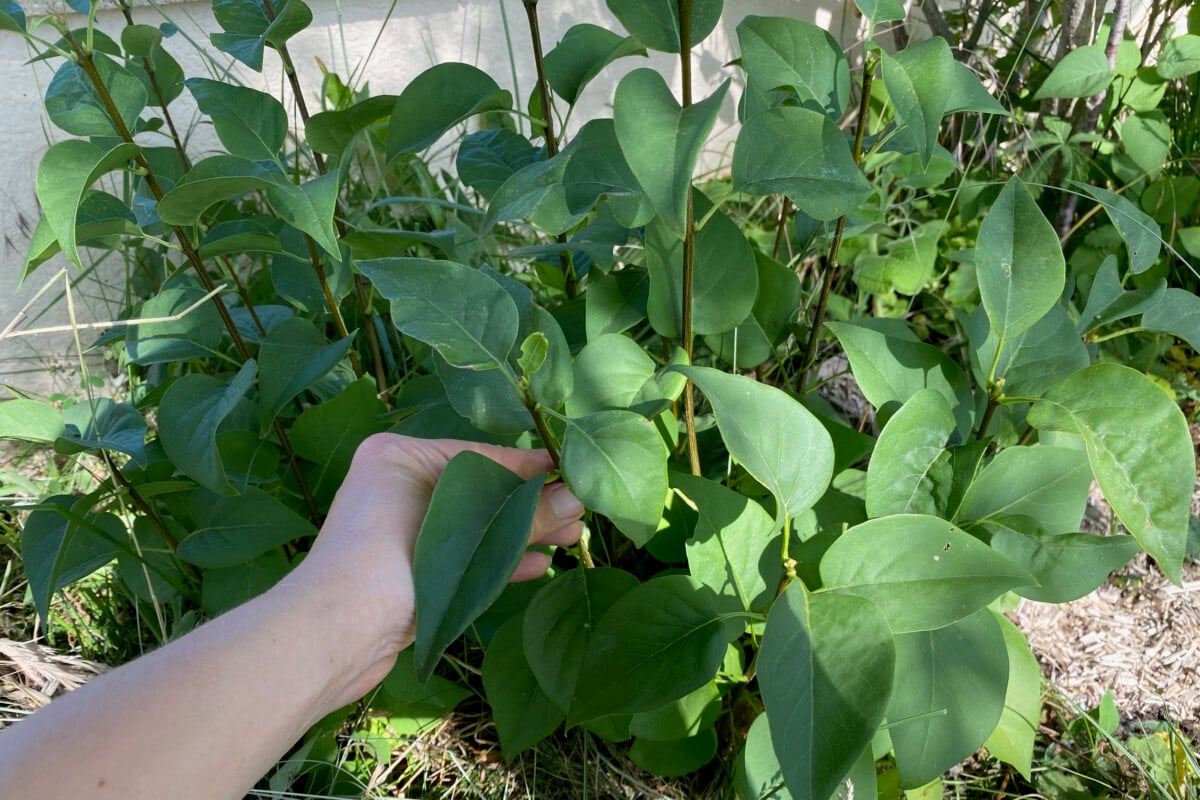
It works out perfectly, even if the lilac is deciduous and will lose its foliage in the fall. I don’t need the windbreak year-round, only during the growing season. It looks a bit crowded, so I’ll thin half of these suckers to give the more vigorous ones more room to grow.
I remove some lilac suckers at ground level.
If there’s nowhere for a new lilac shrub to grow, or if it starts encroaching on a new garden bed, I cut the suckers at ground level as soon as I see them. Just to make sure you got them all, you can dig out the entire root that’s holding them together.
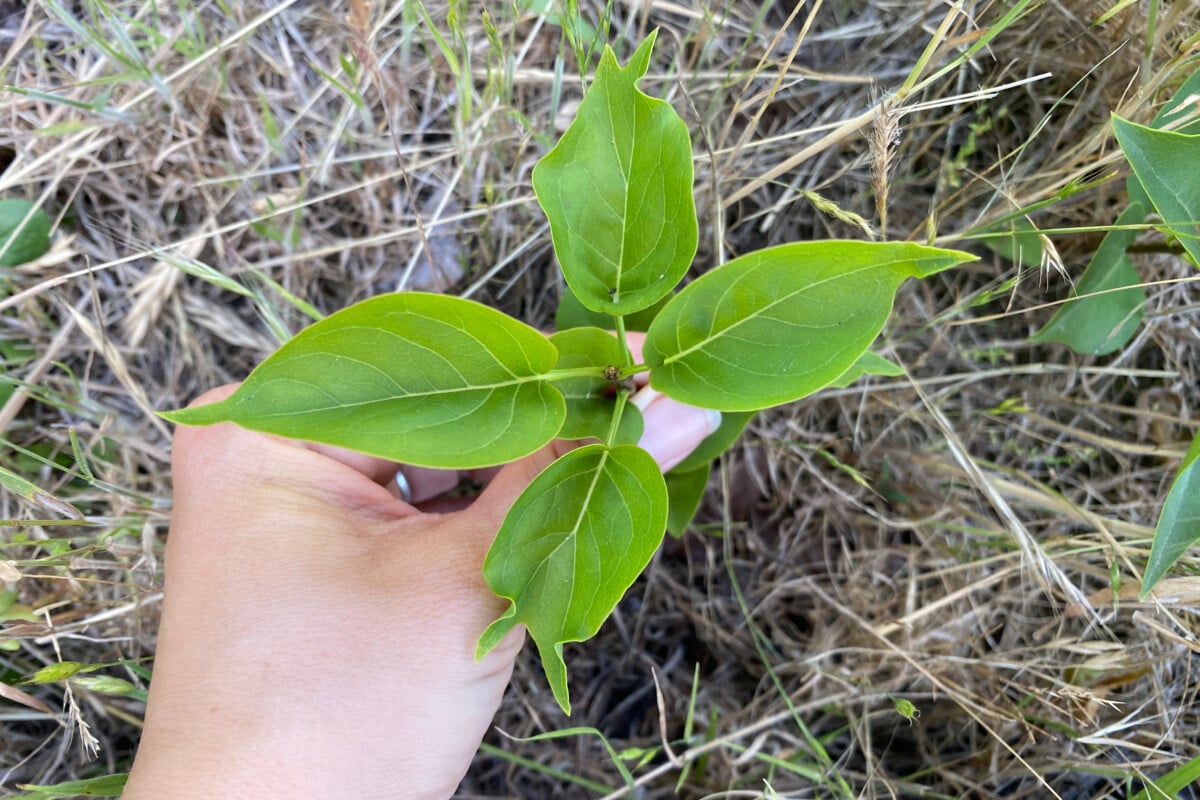
I turn lilac suckers into new plants.
Yup, I will never miss an opportunity to make more free plants. Since the suckers are already growing on a root, all I have to do is dig out the roots and replant everything in a pot.
If you want to, you can even relocate them right away to another part of the garden (or a friend’s garden). Since we’re due for a very hot and dry summer, I prefer to keep the sucker cuttings in a container. I just want to make sure I keep them watered well until their feeding roots grow back.
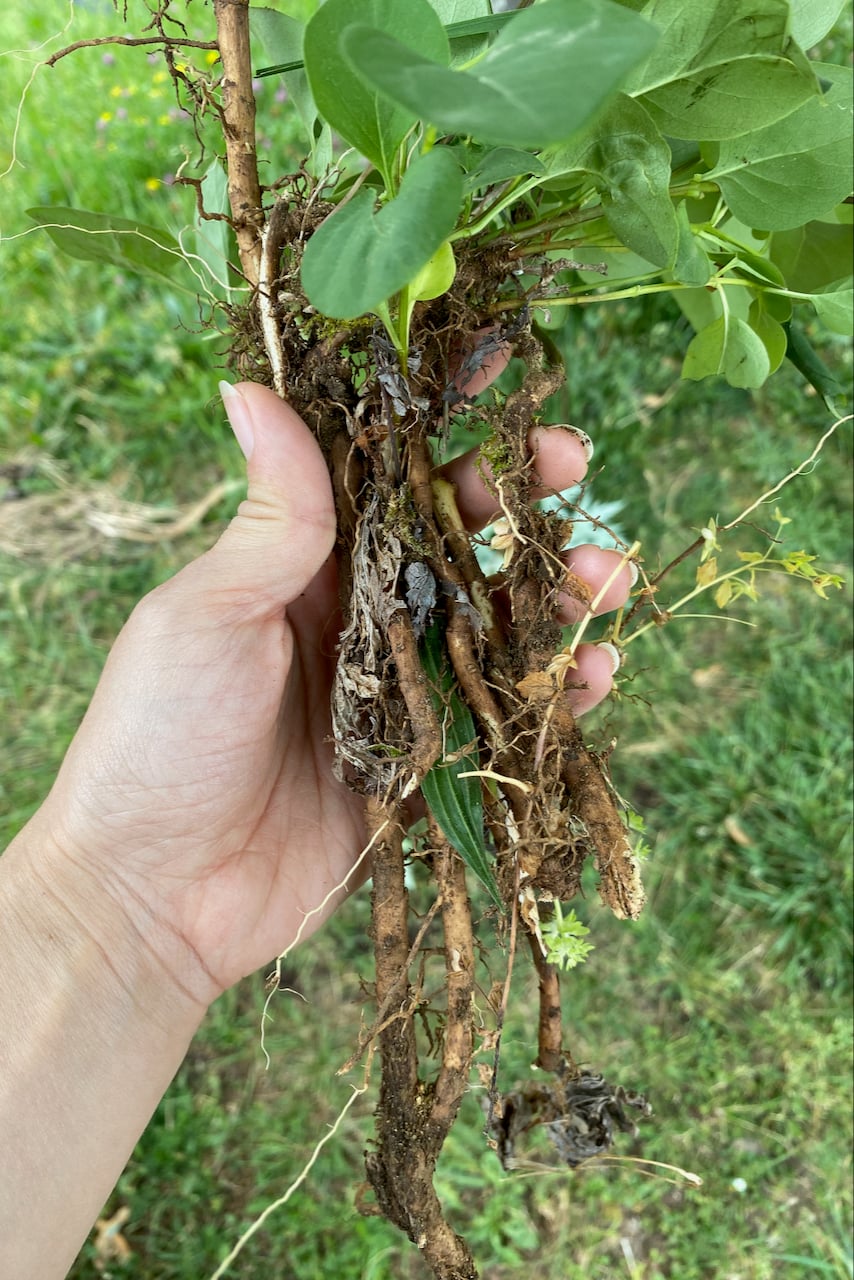
You may even get a surprise if the lilac is grafted. The sucker cutting will come true to the root stock (since it’s coming from the root), not to the lilac growing above ground. So you may even get a different color of lilac. Isn’t that exciting!
Rejuvenation pruning for overgrown lilac shrubs.
Everything we’ve been talking about so far referred to maintenance pruning.
But if we skip maintenance pruning repeatedly, year after year, we’ll be left with an overgrown shrub. If you’re using it as a privacy screen or a windbreak, and prefer a taller shrub, that shouldn’t be an issue.
On the other hand, if you want your lilac to actually produce flowers – and be low enough to be visible without a pair of binoculars – then rejuvenation pruning is in order.
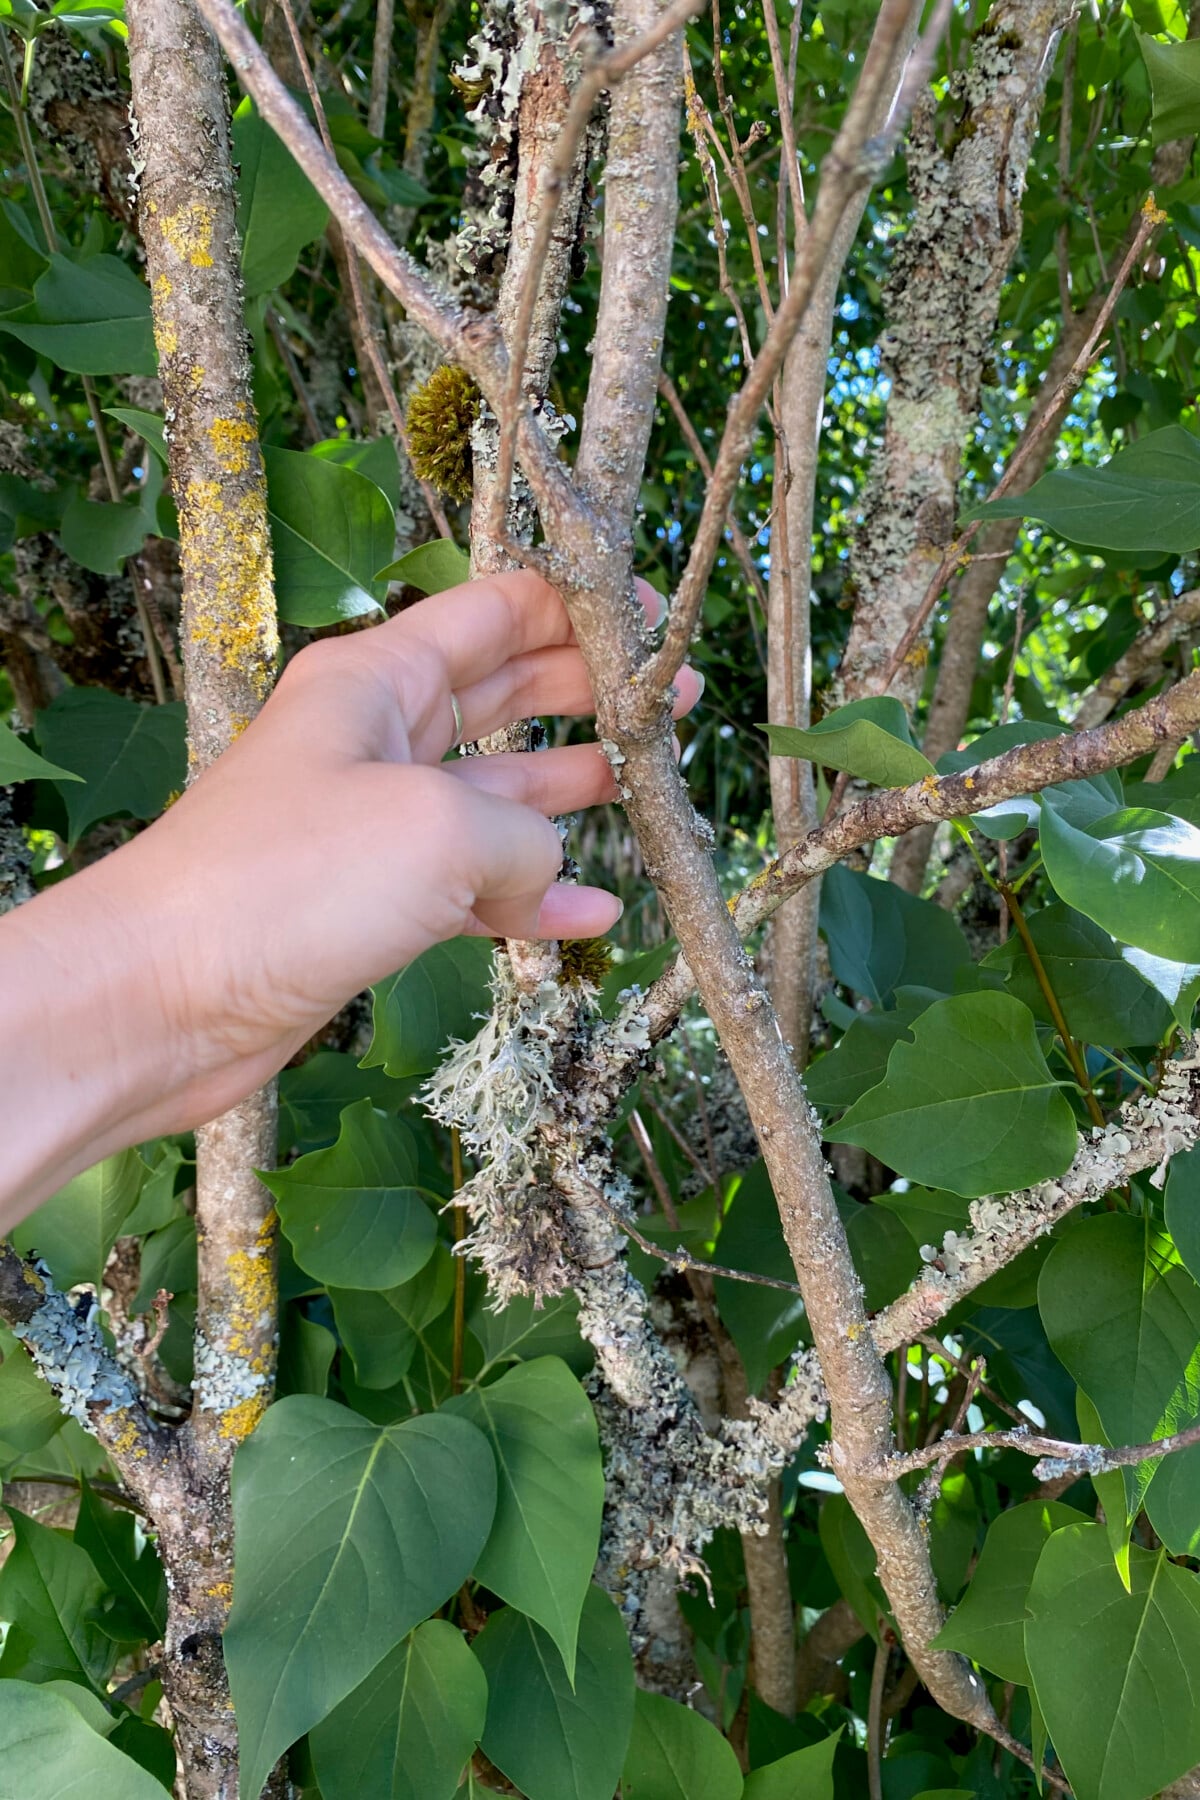
How long is that deferred maintenance?
I’ve read that anywhere between six and eight years of neglect can do that, so it really does take a lot of forgetfulness before things go sour. My guess is that the oldest branches of my lilac (below) haven’t been pruned in at least eight years.
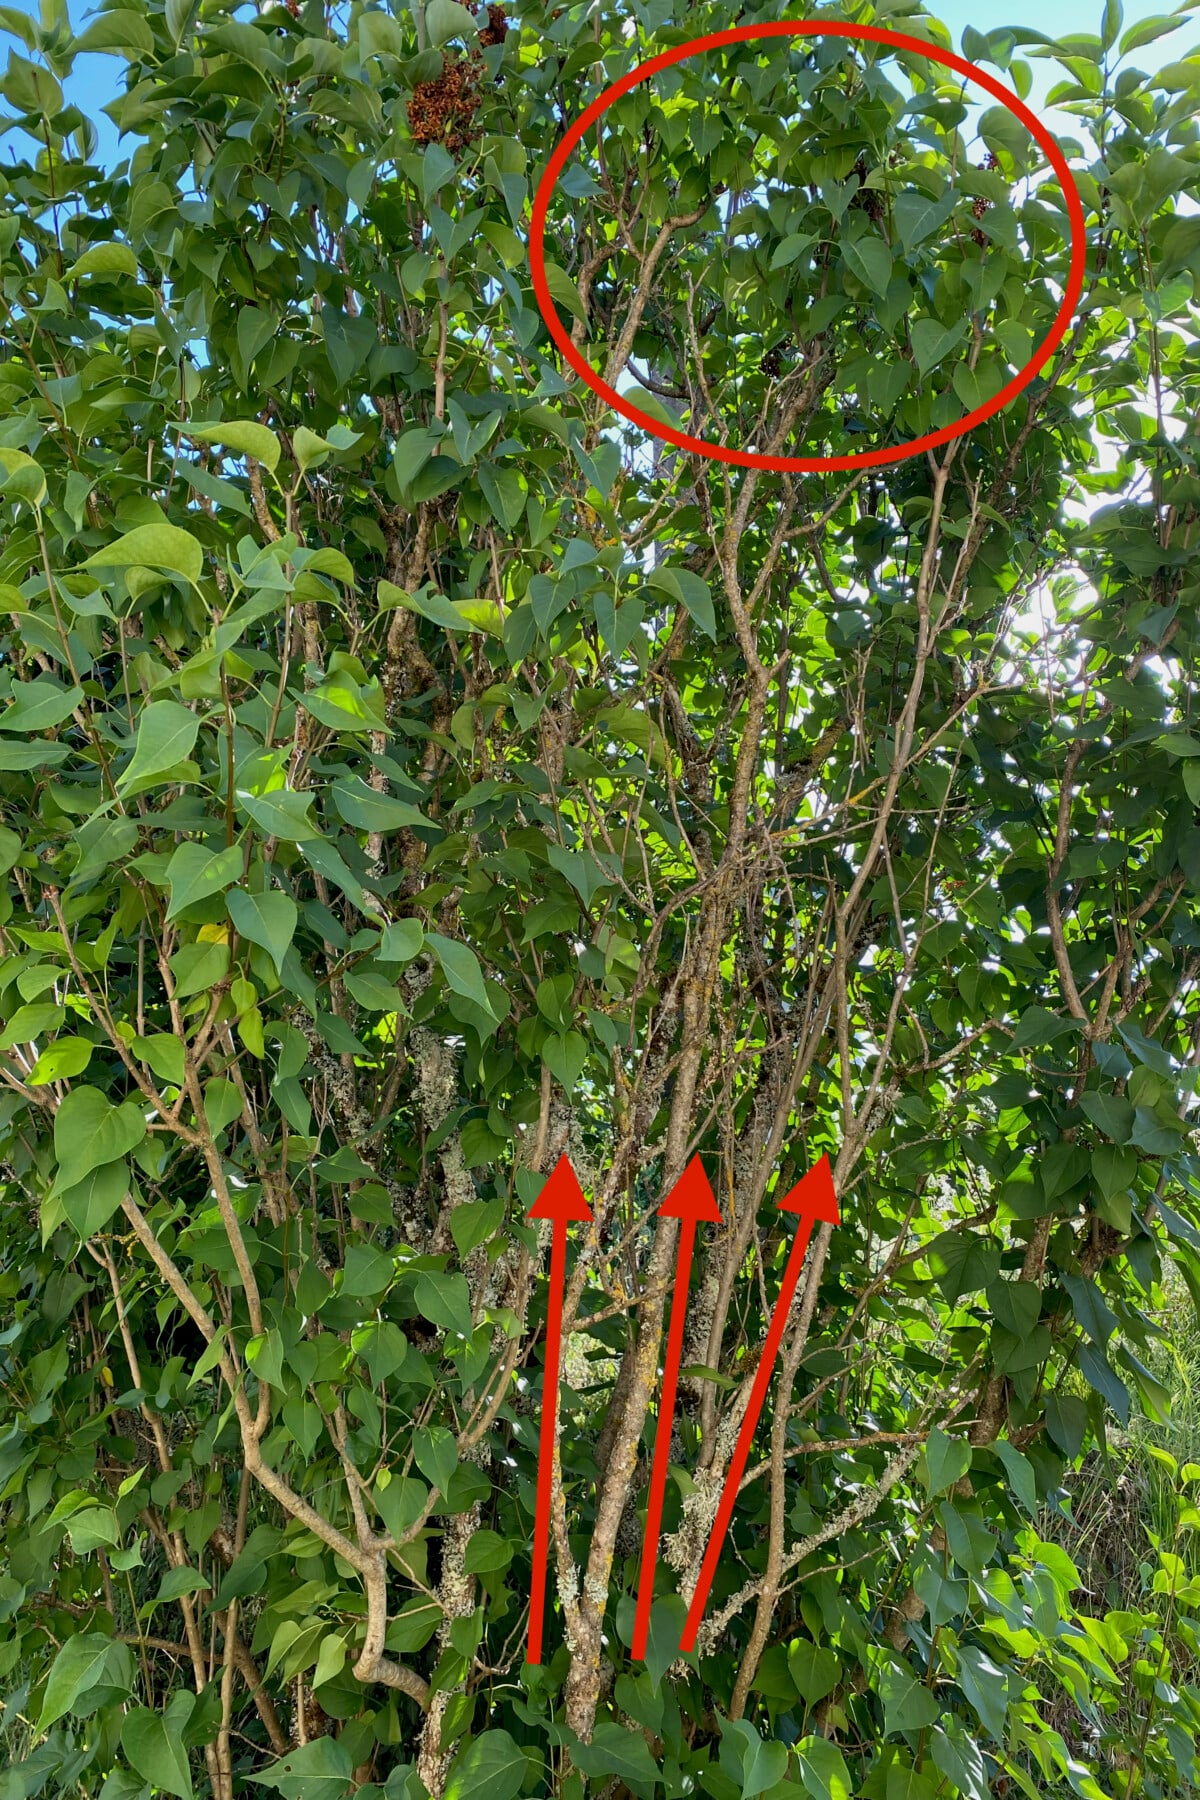
Here’s what they look like now. You can see a bald spot in the center (along the arrows) with flowers and leaves only growing at the tippy top of the branches (in the circle). This flowering line will keep getting taller and taller every year.
Obey the rule of thirds!
But unlike the dead, dead branch that I presented to you on my driveway, these bare branches are not dead. They have healthy growth, just very high up.
This means we can’t just prune them all and call it a day. The best way to deal with them is to take stock now, then only cut back a third of the overgrown branches. Then next year, when we prune, cut down another third. Then, in year three, cut down the remaining ones.
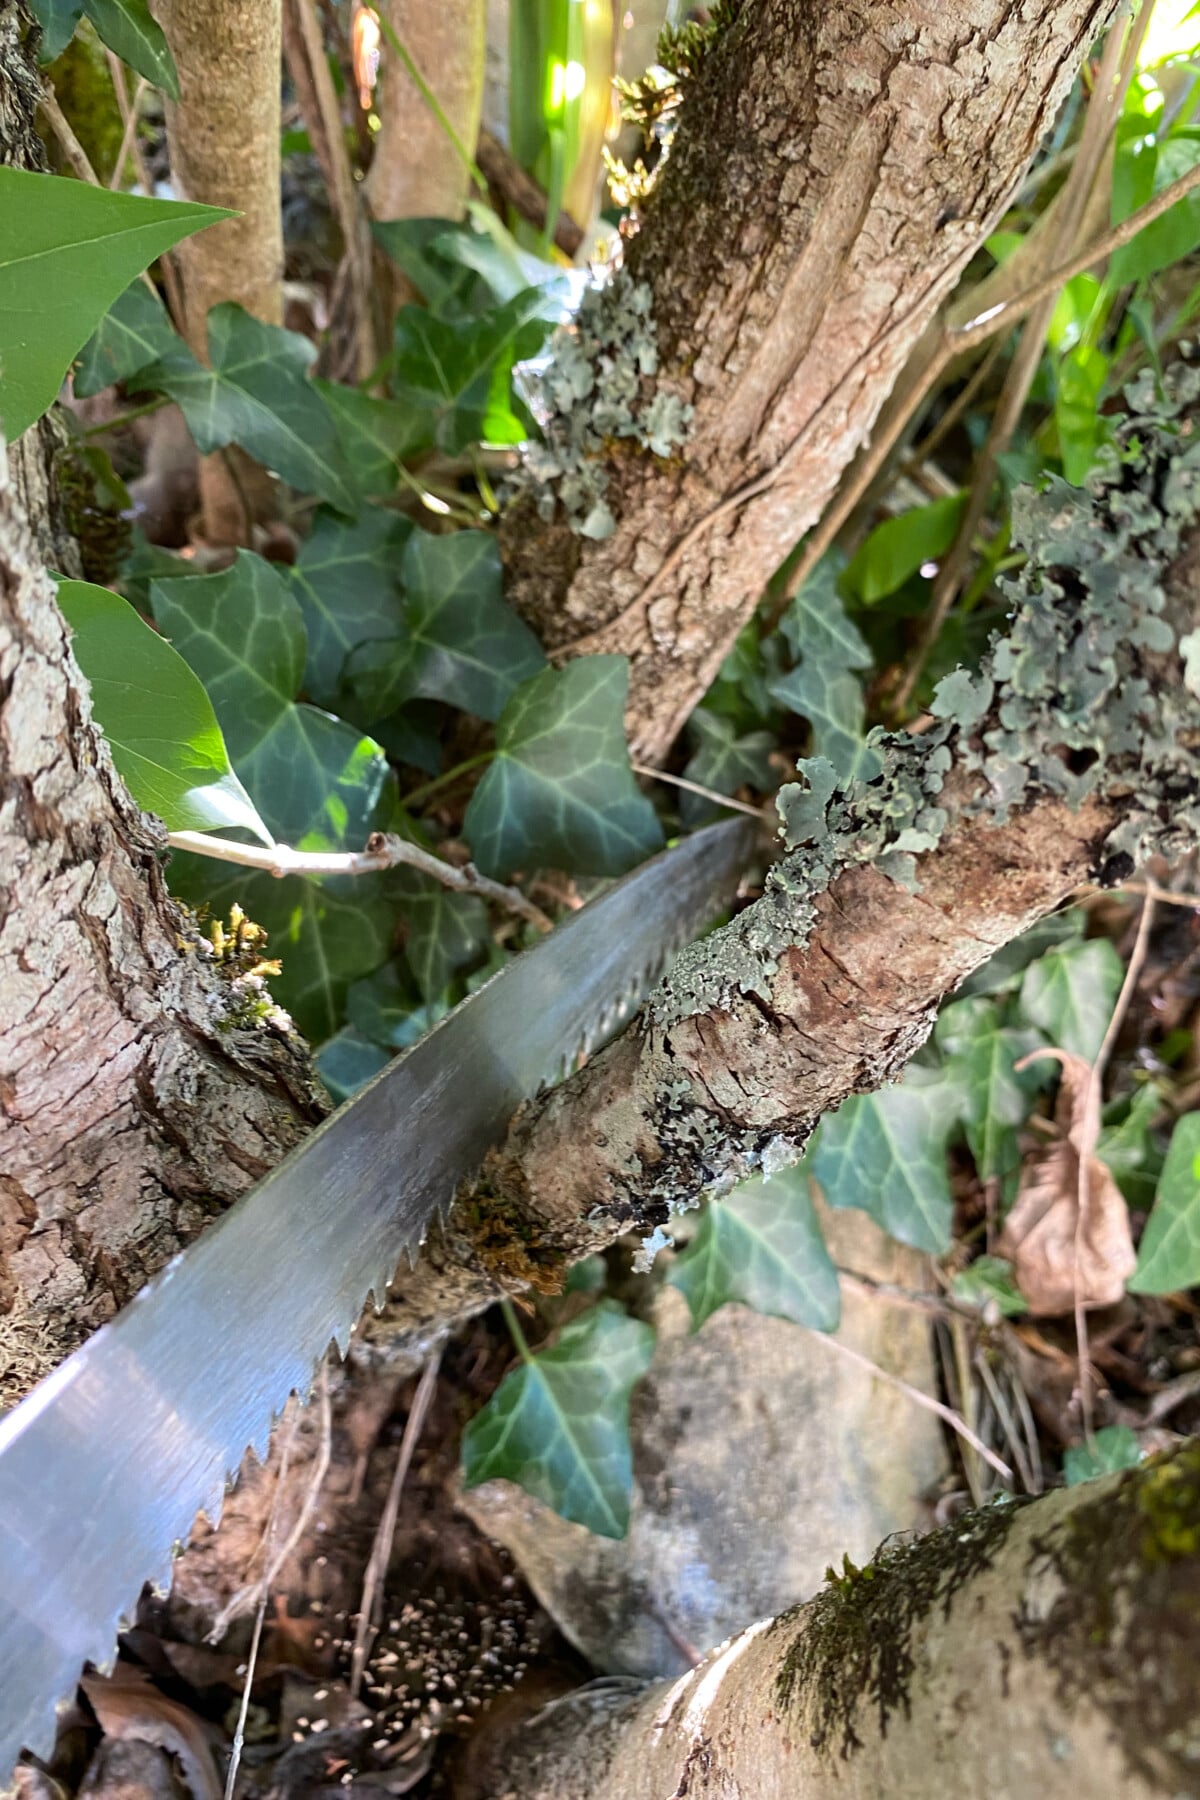
Taking too much at once will overstress the plant, which is why rejuvenation pruning is a slow process.
You want to cut the oldest branches right at the very bottom, as close to ground level as possible. I had to do some intermediate chopping before I was able to pull out the oldest branches. They were very tangled in with the new growth.
Chances are that an established lilac shrub is already pushing out younger growth from the center. So all we’re doing is clearing up the old branches to make room for the young branches to develop.
That’s the nice thing about the growth pattern of lilacs. The backups are already in place when we need them.
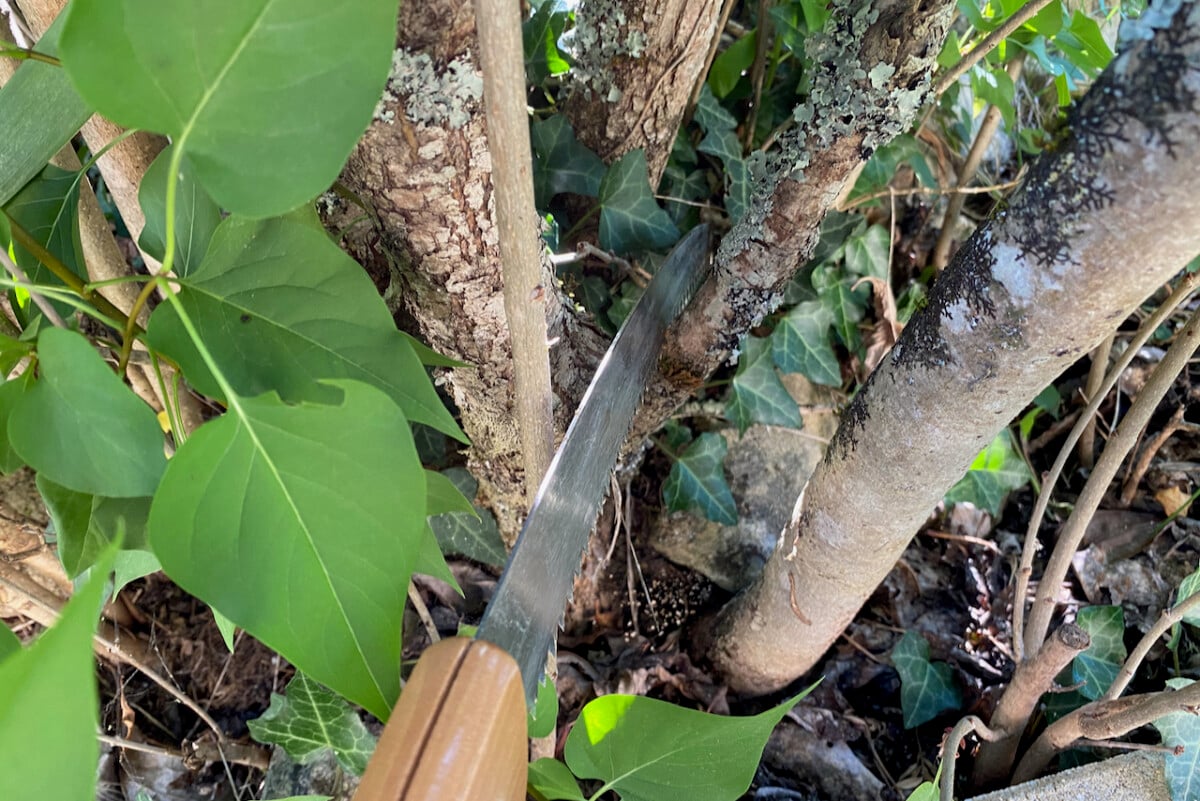
By the time you’re done with the rejuvenation pruning in year three, your lilac will produce leaves and flowers on much younger branches.
If you want to know even more about lilacs, I highly recommend the breathtakingly beautiful book written by Naomi Slade and photographed by Georgianna Lane. It’s called Lilacs: Beautiful Varieties for Home and Garden. The hardcover is a feast for the eyes, with more than 60 photos of different cultivars – I honestly wouldn’t know which ones to choose as my favorites.

Get Garden Notes From Tracey, Right to Your Inbox
Pull up a chair on the front porch. Join 54,000+ gardeners who get Tracey\'s friendly notes, seasonal to-dos, and hands-on tutorials three times a week.