

Every spring in temperate climates, shade trees wake up from a long winter’s nap. Their expansive root systems run deep into the earth, pulling up nitrogen and other important nutrients that smaller plants simply can’t access.
The leaves that formed on the branches through spring and summer will eventually fall to the ground in autumn. Along the forest floor, the fallen leaves slowly decompose and return those buried nutrients back to the upper layers of the soil.
Year after year, dropped tree leaves help keep the soil fertile for more shallow-rooted plants to enjoy.
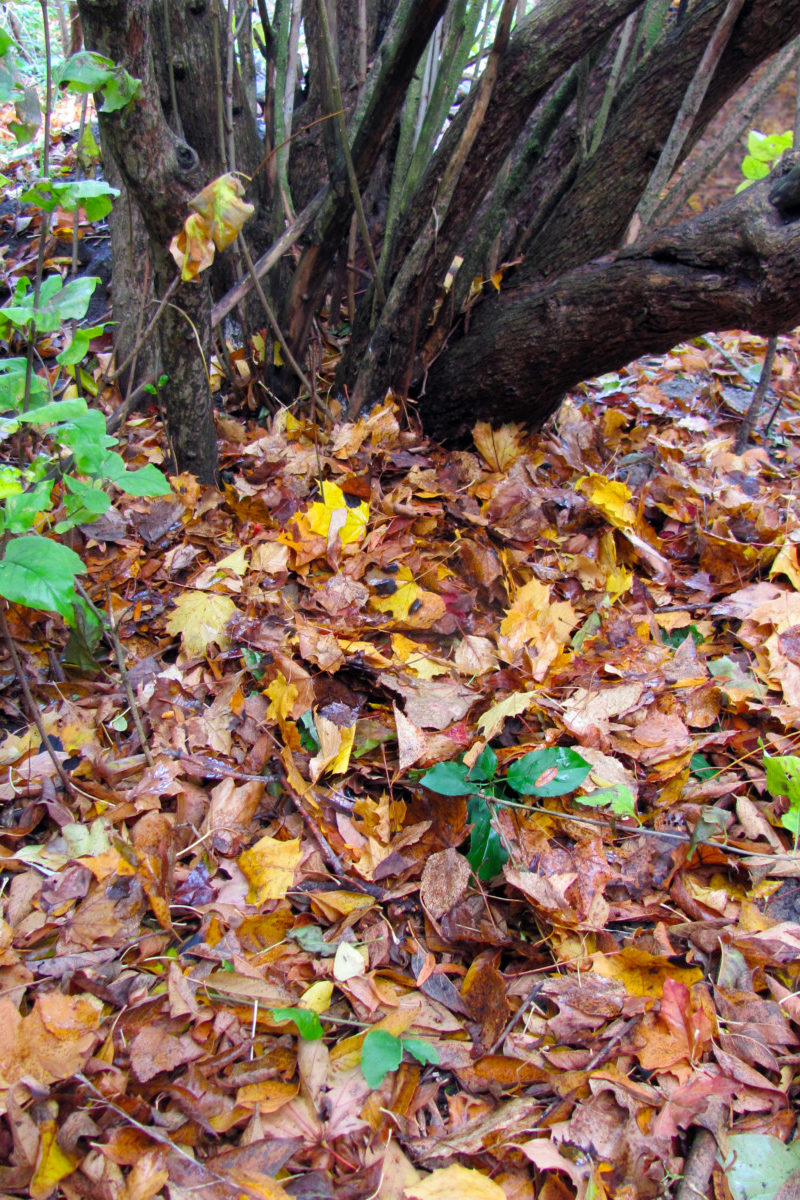
Aided by earthworms and fungi, in time, the leaves will break down into dark, crumbly humus. As nature’s mulch, leaf mold insulates the ground against extreme heat and cold. It conditions the soil, too, buffering pH levels, improving soil structure, and boosting water holding capacity.
Although it’s not nearly as potent as traditional compost, leaf mold supplies traces of 16 essential nutrients for plant growth. It’s also a terrific food source for soil microbes that are crucial to creating healthy soils for plants to thrive in.
Leaf mold is the stuff of permaculture dreams: it’s an organic, locally available, renewable, and abundant resource that upholds the ingenuity of natural ecosystems.
It’s really easy to make leaf mold. All you need to do is collect your fallen leaves into a pile and keep the pile moist. It can take anywhere from 1 to 3 years for fresh leaves to break down into friable leaf compost.
How to Tell When Leaf Mold is Ready to Be Harvested
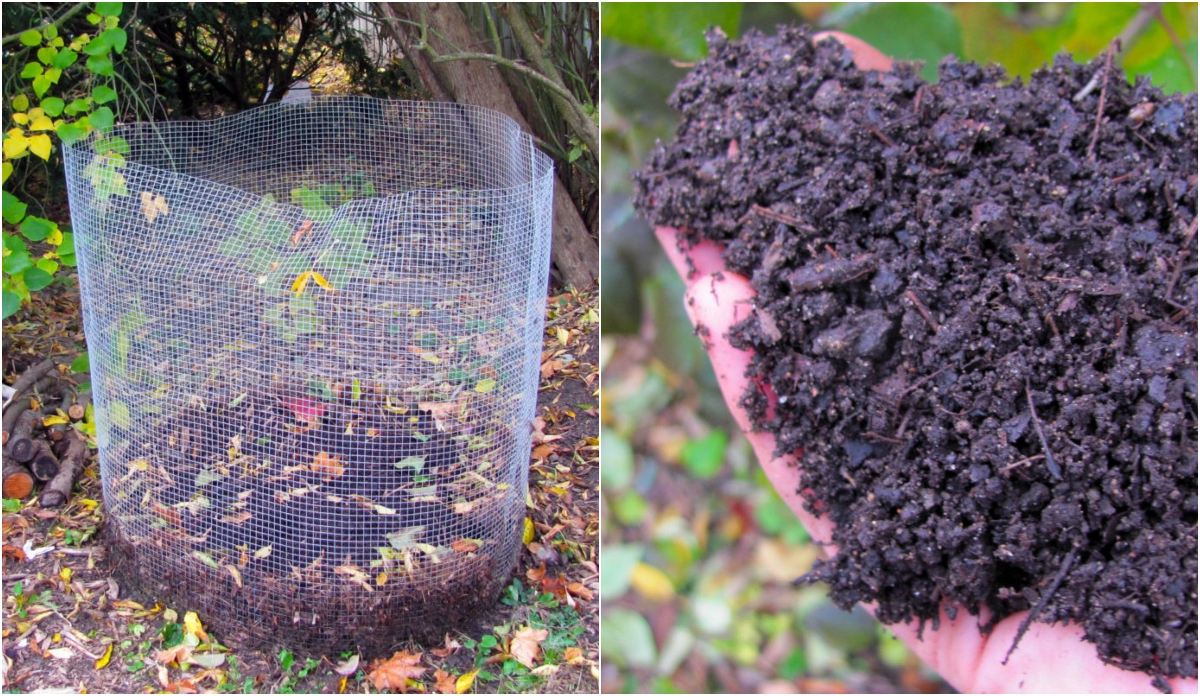
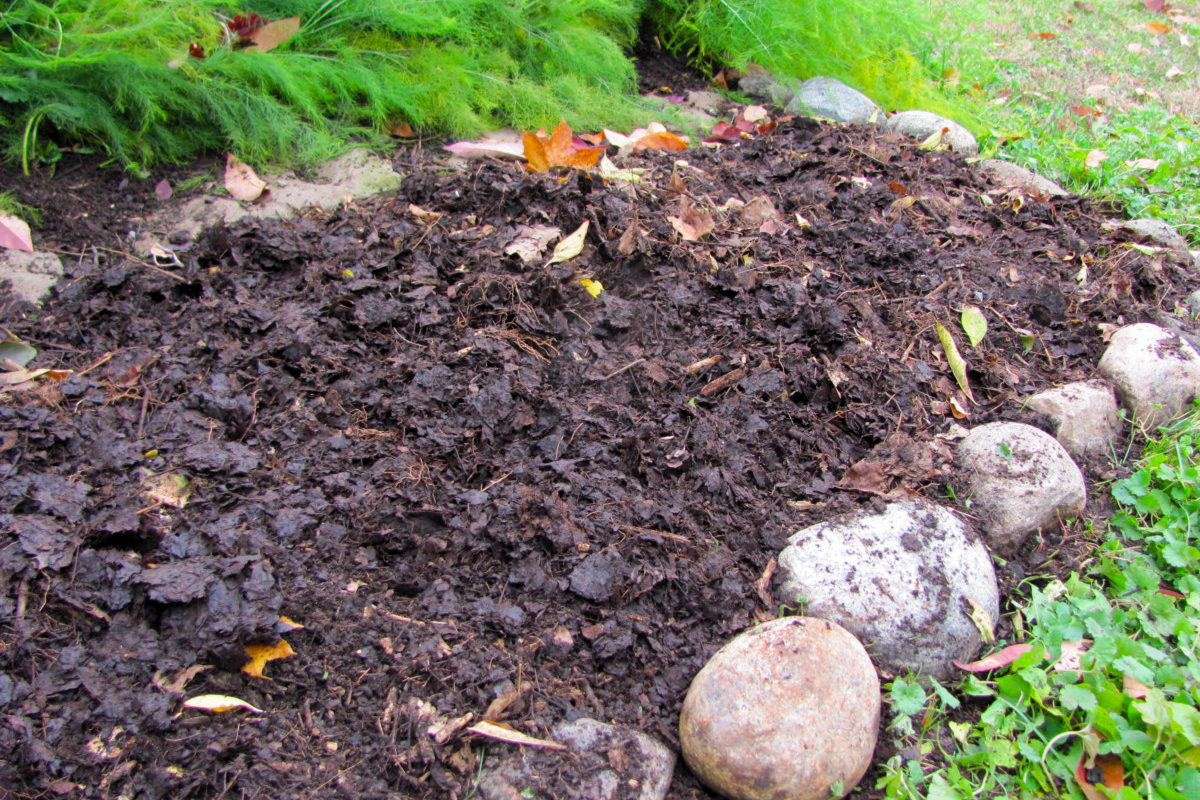
This leaf mold pile is one year old. It’s enclosed with hardware cloth, roughly 3 feet in diameter and 4 feet in height. I shredded the leaves last autumn before tossing them in the pile.
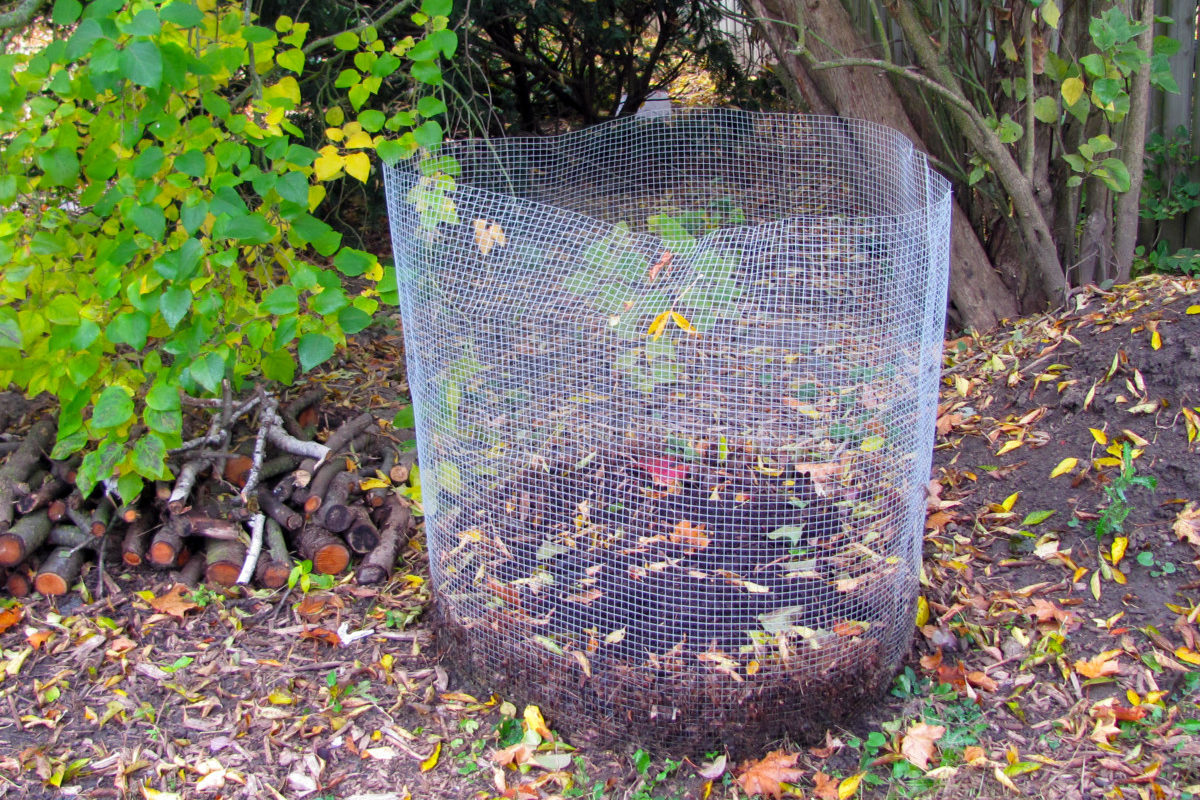
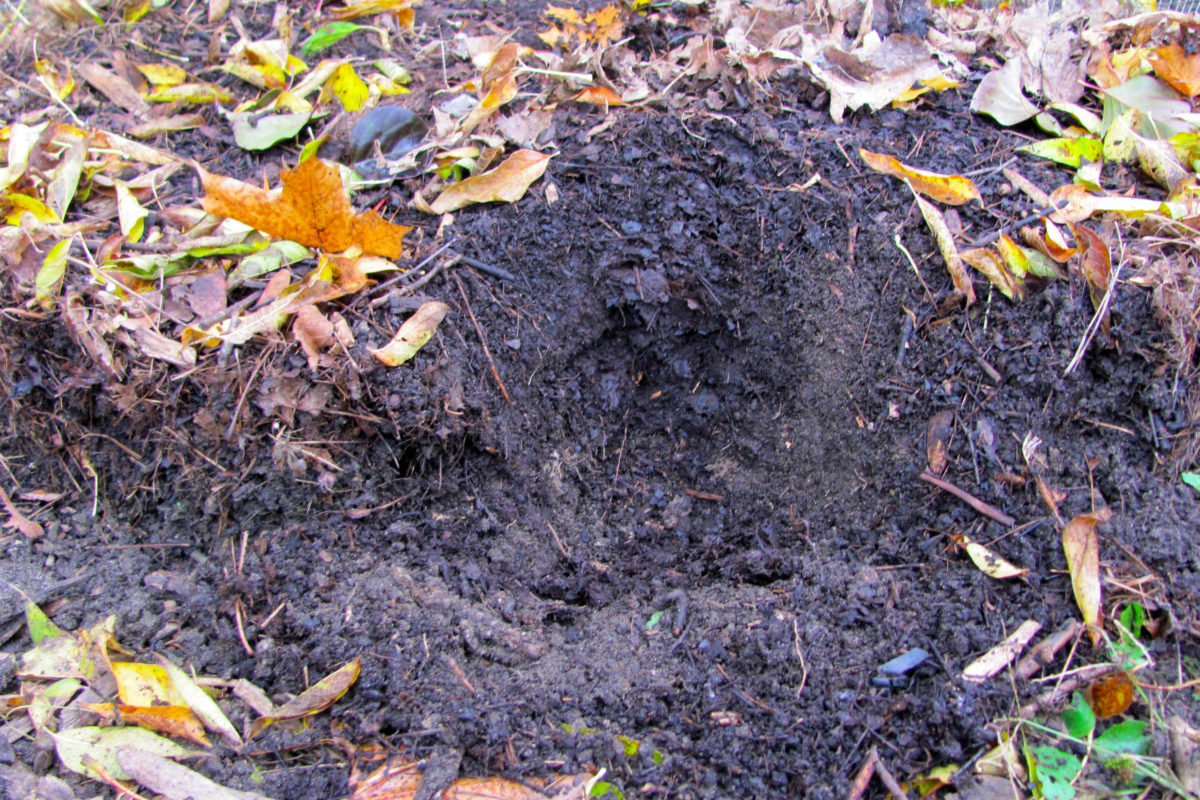
The pile is very dense. After opening up the bin, it stays in a stout cylindrical shape.
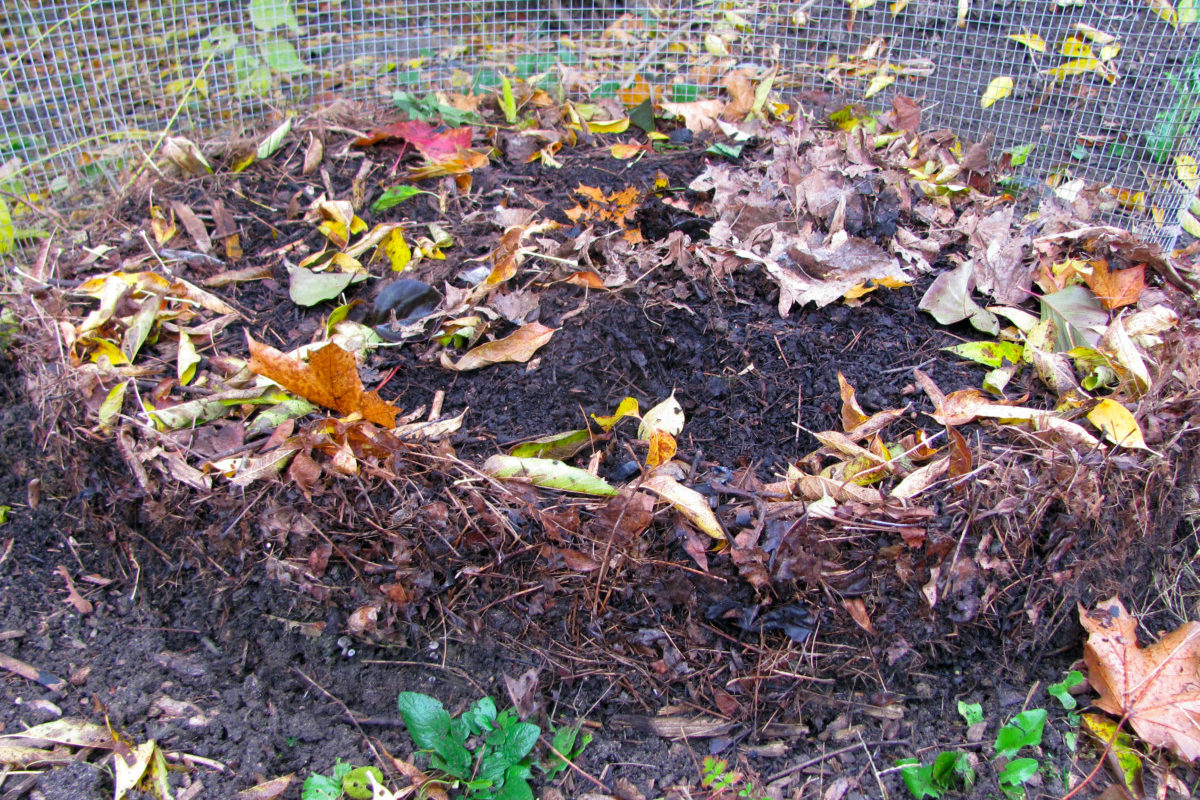
It’s hard to believe it was once filled to the brim with leaves. Now it’s about 7 inches tall.
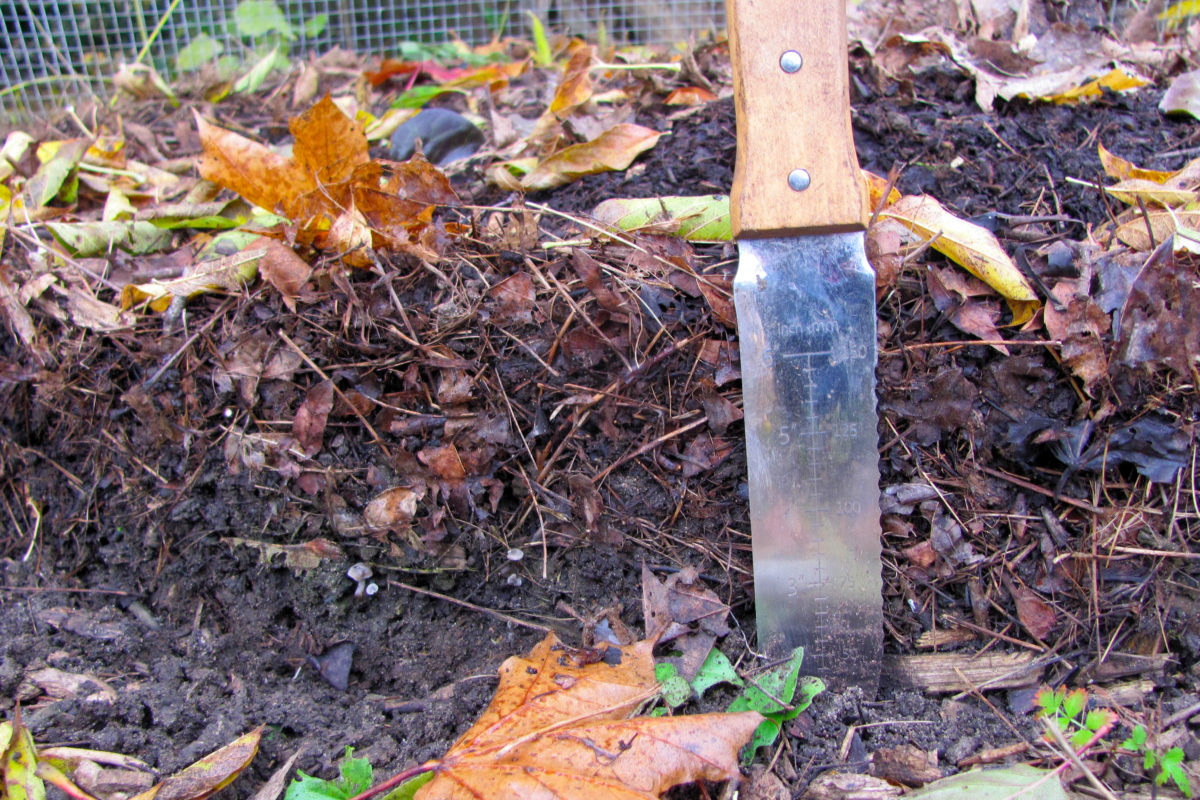
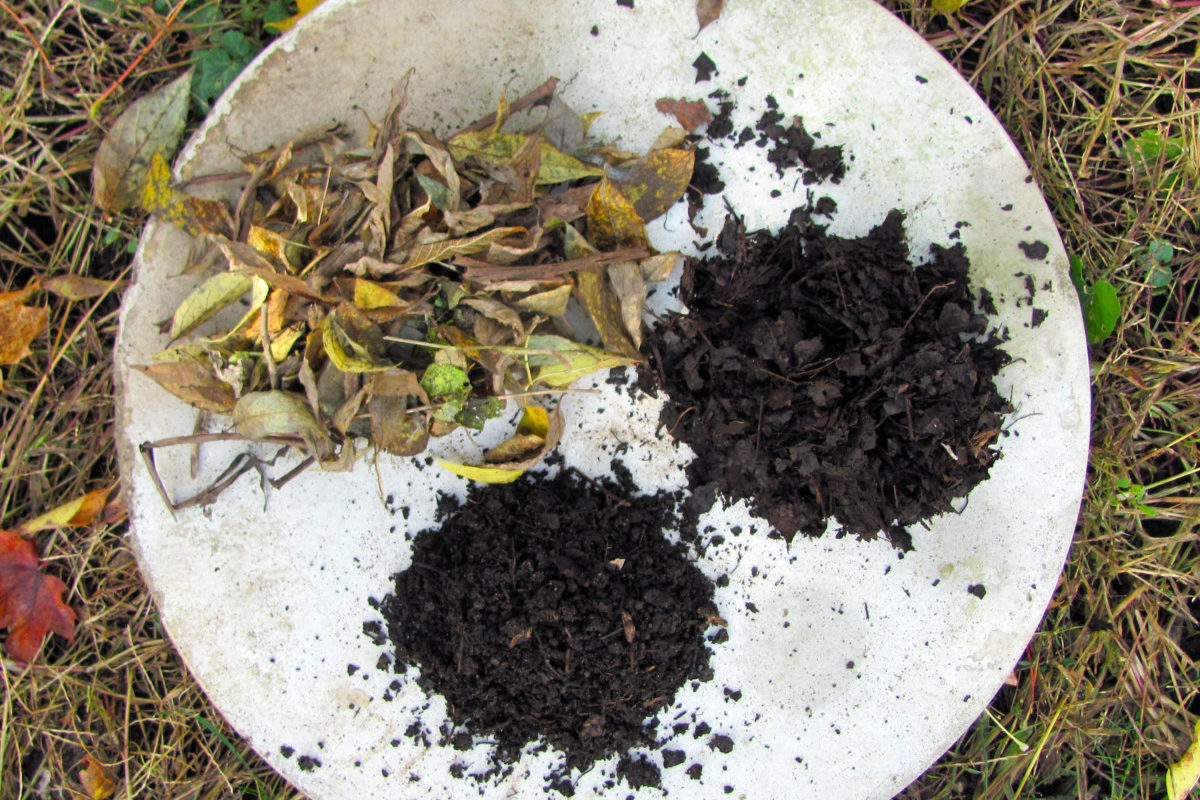
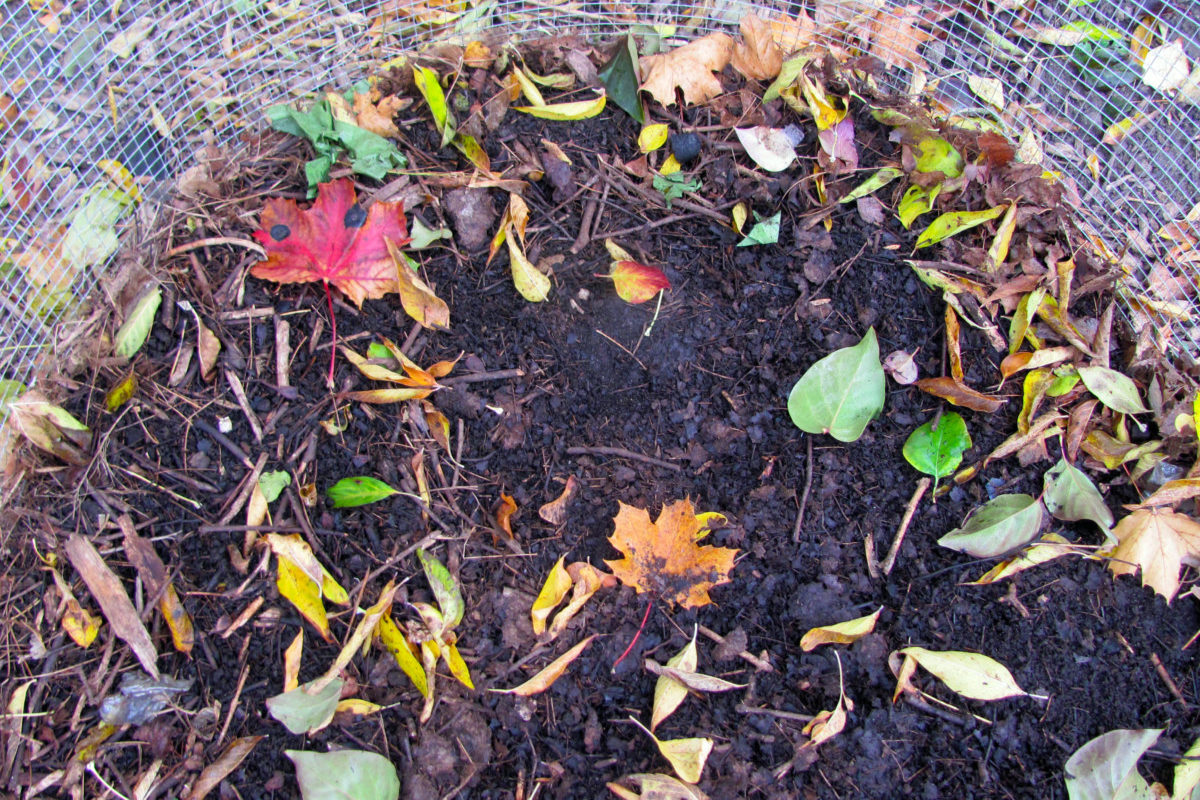
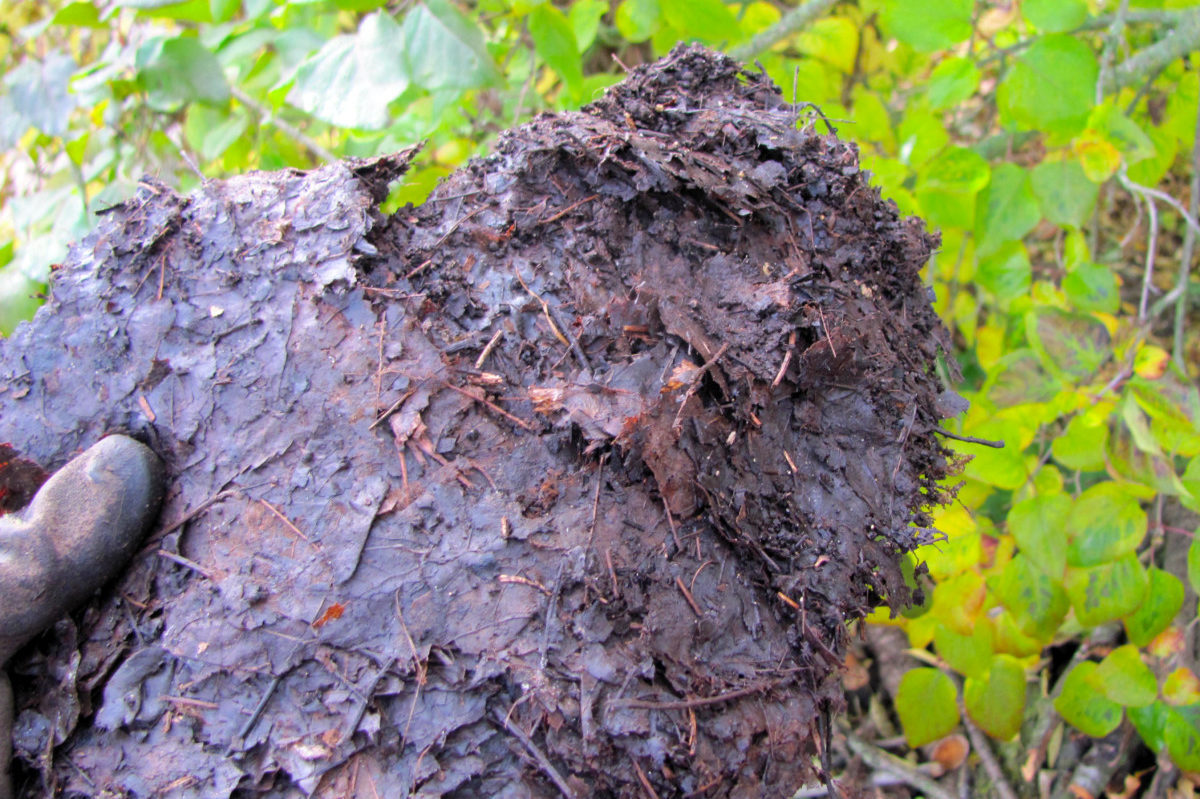
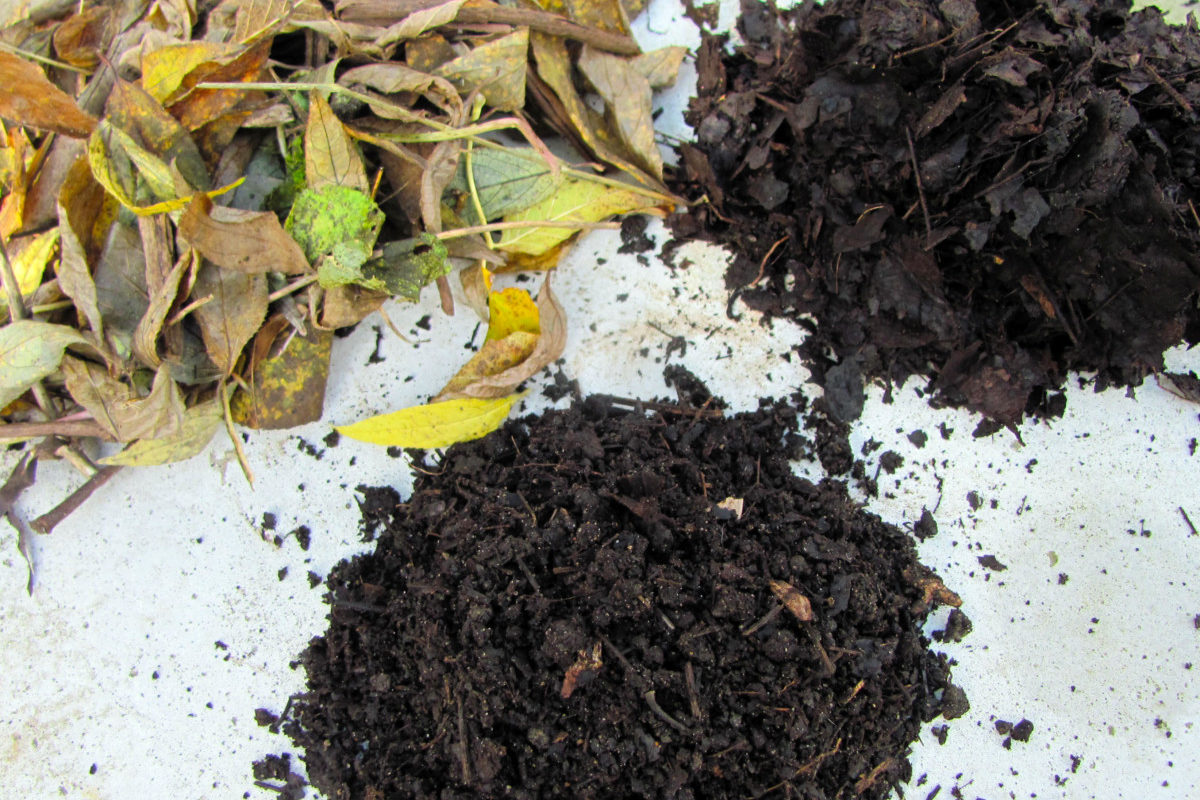
The top and sides of the pile are only semi-decomposed.
But take a shovel and dig into the center, and you should see the well-rotted stuff underneath.
Finished leaf mold is a lot like finished compost – dark and crumbly and free of any distinct leafy matter.
Your leaf pile isn’t quite there yet if it hasn’t shrunk much and the interior isn’t fully broken down. If that’s the case, make sure you keep the heap moist and give it another year to molder.
Retrieving Leaf Mold
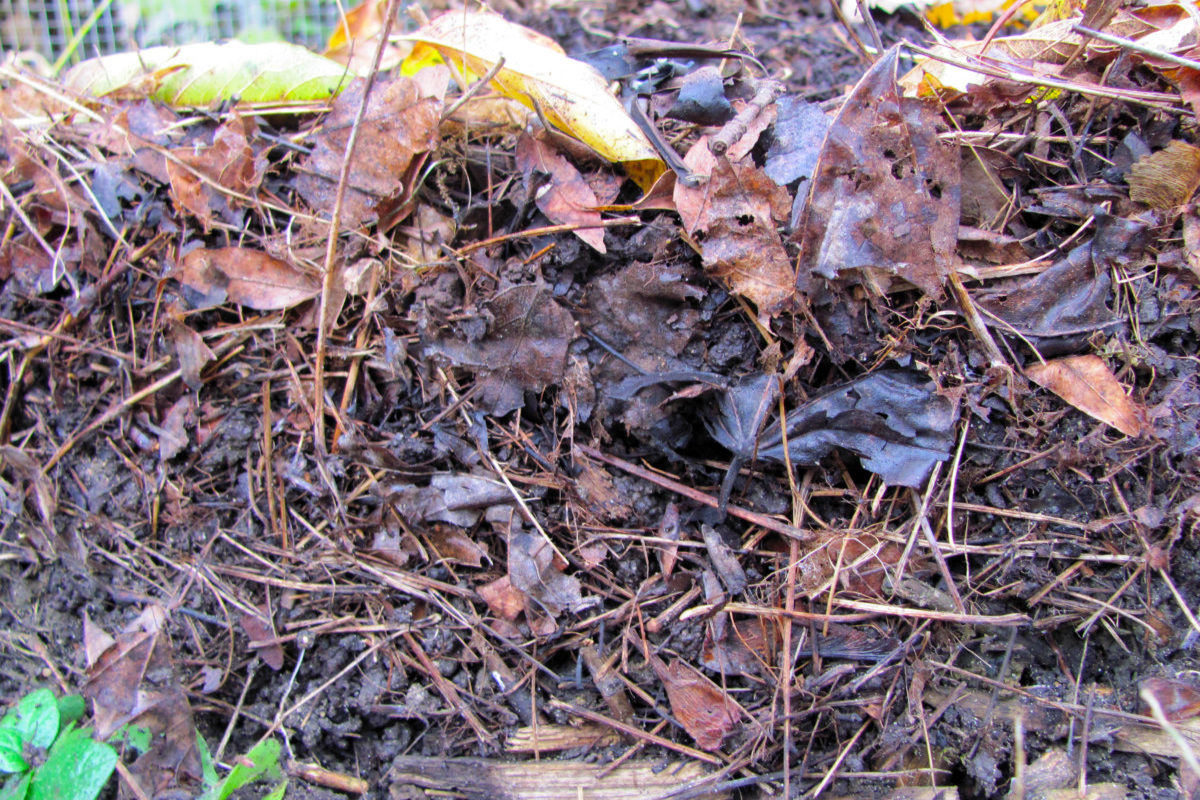
The leaves in the pile will decompose at different rates. The outermost layer – exposed to drying sun and winds – will break down slower than those in the center.
To retrieve the good stuff, remove the less rotted leaves and set them aside.
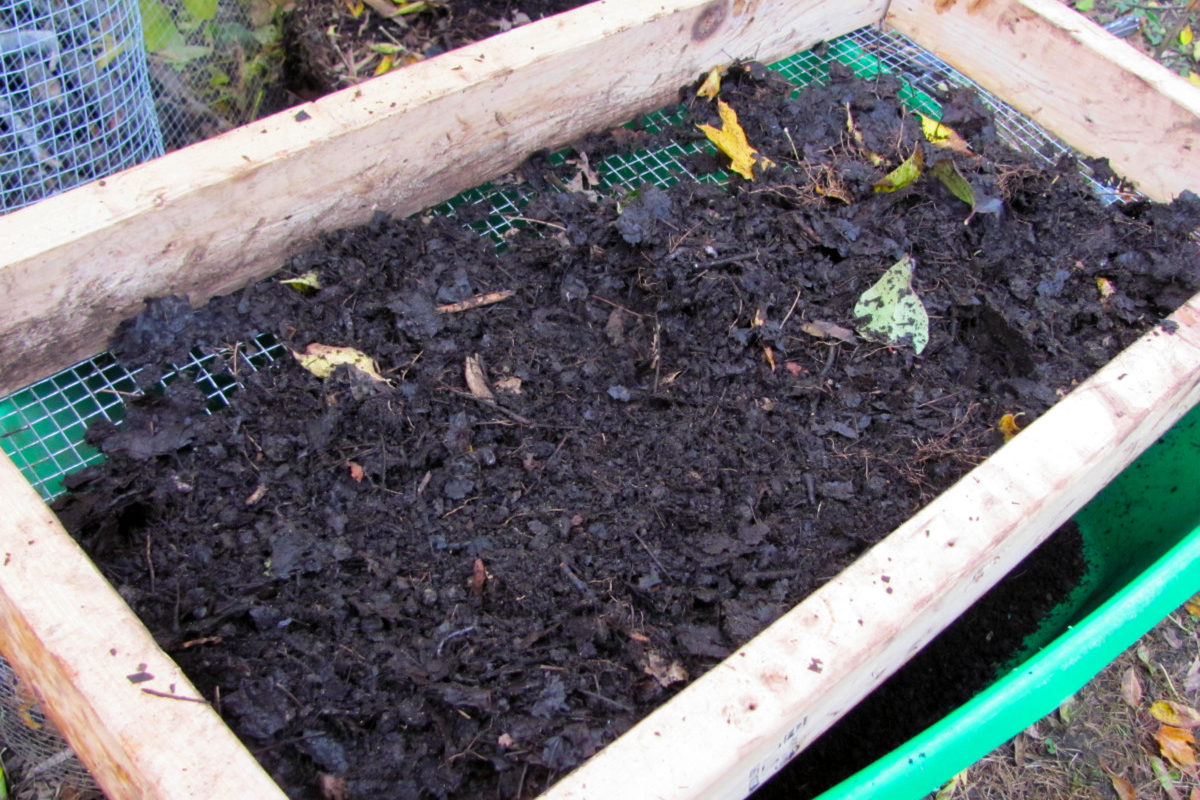
Once you’ve gotten to the innards of the pile, you can shovel it out and use the leaf mold in the garden right away as a soil conditioner and mulch. Or, you can sift it into a finer growing medium for making potting soils.
I used my compost sifter to separate the leaf mold proper from the wet leafy remnants.
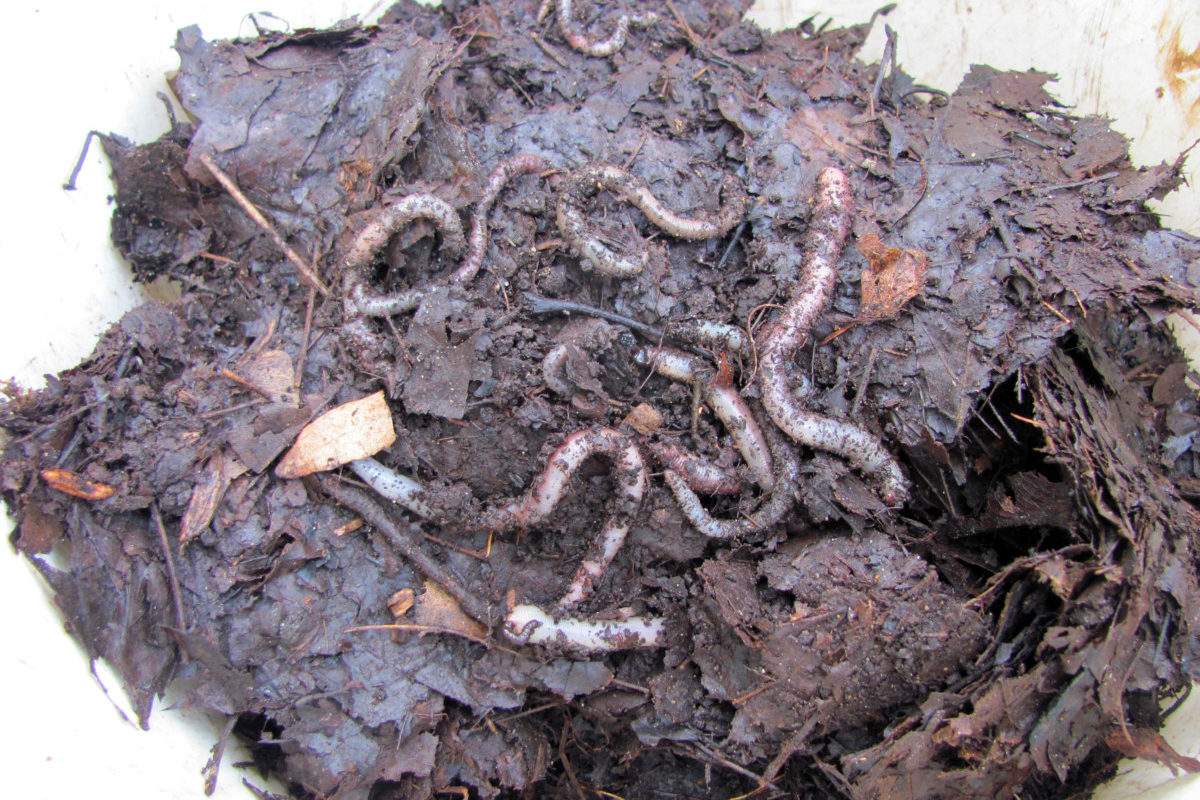
While sifting, I came across loads of earthworms. These little guys love the leaf pile, and binning your leaves is another fantastic way to encourage more worm life in your yard.
After screening out the larger bits, what you’re left with is a dark earthy material.
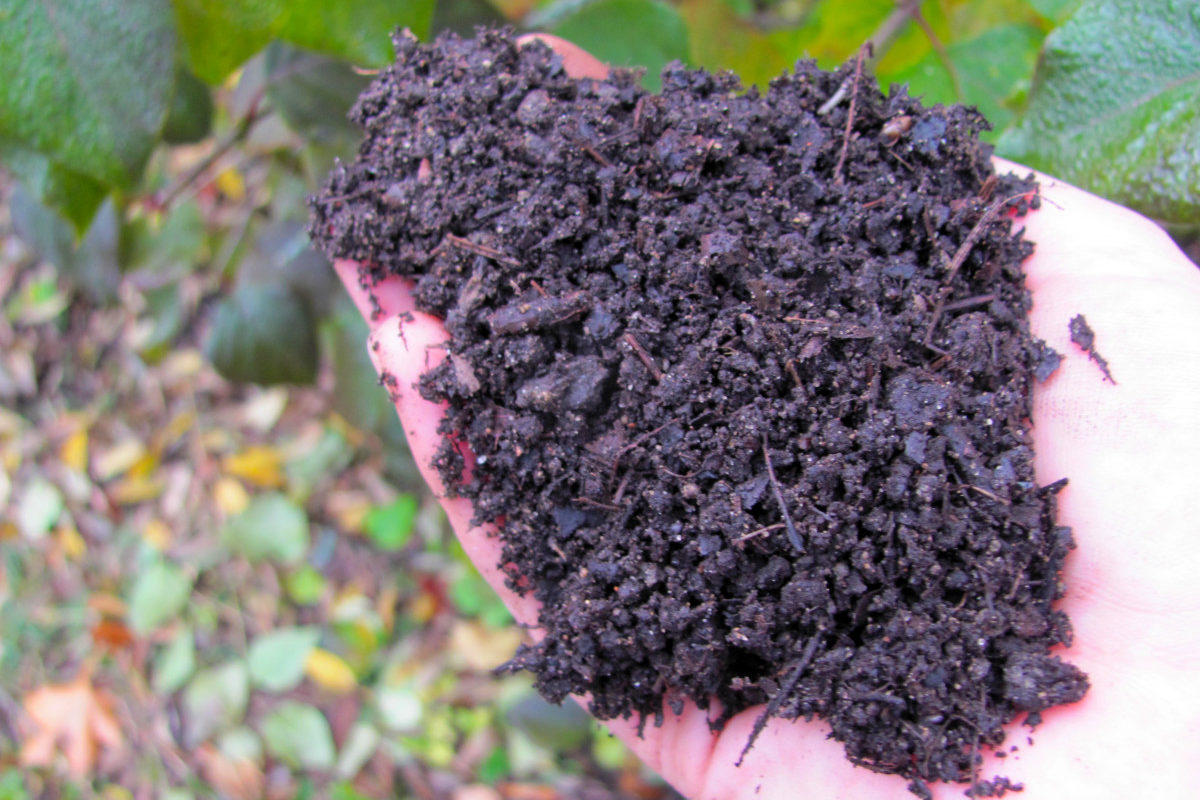
Sifted leaf mold has a fabulous texture. It’s remarkably light, soft, and crumbly.
How to Use Leaf Mold
As a winter mulch:
The less decomposed leaf mold can be spread around the garden as winter mulch.
Tuck your vegetable plots in for the winter by covering the beds with a 3-inch layer to protect the bare soil. It will help keep the soil in place, shield it from eroding winds, and go a long way toward keeping it free of weeds come spring.
The semi-rotted material will serve as a habitat for overwintering insects and beneficial microorganisms. As it continues to break down, it will condition the soil and add a little fertility into the mix as well.
As a soil conditioner:
The fully degraded leaf compost at the center of the pile can be added to the garden as a top dressing any time of year.
Among its many admirable qualities, leaf mold works dynamically to fix poor-quality soils. It will add some much-needed moisture retention to sandy soils that drain too quickly; in denser clay, it will lighten the soil to improve airflow and drainage.
Leaf mold adds valuable organic matter to mineral soils, attracting soil-dwelling microbes wherever it’s spread.
As an energy source for bacteria and fungi, it helps create a tiny microbiome for the true heroes of the garden. These teeny organisms – numbering in the gazillions – are what improve soil structure, cycle nutrients, and fight off diseases, pests, and even weeds.
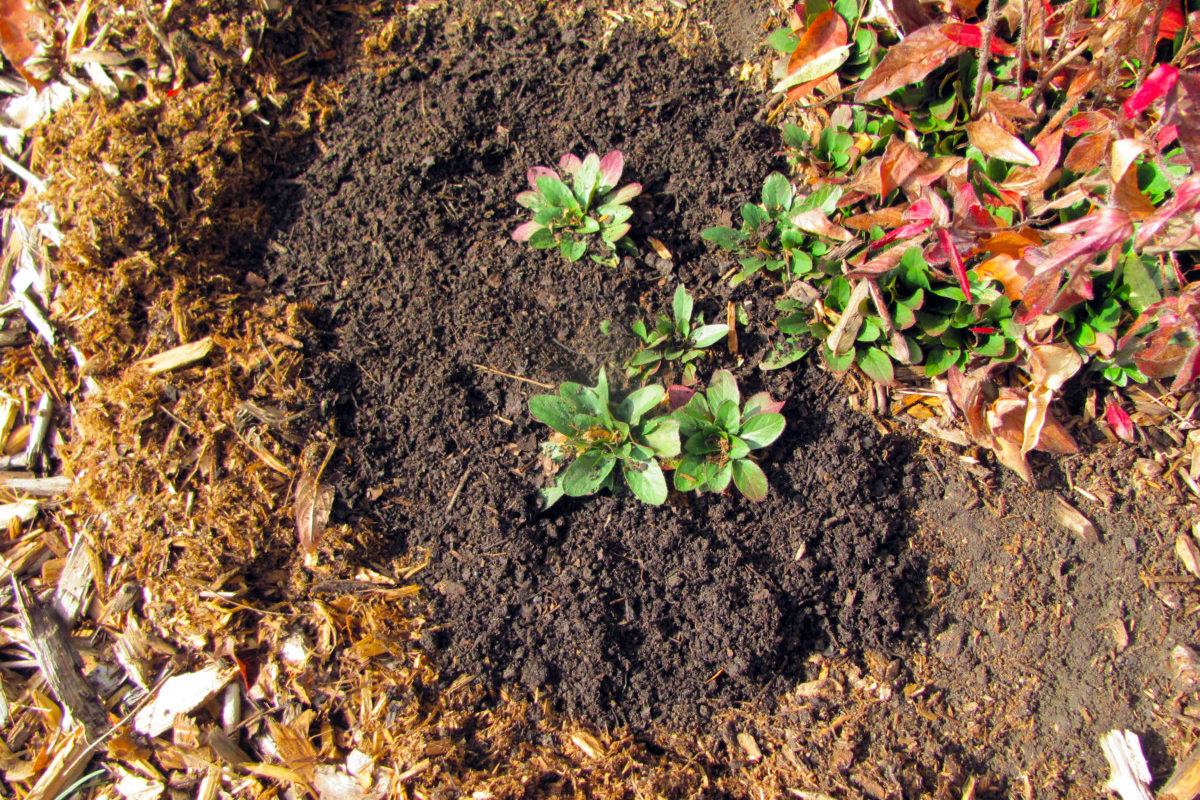
To foster all-around healthier soil in vegetable plots and ornamental beds, pull back any mulch and scatter leaf mold around the base of plants to a depth of 2 inches.
To make potting soil:
Sift your leaf mold, and you’ll have a perfect ingredient for homemade potting soils.
Leaf mold is a soilless growing medium that’s exceptionally good at holding on to air and moisture. It shares many of the same qualities as peat moss but is entirely earth-friendly and sustainable.
You can use leaf mold as a substitute in any potting soil recipe that calls for peat moss or coconut coir.
Combined with compost for nutrients and perlite for drainage, leaf mold is an excellent component in a triple mix.
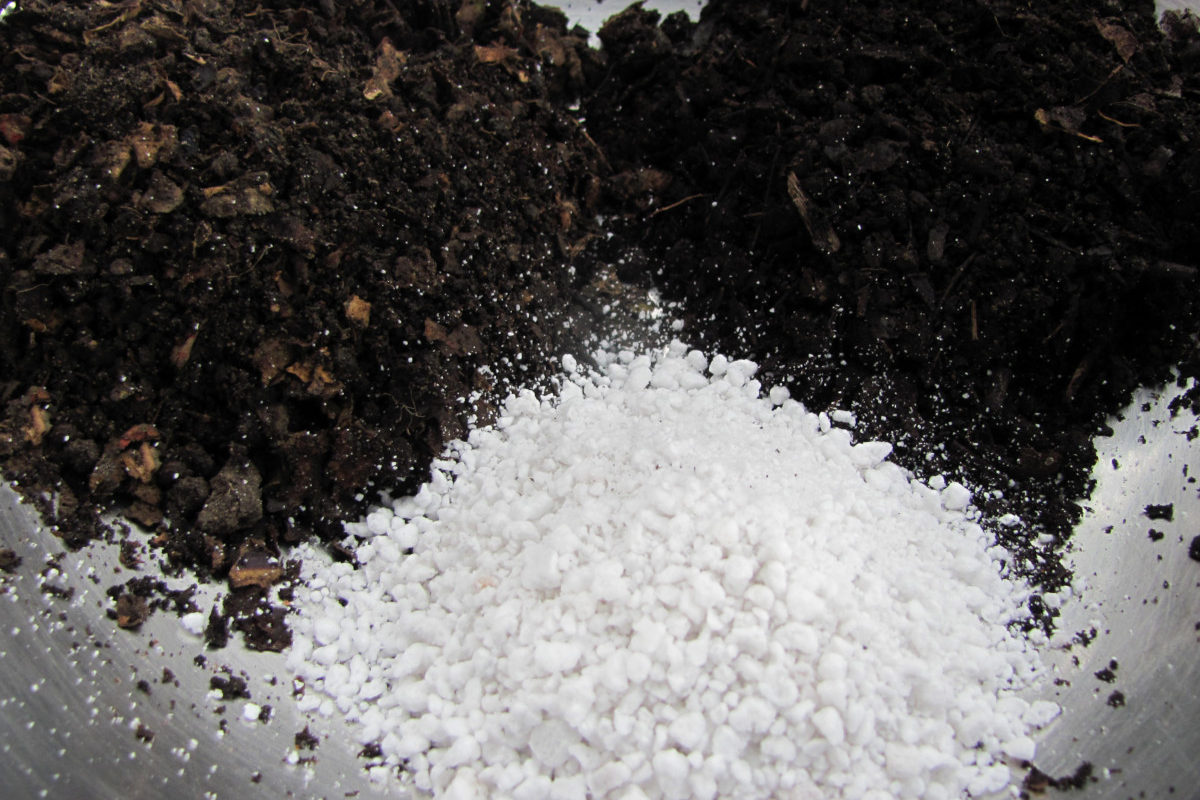
To make an all-purpose potting soil for planters, baskets, boxes, and other container garden plants, mix together 40% compost, 40% leaf mold, and 20% perlite.
To start seeds:
Leaf mold is an awesome alternative to peat moss when starting seeds, too.
It provides all the things that a good germinating environment should be – light, airy, moist, well-draining, and low in nutrients.
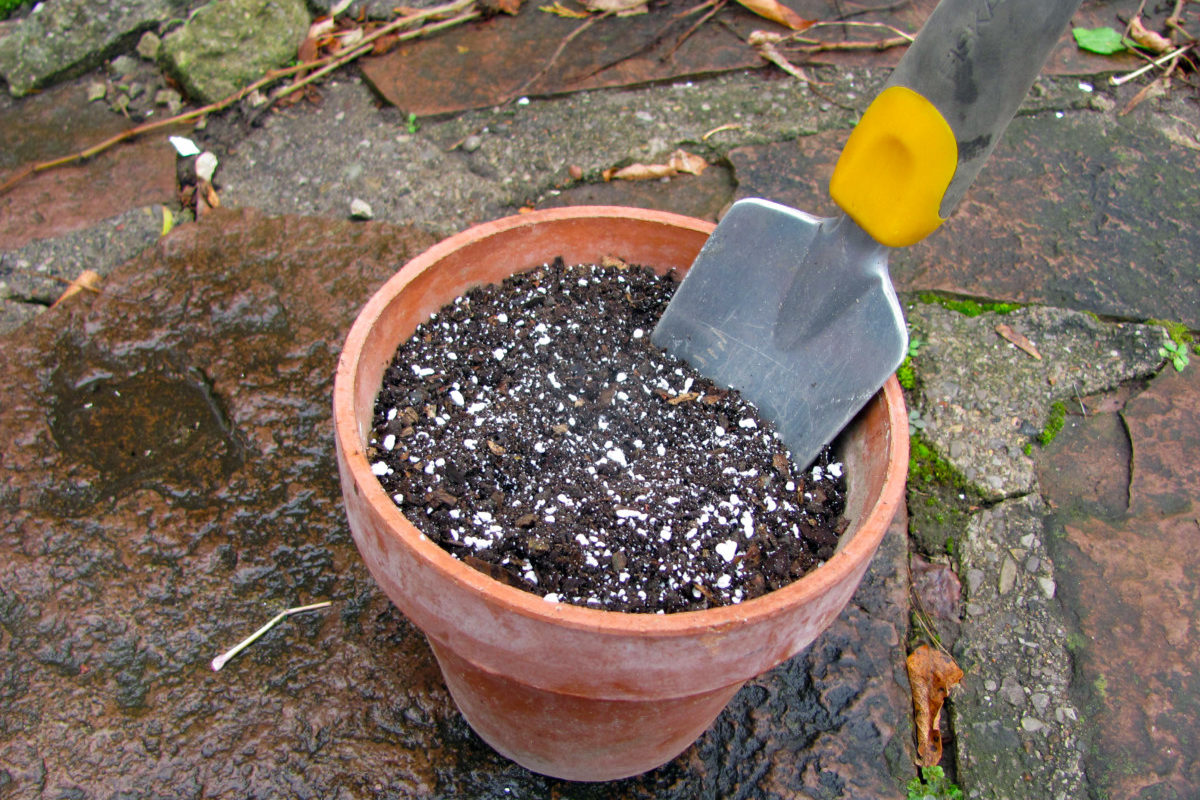
To use leaf mold to start seeds, fill up your pots or seedling trays with screened leaf mold. Sow your seeds, water, and then cover with a humidity tent.
These Cosmos seedlings began to poke up in just 3 days. By day 5, they were fully up and at ‘em.
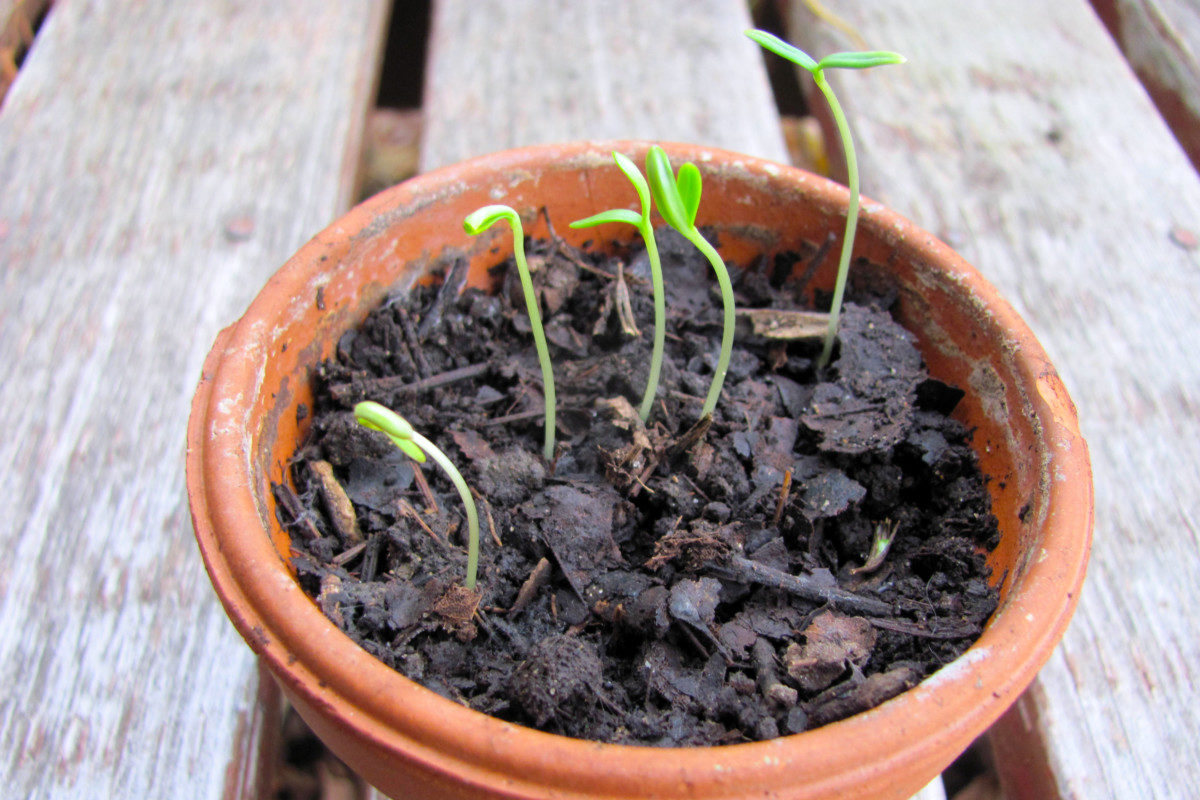
Once the seedlings are large enough to be handled, they can be transplanted into a more nutritious potting soil mix.

Get the famous Rural Sprout newsletter delivered to your inbox.
Join the 50,000+ gardeners who get timely gardening tutorials, tips and tasks delivered direct to their inbox.