

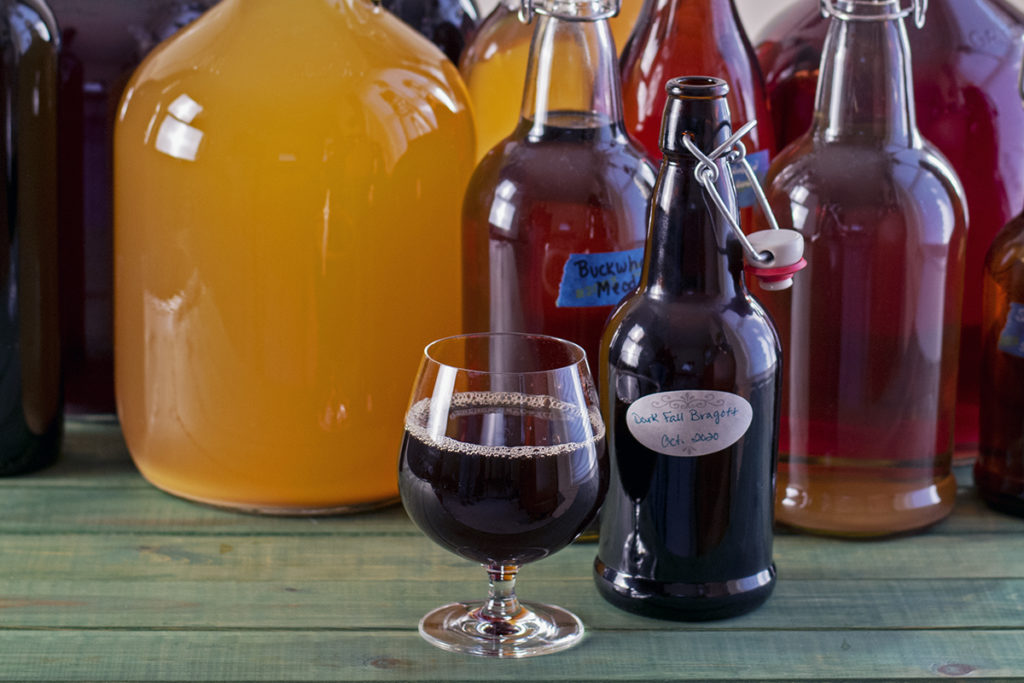
Your basic homebrew kit. This is it, everything you need, and none of the extras you don’t to get you well on your way to having a pantry full of homemade tipple.
Whether you’re a beginner or just looking to pair down, contained within this post are the most basic pieces of equipment needed to make your own beer, mead, cider, and wine at home. No frills, just the basics. And this equipment is all based around one-gallon batches.
Because let’s face it, when you’re just getting started, you don’t want to invest a ton of time and money on a hobby until you know whether or not it’s something you’re going to enjoy.
That being said, I think the first time you crack open a beer you made yourself or bring a bottle of sparkling cider to a party, you’ll be hooked.
Homebrew supply websites can be pretty intimidating if you don’t know what you’re looking for. And while most beginner brew kits available these days are pretty good, they still contain a bunch of stuff you may never use, and they don’t include some pretty important tools that you will.
Or maybe you’ve checked out a few homebrew recipes here and thought, “What on earth is some of this stuff?”
I’ll give you a quick overview of each piece and the brewing terms that apply to using it. Just like any hobby, brewing has its own lingo, and it helps to know it when you’re reading a recipe.
If you’ve read any of my homebrew recipes here, you’ll know that I’m a no-fluff kind of home brewer. I like to keep things easy, and I don’t like a lot of extra clutter in my kitchen. So, to earn a spot in my brew bin, it’s got to be useful, as in use-it-every-time useful.
With that in mind, I’ve also included a few items that go beyond the homebrew basics.
These are pieces of equipment that you can get along without just fine, but I’ve found myself reaching for them time and again.
You may be surprised to find that you already own a few of these pieces; that’s one less thing to buy. And as always, if you can source equipment from a local brew supply place, I highly recommend doing so. These shops are also an excellent source of knowledgeable people who are always willing to convert another citizen to the Church of Brew It Yourself.
Cleaning and Sanitizing
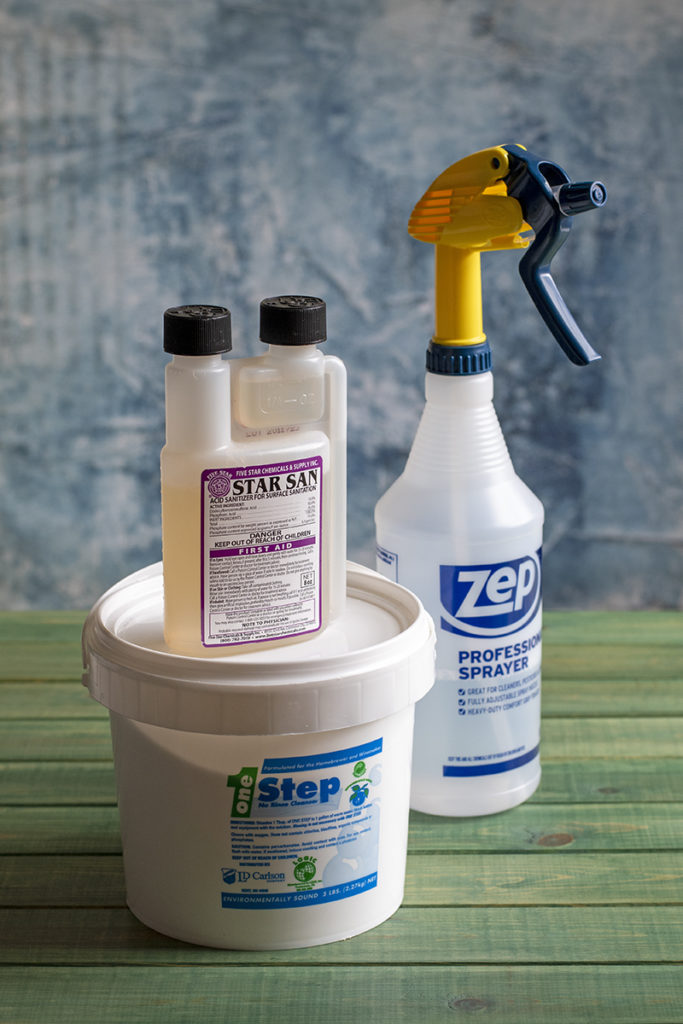
Hi, my name is Tracey, and I’m a lazy brewer. And that’s why I use OneStep to clean all of my brewing equipment. It’s an oxygenated powder that does all of the scrubbing for me. I don’t even have to rinse it off. I like to buy the big 5lb tub, as it lasts me a couple of years.
An important distinction to make when home brewing is that cleaning and sanitizing are not the same things.
You’ll always need to sanitize cleaned equipment before using it. And to that end, I recommend Star San acid sanitizer. Again, it’s super easy to use because you just spray it on your gear then let it dry, no rinsing. Do yourself a favor and grab a professional spray bottle to mix it.
Primary Fermentation
When you’re making alcohol, there are (generally) two stages – primary fermentation and secondary fermentation.
During primary fermentation, you’re adding your ingredients and flavorings, and getting fermentation started. Secondary fermentation usually involves removing the liquid from the solids into a second container. More on that later.
Primary Fermenter
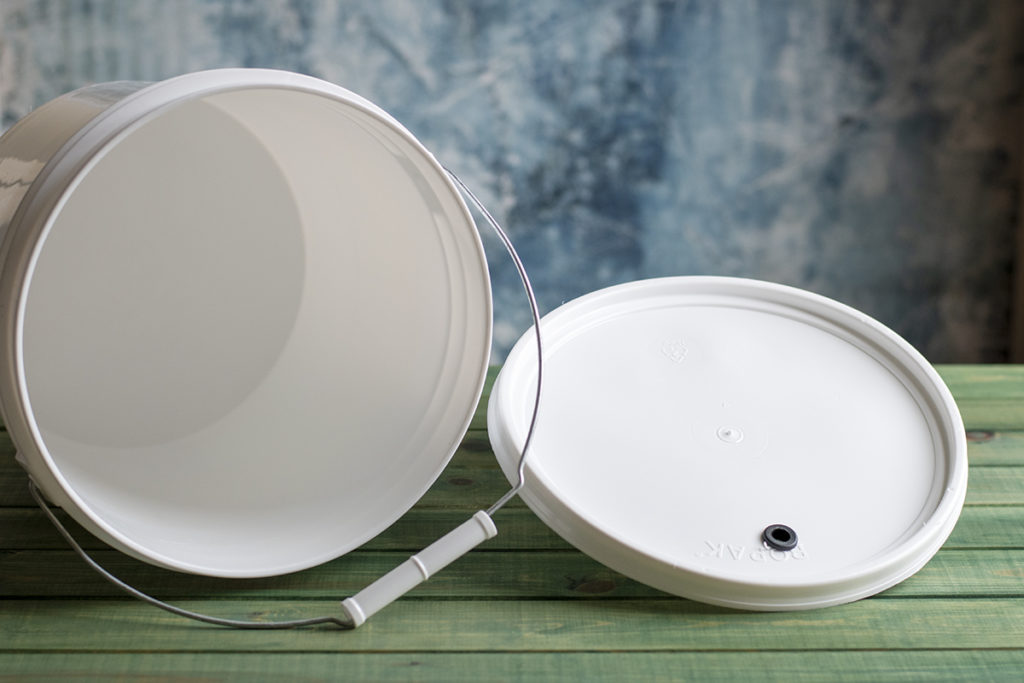
Our first piece of equipment is the primary fermenter. For the basic brew kit, a 2-gallon brew bucket is all you’ll ever need. Be sure to purchase one with a lid that’s been drilled and grommeted to receive an airlock. Sometimes these pieces are sold together, and sometimes separately.
Whenever you use your brew bucket, wash it with a soft sponge; never scrub it with anything abrasive. Bacteria like to hide in even the tiniest scratches.
Brew Paddles and Spoons
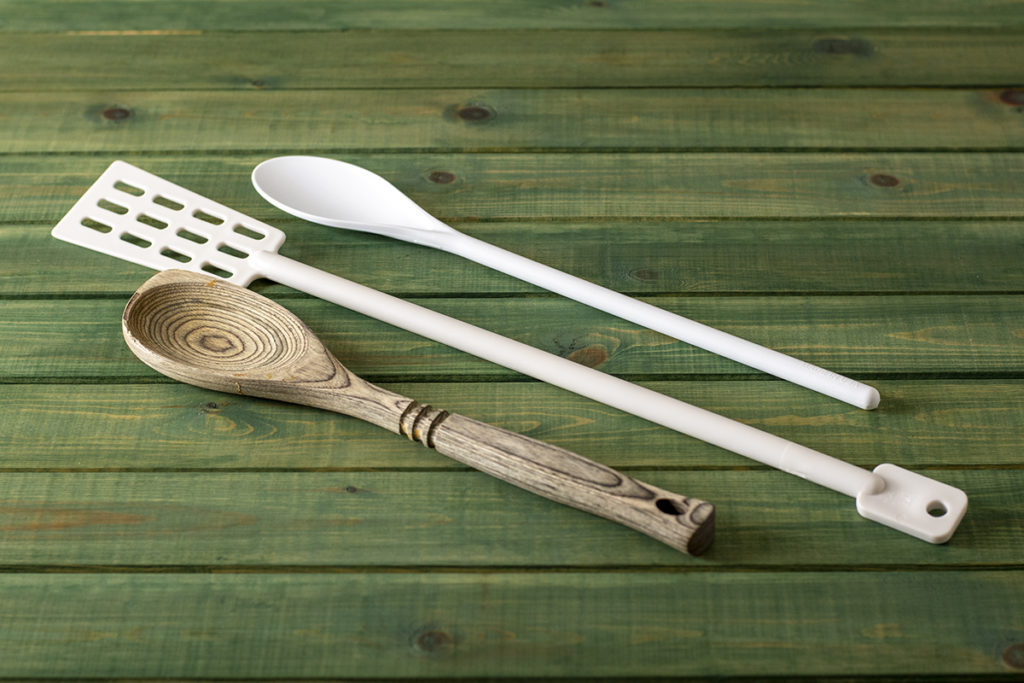
Moving on, we have our brewing paddles, or for anyone else – spoons. By all means, if you’ve got a spare long-handled plastic or wooden spoon lying around, go ahead and use it.
The fermenting paddles are nice because you get less splashing, and the holes help aerate better, which is important when you’re starting your fermentation. You want to get as much air in there as possible to wake up the yeast, especially if you’re wild-fermenting.
Speaking of wild-fermentation, if this is something you’re interested in, I highly recommend picking one wooden spoon and using it exclusively for your wild ferments.
The wooden spoon pictured above is the only spoon I use on my wild ferments. This means it’s covered in the wild yeasts from my previous fermentations, thus ensuring it helps the next one get started. When not in use, it gets wrapped in a paper towel and tucked into a plastic baggie.
Straining
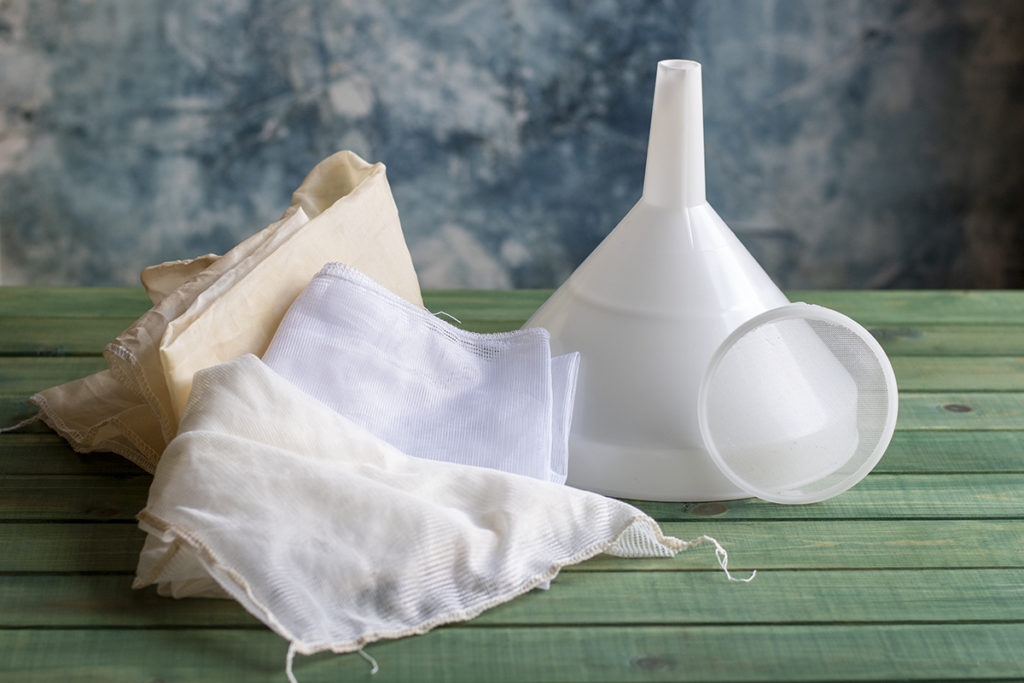
Next up, you’ll need either a plastic 8″ funnel with a strainer or a nylon mesh straining bag. We will often be adding fruit, grains, or similar items to our homebrews that will need to be filtered out later. Sometimes these things naturally settle to the bottom, making it easy to filter the liquid off, but most times, you’ll need something to assist with this.
Using a straining bag to put all of these items into in the beginning and removing the bag later is one method. And mixing everything in the primary fermenter and filtering through the screened funnel before secondary fermentation is another method.
I find that I use both methods, so I have both a funnel and several straining bags. It’s important to note that you want the 8″ funnel specifically, as the nozzle will fit into the one-gallon jug.
Airlocks and Stoppers
Airlocks and stoppers, sometimes called bungs, go hand in hand. When the yeast begins to convert sugar into alcohol, they release carbon dioxide. This excess gas needs released from our primary fermenter. However, once fermentation begins, we don’t want any outside air to get in. The airlock allows the carbon dioxide to escape while preventing air from getting into your brew.
If you make fermented foods, you might be familiar with how an airlock works.
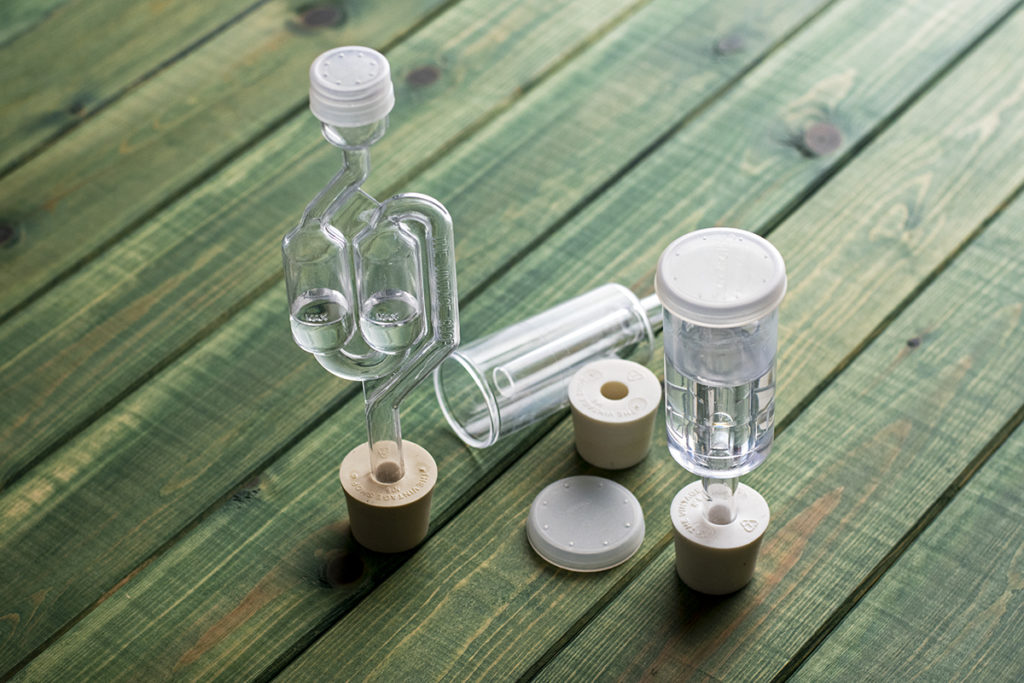
There are generally two types of airlocks – the twin-bubbler and the three-piece airlock.
The twin-bubbler airlock is the simplest design. It works by forcing the carbon dioxide to pass through water held at two points in the airlock.
The three-piece airlock also contains water and works similarly. There’s a small cap inside that sits on top of a valve where the gas is released. As the gas builds up, the little cap rises until a bubble is released. At the start of fermentation, you can hear a satisfying blip-blip-blip.
While both airlocks work equally well, I prefer the three-piece because it holds more water, so it doesn’t need to be checked as often and because it has a lower profile, allowing my jugs to fit neatly under the bottom shelf in my pantry.
No matter which airlock you choose to use, you will need to check it periodically to make sure it has enough water in it.
If the water dries out completely, air can get into your carboy and can lead to spoilage.
Stoppers, or bungs, are usually made out of hard rubber and are drilled in the center to receive an airlock. A standard #6 or #6.5 will fit into a one-gallon jug.
Secondary Fermentation
Secondary Fermenter
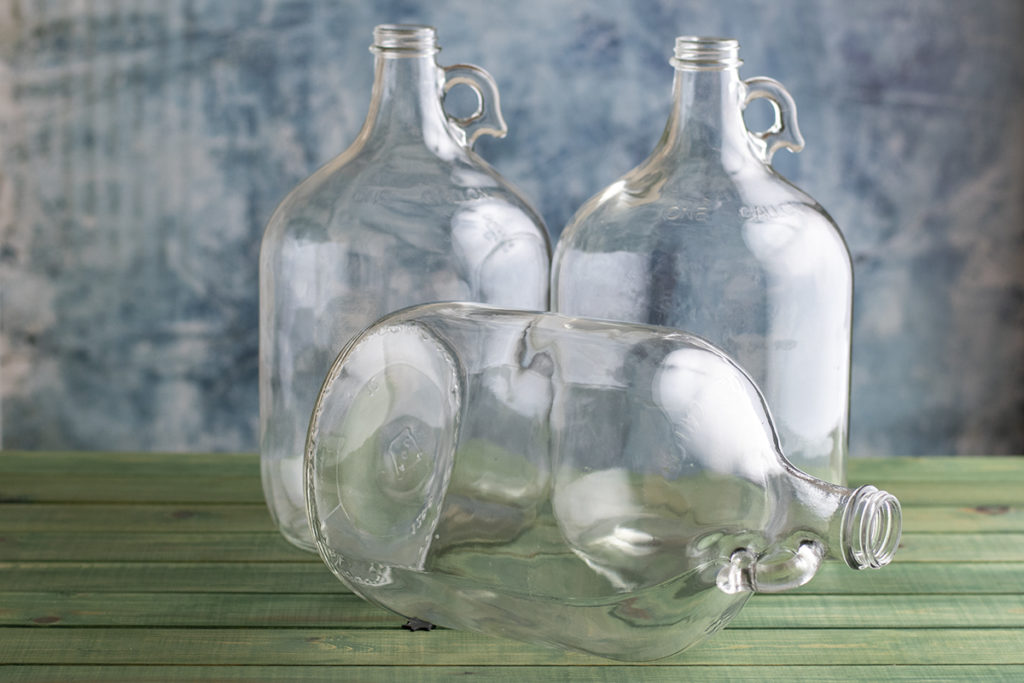
For the next step, you’ll need a one-gallon glass jug, sometimes called a carboy. This second container is, not surprisingly, called the secondary fermenter. We generally move to the secondary fermenter once the initial ferment has settled down a bit.
I highly recommend that you only use glass. While there are plastic jugs on the market, they can be a pain to clean without scratching them, and some folks say your finished beverage can have a plastic smell or taste to it.
This is one item that you may want a few of once you get going. You’ll often find yourself starting “one more batch.” Here’s a 4-pack of glass jugs with airlocks and stoppers included.
Tubing, Racking Cane, and Clamps

Of course, to transfer your fledgling libation from your primary fermenter to the secondary fermenter, you will need some tubing. For the most part, food-grade nylon or silicone tubing is widely used. You will want to pick up about 6′ of tubing with an inner diameter of 3/8″ so you can fit a racking cane into it.
Racking is the term used for siphoning the alcohol from one container to another. A racking cane makes this process much easier, as you don’t have to worry about a wiggly piece of tubing flipping out of your brew bucket and losing suction. Grab a racking cane clamp, and you can clip the cane onto your brew bucket, keeping it an inch or two above the sediment on the bottom.
A small tubing clamp makes stopping and starting the flow easier without losing suction. This ability to stop and start comes in handy when you’re bottling your finished beverage.
Bottling
When bottling day rolls around, you may dig through that beginner’s brew kit only to find you come up short. And we can’t have that.
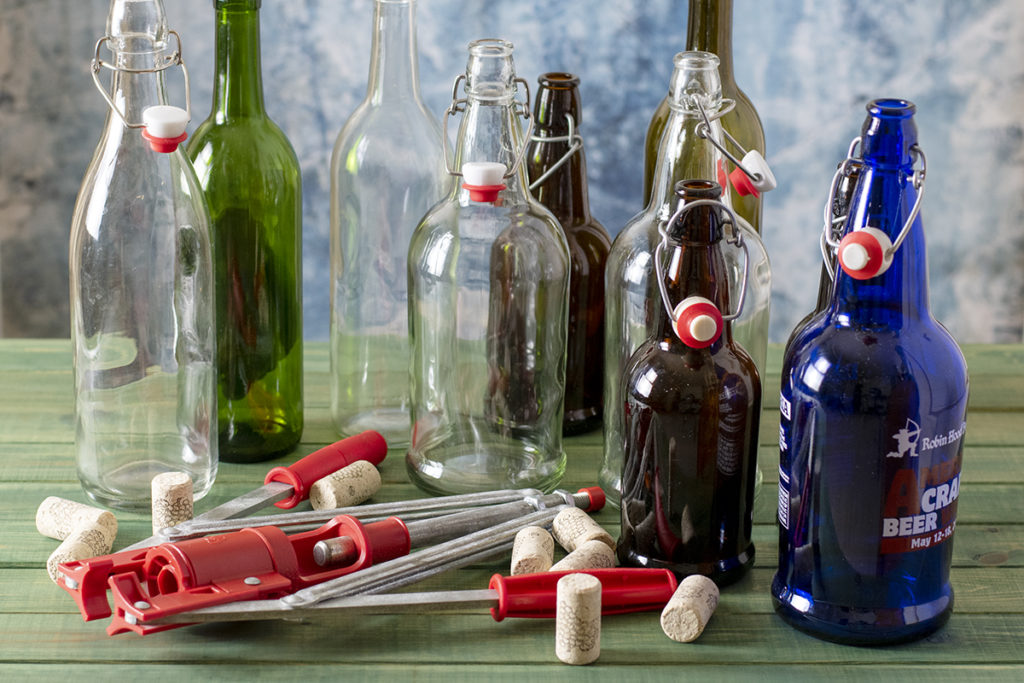
For bottling, you obviously need bottles. For wine and still meads, I save empty wine bottles and scrub the labels off. Many folks who brew beer do the same thing. That initial investment of elbow grease can save you from having to purchase bottles.
If you go this route, you will need a wine corker or a bottle capper. Save your sanity and get yourself a double-lever corker. It’s cheaper than the floor-stand setups and much easier to work than the wee hand-corkers. And as for a bottle capper, again, unless you’re doing hundreds of bottles, a hand-held capper works just fine.
Then there’s the easiest route of all – swing-top bottles.
These bottles are designed to create a tight seal allowing for carbonation. Generally, they come in clear or amber bottles in 32 oz or 16 oz sizes. Be sure the brand you’re purchasing is rated for home brewing. Some companies produce these using thinner glass or with inferior caps, meaning you either get an exploding bottle or no seal and no bubbles. E-Z Cap bottles are the brand I use and trust.
Now that we’ve covered the essentials, I’ll show you a few extras that can make brew day go easier and quicker.
Extra Goodies
Glass Primary Fermenter
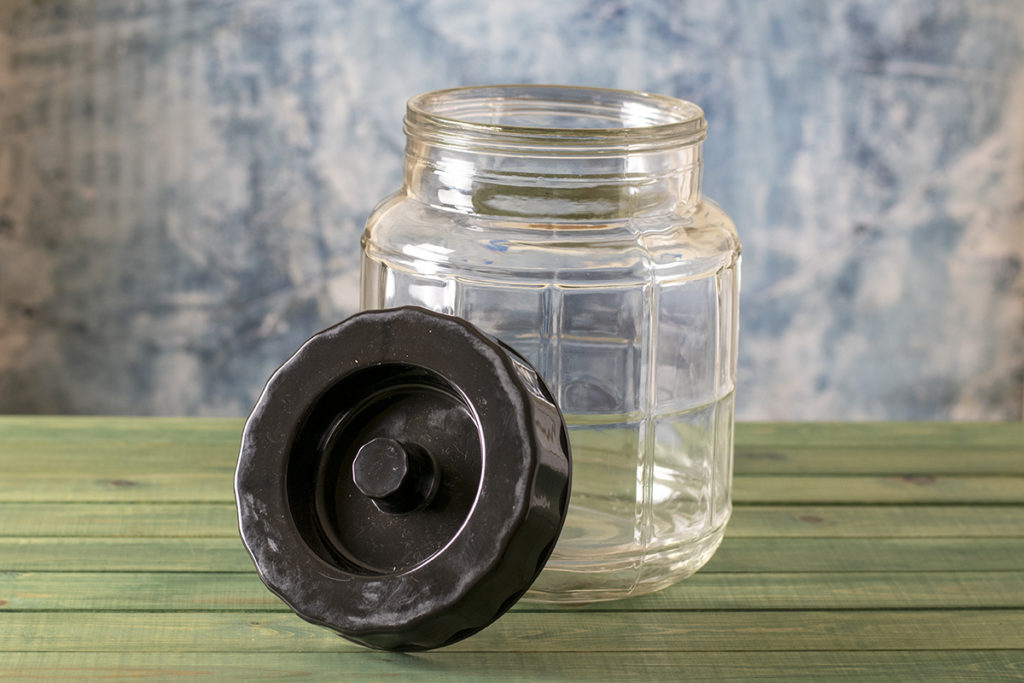
This little guy is a 1.5-gallon large-mouthed glass primary fermenter. I grab this whenever I’m making something with fruit in it so I can see what’s going on in my fermenter without opening up a bucket. Plus, it’s just fun to see all those tiny bubbles zipping up to the top.
Drying Rack and Tray
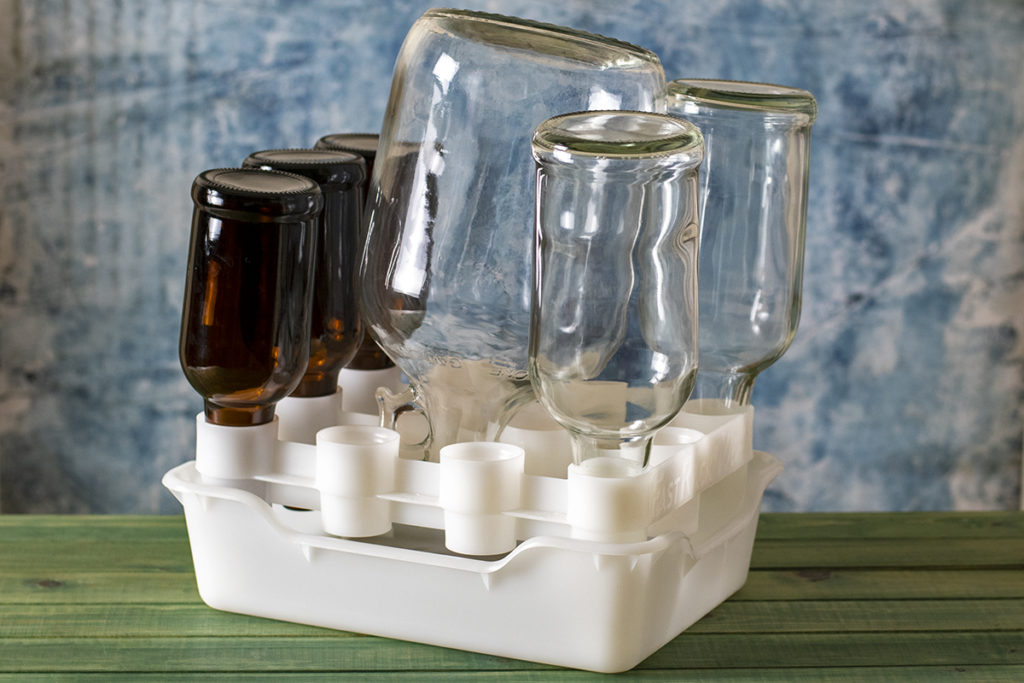
I know this seems like such a simple and silly tool. But trust me when I tell you that trying to stand a one-gallon glass jug or a wine bottle upside down so it can drain in your dish-drainer is no fun.
And the genius with this is, once I’ve washed my bottles, I spray the insides with sanitizer and put them in this rack to drain and dry. I leave them upside down in the rack until I’m ready to use them again. They’re sanitized and ready to go.
Sampling and Testing Equipment
In my house, we measure ABV (alcohol by volume) in two ways. First, we have – “Oh, that’s nice,” meaning we’ll each probably have another glass, and then there’s the “It’s a sit-down sipper,” meaning you realize how strong it is when you stand up after sitting and sipping it for a bit.
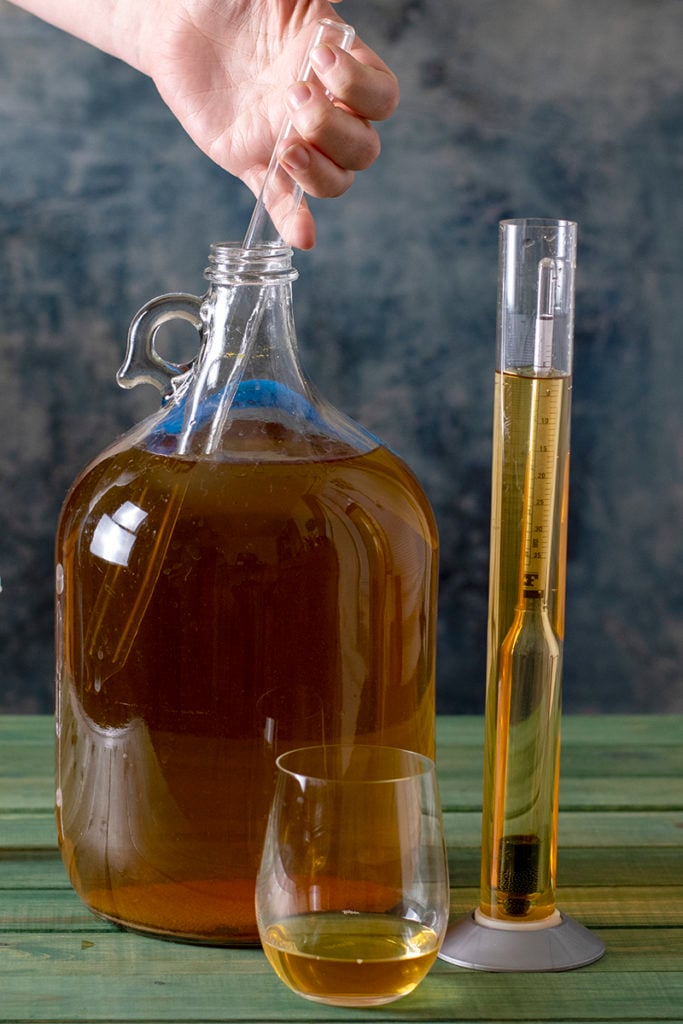
For some homebrewers knowing the ABV of their finished brew is important to them. And there’s an inexpensive tool that can help with that – a hydrometer and a hydrometer test tube. You need to measure the specific gravity when you start your brew and again when it’s fermented out. Follow this link for more information on how to do this. Most hydrometers also have a scale that will give you an approximation of your finished ABV.
To retrieve your alcohol sample for testing, you’ll need a handy little device called a wine thief. It’s basically a giant straw that you use to siphon off a little of your alcohol into a test tube. Or into a glass for tasting. (Because you should always taste along the way.) Place the wine thief down into your carboy, wait for it to fill, then place your thumb over the hole in the top to keep it from dribbling back out.
A note for us small-batch brewers – Don’t buy one of the giant three-piece plastic wine thieves. They leak, and more importantly, they often won’t fit into the neck of a one-gallon jug. I bought myself this slim glass wine thief ages ago, and I love it. No leaky parts and it fits easily into my one-gallon carboys.
And that’s that.
Homebrewing is much like any other hobby – you can spend a lot of money on it if you want to. It’s definitely a hobby that can get very technical, and you can get some pretty cool and expensive gadgets. And the next thing you know, you’re opening a craft brewery.
But for the average homebrewer, we just want to enjoy a glass of homemade tipple with minimal fuss. Stick to this list, and you’ll do just that.
Now, what shall we make first?
A hard cider? Blueberry Basil Mead? Beet Wine?
For more information about easy one-gallon brewing and wild-fermentation brewing, I highly recommend the following books.
Artisanal Small-Batch Brewing: Easy Homemade Wines, Beers, Meads and Ciders by Amber Shehan.
Brew Beer Like a Yeti: Traditional Techniques and Recipes for Unconventional Ales, Gruits, and Other Ferments Using Minimal Hops these last two by Jereme Zimmerman.

Get the famous Rural Sprout newsletter delivered to your inbox.
Join the 50,000+ gardeners who get timely gardening tutorials, tips and tasks delivered direct to their inbox.