

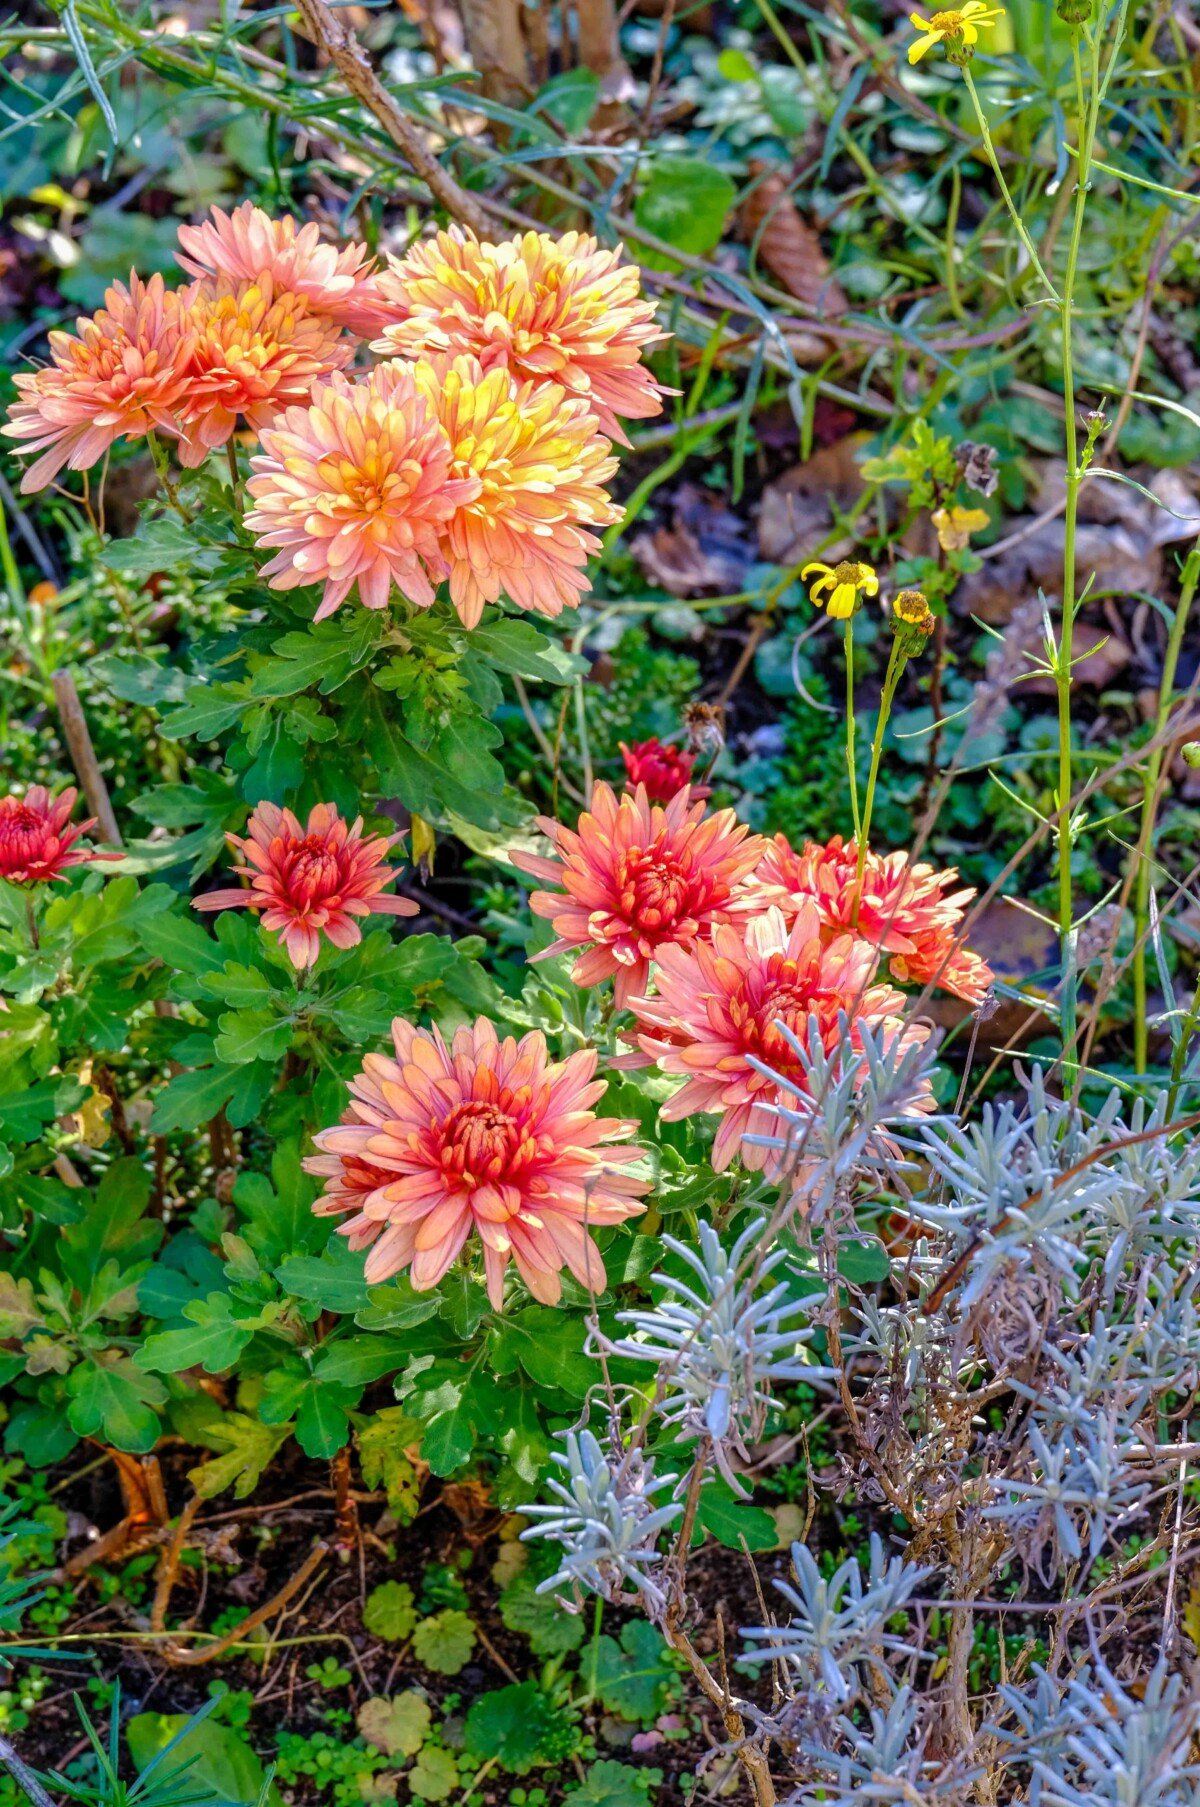
Even when I’m buying mums, I can already picture their skeletal remains, tipped out of their pots and into the compost bin a couple of months from now.
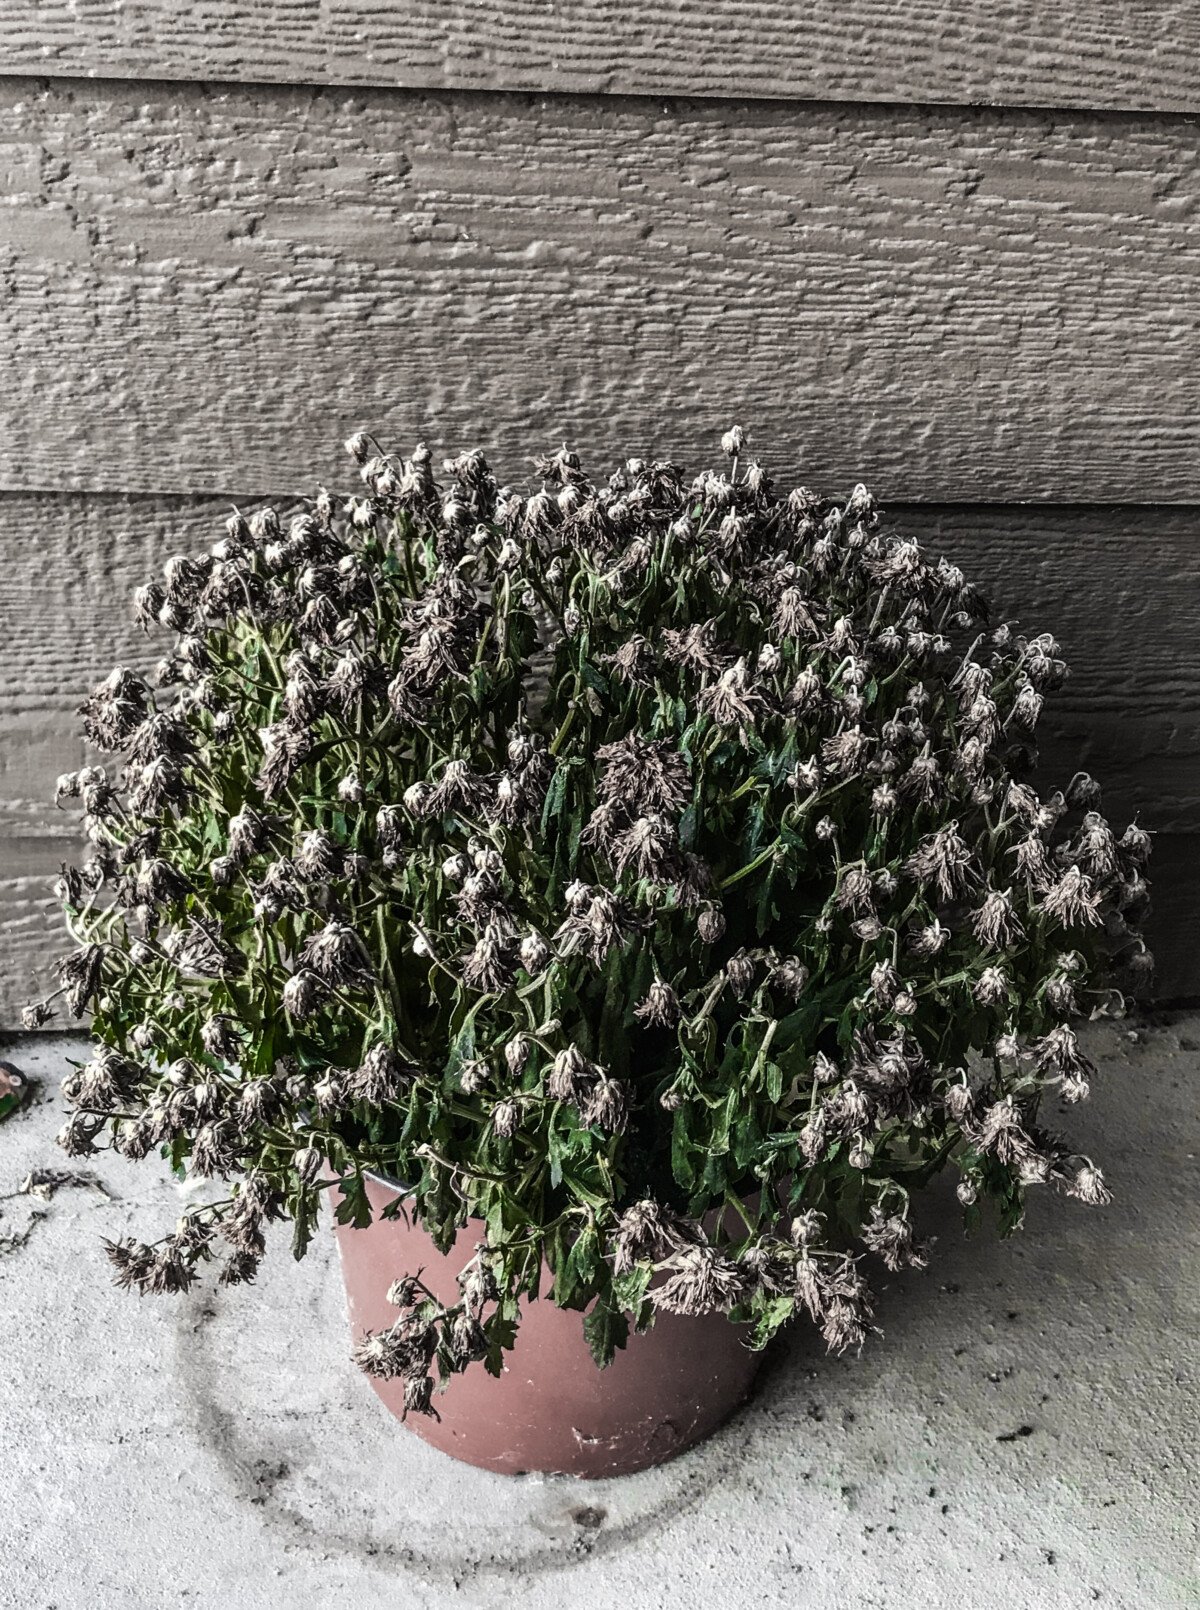
Chrysanthemums are purchased purely as decoration and then disposed of. But these vibrant blooms are actually perennials and will keep coming back year after year if you take care of them. Learn to winter them over and you can enjoy them again next fall, too.
Start as You Mean to Continue

If you plan to keep this year’s mums and winter them over so you can enjoy them again next year, it’s best to start as you mean to continue.
Select healthy plants without disease or pests. You can read my chrysanthemum buying guide here, which tells you everything you need to know about buying mums, including what to look for when choosing a plant, as well as where the best place is to buy them.
The most important consideration is size. If you plan on wintering over mums, skip the cute little mums in pots or planters that are six inches in diameter or less. It’s so much easier to keep larger mums alive.
The other thing you need to keep in mind is that if you plan on wintering over mums, you start the process as soon as you bring them home. You’ve basically got three different methods for wintering over mums, each with its own advantages and disadvantages. Let’s take a look at each one.
Option 1: Plant Them Directly in the Ground

This is actually two options in one. You can remove the mums from their pots and plant them directly in the ground. This is the best option, as it will provide you with the highest success in having healthy plants that come back next spring. The root system is allowed to continue to grow larger, supporting a healthy plant.
If you plan on using this method, I recommend getting your mums in the ground as soon as you bring them home, so they have a chance to stretch their roots and grow a bit before winter comes and they enter dormancy.

Now, here’s the thing. This option isn’t just for those who want mums in a permanent spot.
If you like having mums that are portable so that you can display them by your doorway or by the mailbox, etc., this is also a great option. As I’ve mentioned, it’s the best way to ensure healthy mums that come back next year. When they do come back next spring, simply dig them up, repot them in a pot, and tend to them over the summer so they’re ready for fall.
To plant potted mums in the ground, choose a spot that will receive 6-8 hours of sun each day. You want well-draining soil. Since we’re planting them at the very end of the season, I highly recommend using mycorrhizae when you plant them to ensure they have good root development before they enter dormancy. (This is the one I use; follow the directions on the canister.)
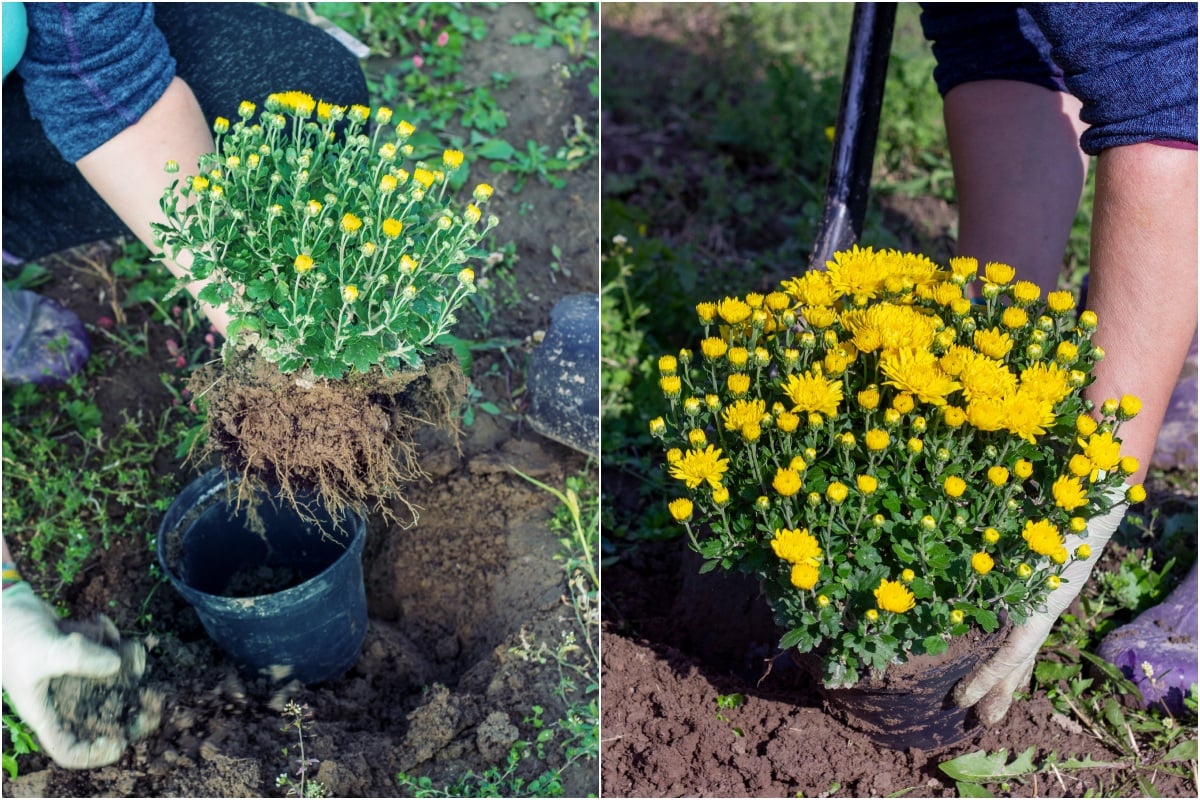
Dig a hole large enough to fit the potted plant in, so the top of the pot is level with the top of the hole. Remove the plant from the pot and gently tease the roots to open them up a bit.
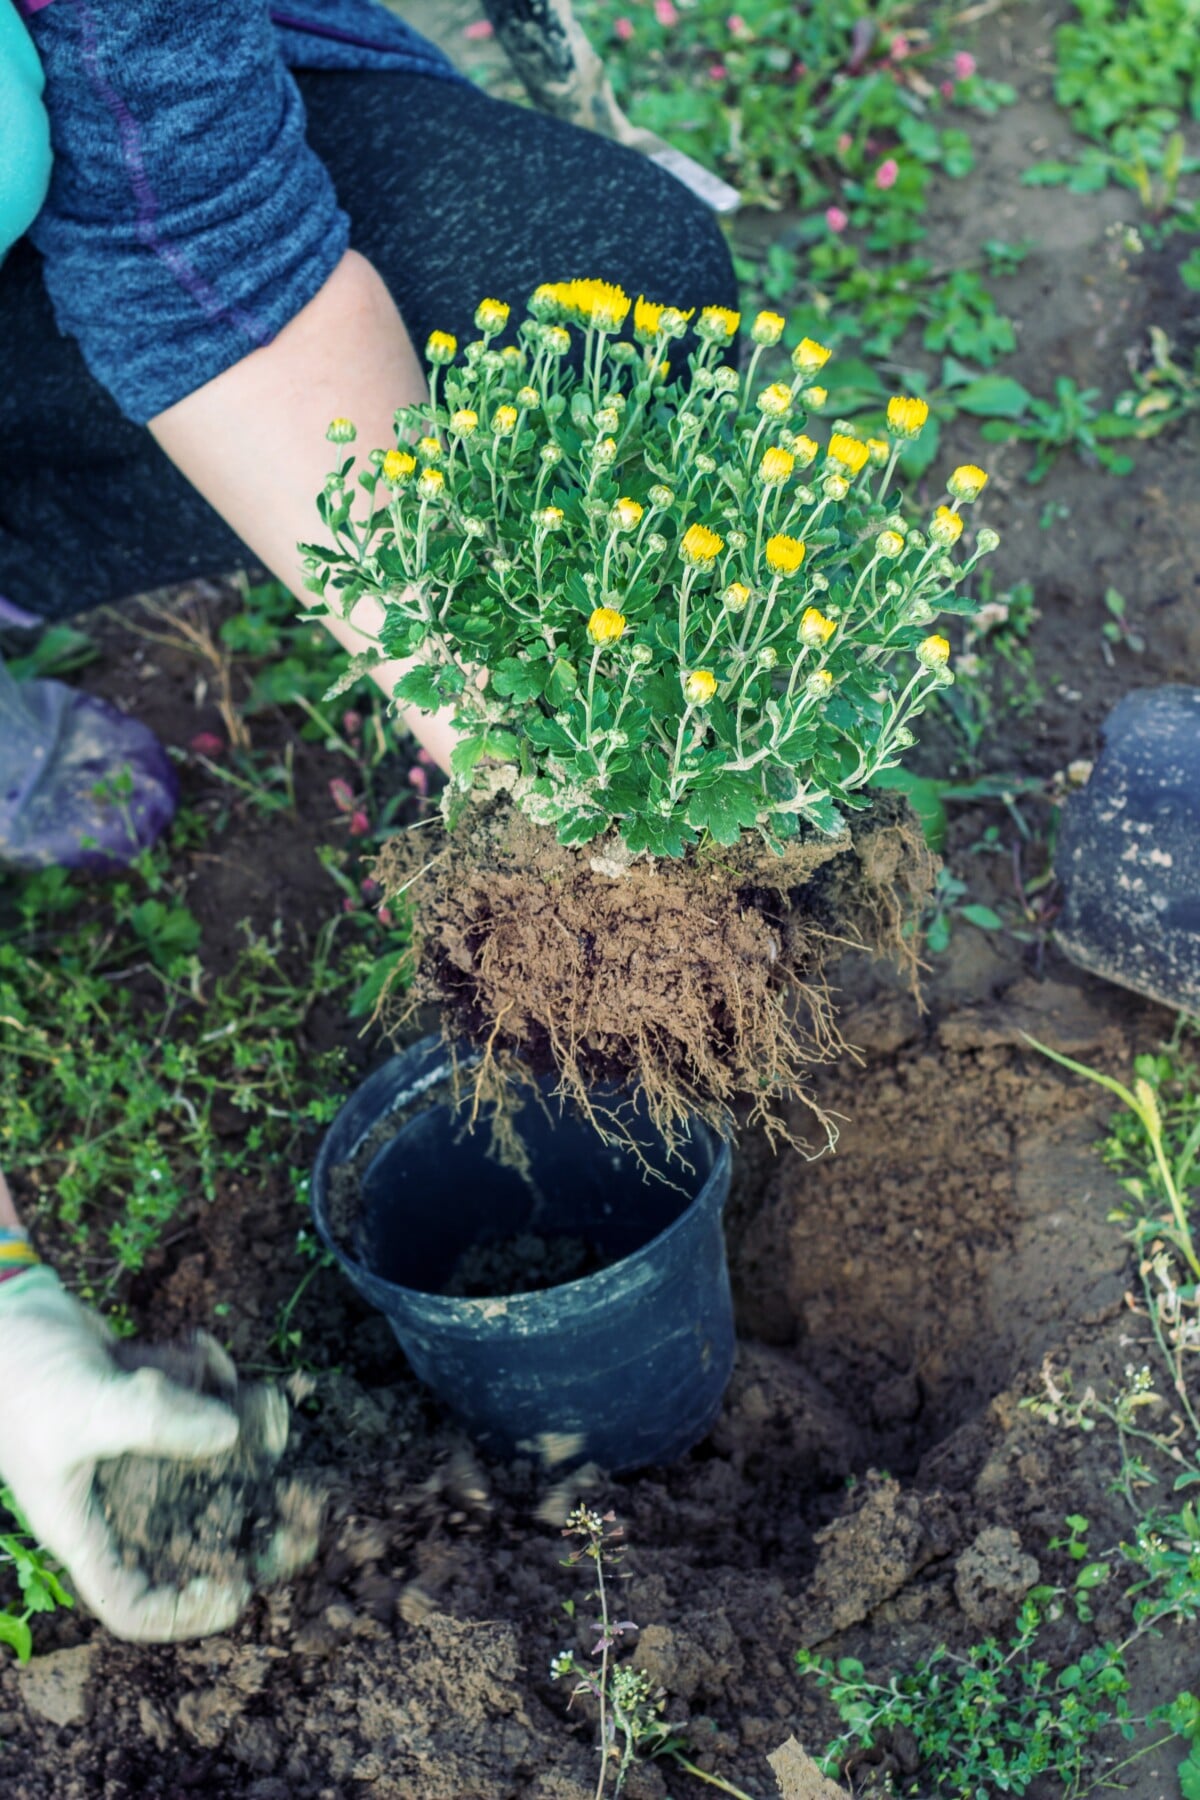
Add your mycorrhizae to the hole, then place your chrysanthemum in and backfill around it. Press the soil down around the top of the plant to remove any air pockets.
Add a layer of compost around the base of the plant, then mulch well with around three or four inches of wood chips, shavings, chopped leaves or straw.

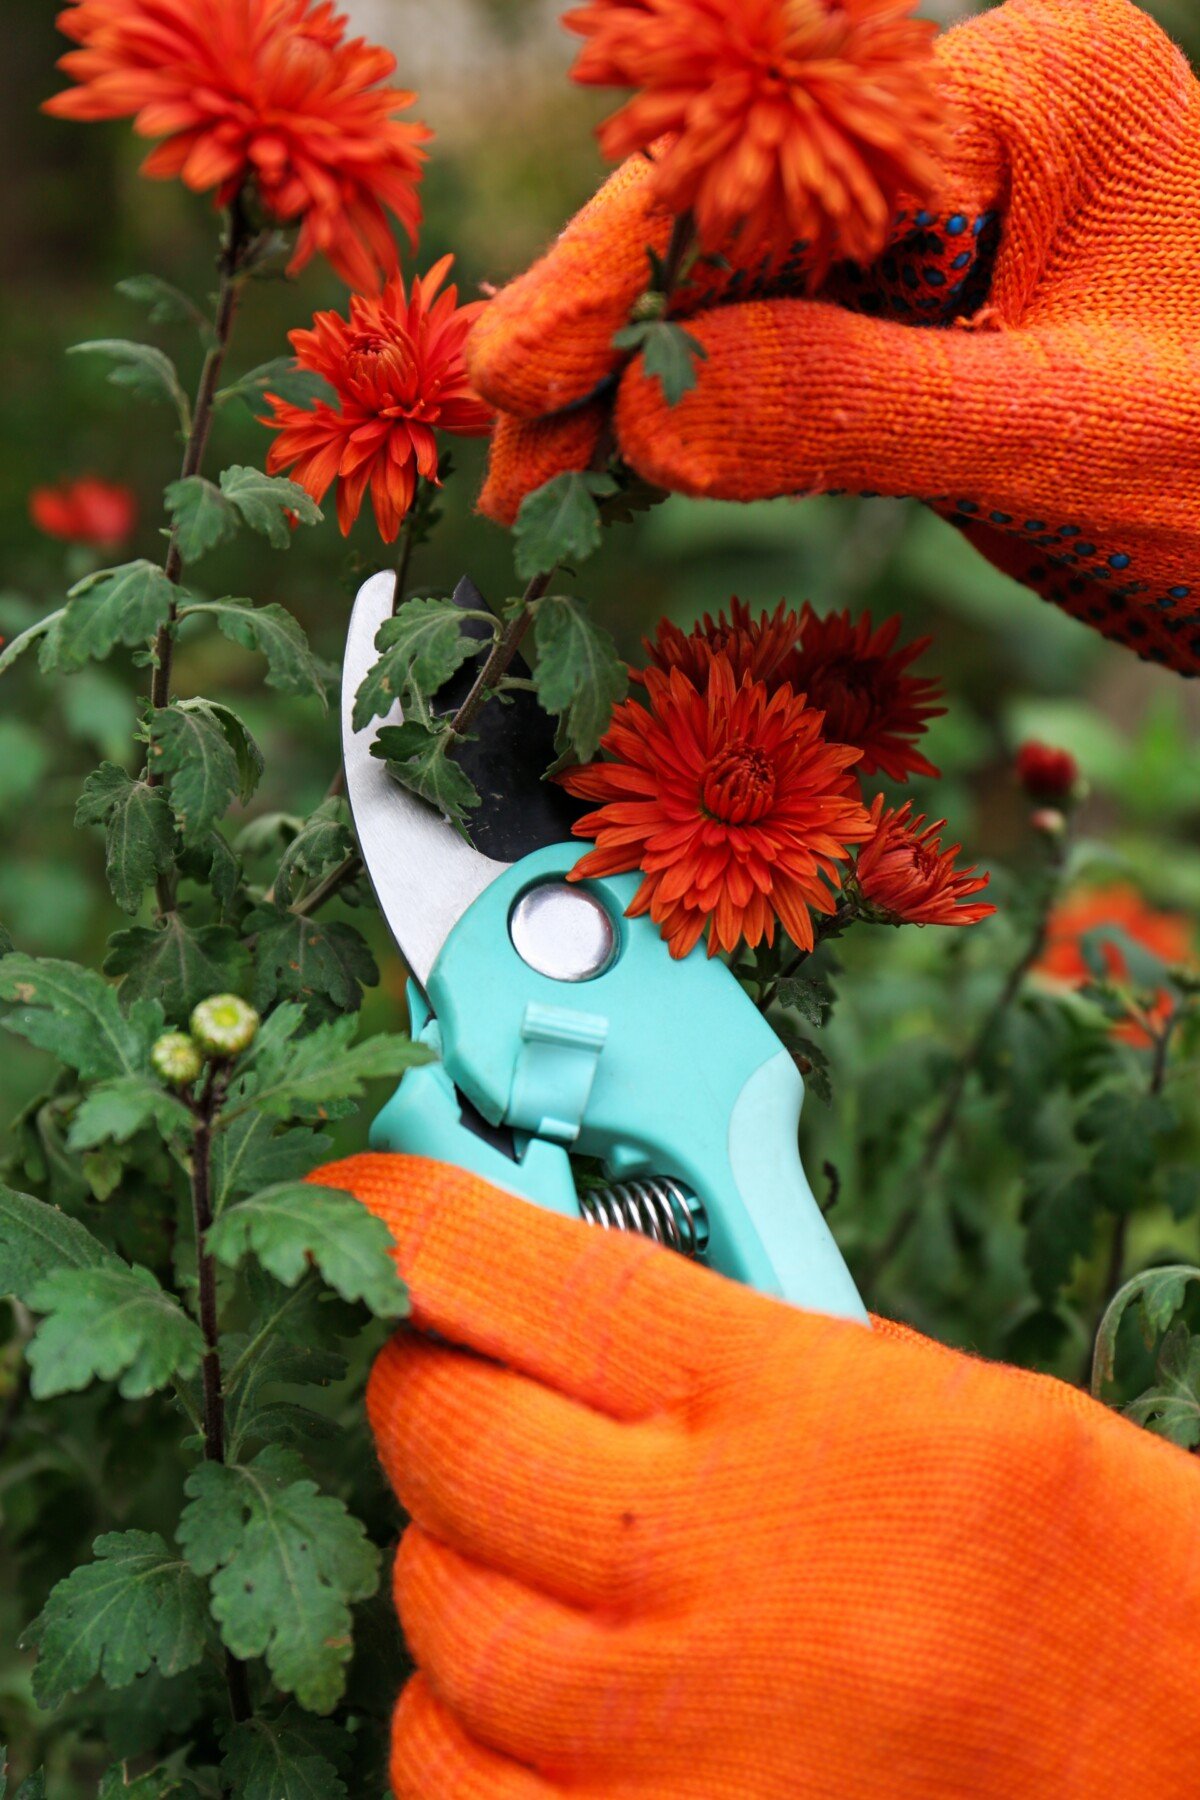
Once the plants have finished blooming for the season, cut them back to about 4-6” above the ground and cover them well with a protective layer of mulch.
In the spring, when they begin growing again, you can fertilize them. That’s also the time to dig them up and repot them if you wish.
Option 2: Plant Them Potted in the Ground

If you like having mums as fall displays, rather than as part of your flower beds, plant your mums in the ground but leave them in the pot. Toward the middle to end of fall, follow the same directions as above (omitting the mycorrhizae) and put the entire thing in the ground, pot and all.
What makes this method so effective is that the plants benefit from the soil’s thermal mass. Being buried, the roots are protected, which means the portion growing above ground is also better protected and less likely to suffer from cold damage.
In the spring, once the plants start showing signs of life, move the protective mulch aside and dig them up, being careful not to break the pot. It’s a good idea to repot them in the spring, either into a larger pot or by trimming the roots so they will fit comfortably in the same size pot.
Option 3: Bring Your Mums Indoors
If the thought of all that digging sounds less than appealing, the easiest thing to do is bring your mums indoors for the winter. Mums need the cool temperatures of winter to go dormant for the season, so a garage, shed, or cool basement is perfect. Just be sure it’s dark and cool so that they can rest.
Cut the plant back to about 4-6” before you bring it in. Check on them once a month over the winter. Water them sparingly. The plant is sleeping, so if you water it too often or too much, the roots will rot. Once a month is fine.
In the spring, repot them and put them outside where they will receive 6-8 hours of bright light.
Option 4: Shelter Them Outdoors
This is probably the easiest option out there because once you’ve tucked them in, you can forget about them until spring. However, it’s also the option with the highest risk of cold damage, and if not done right, your plants likely won’t survive.
When the plants have finished blooming, cut them back to 4-6 inches. Choose a spot, up against your home, that receives plenty of warm, afternoon sun. Put down a thick layer of leaves, straw or other protective mulch. Next, place your potted mums on top of this layer, ensuring they are right up against the house. This way, they can benefit from the residual heat the home retains from being in the sun.

Now, cover everything with an extra-thick layer of mulch. It should be around 8-12” deep. Be sure the sides are covered as well. This will insulate the plant’s roots from the cold. You can place a layer of burlap over the entire thing to keep the mulch from blowing away and to add a further layer of protection.
In the spring, remove the top layer of mulch to expose the plants to the sun. They should start growing again. Prune back any cold-damaged portions of the plant and repot it once it starts putting out new leaves.
Summer Care for Beautiful Blooms
Once your plants have been successfully wintered over, it’s time to get them growing right. No matter which option you use, repotting with fresh soil is necessary in the spring.
Place your plants where they will receive 6-8 hours of direct sun each day and water them when the top inch of soil is dry. In the spring, feed them with a fertilizer high in nitrogen (this one is great) to encourage lots of bushy growth. Then, in early summer, switch to a fertilizer meant for blooming plants. (Again, this one is perfect.)
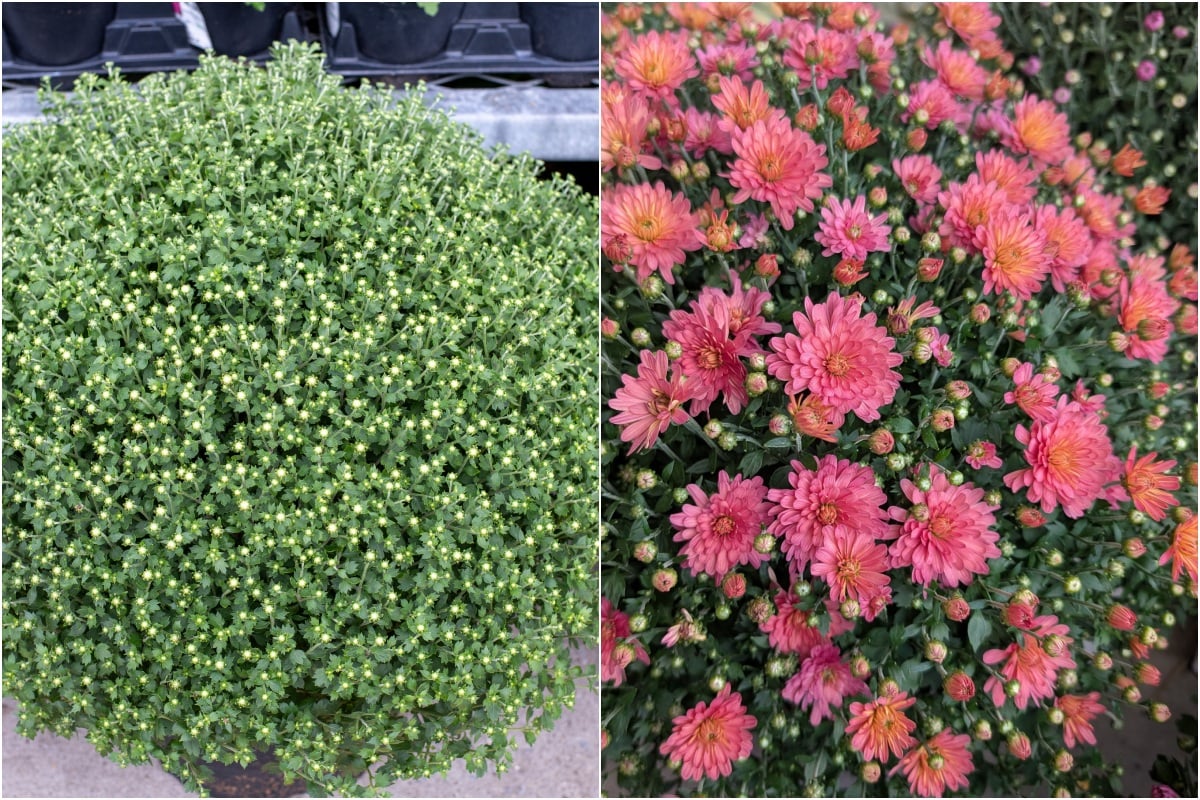
For tons of blooms on a massive dome of green leaves, prune the plant to shape. Pinch back the first buds in July. This will encourage even more buds to develop. By August, your plant should be covered in tightly closed buds, ready for the fall.
Related Reading:

Get the famous Rural Sprout newsletter delivered to your inbox.
Join the 50,000+ gardeners who get timely gardening tutorials, tips and tasks delivered direct to their inbox.