


Do you suck at growing peppers? I can fix that with three easy rules. It’s a bold claim, but I used to suck at growing peppers, too. I started paying attention to three things that are incredibly important to pepper plants that no one seems to talk about, and it changed my pepper-growing game completely.
When it comes to gardeners and complaining about plants that are a pain to grow, tomatoes always seem to be at the forefront of the grumbling. I’m always surprised that peppers don’t get the “Most Finicky Vegetable to Grow” award.
Peppers are, in fact, much harder to grow than tomatoes, that is, until you understand how they grow.
About six years ago, after yet another summer filled with bitter, embarrassingly small peppers, I was ready to be done with growing the silly things. I’m a firm believer that if I’m going to spend the time and garden space on a vegetable, it had better pay off in, well, vegetables. Tasty ones. Otherwise, there are plenty of other candidates waiting for that space in my garden.
So, I did what I always do when I finally admit that I don’t really know what I’m doing. I read just about everything I could find on growing peppers.
Once I got past the “peppers require full sun to grow” and “switch to a fertilizer lower in nitrogen and higher in phosphorus and potassium when they start flowering” and started getting into things like the hormonal processes that trigger fruit set and how certain nutrients move through the plant, I discovered that there are three fundamental things you have to get right when growing peppers.
The following year, I implemented what I learned. Lo and behold, it clicked. I found myself picking enough sweet, juicy peppers (hot ones, too) to make Peter Piper jealous. Now, I find peppers easy to grow.
A quick note before we discuss ‘the rules’:
If you prefer to grow your own seedlings, that comes with its own set of rules. I’ve covered those in depth in this article. I also wrote an article on how to plant your peppers and some of the basics of growing peppers. You can read that article here. Both of these will get you sorted if you struggle with the fundamentals.
Let’s talk about the three rules you need to get right once you plant your peppers outdoors. Most of the ‘what’ is simple enough to do. But I’m also going to cover the ‘why’ because it helps the ‘what’ make sense. So, if this seems long, remember it’s mostly the ‘why’. If it helps, imagine me in a gray nun’s habit, holding a ruler, pacing in front of the class, ready to pounce on anyone not paying attention.
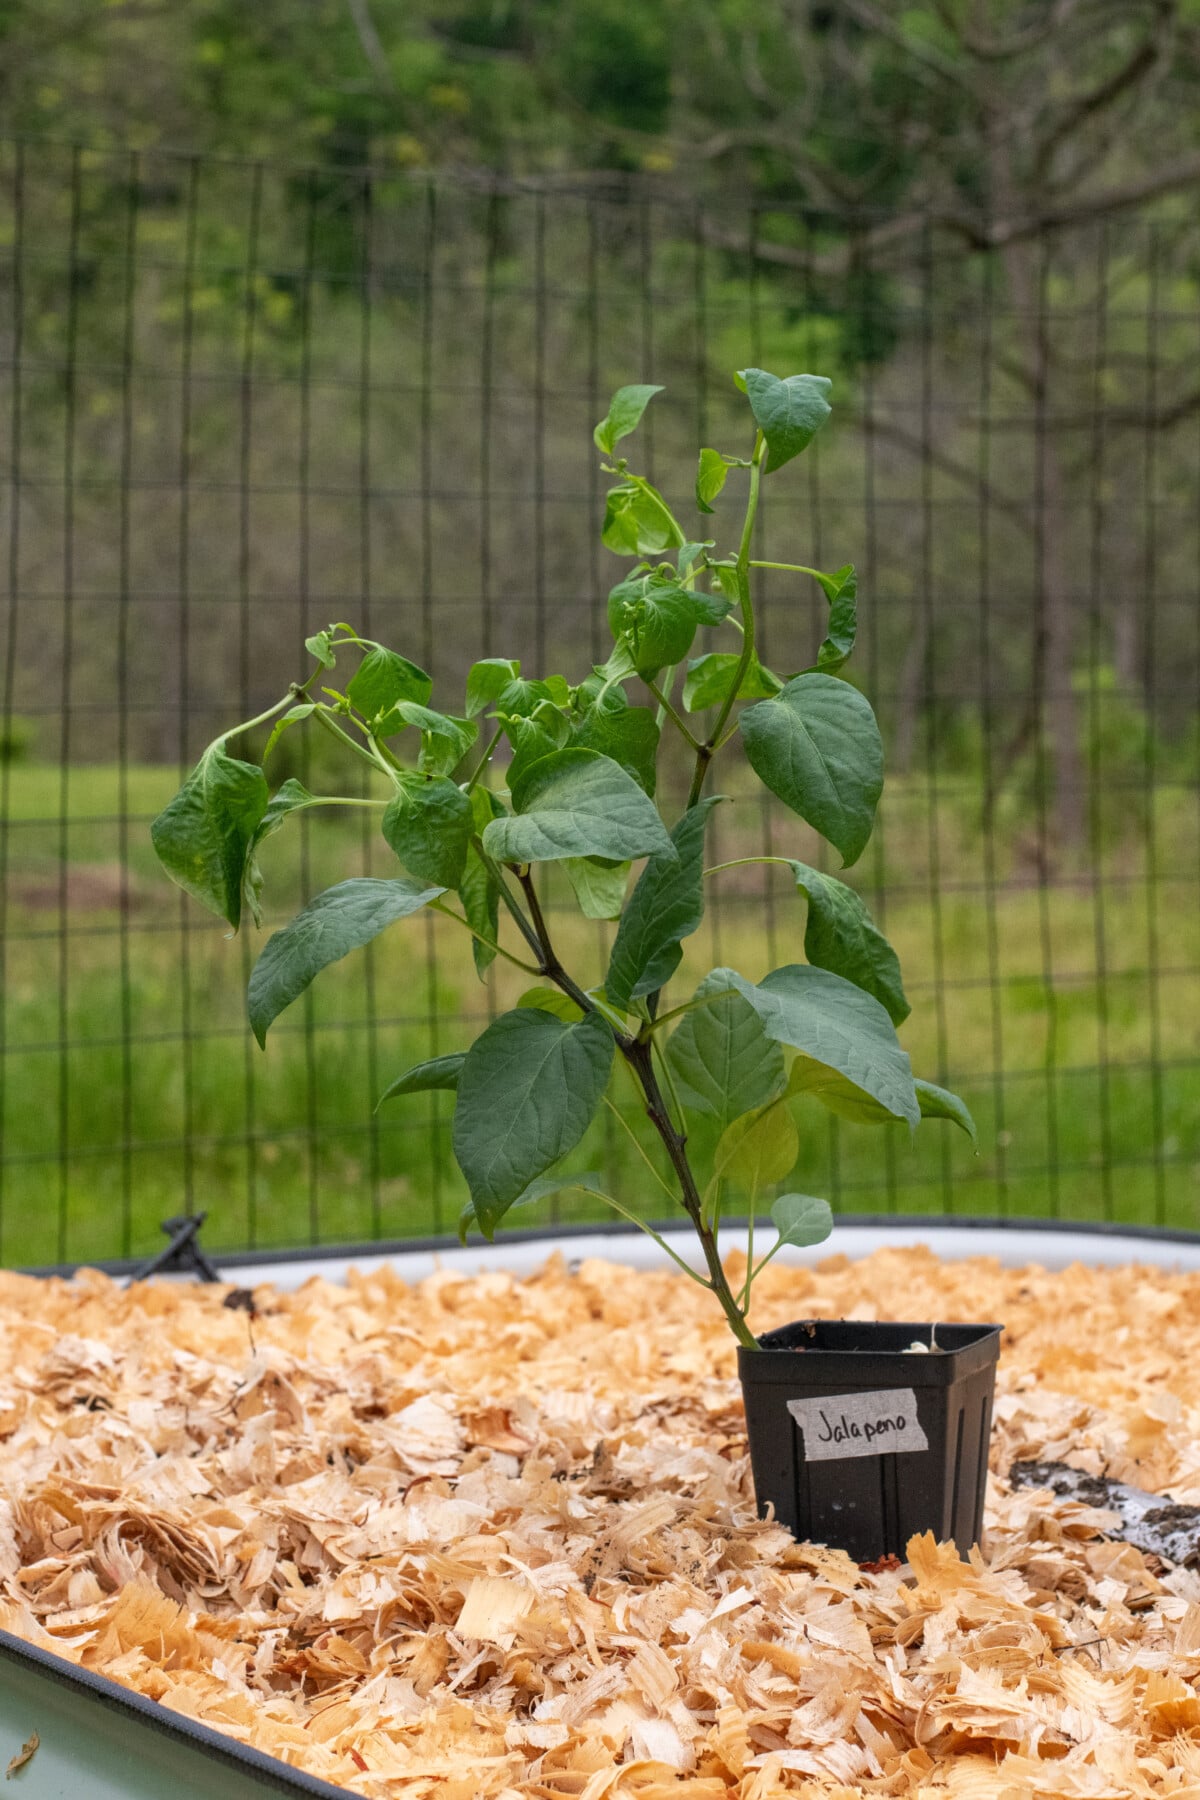
Rule #1 – Do NOT Plant Your Peppers Outside Too Soon
Look, my friend, I get it. When it comes to moving my seedlings outdoors, I have as much patience as a kid in school on the final day before Christmas break.
By the time that glorious “last predicted frost date” rolls around, all bets are off, and I am putting some plants in the soil, gosh darn it!
But peppers are from Central America, and they don’t really care about some silly little predicted date on my calendar or yours. These are plants that evolved to grow in places with long, hot, sunny days. We’re talking 14-16 hours a day of bright light and temperatures in the 80s and 90s.
I might be ready to parade around my yard in shorts and a t-shirt because it’s 65°F out, but my peppers are not.
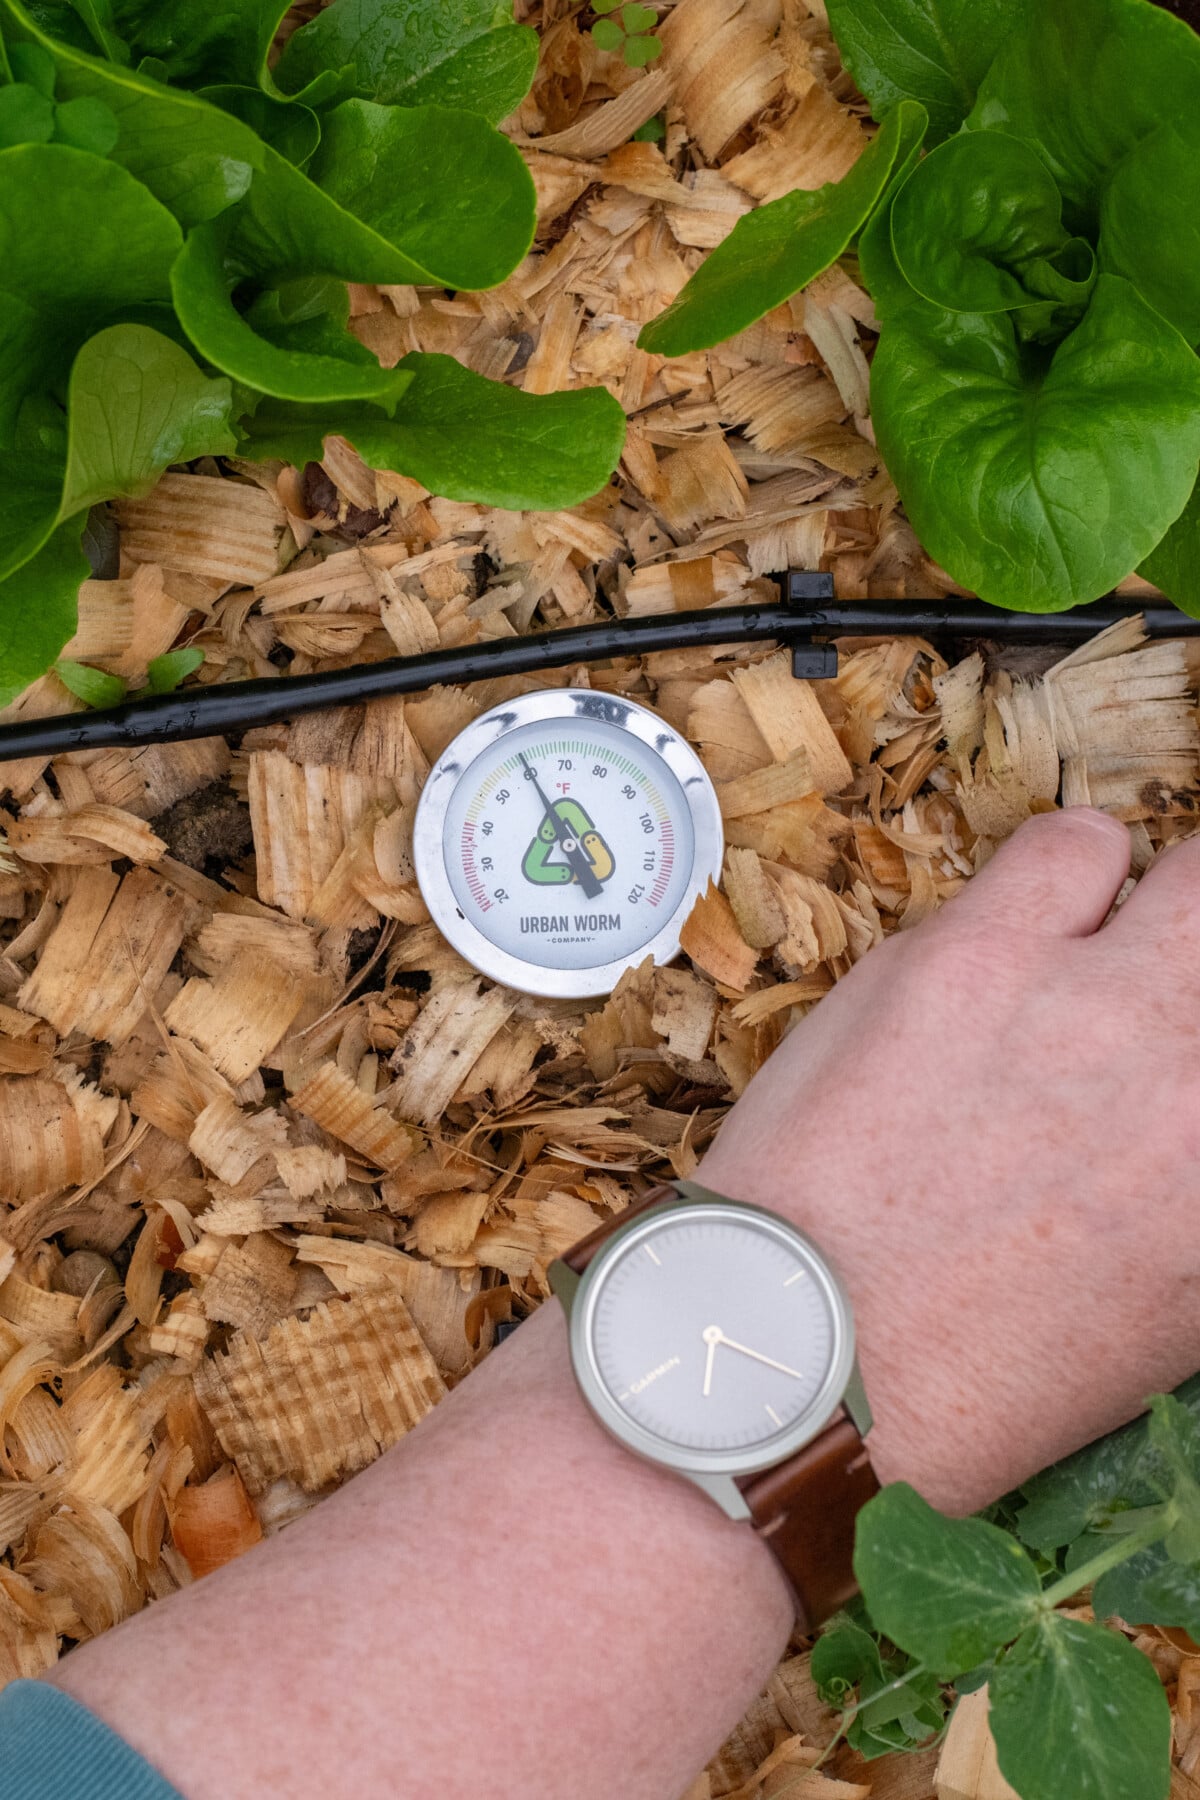
You have to wait for the soil to be consistently warm enough to move peppers outdoors.
Not the air temperature, the soil temperature, and it needs to be at 60°F or above and remain that way for a week.
Just because my soil thermometer is reading 60°F at 4:00 in the afternoon on a nice sunny day does not mean I can plant my peppers. I need to see that same temperature at 7:00 in the morning all week long.
Why?
The problem is that peppers planted in cool soil can’t function. Growth, flower set, nutrient uptake, it all comes to a halt. Your plant will sit there, looking just fine, but it won’t do anything for weeks. By the time you start to wonder why your pepper plant isn’t growing, you’ve already lost several weeks of growth in a plant that requires a long growing season.
Enzymes moving through the pepper plant trigger different processes. Hormones are released to stimulate flower set and plant growth, the uptake of nutrients in the roots, and cell division; all of this relies on chemical processes that don’t work in temperatures below 55°F. (Think of it like trying to get bread to rise in a cold room.) It’s just not warm enough for the chemicals inside the plant to do their job.
This stunts the plant for the rest of the season. It will never catch up to a plant that was transplanted when the soil was the right temperature.
This is a big reason why peppers do so well in the southern states. They have milder winters, so the soil warms up faster in the spring. For those of us growing peppers in hardiness zones 8 and below, it’s a different story.
We need to ignore that last predicted frost date and pay attention to the soil thermometer instead.
Need a soil thermometer? I have several of these spread around my raised beds and flower beds. Want to speed up the process? For my fellow impatient gardeners or gardeners in shorter growing seasons, you can put down black plastic a couple of weeks before you want to plant peppers outside, and this will warm the soil up faster (anywhere from 8-10° warmer than without).
Rule #2 – Stop Giving Your Peppers Tums
Calcium plays a huge role in how all plants grow, but it’s especially important in fruiting plants and even more so with peppers. If you want thick, juicy peppers, you need to make sure they get calcium.
Wait! Put the Tums, lime and foliar spray down.
This is the part that nearly all gardeners get wrong. Calcium deficiency in soil is rare. Trust me, your soil has enough calcium, so whatever social media post you saw that said to plant your peppers with an antacid tablet, ignore it. They don’t know what they’re talking about.
We’re going to fix this nonsense once and for all, so pay attention because this will fix not only your peppers, but other plants that are susceptible to blossom end rot.
The problem is not a lack of calcium in the soil; the problem is how your plant absorbs it.
Think of your pepper plant’s root system as hundreds of little straws in the soil. Water moves into these straws by transpiration – the plant loses water through its leaves and pulls water up into the roots to replace it. Calcium hitches a ride in the moving water.
Calcium can’t move within the plant on its own, so wherever the water deposits the calcium is where it stays, i/e, it goes where the water goes, gets absorbed into the cells there, the water evaporates, and the calcium stays put.
As the plant grows and puts out new leaves, flowers, fruit, etc., the plant needs more calcium delivered from the soil via water. If the plant is receiving water regularly, then calcium is always moving into the new growth.
Whenever you have inconsistent watering: a drought, root rot, a week or two with no rain, you only water the topmost layer of soil, that’s when we have problems. That’s how your plant develops a calcium deficiency.
When we say a calcium deficiency causes blossom end rot, we mean the plant is deficient, not the soil.
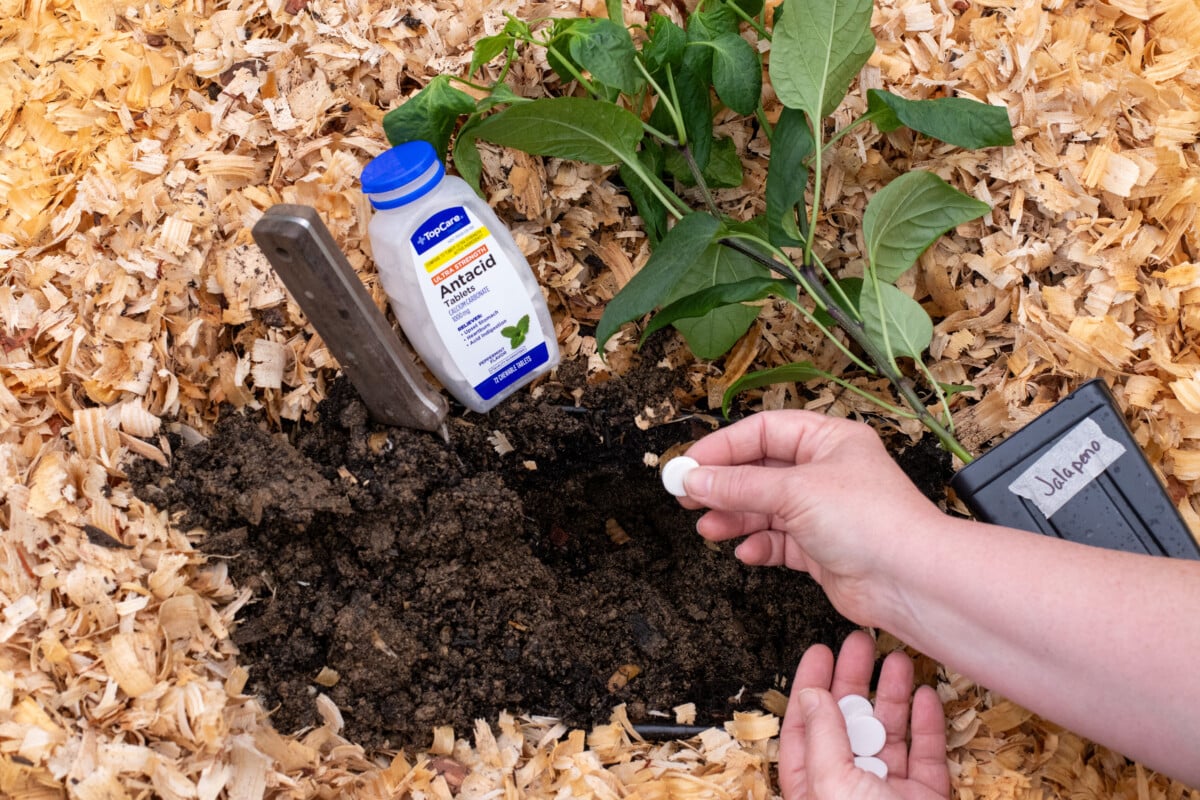
You can put all the Tums in the soil you want, but if the plant doesn’t have the water to move that calcium, it doesn’t make a difference. Put the antacids away and reach for the watering can.
When it comes to watering, consistency and depth are important, no matter the vegetable. So, I switched to dripline irrigation years ago (this is what I use) and it’s made a difference in the yield, flavor and general health of all of my vegetables, not just my peppers.
If some form of irrigation isn’t an option for you, then watering deeply and slowly (down to the roots) consistently is the way to go. Mulching your peppers will also slow evaporation, which happens faster than you think without it.
Aside from preventing blossom end rot, calcium plays a huge role in growing thick, juicy peppers.
Calcium is what gives plant cell walls their structure and rigidity. As long as your peppers are getting the calcium they need, the pepper plants will expand fully, giving you those nice, thick-walled peppers. Those large, fully-developed cells hold more water, and since you’ve been watering your peppers consistently so they can move calcium, you get juicy peppers, too.
Rule #3 – Pick a Peck of Peppers Right
This last rule will ensure you get a ton of peppers.
Plants in general have one goal in life – to make the next generation of themselves.
Until your pepper plant has secured its legacy via lots of peppers filled with mature seeds, it will be in a big hurry to put out more blossoms and grow more fruit. But the second your plant is loaded down with ripening peppers, they produce ethylene and auxins. These hormones help the peppers ripen, but they also suppress the production and growth of new flowers.
So as long as your pepper plant is loaded with fruit, it’s not all that bothered about making more.
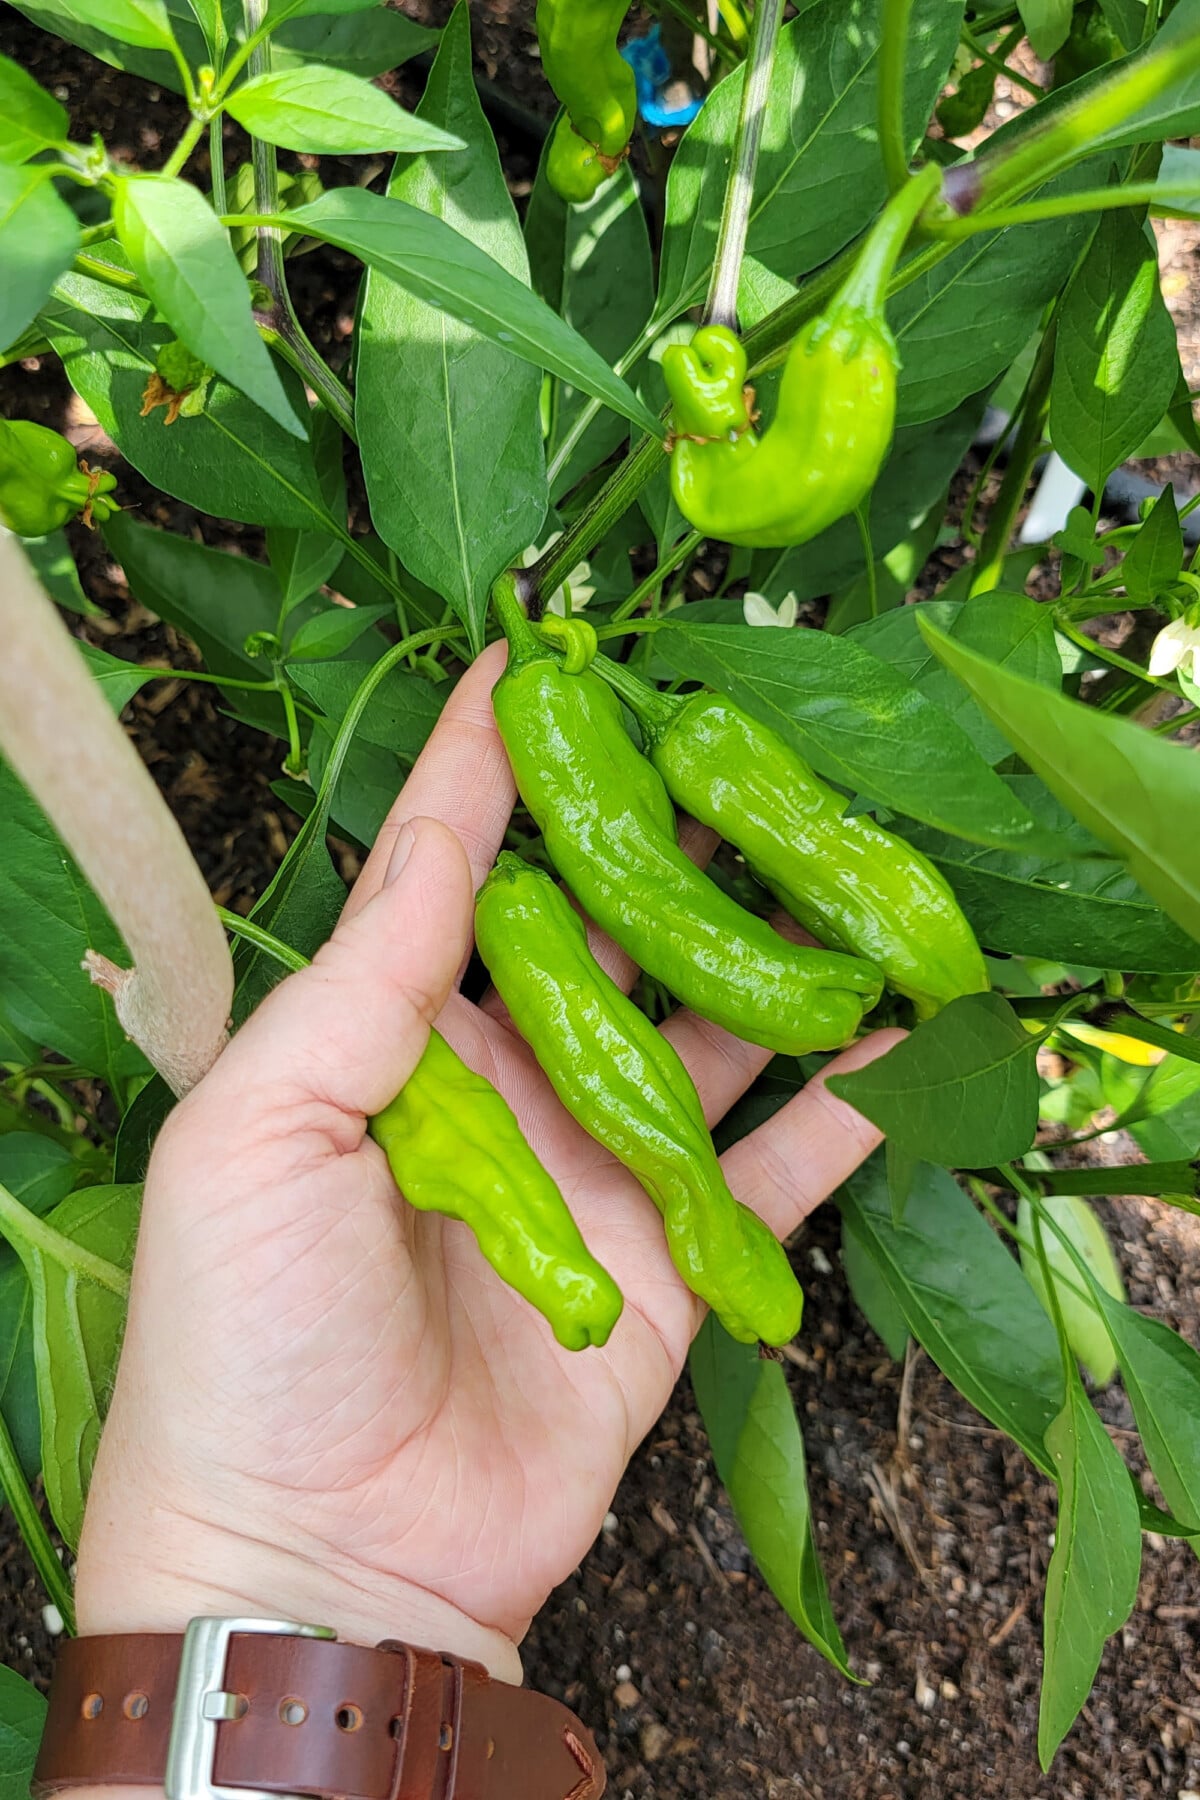
The longer the peppers stay on the plant, the more of these hormones are released. Once you pick your peppers, the plant will go back to making flowers and growing more peppers. It’s important to pick peppers often. As long as you keep picking, your plants will keep cranking out more peppers.
But here’s where you can run into a little snag – sweet peppers.
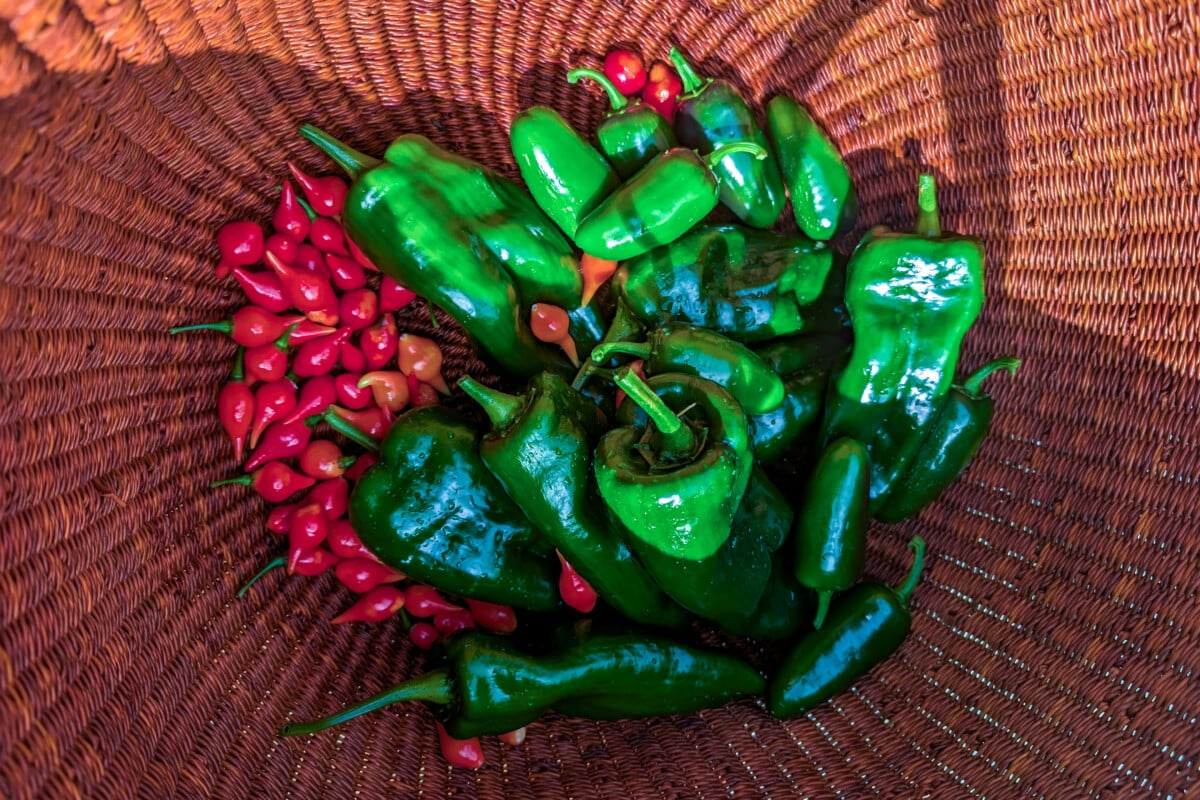
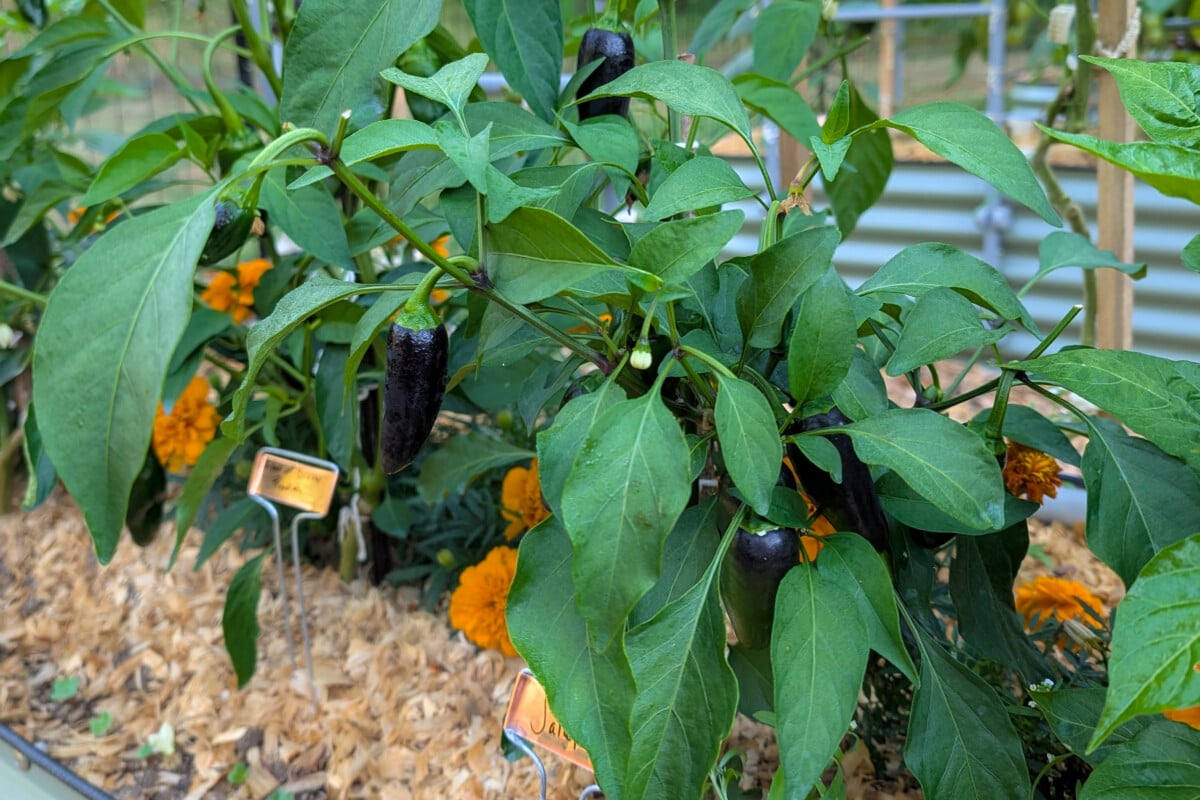
All peppers turn red, that is, as the kids say, their final form. When a pepper turns red, it is completely ripened and has the most sugar in it. This is why sweet peppers are all yellow, orange or red; they’ve been allowed to ripen longer to develop more sugars.
A green bell pepper is nothing more than an unripe sweet pepper. We pick them green for that wonderful, fresh, almost grassy tang. And as far as chilies go, poblanos and jalapeños are almost always picked green. So picking these types of peppers before they are completely ripened makes sense.
We’ve just discussed how the longer the pepper stays on the plant, the longer it will be before the plant gets back to producing the next round of peppers. Where sweet peppers are concerned, we’re stuck making a choice: do we pick them earlier and more often and have plenty of tasty, but slightly less amazing sweet peppers, or do we opt for full-flavor but fewer peppers and let the peppers stay on the plant longer?
The answer is both.
You can plant more pepper plants, so that you still end up with a lot of peppers even though you leave them on the plant to ripen longer. Or you can plant fewer plants and pick half of the peppers on the plant a little early (to encourage new growth) and leave the other half to ripen fully, so they’re at their sweetest. You get the best of both worlds this way.
Phew! Okay, I know we’ve covered a lot today, class, but once you begin to put it into practice, you’ll realize it’s simpler to do in the garden than it is to read about here. If you tend to these three things, you can successfully tick peppers off of your “Hard to Grow” list.

Get the famous Rural Sprout newsletter delivered to your inbox.
Join the 50,000+ gardeners who get timely gardening tutorials, tips and tasks delivered direct to their inbox.