

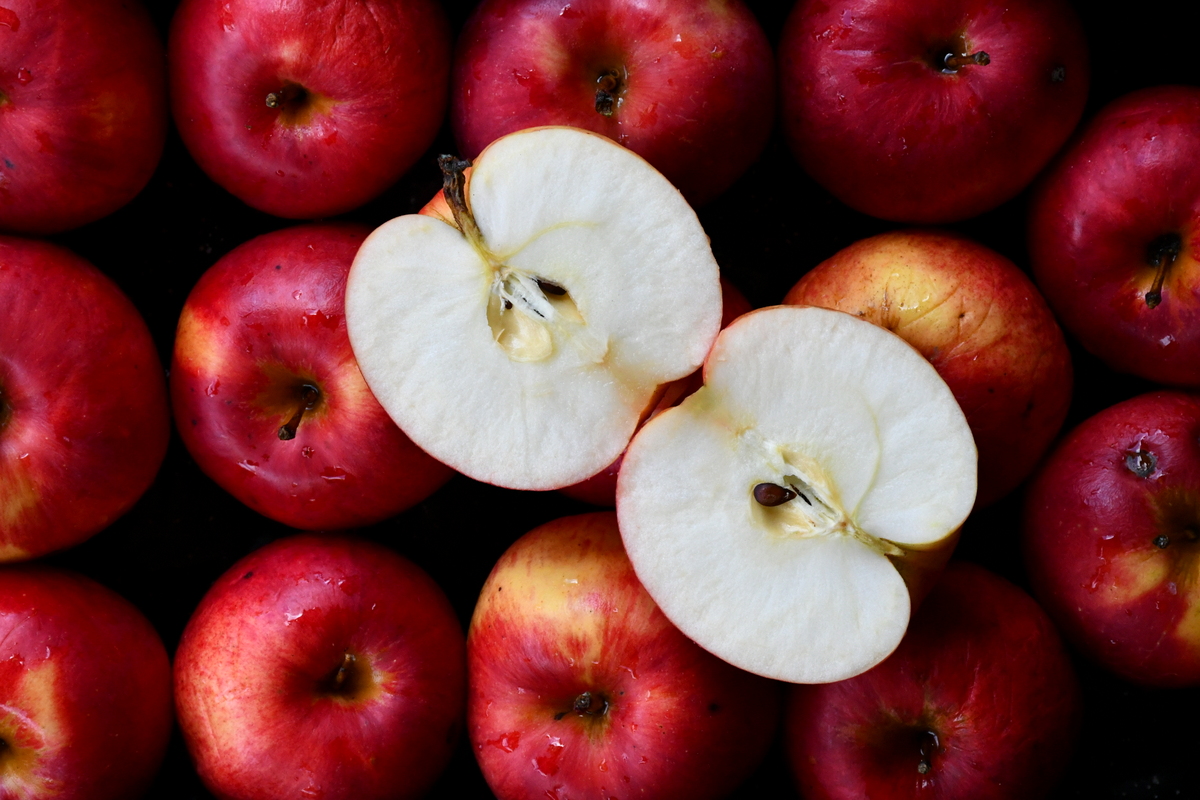
Can you imagine eating a 9-month old apple? What do you even think that would taste like?
Some people may conjure up images of wrinkly, or moldy and shrunken apples; otherwise deemed inedible or ready for the compost. Others know from experience that it’s perfectly acceptable to eat something so old.
The texture probably won’t be as crisp as the day it was handpicked from the tree, but the sweet flavor will still be there. And it will still be an amazing apple.
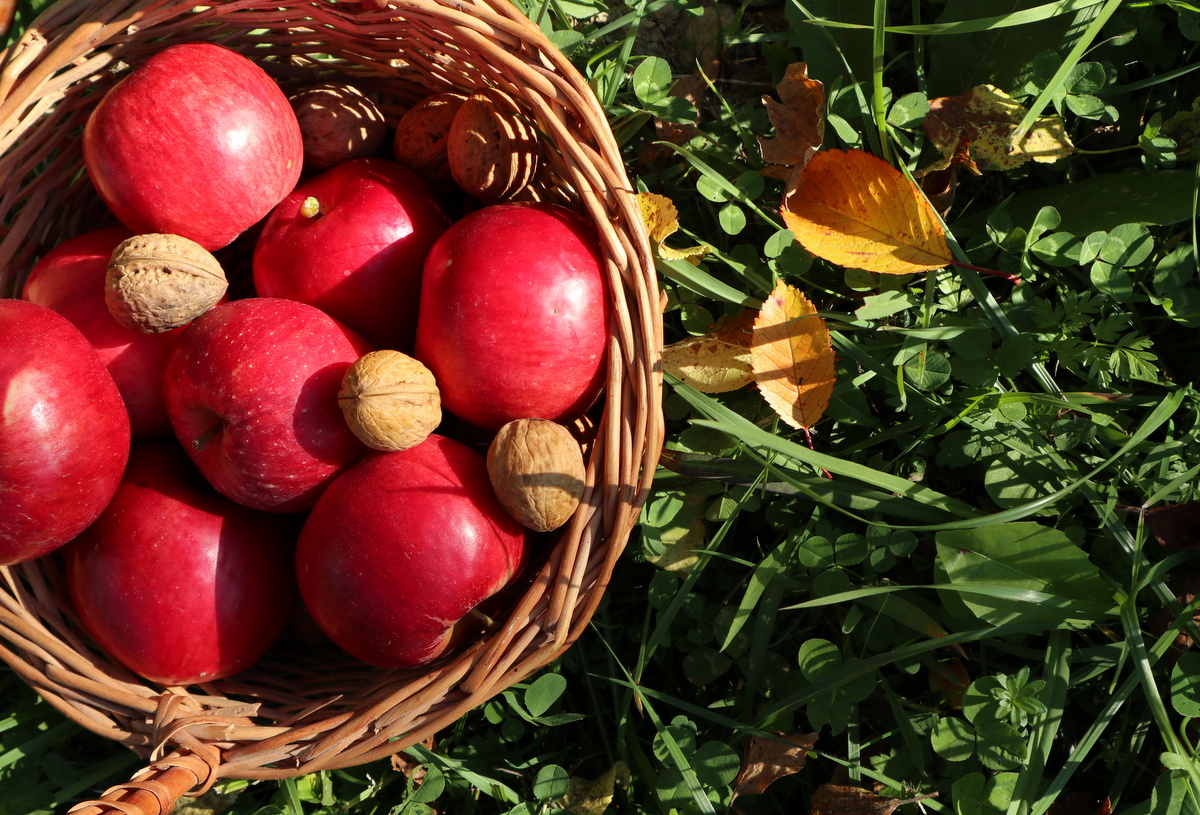
Take our last year’s harvest for example.
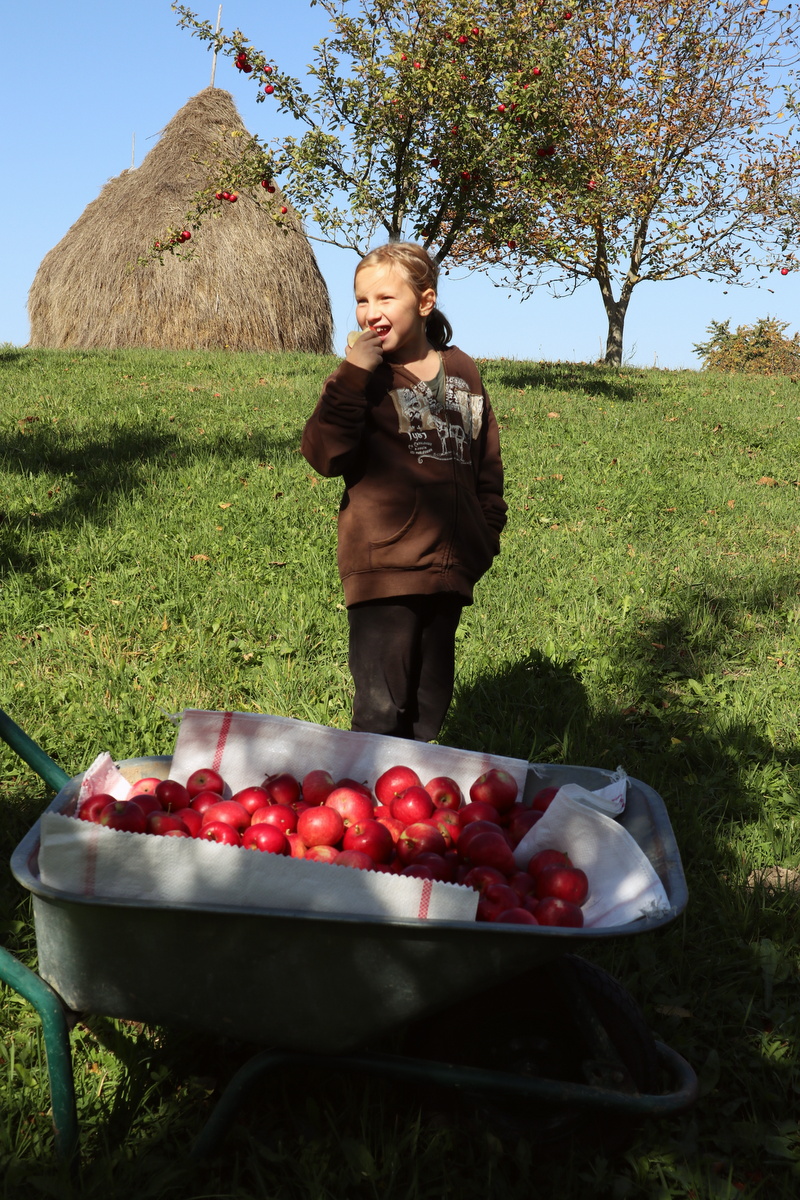
We harvested these late-ripening Jonathan apples in early October.
By May of the following season only a few started to lose in freshness.
We are still chewing away at them in June, the following year. There you go, 9-month old apples.
So, how did we manage to keep them intact for so long? We’ll get to that in a moment. What you need to know, if you’ve never kept apples for longer than a few weeks in the fridge, are the reasons they tend to go bad in the first place.
The secret to preserving homegrown apples for the long run, all depends on how they are picked and stored.
If you have a cellar, great! If you have a basement, you’re still in luck. A crate, cardboard box or basket with some newspaper or brown paper and you’re good to go for at least three months.
When it comes to storing homegrown apples, it seems that there is a solution for everyone.
Why Do Apples Spoil? & How Can You Prevent That From Happening To Your Harvest?
Apples spoil for three main reasons:
- time
- bruises
- and touching other rotten apples
Time – the length of time apples can be stored depends on the variety, as well as thicker-skinned vs. thinner-skinned apples. The longest storing apples have a thick skin and very firm flesh. Surprisingly, some apples taste even better after a couple of months in storage.
Bruises – in order to ensure that your homegrown apples will last for months, the apples must be individually handpicked from the tree.
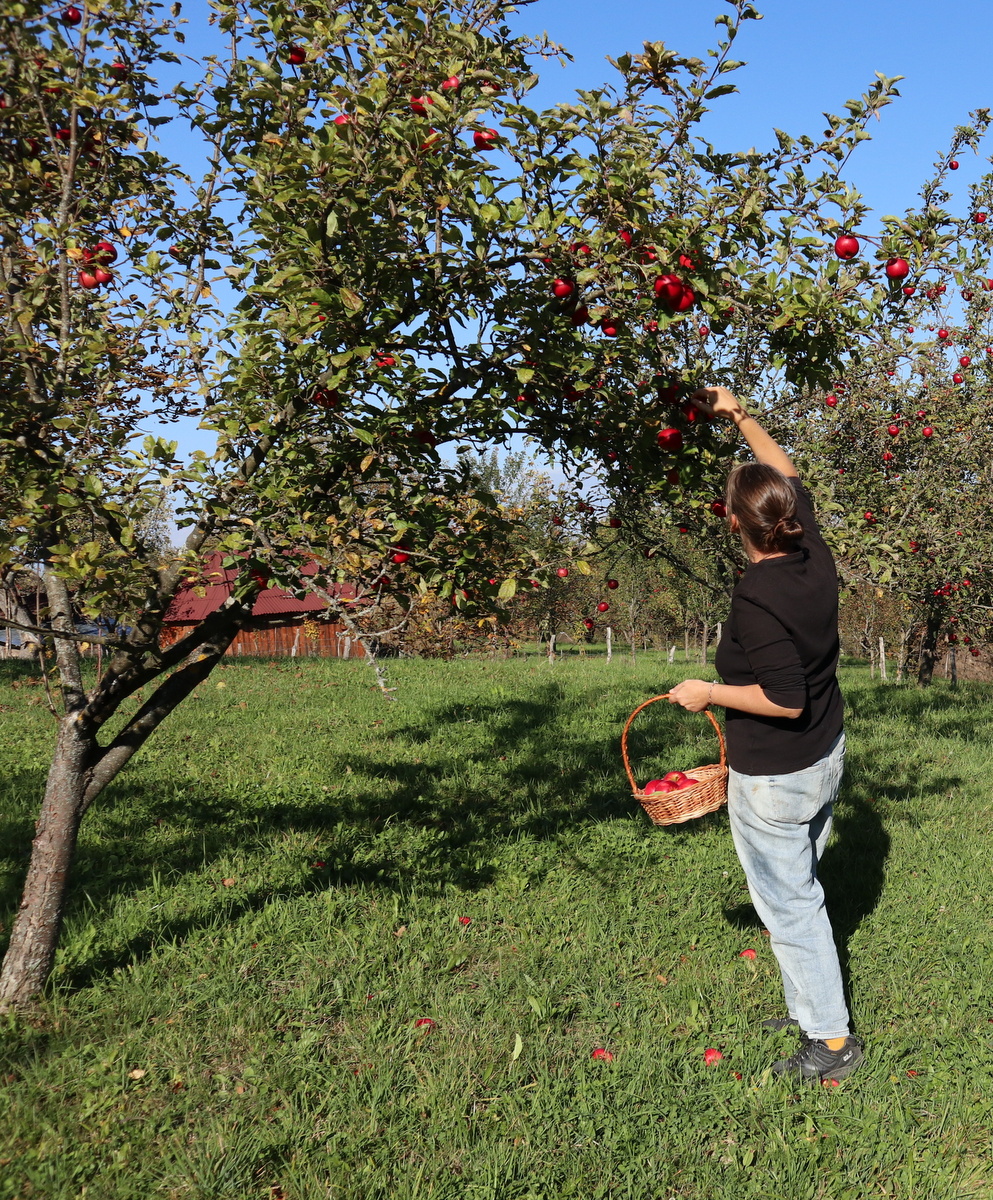
Any apple that has already fallen to the ground should be stored separately and eaten first, for you won’t be able to see the damage for some time. Lots of people skip this step as it is time-consuming. However, we’ve seen it time and time again, that apples picked straight from the tree last for months longer than those windfall apples.
Contact with other (rotten) apples – you know the saying “one bad apple spoils the whole bunch”, well, it’s absolutely true.
It makes perfect sense that mold spreads quickly when just about any foodstuff is touching the next. It will happen with apples too. Apples stored for months must never touch each other. When they are spread out, you can always remove the bad apple as soon as you find it deteriorating in quality.
How To Prevent Spoilage of Your Apple Harvest
Now, that you know what causes most apples to go bad, let’s find out how to prevent a preservation disaster.
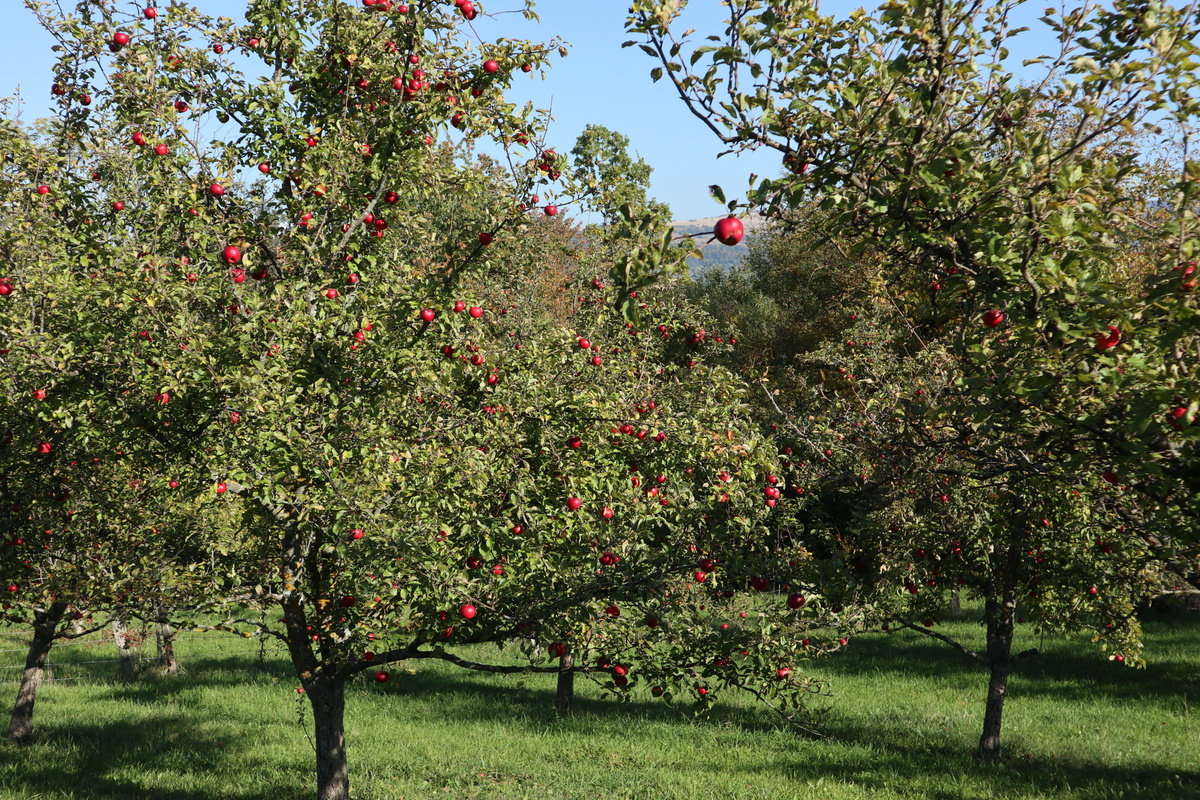
Choosing the right apple varieties when you plant an orchard is critical to your long-term success.
If apples are one of your favorite fruits, it’s always best to have a handful of varieties. Some early-fruiting ones, a couple of mid-season favorites and even more of the longest-lasting varieties. That way you can keep eating fresh fruits for months at a time.
If all goes extremely well, you can even overlap last year’s harvest with the early varieties in the new season. Toss in some perennials such as rhubarb and you’ve already got the best fillings for a tasty pie.
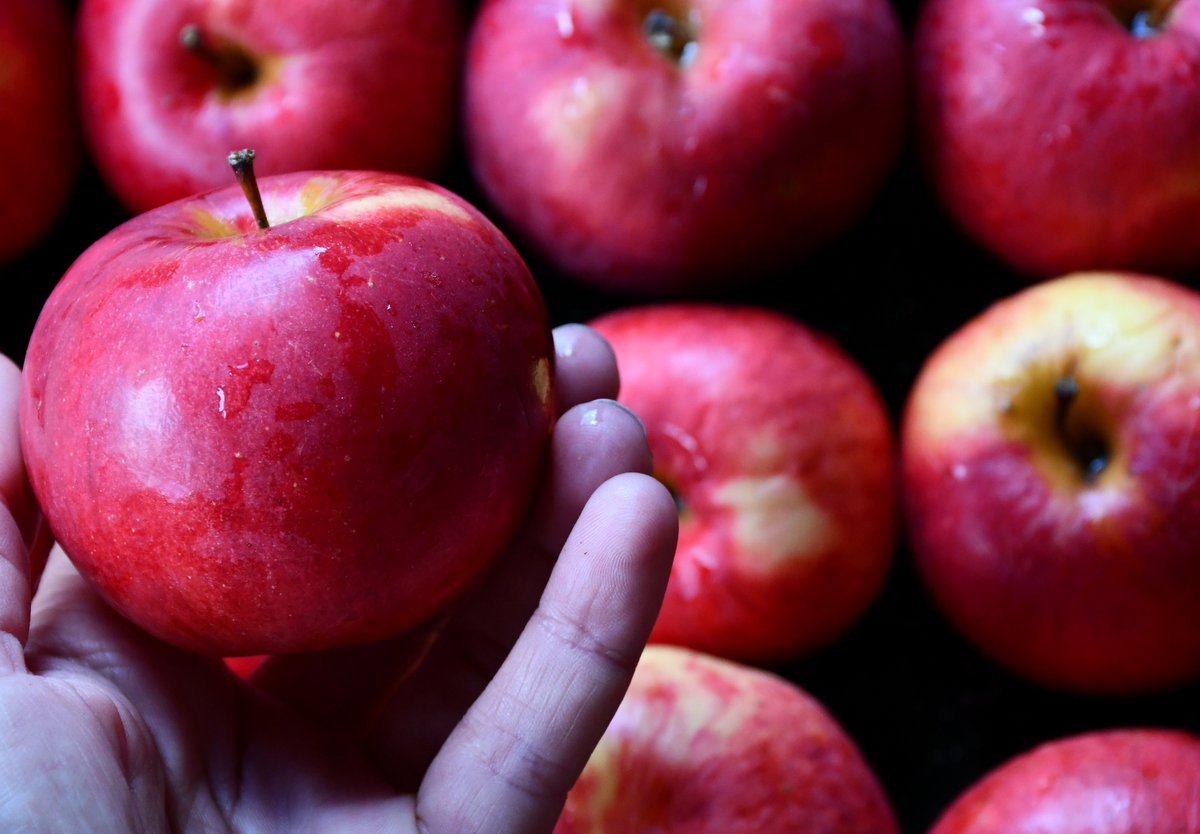
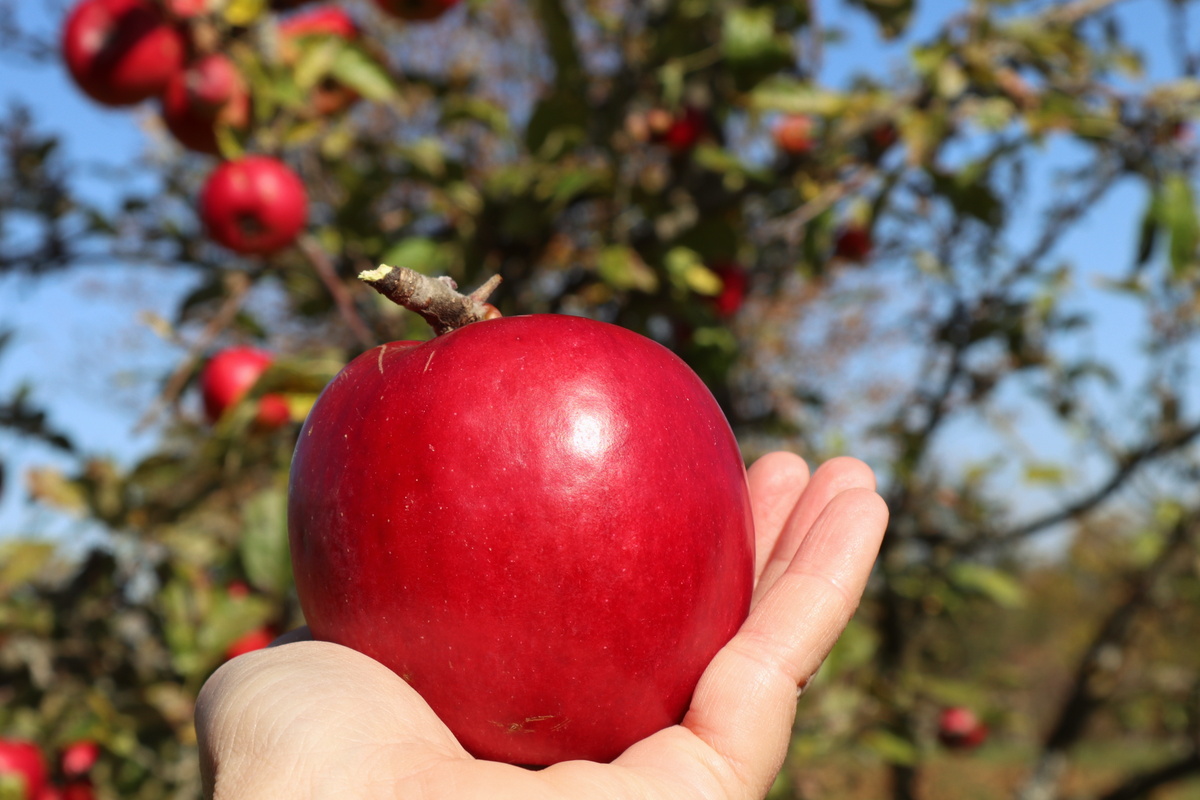
Save only the best apples.
It’s worth repeating again, you need to select the best apples for storage – and only the best. No lumps, no bumps and definitely no bruises. Straight from the tree is a great way to ensure the least amount of damage.
While hand harvesting apples, you’ll also want to look for signs of insect damage. If you are unfamiliar with the myriad of things that could go wrong when growing apples, check out this article to inform yourself of the 23 common apple tree problems and how to fix them.
You may encounter everything from codling moth damage to scars from apple sawflies. Neither of these are suitable for long-term storage. For fresh eating and pie baking, however, they are just fine. All you need to do, is cut out the rotten parts.
If your goal is to save apples for many months, make sure your apples are as blemish-free as possible.
Handle apples gently to avoid bruising.
When harvesting apples, you don’t want to be tossing them around. Handle each one like an egg and they will last for longer than you expect.
No matter how small a bruise they may have, you should always store the less than perfect apples in an area where you are sure to use them up first. If there are too many, go ahead and can them, or make a no-fuss hard apple cider, that is, if you have the right variety. You can also exercise some lessons in frugality as you waste next to nothing by making a homemade apple scrap vinegar.
If you feel like you are doing everything right, but still, your homegrown apples spoil too quickly, it may be that the variety you are trying to save is better for fresh eating or preserving.
Or perhaps your apple crop was picked too late in the season. In this case, the canning of applesauce or compote, in combination with dehydrating should be the skills you rely on to preserve your apples for months at a time.
How To Store Homegrown Apples In A Root Cellar
Saving a bushel of apples is easy enough. Eating them all is often the bigger challenge.
If you have an orchard and a root cellar, then, by all means, fill it with the autumn aroma of apples.
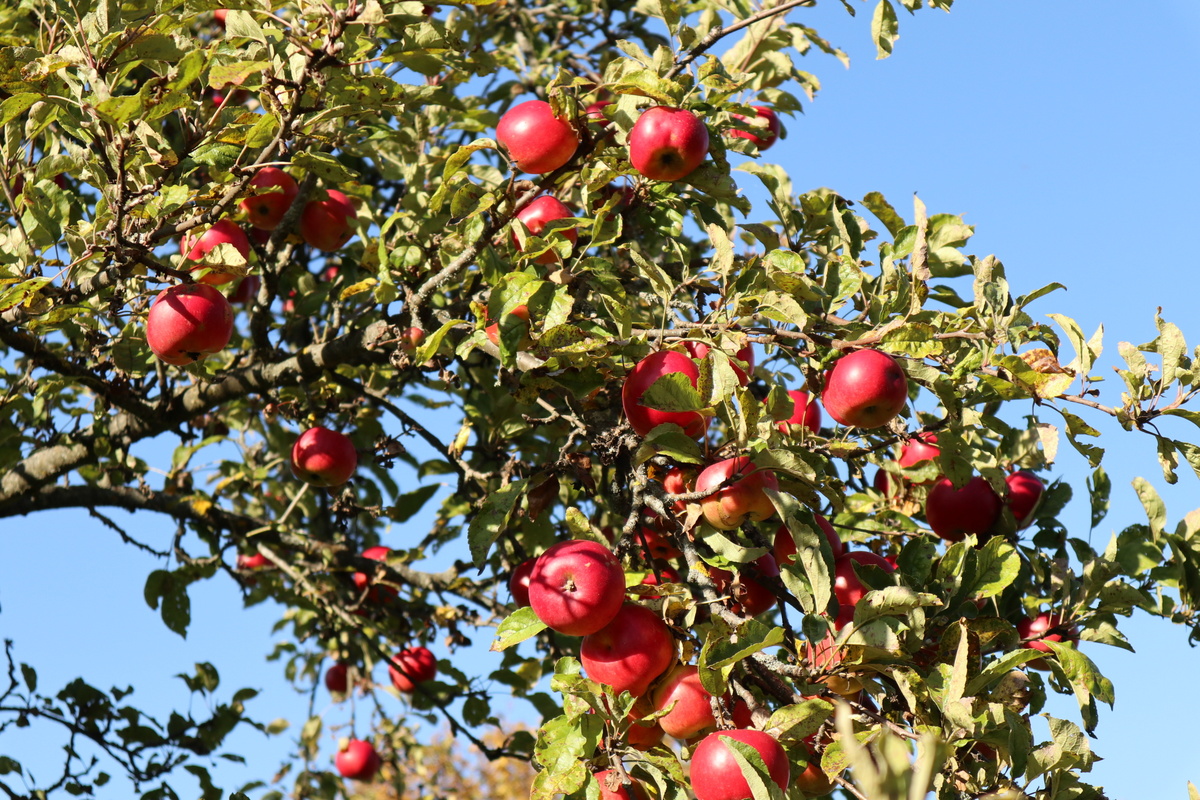
They don’t have to be your apples, you can get them from a u-pick orchard too, even a local farmers market. One thing you really want to look out for when purchasing apples, is that they still have their stems attached. Picking apples this way leads to a longer shelf life.
Forget about trying to save apples from the grocery store. You have no idea how long ago they were picked, or for how long they’ve been in storage.
Always start with the freshest apples you can find.
Most articles will have you wrapping apples and storing them on shelves of some kind.
We like to do things different here. The technique we use to save apples for months, though not new in our family, may be new to you.
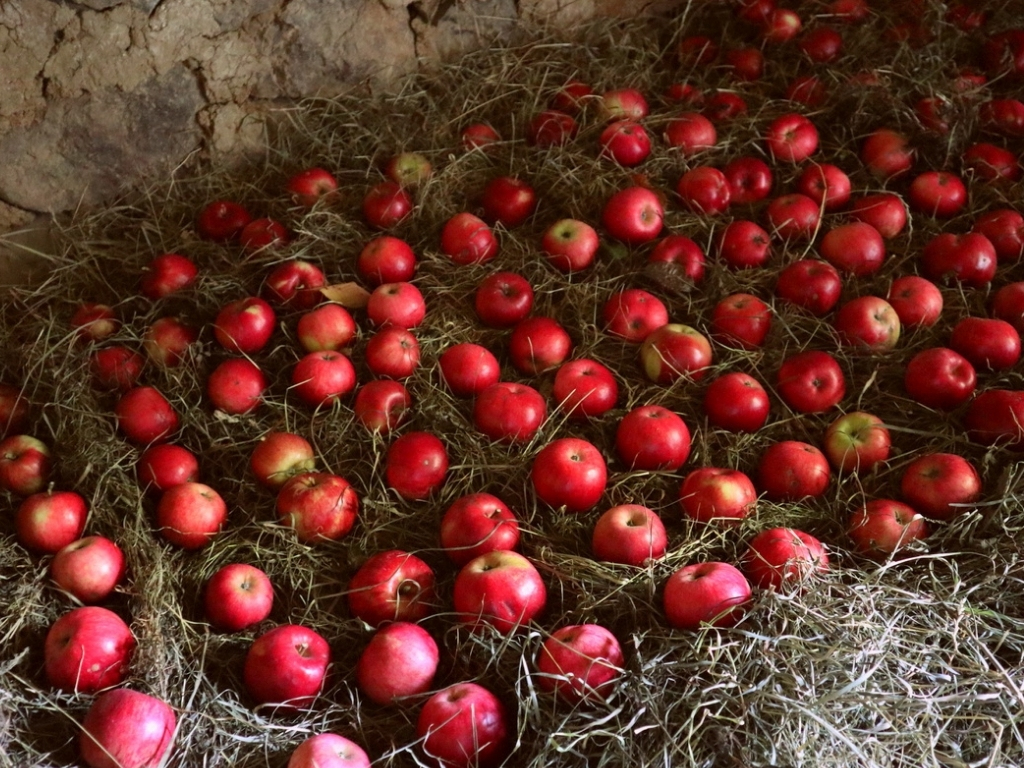
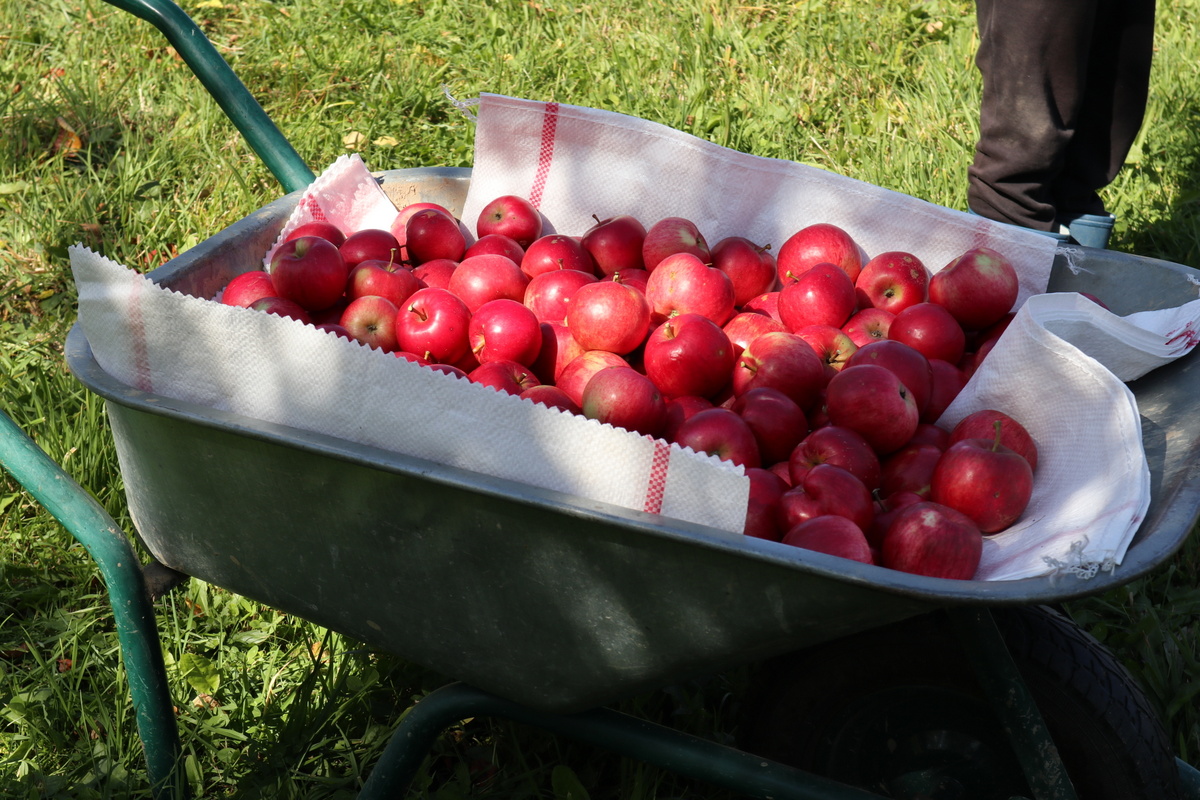
Once you’ve harvested a bunch, or an entire wheelbarrow of fruit, take your apples down to the cellar and get ready to layer them in hay. But, even before that, you should prepare your apple bed. Lay down a few logs, with some supporting boards on top. Then add a generous insulating layer of hay. About 12″ will do nicely.
On this bed of hay, start arranging your apples in rows, being sure to not let them touch one another.
Make this area as big, or as small, as you want, for you can add more layers of apples on top. When the first layer of apples is complete, go ahead and top this with 3-4″ more of fresh (never moldy) hay. Then repeat another layer of apples. Do this until your winter stock runs out.
As you go along, be sure to not put any pressure on the apple beds. Doing so may cause undue bruising, and with that, a shorter shelf-life. Once the last apples are laid in the bed of hay, cover them with another thick layer.
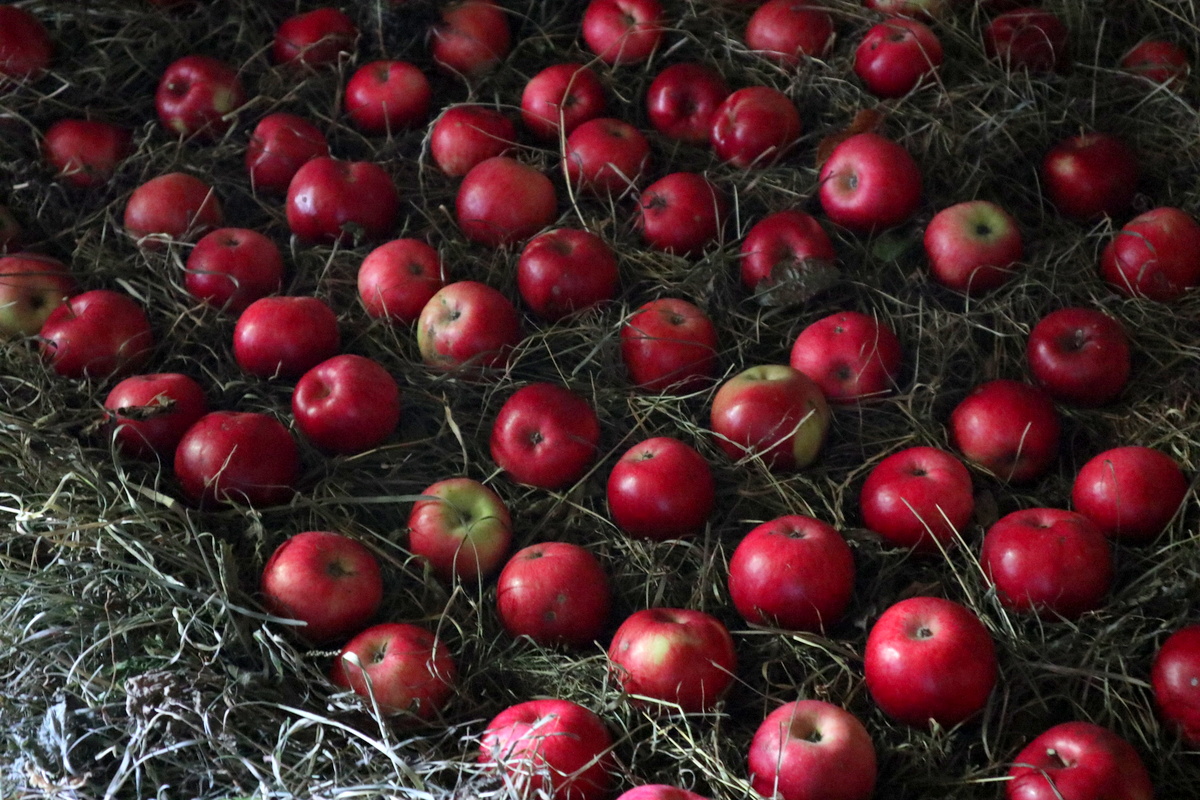
This way our apples reliably last, season after season, for nearly 10 months out of the year.
Before you can say you don’t have a cellar, never fear. It’s not necessary to have a cellar for storing your apples. Simply skip the part about hay and what could possibly go wrong with storing apples in a cellar and you’ll be right back to where you need to be: storing apples in your home.
A note on using hay in your cellar:
Because cellars can become humid or damp throughout the winter, it’s best to use a fresh batch of hay for one year only.
After this, you can add the hay in small quantities to your compost bin.
Or let your no-dig garden soak up the excess as mulch. You can never have too much mulch material laying around.
What could possibly go wrong with storing apples in a cellar?
So long as your cellar doesn’t freeze hard (which should not happen if your cellar is well-conceived anyway), apples are generally safe when stored for long periods of time in a cool, dark place. It’s the darkness which prevents sprouting – you’ll see right away why I’m saying this.
What else are you storing in your (same) cellar? With onions and potatoes in storage, make sure to keep some distance from the apples.
Whereas onions may lend an unwanted flavor to apples, potatoes and apples stored together will produce an ethylene gas which will make both of your crops rot quicker. It’s not that you need two cellars (though wouldn’t that be nice!), but it is advisable to keep them apart. At the same time, make sure that your cellar is well-ventilated.
Every once in a while, a rodent will come along to take a nibble or several apples from your stock. That’s never a fun problem to have. Here’s how you can prevent critters from stealing from your root cellar.
How To Store Homegrown Apples In Your Home
Luckily, you don’t need a root cellar to store your handpicked (or market-bought) apples.
As long as you have a cool, dark place, your apples should be fine for 3-4 months. This could be a basement, pantry, garage, closet or even attic, depending on your location. As long as temperatures never dip down to freezing, your apples will be okay.
The best part is, all it takes is a cardboard box and plain brown wrapping paper. It doesn’t even need to be airtight.
The most common way to store apples is to wrap each fruit individually in paper.
Here’s a healthy tip: avoid using newspapers full of colorful toxic inks and invest in some plain paper instead.
Set the sheets of paper down in front of you and quickly wrap each unwashed apple. Then place them side by side in a box, crate or orchard rack – we’ll get to that last option in a few seconds.
Depending on the variety, apples can be stored for 4-12 months this way.
If you happen to have a lot of hay on hand, you could always use the cellar method. Line the box with hay and set out your apples so none are touching. Add another sufficient layer of hay and another layer of apples. Keep going till you reach the top.
Remember, if you ever see, feel or smell a bad apple, remove it straight away.
Invest In An Orchard Rack For Convenient Storage

Fruit storage racks can be found online (this one is particularly beautiful), yet sometimes you have both the time and resources to DIY it. Storage racks can be used in a cellar, or a basement, with good results.
Even if you don’t have your own orchard to harvest from just yet, you can still pick your own and store them as if they were yours.
With removable racks that allow for air flow, this DIY apple storage rack is one of the best looking ones around. If it’s not large enough to store all your fruit, make a second one to go with it.
Best Apples For Longer Storage
Now, that you’re nearly an expert on apple storage, let’s take that knowledge a few steps further and find out what apples are best for long-term storage.
Soft apples are not going to keep for very long as they tend to bruise more easily. However, with so many apple varieties to choose from, you are sure to find a flavor and texture that you enjoy, one that also stores well for several months out of the year.
The best apples for long term storage are:
- Ashmead’s Kernel
- Braeburn
- Brown Russet
- Crispin
- Enterpise
- Golden Russet
- Honeycrisp
- Idared
- Jonathan
- Newtown Pippin
- Rome Beauty
- Winesap
If you are able to harvest or procure several apple varieties, it’s perfectly acceptable to store them together, just don’t let them get mixed up.
Harvesting and storing apples will make you feel proud, each and every time you bring up another one from the cellar, or out of the box.

Get the famous Rural Sprout newsletter delivered to your inbox.
Join the 50,000+ gardeners who get timely gardening tutorials, tips and tasks delivered direct to their inbox.