

Everyone knows that compost is like black gold for your garden. Compost prevents soil erosion, it supplies your plants with necessary nutrients, it improves disease resistance and aids in water retention – the list goes on and on.
But often, getting good compost can take a long time. Cold composting can take up to a year to see decent results. Of course, there’s nothing wrong with this method. If you prefer a hands-off method with minimal upkeep, the good ol’ cold compost heap is the way to go.
Vermicomposting also produces excellent results but can take several months, and even hot composting takes several weeks to a couple of months to produce a good product.
Wouldn’t it be great if you could have a nice pile of compost ready to go in a couple of weeks?
Enter the Berkeley Composting method.
This method of hot composting, developed at the University of Berkeley California, maximizes microbiotic activity to produce high-quality compost in only 14-18 days.
The materials needed are easy enough to come by, so once a pile is finished, you could easily set up another batch and have compost ready every couple of weeks.
If you had a great need for compost, you could even start a couple of piles, each a week apart, so you’re continuously creating compost.
Benefits of Berkeley Composting
1. Lightning Fast Compost
I think the biggest benefit is obvious – it’s lightning-fast. No other composting method can produce results this fast. You start with a large pile of raw ingredients, and in two weeks, you have beautifully decomposed compost ready to add to your garden.
2. Killer Compost
Berkeley composting kills nearly all plant diseases, insects and their eggs and weeds and weed seeds. In the end, your finished product won’t be harboring the problems from a previous season.
3. No Special Bins or Gadgets Needed
You need very little in the way of special equipment to get started, and the materials used to make the compost are common and plentiful. Berkeley composting is an incredibly affordable option.
4. Compost Pile? What Compost Pile?
One of the other benefits I think is less obvious – it’s not permanent. You don’t have to have a dedicated compost pile that draws flies and takes up space year-round. You don’t even need a compost bin. Skip the journey down the rabbit hole that is Pinterest looking for a DIY compost bin that will fit the bill.
As I mentioned above, with the Berkeley composting method, you can easily keep the cycle going, continually producing compost. Or you can make one batch of compost to use at the beginning of the season and be done.
Think about how easy it would be to make compost once at the beginning of the growing season and then be done. There’s no fussing with worms or a cold compost pile the rest of the time. For many folks, this is the perfect composting setup.
Let’s jump in, shall we?
We’re going to cover a lot of information here, and it may seem a bit overwhelming. However, I think you’ll find that once you get the basic concept down, Berkeley composting is quite simple to do and requires a minimal amount of daily effort.
We’ll start with a brief rundown of how the process works; then, we’ll dive into the specifics of creating your first pile.
Berkeley Composting In a Nutshell
You’ll be creating the perfect environment for the naturally occurring microbes present in decaying matter to do their job quickly and efficiently.
Using a specific ratio of carbon to nitrogen raw material, you’ll build a one cubic yard pile or bigger (or fill a bin) and add water to create and maintain the necessary heat for quick decomposition. Unlike a traditional compost pile, you won’t be continually adding to it as the process occurs. You’re going to mix everything together at the start.
After a day or two, the microbes will kick into high gear. You’ll turn the pile daily to ensure all parts of it spend time in the center where the heat is.
After 14-18 days, you’ll be left with a much smaller pile of broken-down compost that’s ready to be applied to your garden.
It really is as simple as that. Now we’ll move onto the finer details you’ll need to complete this two-week process.
Tools
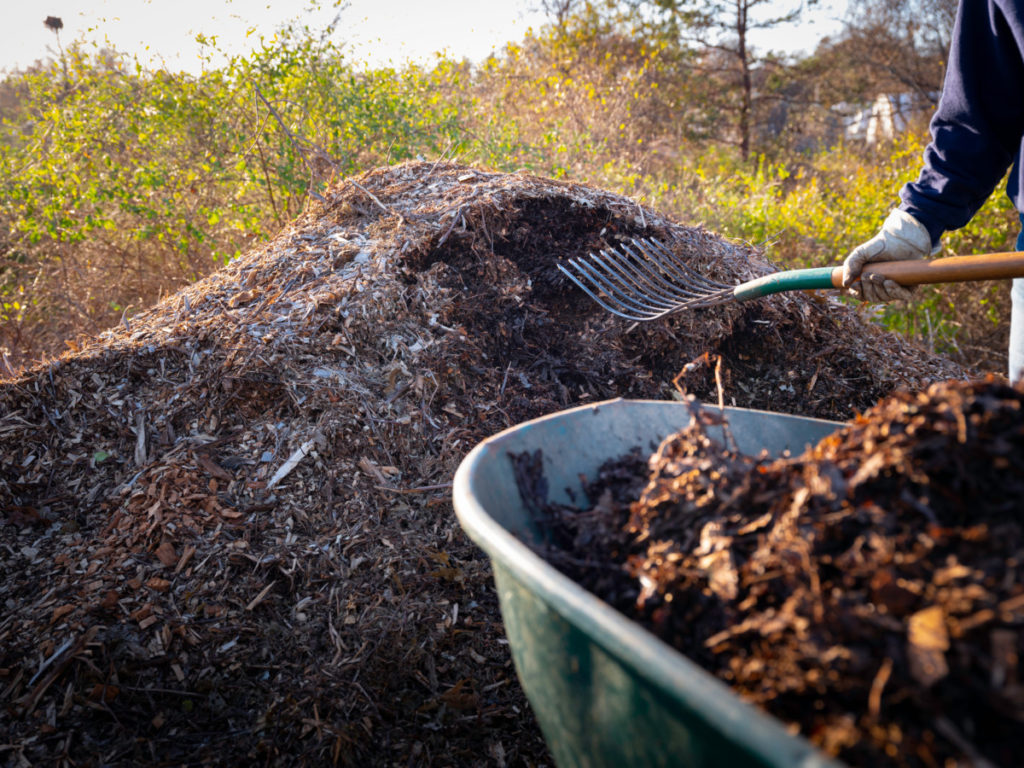
First thing’s first, you’ll need a pitchfork, a garden rake, and a tarp to cover your pile once it’s set up.
If you choose, you can set your pile up in a bin. Bins are great for holding in the heat, but using one isn’t necessary if you want to keep things simple.
You’ll need a bin that’s large enough to accommodate at least a cubic meter of raw material. Some folks suggest using two if you go the bin route, as you can turn the pile into the second bin every other day, rather than trying to turn the pile in the confines of the bin.
And that’s all you’ll need as far as tools.
Assembling Your Pile
Next, we’ll create our pile. You want to remember these four key features when assembling your pile:
Big Pile, Small Pieces
To maintain the high temperatures needed for the rapid breaking down of the raw materials, you need a large pile. It should be one cubic yard – 36” x 36” x 36” at the bare minimum. In this scenario, a little bigger is better.
However, while you need the pile to be large enough to hold in heat, the pieces of the materials you use need to be chopped or cut very small. A good rule of thumb is ½” to 1 ½” pieces. This gives the hungry microbes plenty of surface area to grow and do their job.
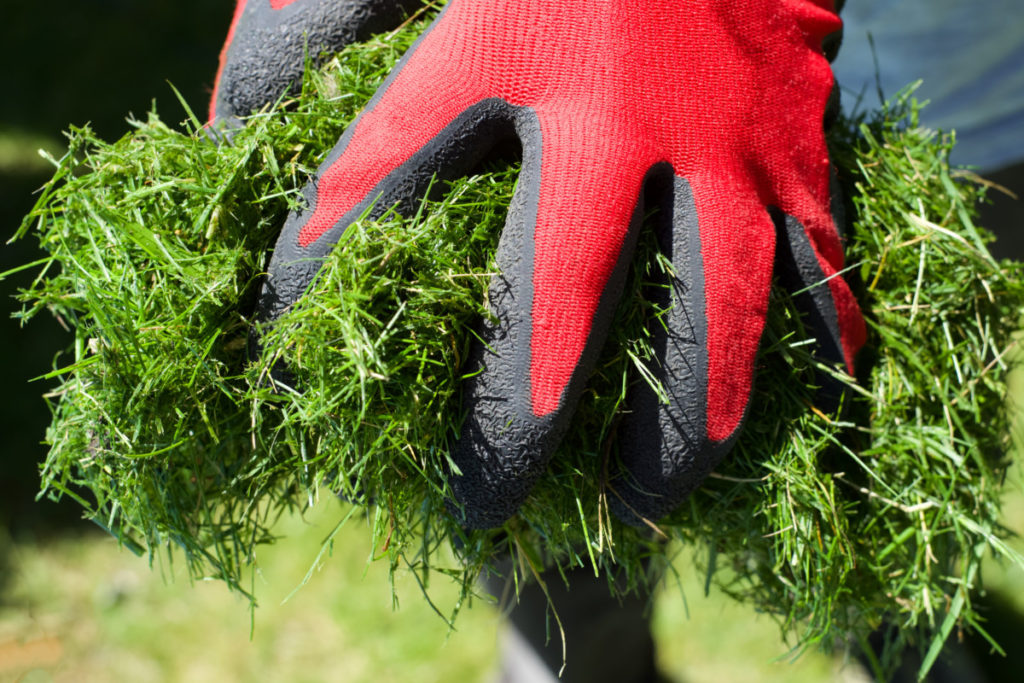
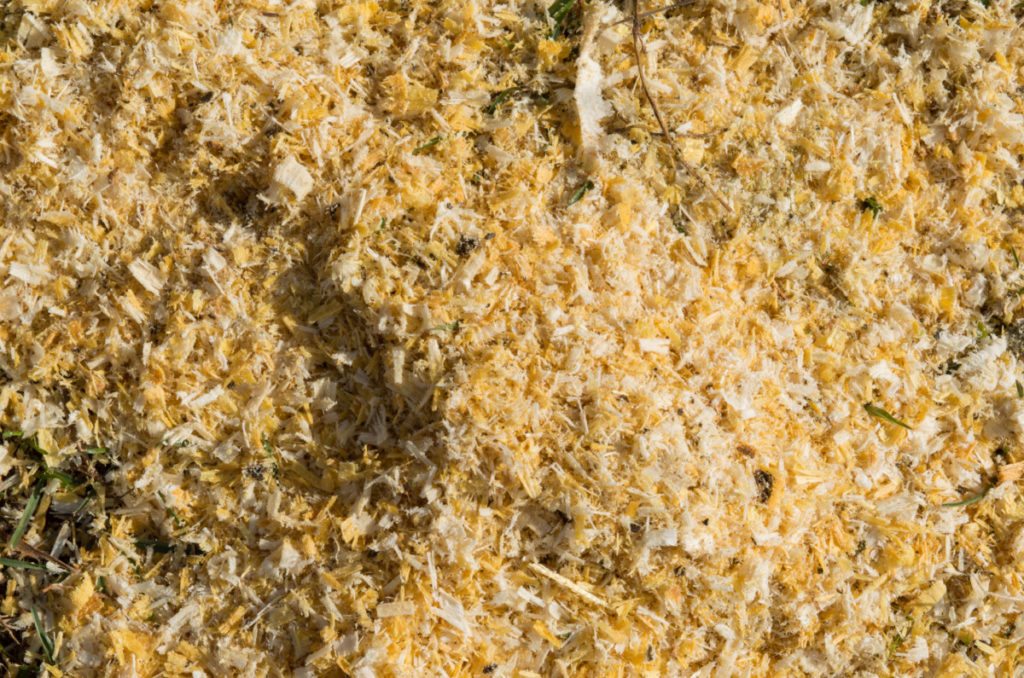
Soft items, like grass or food scraps, can be a bit larger because they naturally decompose quickly. Harder or woody items like twigs from a pruned tree or cardboard need to be shredded or chopped smaller. Another good rule of thumb to follow is the harder the material, the finer it should be chopped.
Carbon to Nitrogen – 30:1
The materials you will be composting have to be a specific mix of carbon (brown) and nitrogen (green) rich materials. The nitrogen-rich materials are where the heat comes from. The ratio of carbon to nitrogen should be around 30:1.
I know what you’re thinking; how do I measure this?
As my grandmother would say, “It’s guess, and by golly.”
On the whole, if you’re using plant-based materials for both your carbon and nitrogen, volume is the way to go. Usually, the same volume of green plant material per the same volume of dried plant material will give you the correct ratio.
“Green” or Nitrogen-Rich Materials
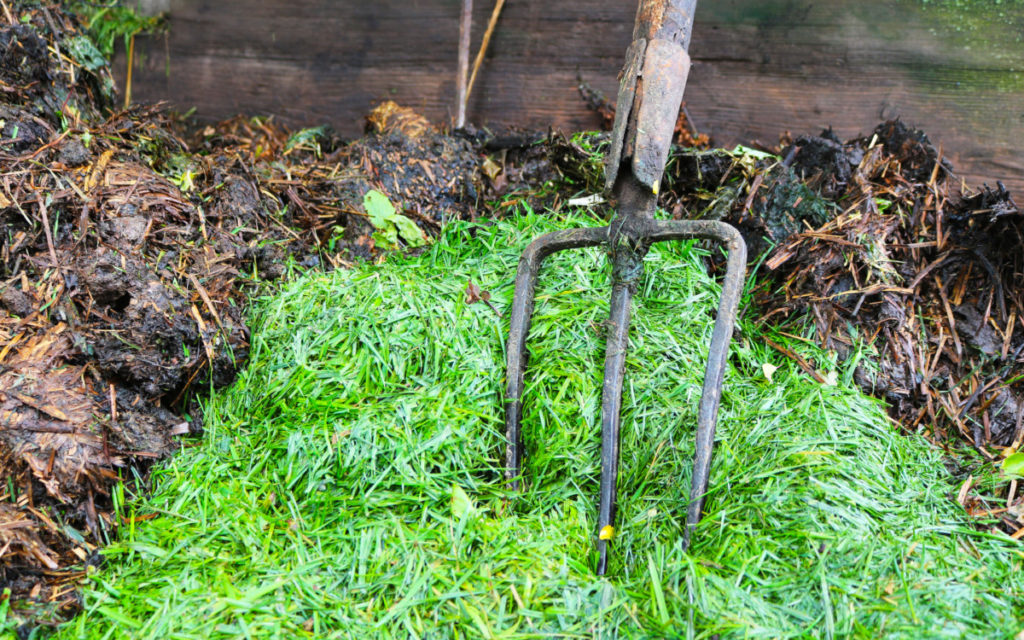
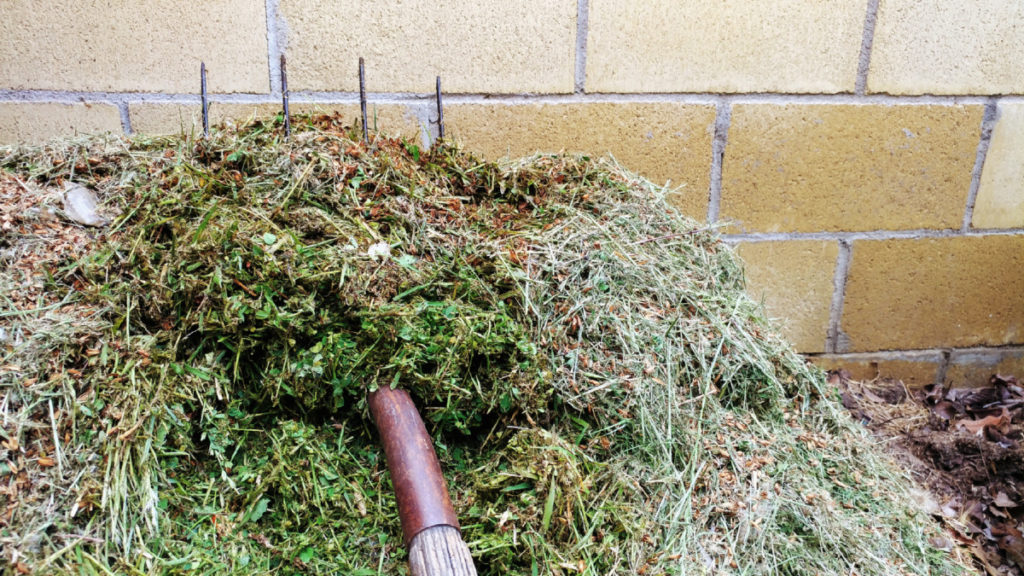
- Grass clippings
- Dead headed flowers
- Clippings from green pruned trees and shrubs
- Weeds
- Fruit and vegetable scraps, including eggshells
- Fresh manure from non-meat-eating animals – goats, chickens, horses, cows, etc.
“Brown” or Carbon-Rich Materials

- Corrugated cardboard (skip anything that has wax or is shiny)
- Paper – copy paper, newspaper, napkins, paper towels and plates, coffee filters, etc.
- Dried corn stalks
- Fallen leaves
- Dried pine needles
- Sawdust
- Straw and Hay
- Wood chips or shredded tree bark
Obviously, this is just a small list to get you started. There are plenty more green and brown items which can be composted. If you have something you’d like to add to your pile, I suggest doing a quick internet search to determine if it’s a green or brown.
A Note About Using Copy Paper and Newspaper
If you’re going to use paper, be sure it’s shredded finely and mixed well with the green portion of your pile. Otherwise, the paper can mat, and you’ll have pockets of your compost pile that isn’t getting any oxygen. No oxygen = death to your happy little microbes.
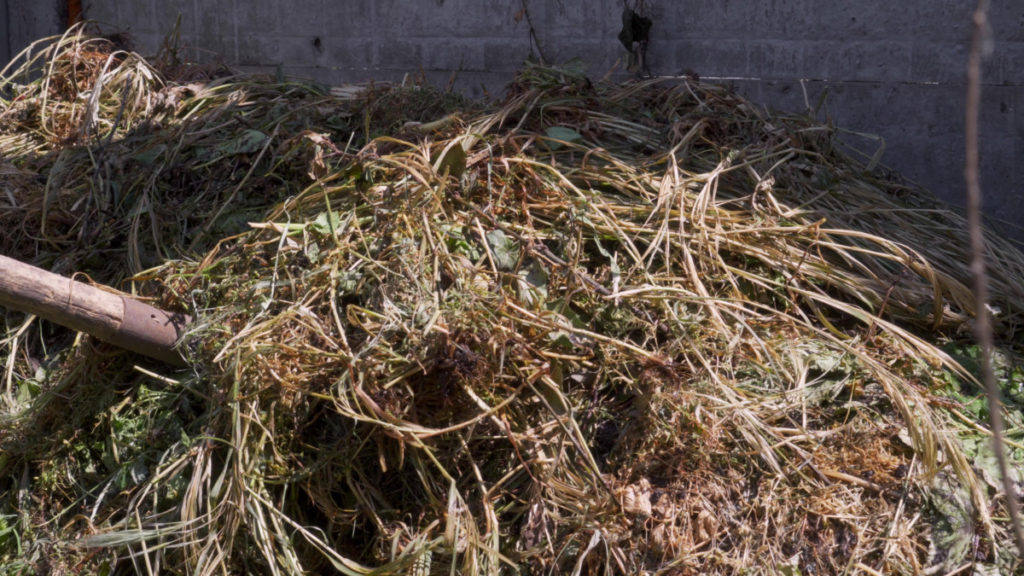
The Big Squeeze
Once you have your raw materials together, combine them to create your large pile. An easy way to do this and assure you get a well-mixed pile is pitchfork one scoop from the browns then one scoop from the greens all into one large pile.
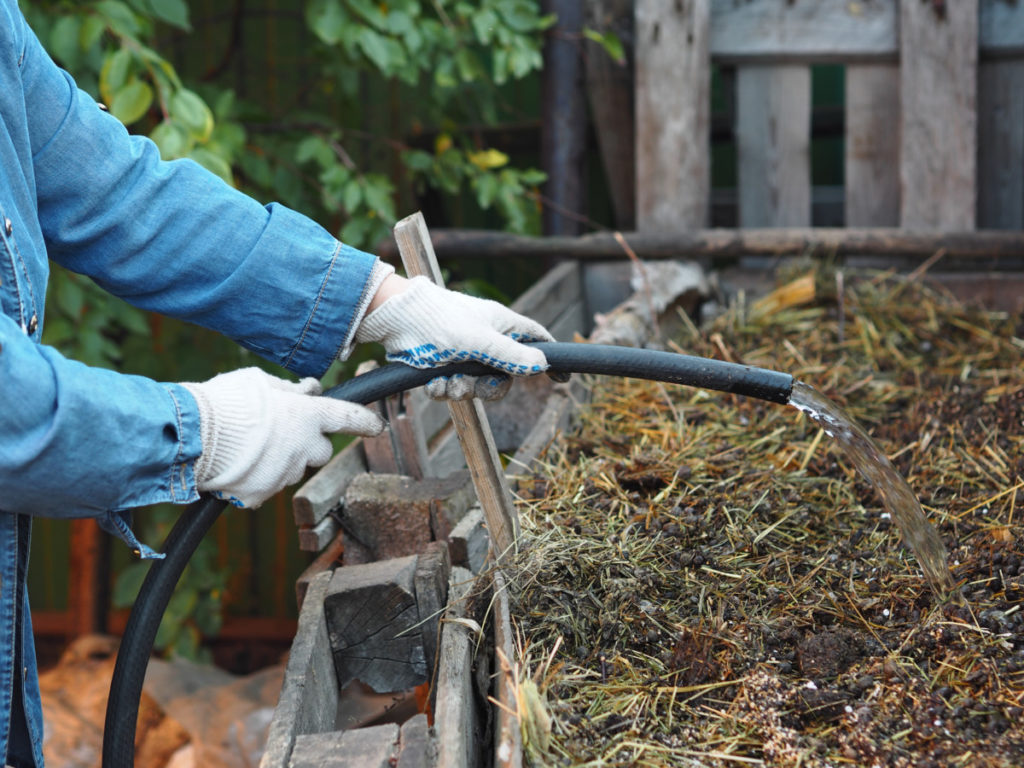
Now we need to water the pile. Give it all a good soaking, being sure to get all parts of the pile wet. The amount of water needs to be fairly specific, roughly, soaked through about 50% of the way.
An easy way to gauge if you have enough water is to pick up a large handful of your compost mixture and squeeze it hard; only a drop or two of water should come out.
If you didn’t get any water droplets out, add more water. If you squeeze out a fair bit of water, you will need to spread your pile out for a few hours to dry before heaping it all back together.
Keep it Covered

Because you went to all the trouble to get the water just right, you’ll want to keep it that way. Cover your pile with a tarp. You can tuck the edges in under the pile or place a few large rocks around the edges.
Covering your pile serves a couple of purposes; as I stated, it keeps the pile saturated the way you want. If it rains, your pile won’t be overwatered, and you won’t lose precious nutrients.
Keeping the pile covered also helps to hold in the heat. Remember that’s the key to getting the materials to break down quickly.
Tuck in your compost pile, mark day one on your calendar and call it a day.
Checking In
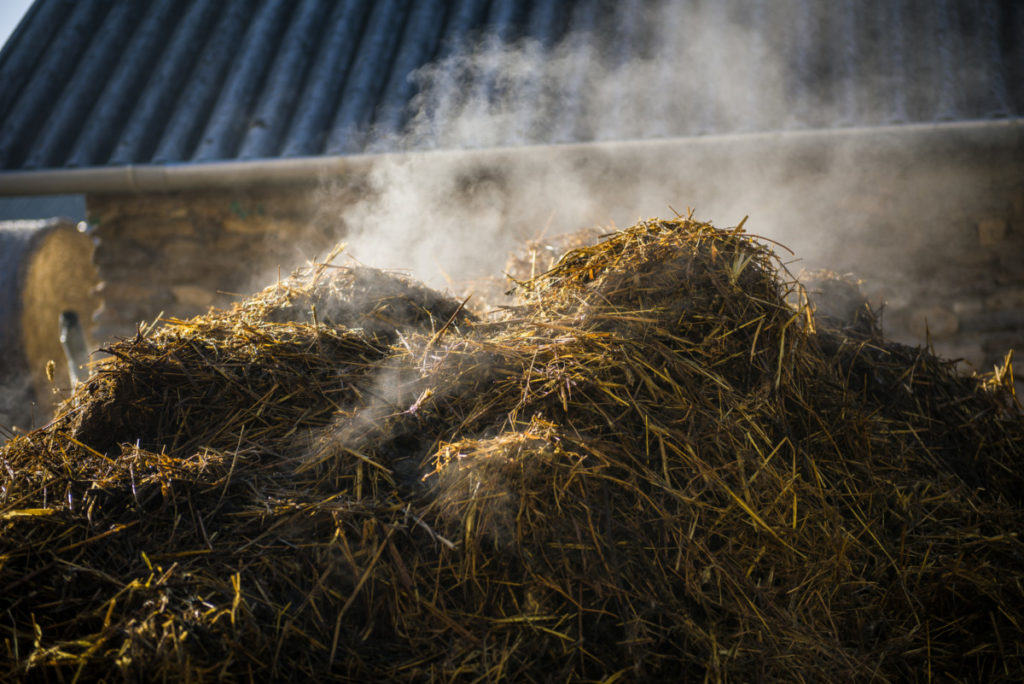
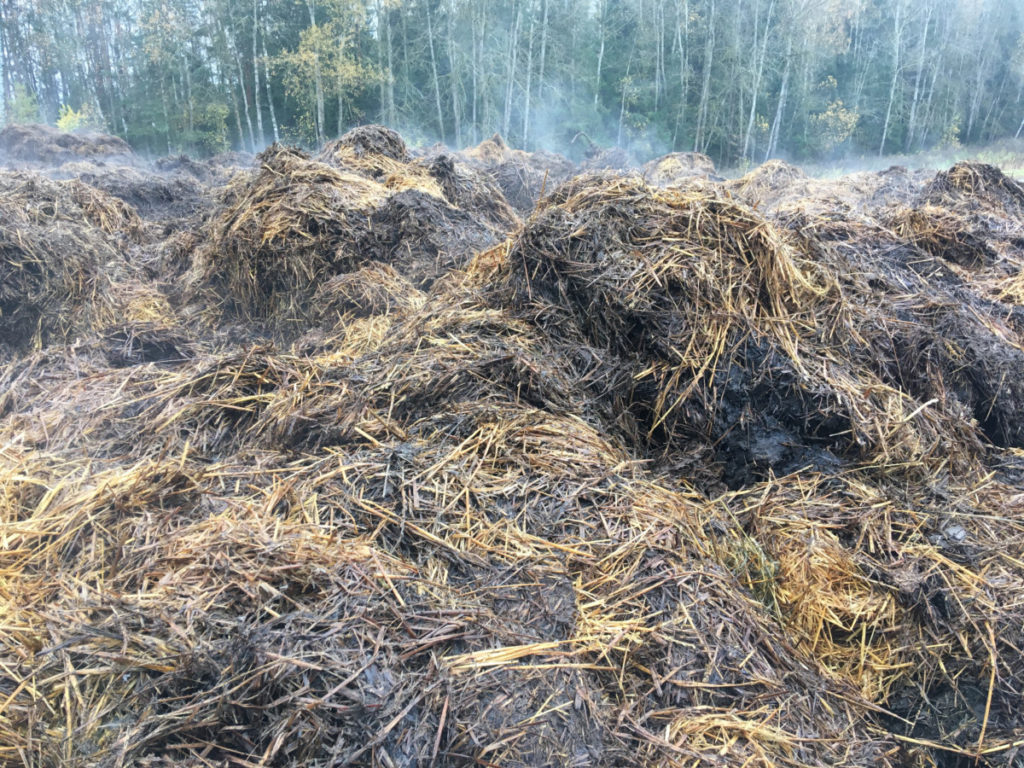
Check your pile about 24 to 48 hours after you start it. By now, the microbes should be happily making you a pile of compost perfection, which is to say you should notice considerable heat coming from your pile.
Since we’ve been ‘all thumbs’ up to this point, let’s continue the trend – a good rule of thumb is the elbow test; stick your hand into the middle of the pile, up to your elbow. It should be hot enough that it’s uncomfortable to keep your hand in the pile.
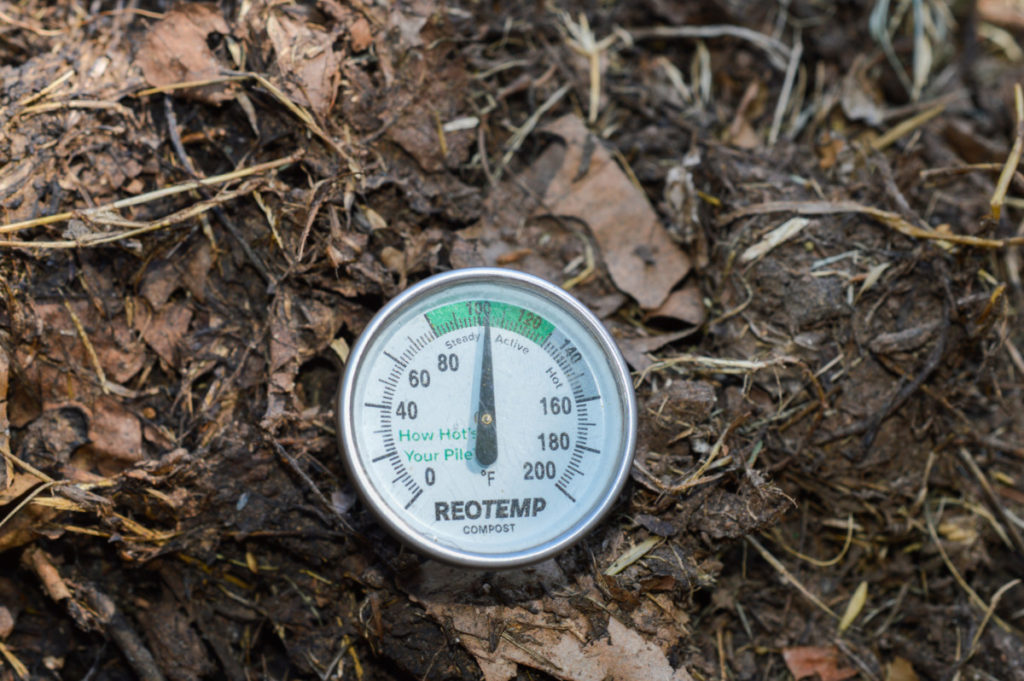
Of course, you can also use a compost thermometer or an infrared thermometer, but you don’t have to use any of these special gadgets. The magic number seems to be around 160 degrees F; any hotter and you kill off your microbe buddies, any lower, and they slow down.
Great! Now we start turning.
Turning
Every day after the first 24 to 48 hours, you’ll be turning your pile. Using your pitchfork and rake, you want to move the outer parts of the pile to the inner parts of the pile where the most heat is. This ensures your microbes get plenty to eat and that all parts of the pile have a chance to break down.
This is the ‘hard part’ but remember, it’s only for 14-18 days and really, it only takes a few minutes to do.
Once you’ve finished, don’t forget to tuck your pile back in.
Finishing Up
For the first week, your pile will continue to cook, breaking down all the raw materials. Once you get to your second week, the pile will slowly begin to cool off as decomposition slows down and your pile has become compost. Continue turning every day.
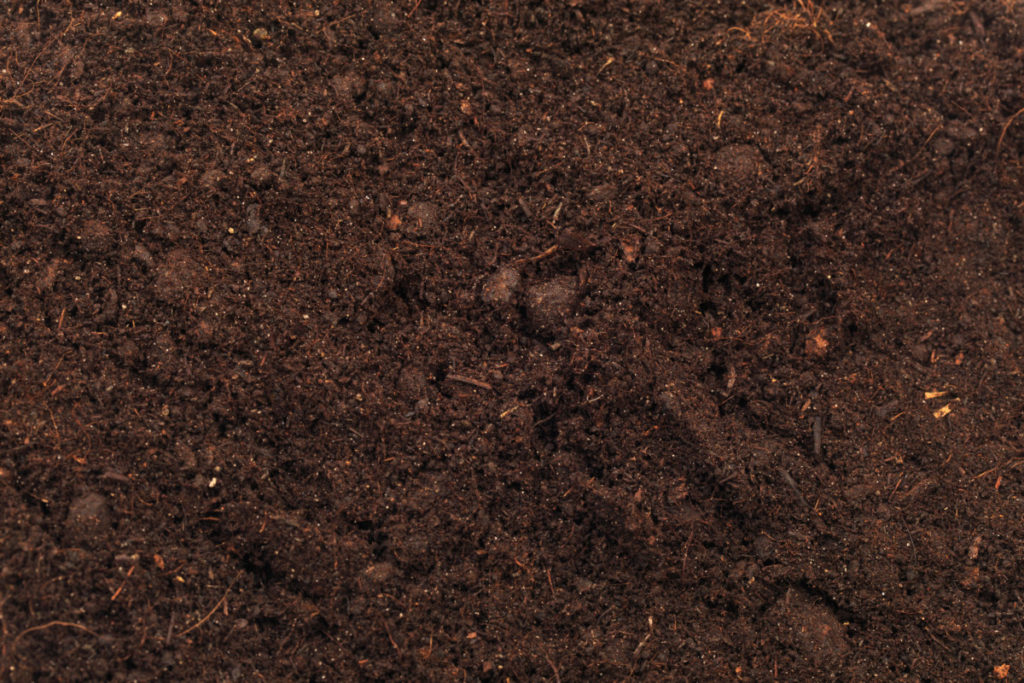
By day 14, your pile will have reduced in size considerably, and the organic material will be dark brown. Voila, nearly instant compost! Your finished compost is ready to use right away and will continue breaking down over time in the soil.
Troubleshooting
Nearly all issues with Berkeley composting can be attributed to one of three factors. If you fix these, then your compost should be right as rain. Any issues that arise will usually add a day or two to the overall time it takes to compost your pile.
Not Hot After 24 to 48 Hours
Your pile is either too wet or too dry, or there isn’t enough nitrogen. Do a squeeze test and adjust the water as necessary.
If the water is fine, it has to be the nitrogen. A quick way to adjust the nitrogen is to add fresh grass clippings; however, any other “green” item will work. Mix it all up, cover it and check it again after another 24 hours have passed.
Too Dry
If your pile is much cooler on the outside and very hot on the inside, it’s probably too dry. Add some water, and do the squeeze test.
Too Wet
Similarly, if your pile is hot on the outside and cooler in the middle, your pile is too wet. Leave the cover off your pile for a few hours.
Carbon to Nitrogen Ratio is Off
If your ratio is off, you’ll know it. Things will start to break down very quickly, and you’ll begin to smell ammonia. (Your pile is losing nitrogen.) Mix a finely shredded carbon/brown (sawdust is a great option for balancing your ratio) into the areas where you can smell the ammonia coming from. This should correct the imbalance.
Signs of Success
You know you’ve got a good reaction going if you can feel the heat coming off of the pile, and it has a slightly pleasant ‘warm’ odor to it. You may also see water vapor coming off the pile when you turn it or see white fibers of mycelium developing. You’ll also notice the pile is shrinking.
Berkeley composting is one of those things that sounds hard until you try it. Give it a go. I think you’ll find yourself using this method time and time again as you need compost at the ready.
If you want to learn more about other composting methods, I recommend checking out Elizabeth’s guide to Hot Composting, How to Start Your Own Worm Bin, or perhaps learn how to make a DIY compost bin for a cold compost pile.

Get the famous Rural Sprout newsletter delivered to your inbox.
Join the 50,000+ gardeners who get timely gardening tutorials, tips and tasks delivered direct to their inbox.