

At the peak of every autumn apple harvest, one quickly begins to search for clever ways to preserve bucketloads of apples. Then the thought eventually bubbles up – is apple cider vinegar the same thing as apple scrap vinegar? If there is a difference, then what is it?
The internet is full of questions and answers – though, as you have likely already encountered this for yourself, not all of them are correct. Some of the explanations make sense, while others lead you astray, leaving you in even more quandary.
And sometimes it turns out, that many of us are blindly following the masses. For example, we know the positive health benefits of consuming apple cider vinegar.
Yet, at the same time, we have also been led to believe that apple cider vinegar can be made at home from apple cores and peels.
It is not quite that simple. Nor is it difficult to make your own apple scrap vinegar.
What I am getting at is this:
fermented apple peels and cores + water = apple scrap vinegar
– and –
fresh pressed raw apple cider + time + oxygen = real apple cider vinegar
In essence, to make apple cider vinegar, you start the process for making hard apple cider, then take another route. Instead of creating alcohol, you expose the cider to the elements of the air, turning it slowly into a vinegar.
Making true apple cider vinegar is a lengthier process than making apple scrap vinegar and the rewards are definitely worth it.
We’ll describe the process briefly, then go onto how to make apple scrap vinegar – the method that more of us can relate to (which is coincidentally often referred to as apple cider vinegar).
How to make apple cider vinegar
If you have homegrown apples and a cider press, then you may already be familiar with the process of pressing juice.
Luckily, you don’t need to be so well equipped to accomplish such an easy task of buying raw or pasteurized apple cider from a local farm or a nearby store. You should, however, avoid purchasing cider with additives and flavorings. And if it has potassium sorbate as a preservative, then forget about fermentation altogether, as it will be inhibited by this single ingredient.
Then it starts to get a bit more complicated.
Pour your raw apple cider into a fermentation vessel, 1-2 gallon glass jug, to start the primary fermentation.
Then you will want to end the yeast fermentation with pasteurization, add the vinegar mother and bottle it all up for later use.
After all of this, you will gladly pay more for expensive organic apple cider vinegar (with the mother) at the store!
Or choose the next best option of making apple “cider” vinegar from scratch.
Flavorwise, it will not be quite the same intense as vinegar made from apple cider, though it is a wonderful way to use up food scraps that might otherwise be wasted. And it may not be as acidic as ACV, though it has plenty of uses as you will find out.
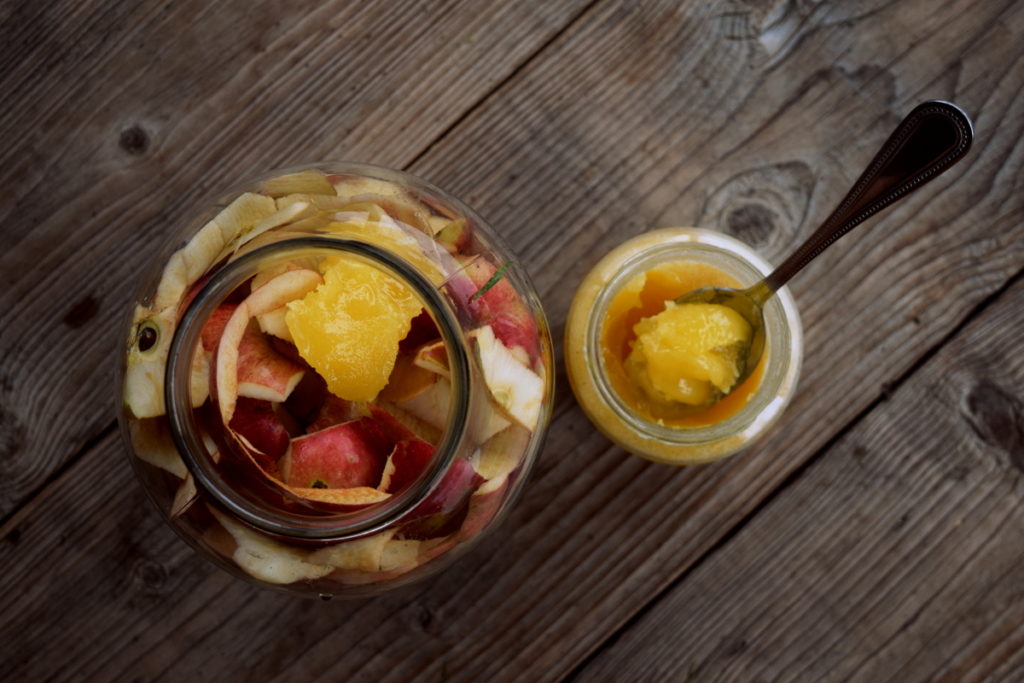
It is easy and uncomplicated, needing nothing more than apple scraps, honey, a jar, cheesecloth to cover the fermenting mass, and time.
If you would still like to try your hand at making apple cider vinegar, this article from Practical Self Reliance is in-depth, informative and inspiring.
Selecting the best apples for apple scrap vinegar
To end with the best, you need to start with the best. Every time.
Organic apples cannot be beat, both in terms of flavor and nutrition. Every chance you get, you should buy, or grow, organic.
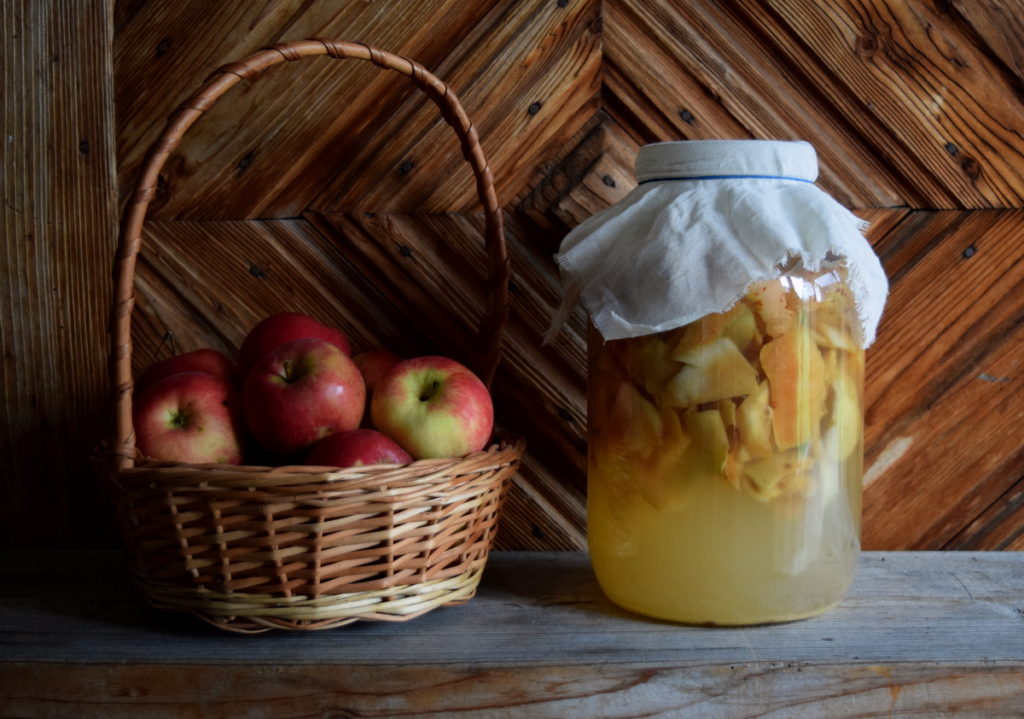
Grab a basketful of apples from an unsprayed orchard (asking permission of course), or buy from a local farmers market.
As for what apple varieties to add to your apple scrap vinegar, be sure that at least half are sweet, such as Jonathan, Golden Delicious or Gala. The rest can be sour, tart or even windfall apples.
If you have multiple jars and more than one variety of apple, you can mix up the proportions to find which one tastes better than the rest.
Tips for getting started with making apple scrap vinegar
Just as with canning, you are going to want to start your homemade vinegar with clean tools and sterilized equipment. You don’t want any bad bacteria interfering with the fermentation process. Make the conditions right for good bacteria and you are ready to watch the bubbles rise – well, almost.
Always use clean utensils
To prepare your glass jar for apple cores and peels, wash it with hot, soapy water. Rinse with cool water and leave it to air dry.
As you will be stirring your apple scrap vinegar every day for the first two weeks, be sure to use a clean utensil every time. Do not give it a stir with your hand, however tempted you are to try it.
Non-chlorinated water
Fermentation is naturally resistant to chlorinated water.
Refrain from using tap water directly from the faucet, unless it has sat out overnight in a large bowl or jug.
Alternatively you could use water from your water filter, or go with store-bought spring water or distilled water. The latter you should always keep on hand, at least a few gallons, for all your fermentation needs.
Sugar or sugar-free?
Locally, in the northern mountains of Romania, apple scrap vinegar is made in large batches, in barrels holding up to several liters. I’m told that they do not use sugar, just the apple scraps and water.
I cannot attest to the flavor or longevity of this rustic vinegar and of course, online sources proclaim both this and that.
Sugar will indeed make the fermentation process faster, thus more reliable.
Honey can also be used in place of sugar, though the process is said to be slower.
And, of course, one can always add a sip of raw apple cider vinegar with the mother, or the mother herself, to speed up fermentation!
There is plenty of room for experimentation here. The only thing you need to watch out for, is that mold does not form on the top of the ferment. You could add fermentation weights to the apple cores/peels or simply stir it once a day to prevent mold from attaching to your amazing ferment.
You will also want to use a glass jar, or ceramic fermentation crock for making ferments.
Do not ever use metal, as it will make your vinegar taste off. Possibly even leaching contaminants into your finished product.
Note that apple scrap vinegar should never be used for canning. The pH will vary from batch to batch, making it an unreliable ingredient for preserving.
The easiest way to make apple scrap vinegar
Now, that you have selected some nice apples and are ready to get started, the next thing to consider is that you should never put moldy or bruised apples in your jar.
Toss those moldy scraps straight on the compost pile.
You will find the best apple scraps from the leftovers of making compote, baked apples, apple pies, chilled apple soups or from your endeavors in canning applesauce.
Ingredients for making apple scrap vinegar
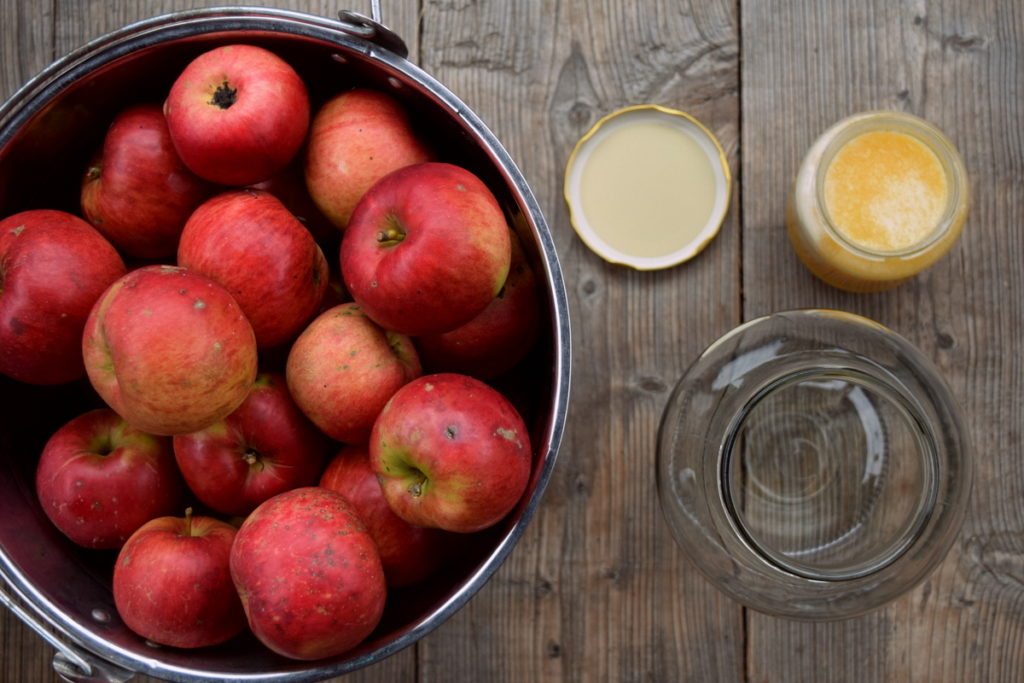
- peels and cores from 12-15 apples
- 2 T. honey (if you have time to wait for fermentation to begin) or 2 T. sugar
- non-chlorinated water to cover the apples
- 2 T. raw apple cider vinegar, optional
- ACV mother, optional
You will also need a gallon size jar, or larger. It all depends on how much vinegar you are making at once.
Instructions for making apple scrap vinegar
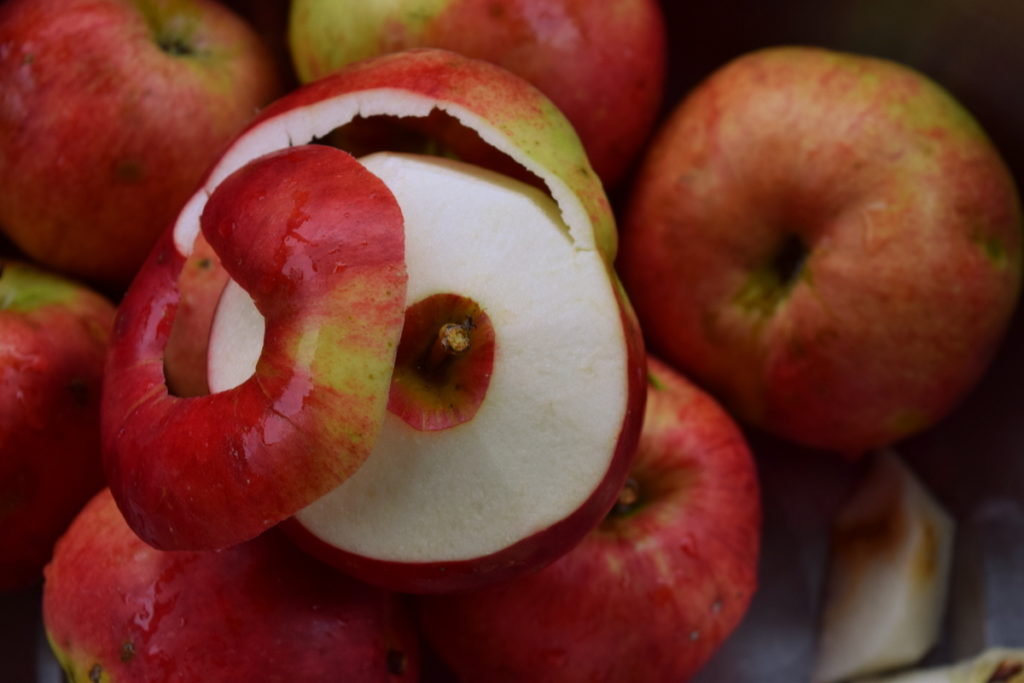
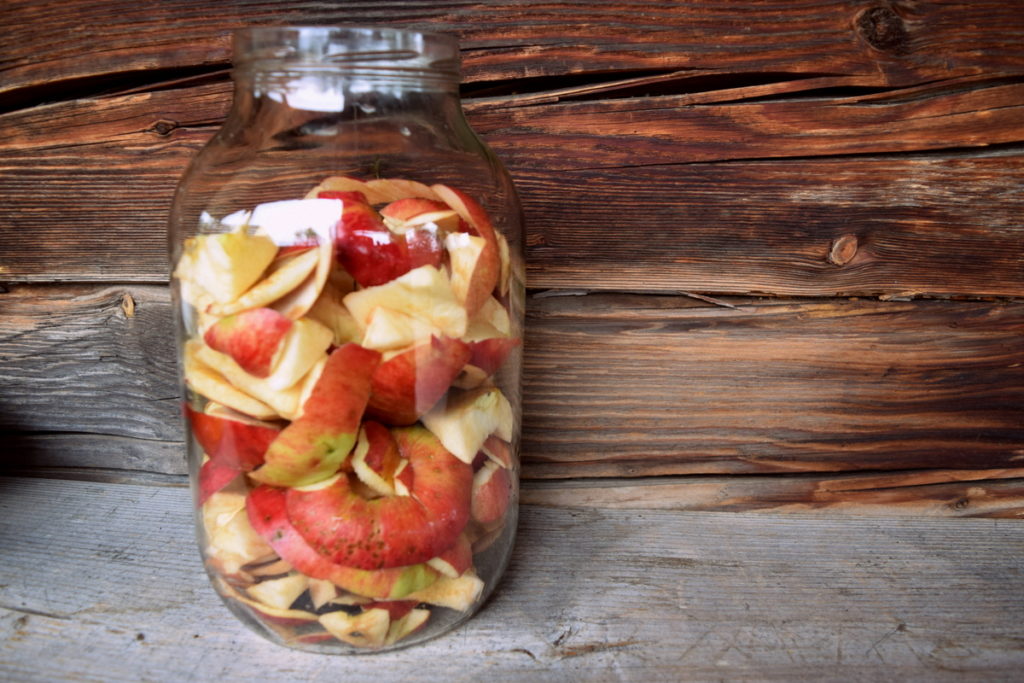
First, peel and core your apples (then toss that apple crumble in the oven!).
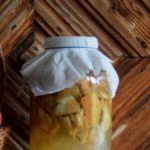
Place all of the apple remnants in a large-mouth glass jar, or ceramic fermentation crock.
Next thing is to add the water and honey, or sugar.
Give it a good stir to make sure that the sweetener is dissolved in the water. Then cover it with cheesecloth, or another fine cloth to keep fruit flies out. They love this stuff! Snap a rubber band around the rim and set the jar in an out-of-the-way area on your countertop.
Now the waiting begins
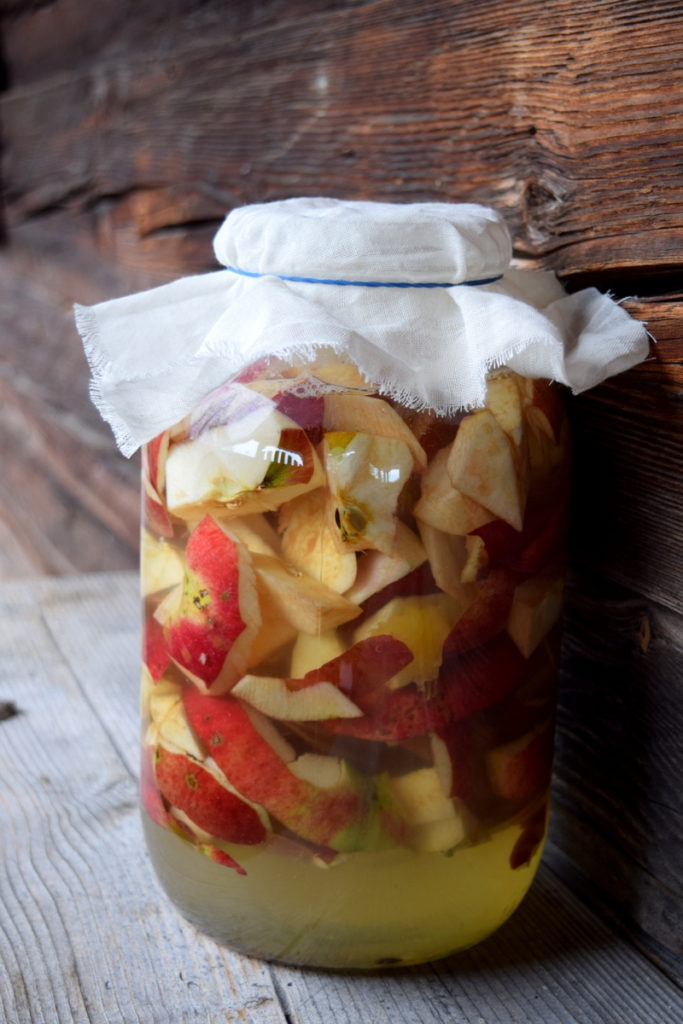
The reason for using a cloth to cover your apple scrap vinegar is this: you do not want a vinegar explosion in your house. If you put a lid on your fermenting vinegar, it must be released several times a day, due to build-up of carbon dioxide CO2.
Using a cheesecloth is a worry-free way to go.
After just a few days of fermentation, your becoming vinegar will start to foam and bubble. This is a great sign that everything is in order.
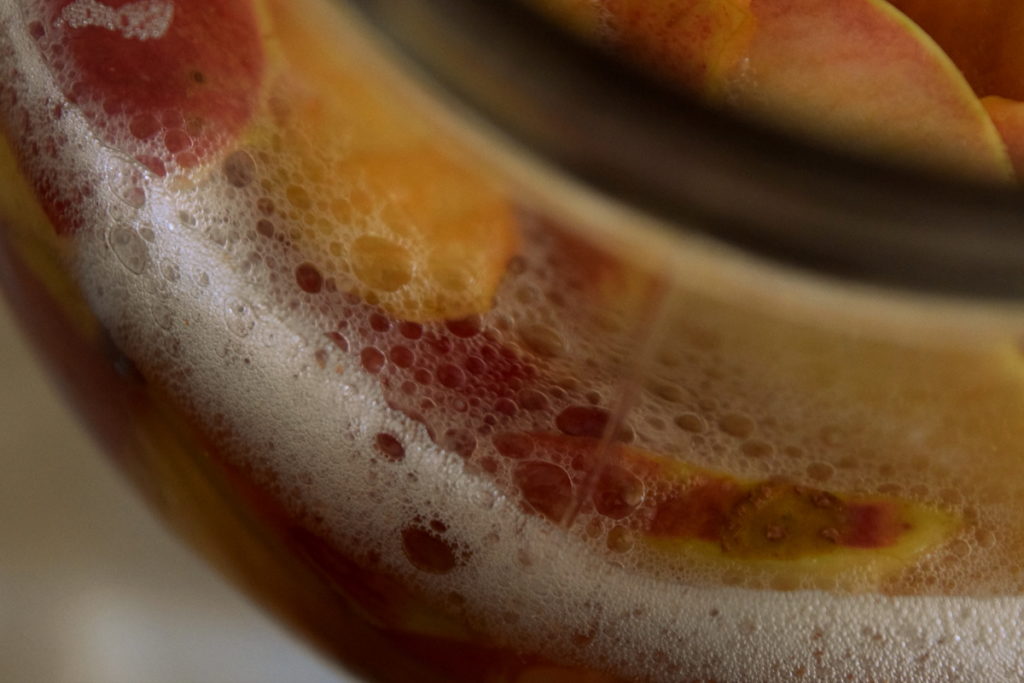
Stirring it once a day, or more, will help to aerate your ferment. This, in turn, helps to prevent the formation of mold. If your apple scrap vinegar ever gets moldy, do not continue with it. Pour it on the compost pile and start again, making sure that your jar and stirring utensils are clean as can be.
Waiting some more…
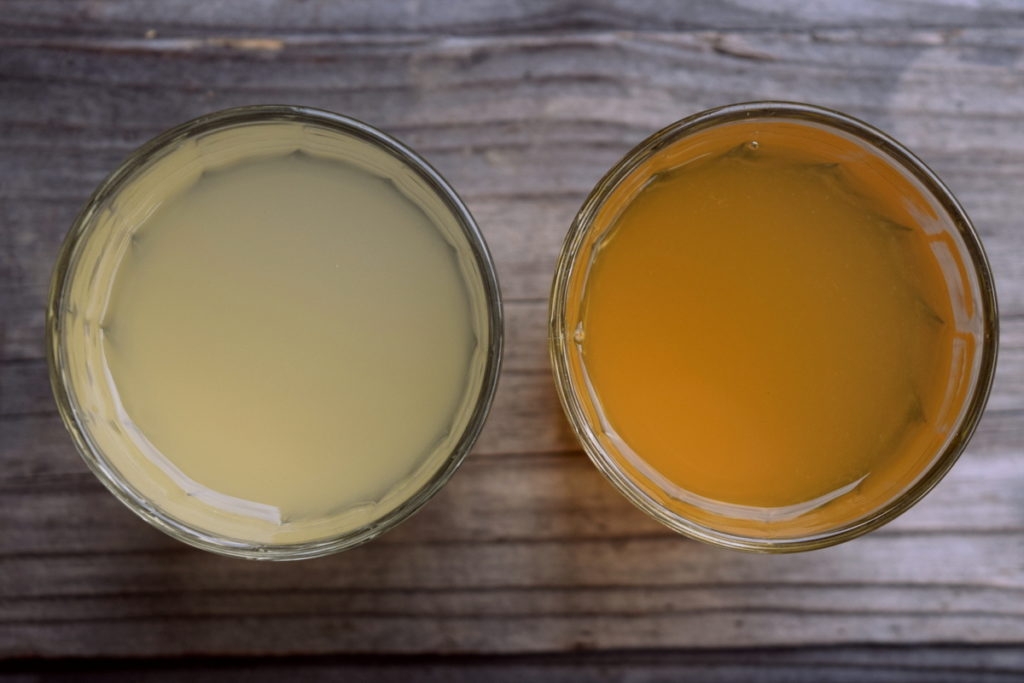
After about 2 weeks of slowly fermenting in room temperature, your vinegar will start to sit still. That is, it will stop actively bubbling.
At this point, you will want to strain the vinegar from the scraps using a colander, or a larger piece of cheesecloth.
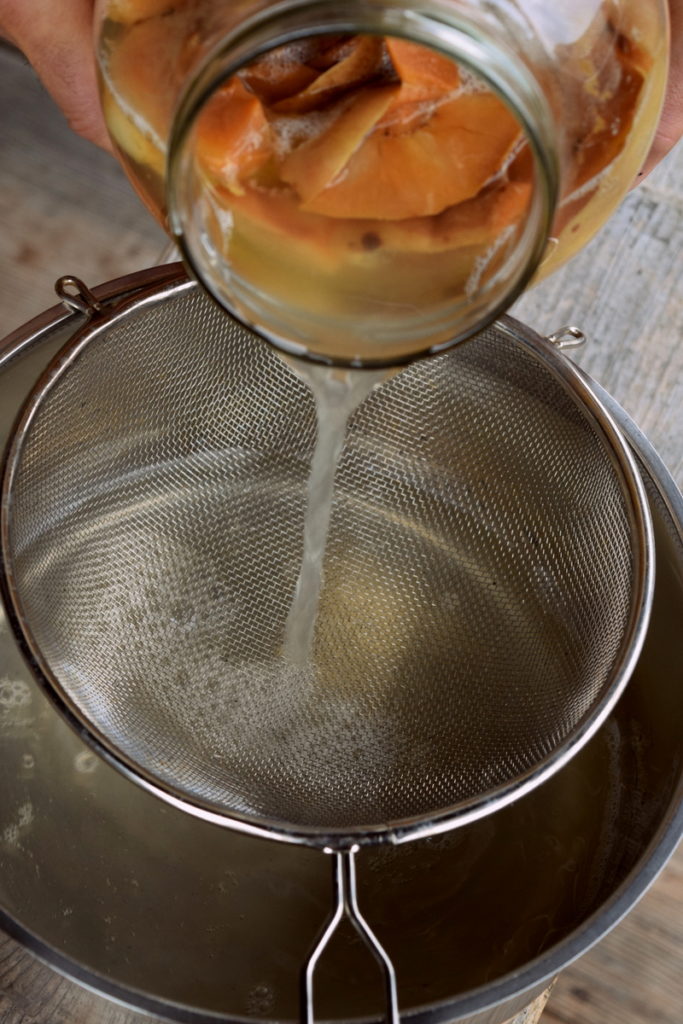
It is now safe to compost the spent scraps – and to put your vinegar into another jar, or jars.
The apple cider vinegar is only ready to bottle when it has stopped fizzing entirely, which may take up to 2 weeks more, depending on the room temperature.
Even once your vinegar is bottled, it is wise to still check it regularly. Open it up every couple of weeks or so, to make sure that CO2 is not secretly building up. The vinegar should be used for cleaning up messes, not for making them!
The acidity of your apple scrap vinegar will increase over time. And you can expect it to last about a year. Chances are good that you will have used it up long before then.
How do you really know when your apple scrap vinegar is ready to use?
After about 4 weeks (two weeks with peels and cores, two weeks without), go ahead and sample it with a clean spoon.
If you like the flavor, then it is done! Now is the time to store it in bottles, or in the fridge. It may have even made a mother of it’s own!
If your apple scrap vinegar now contains the mother, you can store it separately in another jar of organic vinegar. Or simply let it sit in your newly made vinegar.
Next time you are ready to make another batch of apple scrap vinegar, you can use it to speed up the fermentation process.
To use, or not to use a vinegar mother
If you are lucky enough to have an existing vinegar mother from another jar of apple cider vinegar, you can surely toss it in the jar with your apple scraps.
It will help speed up the process of making your very own vinegar.
If you aren’t quite sure what a vinegar mother is, or perhaps you thought it too belonged on the compost, it would do your mind good to read all about it.
Just in case you cannot find any and would like to try conjuring up one for yourself:
How to Make a Vinegar Mother @ Vinegar Shed
Bottom line, if you have one, toss it in. It will happily float around with your apple scraps.
If you don’t have one, it will do fine without.
How to use apple scrap vinegar
Even though apple scrap vinegar is less acidic than apple cider vinegar, it is still a wonderful way to use up cores and peels that would otherwise go to waste. Plus, it is a self-reliant skill that will get you far, should you ever need it.
You can also use your apple scrap vinegar for cleaning your home with all natural (non-chemical) ingredients.
Though you cannot preserve with it, you can certainly add it to your soups, salads and herbal teas, to drink as a tonic for your glowing health.
You can even use your apple scrap vinegar to rinse your hair!
Remember, all it takes is apple cores and peels, some water, a couple tablespoons of sweetener and time.
If you have all those things, what do you have to lose?
And what vinegary goodness are you ready to gain?

Get the famous Rural Sprout newsletter delivered to your inbox.
Join the 50,000+ gardeners who get timely gardening tutorials, tips and tasks delivered direct to their inbox.