

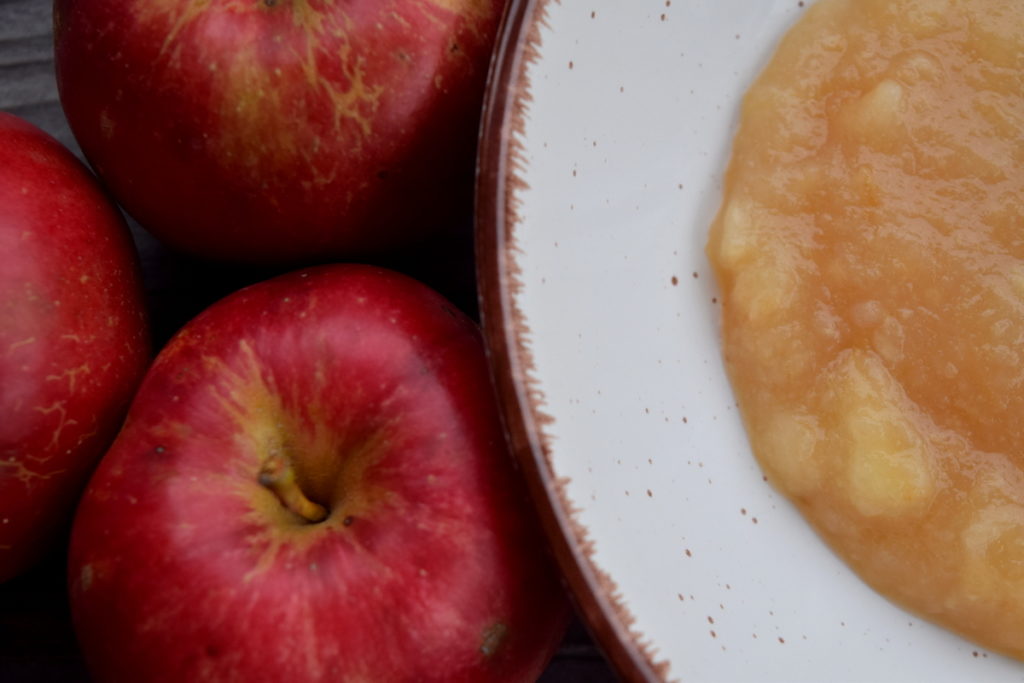
Once you learn how to make applesauce at home, I guarantee that you will never want to get store-bought again.
Not for fresh eating, and not for canning either.
Why?
Because making applesauce is just about one of the easiest things you can make in the kitchen, outside of boiling an egg. Plus it tastes amazing too!
Let me give you three good reasons to begin making your own applesauce this season before I hand over the steps to canning the best applesauce ever:
- Making applesauce is incredibly simple, even for someone starting out with learning how to can their first backyard harvests, or apples from the market.
- Learning how to make applesauce can save you money, especially if you grow your own, or have hundreds of apples gifted to you. In season, apples are at their cheapest (and ripest!) – that is the best time to preserve them.
- Ingredients. If you like to know what goes in your food, making homemade applesauce can be a very satisfying grownup-childish thing. This way you get to avoid any unwanted ingredients, such as corn syrup and high fructose corn syrup, as you indulge in wholesome goodness.
As a bonus, when you learn to make applesauce at home, you can experiment with the flavor of different apples, exotic spices and various types of sweeteners (should you need them at all). You can also make some batches chunky, leaving others puréed and smooth.
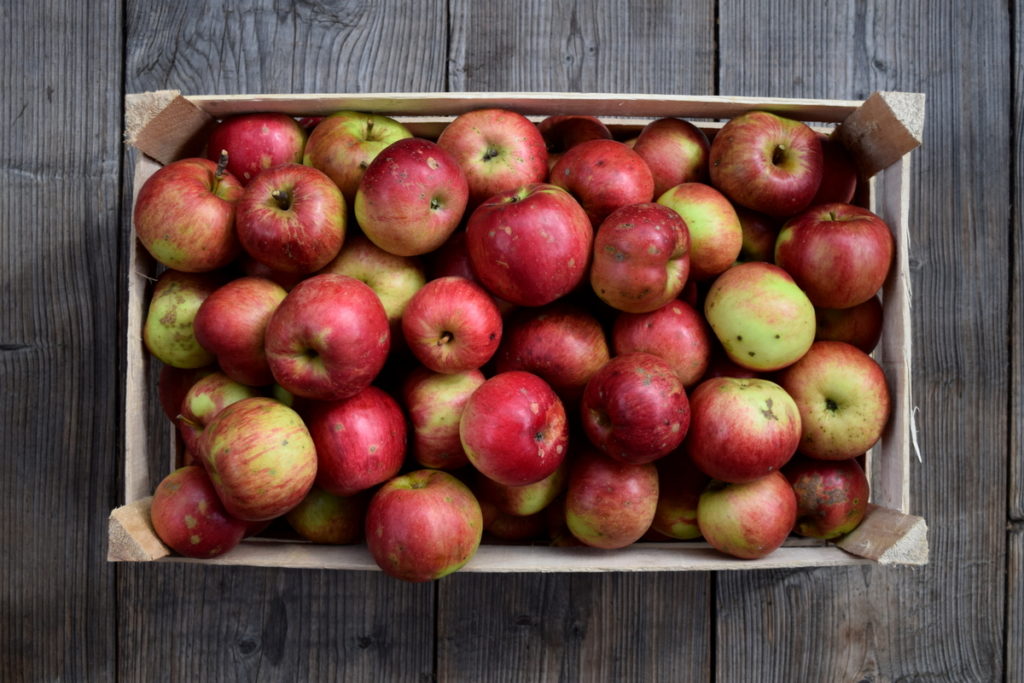
What are the best apples for making applesauce?
There are certain varieties of apples that are better for saucing than others.
Golden Delicious, Crispin, Fuji, McIntosh, Gravenstein, Braeburn and Ida Red are all delectable apple varieties that come to mind.
Yet, those are nowhere near the limit. As long as your apples (literally any variety) are enjoyable when eaten fresh from the tree, then they are perfect for making applesauce. Either alone, or in combination with another apple variety.
You may want to add some sweet apples to crisp and tangy ones, to even out and harmonize the flavors. Or you may choose to stick to a single-origin tart apple for simplicity’s sake.
And then there are the optional ingredients to make applesauce that we will get to later, namely spices and sweeteners.
In the meantime, relearn to embrace the essence of the apple and preserve only that.
After all, all you really need to make applesauce, is apples. That and a bit of water to make it the consistency you desire.
Now that you have an eye on the ripest apples around, let’s get started!
How to make applesauce step-by-step with photos:
But first…
Should you make your applesauce with skins, or without?
It is a very personal question and yet one that is rarely brought up. We’ve done it both ways. And have come to the indecisive conclusion that it really depends on the apple – and how you plan to process it.
Leaving the skins in your applesauce is great, if they are organic and chopped/mixed either in a food mill or a blender. They provide a bunch of beneficial nutrients, and color, that you would otherwise do without.
If you are just cutting your apples with a knife and boiling them down, the apple skins will get harder the longer you cook them, making for an unpleasant sensation as you swallow.
So, if you plan to preserve applesauce for all generations, the answer is simple – either purée your sauce, or peel your apples for an applesauce that everyone can love.
How to make applesauce the easy way
Remember the ingredients?
- apples of any kind, in any amount, in any combination
- and water
Just make sure they are ripe and ready for cooking.
1 bushel (48 lb/24 kg) will fill about 15-18 quart size jars.
Knowing how much you need to preserve for your family comes with experience. Although it is hard to have too much applesauce in your pantry or cupboard, especially when it can last more than a year if properly canned.
Just think of all the applesauce cake you can make!
Step 1: Washing the apples
If you have just picked your apples directly from the tree, they will just need a light wash. From the ground, or the market, give them an extra-good wash under running water.
Organic apples may have worms which you will notice right away. Be sure to feed those unusable parts to your backyard chickens, or to the compost pile.

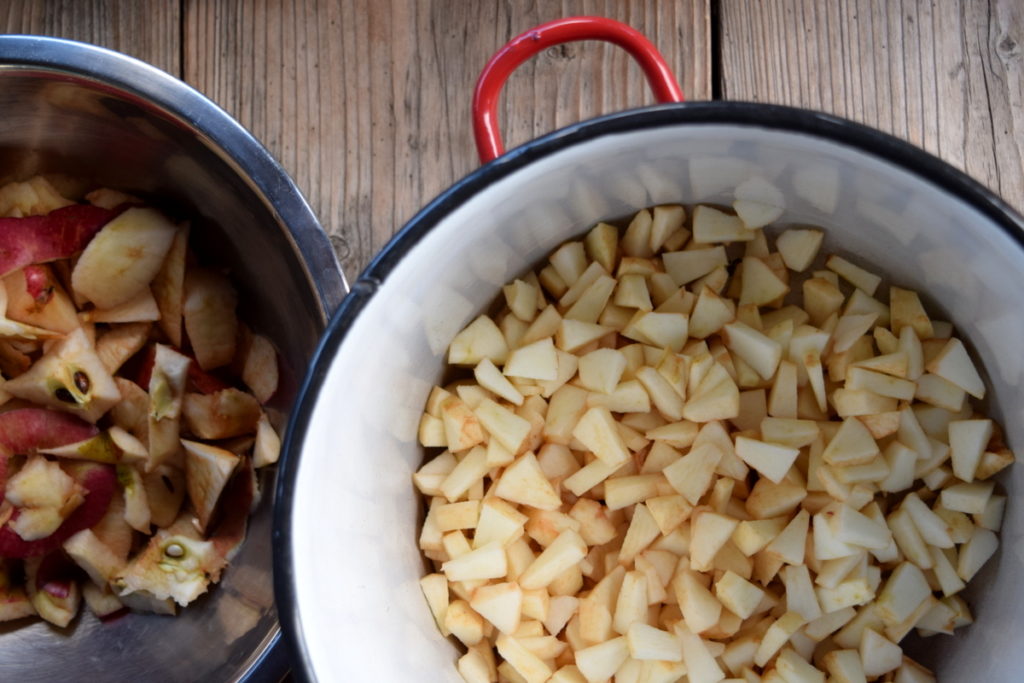
Step 2: Peeling, coring and cutting
Next comes peeling.
If you are old-school like we are, all you need is your trusty paring knife and some excellent peeling skills.
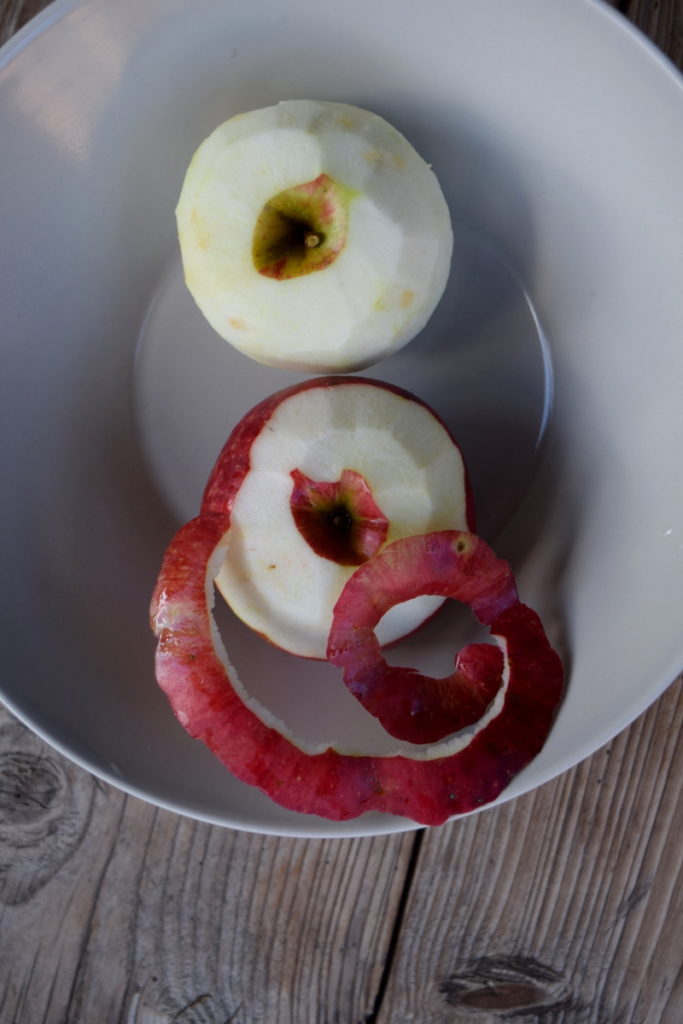
Otherwise, this manual apple peeler makes for light work, even kids can help taking turns to peel the apples – with your supervision, of course.
Coring and cutting go hand in hand. Depending on how you intend to cook your applesauce (chunky or smooth), cut them to size accordingly.
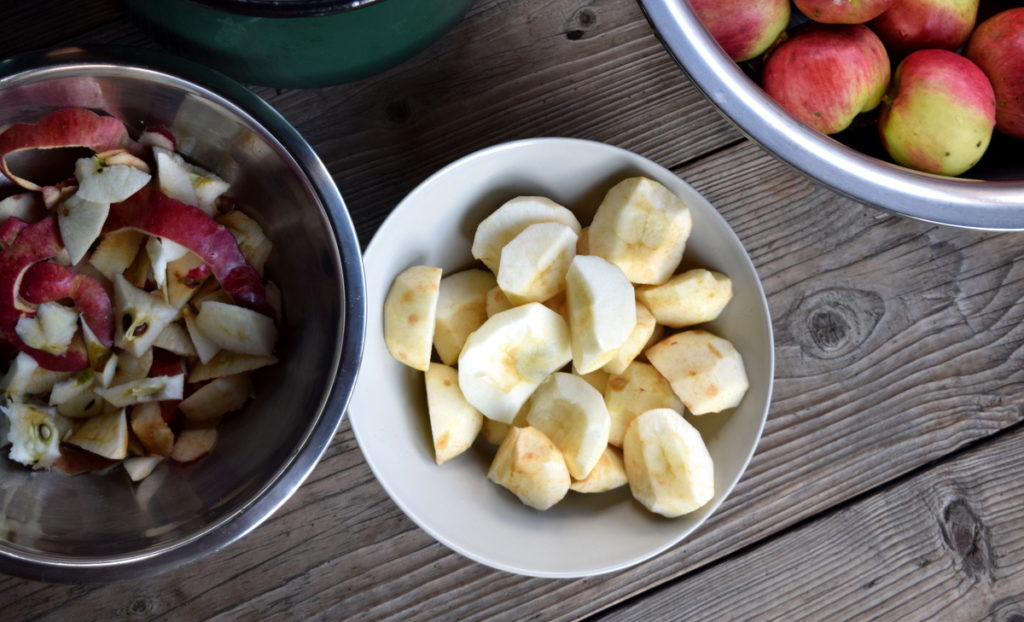
If you plan to use a food mill, leave them bigger at this stage and save the work for the machine.
Step 3: Cooking the apples
Add your chopped apples and 1/2 cup of water to a large pot.
Cook the apples over medium heat until they begin to break down, stirring often. After about 20 minutes you will need to stir more frequently, as they will start to spit. No one wants a hot apple burn!
At this point you may need to add more water to achieve your desired thickness. Apples with naturally more pectin will make a firmer sauce.
To make chunky applesauce, you can keep stirring till it looks and smells amazing. You will be able to see when it is ready. Don’t forget to sample with a clean spoon.
If you want a creamier, smoother applesauce, you will want to blend the sauce to the desired consistency.
Now is also the time to add your spices and sweeteners and make this applesauce your own. Don’t forget to label it in the end, so you know what you have cooked up!
Additional flavors to spice up your homemade applesauce
- cinnamon
- ground cloves
- nutmeg
- ginger
- lemon juice
- apple cider vinegar – just a splash!
- sugar
- coconut sugar
- honey
- maple syrup
Add all spices and sweeteners to taste.
Apples are naturally sweet and do not need sugar for canning, though with some maple syrup and cinnamon it is beyond delicious. When in doubt, make two batches.
Keep in mind that if you choose to make your applesauce without sugar, you can use it in plenty of recipes from muffins to cookies with caramel frosting, from applesauce bars to cakes, as we will share our favorite recipe with you below.
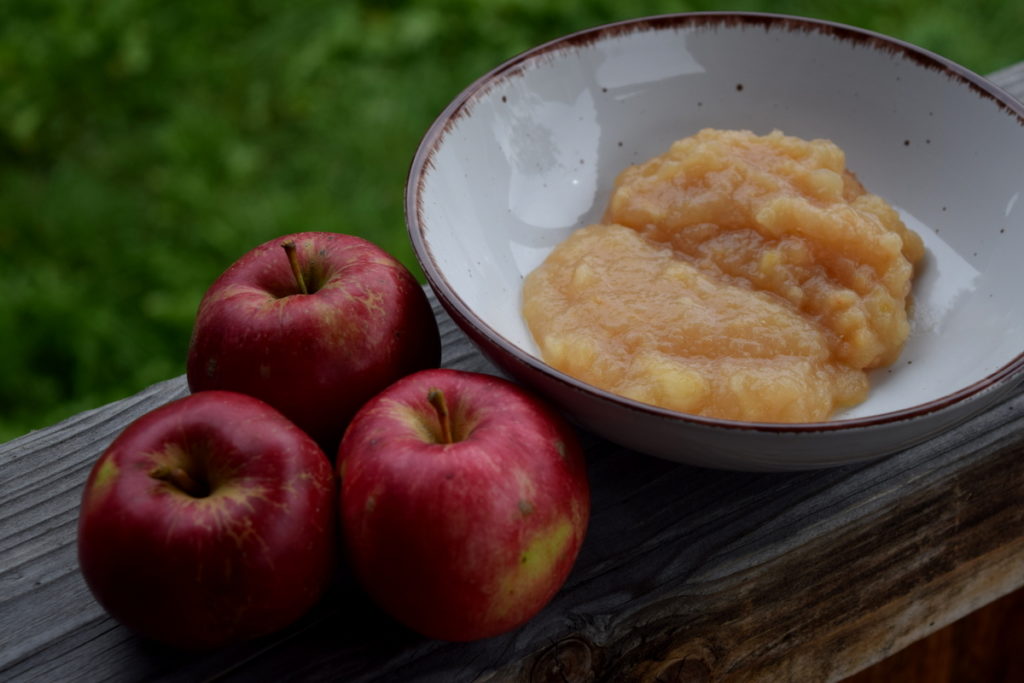
Step 4: Almost done!
If you will be eating your applesauce fresh, simply let it come to room temperature and dig in with your favorite spoon. It will remain in good eating condition for 10 days, if it lasts that long. All depending on the size of your batch, of course.
If freezing is your preferred method of preserving applesauce, know that you can use freezer bags (air removed) or glass jars for storing. Applesauce kept in the freezer should be used within 6 months.
If you would like to extend the life of your homemade applesauce up to a year, then canning is your next best option.
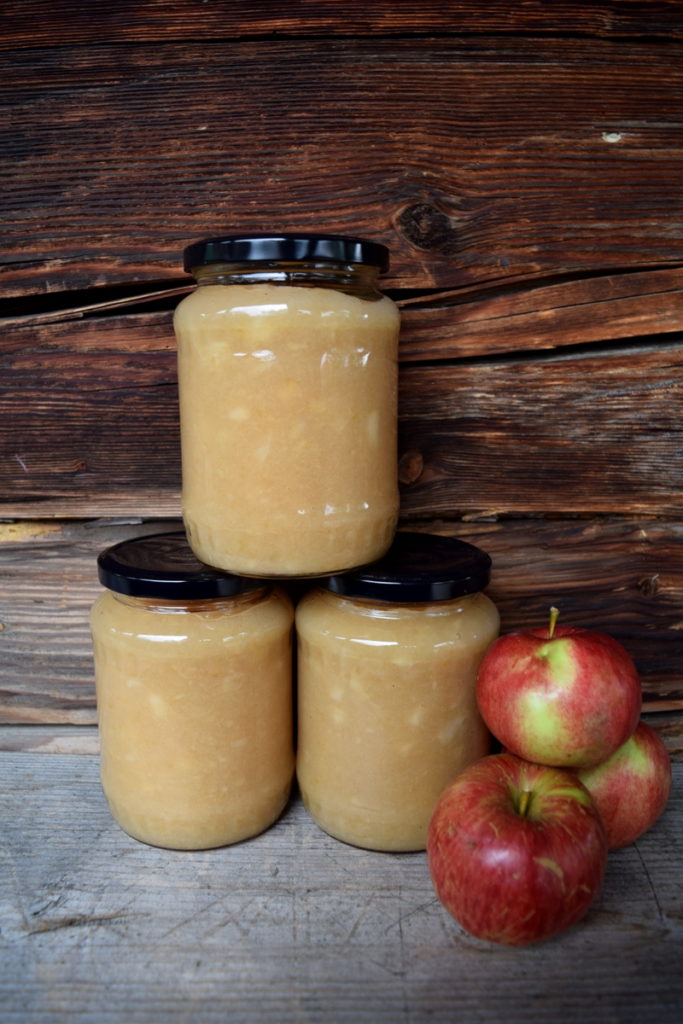
Step 5: Canning the applesauce
To preserve applesauce for an entire year, get out your water canner and fill it with water. Enough to cover your jars with 2″ of water when the water is boiling.
Bring water to a boil, then reduce it to a simmer. With already sterilized jars, fill them with your homemade applesauce making sure to leave 1/2″ headspace.
Remove bubbles from the side of the jar. Applesauce always seems to create them.
Wipe the rim of the jars clean, fix the lids and add them to the water bath canner for 20 minutes. Adjust processing time for altitude, if necessary.
Remove jars from canner and allow them to come to room temperature slowly, setting them on kitchen towels.
How to make applesauce – take 2
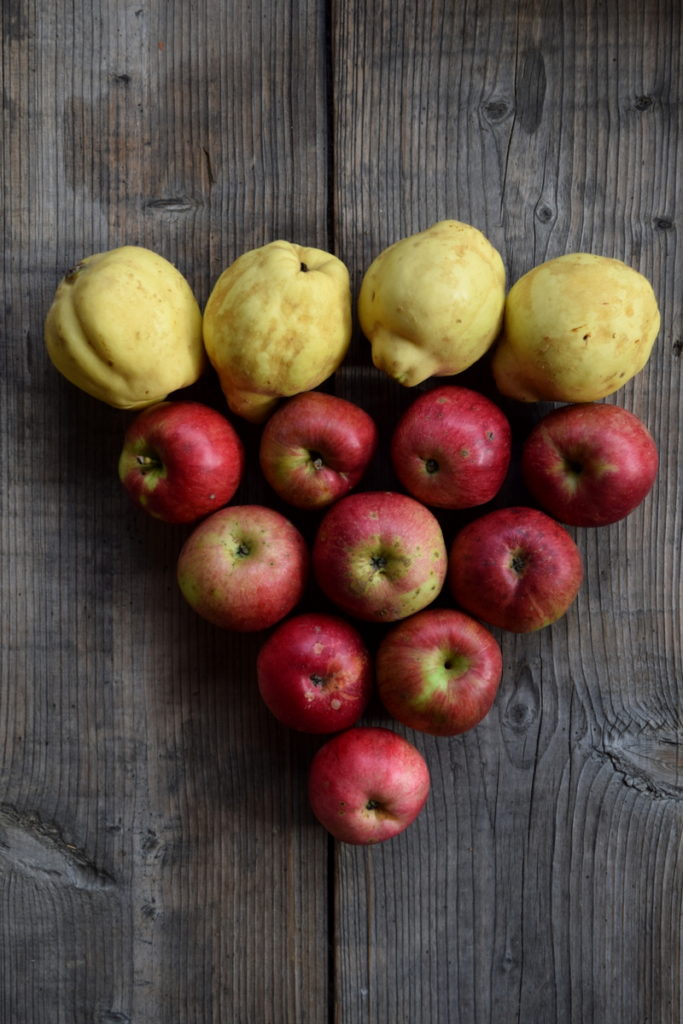
Another fantastic and perhaps underappreciated way to cook up applesauce, is to make quince-applesauce.
It brings your applesauce making skills up a whole other level.
The fragrance, the texture, the way the seasonal flavors meld together. It is nothing short of a miracle.
I can only offer a golden ratio for this delightful sauce: 50:50.
Half quince, half apples. If you have never tried this combination before, perhaps reading this will inspire you to try something new.
When in doubt, quince can also be used to make the most delightful traditional quince paste with honey that you have ever eaten.
If that doesn’t have you salivating, why not try our autumn-inspired applesauce cake recipe below.
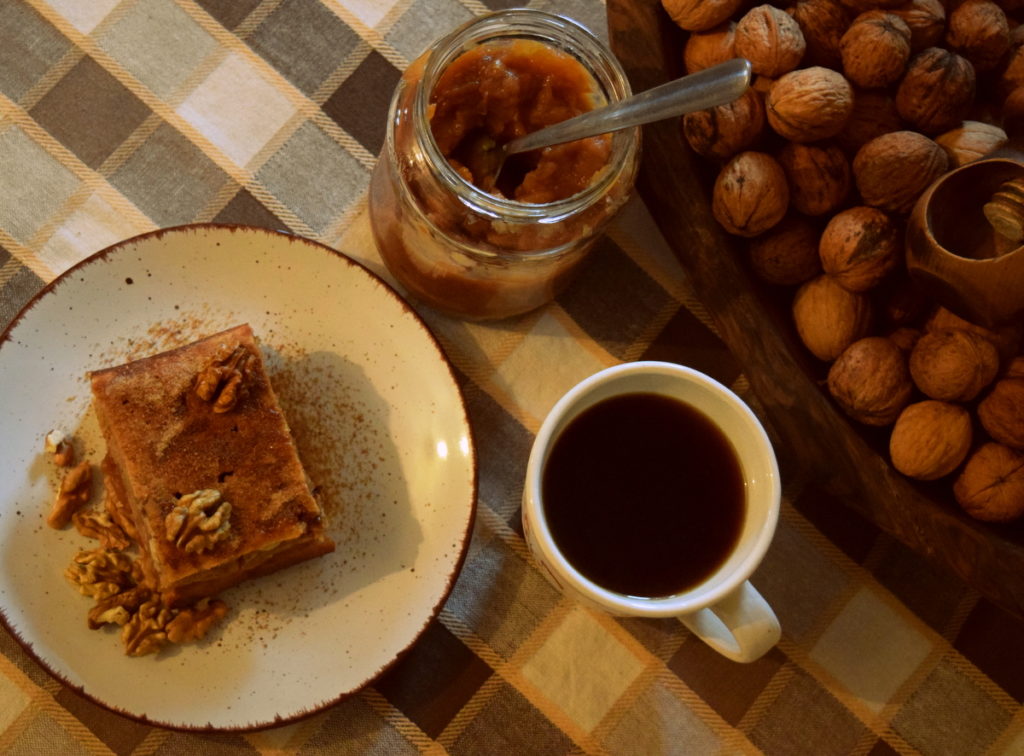
How to make applesauce cake with walnuts
As you start filling jars with homemade jams and jellies, you will find that you keep attracting even more jars as there are so many new canning recipes to try!
Properly canned applesauce keeps well for more than a year, though it will start to turn brown over time. This does not affect the flavor in the slightest.
But to free up those jars and put them back in rotation, you are going to have to empty them at some point. The best way to use up your applesauce, is in a cake – or in your meatloaf if you are craving more of a meal than a dessert.
Ingredients:
- 2.5 cups self raising white flour
- 4 eggs
- 1 3/4 cups unsweetened applesauce
- 1 cup walnuts, roughly chopped
- 1/3 cup lard, or butter
- 1 tsp. cinnamon (+1/4 tsp. cloves, 1/8 tsp. nutmeg or dash of allspice optional)
- 1/2 tsp. salt
- 2 T. honey, to be added near the end of baking
- 2 T. powdered coconut sugar (or powdered sugar) for dusting
You will notice from the ingredients that this applesauce cake recipe is on the less sweet side, yet it is not quite a bread. If desired, you can add 3/4 cup honey to the batter to sweeten it up.
Baking instructions:
- Preheat oven to 350°. Prepare baking sheet before mixing the batter.
- Mix wet ingredients first, then stir in dry ingredients thoroughly. It is a no-fuss, no-frills cake. Though it would go well with a boiled honey icing, if you would like to dress it up a bit.
- Bake for 45-50 minutes, or until an inserted toothpick comes out clean. In the last 5 minutes of baking add the 2 T. of honey, making sure to cover the entire surface of the cake.
- Let it come to almost room temperature before devouring.
- Serve with additional applesauce and coffee. Dust with powdered sugar for special everyday occasions.
Related reading: Harvesting Walnuts – Collecting, Drying and Storing
Once you have had your fill of applesauce, why not try something else from our list of 20 best ways to preserve apples by the bucketload.

Get the famous Rural Sprout newsletter delivered to your inbox.
Join the 50,000+ gardeners who get timely gardening tutorials, tips and tasks delivered direct to their inbox.