

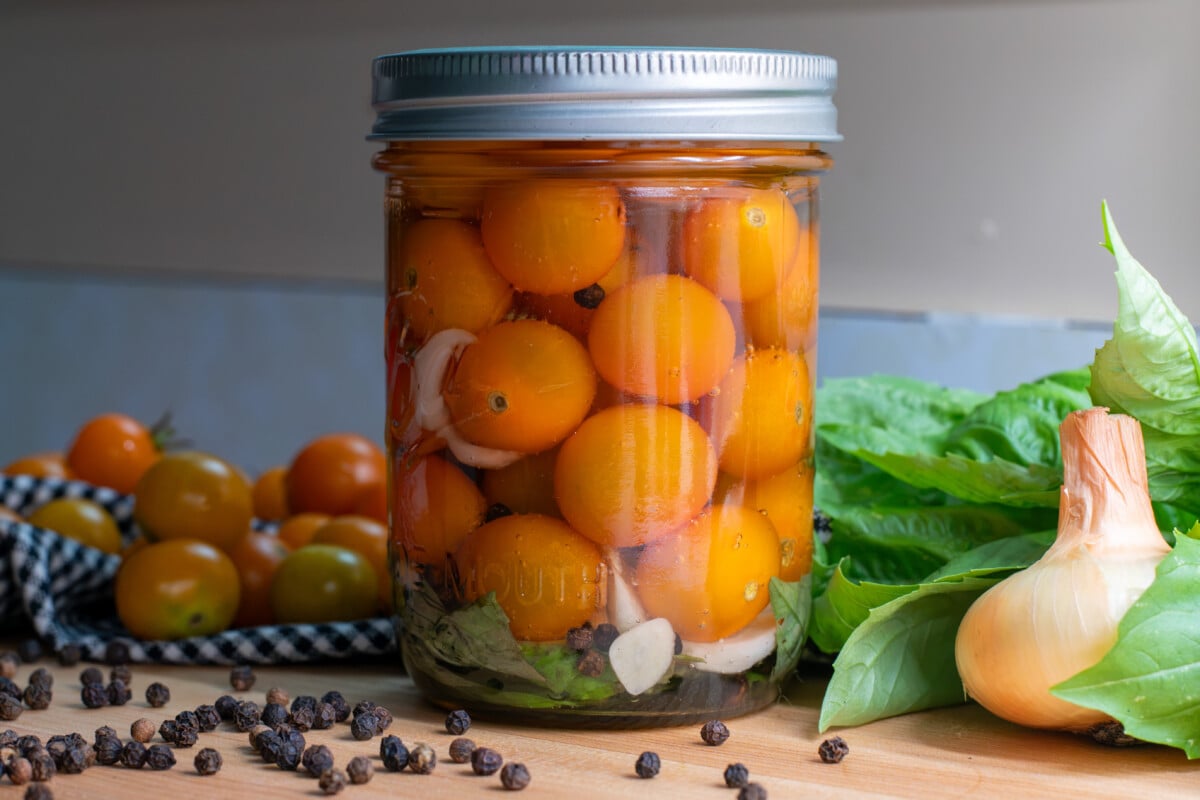
Quick pickles are incredibly popular these days. No fussing with canning in a hot kitchen, they take mere minutes to make, and they’re perfect for those who don’t have the space (or want to deal with) a dozen jars of pickles.
Plus, these fast and beginner-friendly pickles offer more crunch and more flavor combinations than your standard canned pickle recipe. Once you’re comfortable making a few jars of 5-minute fridge pickles, cherry tomatoes are the obvious next pickle to try. They make the perfect, bite-size, pop-them-into-your-mouth quick pickle.
These Are Not Your Grandmother’s Pickles
Last summer, I discovered quick-pickled cherry tomatoes.
I don’t know why it took me so long.
It’s not like I’m new to preserving food or making quick pickles. (Also known as refrigerator pickles.) But for some reason, while I was busy making quick pickles out of everything else coming out of my garden – cucumbers, zucchini, peppers, Brussels sprouts and even garlic – it never occurred to me to poke a few cherry tomatoes in a jar with some brine.
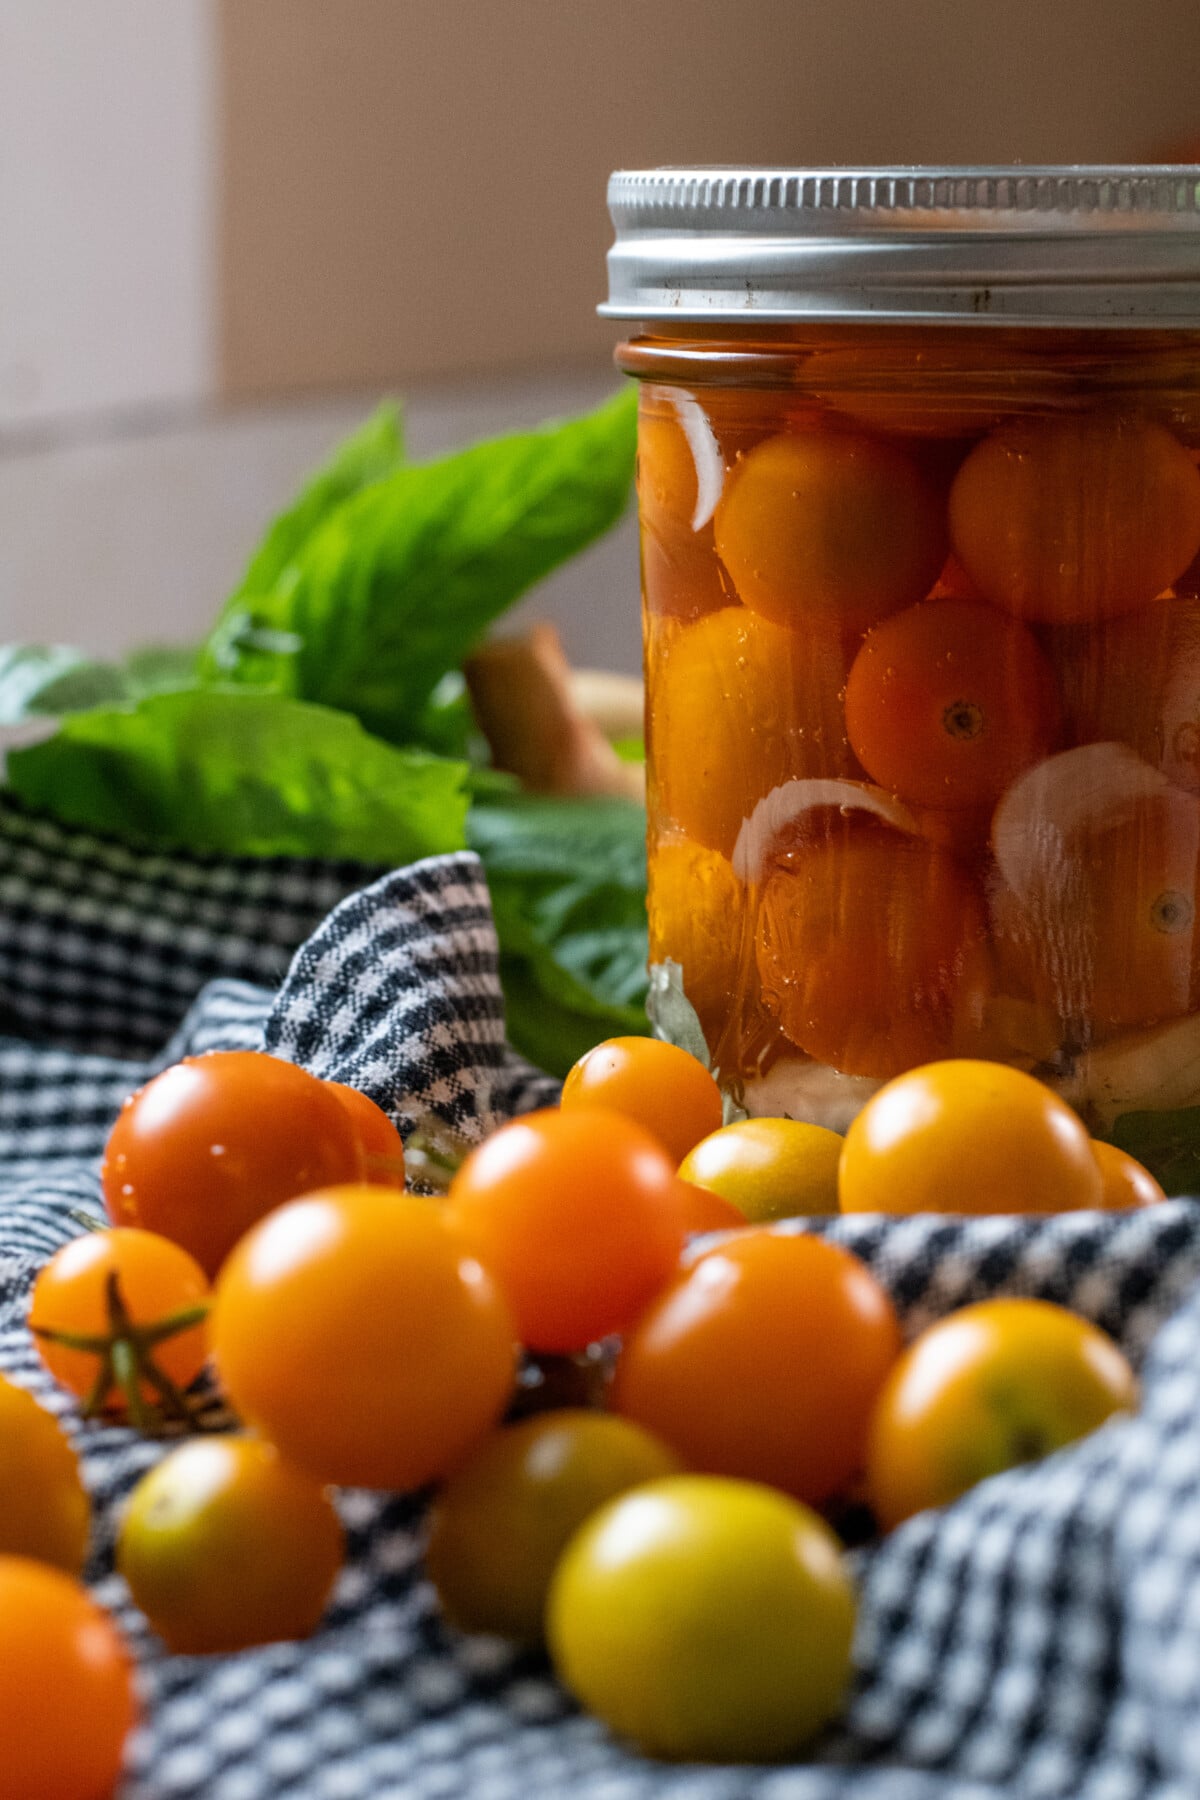
When I finally did, I could have kicked myself for not jumping on this bandwagon sooner.
Everyone’s favorite bite-sized tomatoes turn into scrumptious, little pickles you can’t help popping your mouth every time you open the fridge.
Quick-pickled cherry tomatoes are the perfect companion to any salad, which makes sense because cherry tomatoes on their own are a salad’s best friend. But pickling them completely changes even the most mundane lettuce-based salad with their tomato-y zing.
They’re a beautiful, as well as tasty, addition to any cheese or charcuterie board, with their bright, acidic flavor cutting through the heavier fats of the meat and cheese.
Of course, they’re pretty amazing all on their own, too.
A jar of pickles and a fork is truly one of the best ways to enjoy them. Just be sure you have a second jar ready to go in the fridge.
I like to make up a jar when I’ve got more cherry tomatoes coming in from the garden than I know I’ll be able to eat right away. It’s a great way to prevent waste and use up my harvest. I even used the storebought Flavor Bomb cherry tomatoes to make them in the middle of winter. The zippy tang is a welcome change from the heavy, heartier fare that usually shows up on my table during the colder months. Plus, the tomatoes offer a nice, healthy dose of vitamin C.
No Canning Equipment Necessary
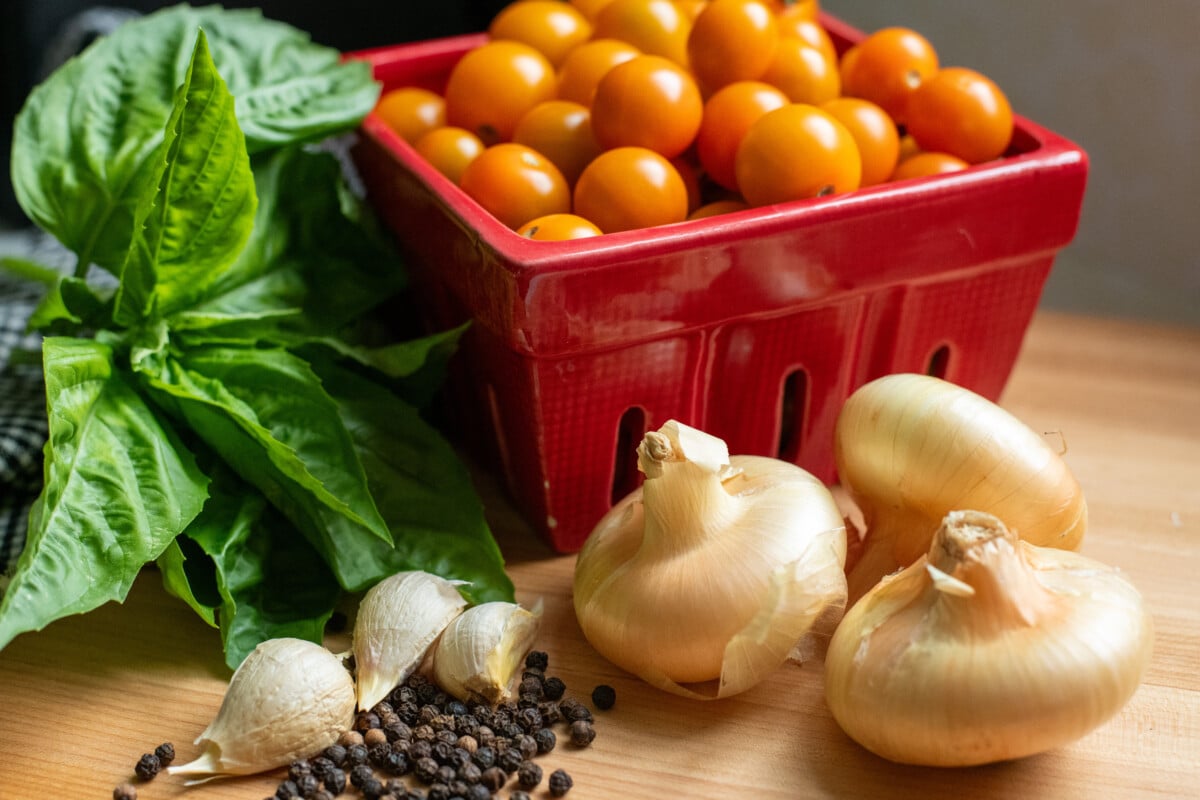
Probably my favorite thing about making quick pickles is that there is no canning equipment or special procedures needed. (I’m currently moving into a new house, and my ¾ of my kitchen is packed away in boxes. But I’m still making refrigerator pickles almost daily.)
You don’t need any experience with food preservation to make them. If you can wash a jar and then pour things into it, you can make quick pickled cherry tomatoes. So, let’s get started.
Picking the Right Tomatoes
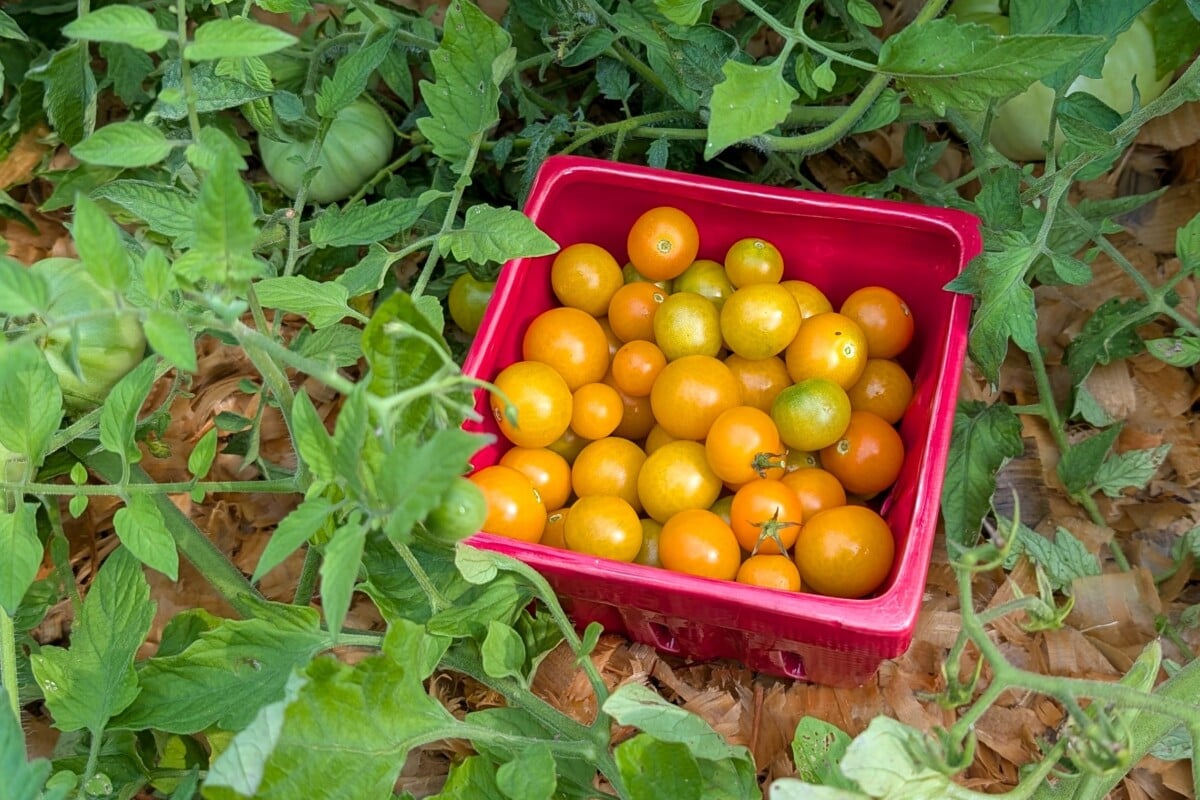
If you’re using pickles from your own garden, use fresh, recently picked tomatoes. You want nice, firm tomatoes, without any spots or damage. Softer, overly ripe tomatoes don’t hold up well in the pickling process. I like to pick mine past the point of breaker stage, but before they are completely colored up. They tend to be slightly firmer, while still having great flavor.
The tomatoes pictured in this recipe are Sungold cherry tomatoes.
If you’re using storebought tomatoes, make sure you remove any that may have split open or gone bad in the package.
The Process
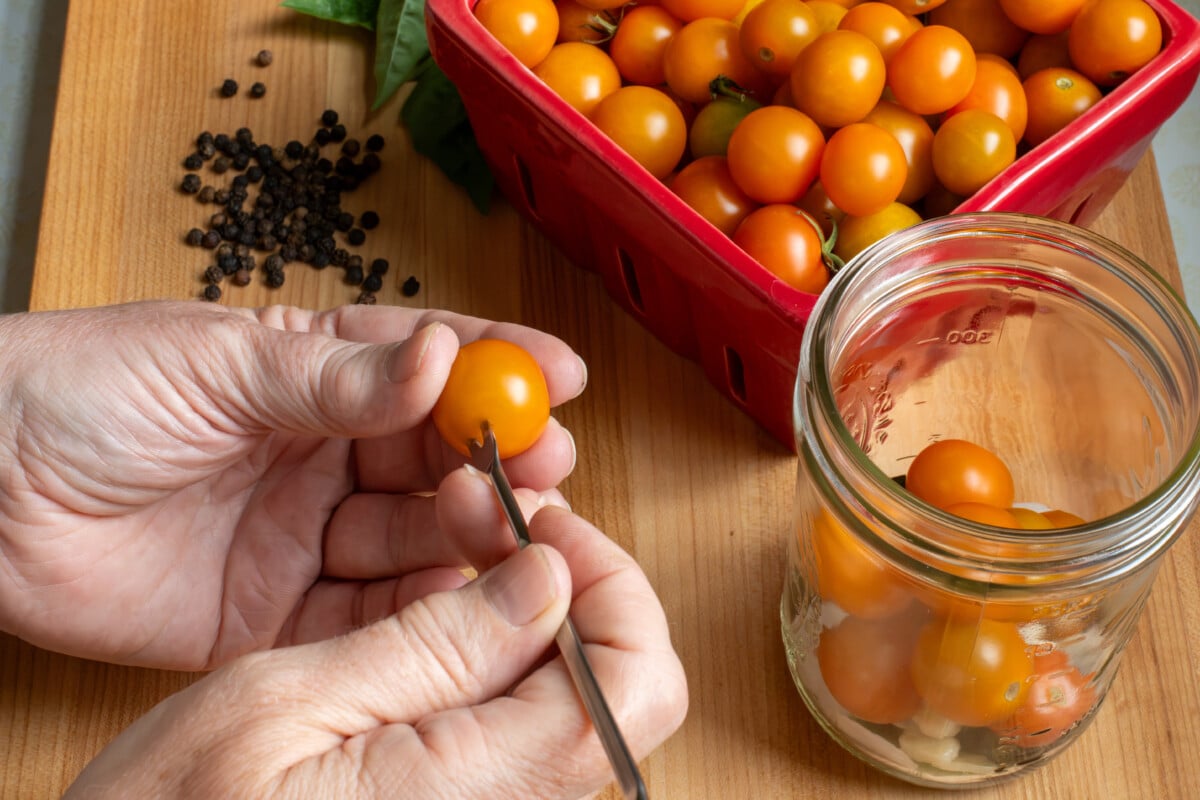
Wash your tomatoes, then prick each one with a toothpick or skewer—the little buggers like to float otherwise. Add your poked tomatoes to your jar along with your pickling spices and the brine. Then put a lid on them and pop them in the fridge. The flavor develops over a couple of days, and voila – pickled cherry tomatoes.
You can’t beat that.
Ready to give them a try?
What You’ll Need
- A clean jar with a lid
- A small saucepan
- Measuring cups and spoons
- A sharp knife
- Toothpick or skewer
Ingredients
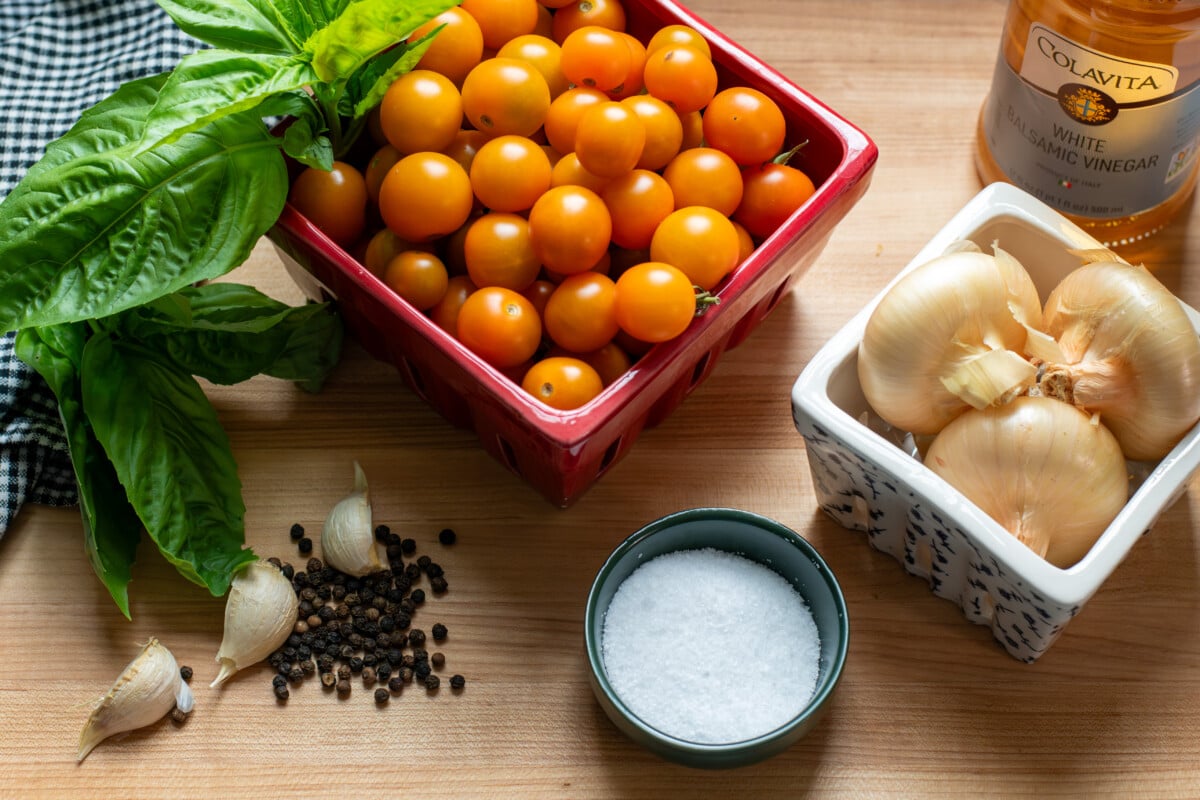
- 1 pint of firm cherry tomatoes
- 2 tbsp thinly sliced onion
- 1 garlic clove, peeled and sliced
- 4-6 leaves of fresh basil, torn in half
- ½ tsp black peppercorns
- ¾ cup water
- ¾ cup white vinegar or white balsamic vinegar
- 1 tbsp kosher salt (see notes for salt substitutions)
- 2 tsp sugar
Instructions
- Wash your tomatoes.
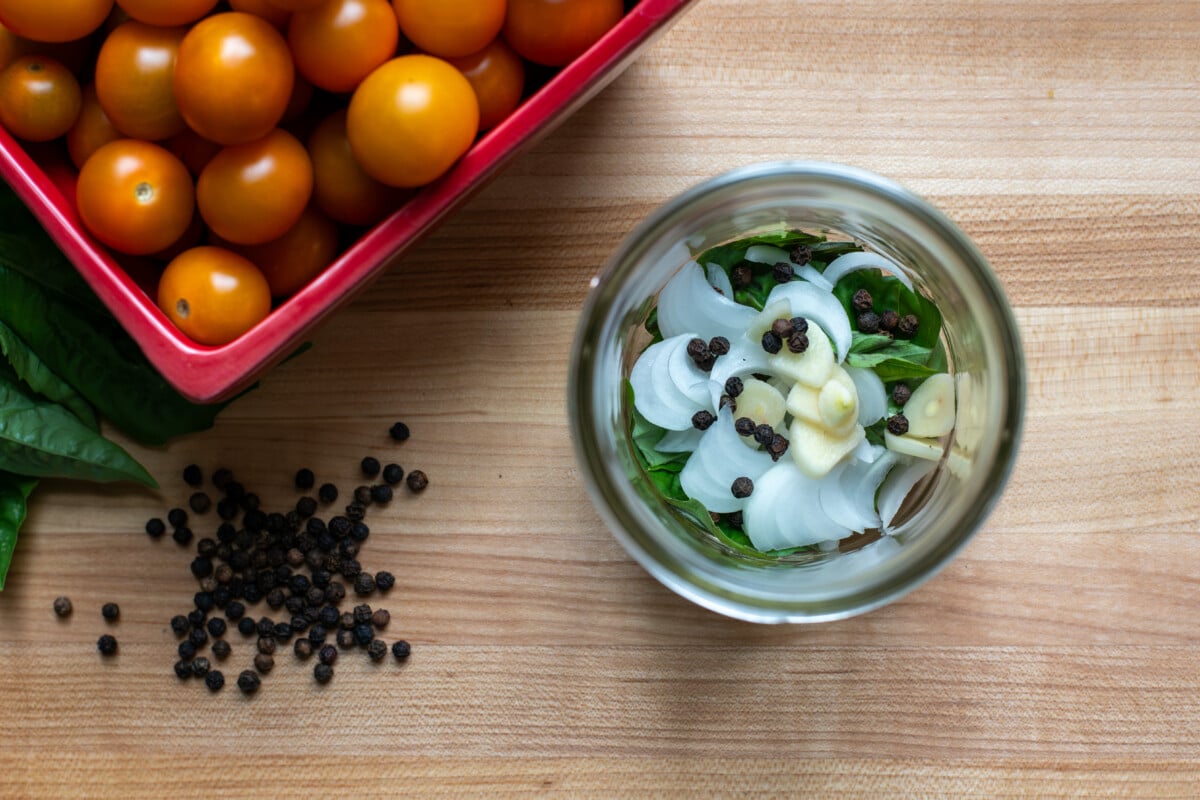
- Use a squeaky-clean jar and place the torn basil leaves in the bottom of the jar along with the onion, garlic and peppercorns. I like to use an old bartending trick to bruise the basil to release its oils. I place the basil in one hand and then firmly clap my other hand on top.
- Prick each tomato before adding it to the jar.
- In a small saucepan, heat the water, vinegar, salt and sugar to a simmer, stirring until the salt and sugar have dissolved. Remove from heat and pour into the jar. Leaving ¼” to ½” headspace. Place the lid on the jar and gently turn the jar upside down, then right side up a few times to allow air to come to the surface.
- Reopen the jar and top up with more brine as necessary. Finally, screw the lid back on and label your soon-to-be pickles with the date before putting them into the refrigerator.
Notes
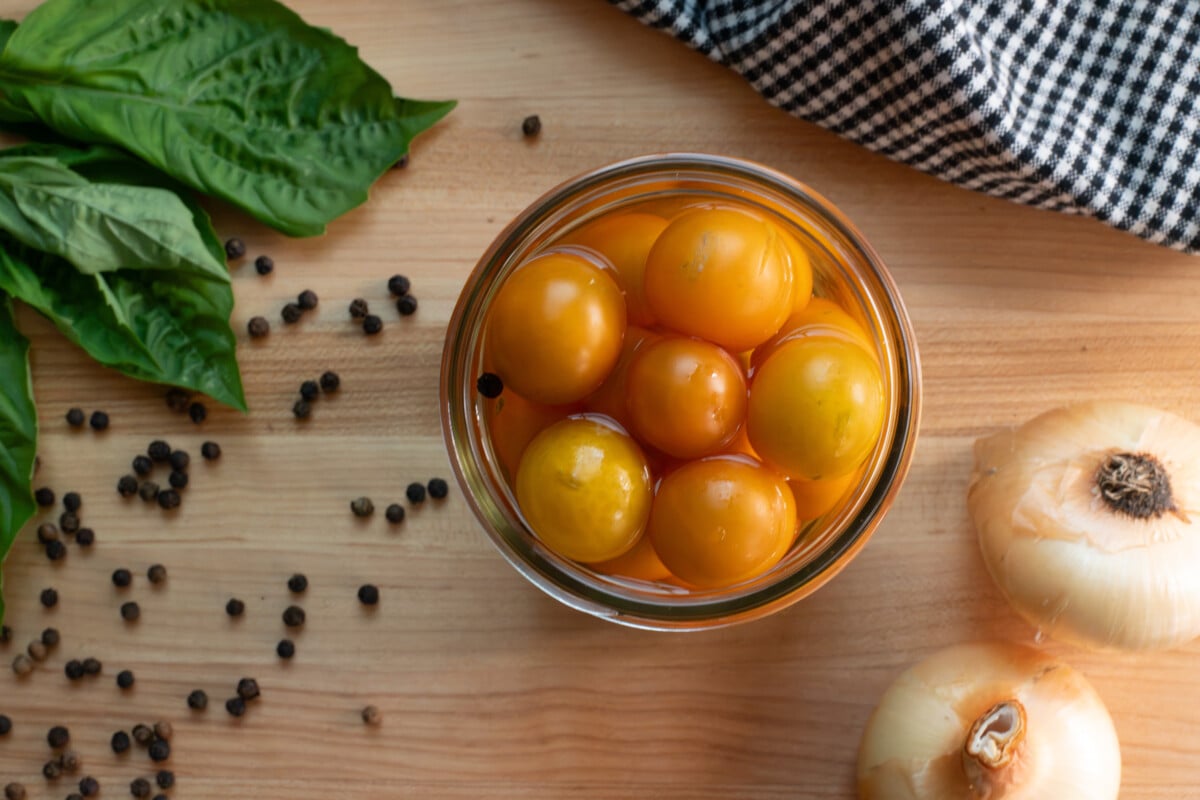
- You can eat your pickled cherry tomatoes within 24 hours, but they get better as they age a bit, so I like to ignore them for at least four days before sampling.
- Always use a utensil to fish them out of the jar rather than your fingers, as you’ll introduce bacteria, and they will spoil faster.
- Refrigerated, these pickled cherry tomatoes will last around four weeks. Ha, who am I kidding, you will have eaten them all long before that.
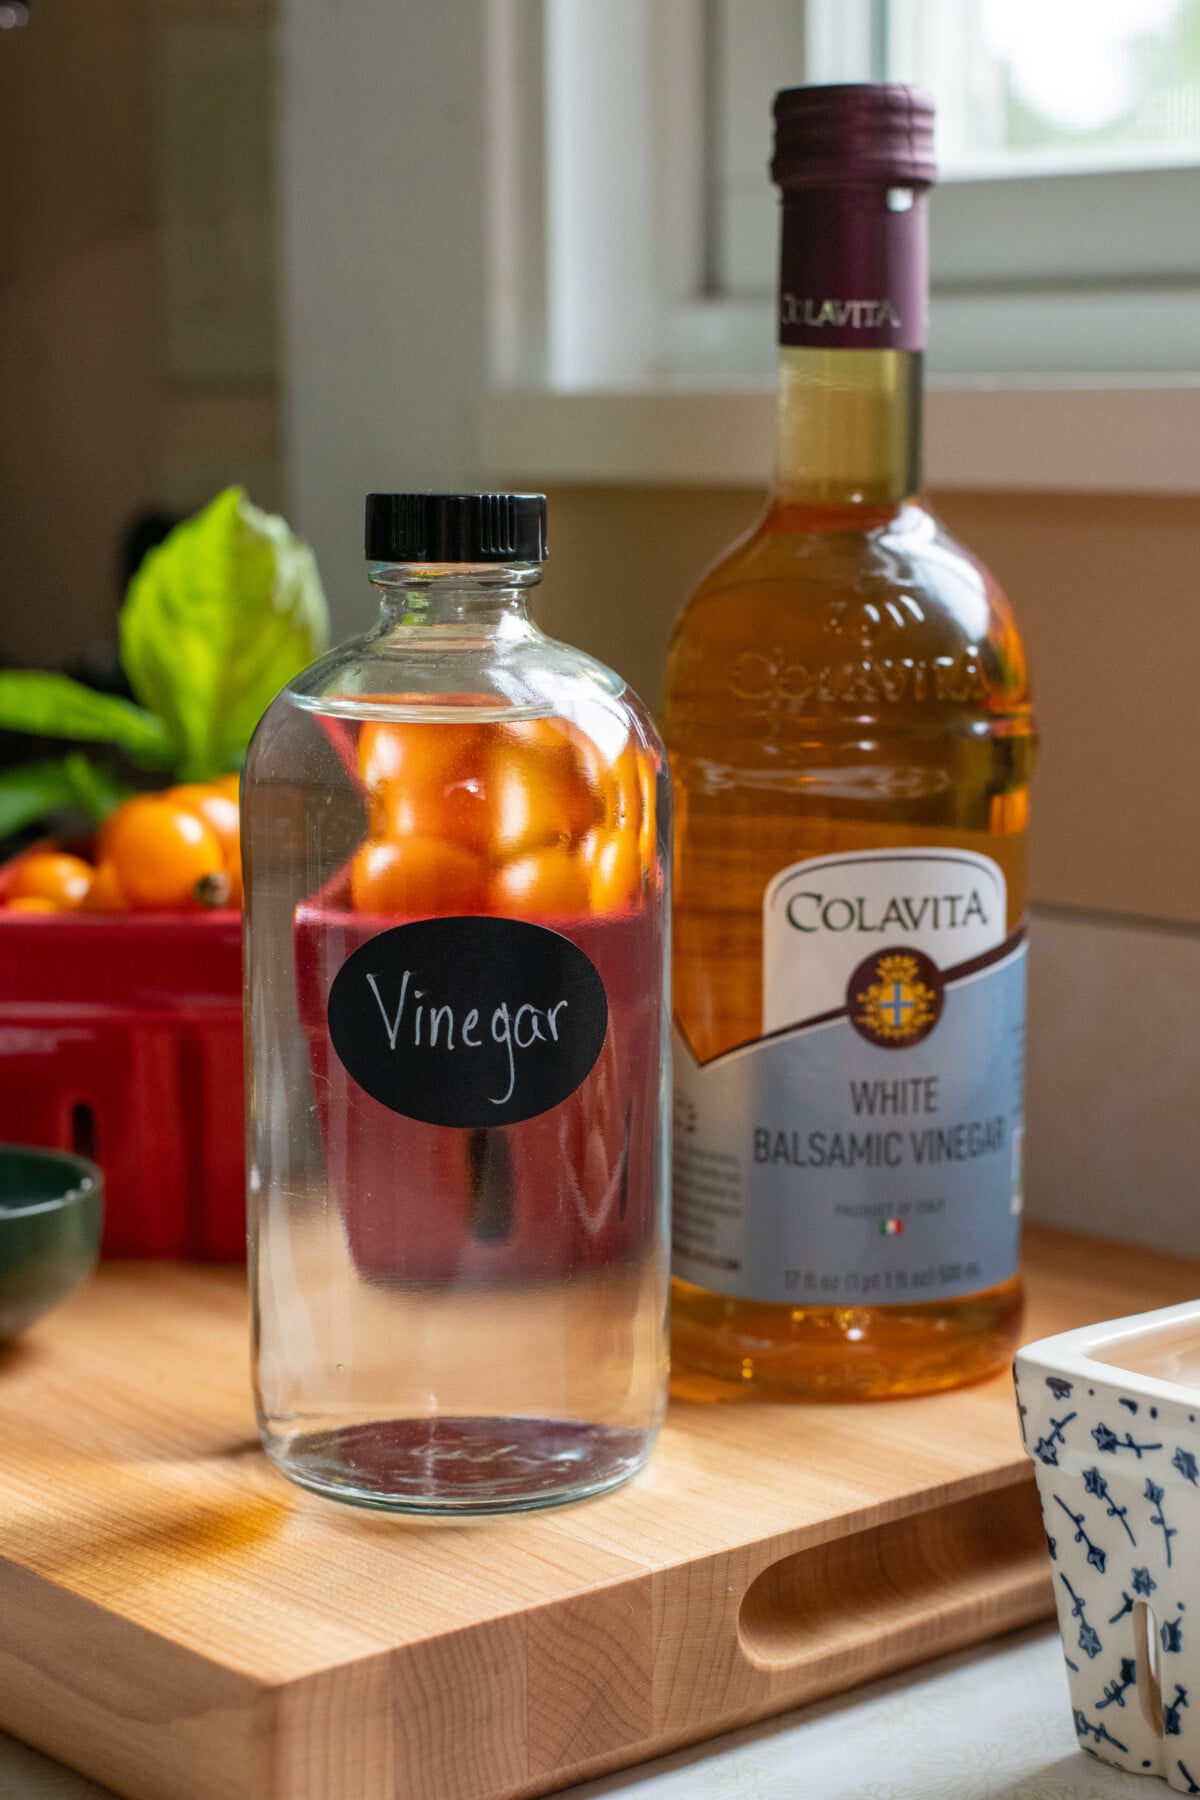
- Because we aren’t canning to make these shelf stable, this recipe is a great place to experiment with different flavors. Try using different vinegars or different herb and spice combinations. I opted for the white balsamic vinegar for the pickles in the photographs.
- If you prefer a less sweet pickle, you can omit the sugar.
- Because salt granules differ in size, you can’t sub different types of salt one for one. If you will not be using kosher salt flakes, you can substitute with any of the following:
- Table salt: 1 ¾ teaspoon
- Pickling salt: 1 ¾ teaspoon
- Fine kosher salt: 2 teaspoons
- Fine sea salt: 2 teaspoons
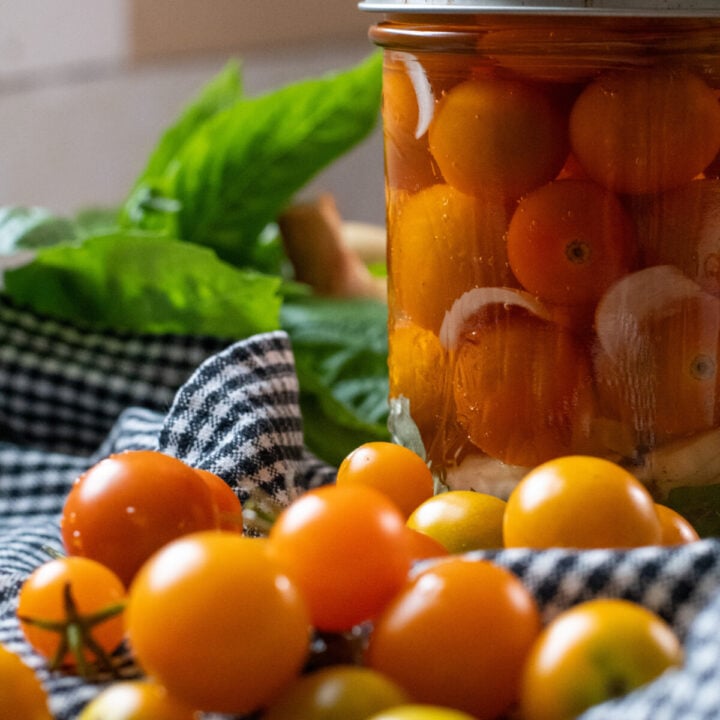
Quick Pickled Cherry Tomatoes
Flavorful pickled cherry tomatoes; the perfect snack or salad accompaniment.
Ingredients
- 1 pint firm cherry tomatoes
- 2 tbsp thinly sliced onion
- 1 clove garlic, sliced
- 4-6 fresh basil leaves
- 1/2 tsp black peppercorns
- 3/4 cup water
- 3/4 cup white vinegar or white balsamic vinegar
- 1 tbsp kosher salt
- 2 tsp sugar
Instructions
- Wash cherry tomatoes, prick each with a toothpick, and set aside.
- Place onion, garlic, basil leaves. and black peppercorns into bottom of clean pint jar.
- Add cherry tomatoes to jar, packing gently.
- In a small saucepan, heat water, salt and sugar until salt and sugar are dissolved completely. Pour brine into jar, leaving 1/4" to 1/2" headspace.
- Place lid on jar and turn the jar over several times to allow air to come to the top. Open jar and top up with more brine if needed.
- Lid, label and refrigerate pickled cherry tomatoes.
Notes
Kept refrigerated, these quick-pickled cherry tomatoes will keep for up to 4 weeks.
Get Garden Notes From Tracey, Right to Your Inbox
Pull up a chair on the front porch. Join 54,000+ gardeners who get Tracey\'s friendly notes, seasonal to-dos, and hands-on tutorials three times a week.