

I was listening to a British gardening podcast last week (I’ll link it at the end of the article) which is taped in front of a live audience. A panel of experts answers questions from members of the public. This being a fall episode, there was the inevitable question of “Why are my cuttings failing?”
One of the panelists, Christine Walkden, stated that in a home garden, it’s rare to get one hundred percent of your cuttings to root.
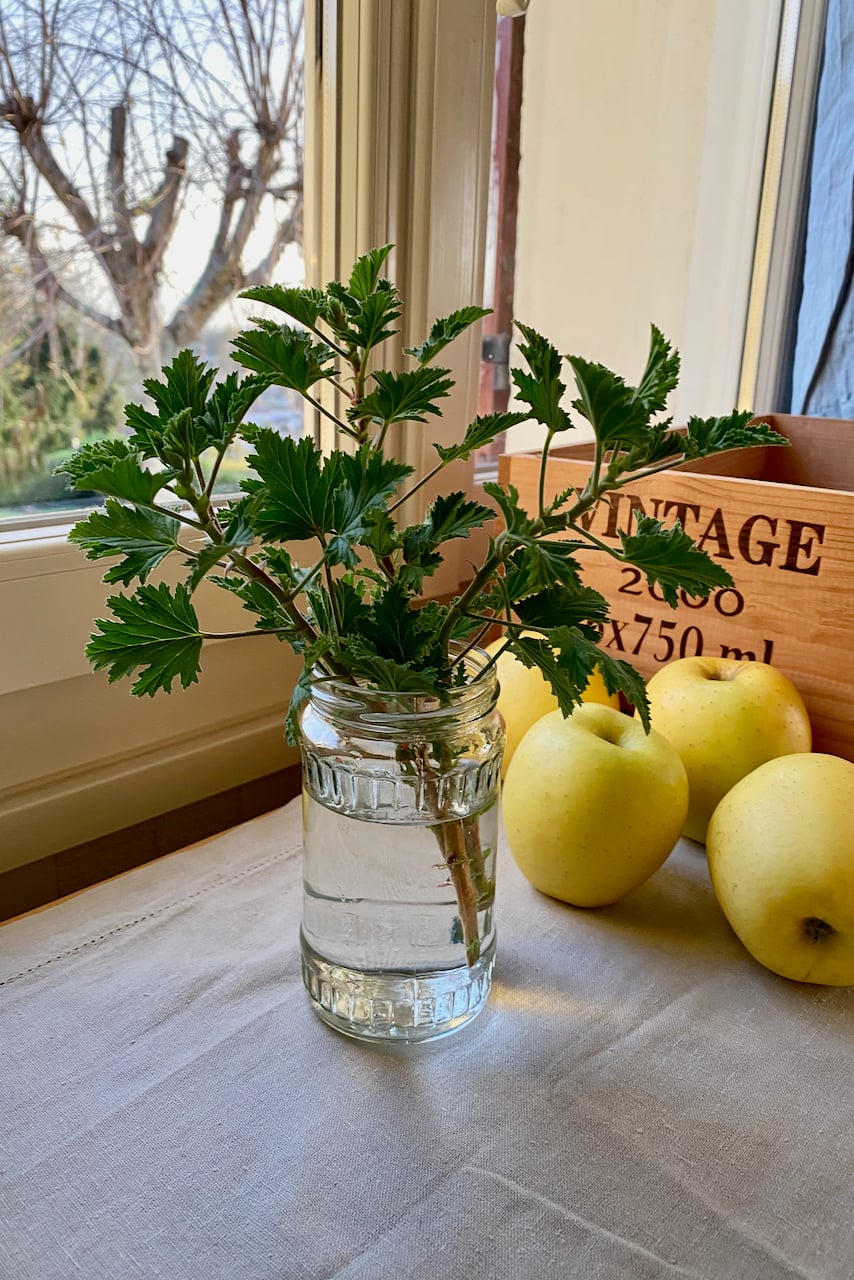
Commercially, with the assistance of irrigation and temperature-control software, that would be possible. But in a home setting, Christine said that it’s normal to get between eighty and ninety percent of cuttings to root. And that’s in a best-case-scenario cuttings that are easy to root, such as geraniums (pelargoniums).
I’ve long known that was the case. But I still felt relieved to have it confirmed by another expert.
The podcast moved on to the next question pretty quickly. But I want to delve into the reasons why cuttings might fail. I’ve made all of the mistakes below, and I’m sure I’ll make them again. Yet it’s still good to know what to watch out for if you feel like you can’t just get the hang of turning a piece of an old plant into a brand new baby plant.
Mistake #1: You’re taking the wrong type of cutting for the time of year.
Here’s the first trick you should know:
There’s a timing to the cuttings.
And I think this is the most confusing aspect when you’re propagating via cuttings for the first time. Or even for the tenth time, if you’ve never heard of this “small” detail.
The type of cuttings we take depends on when (the time of year) and what (the type of growth) we’re propagating.
We can work with either one of the three types:
- Softwood cuttings,
- Semi-hardwood cuttings,
- Hardwood cuttings.
Softwood cuttings
These are the cuttings that we’re taking from the new, tender growth of the current year.
We usually take them in late spring and early summer. In my experience, these cuttings are perhaps the trickiest ones to nurture into a new plant. Because they’re so fresh and tender, they don’t have enough energy to withstand the cutting mistakes I’m talking about below.
Semi-hardwood cuttings
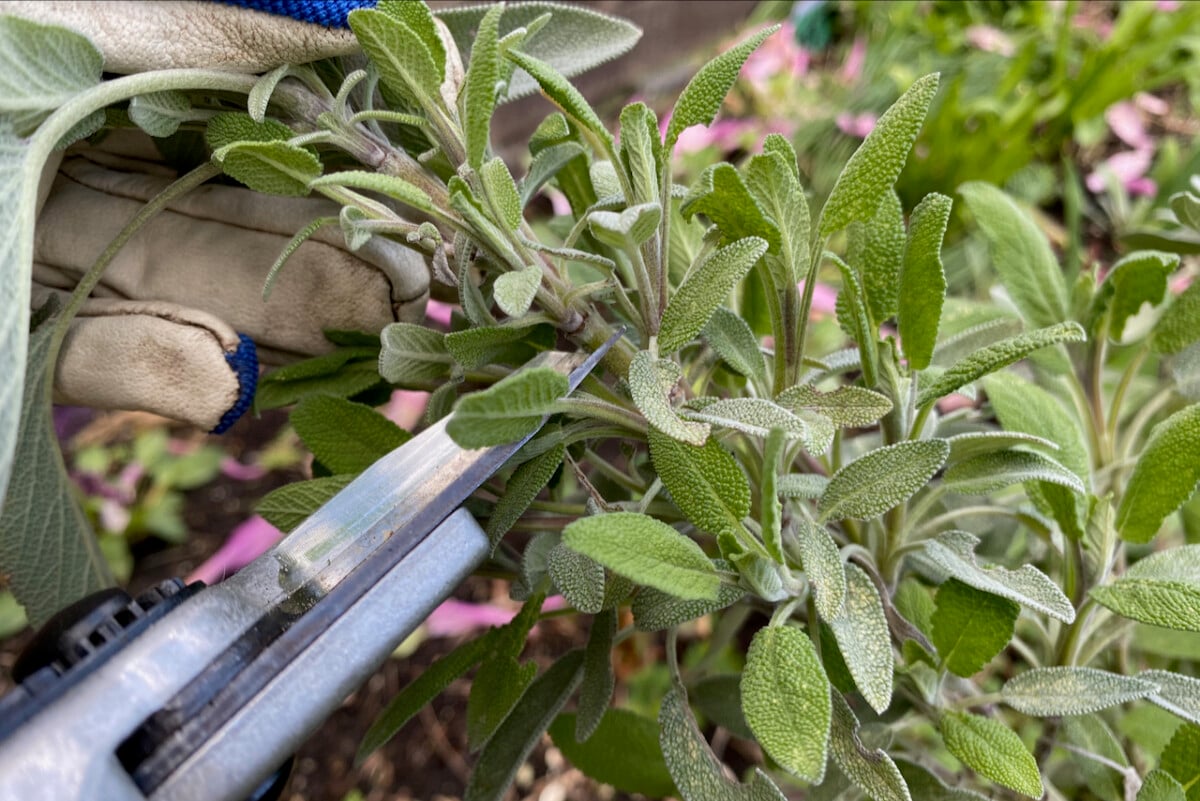
These are also cuttings taken from the current year’s growth. But since we’re taking them later in the season, anywhere from early summer to early fall, they’ll usually have more woody fibrous growth. This hardening of the plant tissue is called lignification.
Also called semi-ripe cuttings, these are undoubtedly my favorite cuttings to work with. That’s because the window to get them potted up is pretty wide, and my rate of success has been pretty high.
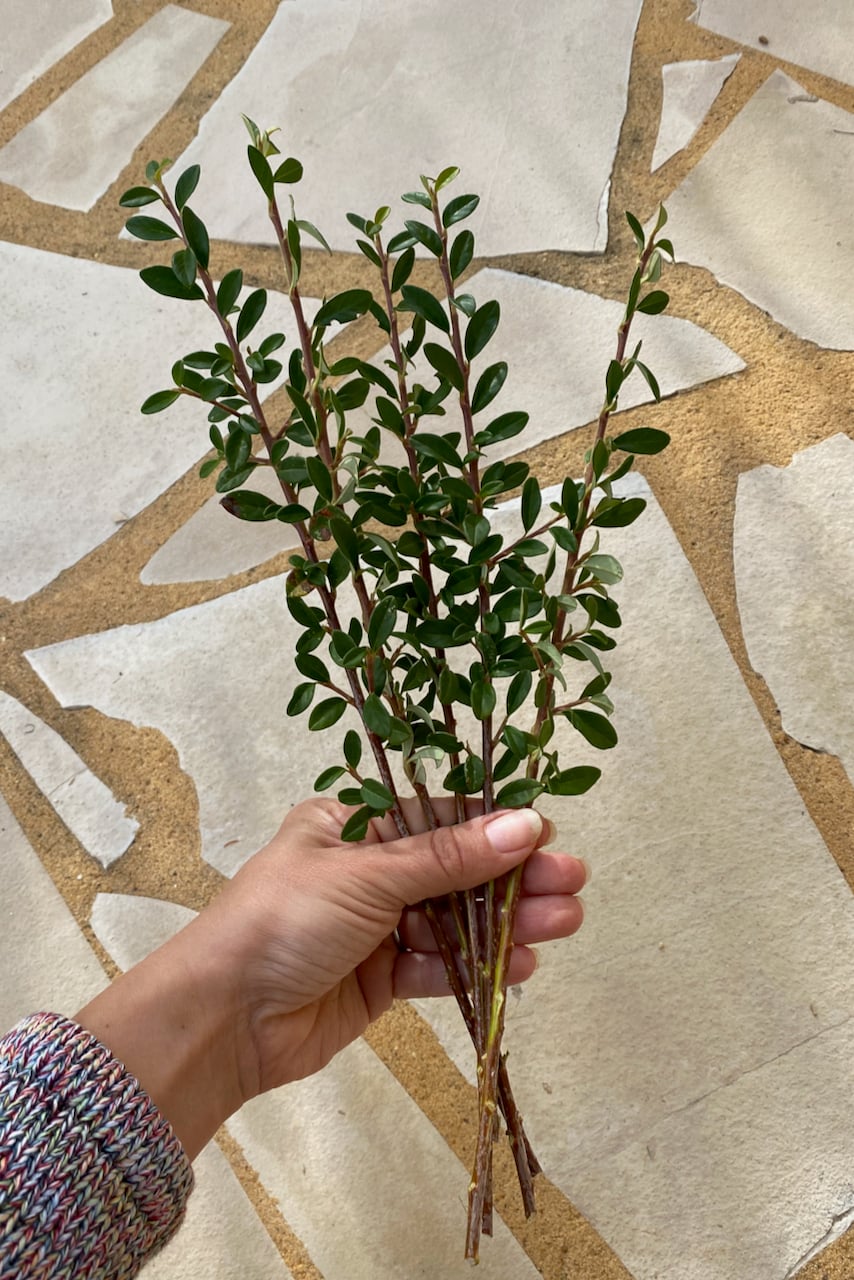
For me, if I do everything right, I’d say about four out of five cuttings “take” (meaning they start growing roots and turn into a new plant). It’s also handy that we can tell pretty early on whether these cuttings have taken or whether we’re nursing a dud.
Hardwood cuttings
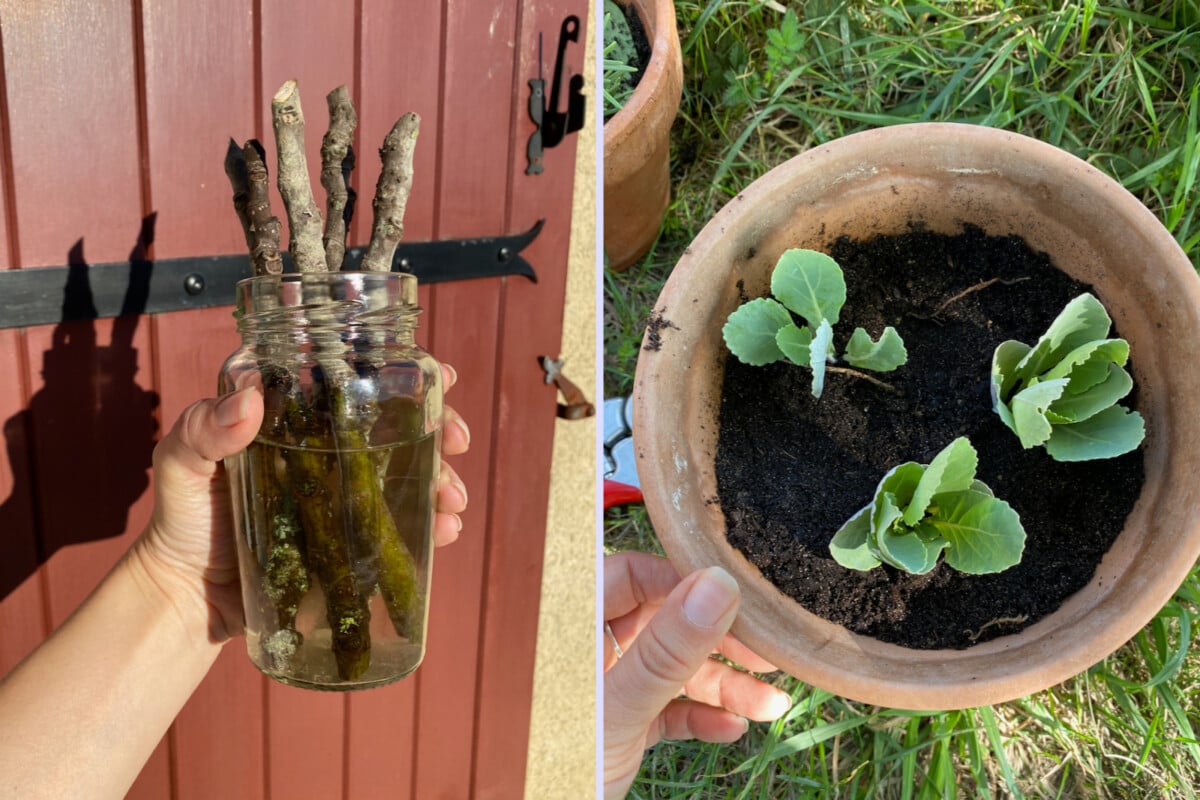
These are cuttings that we take in the cold months when the plants are dormant. The cutting itself looks like a stick – kind of like a pencil – for many, many months. So I think that’s what makes them intimidating. There’s no telling whether the cutting took or not.
Plus, there’s something counterintuitive in taking a bit of branch and expecting it to turn into a new plant. But trust me, they do.
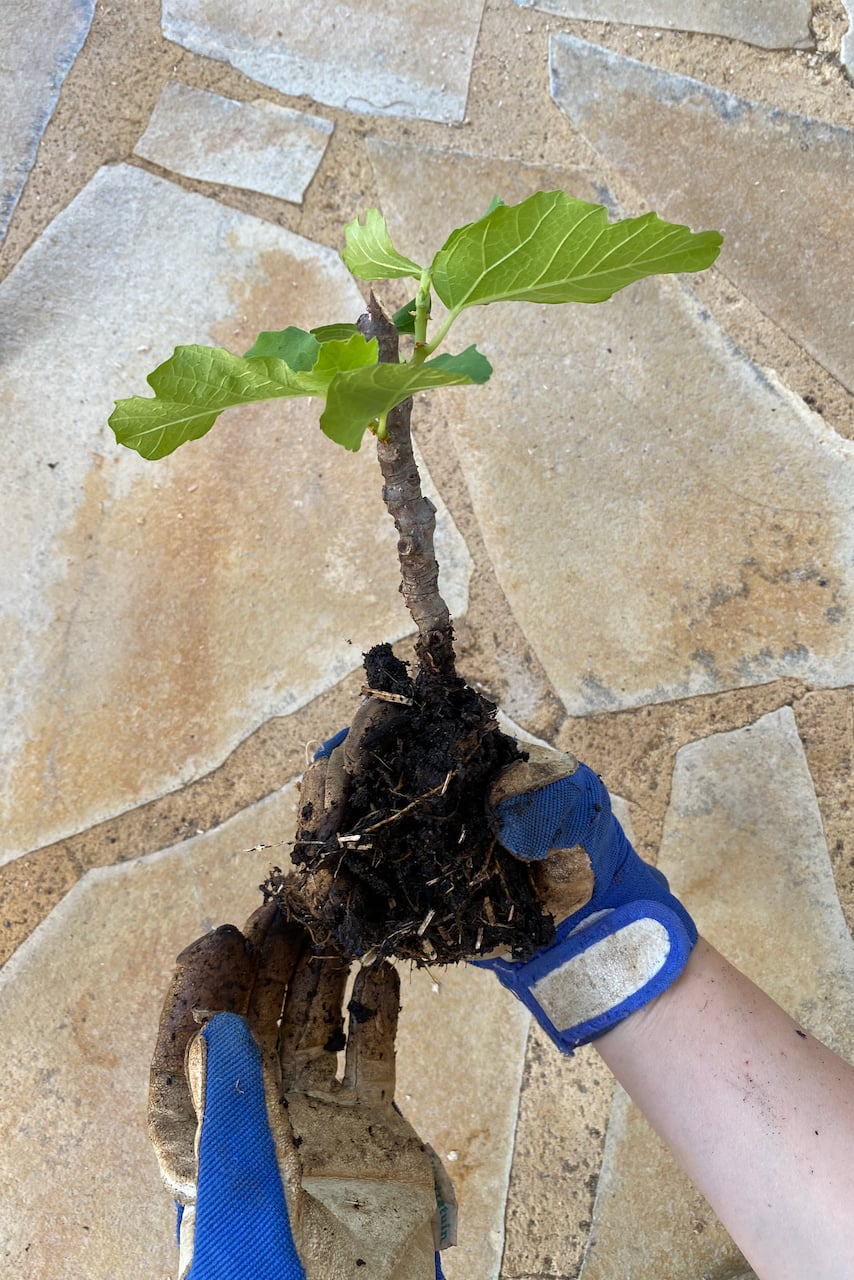
Once you’ve unlocked the tricks to taking hardwood cuttings, consider yourself a master propagator. You’re not ready for your PhD yet – that’s only awarded when you’ve mastered grafting – but you’re almost there.
Ok, Mickey, but what does this have to do with the reasons why my cuttings have failed?
Dear reader, it might be the whole reason. Your cuttings may have failed simply because the timing was off.
This catches people out most often with softwood and semi-hardwood cuttings. From spring through fall, most garden plants are covered in fresh, green growth that looks perfect for snipping. But a cutting doesn’t only need the right kind of stem. It also needs enough time to grow roots before the weather turns against it.
Take a tender cutting in early summer, and it has to make it through the heat of July and August. Take one too late in fall, and it won’t have roots before the first frost.
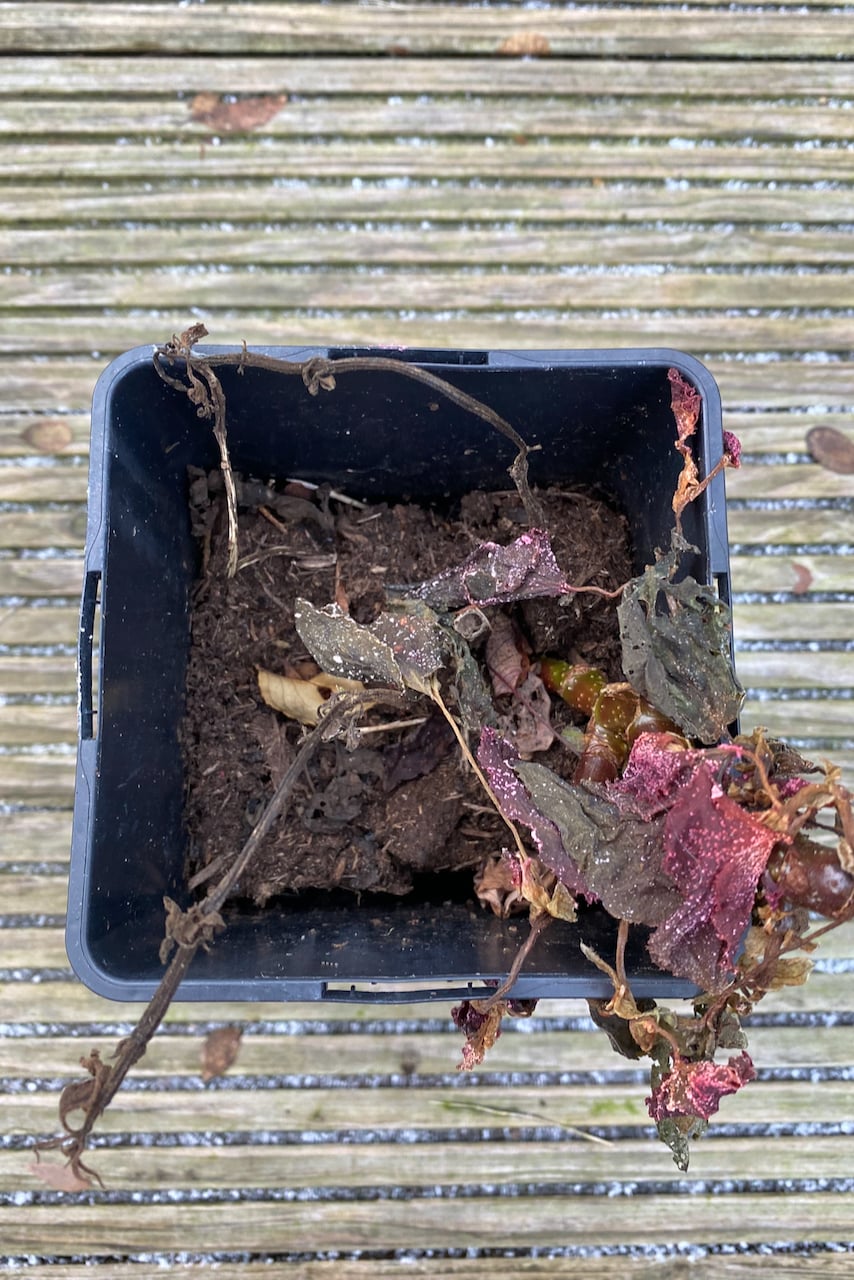
And if we take semi-hardwood cuttings in the fall, they will absolutely freeze in the winter without protection. Their soft tissue is not equipped to survive the cold months yet.
If you’re wondering why there’s even new growth suitable for cuttings on plants in the fall, allow me to present exhibit A – my rose shrubs. Because they took a long siesta during the dry summer heatwaves, they’re now staying up late through the fall and putting out new growth. If I were to take these softwood cuttings now, they would not survive the winter.
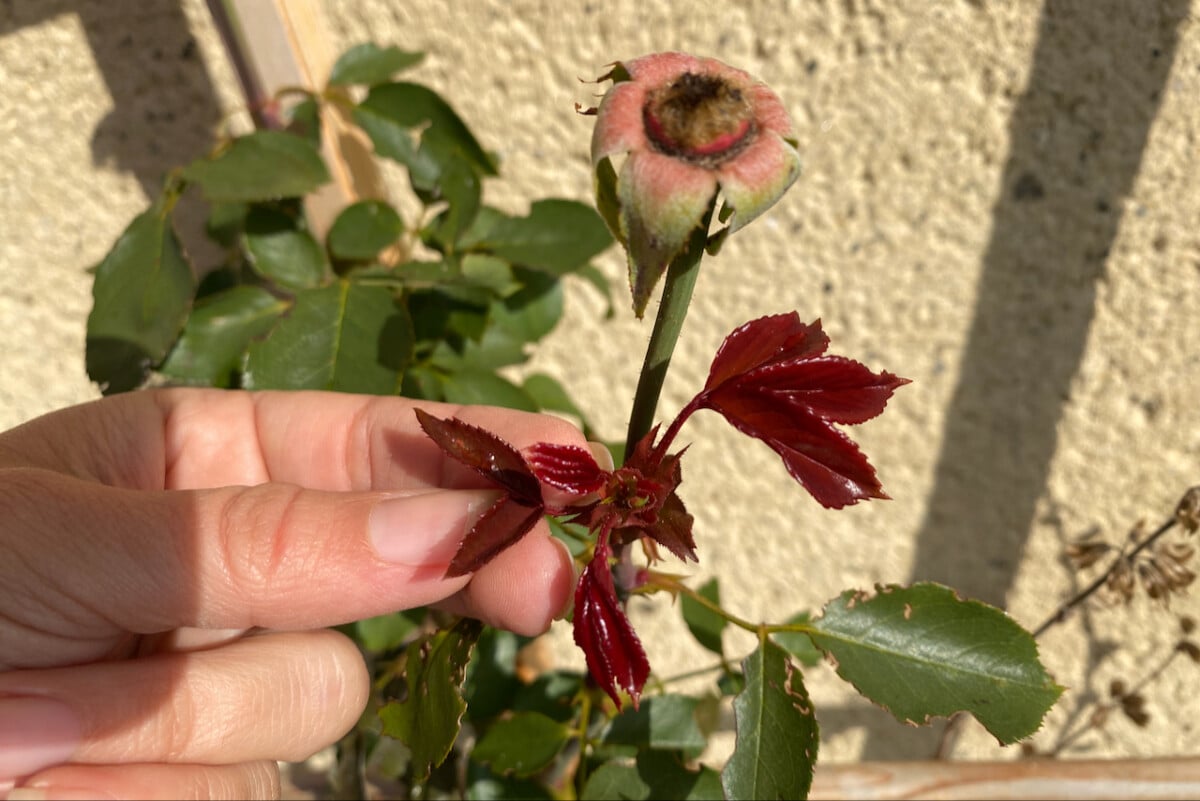
Similarly, if you’re reading this article in November, it might be too late to take semi-hardwood cuttings. And it’s better to wait for next year unless you have a suitable place to overwinter them.
So if your cuttings have failed, is it possible that you took the wrong kind of cutting for the time of year?
Mistake #2: You kept the soil too moist or too dry.
For every single cutting guide I write – without exception! – I always add a couple of sections on aftercare.
Whether we’re propagating star jasmine, rhododendrons or hydrangeas, taking the actual cutting is only the beginning. The easy part.
What we do after that, the maintenance part, is what will determine whether we end up with more baby plants or with a pot full of soggy sticks.
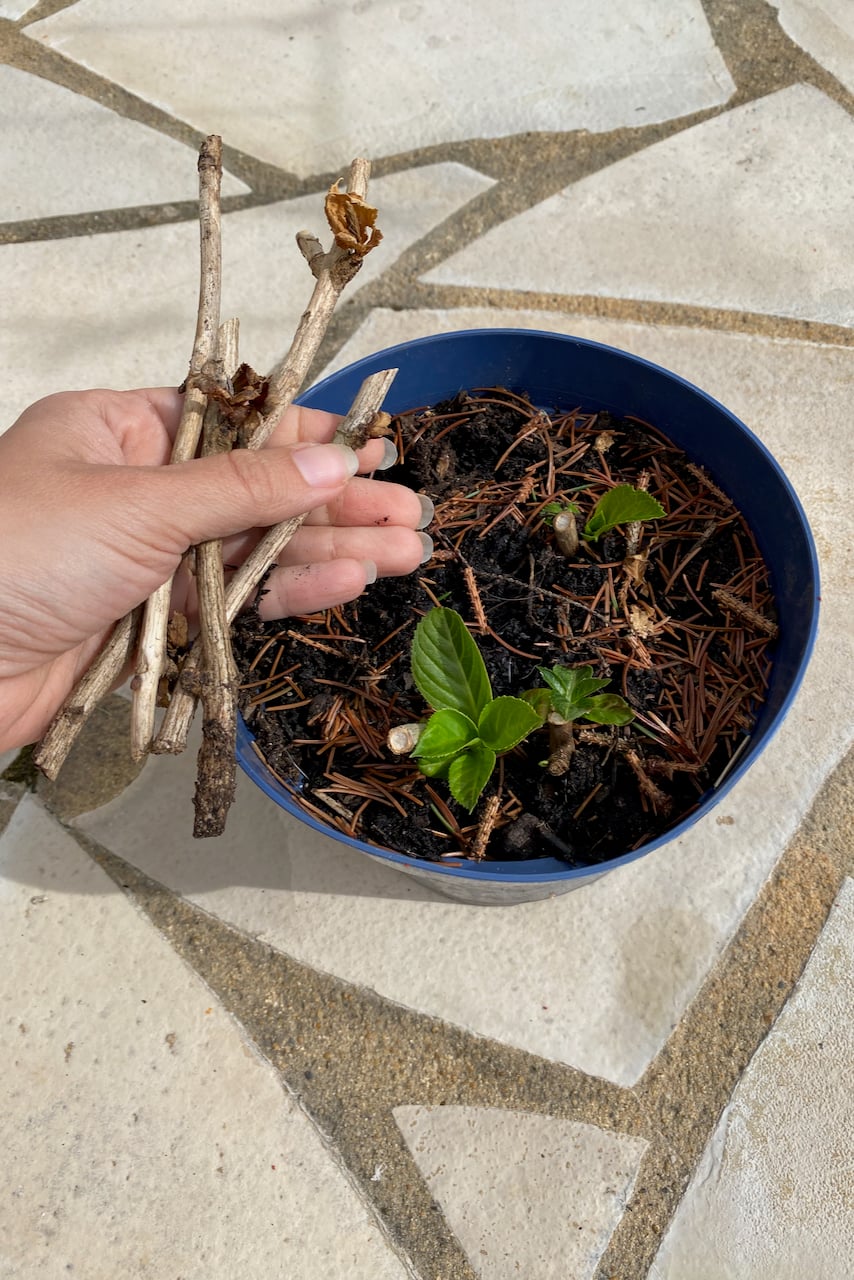
In my experience, it’s the soil – more specifically, how moist we keep it – that can make or break this propagation process.
The mistake that I make most often is keeping the soil too moist.
When we first put the cuttings in the propagation pot, they don’t have roots. This means there’s nothing to absorb the water and redirect it towards the leaves (where it would be eliminated through a process called transpiration). So if the soil is too moist, the part of the stem that goes underground ends up rotting. And that’s the end of it. You can’t root a rotted plant.
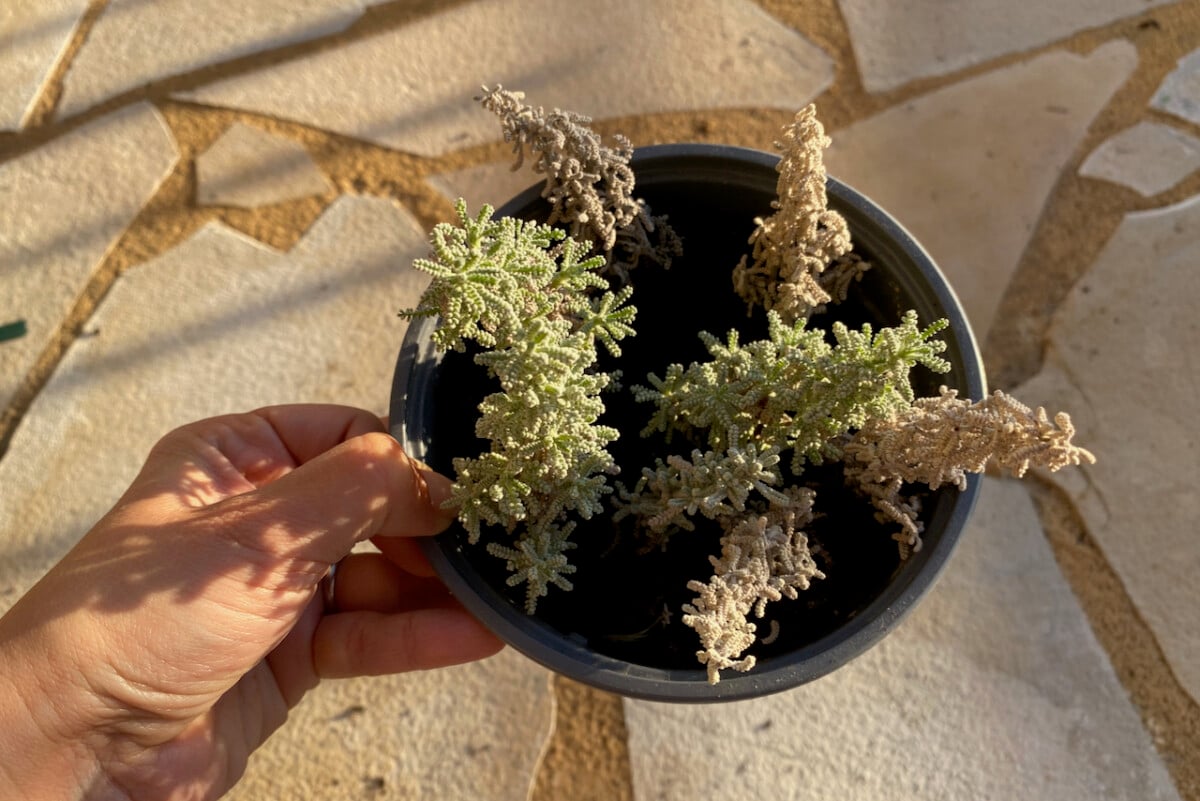
Oh, that’s ok then. I just won’t water it.
Yeah, that’s not the smart solution you think it is.
While staying on the dry side won’t be much of a problem for dormant hardwood cuttings, the other two types of cuttings need the soil to be at least damp in order for the growth hormones that push out roots to activate.
The ideal is to have the soil slightly damp, but not soggy.
Which leads me to …
Mistake #3: You’re using the wrong type of soil for your cuttings.
What if, no matter how hard you try and how careful you are to balance the watering needs, it seems impossible to get it right?
Whenever this happened to me, it was because I was always (and I do mean always) using the wrong type of soil.
Let me explain.
Like most gardeners I know, I’m a frugal girl. So when I have half a bag of potting soil left, I can’t just let it go to waste. I will use it for that handful of cuttings I just took.
Oh, how often has this been my undoing!
Mickey, are you telling me I need to buy yet another type of potting soil for cuttings?
Of course not! We’ve already established that I operate on a tight budget.
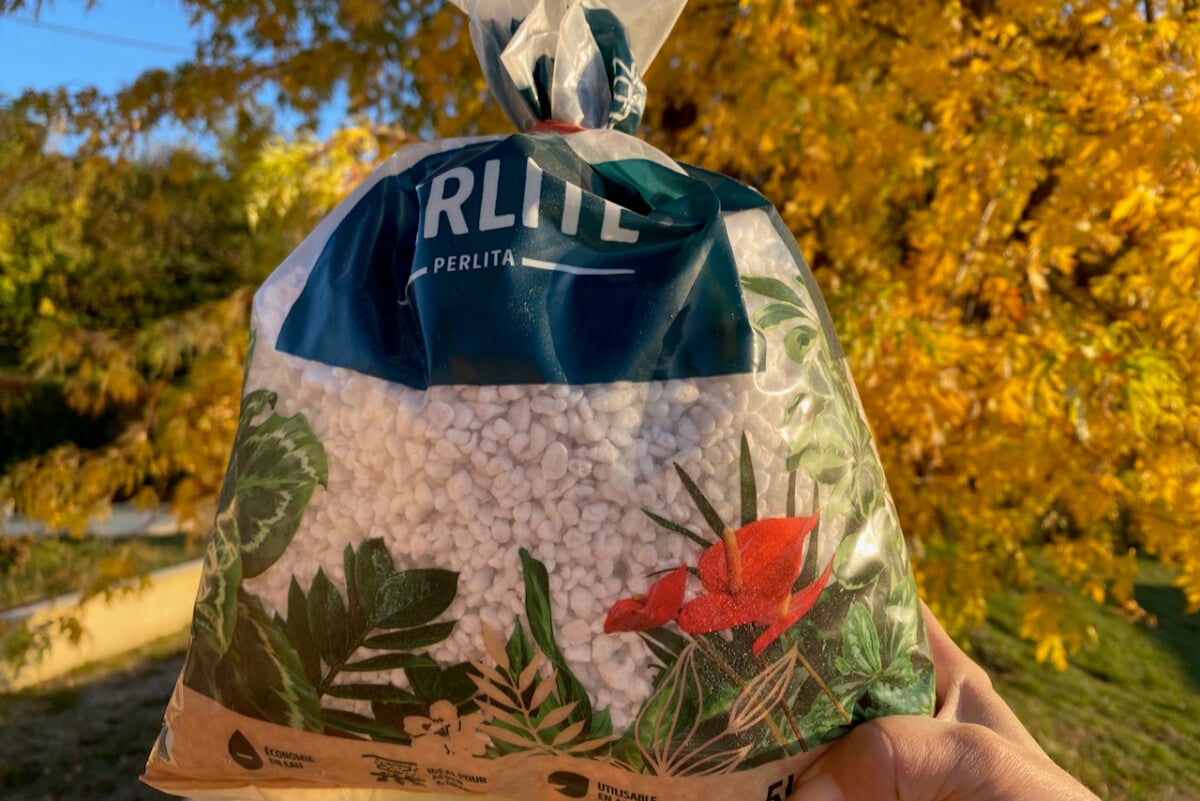
What I’m suggesting – and only in case you’re propagating in soil that stays too soggy – is to add an amendment. Most of the time, a bag of perlite is the most affordable solution.
Add a handful of perlite to the pot to help excess water drain away and allow air to reach the stem.
A small bag goes a long way. I’ve been working my way through my last bag for almost two years.
And next time you buy potting soil, make sure you get something lighter that contains either perlite, horticultural sand, coco coir, or other nutshell byproducts.
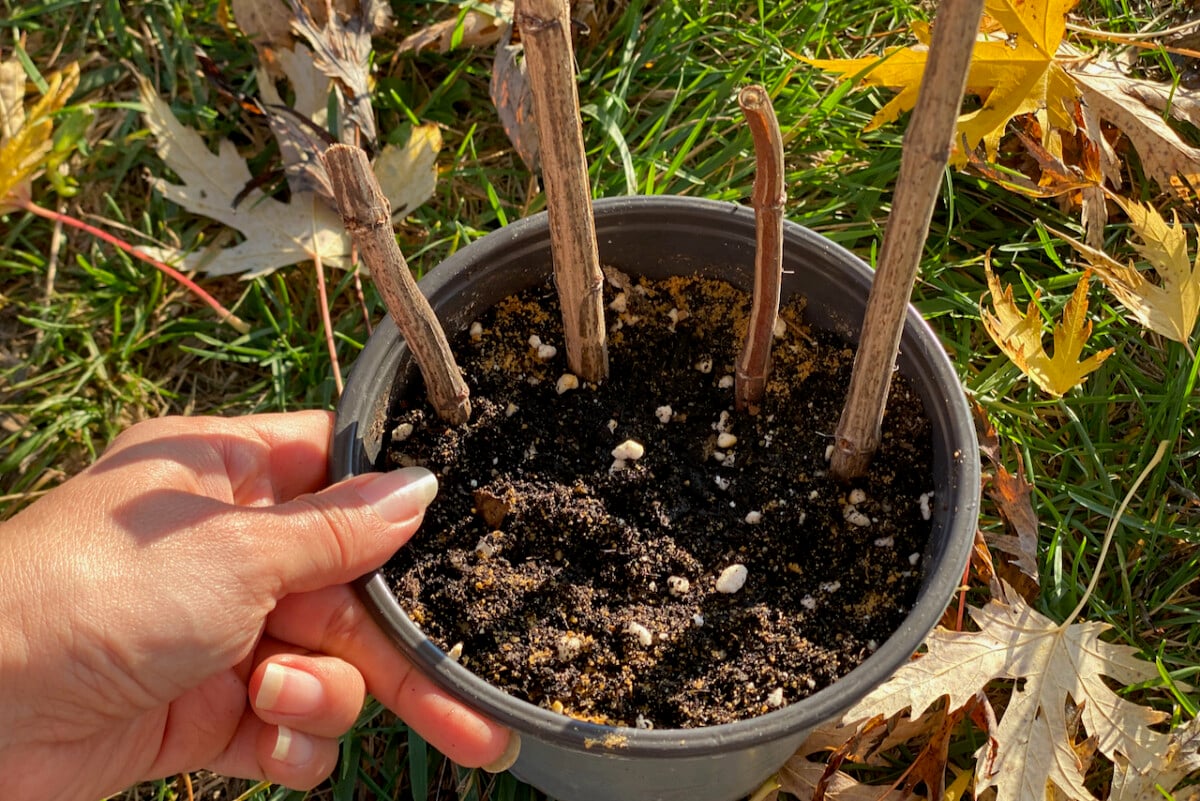
Not all bagged potting soils are created equal. I once bought five bags of garden compost for raised beds instead of buying potting soil. Purely because there were so many choices at the store and I was in a hurry and got flustered. I tried to use it for cuttings, but it was simply too dense and too rich.
Here’s my extra tip!
I found that using seed-starting soil works like a charm for cuttings too. It’s light. It allows aeration. And it doesn’t have any added fertilizer. (The cuttings don’t need extra fertilizer at this point.)
Of course, this will depend on what’s available in garden stores in your area. Around me, they sell potting soil for seed starting only in spring. So I learned to stock up then and have a couple of bags handy for fall cuttings too.
Mistake #4: You’re keeping the cuttings too hot or too cold.
Once again, it’s worth knowing which cuttings you’re taking and what type of wood they are.
Softwood cuttings, taken early in the growing year, are often at risk of frying in too hot temperatures in the summer. So we will need to shelter them from the heat. The best solution is to move them into the shade.
Semi-hardwood cuttings, taken in the fall, run the risk of freezing in the winter. Their soft tissue is not yet ready for freezing temperatures. So we will need to protect them from the cold.
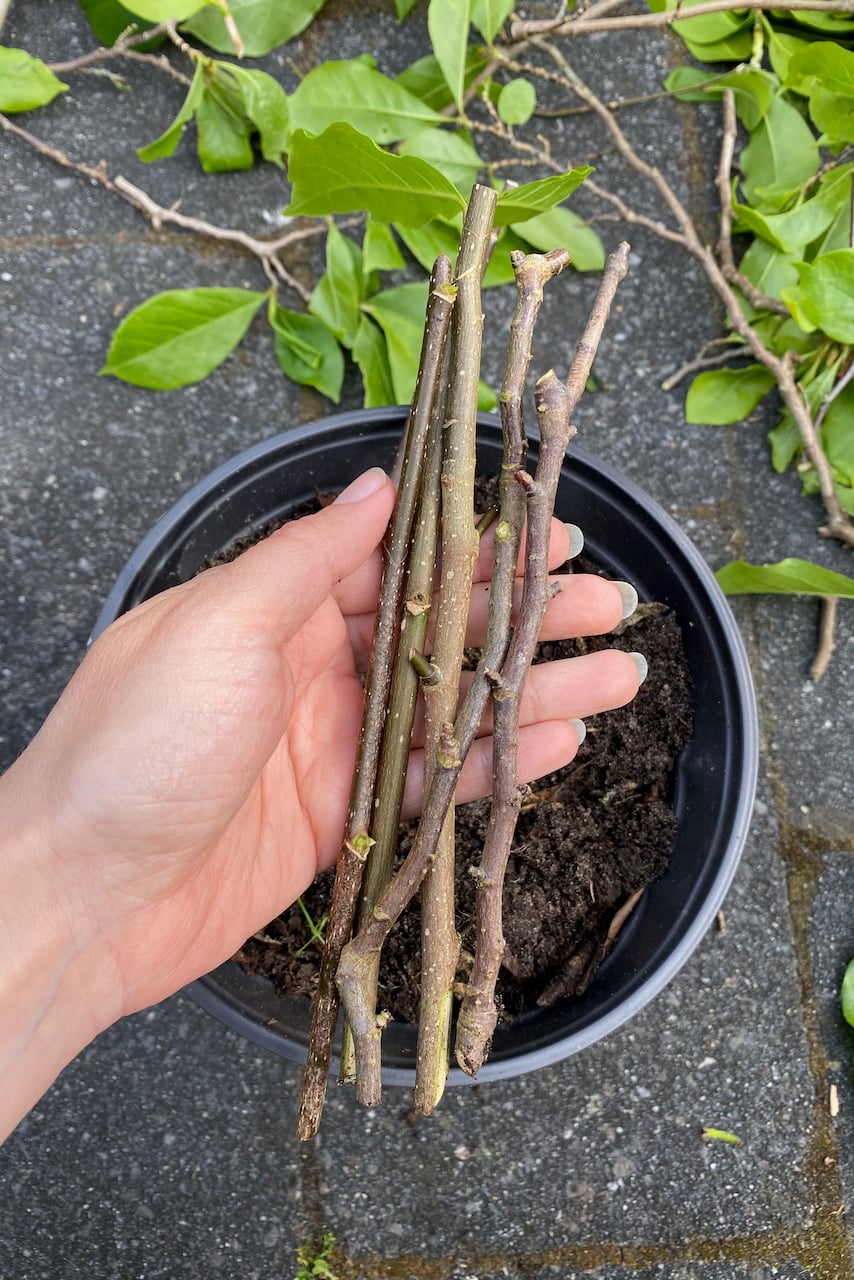
We can do that by bringing them to a sheltered spot, such as a garage, a greenhouse or a sunroom. We can also add a bag or a cloche on top of them to create a mini-greenhouse. Or we can keep them indoors, but not in a heated room.
I have a little outdoor mobile greenhouse that I keep on my patio. I unzip the flap during the day to allow the sun (if any) to warm up the cuttings. Then I close it at night. I’ve managed to keep cuttings alive from fall to spring just with this method.
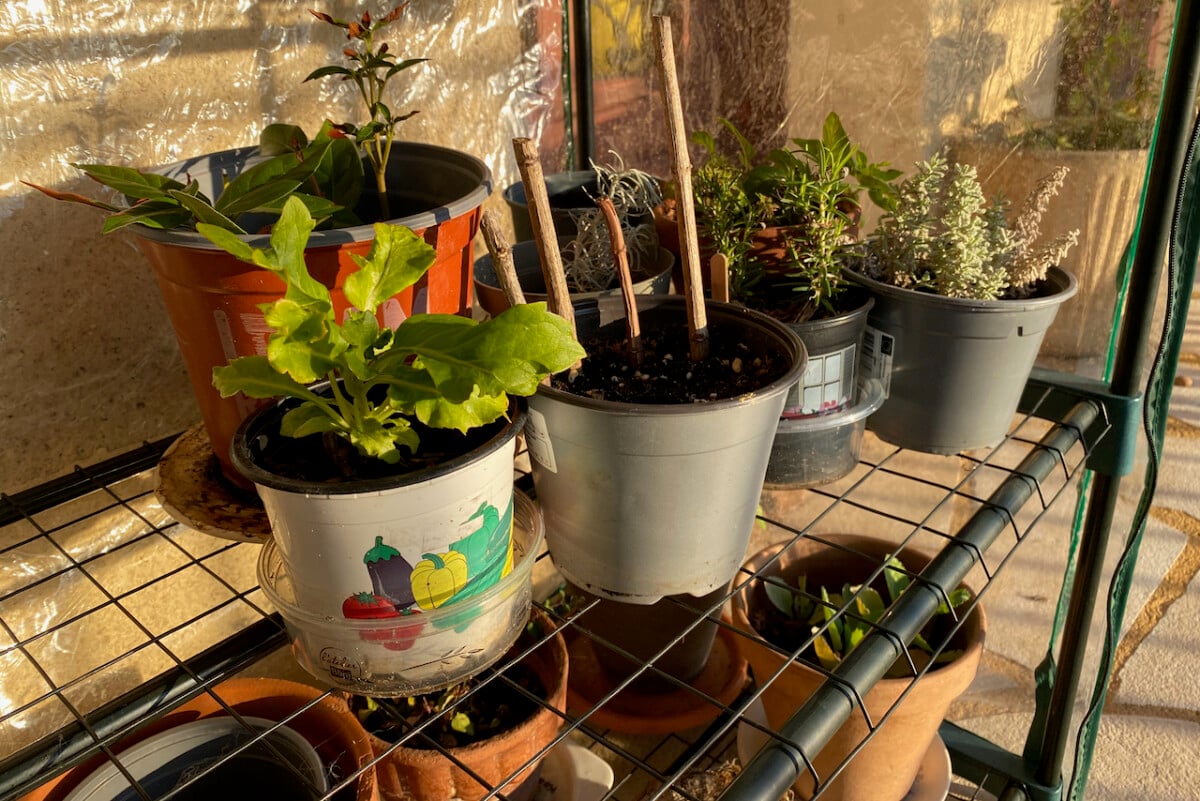
Hardwood cuttings are not as fussy when they’re dormant, but we still shouldn’t let them freeze. And once they start sprouting new leaves, we should protect them from direct sun too.
Overall, one of my rules of thumb for taking care of cuttings is this:
If it’s not good for my houseplants, it won’t be good for my cuttings.
We can’t let them freeze. We can’t let them fry. We can’t let them soak. We can’t let them dry.
Mistake #5: The cuttings don’t make it into soil right away.
I’ve left this one mistake for last because it doesn’t happen that often. But I thought it’s worth mentioning nevertheless, since I made this mistake multiple times.
It’s letting the cuttings dry out from the time we take them off the plant to the time we stick them in some potting soil.
Here’s how that might happen, from my personal experience.
I’m puttering around in the garden, either pruning or realizing that some of my shrubs and perennials are at the perfect stage for cuttings. I happen to have my shears in my garden basket, so I take the cuttings right then and there. But then … squirrel! Or something else distracting me. Isn’t that always the case when we’re gardening?
I’ll just set the cuttings down here and come back for them in five minutes.
Except five minutes turns into hours (or the next day). And my cuttings have been sitting on the ground for hours, slowly wilting away. Yeah, there’s no coming back from a wilted piece of plant. If the cutting has dried out, forget about it setting roots.
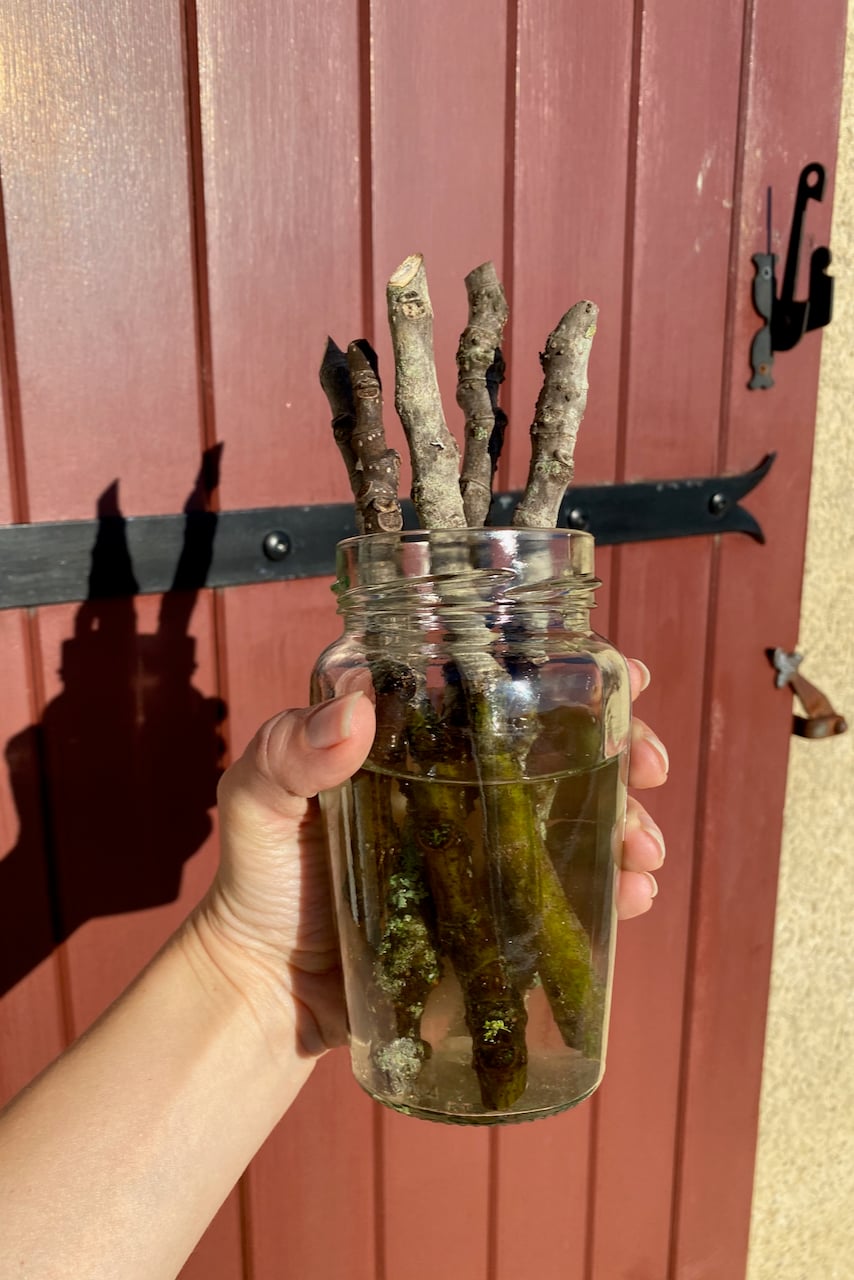
And surely, I’m not the only one who has taken cuttings from a friend’s garden, brought them home, and forgot to take them out of the car. I even did this with cuttings I took from a neighbor across the street! I brought the bunch of cuttings home, took off my coat, and then the cats distracted me. The following day, there were the cuttings, limply hanging off my hallway console table.
So the trick with taking cuttings is staying focused on the task at hand. Squirrel!
It helps when I prepare the container full of potting soil first, then bring it next to the plant I’m taking the cuttings from. This will usually remove the extra friction. Then I’ll just plop the cuttings in the soil.
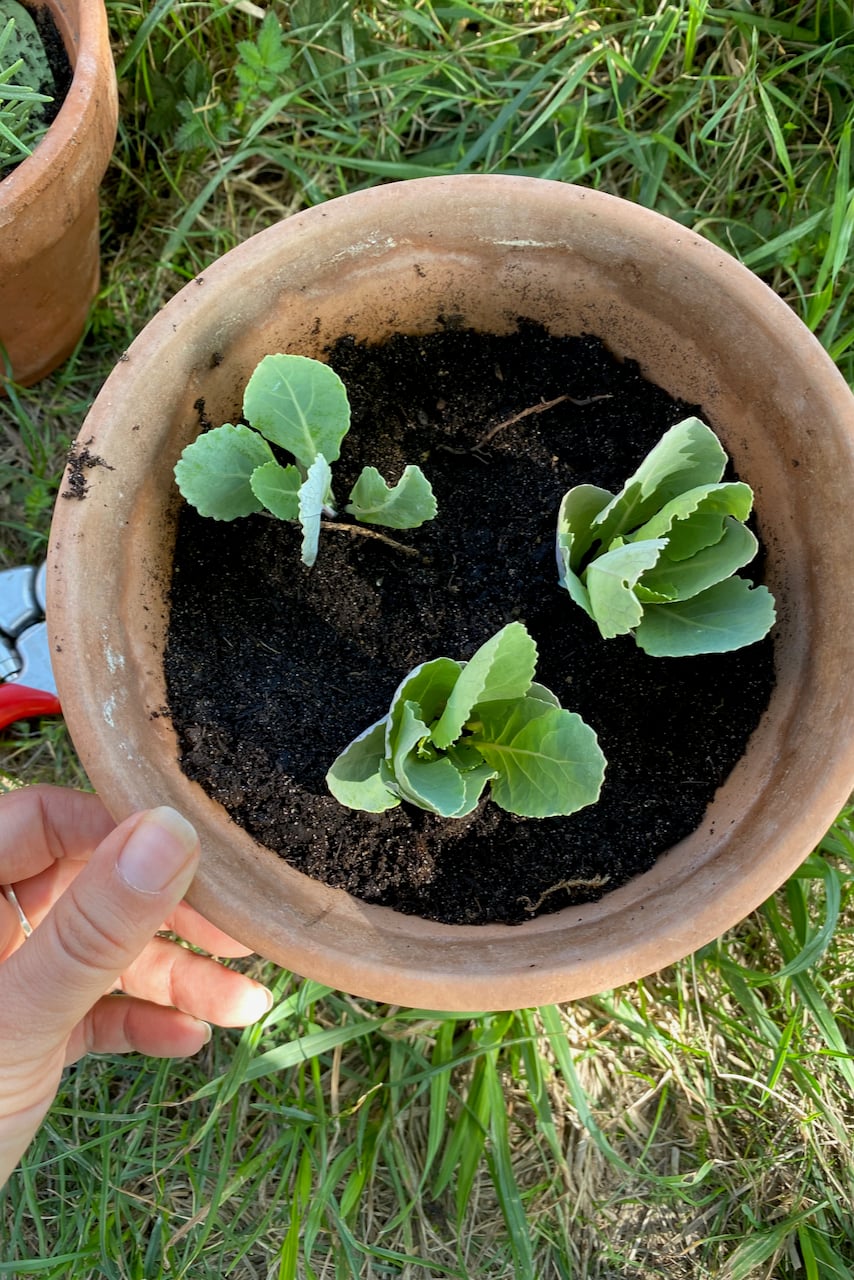
And in the case of taking cuttings from my neighbor and my friend, wrapping a wet paper towel around the cuttings and putting them in a plastic bag would have kept them a bit fresher and ready to be potted up for longer.
The podcast episode I mentioned at the beginning of the article is BBC’s Gardeners’ Question Time, more specifically the episode released on October 11th, 2026. You can click on this link if you’d like to listen to it too.
Get Garden Notes From Tracey, Right to Your Inbox
Pull up a chair on the front porch. Join 54,000+ gardeners who get Tracey\'s friendly notes, seasonal to-dos, and hands-on tutorials three times a week.