

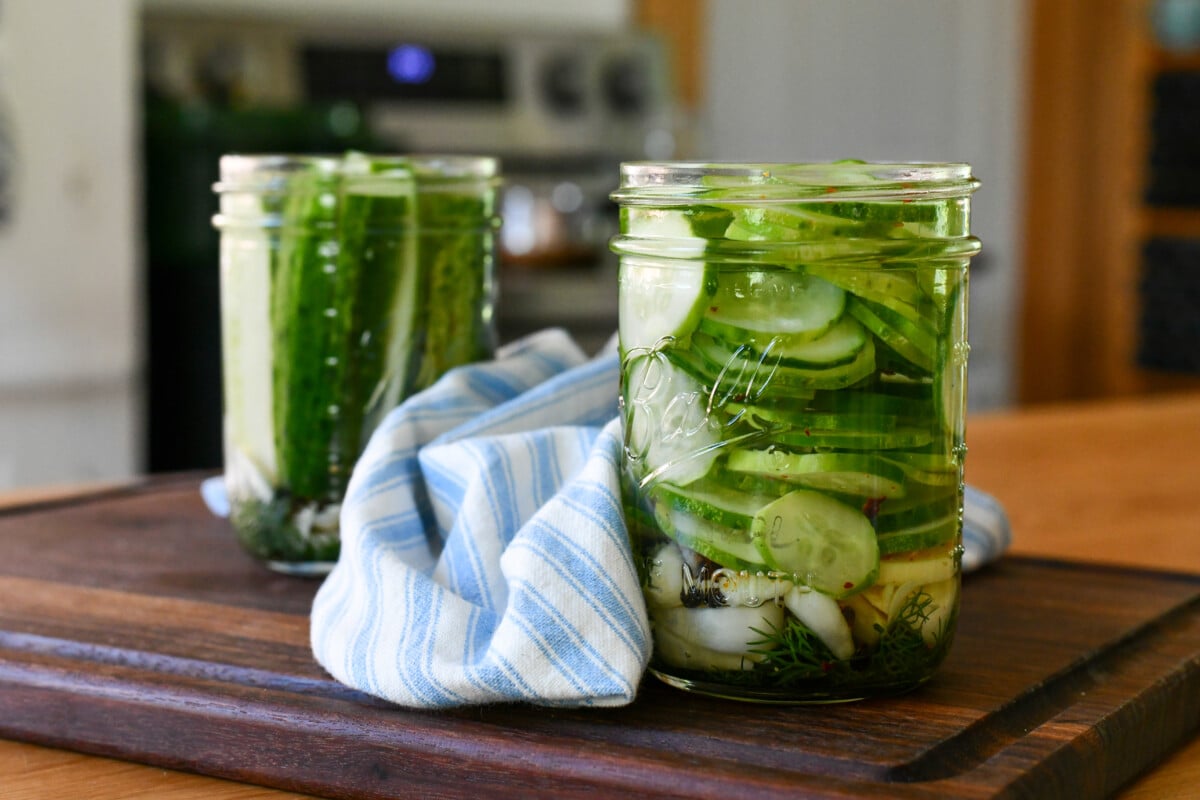
Pickle season is here! And whether you plan on going all out and canning pickles to enjoy even in the winter months, or you’re a fan of quick and easy fridge pickles, you need to give these a try. They’re simple, fast, exceptionally crunchy and take five minutes to make. Get your pickle fix fast!
This is a great recipe to keep on hand for when your garden is cranking out cucumbers faster than you can eat them.
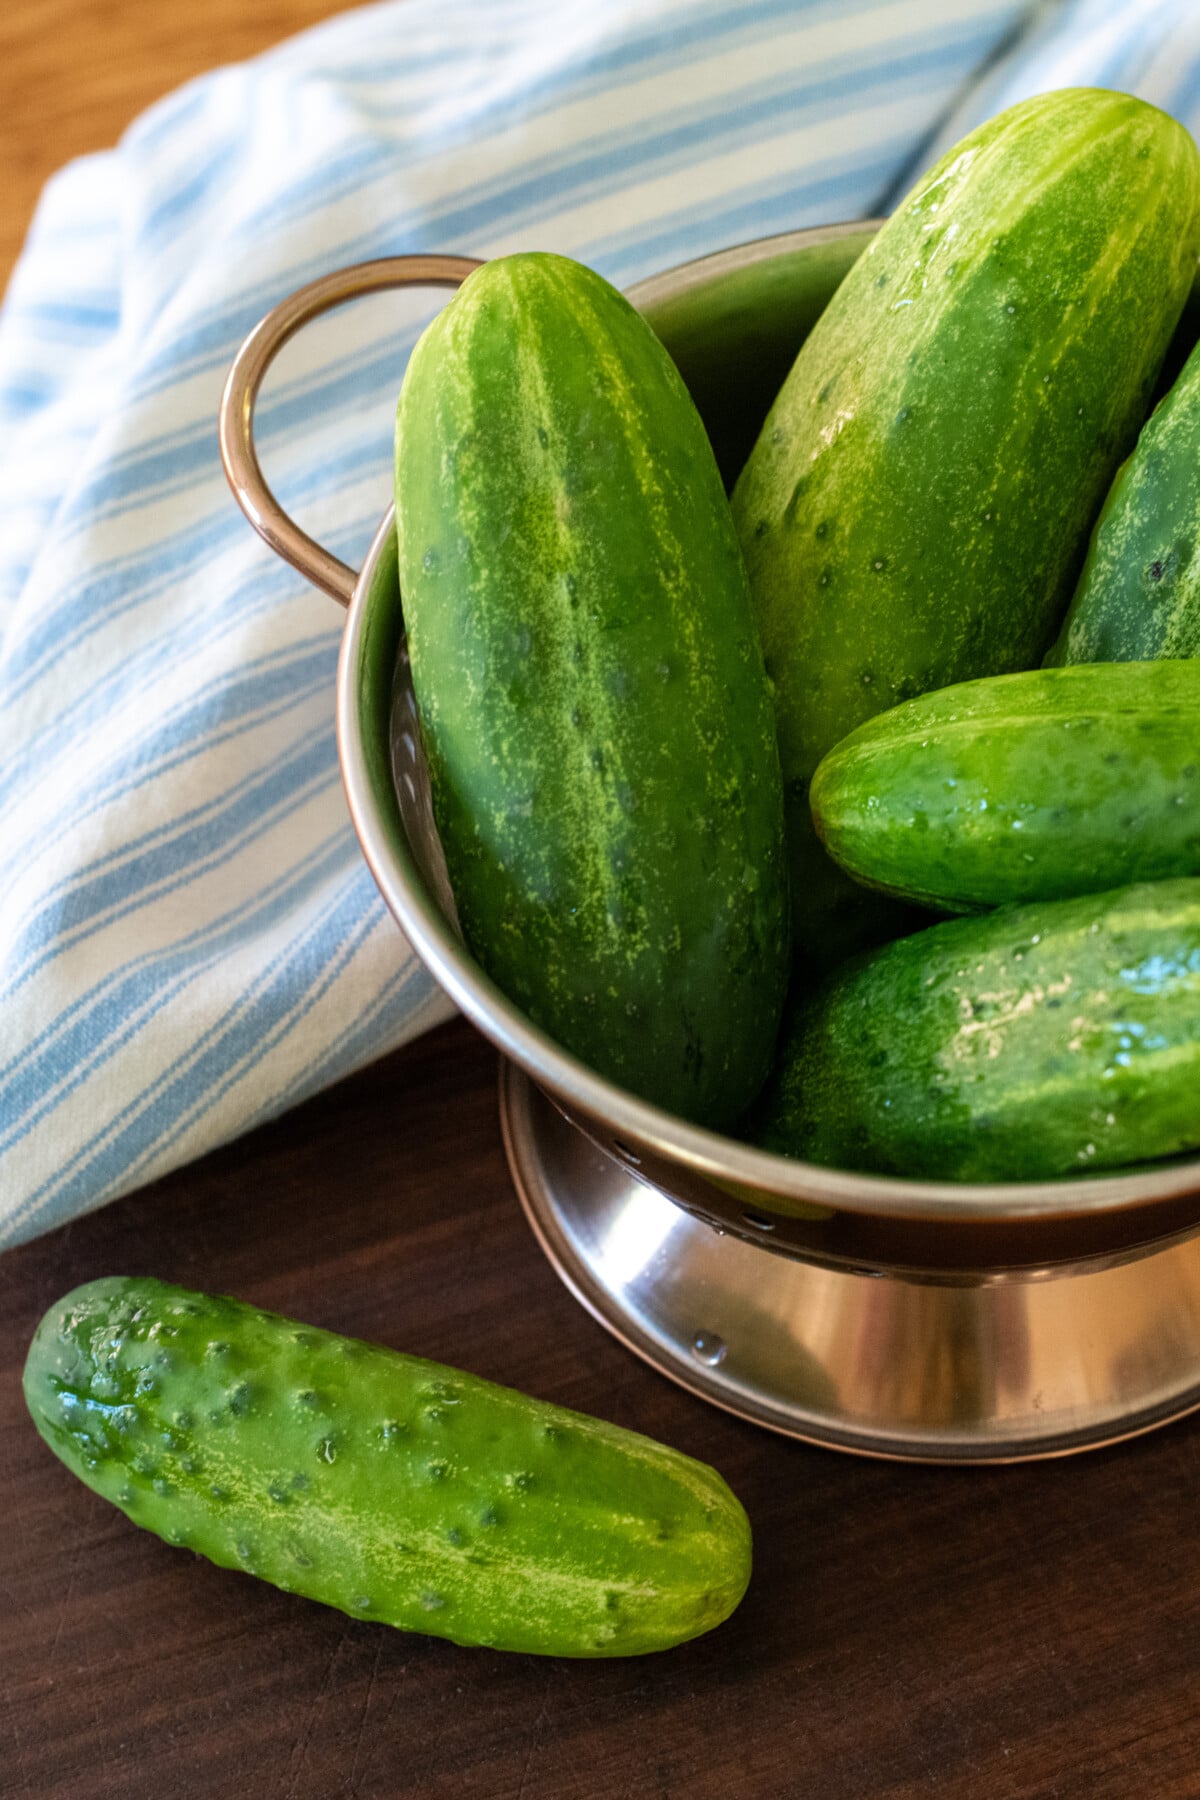
If you’ve never made a pickle in your life and the thought of canning anything seems overwhelming, these pickles are your new best friend.
No canning equipment is needed. Heck, you don’t even have to put these pickles in jars. (I often put my fridge pickle adventures in my glass meal prep containers, as they stack nicely, and take up less fridge real estate than a mason jar.)
By far my favorite part about this quick pickle recipe is that I always seem to have the right ingredients on hand. No fancy canning salt is needed, nor sixteen different herbs and spices.
But if you want to get creative in the kitchen, I’ve got a list of fun pickling spices later on. Mix and match and see what tasty variations you can come up with.
You can make these pickles as basic or as bougie as you want.
Getting Fridge Pickles Right
There are tons of refrigerator pickle recipes out there. Not all of them are great. Quite a few of them are pretty bad. What makes a good fridge pickle is the brine. You’ve got to nail the brine, otherwise the spices don’t really matter.
A good pickle brine consists of water, vinegar, and kosher salt.
Each of these plays a role in creating crispy, crunchy pickles that will keep for a couple of weeks in your fridge. If you get the ratios off or substitute the wrong amount of salt, you will end up with pickles that are bland or don’t have enough acidity to actually pickle.
Salt
Your salt is probably the most important ingredient in here, and it’s important to follow the recipe or make the correct substitution. You can’t just swap, say, a tablespoon of coarse kosher salt for a tablespoon of pickling salt, table salt, sea salt, etc. Because the crystals of each are shaped differently, when measuring by volume, as most standard recipes do, you would end up with some super salty brines, swapping one for another.
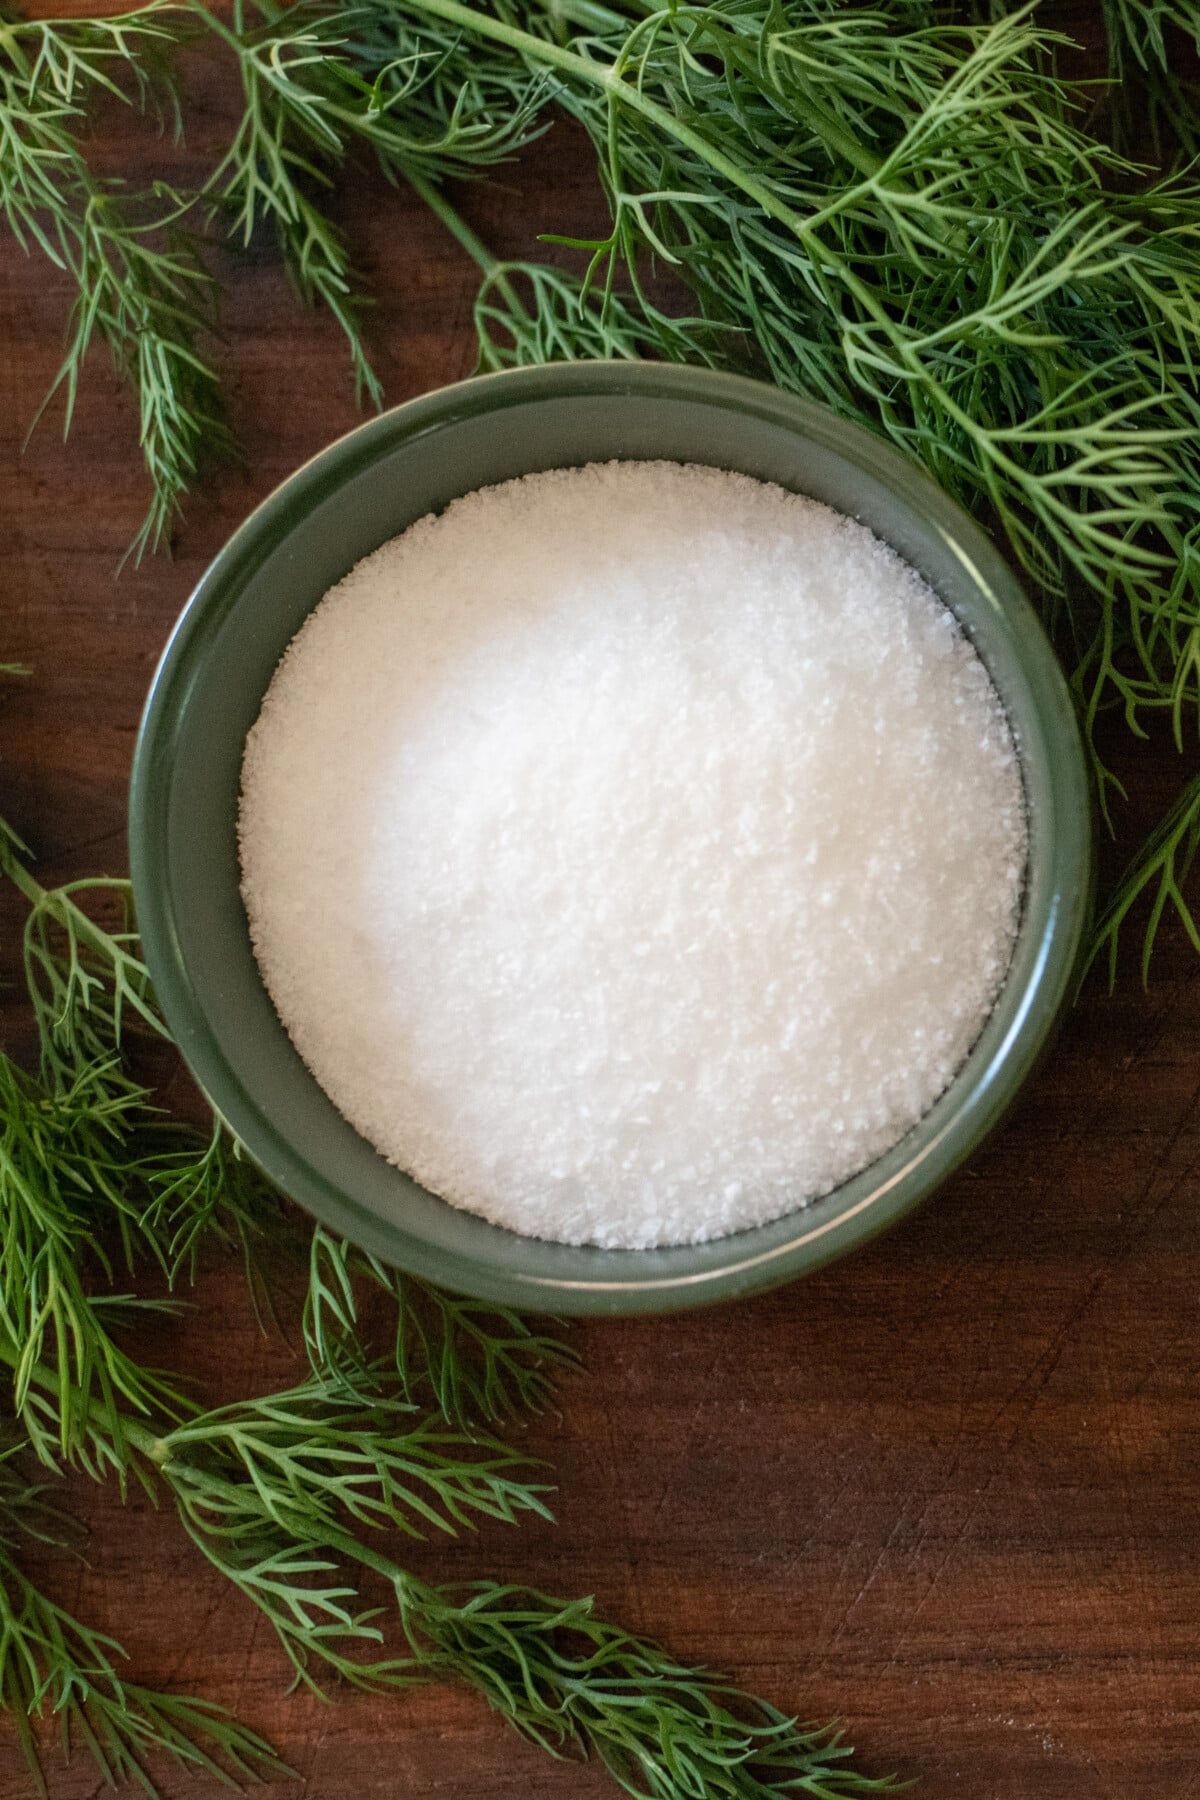
For this recipe, we’ll be using one tablespoon of kosher salt to make our brine.
If you don’t have kosher salt, that’s fine. Here are the correct substitutions:
- Table salt: 2 1/2 teaspoons
- Pickling salt: 2 1/2 teaspoons
- Fine kosher salt: 3 teaspoons
- Fine sea salt: 3 teaspoons
If you’re using table salt, non-iodized is best as it will keep the brine clear, but if iodized salt is all you have, go for it, your pickles will still taste great.
Vinegar
The gold standard of pickling is basic white vinegar. The acidity is a key component in canning to prevent spoilage. But because we’re making pickles that will be stored in the refrigerator and used up within a shorter time frame, now is the time to get wild with and try out all those fancy vinegars you’ve tucked away in your cupboard.
- Apple cider vinegar
- Red or white wine vinegar
- Rice wine vinegar
- Champagne vinegar
- White balsamic vinegar
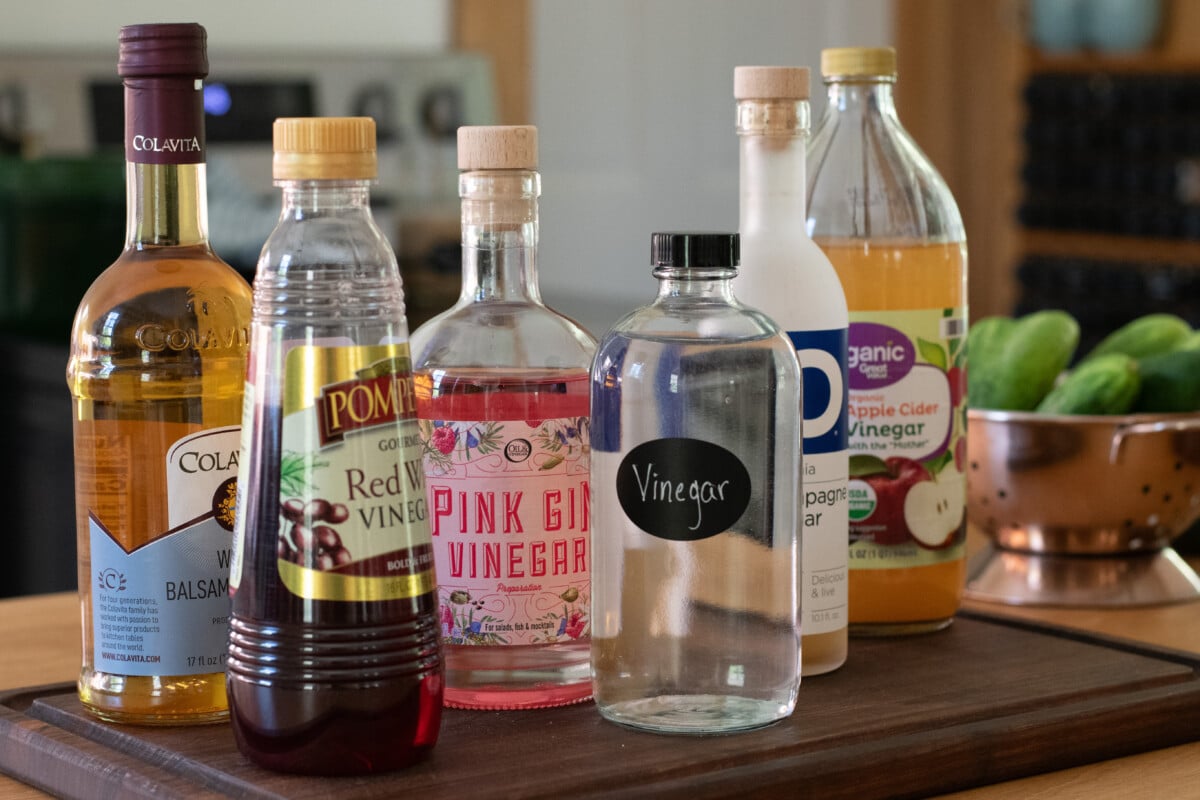
The list goes on and on. If it’s in your cupboard and it’s vinegar, give it a try; you may stumble across an incredible flavor combination. I recently bought a bottle of pink gin vinegar that I’m dying to try with this recipe.
Pickling Spices
This recipe is pretty basic, with your standard garlic and dill flavors at the forefront. But it’s only a jumping off point.
Numerous spices traditionally find their way into pickle brine, with each bringing its own unique flavor to the mix.
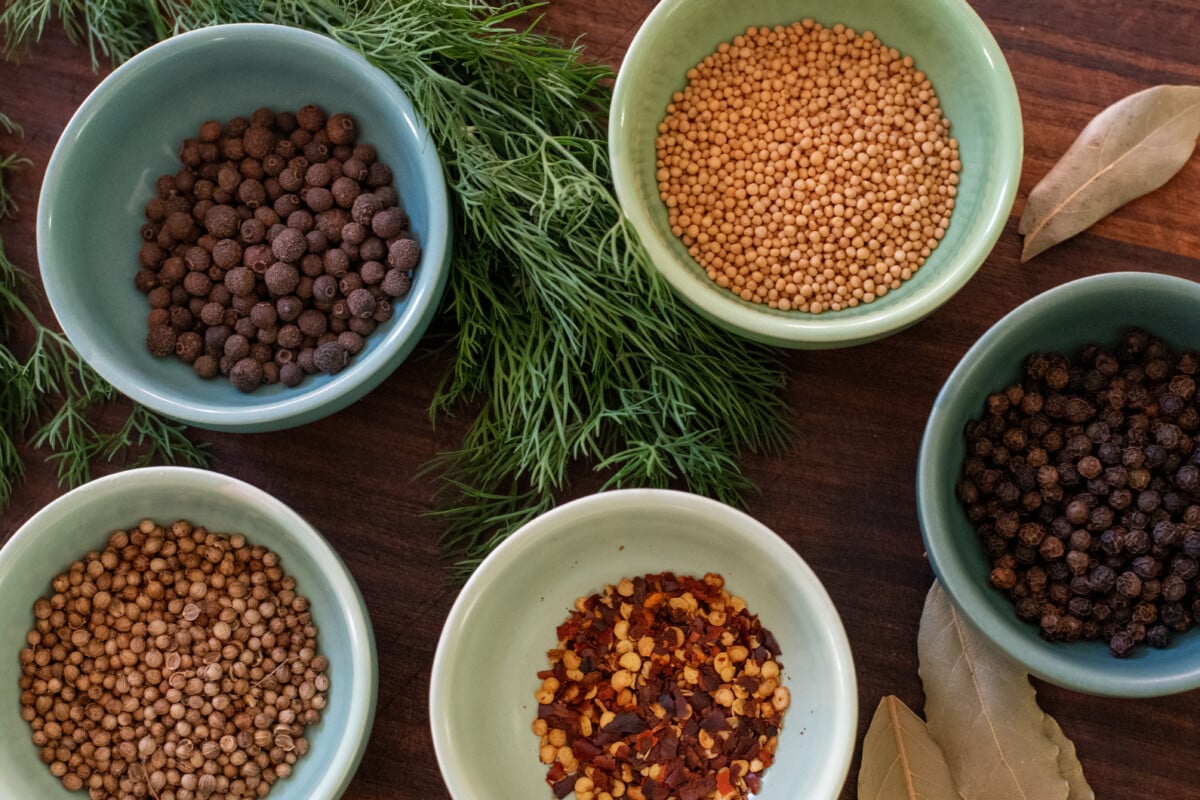
- Yellow or black mustard seed (1/2 tsp per jar)
- Allspice berries (6 per jar)
- Bay leaves (1 per jar)
Coriander seed (1/2 tsp per jar) - Dill seed (1/4 tsp per jar)
- Cloves (4 whole cloves per jar)
- To name a few
If you like sweeter pickles, add 1 teaspoon of sugar to the salt in this recipe.
I highly encourage experimentation with different pickling spices. Refrigerator pickles are perfect for trying something new. You may stumble across the perfect pickle, and if it turns out not to your liking, it’s only one jar.
Do You Need to Sterilize Your Jars?
Because we are keeping our pickles in the fridge and they will have a relatively short shelf life, no, sterilization is not necessary. If it makes you feel better to use a sterilized jar, go for it. Regardless, be sure you use a nice, clean jar and lid.
How Much Will This Recipe Make?
This recipe will give you two pint jars of pickles.
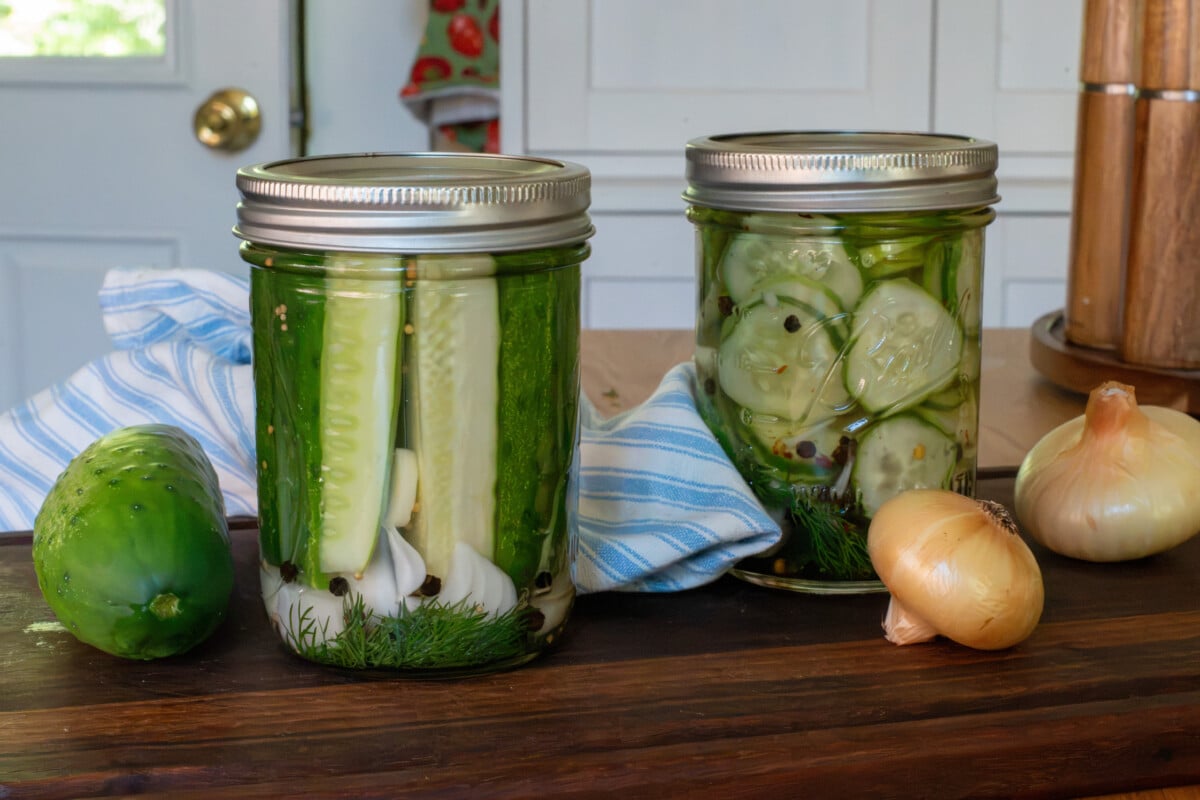
Keep in mind, fridge pickles are mean to give you pickles fast and easy, not keep you in preserved pickles well into the winter months. If you have a lot of cucumbers on your hands, then fridge pickles are not the way to go. They will only keep for a matter of weeks, and you don’t want a dozen jars of pickles in your fridge that need to be eaten by next month. (Or maybe you do? Who am I to judge?
If your garden runneth over with an abundance of cucumbers, it’s best to can most of them, as they will keep longer.
Alright, let’s make some super speedy and delicious pickles, my friends!
What you’ll need:
- 2 squeaky clean pint jars with lids
- A small saucepan or an electric kettle to heat a bit of water
- A sharp knife, mandolin slicer or food processor with the slicing attachment
Ingredients:
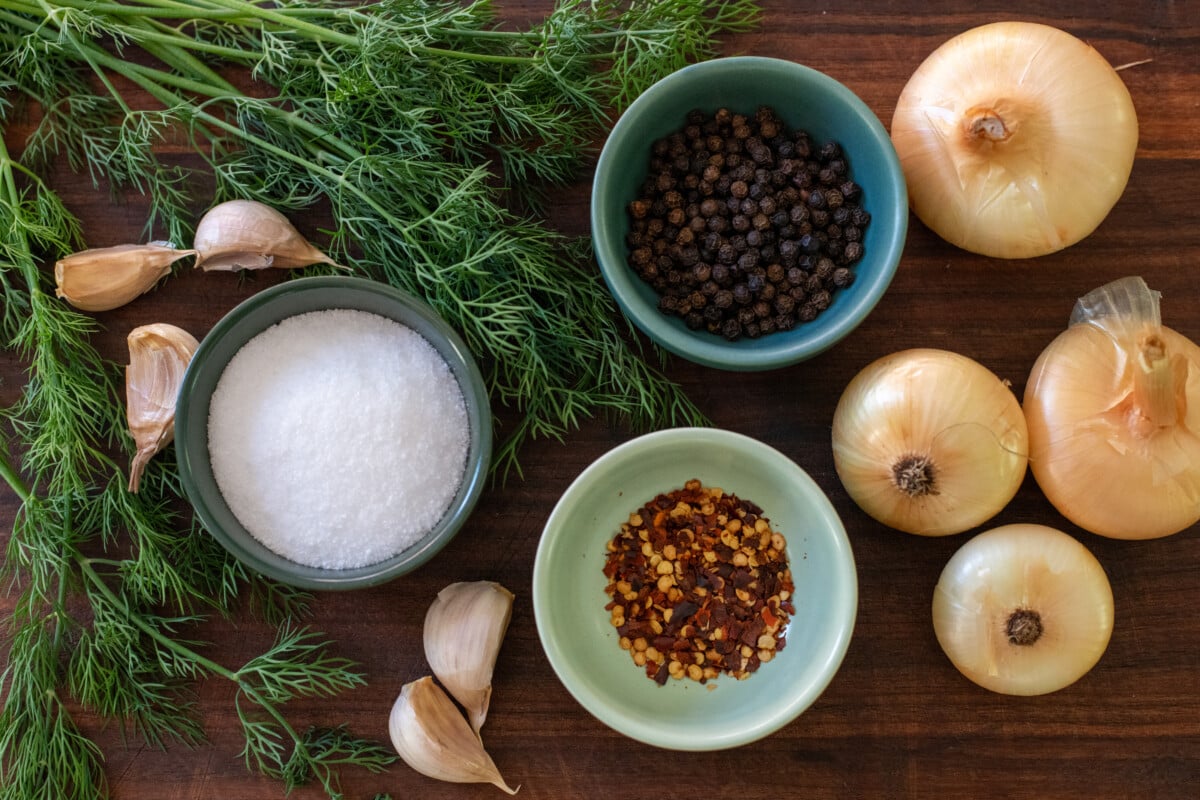
- 4-5 small cucumbers, thoroughly scrubbed (I’m obsessed with Persian cucumbers, which make lovely pickles)
- 1/4 onion, sliced per jar, bonus points if it’s red because it looks super pretty in the jar, or it’s an onion you grew yourself
- 2 cloves of garlic per jar, peeled and sliced, bonus points if the garlic came out of your own garden
- Several sprigs of dill per jar
- ½ tsp black peppercorns per jar
- pinch of crushed red pepper flakes per jar, you can omit the red pepper if you don’t like pickles with a kick, but I highly recommend you add another pickling spice in its place
- Any other pickling spices you like
- 2 Tbls coarse kosher salt (I prefer Diamond Crystal Kosher Salt Flakes, it’s what I use in my kitchen)
- 1 cup of white vinegar, or fancy-pants vinegar of your choice
- 1 cup of water
To Make Your Pickles
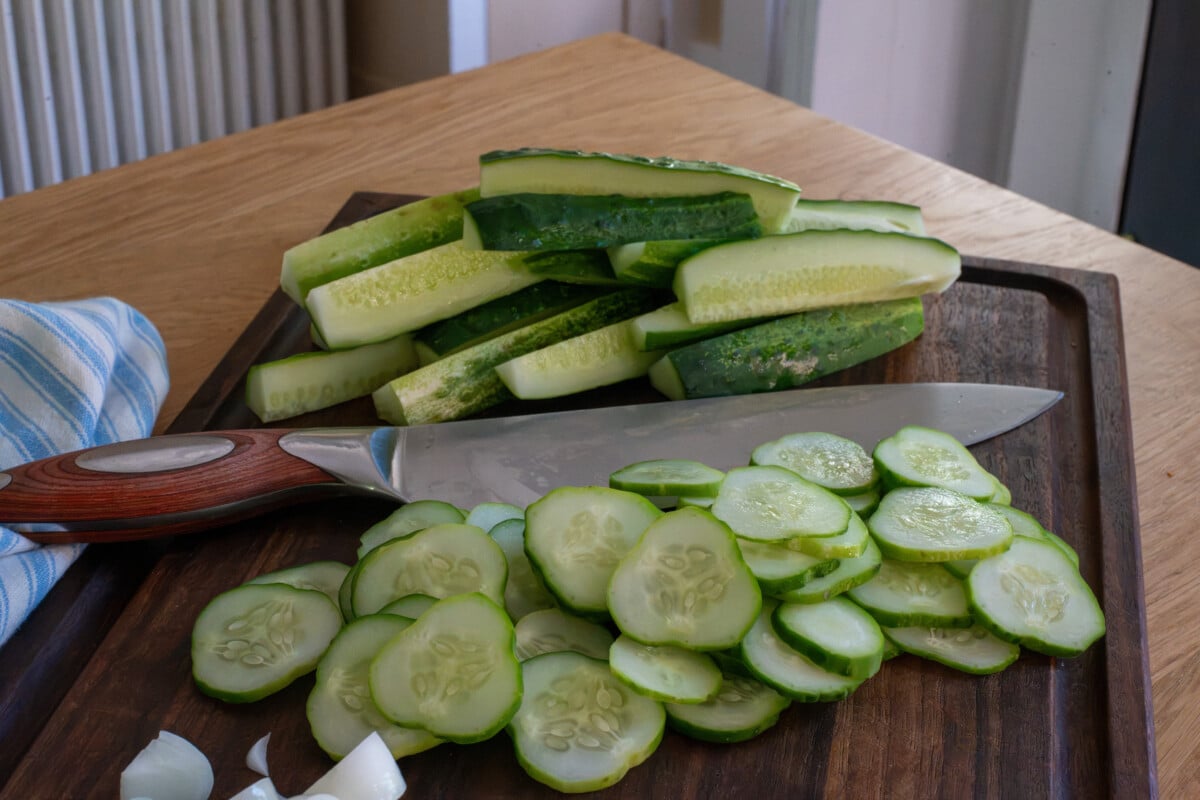
Slice your pickles into spears or chips with a knife, mandolin slicer or food processor. Mandolin slicers scare the dickens out of me, so I always stick with my trusty chef knife. Keep your slices nice and thin for chips. If you do spears, you’ll want them to be about 4 to 5” long, so they fit in the jar with all the spices on the bottom.
Next, place your dill, onions, garlic, peppercorns, crushed red pepper and any other spices into the clean jars.
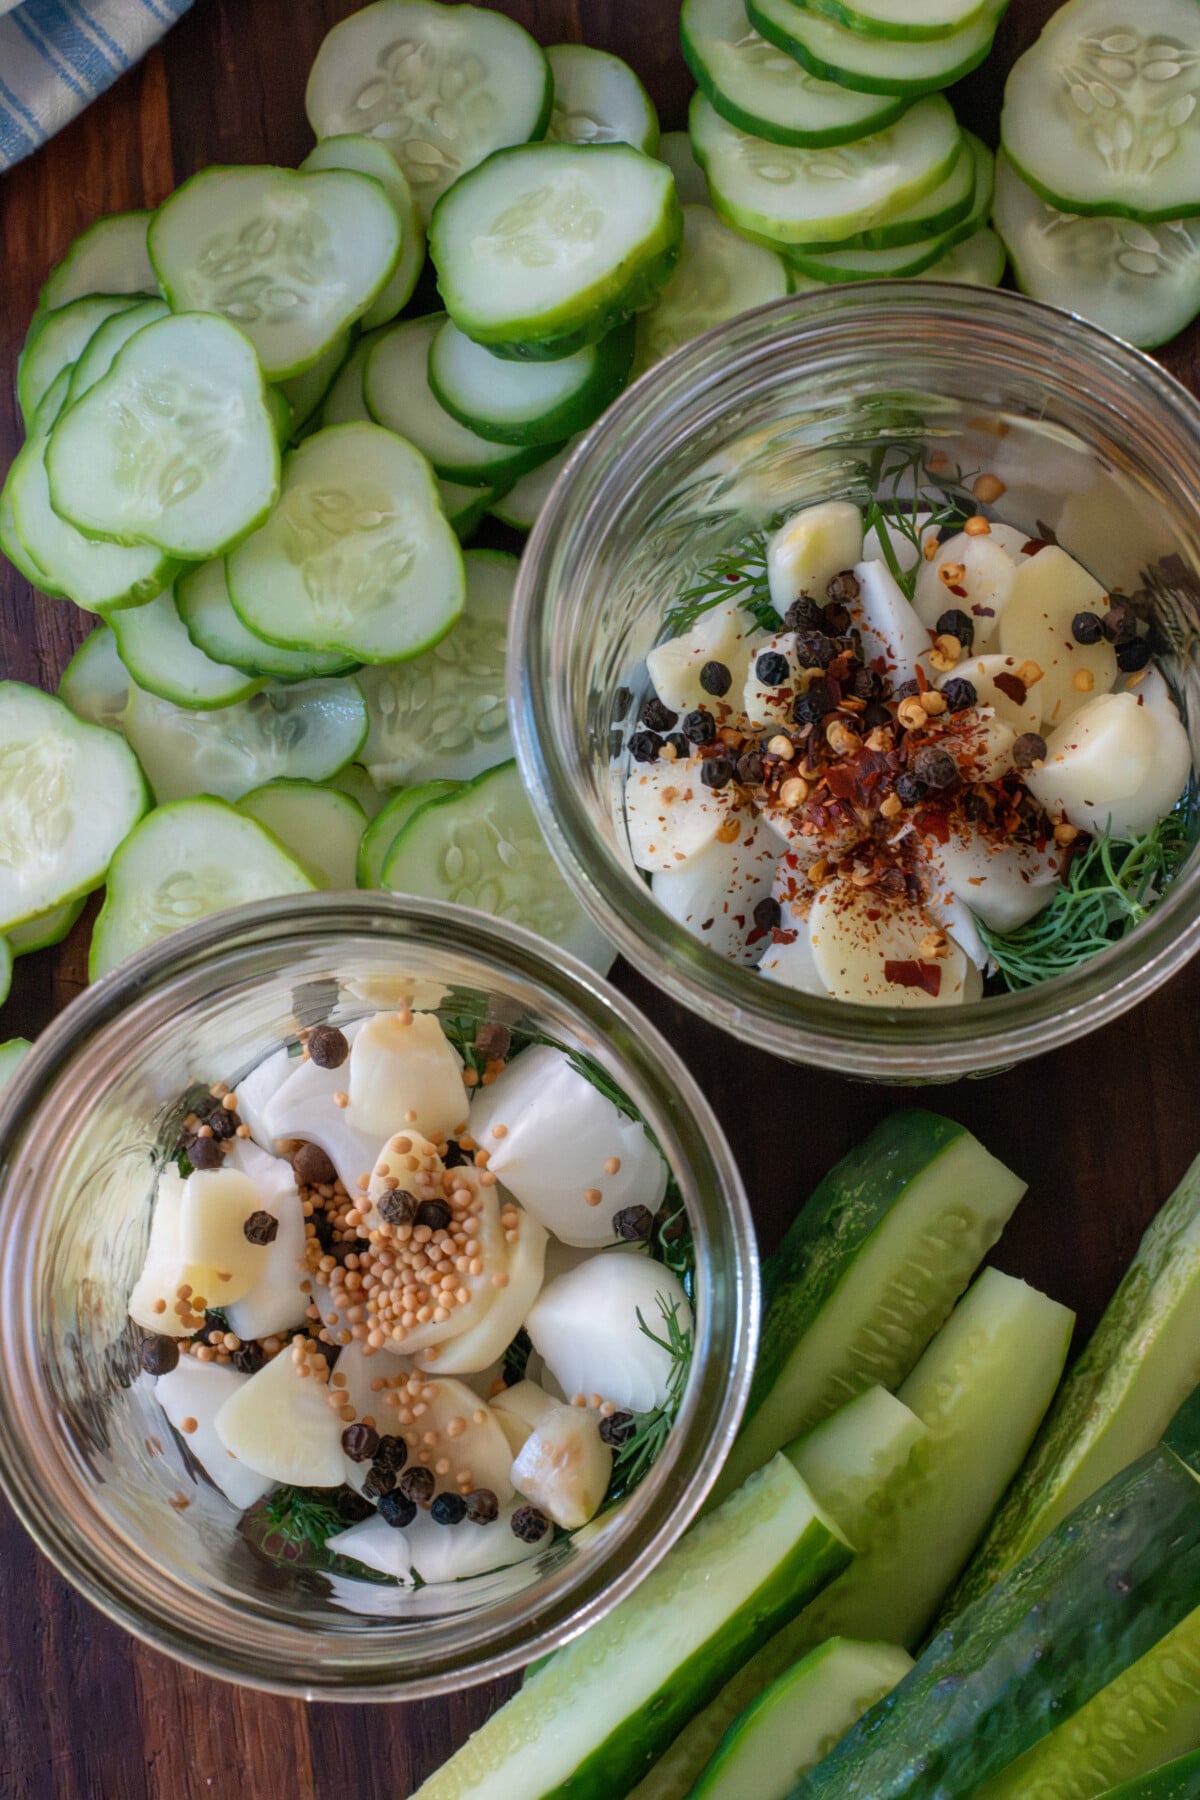
Fill the jars with cucumbers. For chips, pat them down gently so you can fit more in. For spears, I find that holding the jar on its side and layering the spears works well; that way, you can Tetris a couple more in as it gets full.
Because we want to make pickles fast, we won’t be boiling the brine. We’re simply going to heat ½ of the water (1/2 cup) in a small saucepan along with the tablespoon of kosher salt, swirling it gently until the salt dissolves completely, then remove the pan from the heat. Or you can put the salt in a liquid measuring cup, and boil water with a tea kettle, pouring half a cup of water into the measuring cup, and stirring until the salt is completely dissolved.
Once you’ve dissolved the salt, add the other half cup of cool water to the salt solution, then pour it into each of your jars, dividing it evenly.
Top up each of the jars with a ½ cup of white vinegar or the vinegar of your choice. Place the lid on the jar and give it a gentle shake.
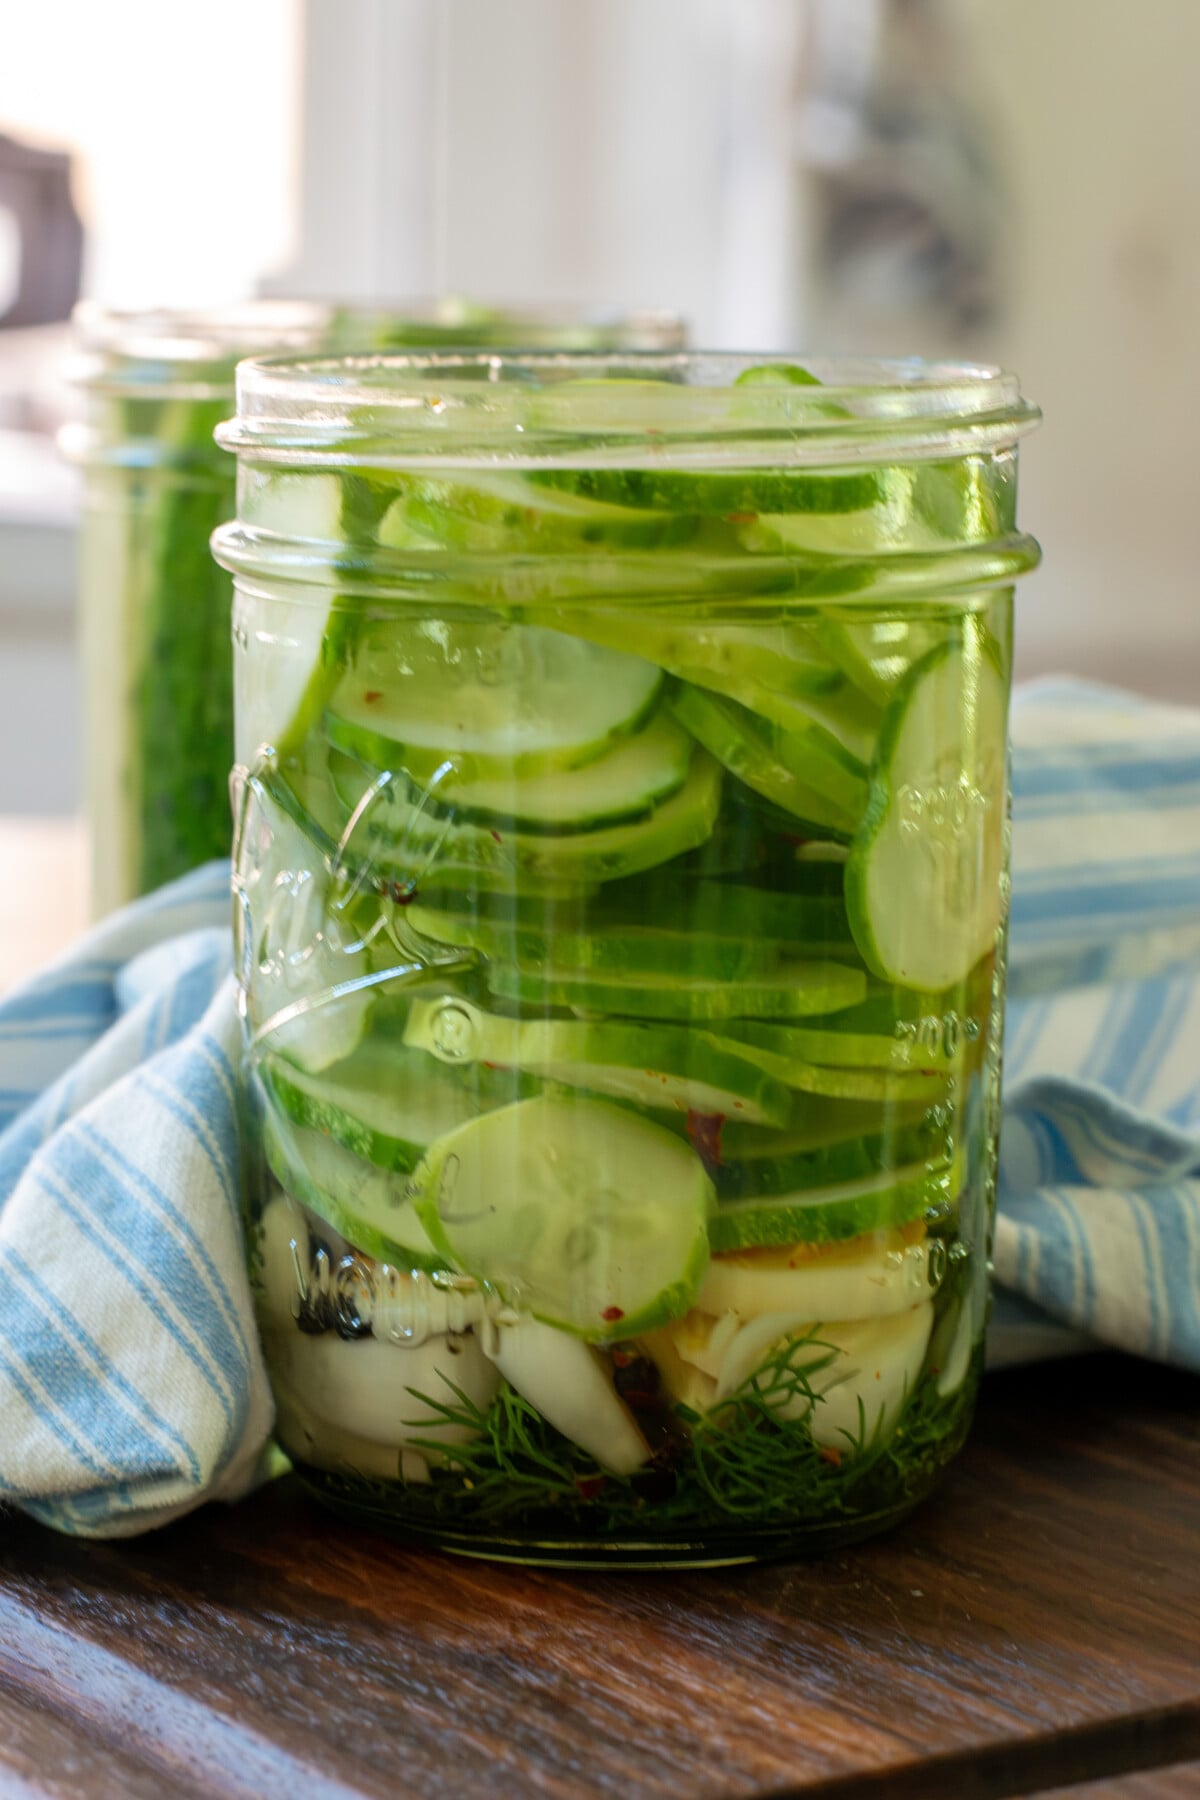
Label and date your pickles and put them in the fridge.
You can eat them within 24 hours, but they taste best if you give them a full 48 hours for the flavors to mingle and meld.
The flavor will continue to develop the longer your pickles are in the fridge. I keep my refrigerator pickles right up front, that way I can give the jar a little shake every day or two, and it makes it easier to snack on them while I’m deciding what to make for dinner.
Your fridge pickles will last in the fridge up to three weeks.
But that’s only if people aren’t sticking their grubby fingers in the jars and pulling pickles out with their bare hands. (I have teenage boys. It’s a constant battle.)
Enjoy your crispy pickles for girl dinner, on sandwiches, burgers, and in salads. Chop them up and make a quick hotdog relish or tartar sauce, and make one of the best dirty martinis of your life with the leftover brine. Don’t forget to fight over who gets the garlic pieces at the bottom of the jar when it’s empty.
Easy 5-Minute Fridge Pickles
Anyone can make crunchy, tasty, dilly pickles in as little as 5-minutes with this easy fridge pickle recipe.
Ingredients
- 4-5 small cucumbers, thoroughly scrubbed
- 1/4 onion, sliced per jar
- 2 cloves of garlic per jar
- Several sprigs of dill per jar or 1 tbsp dried dill per jar
- ½ tsp black peppercorns per jar
- pinch of crushed red pepper flakes per jar, you can omit the red pepper if you don’t like pickles with a kick, but I highly recommend you add another pickling spice in its place
- Any other pickling spices you like
- 2 tbsp coarse kosher salt
- 1 cup of white vinegar, or vinegar of your choice
- 1 cup of water
Instructions
- Slice your pickles into spears or chips with a knife, mandolin slicer or food processor. Keep your slices nice and thin for chips. If you do spears, you’ll want them to be about 4 to 5” long, so they fit in the jar with all the spices on the bottom.
- Next, place your dill, onions, garlic, peppercorns, crushed red pepper and any other spices into the clean jars.
- Fill the jars with cucumbers. For chips, pat them down gently so you can fit more in. For spears, hold the jar on its side and layer the spears; that way, you can Tetris a couple more in as it gets full.
- Heat ½ of the water (½ cup) in a small saucepan along with the tablespoon of kosher salt, swirling gently until the salt dissolves completely. Remove pan from the heat. Or you can put the salt in a liquid measuring cup, boil water with a kettle, pour half a cup of water into the measuring cup, and stir until the salt is completely dissolved.
- Once you’ve dissolved the salt, add the other half cup of cool water to the salt solution, then pour it into each of your jars, dividing it evenly.
- Top up each of the jars with a ½ cup of white vinegar or the vinegar of your choice. Place the lid on the jar and give it a gentle shake.
- Label and date your pickles and put them in the fridge.
Notes
You can eat the pickles within 24 hours, but they taste best if you give them a full 48 hours for the flavors to mingle and meld. The flavor will continue to develop the longer your pickles are in the fridge.
Your fridge pickles will last in the fridge up to three weeks.
Get the famous Rural Sprout newsletter delivered to your inbox.
Join the 50,000+ gardeners who get timely gardening tutorials, tips and tasks delivered direct to their inbox.