

If you’ve been gardening for longer than five minutes, then you already know the benefits of compost. This “Black Gold” is touted for its ability to improve all manner of soil deficiencies, improve drought resistance and grow the microbiome in your garden.
But compost requires work.
You have to cart your kitchen scraps out to your compost pile/bin every few days. You have to make sure the mix of greens and browns is just so.
There’s a soil conditioner that’s just as good, if not better, that’s so much easier to make, and for millions of us, the ingredients are all over our lawns every fall.
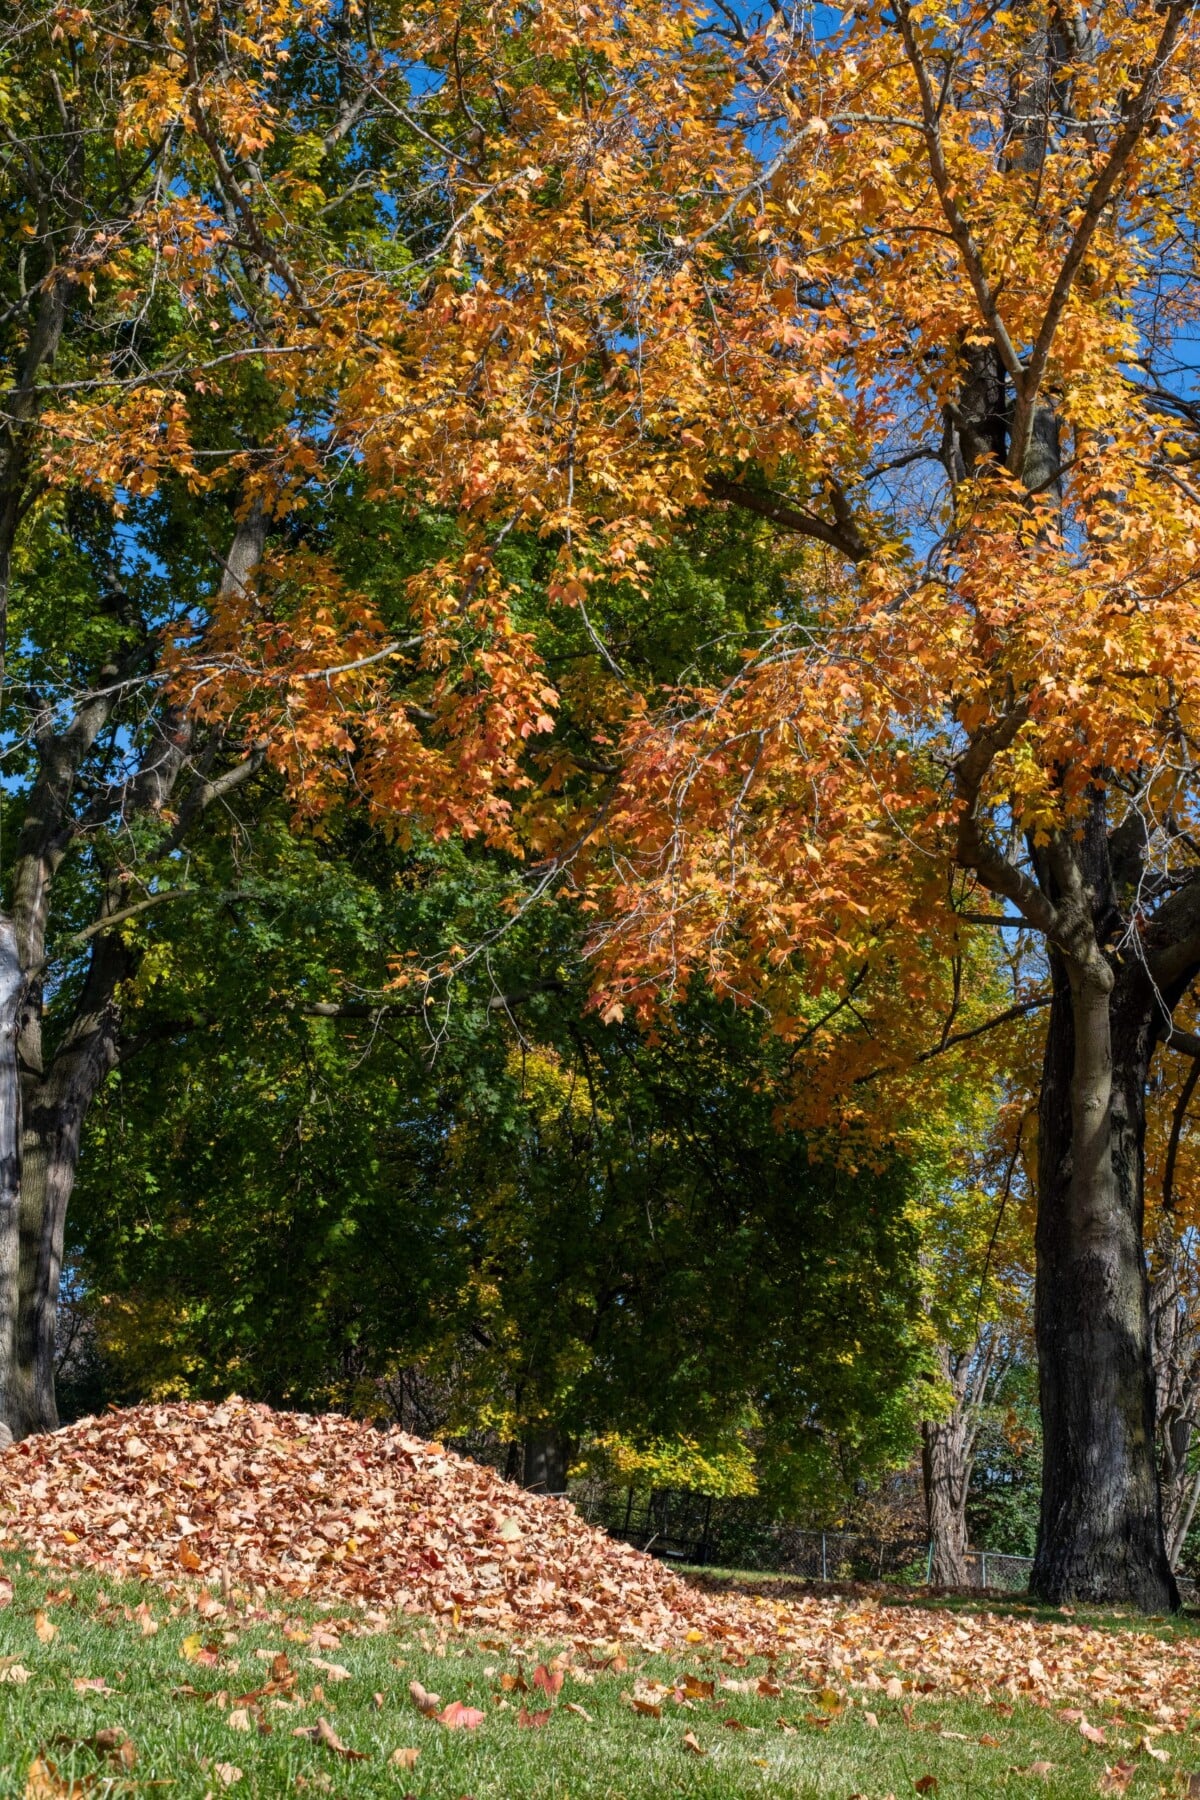
Leaf mold.
(I didn’t come up with the term; don’t blame me.)
Gardeners, listen up. I know most of you have a compost pile, but I’m telling you, if you have leaves in your yard each fall and you don’t yet have a leaf mold pile, you’re missing out. As a confirmed lazy gardener, I will take leaf mold over compost every day of the week.
Seriously?
Yes, seriously. Here’s why. (Puts on Plant Science Geek hat.)
What is Leaf Mold? How Is It Different From Compost?
Leaf mold seems to confuse people, probably because of that bit about the mold. But there’s nothing special about it, and certainly nothing moldy.
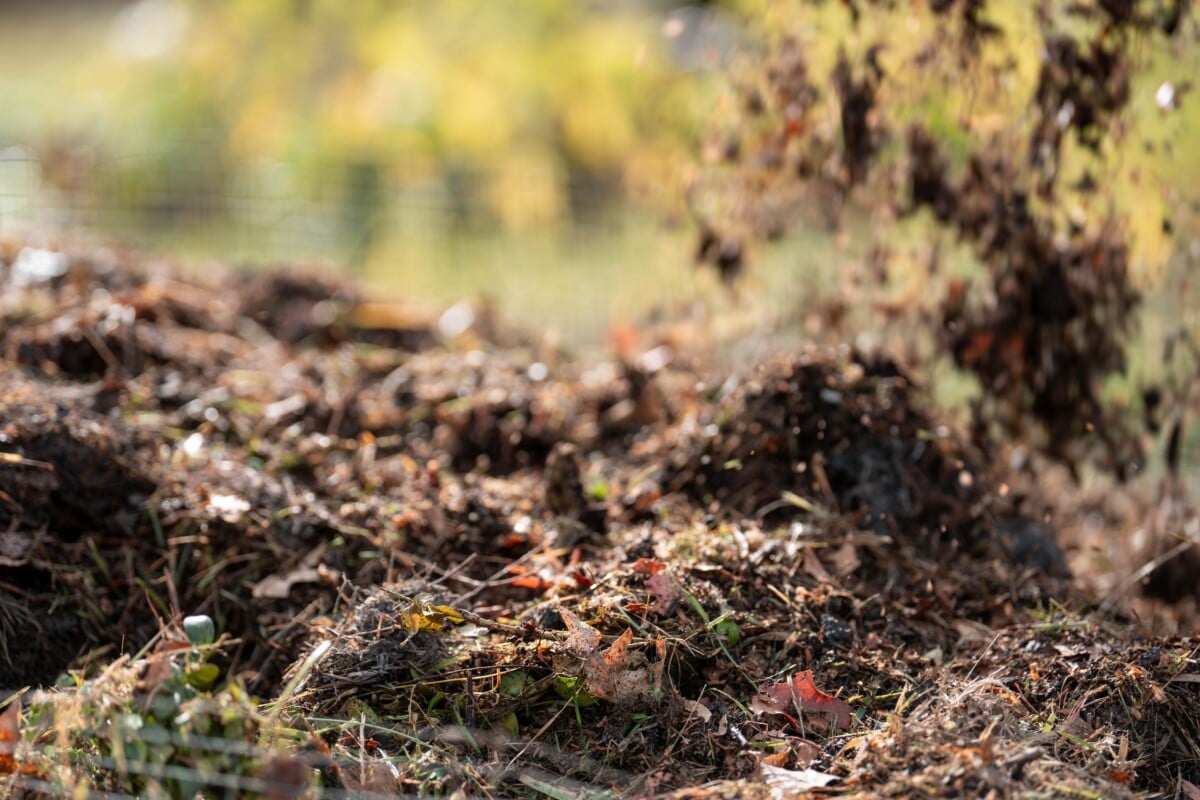
Leaf mold is just composted leaves.
Yup, that’s it.
Compost made entirely of leaves.
Why don’t we call it leaf compost then?
I don’t know; it would be far less confusing, wouldn’t it? Let’s start a campaign for a name change.
So, if leaf mold is just composted leaves, can’t I dump all of my leaves into my compost?
No! And here’s where we get to the fascinating distinction between the two, and why you need a separate pen for leaf mold.
Compost is made up of all manner of organic scraps: vegetable peels from your kitchen, lawn clippings, shredded bits of cardboard, those compostable paper plates you bought for the birthday party. Yes, even leaves.
All of these things are mixed in a pile or a special composting container, and microbes begin to break everything down. According to Cornell University, 80-90% of the microbes responsible for successful compost are bacteria, and these little buggers need balance to survive.
Compost is a balanced blend of carbon-rich (browns) and nitrogen-rich (greens) materials and oxygen, which feed the little microbes that break everything down. Maintain that balance, and those bacteria multiply and work hard. So, the compost breaks down quickly.
If one of those elements is out of balance, or the pile is too wet or dry, the microbes die off, and you end up with, well, a pile of rotting garbage instead of compost.
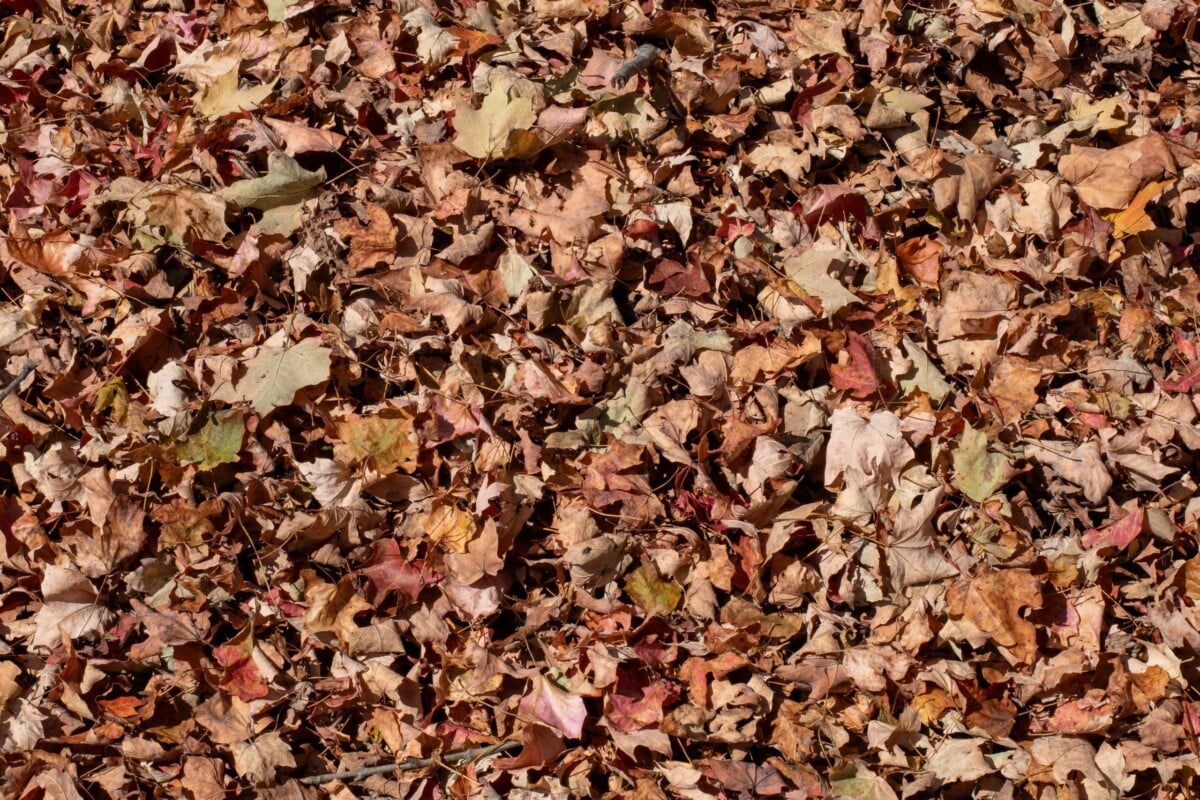
Leaves are browns. They are an amazing source of carbon. The problem is that most of us have far too many leaves in the fall to balance out with the right ratio of nitrogen-rich material needed to keep a compost pile hot.
If you add too many leaves, the whole thing falls apart.
Leaves are pretty tough, and hard to break down to begin with. They were designed that way. They have a waxy coating to prevent pest damage. They contain lignan and tannins, which act as a resistant barrier, slowing microbes and fungi from breaking them down.
Compost needs a balance of carbon and nitrogen materials in a ratio of 3-4:1.
When it comes to leaf mold, fungi do the majority of the decomposing, as opposed to bacteria. These fungi don’t really need special temperatures or ingredients. What they need the most is time. Here’s your trade-off. Leaf mold is incredibly hands-off and easy to make. It’s basically a set it and forget it soil conditioner. It just takes much longer to make than traditional compost.
So yes, add some leaves to your compost in the fall, but only enough to keep the right balance of browns and greens. Then put the rest in their own little private composting facility to break down, taking their sweet time. Having both a compost pile and a leaf mold pen is the best of both worlds, and your garden will thank you.
Soil Conditioner vs Fertilizer
One important thing you should know about leaf mold (and compost, for that matter).
It’s not a fertilizer.
Nope.
All those articles saying it is or that it makes your soil more fertile are bunk.
Both finished leaf mold and compost only carry trace amounts of the nutrients that plants need most: nitrogen, phosphorus, and potassium. The amount is negligible, so if you’re looking for a free fertilizer for your garden, leaf mold is not it. The same goes for compost.
Then why do gardeners make such a fuss about how amazing it is?
Because both leaf mold and traditional compost are soil conditioners that do a lot of heavy lifting once you start adding them to your soil.
Organic Matter
It sounds like such a simple thing, but soil with plenty of organic matter is the key to the right balance between, well, everything.
Good drainage and enough moisture retained in the soil for thirsty plants. Organic matter also creates good soil structure, preserving tiny air pockets for water to flow and prevent compaction.
Soil Cation
Soil cation is probably where the confusion around leaf mold and compost being fertilizers comes from. Both traditional compost and leaf mold improve soil cation, which is a fancy term referring to soil’s ability to hold onto and exchange nutrients.
Basically, compost and leaf mold turn your soil into a giant nutrient sponge that holds onto nutrients tightly until plants need them. So naturally occurring nutrients in the soil or any fertilizer you might add stay in the soil rather than being washed away.
pH Buffer
If you have soil that leans more toward one extreme or the other, you want leaf mold in your garden. Leaf mold and compost both act as a pH buffer, keeping soil closer to a neutral state on the pH scale.
Kickstarts and Continuously Feeds the Microbiome
Adding leaf mold to your soil not only kickstarts the growth of the microbiome, but it creates a habitat where healthy soil organisms can thrive. I’ve said it many times here at Rural Sprout: smart gardeners pay more attention to what’s going on beneath their feet rather than above. Soil filled with microbes is healthy soil, which leads to a healthier, more abundant garden.
Hands Down the Easiest and Best Thing You Can Do for Your Garden
If you started every gardening season by mixing in some composted leaves to your soil, over time, you would build up friable, loamy soil – that perfect blend that all gardeners dream of.
And that’s why I think every gardener with a deciduous tree in their backyard should make leaf mold.
Don’t get me wrong, I still compost, too. I wouldn’t dream of not composting. It’s just that pound for pound, the trees in my backyard can crank out more leaf mold fodder than my family can crank out compost fodder each year. And if you have trees in your backyard, that’s likely the same for you.
Okay, But How Long Does It Actually Take to Make?
Two years. Yup, I’m not going to sugarcoat it. For finished leaf mold, as in the crumbly, dark stuff that smells like the forest floor (I love that smell), it takes a full two years. You can use young leaf mold after the first year. The leaves will have broken down quite a bit, but they will still obviously be leaves. Young leaf mold makes a great mulch that keeps weeds from growing and keeps moisture in the soil, where it belongs. But the good stuff requires patience.
I’m going to tell you the same thing I tell everyone I teach to make mead – yes, I know it’s a long time from start to finish, but that time is going to pass no matter what you do. The difference is, a year from now you could be sipping mead.
Two years will pass. Start your leaf mold today.
Starting a Leaf Mold Pen
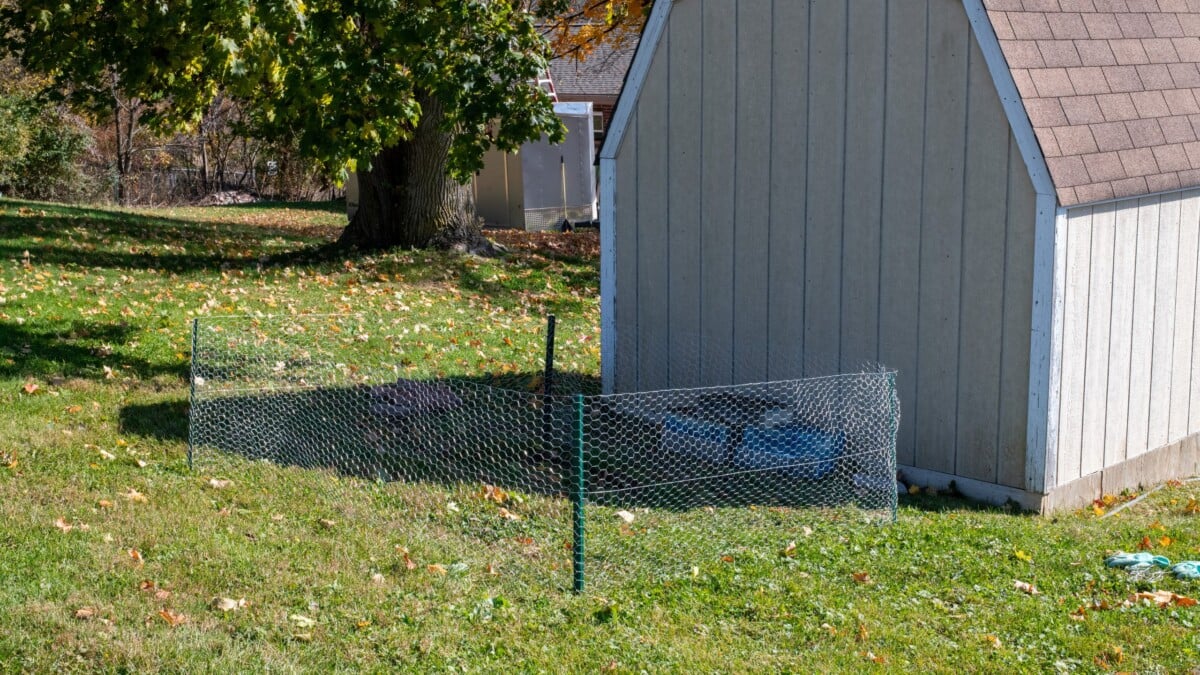
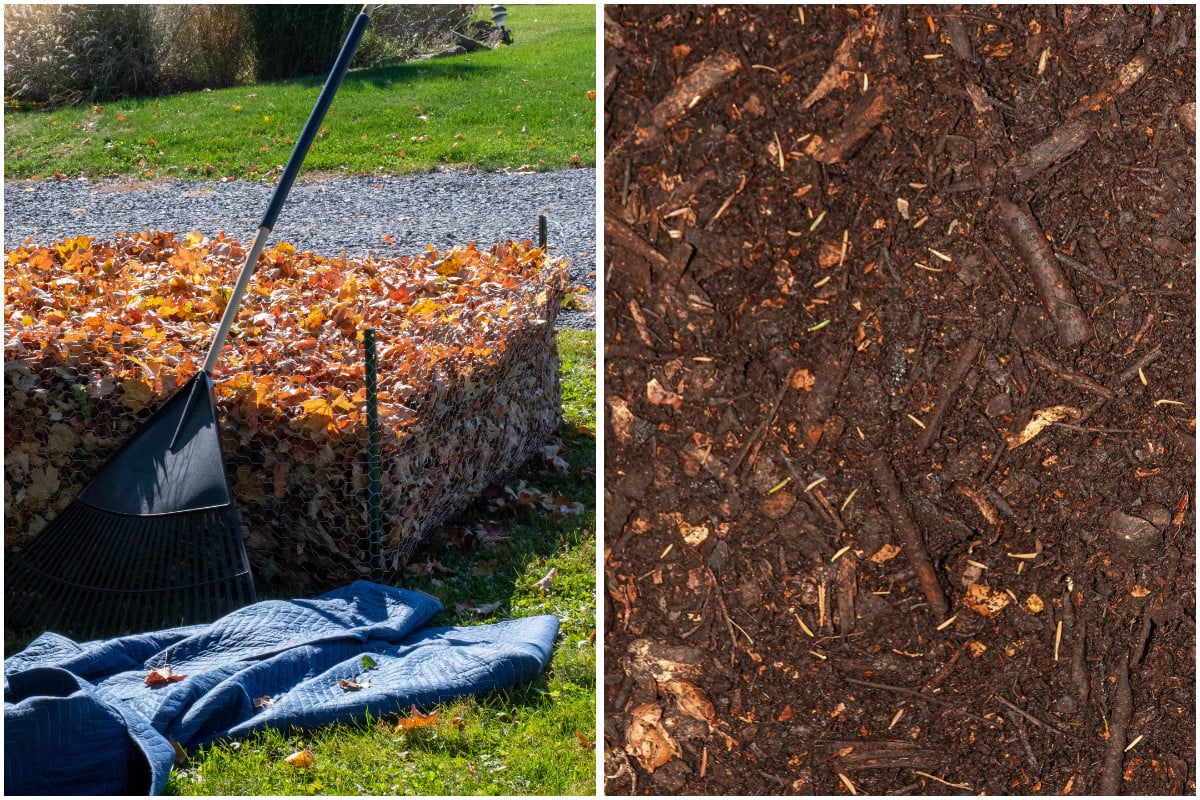
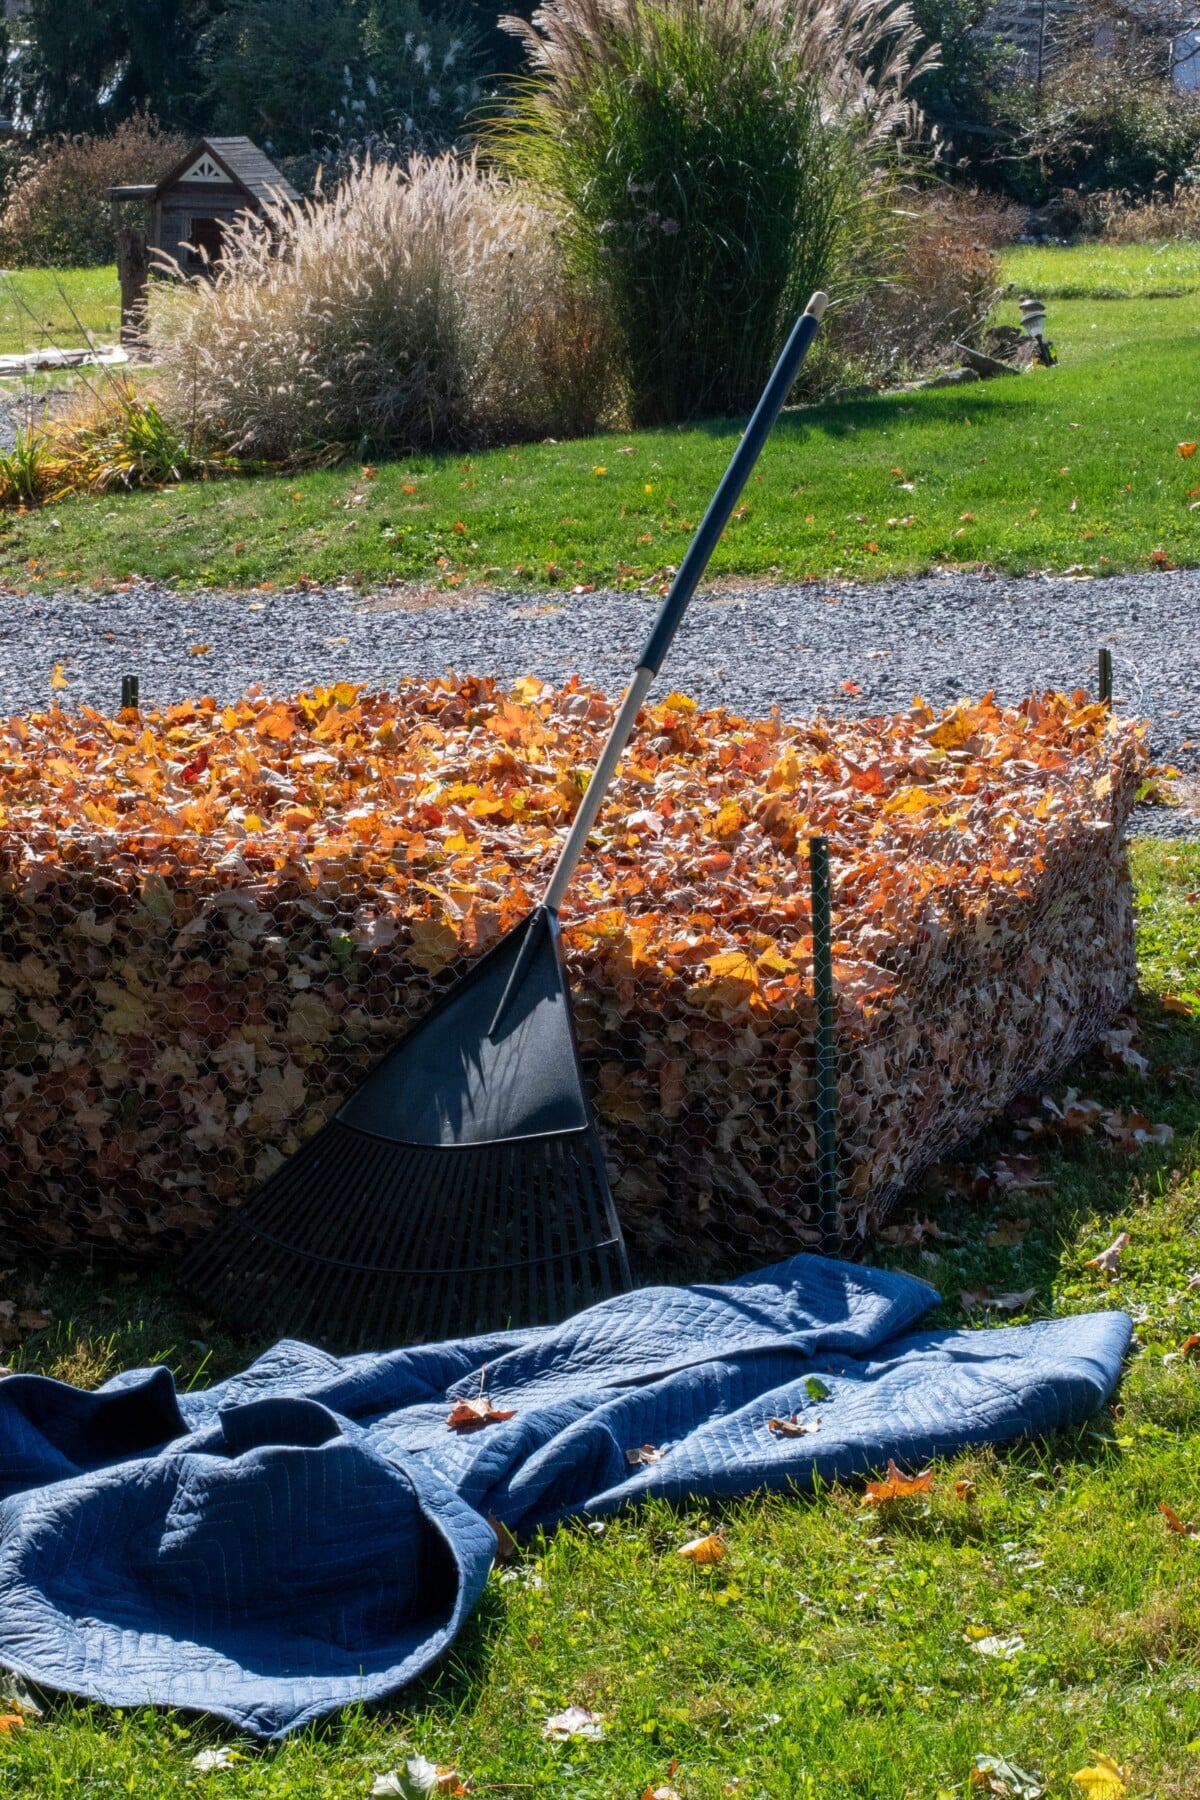
Ideally, you want a pen that’s wide and shallow. If you make one that has a narrow footprint and is several feet tall, you’ll end up with a small plug of finished leaf mold at the bottom and a lot of unbroken down leaves on top. (For reference, mine is a 6’x6’ square that is 2’ high.)
Choose a spot that is either close to your garden, for ease of access, or close to your trees, for ease of filling. Ideally, you should also be able to reach it with a garden hose. (Although this isn’t absolutely necessary.)
I’ve used simple t-posts and chicken wire; that way, when the leaf mold is finished, I can easily take the pen apart and access the crumbly black gold within. But I’m a big fan of using whatever you have lying around in the tool shed or the garage. It doesn’t have to be pretty; it just has to be functional.
Once you’ve created your pen, fill it with leaves.
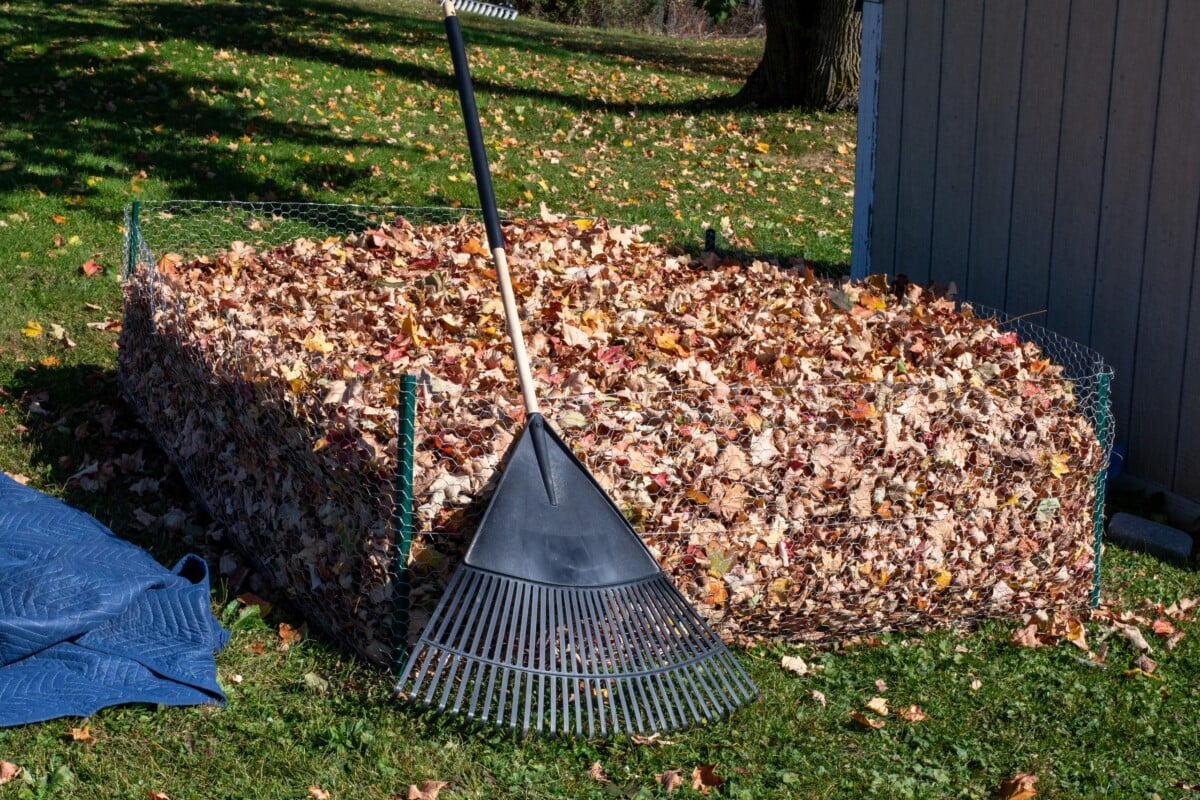
I had one of my teenagers help me. We just raked the leaves onto a large moving blanket and then we each pinched two corners together, carried it to the pen and dumped all the leaves in. It was a cinch and took us all of fifteen minutes to fill to the brim.
The next step is to wait.
Yup. That’s it. You’re done.
See? I told you. It’s a lazy gardener’s best friend.
Now, there are a couple of things you can do if you really want to go the extra mile.
Give your leaf pile a thorough soaking with the garden hose. This creates the perfect environment for all of those fungi that will colonize the pile to break the leaves down. (My leaf pen is out of reach of the garden hose, but I know Ma Nature loves a good rainy fall day as much as I do, so I’m letting her take care of this part.)
If you live somewhere windy, wetting the leaves down will also keep them from blowing out of the pen. You can also cover the wetted pile with broken-down cardboard boxes, a tarp or burlap, weighed down with rocks or bricks.
If you want to speed the process up considerably, mulching the leaves first makes them break down faster. It also makes them harder to rake up, which is why I toss mine into my pen. Gardening is hard enough without making extra work for myself.
Here are a few ways you can speed up your leaf mold pile if you’re impatient.
Harvesting Your Finished Leaf Mold
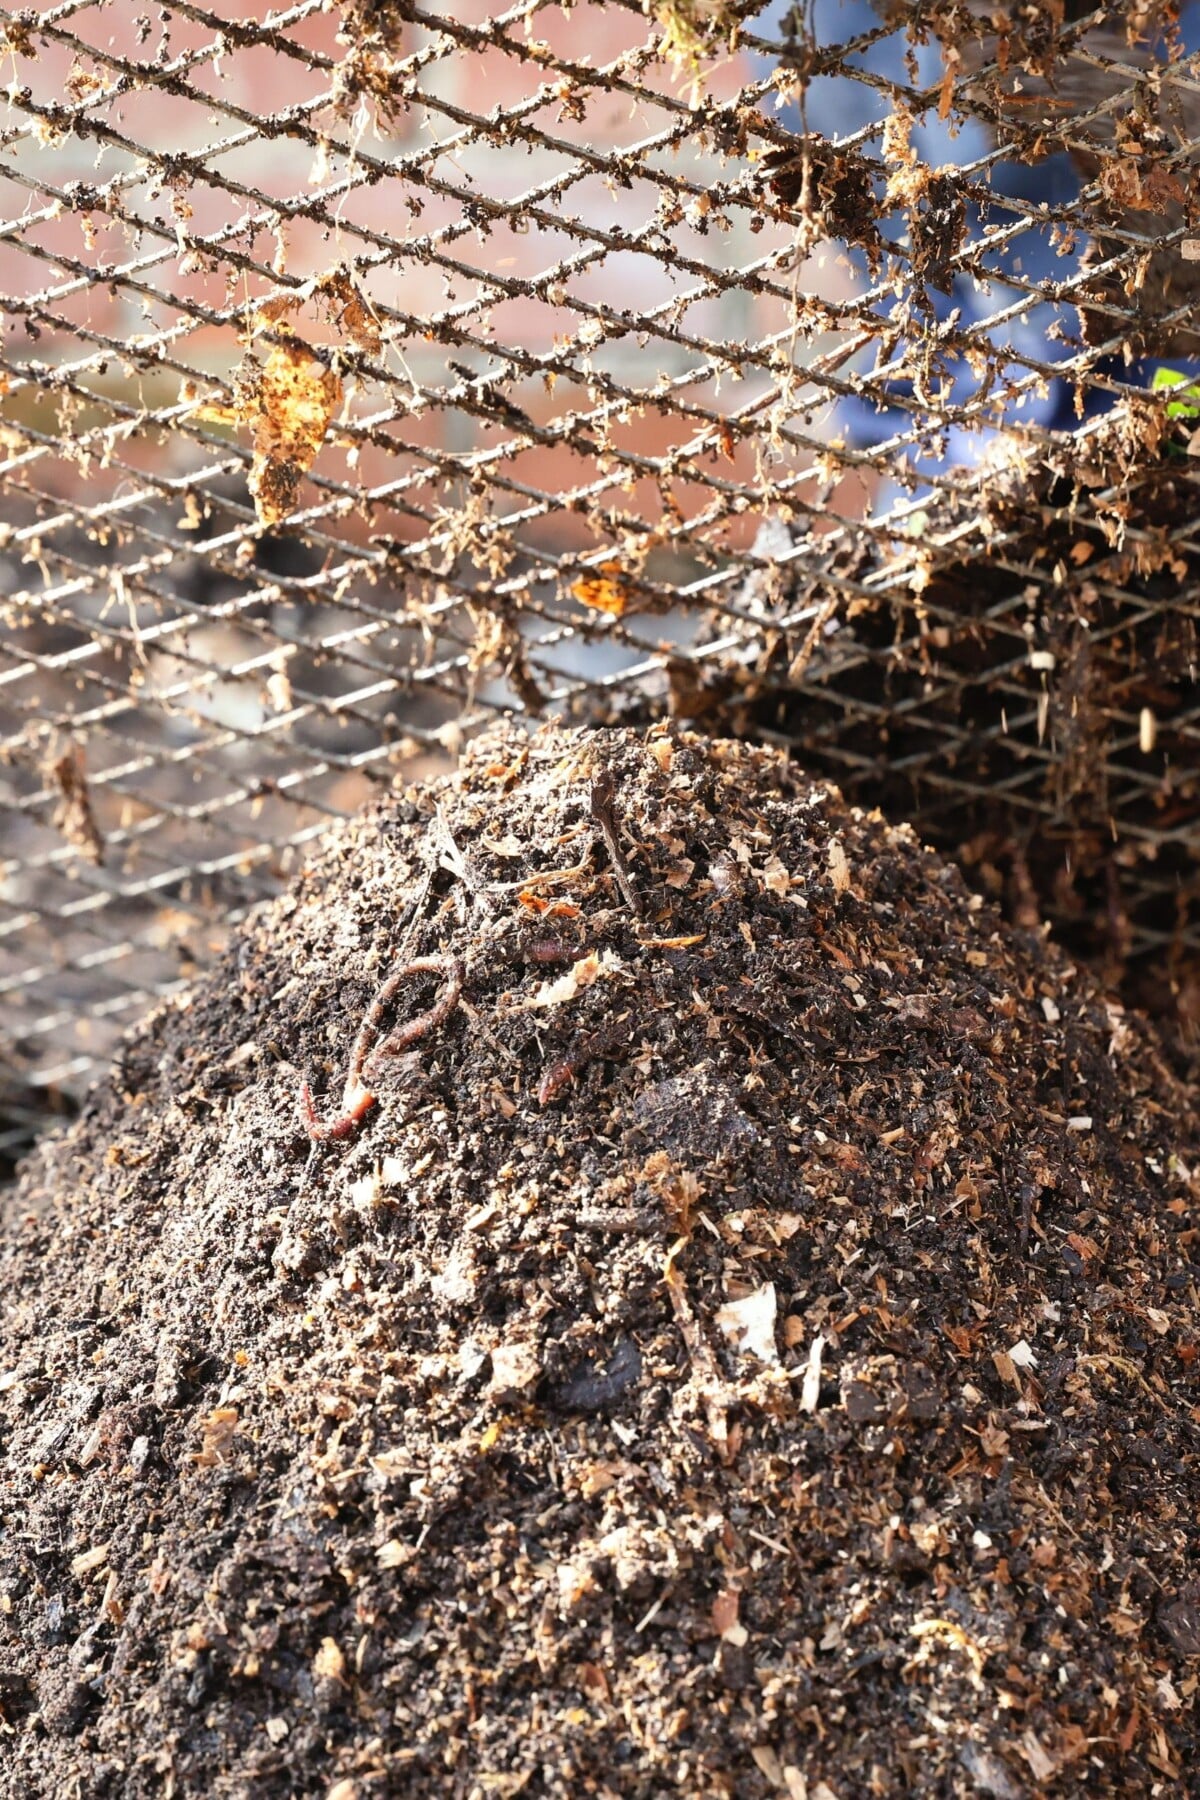
After two years, it’s time to harvest your leaf mold. The bottommost layer and the center of the pile will finish breaking down first, and that’s the part you want to harvest.
If your pen is easily disassembled, take it apart and rake the top layer and corners of leaves to the side. These will go back in the pen in the center after you take out the finished leaf mold.
Remove the finished leaf mold and use it around your garden. Dig some into the soil, use it as mulch, put it in seedling-planting holes. It’s also an excellent peat moss alternative if you want to make your own potting mix for houseplants. You can store any unused leaf mold in plastic bags or a large storage tote. Just be sure to keep it moist.
Put the unfinished leaf mold back in the center and reassemble the pen. Then fill it up again and start the clock.
If you really want to be a genius, set up a second leaf mold pen next to the first the following year, and alternate filling them each year; that way you will always have one pen with finished leaf mold in it each year.
Get Garden Notes From Tracey, Right to Your Inbox
Pull up a chair on the front porch. Join 54,000+ gardeners who get Tracey\'s friendly notes, seasonal to-dos, and hands-on tutorials three times a week.