

In the realm of pickles, one, in particular, is always in my fridge – pickled garlic. More precisely, quick pickled garlic. Because sometimes you want crisp, crunchy garlic cloves ASAP!
As children, my sister and I would wait until the last dill pickle slice was eaten and then fight over who got to eat the pickled garlic cloves in the bottom of the jar. Sure, the dill pickles dad made were great, but we carefully watched and waited for those garlic cloves.
As an adult, I discovered the magic of refrigerator pickles and never had to wait for pickled bottom-of-the-jar garlic again. Because I love you, dear readers, I will share my recipe with you, and it only requires five ingredients.
What’s the difference between quick pickles and traditional pickles?
If you’re new to refrigerator or quick-pickles, the main difference is that quick-pickles don’t use a method of processing to preserve them. They rely on vinegar, salt and refrigeration to keep from spoiling, so their shelf life is much shorter. However, the trade-off for a shorter shelf-life is a big crunch you just don’t get with canned pickles, and you usually get to eat them sooner.
Since garlic is a low-acid food, it’s a natural fit for refrigerator pickles. Even if you were to process your jars of pickled garlic using the water bath canning method, they would still need to be refrigerated. They aren’t acidic enough to prevent them from spoiling or, worse, developing botulism. So, we’ll skip that step and throw our pickles straight in the fridge.
The Best Garlic for Pickling
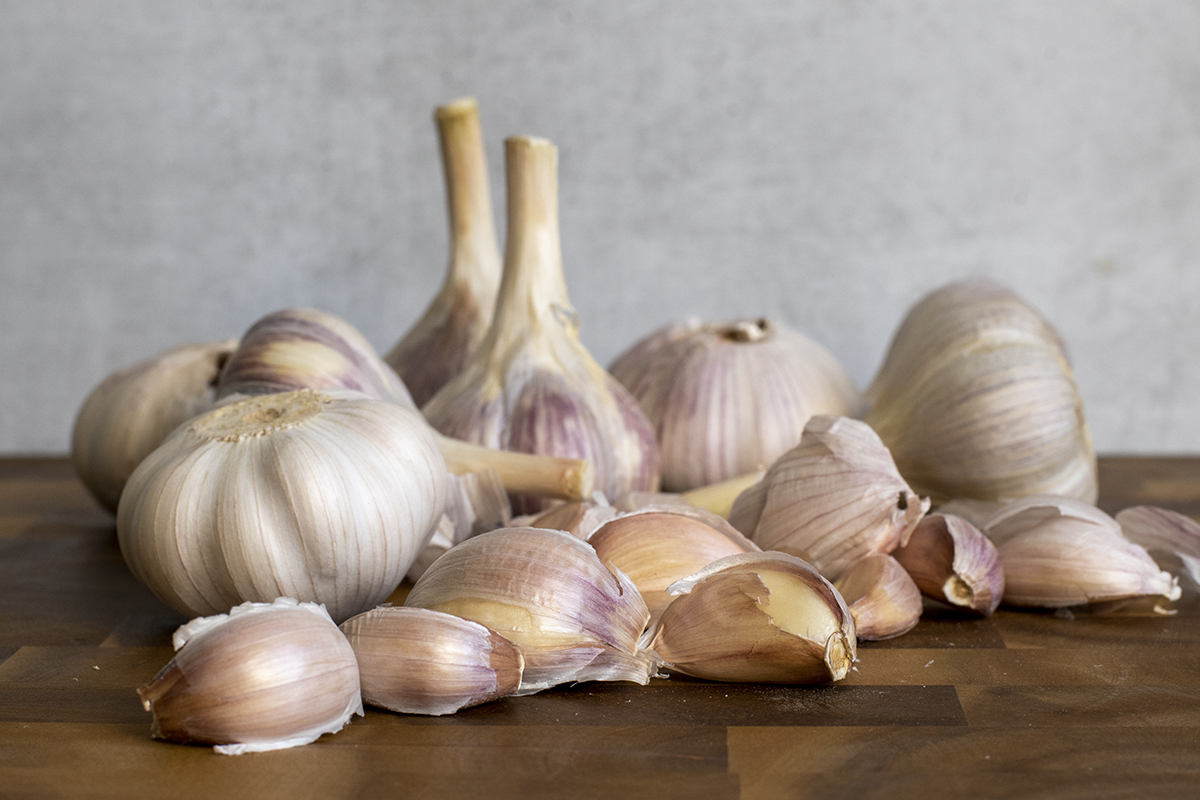
Whether you’re pickling garlic or looking to add it to other pickle recipes, the freshest garlic you can get your hands on will yield the nicest cloves with the best flavor. Straight from the garden is always best.
Luckily, this popular allium is easy to grow. If you haven’t yet started growing garlic in your garden, I recommend reading Meredith’s great how-to on planting garlic in the fall. She walks you through the entire process.
Of course, once you’ve harvested all your beautiful garlic, Cheryl will show you how to cure and store it, so it lasts for months. And if you choose to grow hardneck garlic, you can also make pickled garlic scapes. Mmmm!
If you have very little garden space to spare, or no garden space at all, don’t fret, you can easily grow garlic in pots too. We often grow herbs inside, so why not garlic?
When sourcing garlic beyond your garden gates, check local farm stands or farmers markets. Garlic from the grocery store should feel weighty in hand. If it’s too light, it’s probably old and dry.
Peeling Garlic a Jar at a Time
This is the most tedious step of making pickled garlic – peeling all those cloves. Over the years, I’ve seen numerous recipes for pickled garlic that make 4-6 pints at a time, and my first thought is always, “Who the heck wants to peel that much garlic?”
To that end, I’ve developed this recipe so you can make one jar at a time. If you get ambitious and want to make more than one pint, the recipe can easily be multiplied by your desired number of jars. Fair warning, though, your hands will reek of garlic for days.
As for peeling, I’ve done the hard work and tried the popular garlic-peeling hacks on the internet. The best option for peeling lots of garlic cloves all at once is to put the individual cloves into a metal or glass dish with a lid and shake, shake, shake it.
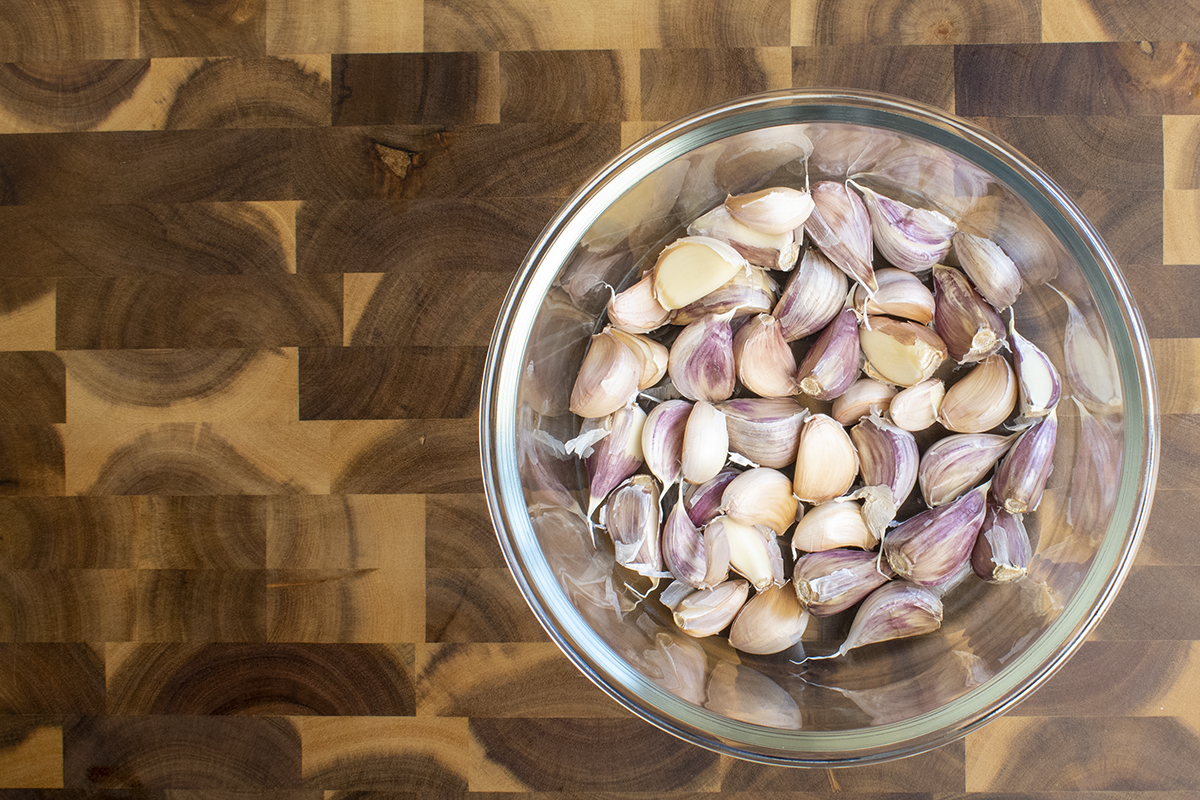
I find that slicing off the end of the garlic that attaches to the stem helps loosen the papery skin a bit, making your shaking more productive.
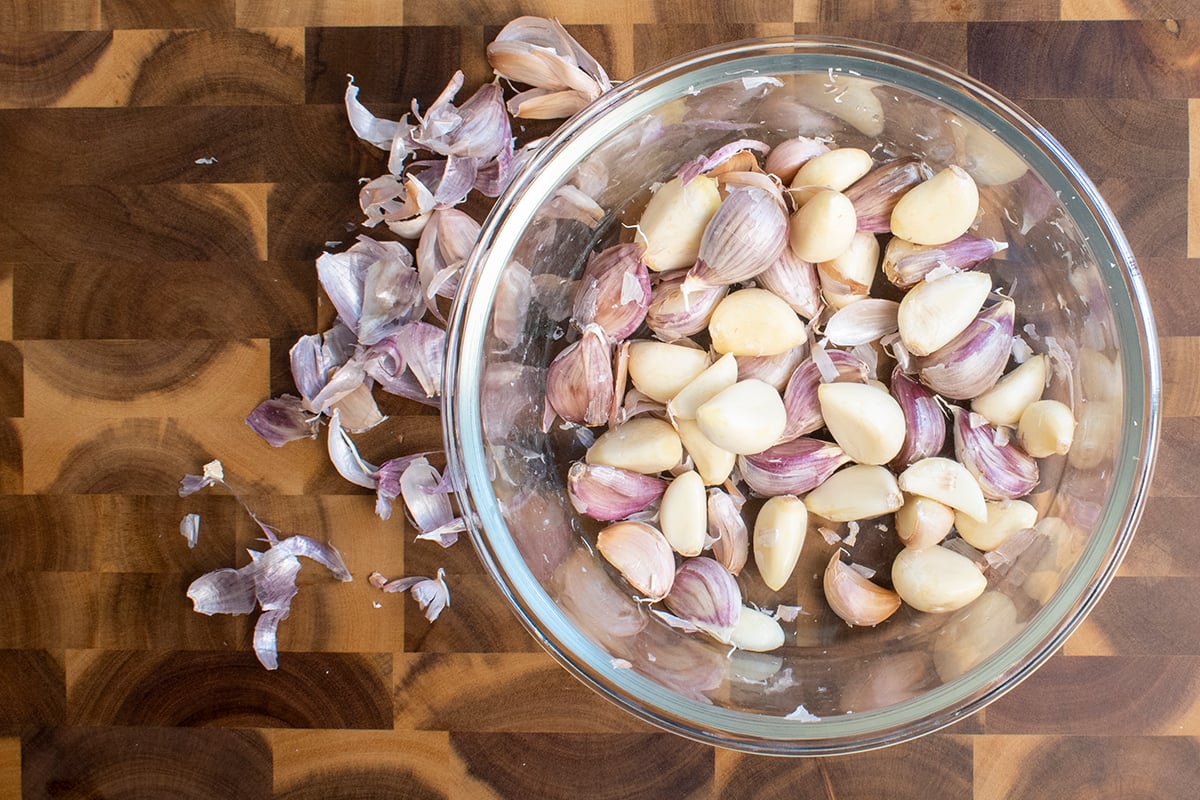
You’ll find any remaining garlic skin usually peels right off after it’s been banged around in a bowl for a bit.
5-Ingredient Quick Pickled Garlic
Makes one pint jar of quick pickled garlic. You can easily multiply the recipe by your desired number of jars.
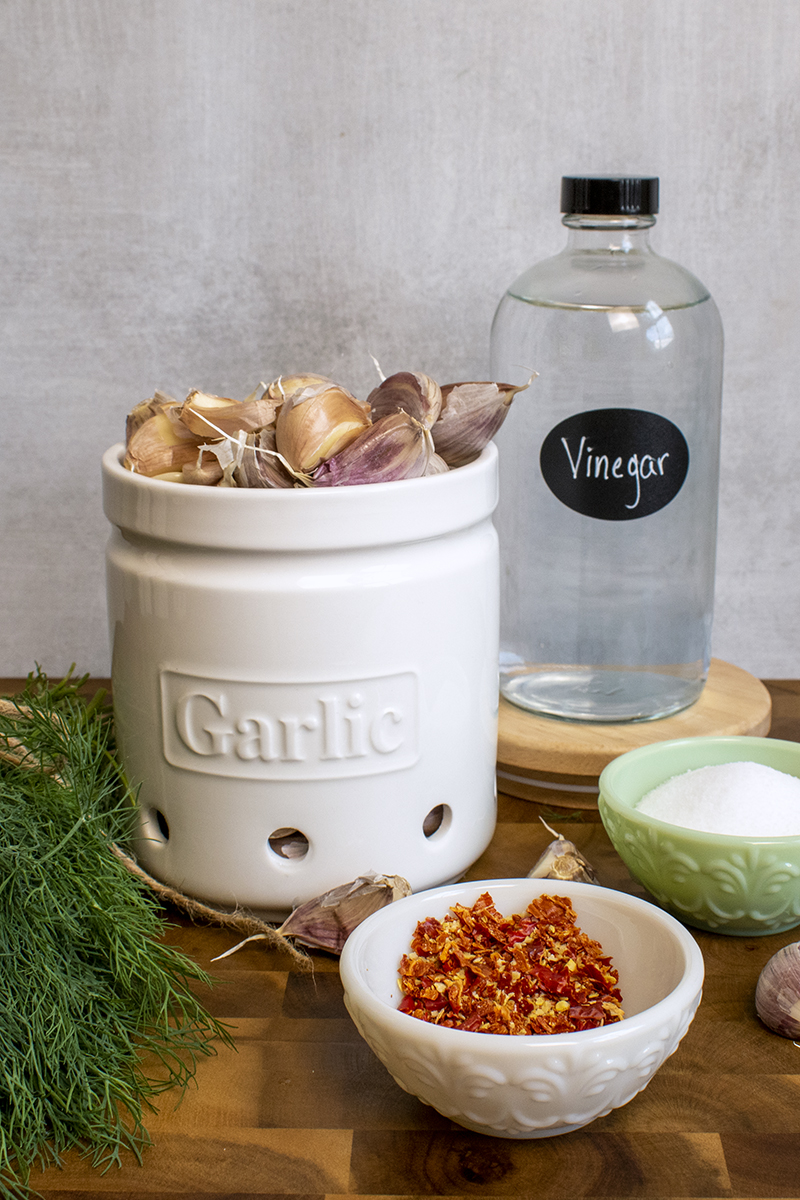
The Ingredients:
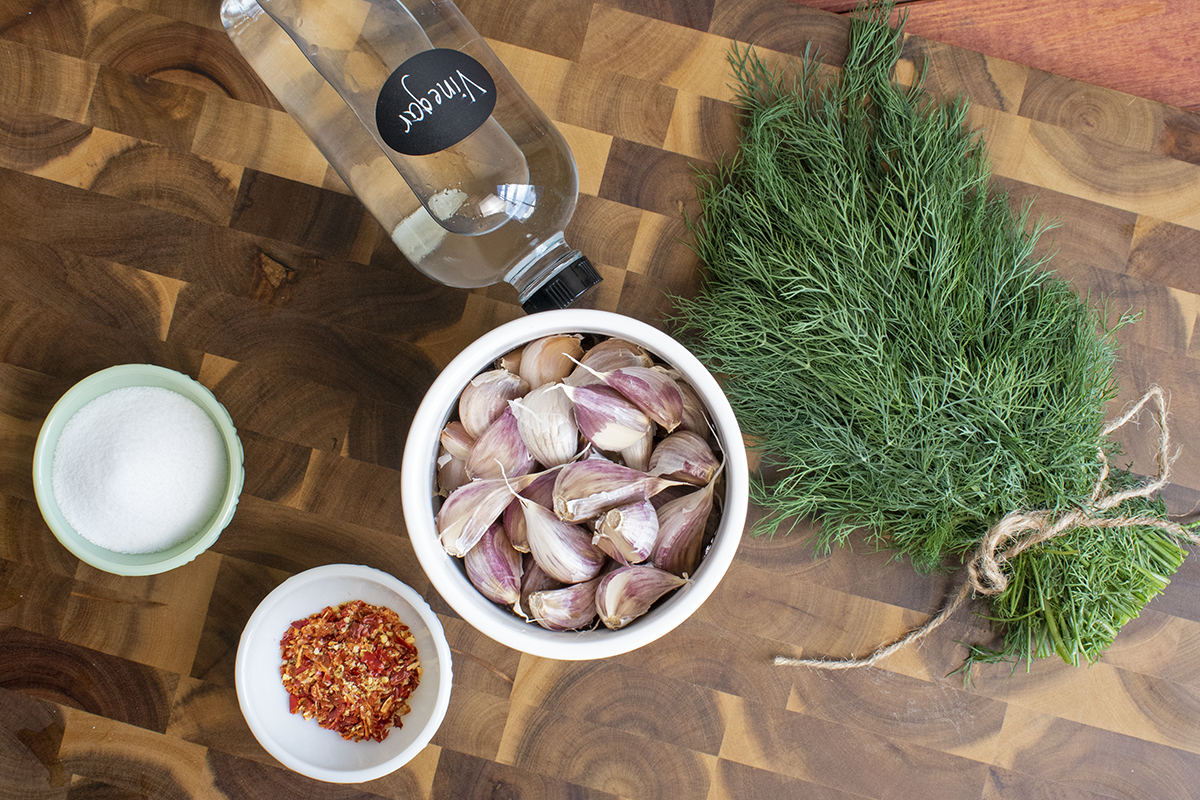
- Peeled garlic cloves, discard any with brown spots, 3-5 heads will fill a pint jar
- ½ cup of fresh dill or one whole dill head
- ¼ tsp red pepper flakes
- 1 ¼ cup of white vinegar
- 1 tbs of canning salt (don’t use table salt with iodine)
Equipment:
- Sterilized mason jars with lids and bands
- Knife
- Saucepan
- Large metal or glass bowl with lid
- Ladle
- Canning funnel
- Clean dishcloth
Directions:
- Make your brine by bringing the salt and vinegar to a boil in a saucepan, reduce the heat and simmer gently, covered, for 5 minutes until the salt is dissolved. If you’re making more than one jar, simmer the brine for around 10 minutes.
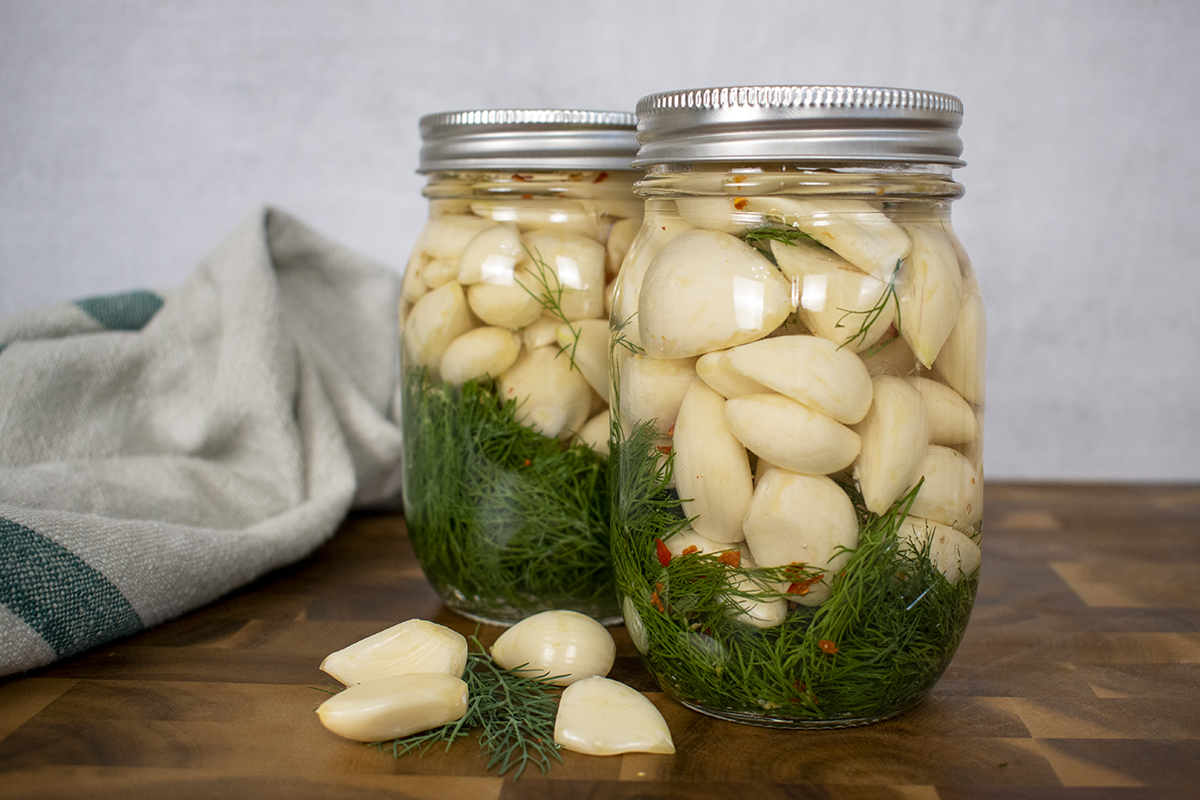
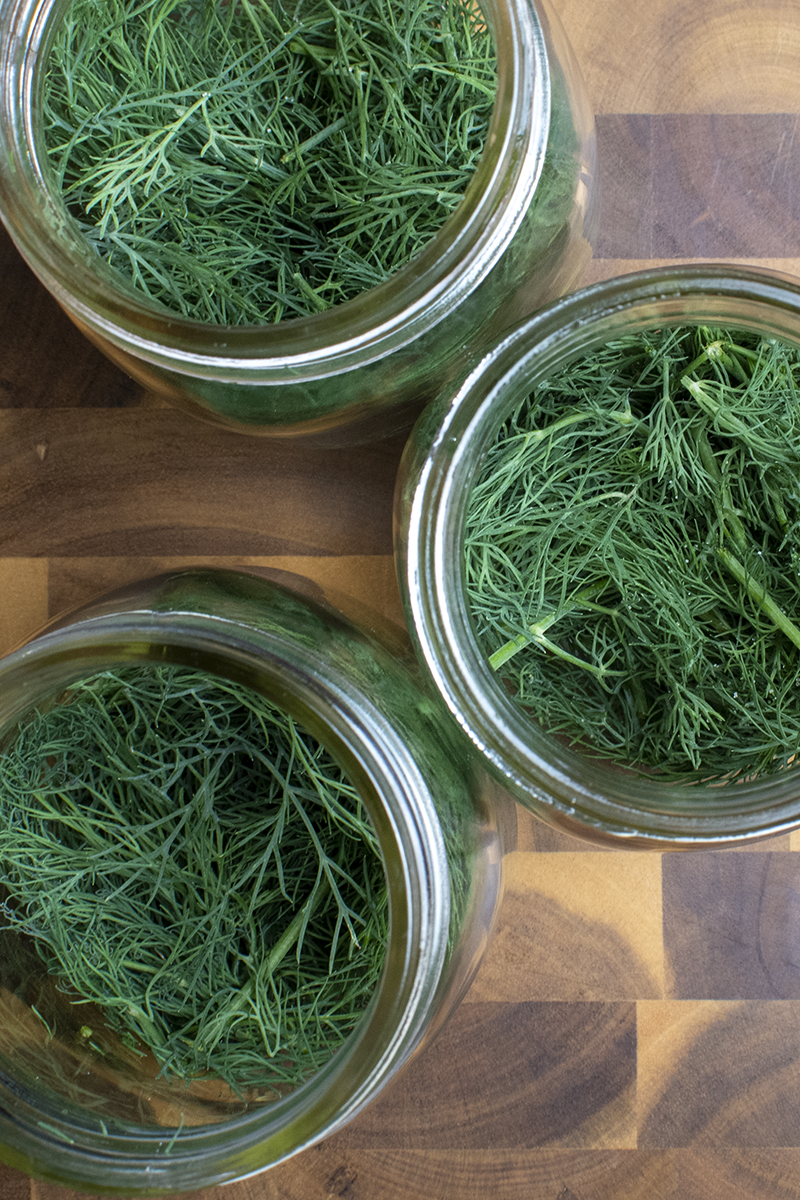
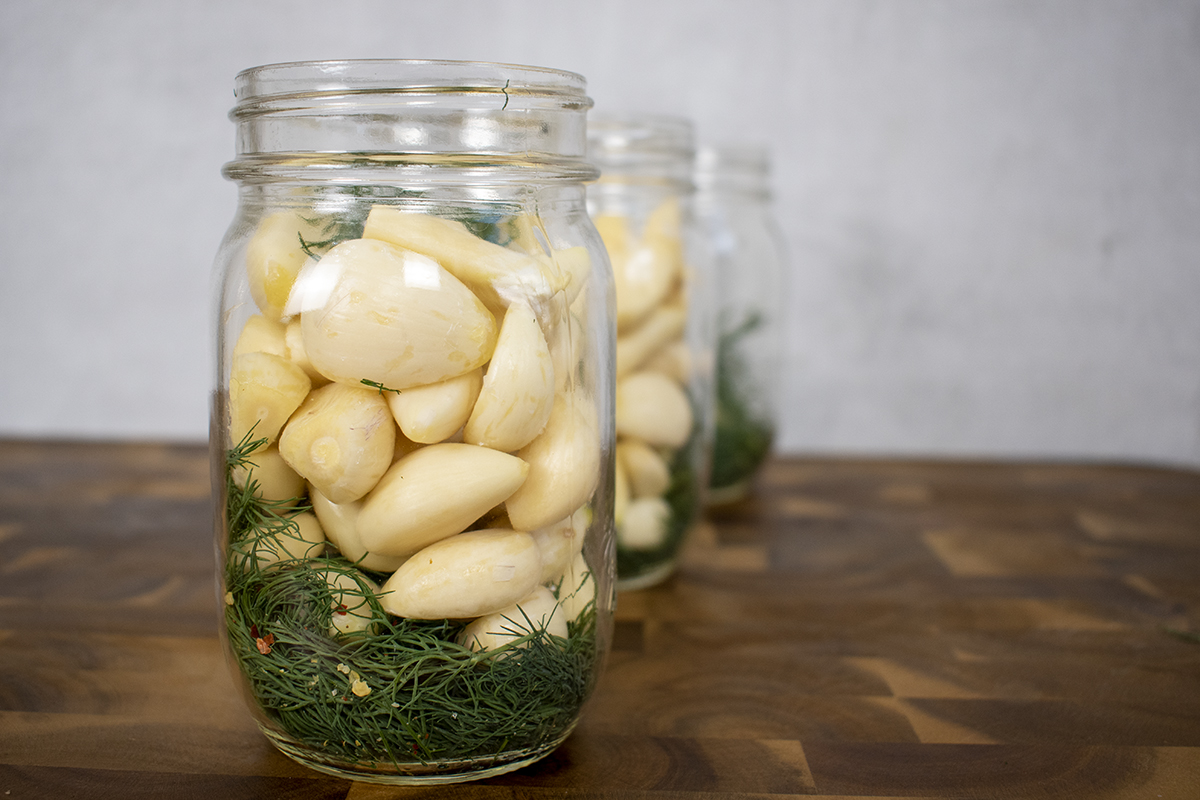
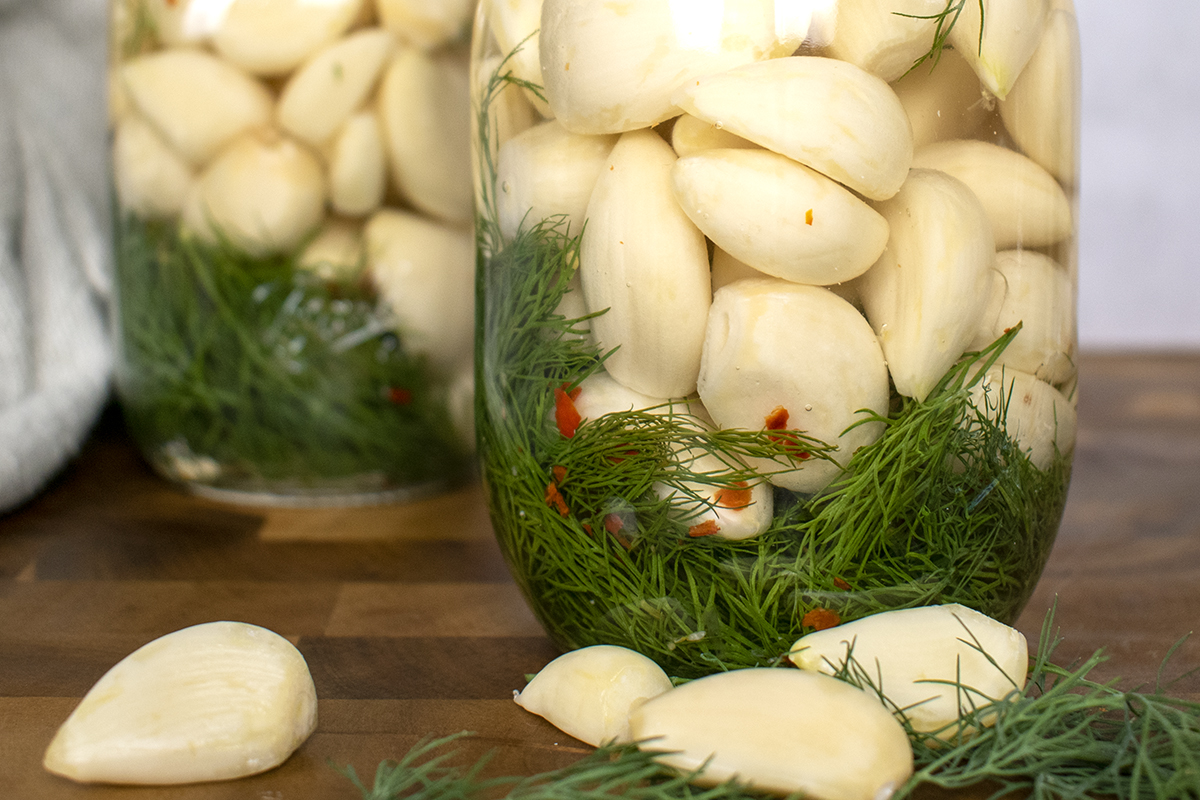
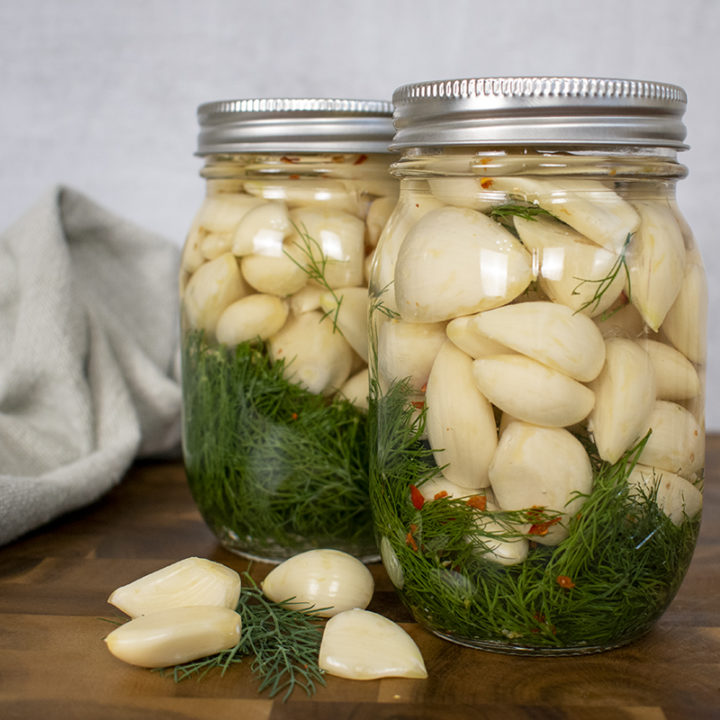
- While your brine is simmering, place ½ cup of fresh dill in the bottom of your jar, then the red pepper flakes.
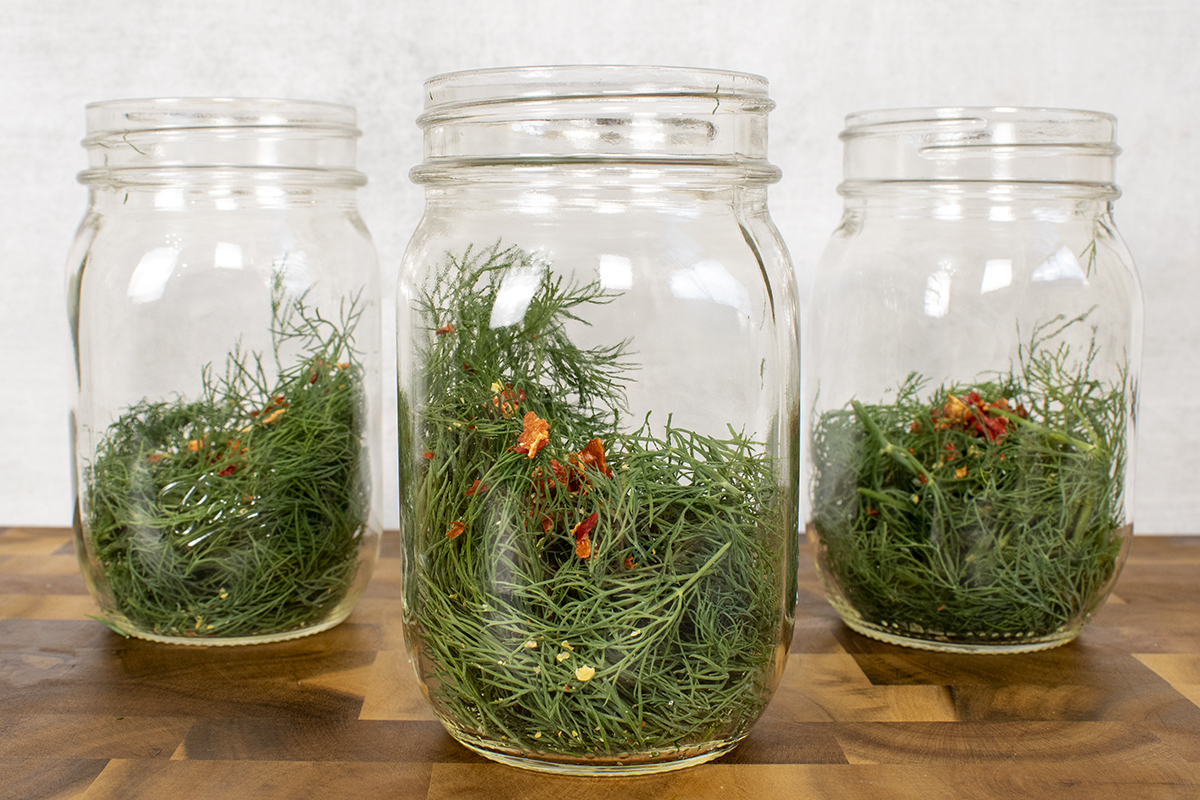
- Fill the jar the rest of the way with garlic cloves, gently packing them. Be sure to leave ½ of headspace at the top of the jar.
- Using the funnel and ladle, fill the jar with the hot brine, leaving ½ of headspace at the top. Wipe the lip of the jar with a clean, damp dishcloth, then screw the lid on just until it’s snug.
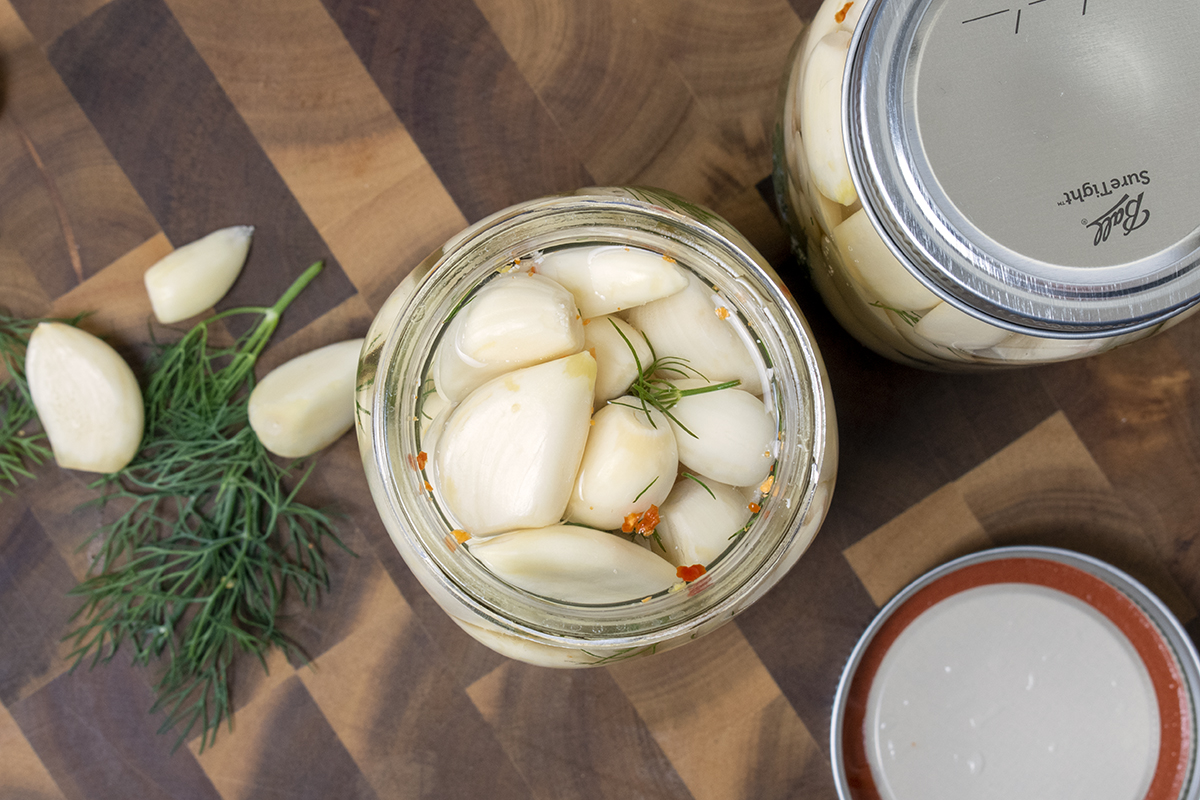
- Allow the jar to cool completely before turning it upside down several times to allow air bubbles to come to the top. Store the jar in the fridge.
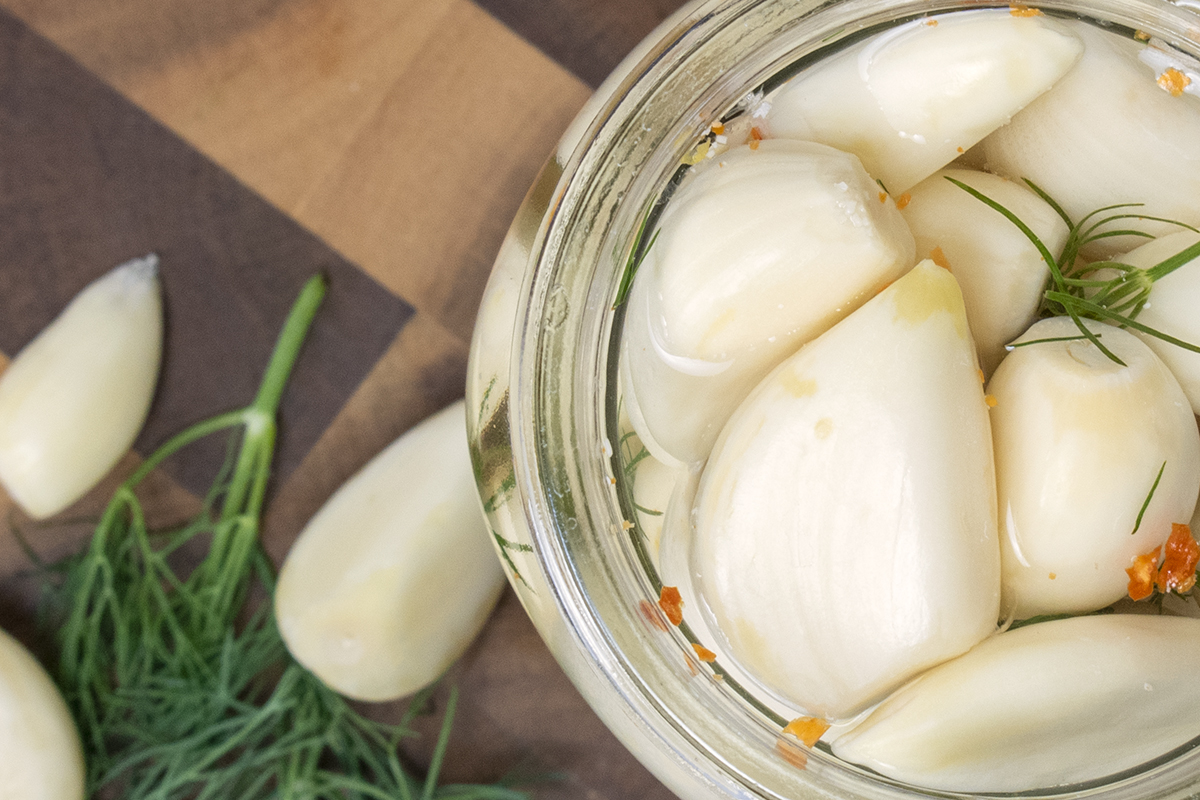
Your pickled garlic will be ready to eat in 2-4 weeks. The longer you let it sit, the more mellow that raw garlic bite will become, and the more pronounced the dill and pepper will be.
Pickled garlic must be stored in the fridge to prevent spoilage or botulism. It will keep for up to four months in the refrigerator. Always use a clean utensil to remove the garlic from the jar, rather than your fingers. You lessen the chance of introducing bacteria to the brine. If mold begins to grow, throw out the remaining garlic.
When Your Garlic Has the Blues
Sometimes garlic will develop a blue or turquoise tint from the minerals in the water or iodine in iodized table salt. The garlic is still safe to eat, albeit a bit odd looking.
What Can I Use Pickled Garlic For?
I can guarantee that it will get used if you make a jar and keep it where you can see it in the fridge. Here are a few ideas to get you started:
- Snacking straight from the jar (stock up on mouthwash, one clove is never enough)
- Slicing or mincing to add to stir-fries, pasta, or roasted vegetables
- Tossed in with a salad
- Eat a clove or two to ward off an impending cold
- As part of a charcuterie board
- As a tasty garnish for martinis
Once your garlic is gone, use the leftover brine for salad dressing, marinades, or to make the best dirty martini you’ve ever had.
Naturally, one good pickle deserves another, so why not whip up a batch of quick pickled carrots or 5-minute fridge pickles? Or, if you’re in the mood for something less savory and more on the sweet side, give honey-fermented garlic a try.
Easy 5-Ingredient Quick Pickled Garlic
This quick pickled garlic is pungent, crisp and crunchy. One clove is never enough!
Ingredients
- Peeled garlic cloves, discard any with brown spots, 3-5 heads will fill a pint jar
- ½ cup of fresh dill or one whole dill head
- ¼ tsp red pepper flakes
- 1 ¼ cup of white vinegar
- 1 tbs of canning salt (don’t use table salt with iodine)
Instructions
- Make your brine by bringing the salt and vinegar to a boil in a saucepan, reduce the heat and simmer gently, covered, for 5 minutes until the salt is dissolved. If you’re making more than one jar, simmer the brine for around 10 minutes.
- While your brine is simmering, place ½ cup of fresh dill in the bottom of your jar, then the red pepper flakes.
- Fill the jar the rest of the way with garlic cloves, gently packing them. Be sure to leave ½ of headspace at the top of the jar.
- Using the funnel and ladle, fill the jar with the hot brine, leaving ½ of headspace at the top. Wipe the lip of the jar with a clean, damp dishcloth, then screw the lid on just until it’s snug.
- Allow the jar to cool completely before turning it upside down several times to allow air bubbles to come to the top. Store the jar in the fridge.
- Your pickled garlic will be ready to eat in 2-4 weeks.

Get the famous Rural Sprout newsletter delivered to your inbox.
Join the 50,000+ gardeners who get timely gardening tutorials, tips and tasks delivered direct to their inbox.