

Each spring, garden supplies and plants flood local stores. Whether you need seed starting media, a new trowel, or onion sets, you’ve got plenty of options. Among all these goodies, usually right by the door when you walk in, is a selection of bare root plants, including roses.
Too often, folks are intimidated by bare root plants and even more so by roses.
Both have an unfair reputation for being fussy and hard to grow. But nothing could be further from the truth. Believe it or not, roses are quite easy to grow and care for. And bare root roses have some big advantages going for them that their potted cousins in the greenhouse can’t match.
It’s time to stop passing over those bags by the door; let’s get those roses you’ve always wanted planted this year.
Advantages of Bare Root Roses
Roses are expensive. We recently purchased some shrub roses to plant in our front flower beds, and they ended up being a hefty $35 a pop. That’s well over $100 for the three rose bushes we wanted. Ouch!
The crazy thing is we walked right past bare root roses at the front of the store, which were $9.99 each.
Bare root plants, in general, are a great bargain. They’re much cheaper than potted plants because of how they’re grown.
Bare root plants are started directly in the ground; there’s no need for potting soil or expensive fertilizers, or a fancy greenhouse setup. At the end of the growing season, when the plants go dormant, they get dug up, trimmed, and the roots are cleaned and wrapped to preserve moisture.
The plants are stored during the winter without the need for watering or heated greenhouses to keep them thriving. Come spring, they get shipped off to stores everywhere, ready to bounce back to life with a bit of soil and some water.
Because it’s so cheap to grow and ship bare root plants, the savings are significant for both the grower and the consumer, especially with roses.
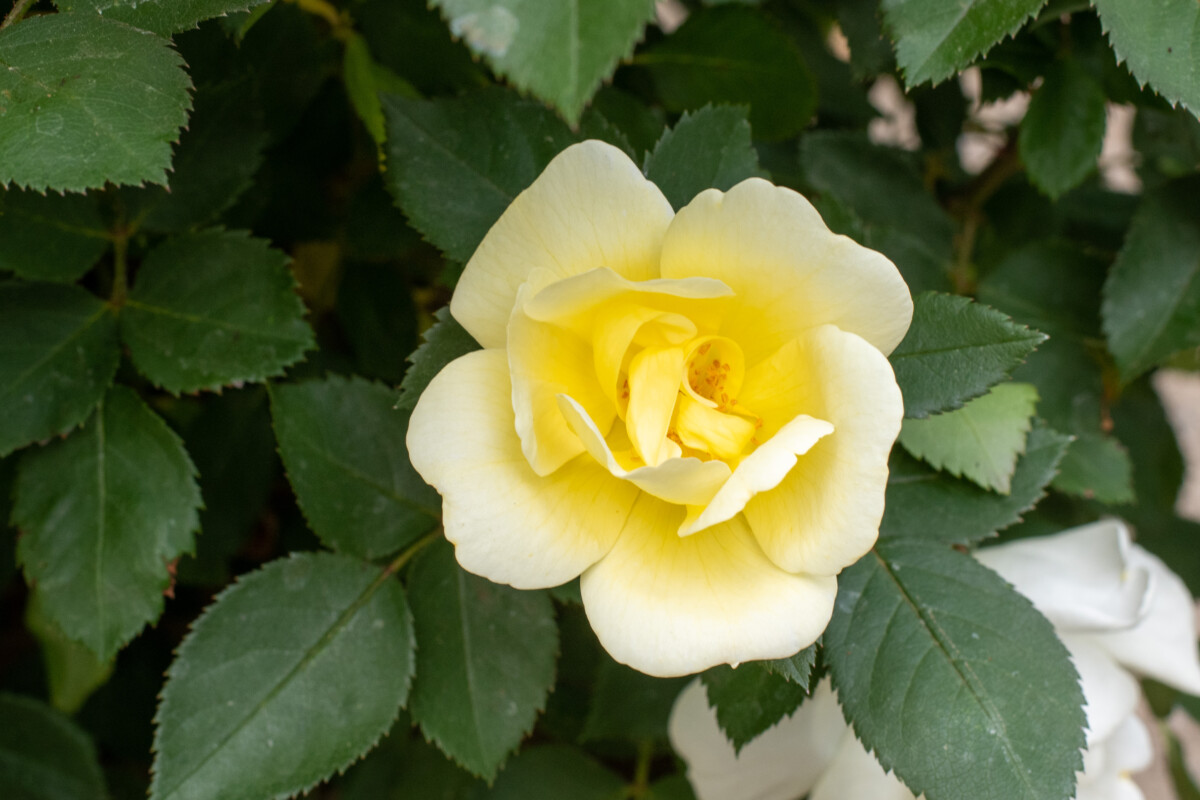
You’re also likely to find a better selection of colors among bare root stock as well. Bush roses usually come in red, pink or white. But with bare root roses, you can find those colors plus peach, lavender, yellow, striped or ombre varieties and more.
And let’s not forget the growing benefits of bare root roses.
Bare root stock has a much stronger and more developed root system, which is better for the plant in the long run. Because you’re putting an established root system back in the ground, it doesn’t take long before the plant can put all of its energy into growing a large and healthy shrub loaded with beautiful roses.
Potted roses have a much less developed root system when you bring them home.
That’s because potted roses are grown mainly to encourage blooms. Growers know that consumers are more likely to choose a potted plant covered in flowers and buds.
Because that’s where these young plants put most of their energy, they come to you with root systems that will need time to develop once planted in the ground, meaning your potted rose bush is more likely to succumb to transplant shock and pests and disease.
Once you realize the many advantages of growing bare root roses, you’ll kick yourself for not grabbing a couple sooner. But now that you’re team Bare Root, let’s get some roses in the ground.
Choosing a Bare Root Rose
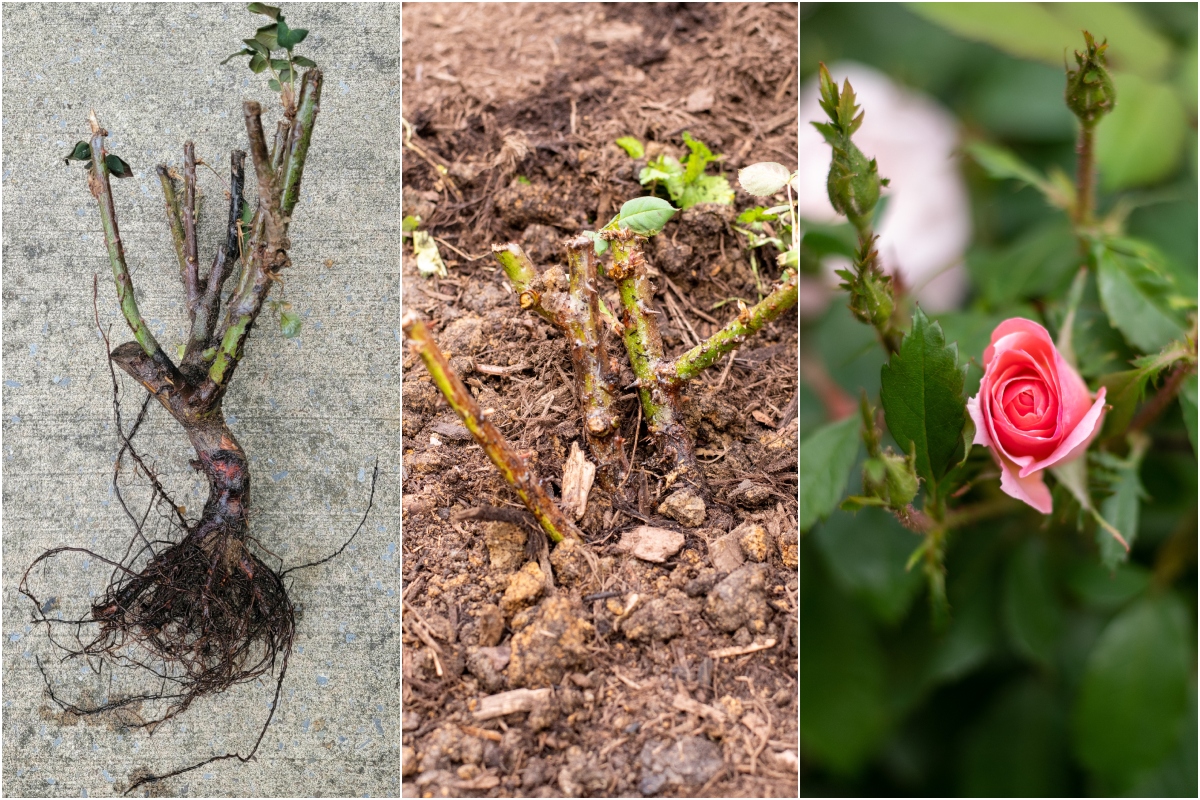
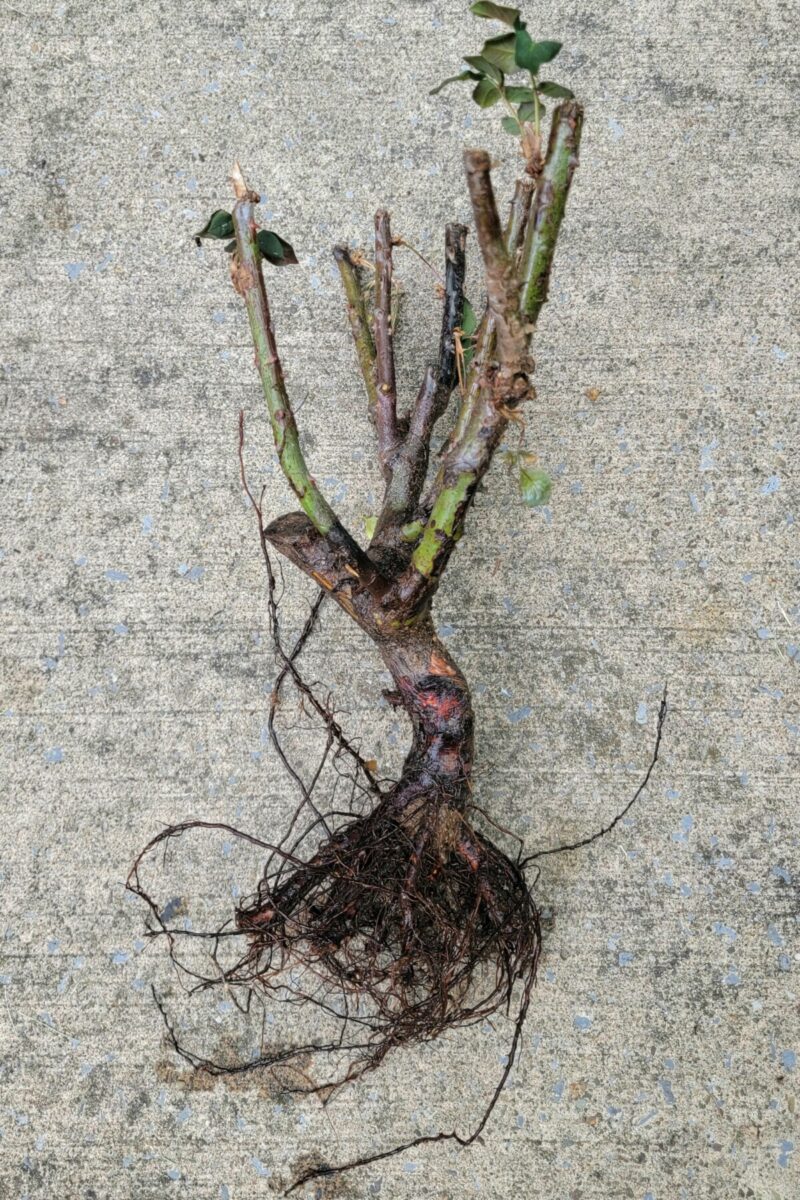
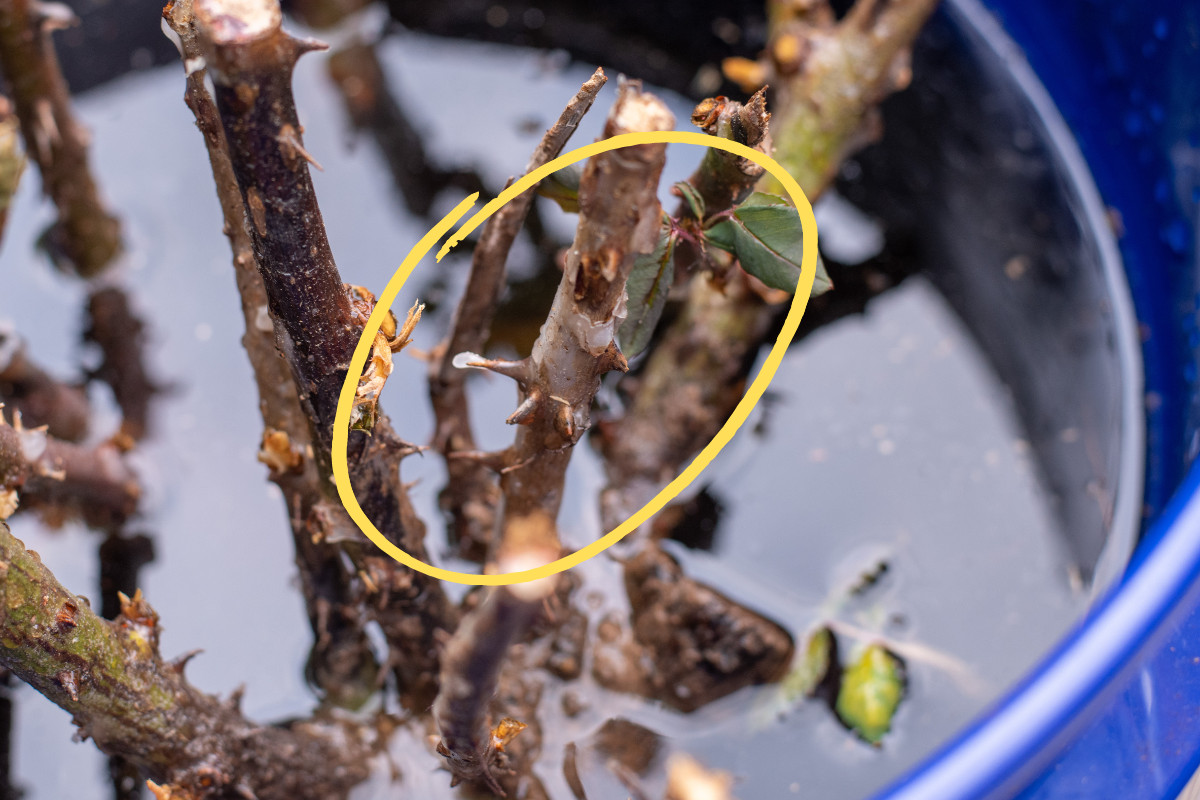
Remember, the plants are still dormant, so they’re all going to look dead, don’t let those cut stems fool you.
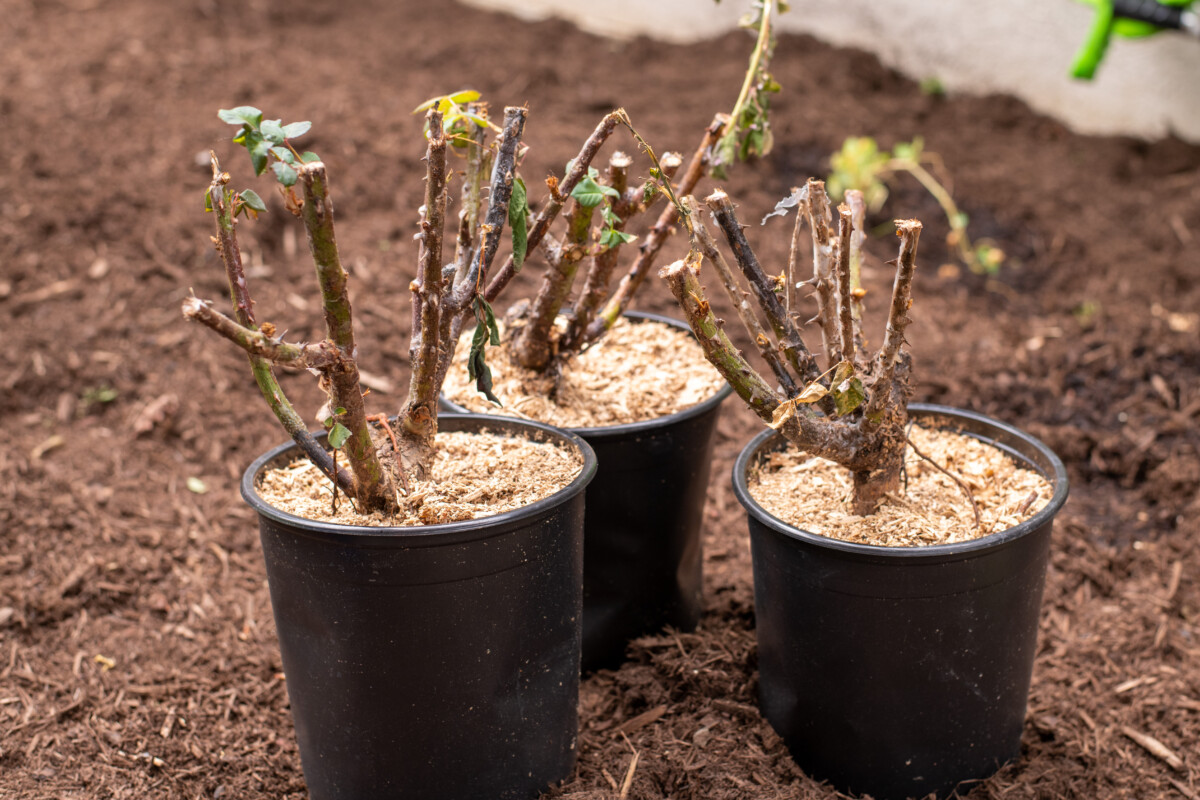
Make sure the plant you choose is moist. The bag shouldn’t be extremely light; this means the plant has dried out completely. Look for a bag with a little heft from the packing material retaining moisture.
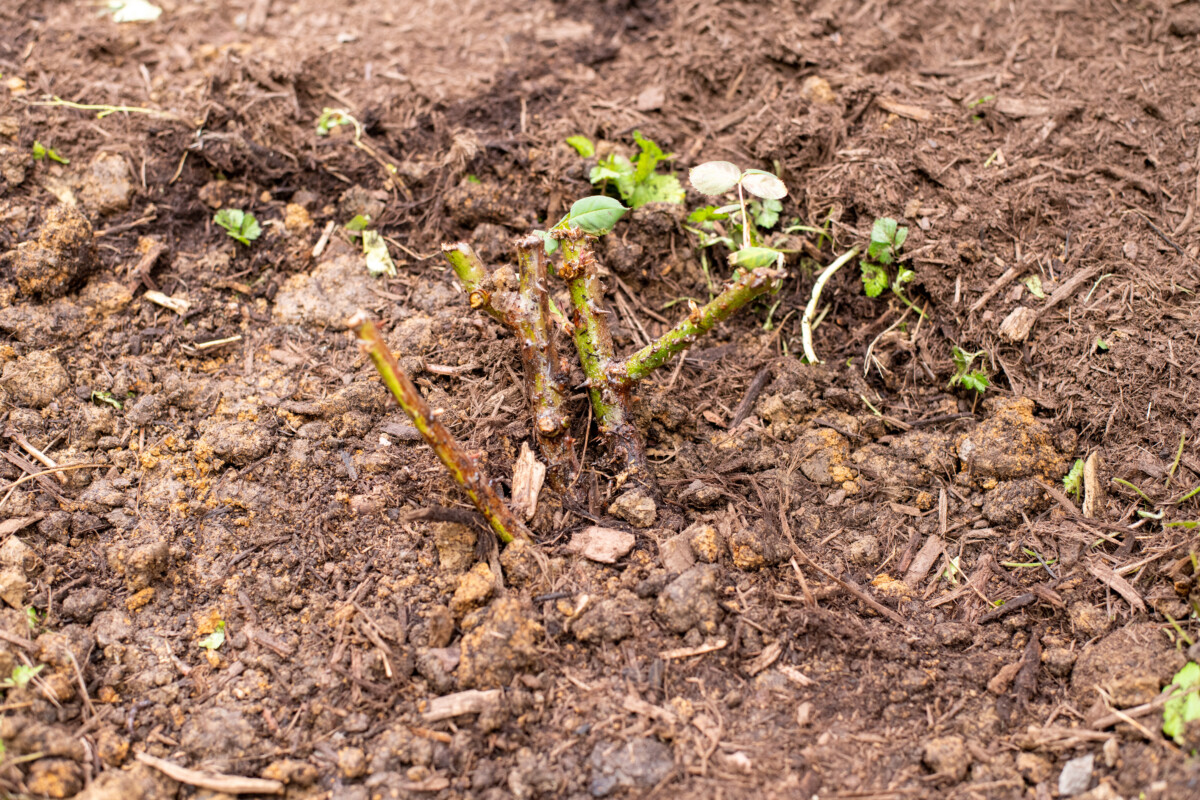
You may even notice a new growth on the stems.
A quick note about bare root roses.
I have an aunt who would wait until bare root roses were good and picked over and went on clearance. She would snatch up the dried-out leftovers for $3-$5 apiece, and almost every time, with a little extra attention once they were in the ground, she ended up with a healthy rose bush. She’s grown a lovely collection of discount rose bushes around her home through the years.
When to Plant Bare Root Roses
You can probably guess from when they show up in stores that bare root roses are usually planted in the spring. While you can plant roses any time of the year when there is no danger of frost – spring until fall, bare root roses need to get in the ground quickly once you bring them home. Whether that’s from the store or shipped to your door.
You’ll want to plant them shortly after purchasing them.
Just be sure you’re past your last frost date. If you end up with an unexpected frost, you’ll need to cover the plant well to protect it. Completely cover the plant with a thick layer of straw. You can uncover it once the danger of frost has passed.
What to Do When You Get Them Home
The plants are usually packed in damp sawdust and watered while they’re at the store. Once home, you’ll want to get them in the ground within a day or two of bringing them home or receiving them in the mail.
If you’re unable to plant your new roses right away, I suggest banking them until you can.
Remove the plastic packaging and bury the plant at an angle in a mound of soil or sawdust, completely covering the roots. Be sure you do this somewhere sheltered from the wind and full sun. Don’t let it dry out. You may need to water the plant daily to keep the mound moist at all times. Banking your bare root rose will buy you around a week or two.
Ideally, you’ll want to get them in the ground as soon as possible.
Waking Up Bare Root Roses
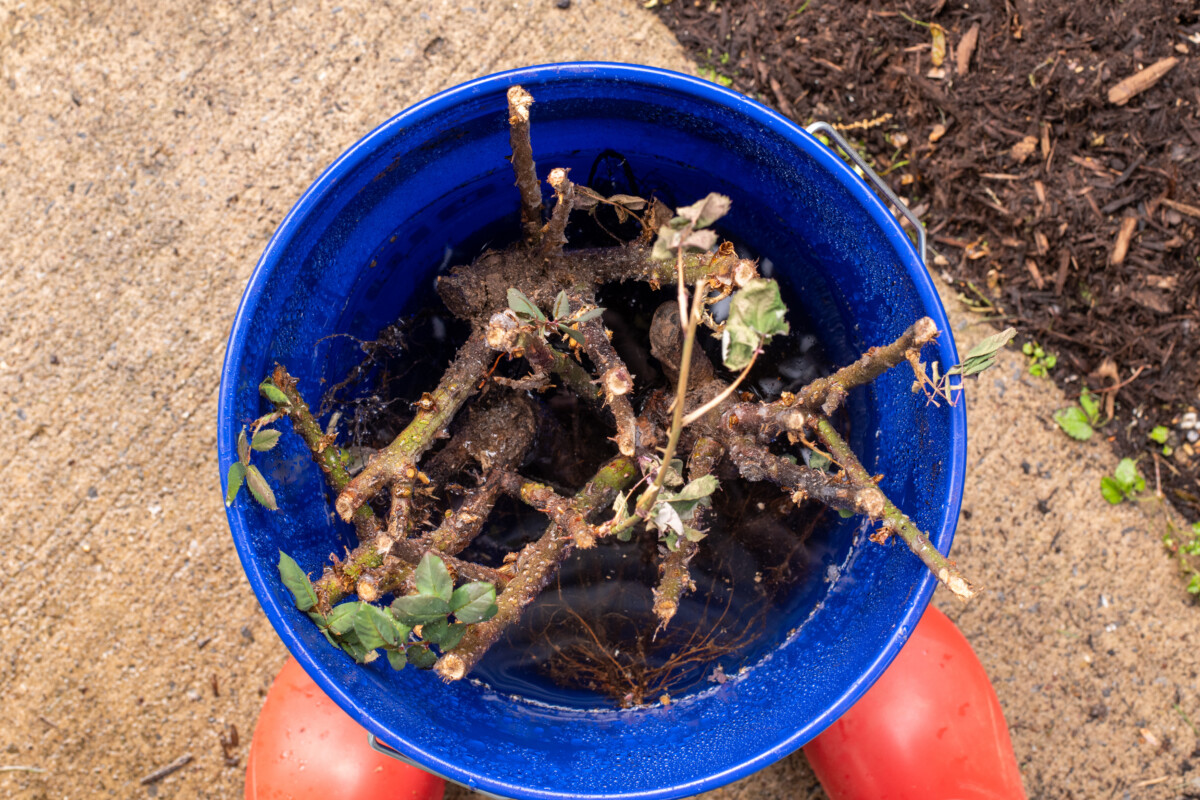
As we’ve already discussed, bare root plants are dormant when shipped. You’ll need to signal to the plant that it’s time to get growing again. To do this, soak the roots in water. At the bare minimum, they need to soak for around four hours. The rule of thumb is 24 hours.
Whenever planting bare root plants, I stick them in water at bedtime and then plant them in the morning.
A Crucial Step
There is one thing you can do for bare root roses while they’re soaking that will greatly improve their health and reduce the time it takes for them to get established. Add a quality mycorrhiza to the water.
These beneficial fungi will adhere to the roots, increasing root surface area, which means greater uptake of nutrients and water. They also break down nutrients in the soil, making them soluble for the plant to take up via its roots.
Mycorrhiza is one of the best secrets for successfully growing bare root plants.
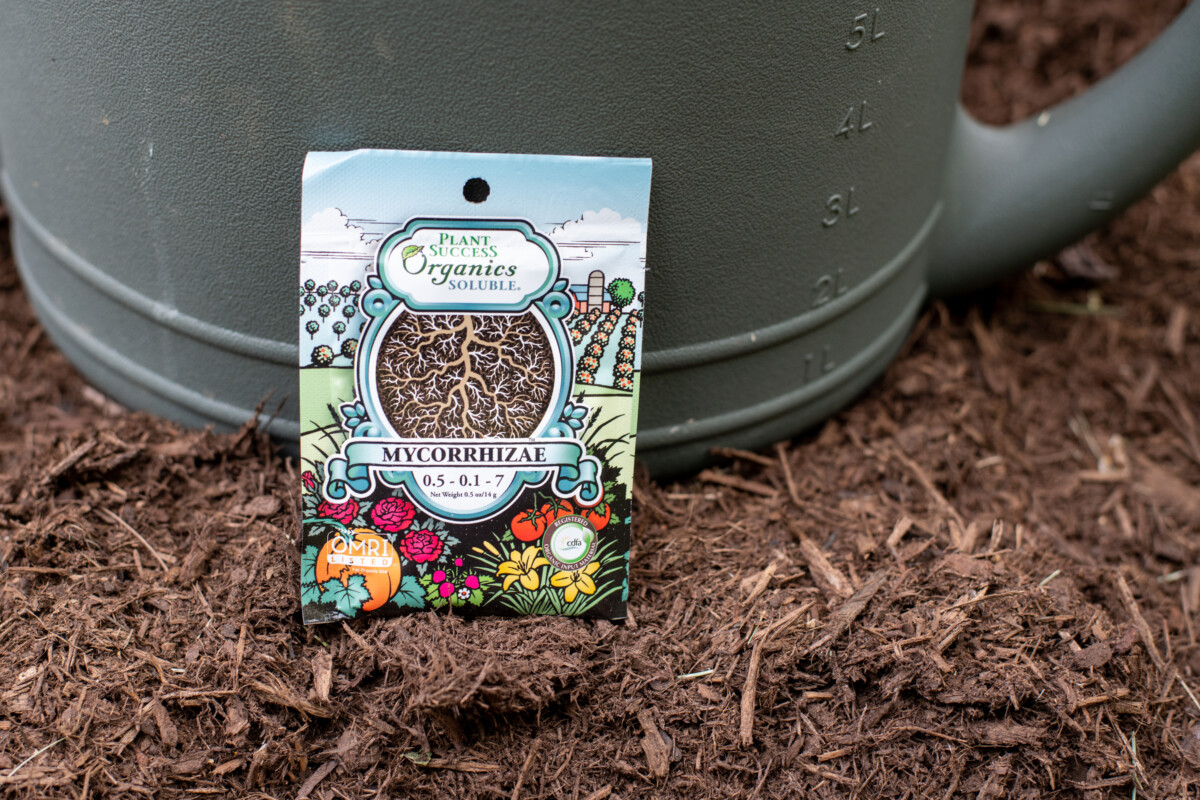
And it’s much easier to find these days. Until recently, I always had to order the brand of mycorrhizae I liked from Amazon. This spring, I was pleasantly surprised to find that Lowes started carrying it in their stores. Now I can pick up a few packets to have on hand whenever I need them.
I know I’m always making a fuss about mycorrhizae, but you need to remember that 90% of plant life relies on this symbiotic relationship to grow and thrive. It’s important if you want lush, healthy roses that will last a lifetime.
Bare Root Rose Wax
You may notice your bare root rose has been dipped in wax. It’s usually clear, but sometimes colored wax is used. Growers do this when they’re prepping the plant for dormancy. It helps to seal moisture in the canes and keep out pests.
You don’t need to do anything with the wax. As the plant grows, it will slough off on its own or melt on warmer days.
Choosing a Location
Roses are sun-loving plants and will do best with 6-8 hours of full sun daily. Because they’re susceptible to powdery mildew, they prefer the morning sun, which will dry dew from the plant quickly, so consider a spot where they can bask in those morning rays.
Believe it or not, roses are not super picky about soil and will grow in nearly any kind of soil. That being said, like most plants, they do prefer that magical mix of soil – loamy – or well-draining soil with a balanced mix of sand, clay and organic matter.
It’s easy enough to amend the soil where you are planting a bare root rose, and it’s an important step in the planting process.
Prepping the Soil and Digging the Right Size Hole
Once you’ve chosen your location, it’s time to dig. You’ll want a hole between 1.5-2 feet deep and just as wide. You’ll likely notice the plant itself isn’t nearly that big. But you want to dig a hole much larger than the plant so that you can add plenty of organic matter to the soil.
Go bigger if you can. Loosening and amending the soil around your rose will ensure it’s off to a healthy start, allowing for a larger root system.

Once you’ve dug the hole, add several scoops of compost or leaf litter to the bottom, and water it well. Let the water seep into the ground and settle the compost. Next, add some of the soil you dug out of the hole back in and mix it with more compost. You’ll want to heap this mix into a small mound at the bottom of the hole. Again, water it, let the water seep in, and settle the mound.
Planting the Bare Root Rose
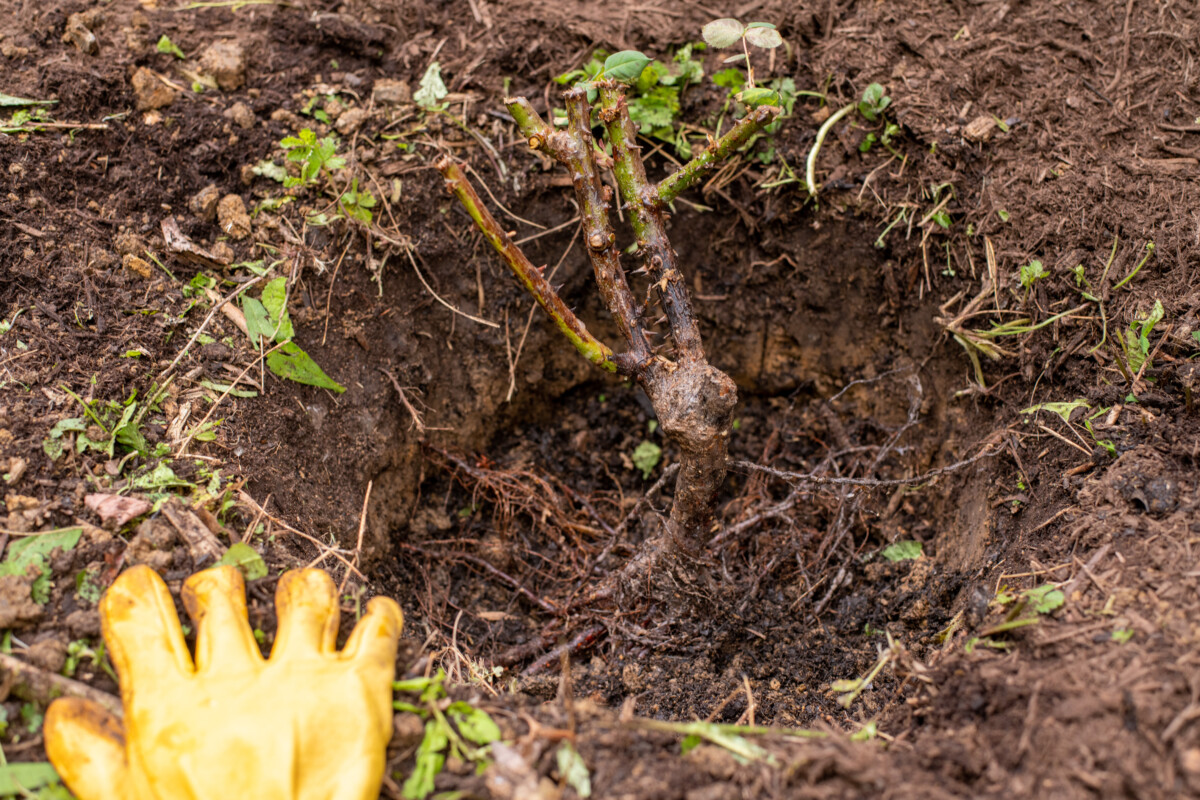
Place the plant in the hole, centering the bottom of the plant on top of the mound of soil you made. This little hill will prevent the plant from sinking and pushing the roots up, causing them to grow oddly.
Continue adding a mix of soil and compost, gently packing it as you go.
You want to bury the rose 1”-2” inches above the crown.
Once all the soil is added back and the plant is buried to the correct level, gently step on the soil around the base of the rose to press it into place.
Water and Mulch
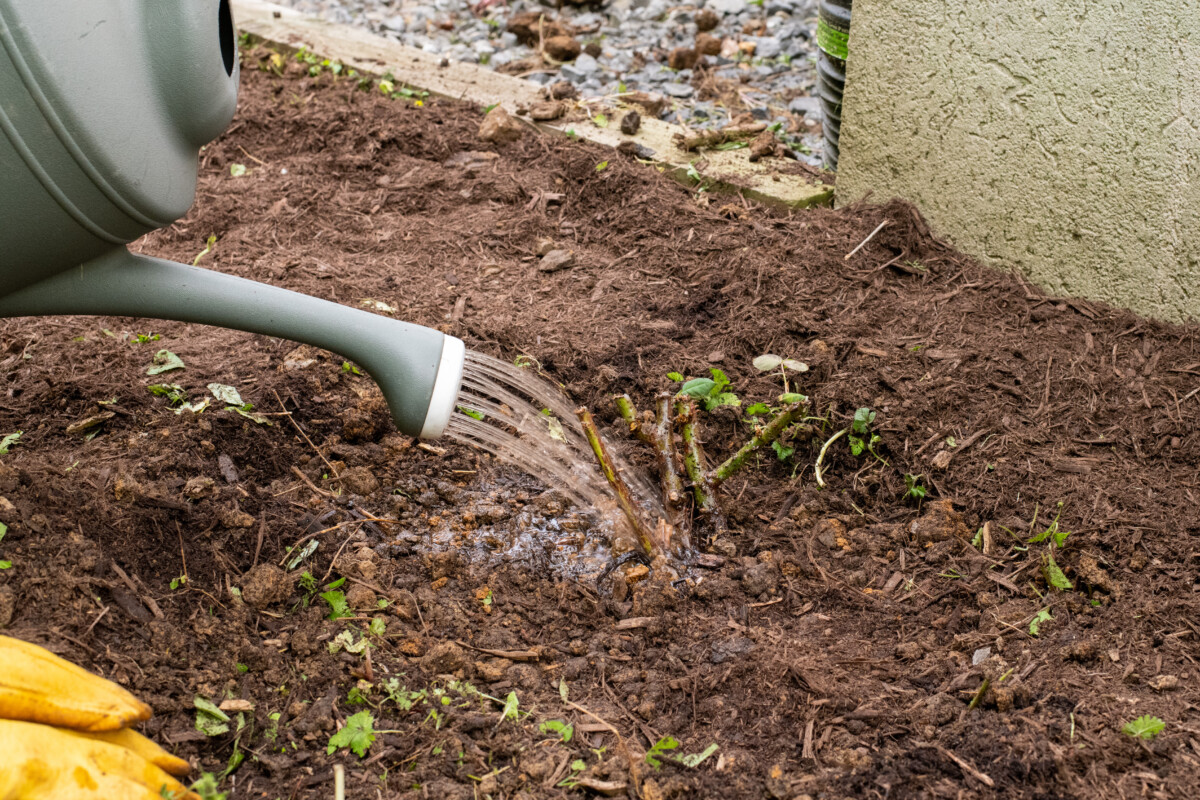
Water in the new plant, again, adding mycorrhizae to the water to inoculate the soil. Add a thick layer of mulch around the base of the plant and at the crown.
Establishing a Bare Root Rose Bush
Now that your roses are planted, you’ll need to give them a little extra care over the next few weeks to help them get established.
With bare root plants, it’s important not to let the soil dry out while the plant comes out of dormancy.
Check on newly planted roses daily and water as necessary to ensure the soil is consistently moist. You don’t want it to be soggy.
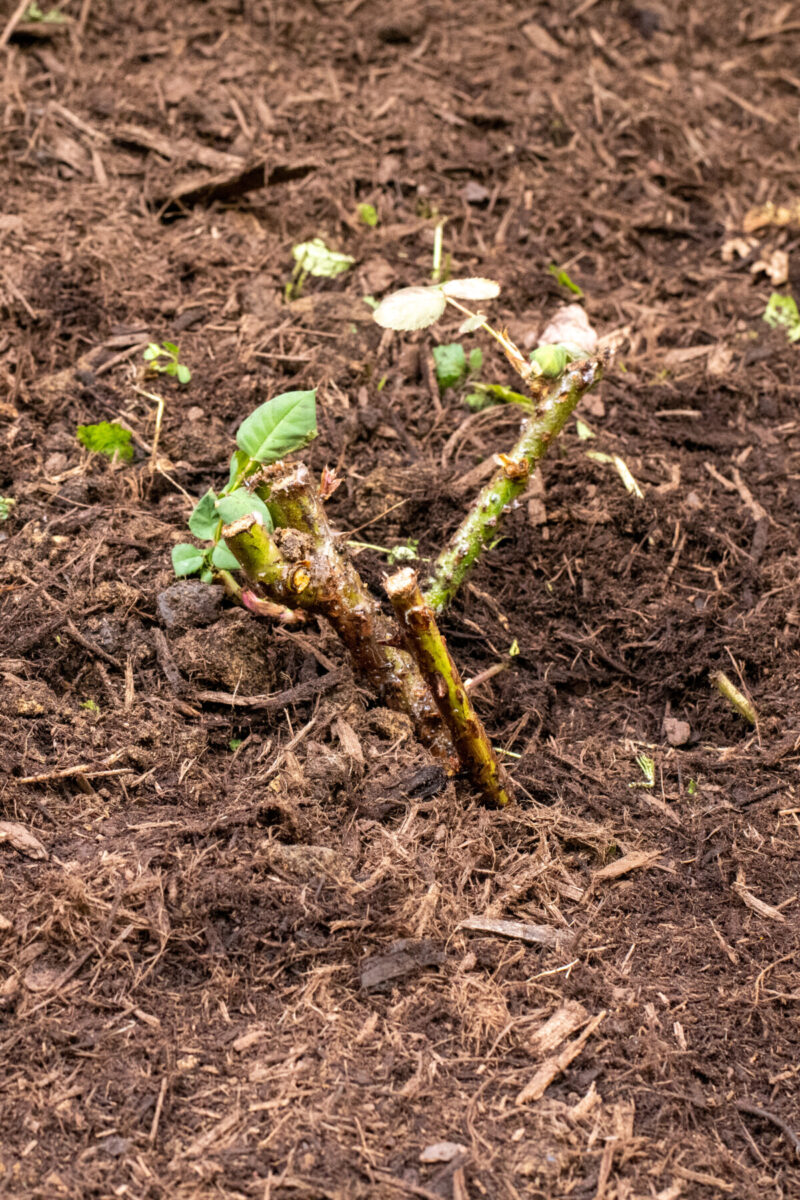
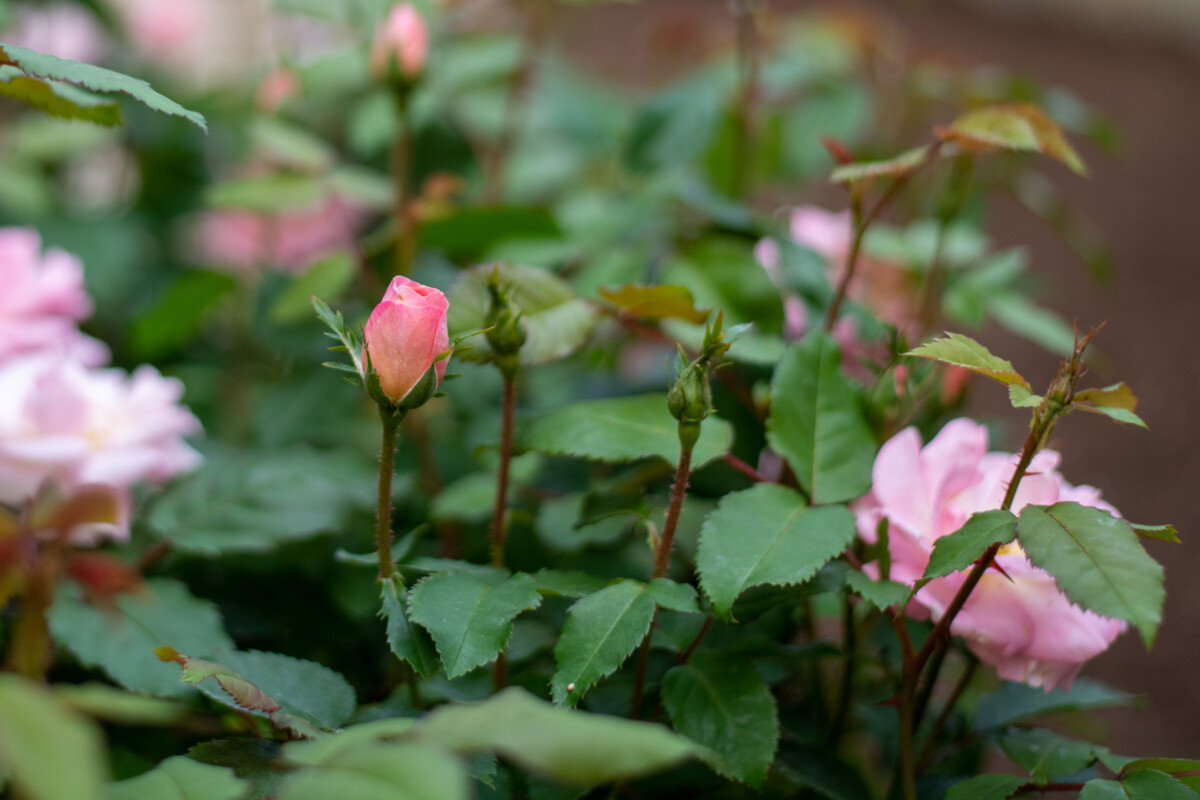
Once the plant begins to put out new growth, you can remove the mulch from the base of the crown. Your new bare root rose will continue to grow, and will bloom between 10-12 weeks after planting. However, some suggest pinching off buds during the first year to encourage the plant to direct its energy into the roots and growing in size.
Start fertilizing the plant with a rose-specific fertilizer about six weeks after planting.
Once established, roses need roughly 1-2 inches of water a week. Like most plants, it’s best to water them deeply and less frequently to encourage the roots to grow deep.
It can take new roses up to two years to become completely established, so be patient and continue to monitor your new plant. You’ll enjoy beautiful roses for years to come.
Related Reading: How & When To Prune Roses – For Healthier Plants & More Blossoms

Get the famous Rural Sprout newsletter delivered to your inbox.
Join the 50,000+ gardeners who get timely gardening tutorials, tips and tasks delivered direct to their inbox.