


Pruning roses, fruit trees and other landscape plants is not rocket science. Anyone and everyone can do it.
Of course, your success still depends on your willingness to follow a few rules. As well as developing your sense of aesthetics. Overall, your chances at helping your plants thrive, surpasses the “imagined damage” that you might do to them. Plants really are more resilient than we give them credit for.
In the case of roses, pruning back your roses hard will result in stronger growth, whereas lighter pruning will result in less vigorous growth.
So, before you whip your pruners out of their leather holster, it is wise to know what you are after on your own rose bush. More blossoms, or sturdy growth?
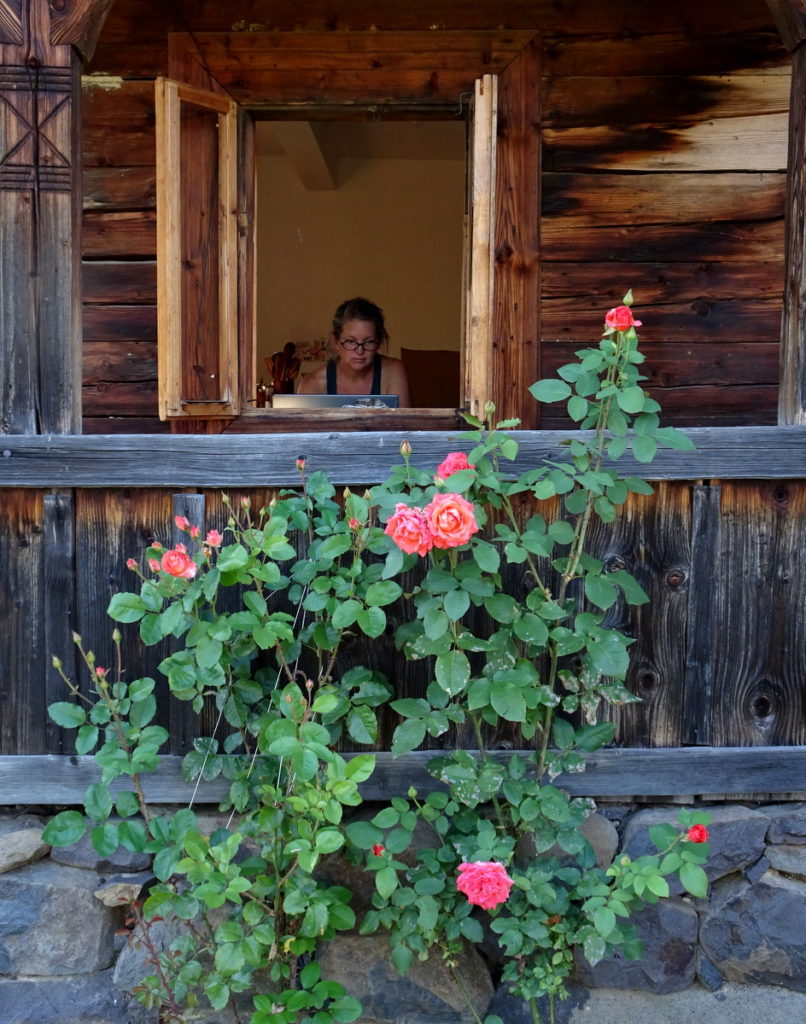
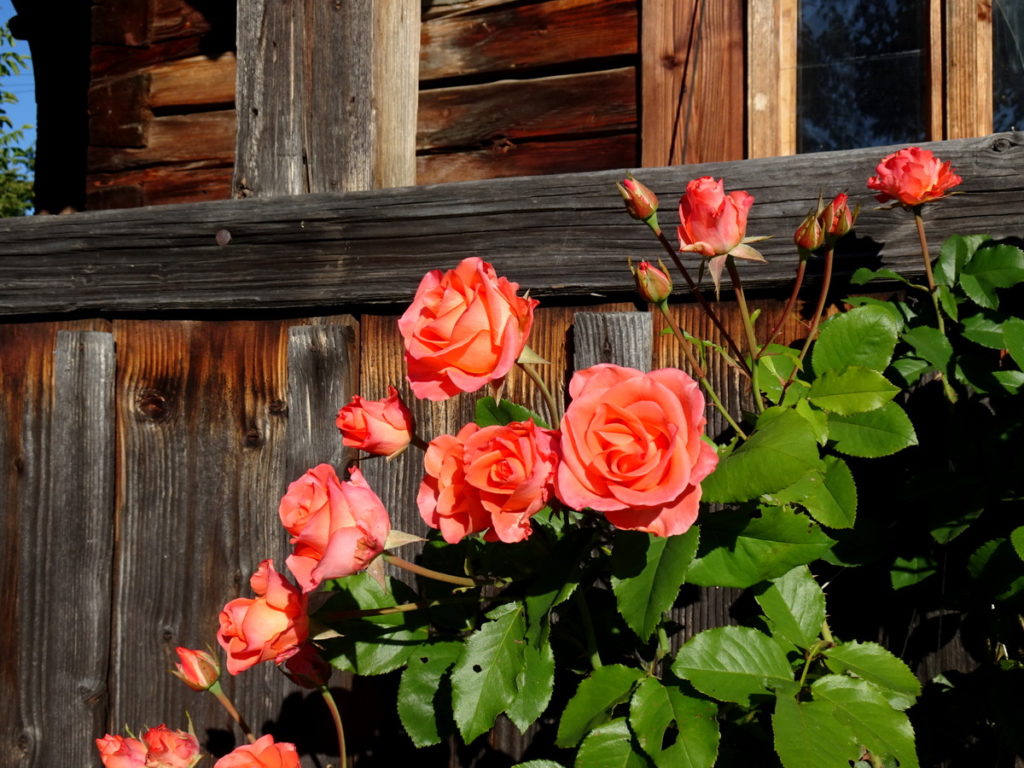
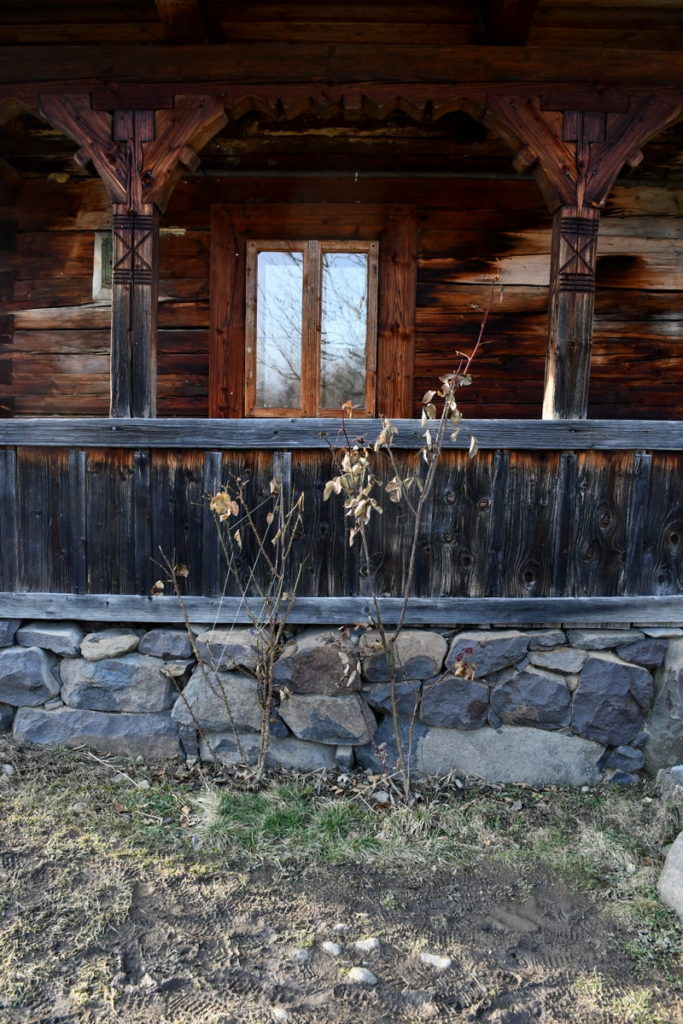
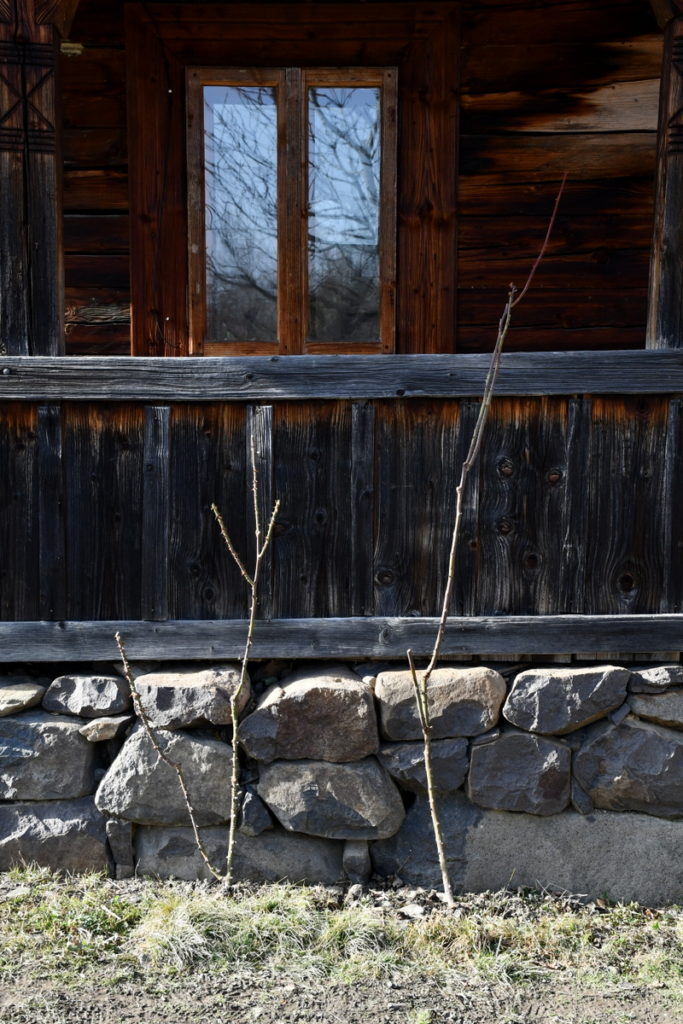
In the photos that follow, it is our goal to train these two rose bushes up either side of the wooden supports, two of the house’s pillars. They were planted 3 years ago as bare root roses and produce numerous blossoms all the way till frost.
The best time to prune your roses?
Once you have lessened your fear of cutting back your roses in a very open manner, that is, leaving plenty of air space between the branches, you might also have the common question – when is the best time to prune them?
As with all things gardening, it depends.
For the most part, roses should be pruned when dormant. Late February to late March is a good time to shoot for. More general than that, you want to prune your roses before new growth begins. If you are far north, this pruning window could even extend into May. Let the emerging buds help you decide as well, it is always a cue to watch out for them.
It is also possible to give your roses a light pruning in early autumn when they are done flowering and showing off for the season. Fall maintenance of roses also includes deadheading and removing diseased foliage.
Pruning of roses in summer mostly refers to deadheading the spent blossoms. This simple act encourages more flowers and lets the beauty remain for longer. Did you know that roses are among the best flowers to send to people with allergies as they have little pollen?
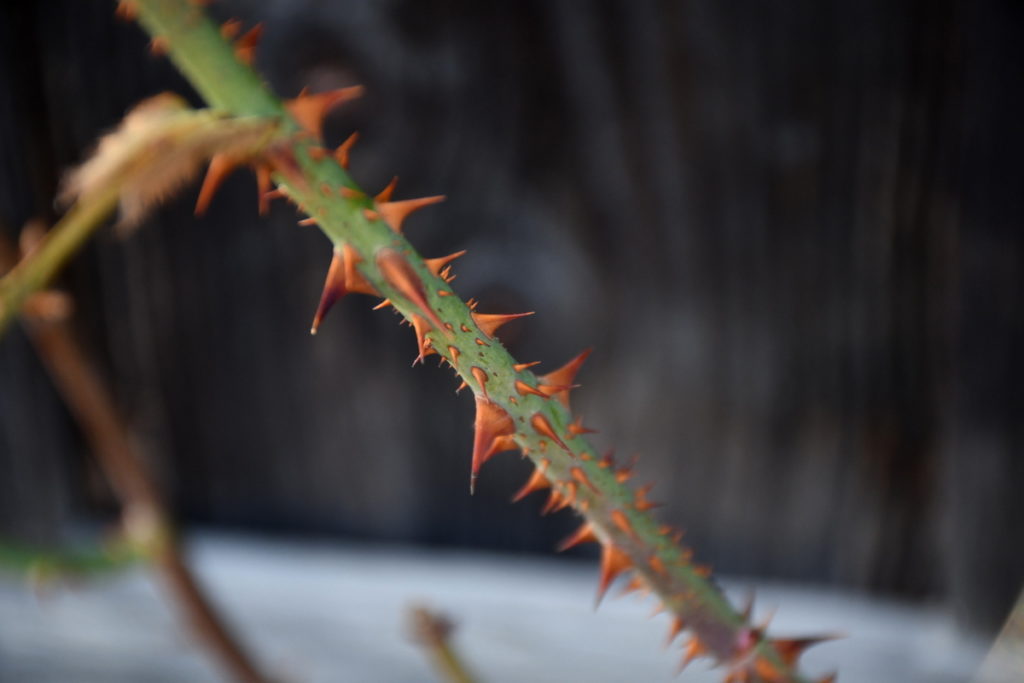
But in winter, you get the advantage of seeing the skeleton of your spiky rose canes. This shows you where branches are crossing, indicating which ones need to be removed and which ones need to stay.
6 steps to prune your roses
Winter is the best time, not only to prune roses, but to also prune your apple and pear trees. Honestly, once you learn how to properly prune one plant, you can easily apply those skills to another.
The more you do it, the easier it becomes. So much so, that when you see a break in the clouds, you get all excited and say “Today is the day!” with so much enthusiasm that everyone else wonders what the heck you are talking about. Get to the level where pruning is exciting, and people will be asking you to come over and prune their rose bushes and fruit trees too. Maybe you can even make a little extra income by doing so!
Self-reliant skills do come in handy.
Onto the rose pruning.
1. Remove all dead wood
When pruning any plant, remove all dead wood first.
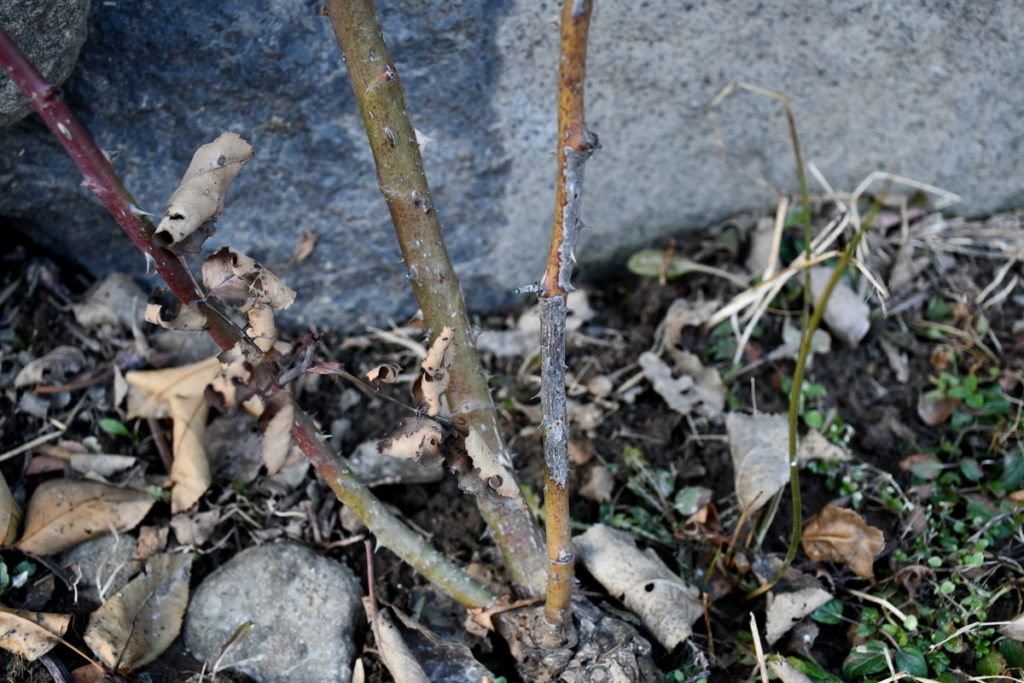
Look closely for signs of damage or infection. As lovely as part of that branch or cane may be – go ahead and make that cut as close to the base as need be. Even if it seems to be a major branch. You need to make small sacrifices for the health of the entire bush.
Seeing as how roses grow so quickly, it will often make up for the loss in just a couple of months. And as we have already mentioned, cutting your roses back hard will only result in their extended vigor.
2. Open up the rose bush and remove crossing branches
Focus on the cane that needs to be removed, take a deep breath and snip. There, it is done. Hopefully you cut out the right one.
Really, there is no way to go wrong with pruning roses. Even a bad haircut grows back in time – and roses grow much faster than hair.
What you want to do from the very start, is to open up the center of the plant so that air can circulate around the canes and leaves.
Step back, take a good hard look at the branches in front of you and start thinning from the bottom. This prevents you from making many, if any, unnecessary cuts.
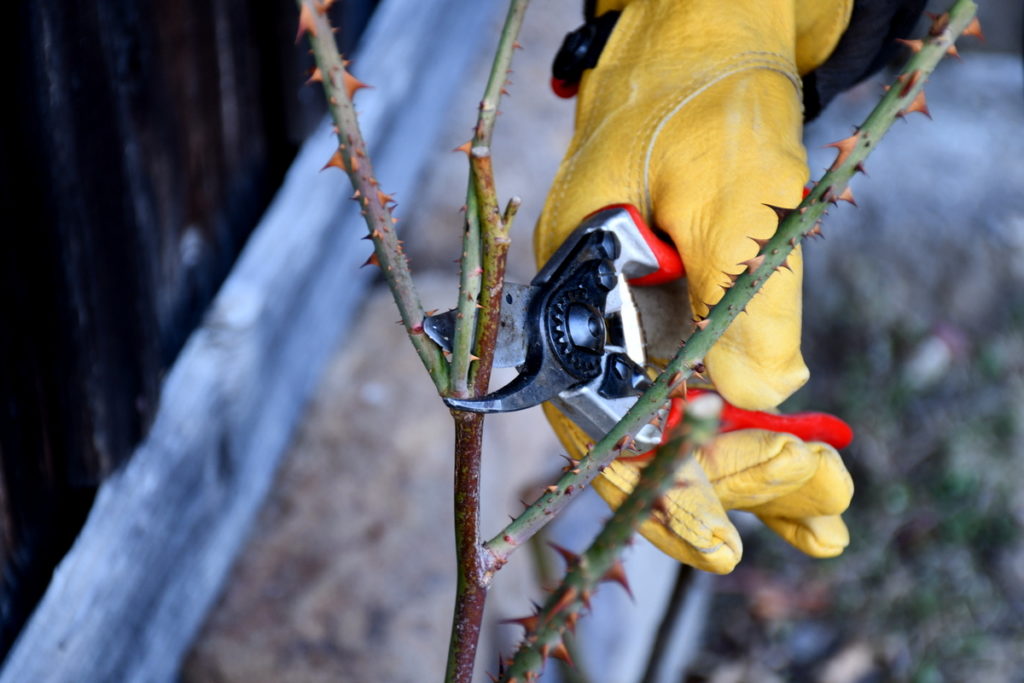
At the same time, you also want to remove crossing branches which can encourage disease as they rub on each other and wear the bark away.
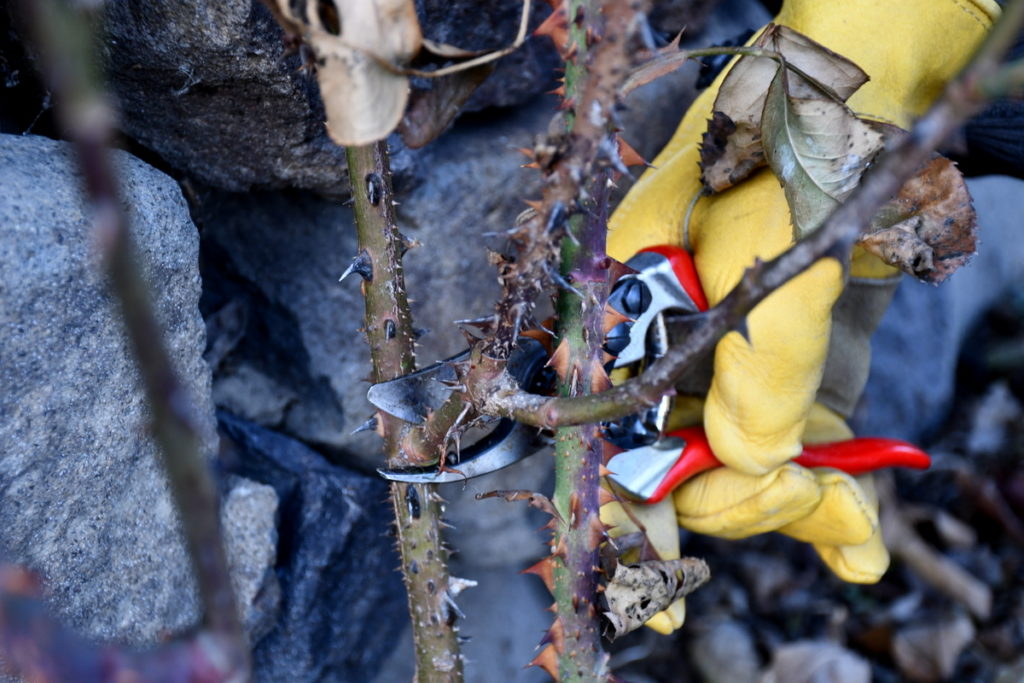
We are in the process of training our roses to climb and desire a thicker base, therefore we are, just now, cutting them back harder. However, you may have more traditional roses in your garden, consisting of multiple canes. In this case, to open them up, you may choose to prune them with a vase shape, removing a few of the smallest inner canes.
3. Always prune back to a bud
If there is one part of pruning that people feel intimidated by, is pruning back to a bud. Of course, I have seen all sorts of pruning jobs in the past twenty years. What I would just like to say, is even if you don’t quite get the 45-degree angle exactly, always sloping away from the bud, please don’t leave a stump-like stub above the bud. Not one inch, and definitely not two inches. A long stub would only become dead matter and make for a lesser visual appeal.
Pruning back to a bud means just that. Do not cut into the bud, just above it at the angle mentioned above.
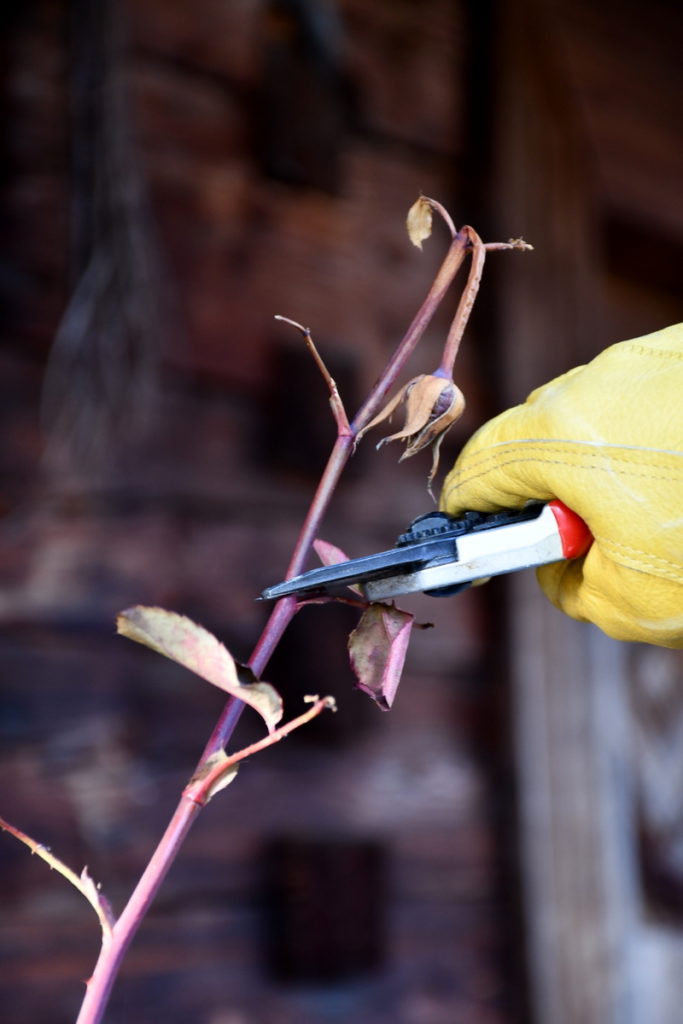
One more thing to consider, which is only slightly more advanced, is to check for the direction of the bud.
Again, in the case that our roses will eventually be climbing, we did not leave a chance for the new growth to shoot out against the wall, nor for it to blossom out in the walkway. Rather, we left it open for the opportunity to grow up or sideways.
4. Remove any remaining leaves as you prune your rose bush
Even if you cannot see some of those rose pests with your bare eyes, don’t assume they aren’t overwintering in some of those curled-up leaves.
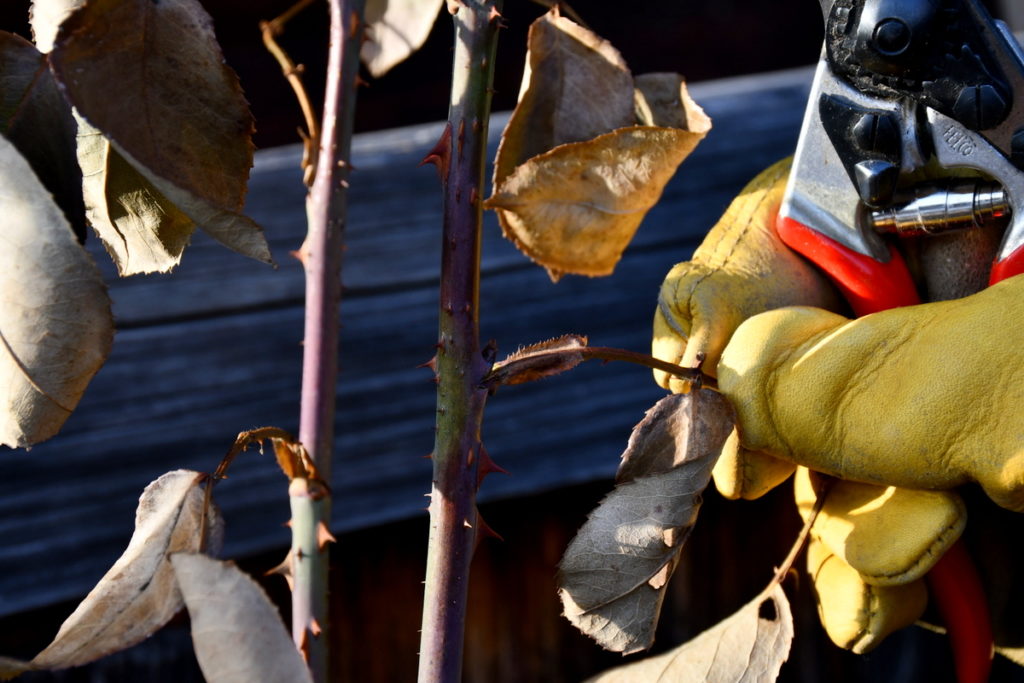
In some instances those old leaves can be pulled off with a gentle tug. If they are still hanging on tight, clip them off with the tip of your pruners.
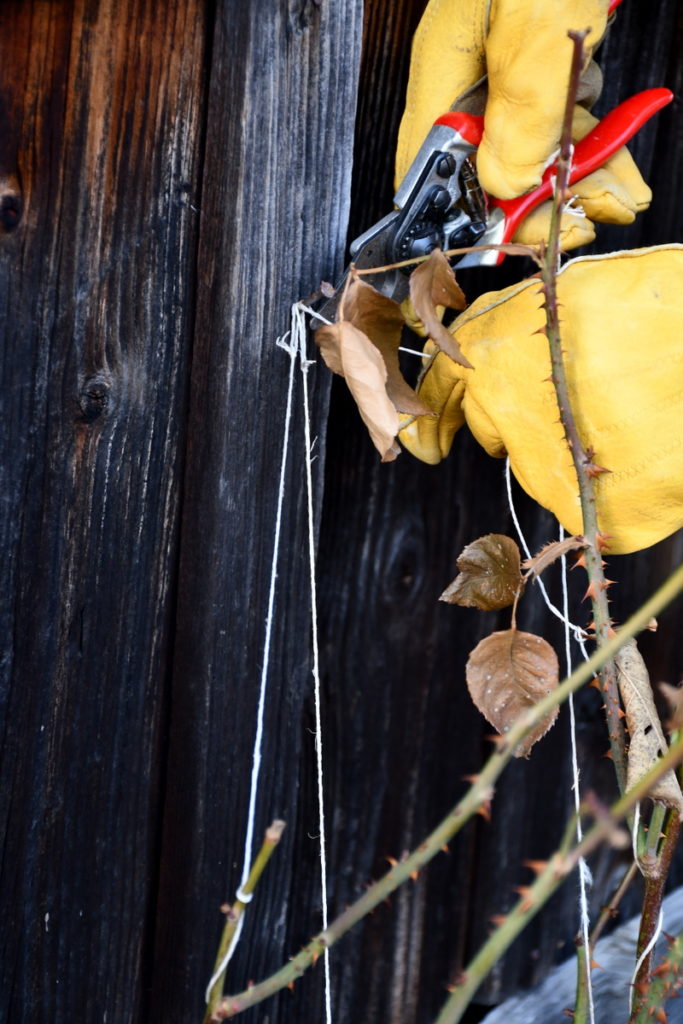
At the same time, you can also remove any ties that may also be contaminated. Burn (assuming that the tie was of natural material) or toss those out with the leaves too.
5. Do a thorough clean-up
Roses are beautiful, no one can doubt that. However, they do come with their own share of problems. Aphids, powdery mildew, black spot, Japanese beetle infestations.
Most of the time you can catch the problems during the growing season. Sometimes they go unchecked as you go about your other gardening business.
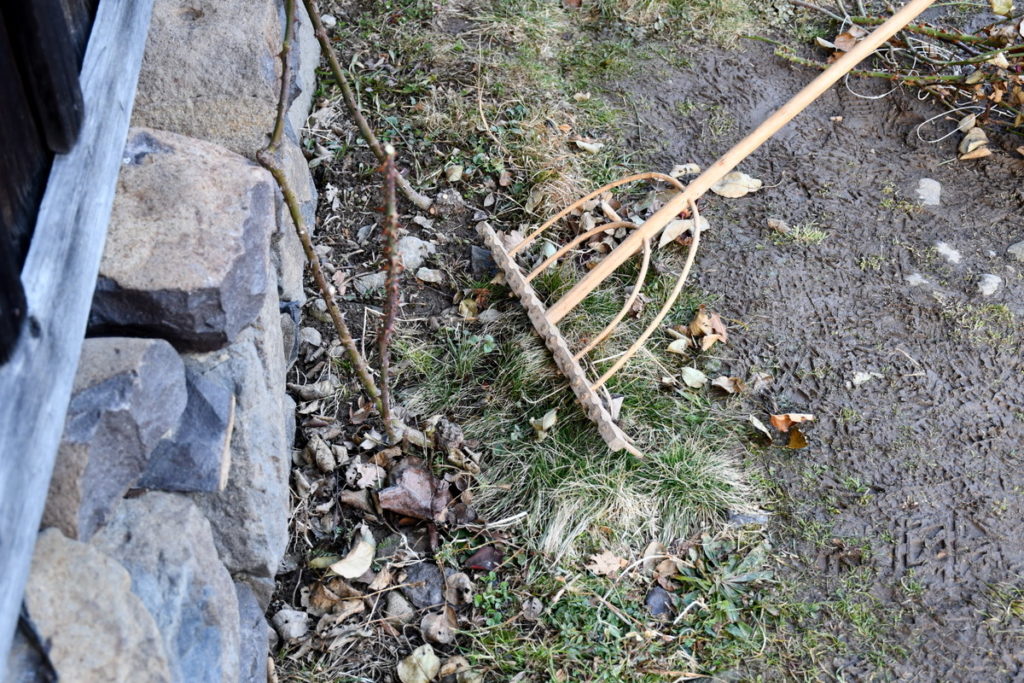
Now is the time to practice good plant hygiene and rake up all those remaining leaves on the ground. If possible, burn them safely in an outdoor fire, or dispose of them properly. Never compost diseased parts of plants.
6. Feed your roses
It can happen now, or it can happen later. Just know that in order to have beautiful blossoms, you have to care for the roots and nutritional uptake too.
The following article will give you a good idea of how and when to start feeding them.
How To Fertilize Roses For The Most Abundant Blooms @ BloomingBackyard.com
Before you head outside to prune your own rose bush, make sure to wear a strong pair of leather gloves, long sleeves, and have a clean pair of bypass pruners handy.
During summer, don’t forget to save your plethora of rose petals for teas, cakes, syrups and vinegars.

Get the famous Rural Sprout newsletter delivered to your inbox.
Join the 50,000+ gardeners who get timely gardening tutorials, tips and tasks delivered direct to their inbox.