

Sage has always been a popular herb in the kitchen. Its unmistakable scent signals there is delicious stuffing or sausage cooking somewhere. But this beautiful silvery-green plant often leaves gardeners struggling to grow it successfully. We end up with stunted plants or plants that wilt and die, and we give up, yank them out and vow we’ll get it right next year.
Let’s make this year (and every year thereafter) that year.
One of the first things I recommend when learning how to care for (and get the most out of) a new plant is to learn about its native habitat. Knowing where a plant grows naturally, without anyone fussing over it, offers vital clues as to what it will need in your backyard.
Salvia officinalis, or common sage, is native to the Mediterranean, where it grows like a weed. Its native climate boasts exceptionally long, hot and dry summers and mild, wet winters with no snow. And the Mediterranean boasts some of the most fertile soils in the world; rich and loamy.
With this information, we’re well on our way to better understanding the basic needs of a sage plant. Let’s flesh this out and make sure you have everything you need to grow large, healthy sage year after year.
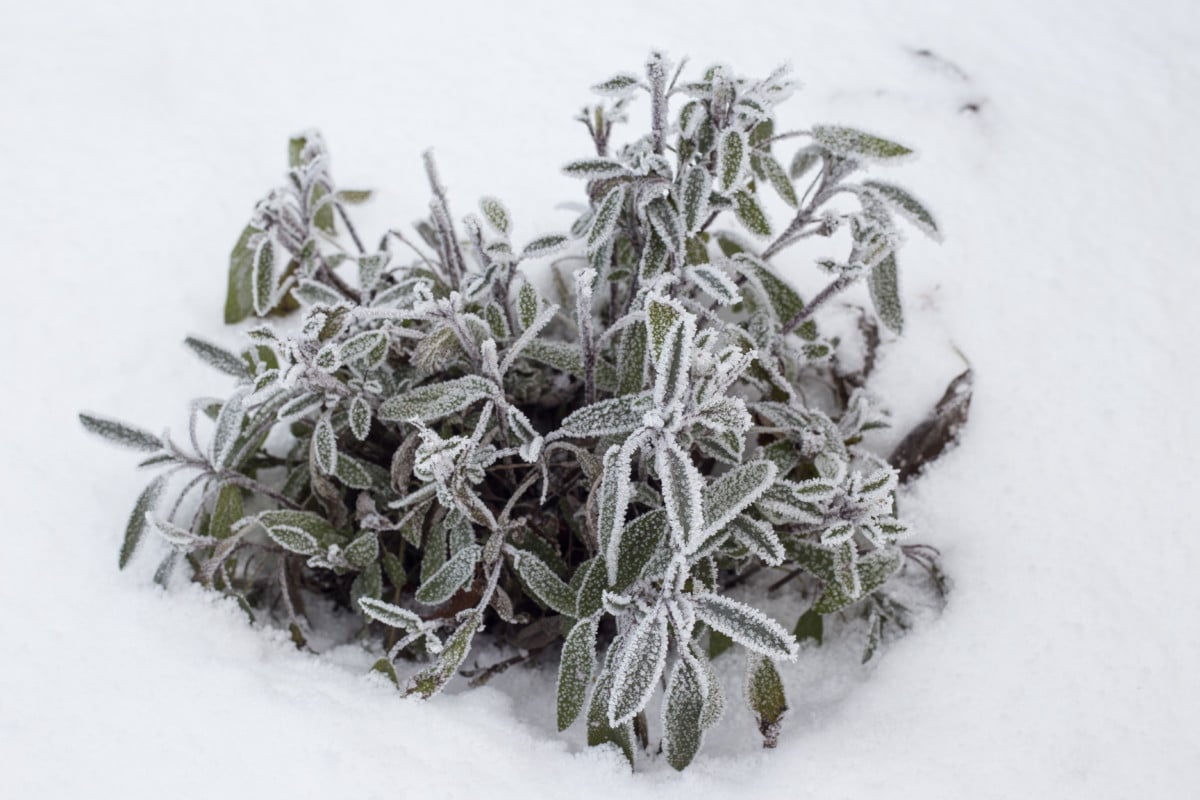
Sage is a perennial; however, depending on where you live, it may grow as an annual. USDA Hardiness zones 5-8 can grow sage as a perennial. Zones 9-11 will most likely grow it as an annual, as it gets too hot for sage in these regions. Likewise, the winters get too cold in zones 4-1 for the plant to survive, so here too, sage is grown annually.
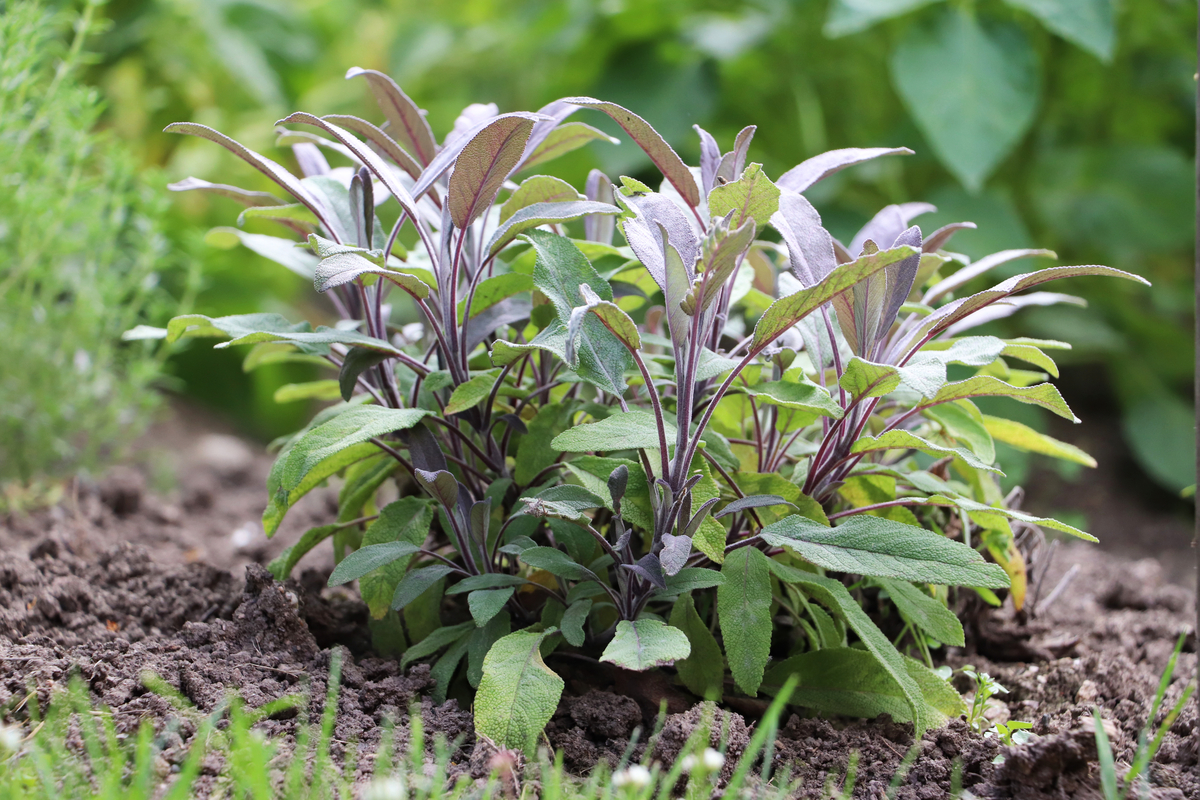
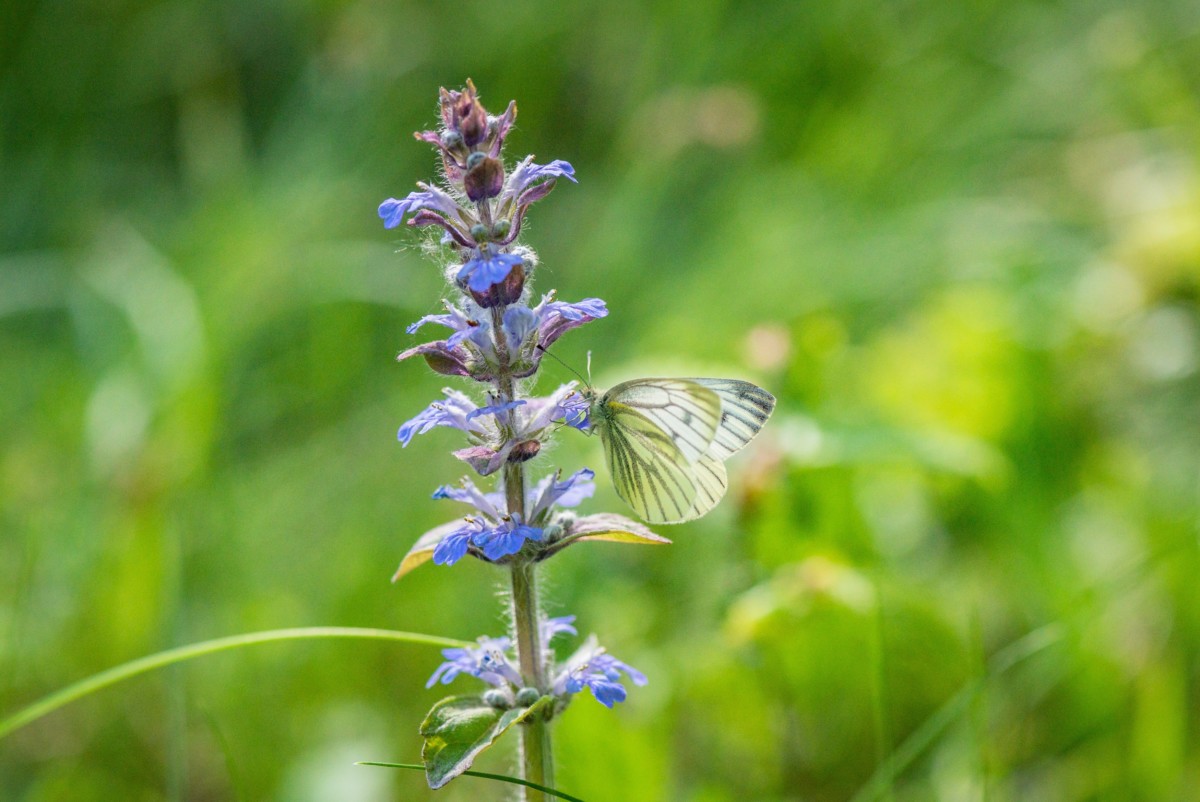
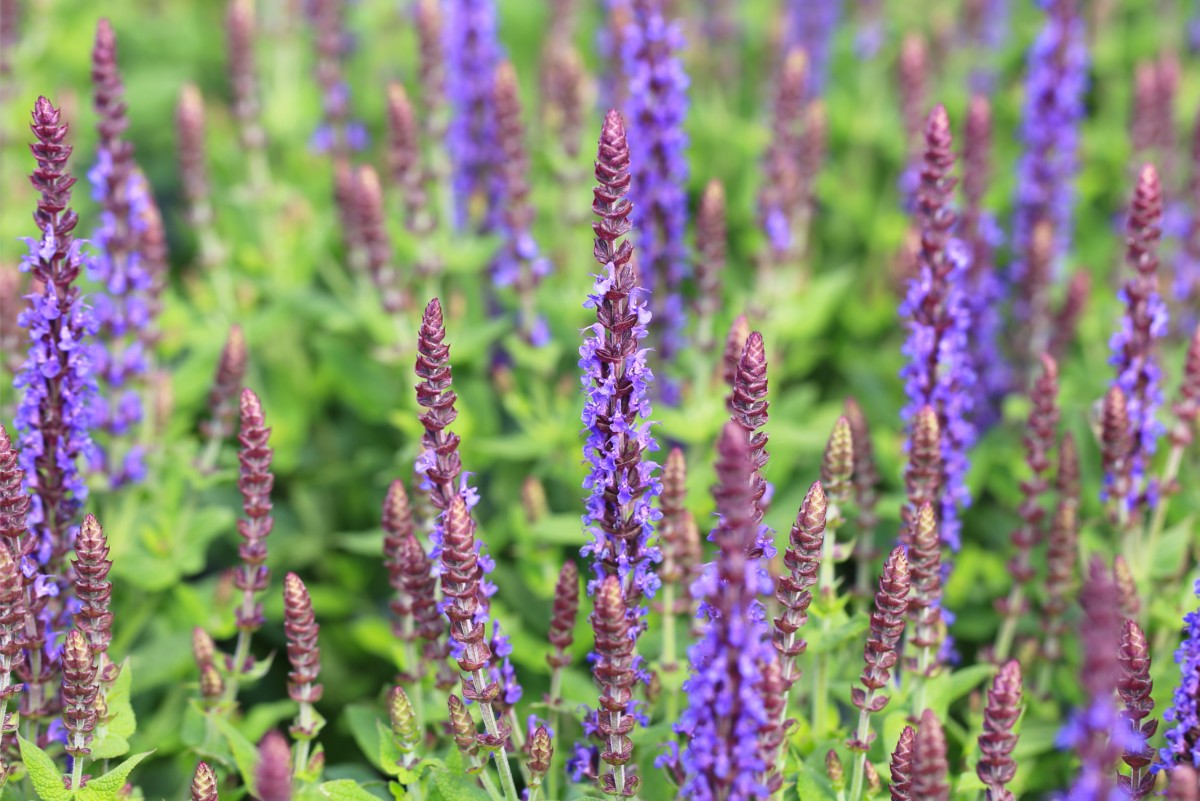
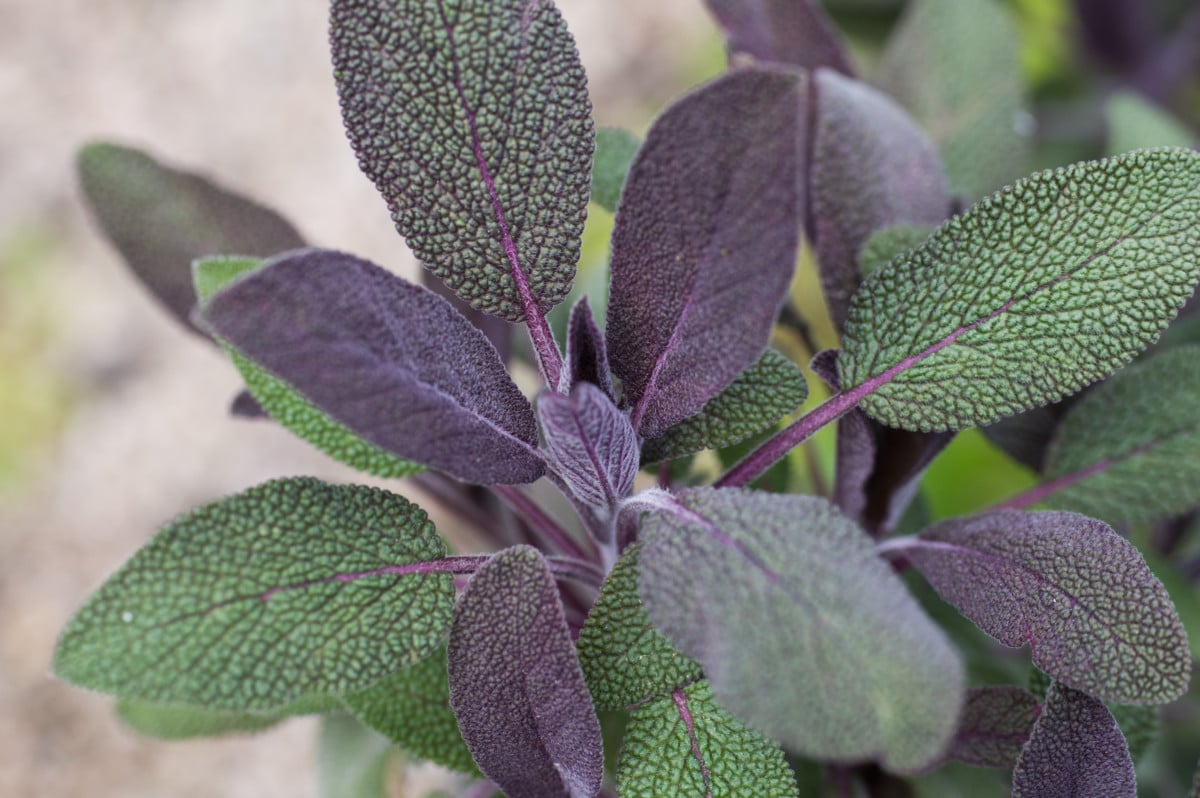
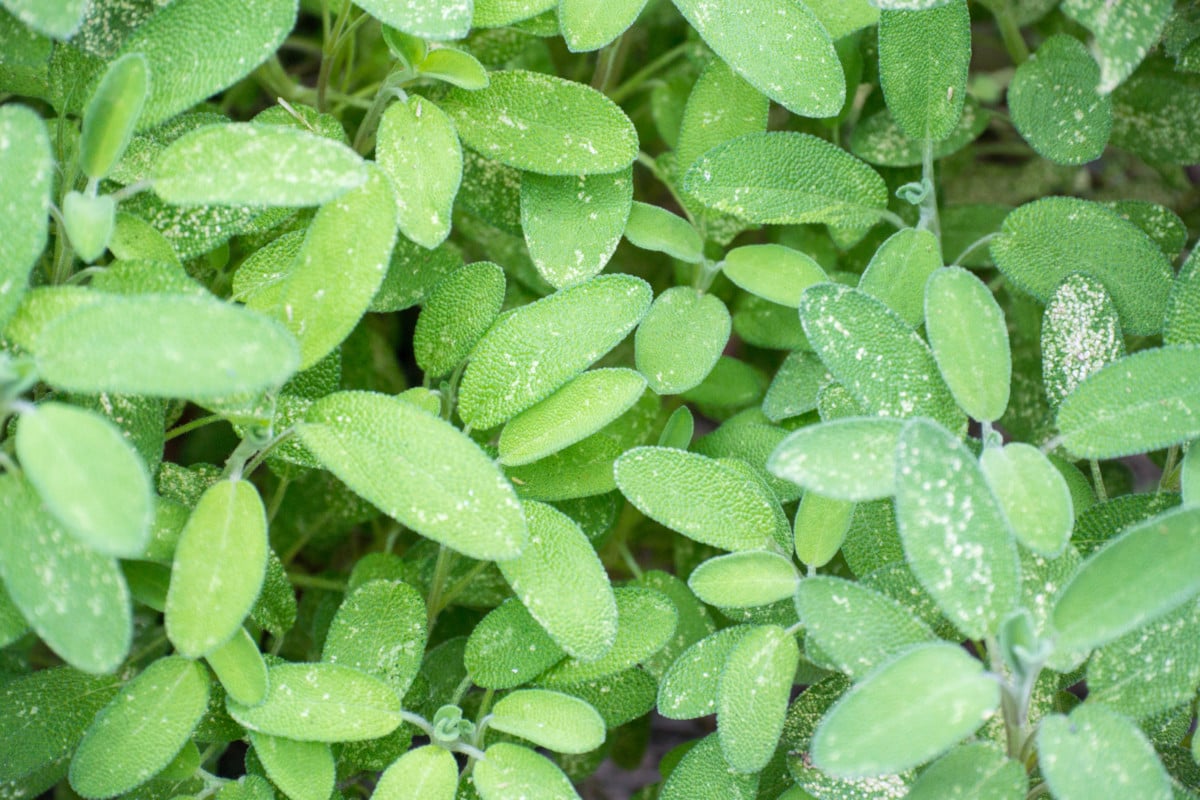
Most sages have beautiful foliage, from a striking gray-green to an almost silver. Their leaves are covered with a fine, downy fuzz, and most varieties will flower too. Sage flowers are long stalks of purple or blue blooms that are a favorite among pollinators.
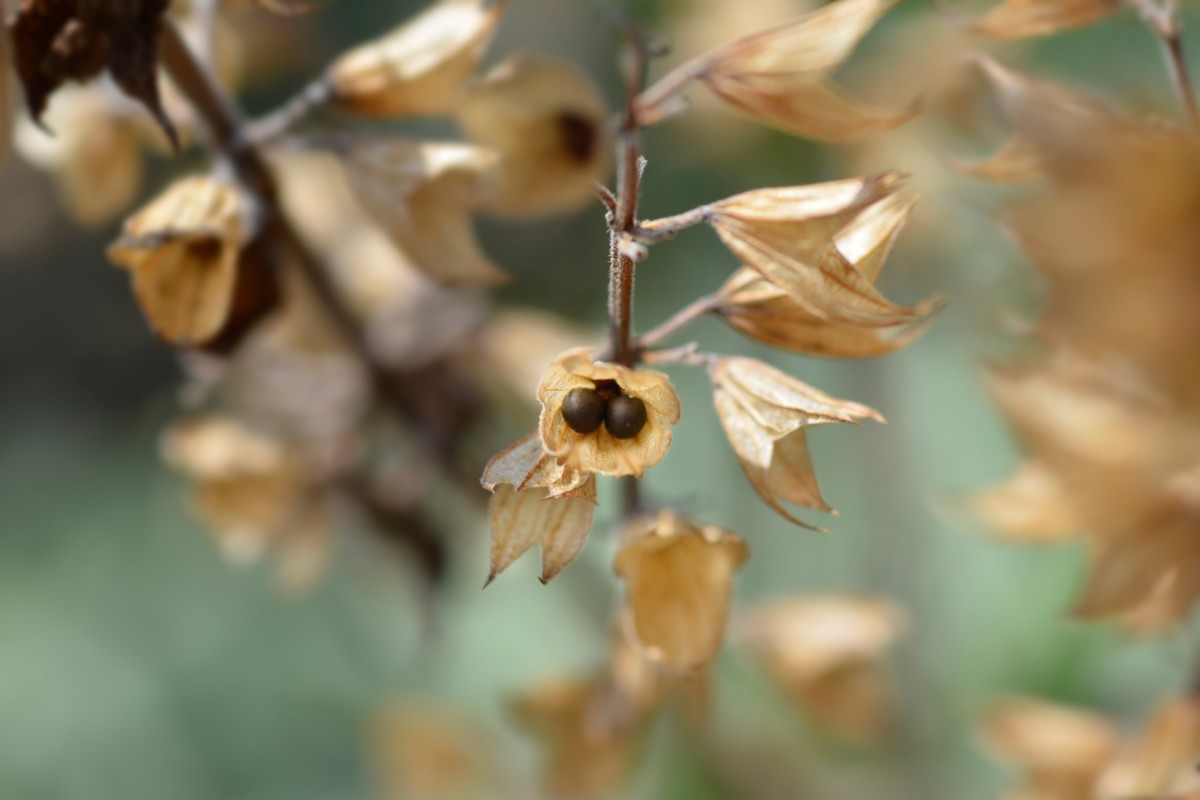
Of course, flowering usually happens when a plant goes to seed. So, you may or may not wish to let your sage plant flower if you’re using the leaves medicinally or in the kitchen.
Varieties of Sage
Sage comes in several varieties, some grown more for ornamental flowers, others for their foliage and flavor.
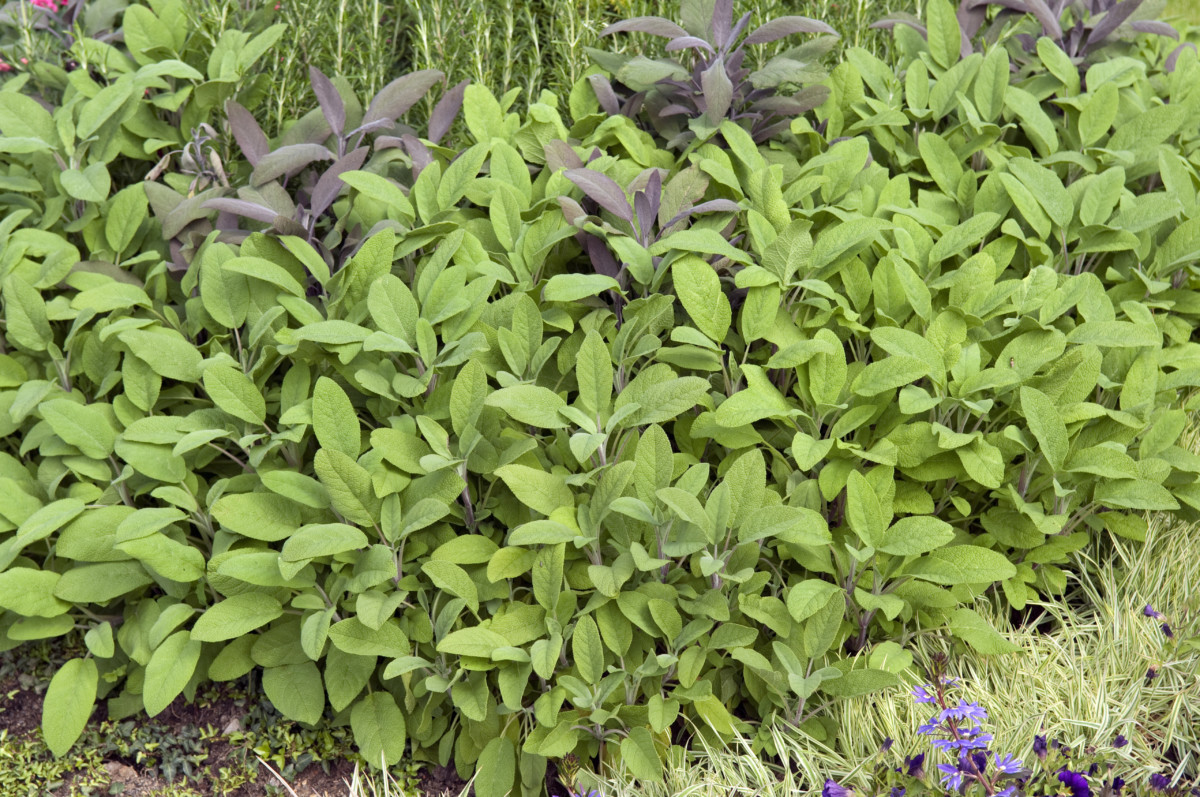
Broad Leaf Sage – The sage we all know and love. This is the one you have in your kitchen cupboard. But wait until you experience it from your garden.
Extrakta – This beautiful variety has an exceptionally high level of oils in the leaves, making it perfect for cooking or use in aromatherapy.
Sirius Blue Sage – This is one sage you will want to let flower for its gorgeous deep-blue blooms. You’ll attract all kinds of winged wildlife to your garden.
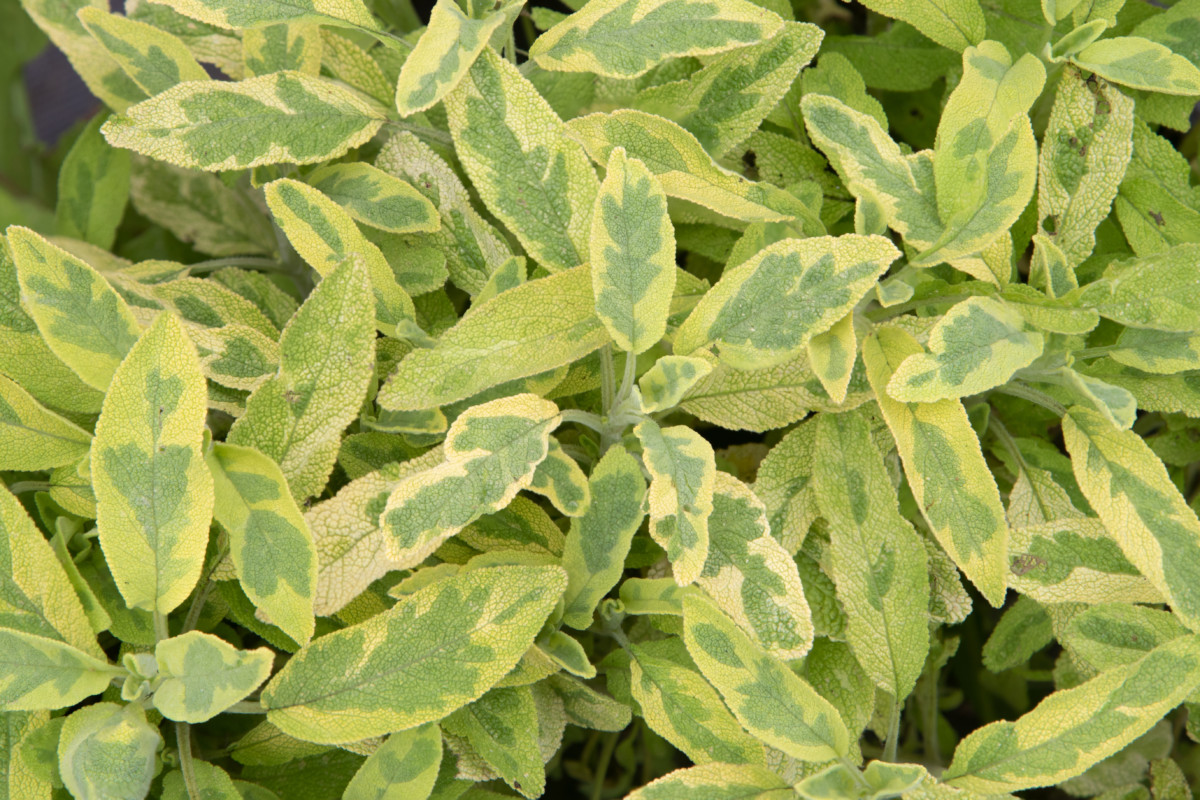
Golden Sage – A similar flavor and leaf shape to broad leaf sage, but with beautiful golden variegated leaves.
Growing Sage from Seed
Growing sage from seed is an exercise in faith and patience. Sage seeds take a ridiculously long time to germinate – between a month to a month and a half. Add to that their low germination rate, and you may be ready to give up before you start. However, I have a few tips for you to ensure you end up with sage seedlings.
Many seeds need to undergo cold stratification before they germinate. Basically, they need to sit tight through the winter. After this period of cold, the seeds are more likely to germinate. Sage benefits from cold stratification, and it’s easy enough to do in your home.
Several weeks before you plant your seeds, place them in the refrigerator. Leave them in the seed packet, and put the seed packet in an airtight jar, so it doesn’t get damp. When ready to plant your sage, let the seed packet come up to room temperature first. This short “winter” will give you better germination results.
Use a good soilless seed-starting mix to plant your sage seeds, such as this easy-to-make mix. Dampen the mix before you plant the seeds. It should be moist, not soaking wet. Press the sage seeds into the surface of the seed-starting mix. Always plant a few more than what you need. Sprinkle a light dusting of soil over the top of the seeds and then mist them well with water.
Sage requires light to germinate, so place your newly planted seeds in a bright southern-facing window or under a grow light. To make sure the seed-starting mix stays moist, you may want to cover the container with a bit of cellophane or a clear plastic bag. Remember, you want moist, not soaking wet.
And now we wait.
It’s always best to wait longer than the prescribed 4-6 weeks before giving up on germination. Right when you’re sure nothing will grow is when you will usually see tiny sprouts poking up out of the dirt.
Once your sage has germinated, remove the plastic covering and check them frequently to ensure they stay moist. It only takes one missed watering for them to die. You can also begin to fertilize the new seedlings with a liquid, all-purpose fertilizer at quarter strength.
Remember seedlings need a lot of bright light, much more than you would expect, to prevent them from getting leggy. However, if you end up with leggy seedlings, it’s not the end of the world and can be corrected.

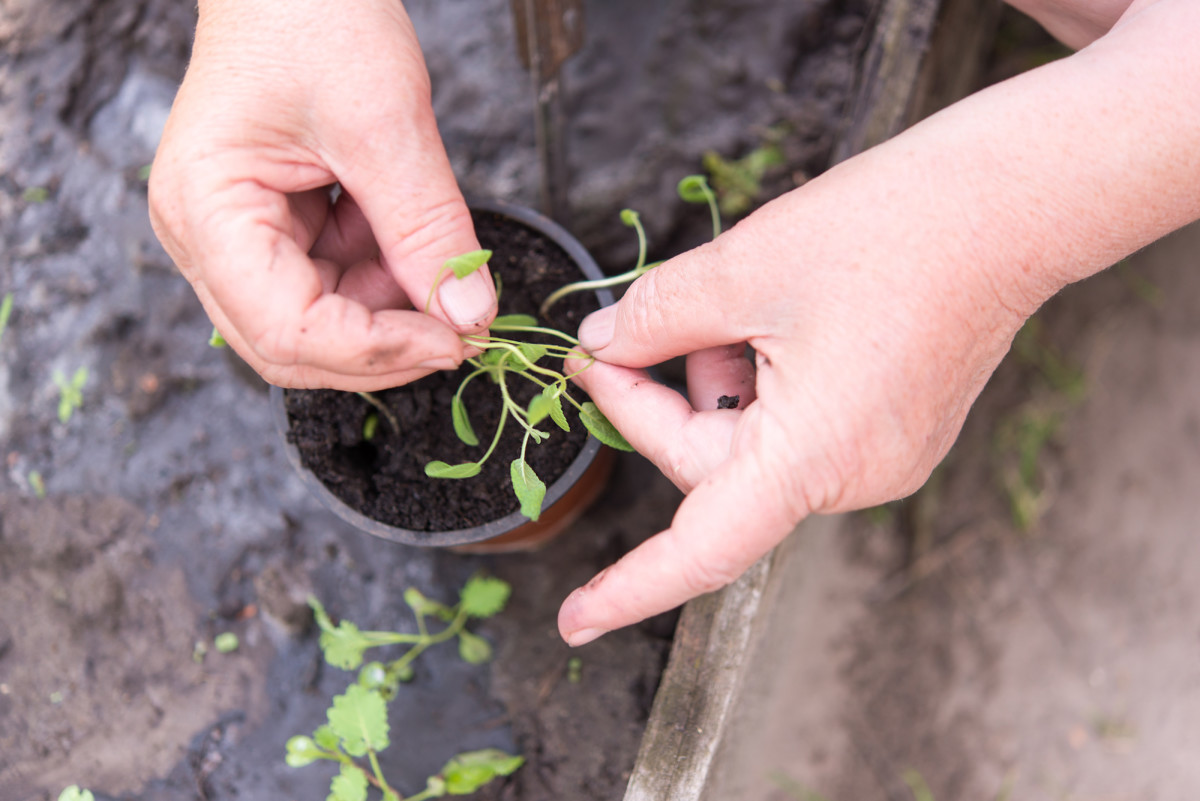
Once all danger of frost has passed, you can transplant your seedlings outside after hardening them off. Set your new sage babies up for success by following our transplant guidelines.
Propagating Sage with Cuttings
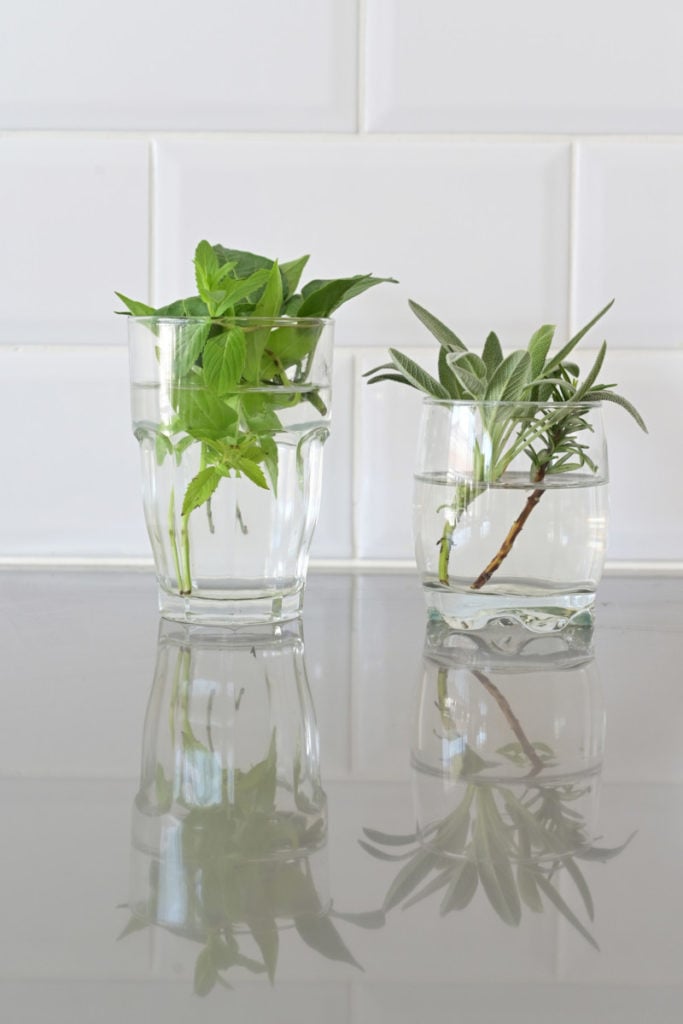
If starting sage from seed feels a bit overwhelming, you can easily propagate sage in either water or soil with a cutting.
Snip a 4”-6” long cutting from a healthy, well-established sage plant. Remove all the leaves that will be below the water or soil and put the cutting in a jar of water or at least 2” deep into a damp seed-starting mix. You may or may not want to dip the cutting in a rooting hormone first to help stimulate new root growth.
It will take several weeks to see roots grow, but eventually, they will start growing. For cuttings started in soil, you can usually tell that the plant has taken root when it begins to put out new growth. I have a complete guide on propagating herb cuttings that is helpful if this is your preferred method for starting sage.
Growing Sage Outdoors
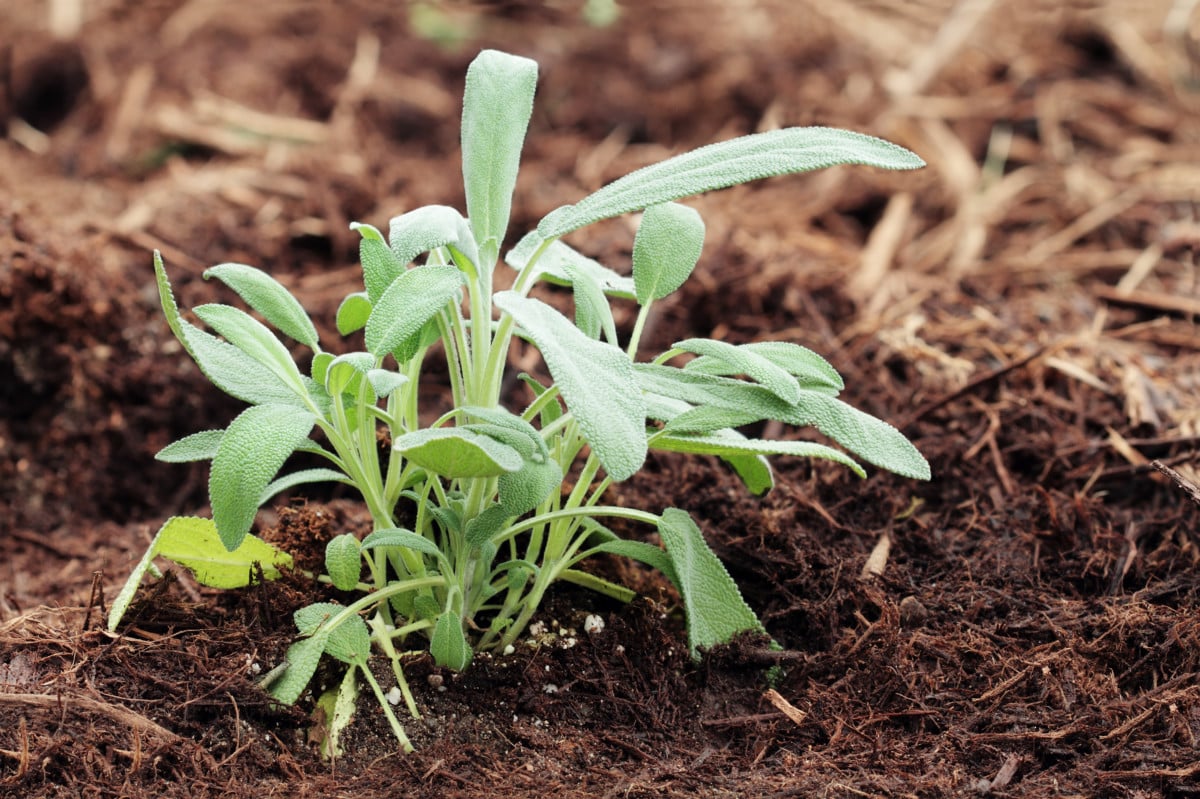
Sage deserves a spot in every culinary herb garden and even tucked in among the vegetable patch. It also does perfectly well in containers, so don’t forget to put one out on your patio. Next, we’ll cover everything your sage needs to flourish once planted.
Soil
Give sage a well-draining, loamy soil, and you will have a happy plant. If your soil has a lot of clay, you will need to add sand and coconut coir to improve the drainage or consider growing sage in a container instead.
Sun
Like most things hailing from the Mediterranean, sage is a sun worshipper. This tough little plant likes it warm and dry. Plant sage where it will receive full sun. If you live in an exceptionally hot and dry climate, USDA Hardiness Zones 9 and above, you can plant sage where it will receive a little bit of shade.
If you live where summers get muggy and hot, it’s even more important to plant your sage where it will receive full sun, to prevent moisture issues that can damage the leaves.
Water
Sage is a woody-stemmed herb, and like all woody-stemmed herbs, it does not like having wet feet. For new transplants and seedlings, you’ll want to water them every couple of weeks until they develop a sturdy root network. (Mycorrhizae can help, we’ll get to that later.)
Always let your sage plant dry out between waterings. Beyond that, it’s best to water sage deeply and sparingly. One of the easiest and quickest ways to kill a sage plant is to overwater it. If you’re going to grow sage in a container, it must have drainage holes, and you should always pour out any collected water in the saucer under the pot.
Nutrients
A good fertilizing routine is paramount to a healthy plant, no matter what you grow. When transplanting your seedlings to the garden or into their permanent container, add some compost or earthworm castings to get your plant off to a great start. Now would also be a good time to add some blood meal to the soil for an added nitrogen boost.
I always recommend inoculating new transplants with a quality mycorrhiza as well. These beneficial fungi adhere to the plant’s roots allowing for greater water and nutrient absorption. Check out all of the incredible benefits of using mycorrhizae in the garden. (Since I’ve started using it, you won’t find me growing without them, be it houseplants or in the garden!)
Sage is a leafy plant, so choose a good organic liquid fertilizer with high nitrogen content. Fertilize every couple of weeks, or at least once a month. If you have a flowering variety and grow it more for the blooms, you’ll want to pick a fertilizer with higher potassium content.
If you’re growing sage in a container, it will need to be fertilized more often as the nutrients will wash out of the bottom a little at a time every time you water it.
Companion Planting
Sage loves its fellow Mediterranean herbs, rosemary and lavender. It does well with carrots too. You can plant sage among brassicas like cabbage, Brussels sprouts, broccoli and cauliflower to deter cabbage moths and flea beetles. But it’s best to avoid planting sage near your alliums – onions, shallots, leeks and garlic.
Common Sage Pests & Diseases
After all of your hard work, there’s nothing worse than finding a plant under stress from a pest infestation or disease. In general, a healthy plant is more resistant to attacks from pests and diseases. Sage is a relatively hardy plant, but if you do run into problems, it’s usually with one of these pests or diseases.
Mealybugs
These fluffy white bugs love their woody-stemmed plants, making sage a favorite target. You can identify them by the bright-white fluffy eggs on the undersides of the leaves. The easiest way to deal with them is to spray them off with a garden hose, or if your plant is indoors, wipe the undersides off the leaves with a damp cloth.
You can also use organic insecticidal soap, but this can get messy with the soft fuzz on sage leaves. Once the infestation has been dealt with, spray or wipe the residue off of the leaves.
Slugs
These guys are pretty easy to identify. They sure can make a mess of your sage, though, chewing holes in the leaves and leaving slimy trails everywhere. You can pick them off, but if you want a better way to make sure they don’t come back, I highly suggest reading Lindsay’s piece on dealing with slugs.
Aphids
Less common than mealybugs, aphids will sometimes attack sage. You can deal with them in the same manner as you would like mealybugs. Aphids can be a real pain and spread to other plants easily.
Root Rot
Sage is naturally drought-resistant, and it doesn’t like wet roots. It’s no wonder that the most common disease to afflict sage is root rot. Overwatering invites this fungal disease to attack the roots. If it’s not diagnosed and treated quickly, it nearly always leads to the loss of the plant. I’ve detailed how to treat root rot here for you.
Mint Rust
As sage is in the mint family (isn’t everybody?), it can contract mint rust. Orangey-brown spots will appear on the undersides of the plant, causing the leaves to fall off. As leaves are the part of sage we want, this fungal infection can be devastating. It spreads among plants in the mint family, so if you see it on one plant, be sure to quarantine it and check your other mints.
The easiest way to control mint rust is to remove the infected parts of the plant. You can also kill the fungus that causes it by unearthing the plant and dipping the exposed roots into 110-degree F water for fifteen minutes. Let the roots cool and dry off before planting the sage back in the ground. If the infection is too far gone, it’s best to destroy the plant to prevent it from spreading.
Pruning Sage for Doubled Growth
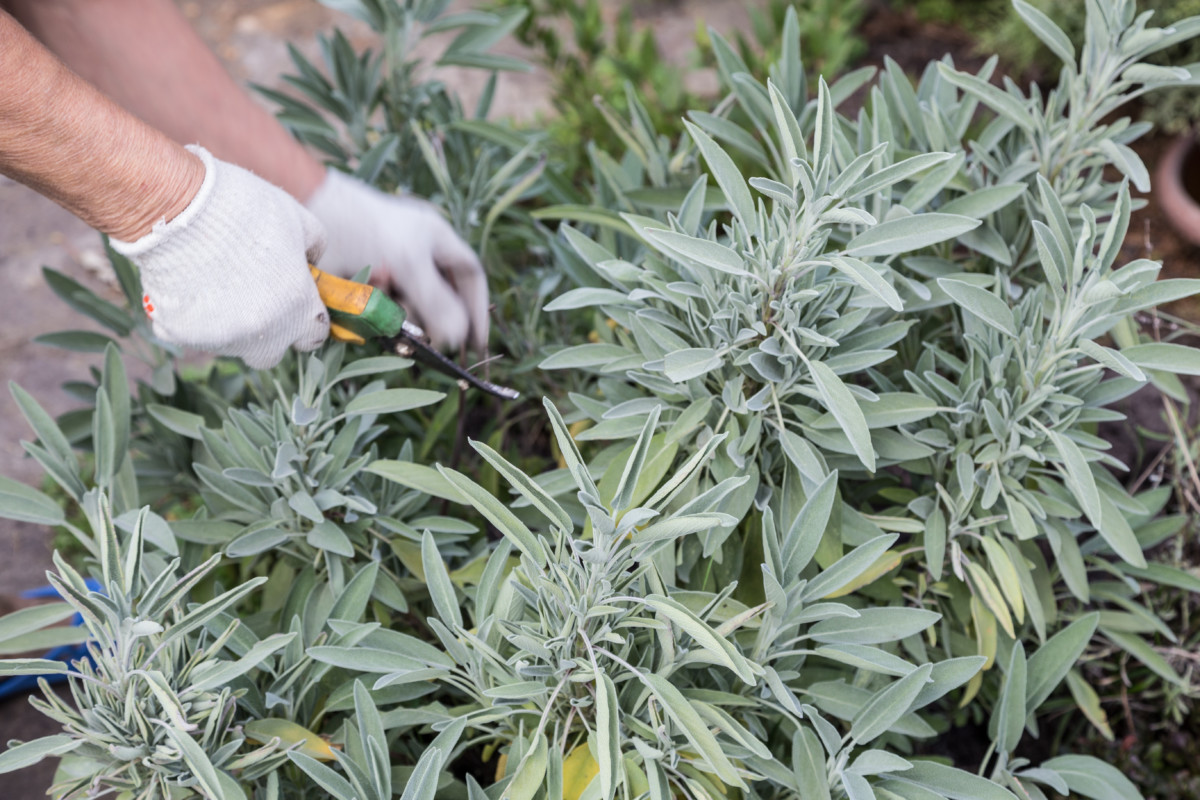
I’m going to tell you a little secret. You can prune sage so it puts out new growth, doubling it in size and making it bushier.
And you do it by pruning it in the same manner you would prune basil. If you don’t already know how to prune basil, Meredith has this super easy guide with step-by-step photos. Because both basil and sage’s growth patterns are identical, they respond to this pruning method in the same way – by getting huge.
Growing Sage Indoors
When growing sage indoors, you’ll need to make sure that you’re fertilizing more frequently as the soil will become depleted of nutrients quicker than it would outside.
Sage loves bright, full sun, so be sure to grow your sage where it will get at least 6-8 hours of sun or supplement it with an LED full-spectrum grow light.
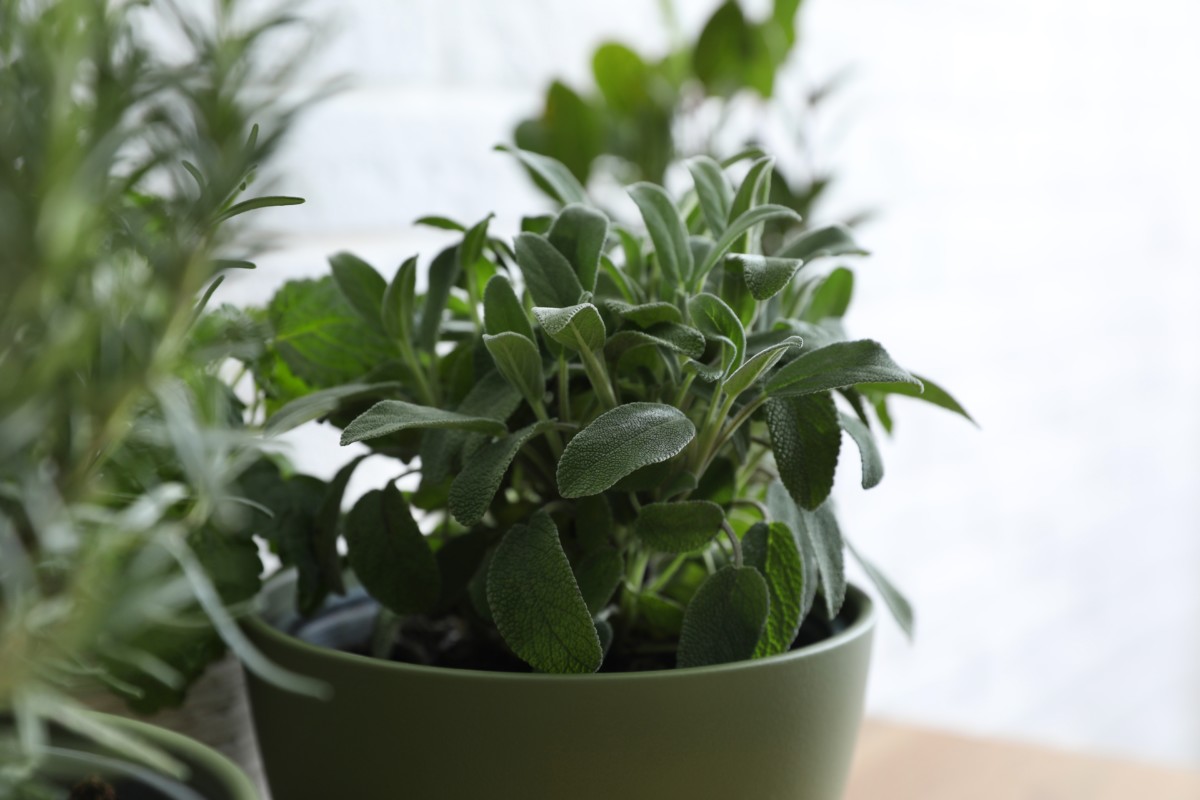
The nice thing about growing sage indoors rather than out in the garden is that you have more control over its environment to mimic those Mediterranean temperatures and conditions.
Now that you’re armed with everything you need to know to grow large, bushy sage plants, get ready for the most amazing Thanksgiving stuffing this year and the most fragrant homemade smudge sticks. But why stop there when sage is such a versatile herb, with so many different ways to use it.

Get the famous Rural Sprout newsletter delivered to your inbox.
Join the 50,000+ gardeners who get timely gardening tutorials, tips and tasks delivered direct to their inbox.