

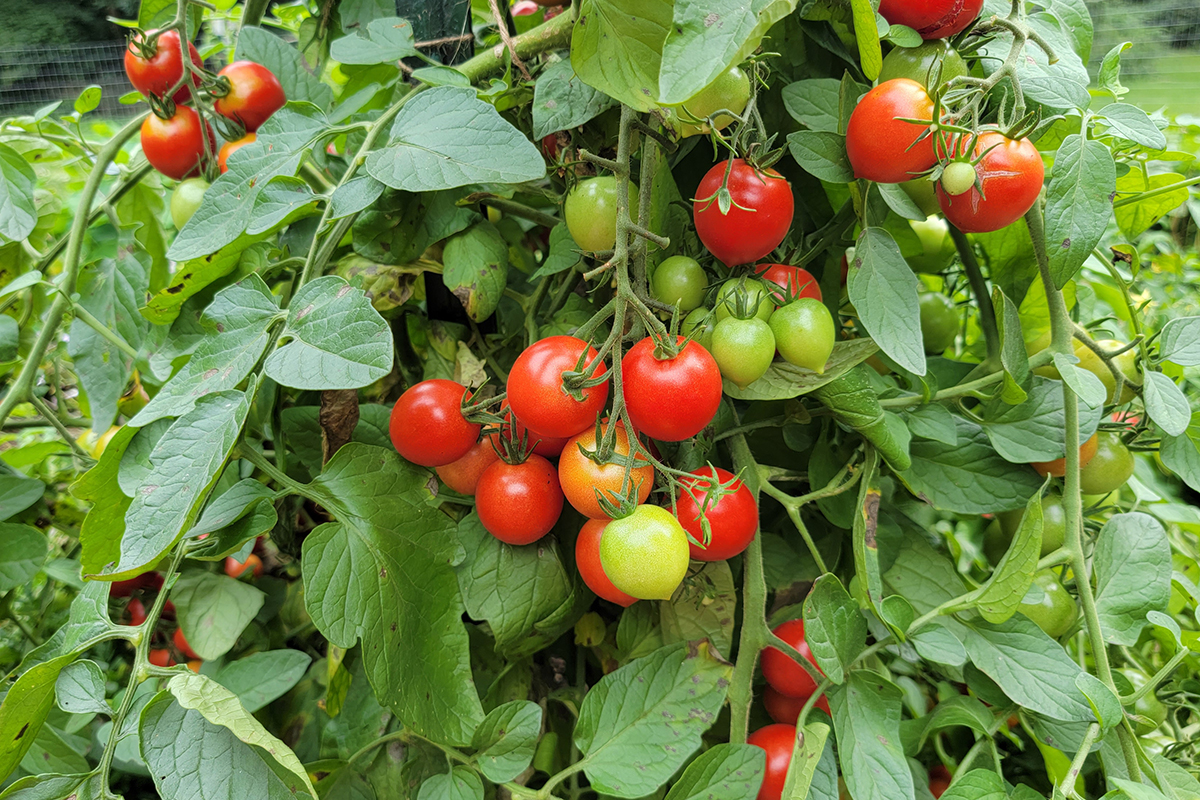
Growing buckets of fresh tomatoes is every gardener’s dream, along with a pantry full of homegrown tomato sauce. But growing what you need is not always an easy feat.
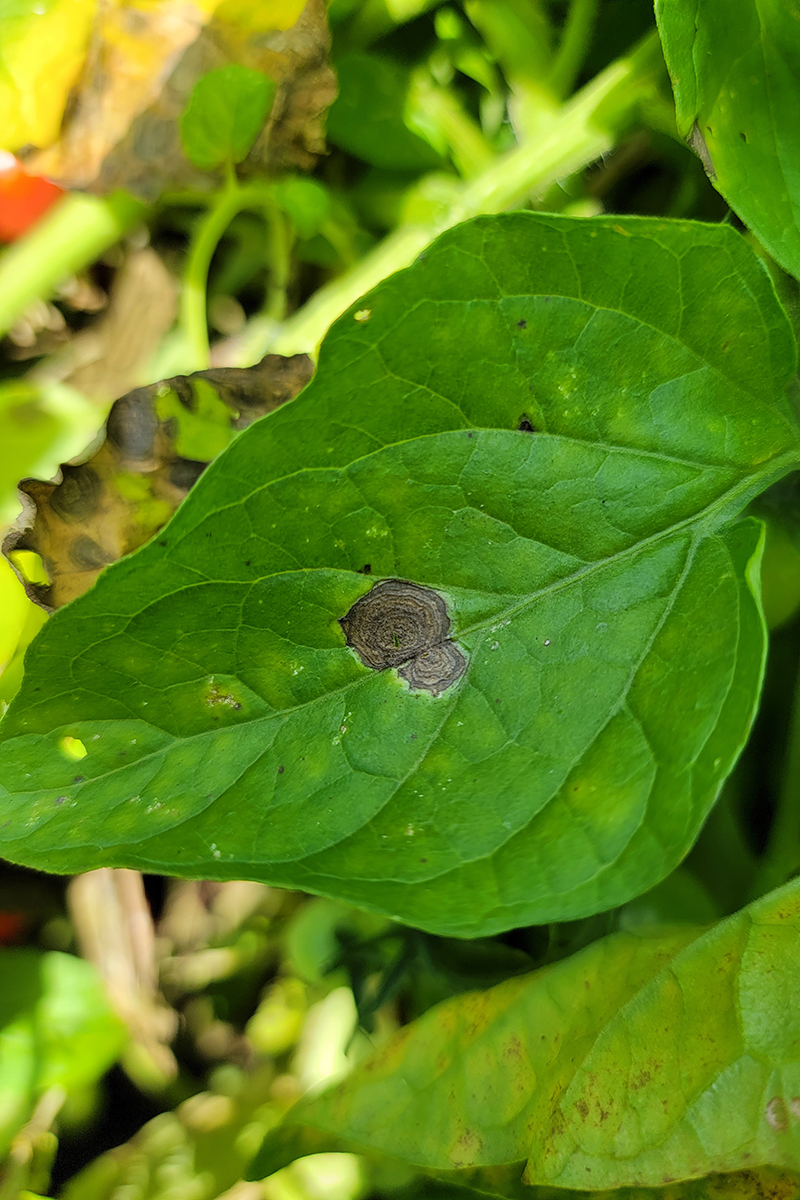
In some seasons, you have to deal with catfacing, blossom end rot, sunscald, cracking fruit, Fusarium wilt, blight or powdery mildew – just to name a few of the 24 reasons your tomato plants may be dying.
It’s no wonder that some people are intimidated to try growing their own food. What you need to know is that gardening can be easy and growing tomatoes can be too.
Sit with this thought for a minute: it is not necessary to dig, fluff and turn the soil in your garden.
We’ve had this wrong idea for years that the only way to grow food is to plow, prod, break up and work the soil, all the while breaking our backs. It’s true, it is one way, and it does work to a certain extent. However, you also need to consider how environmentally friendly it is to garden this way.
Especially on a small scale, it makes perfect sense to just stop digging.
The major benefit that comes to the surface when you stop digging your soil is that the diverse soil structure remains intact. In this way, earthworms and microorganisms live in harmony under the crust, all the while helping the soil to remain fertile for planting. It’s a win-win situation when you get it right.
Is it hard to grow tomatoes in a no-dig garden?
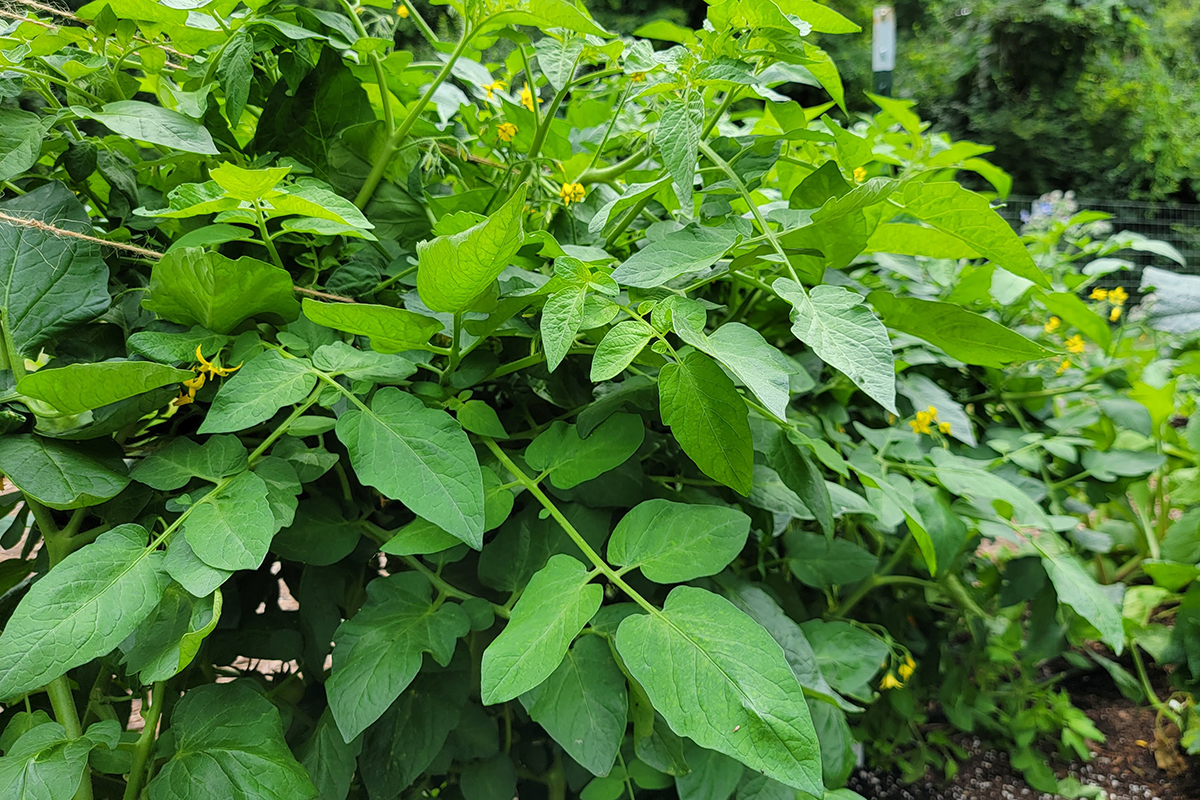
Planting, growing, and harvesting tomatoes in a no-dig garden isn’t any more difficult than the common way to grow tomatoes. You’ll still need to prune your tomato plants as necessary. The plants will still need full sun and plenty of moisture, and you’ll still need to choose the best plant varieties for your growing zone, etc.
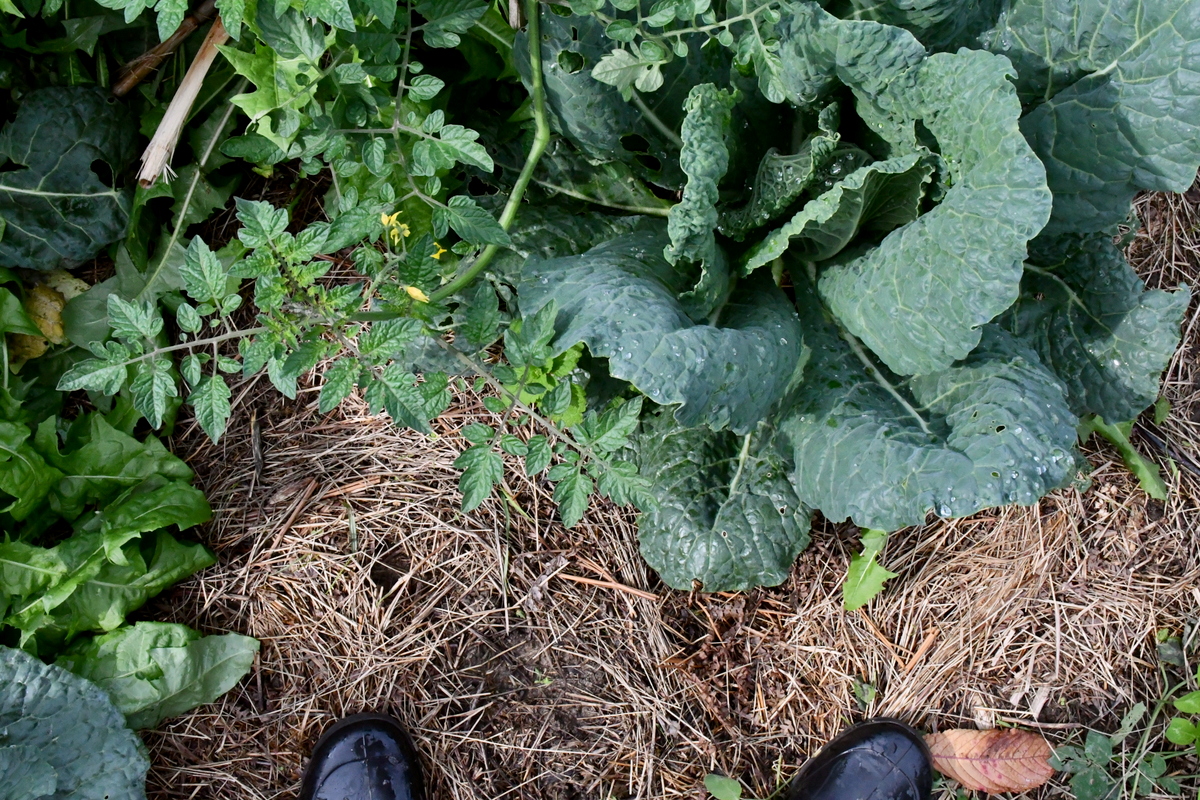
If you are ready to make the switch to an undug garden, your tomato patch is a good place to start, even mid-season. Let’s say you’ve already planted your tomatoes in the ground, caged them and everything. What comes next is mulch.
All you have to do is lay down a 4-6″ thick layer of quality mulch on the bare soil, bringing it all the way up to the base of the tomato stem. Just to reiterate, mulch is the basis of everything in the no-dig garden, that and putting away your spade until harvest time of root vegetables comes around.
What do you need to know about growing tomatoes in a no-dig garden?
First of all, growing tomatoes in no-dig beds means far fewer weeds. That’s already something to love.
Secondly, this way of gardening by not digging the soil applies to polytunnels as well. No matter if your tomatoes are grown outdoors or in, your tomatoes are going to appreciate the rich soil of a no-dig garden.
Here are some other things you need to know.
1. How To Plant Tomatoes in a No-Dig Garden
Tomatoes can be started from seeds or transplants, though you know from experience which is easier. Most of us are willing to pay good money for starter plants for good reasons. After all, they bring harvest time closer by at least 6 weeks. Transplants are also easier to lay out and space in the garden.
The spacing of tomato plants in a no-dig garden should be the same as usual, at least two feet apart. The reason for this is to allow for air circulation, at the same time minimizing the transmission of disease. Planting them, however, is slightly different.
It would be frowned upon to dig individual holes for each transplant.
There’s no need to disturb the soil to such a great extent.
To plant tomato transplants, pull back the mulch with your hands and use a small trowel to make a slit in the soil; the deeper, the better. Insert the plant and step gently on either side of the tomato as you press firmly on the ground, thus preventing the formation of air gaps around the roots in the soil. It doesn’t have to be any more complex than that.
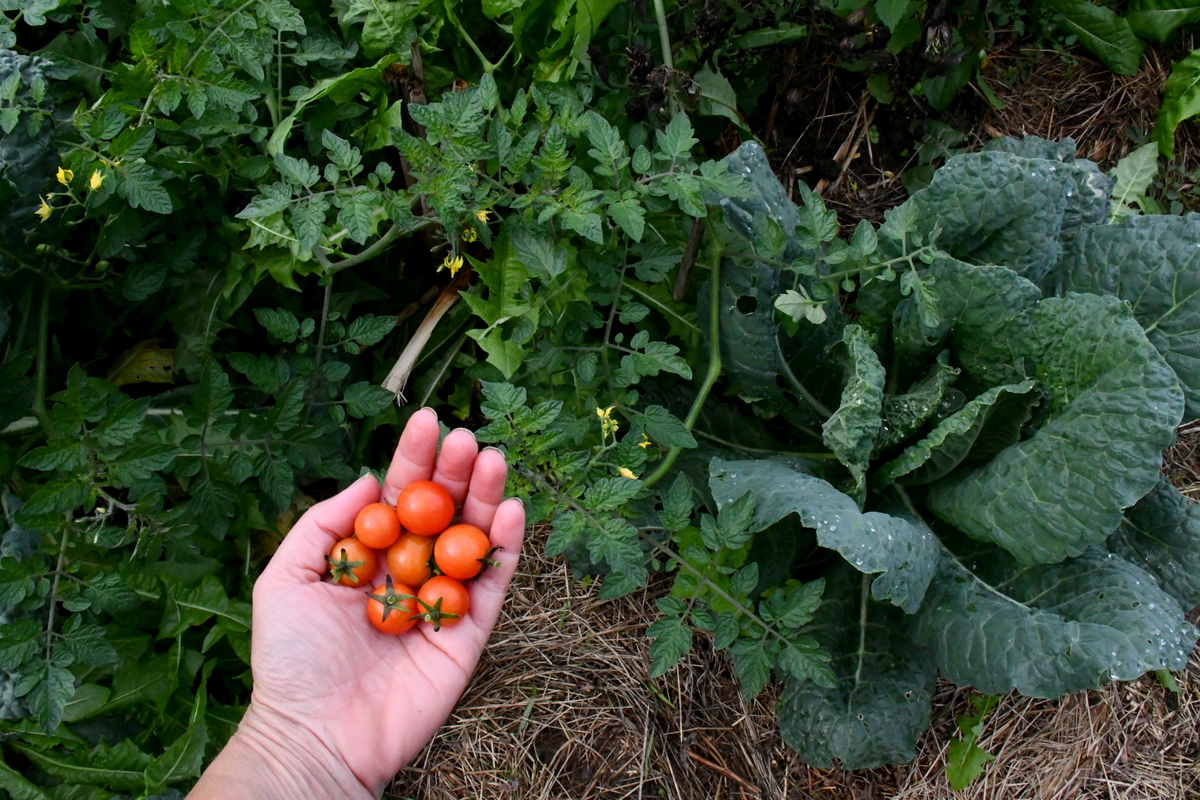
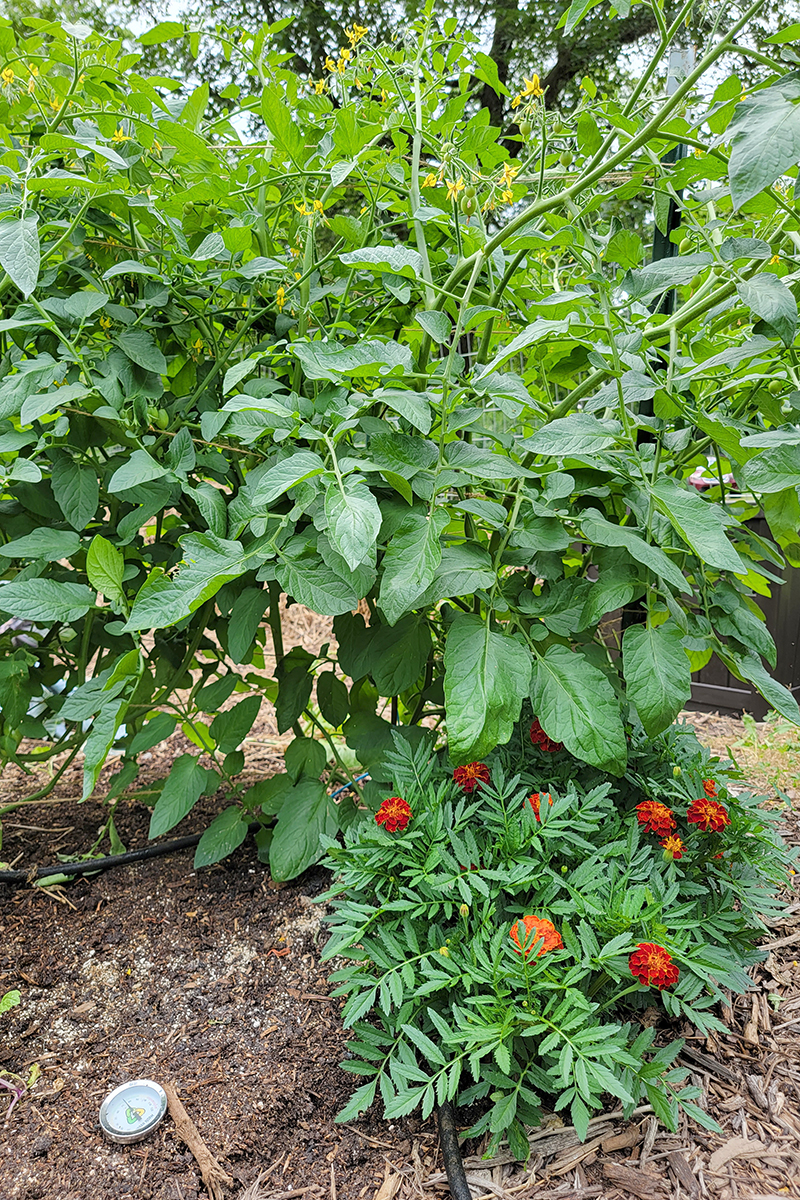
You can apply this gentle method of planting to cabbage, kale, kohlrabi and other transplants in your no-dig garden as well.
2. Compost and Fertilizer Go On Top of the Soil
To grow healthy tomato plants, most gardeners recommend tossing a handful of compost into the planting hole to give roots the initial energy they need.
Remember, we aren’t digging here. We aren’t making a hole large enough to take out soil, let alone to add anything in. It’s more of a slit in the soil that we are creating for planting. So, where do the compost and fertilizer go? It goes on top.

Compost and fertilizer should be applied before the layer of mulch covers the soil; it can also go on top of the mulch. It all depends on what stage of gardening you are in.
Just keep in mind that you want your fertilizers to be natural and your compost to be well-rotted. Over time this will become soil, along with the mulch, grass clippings and fallen leaves from the healthy tomato plants.
3. Staking May, Or May Not, Be Necessary
In all of our years of having a no-dig garden, we haven’t used tomato cages. We’ve just never found it necessary.
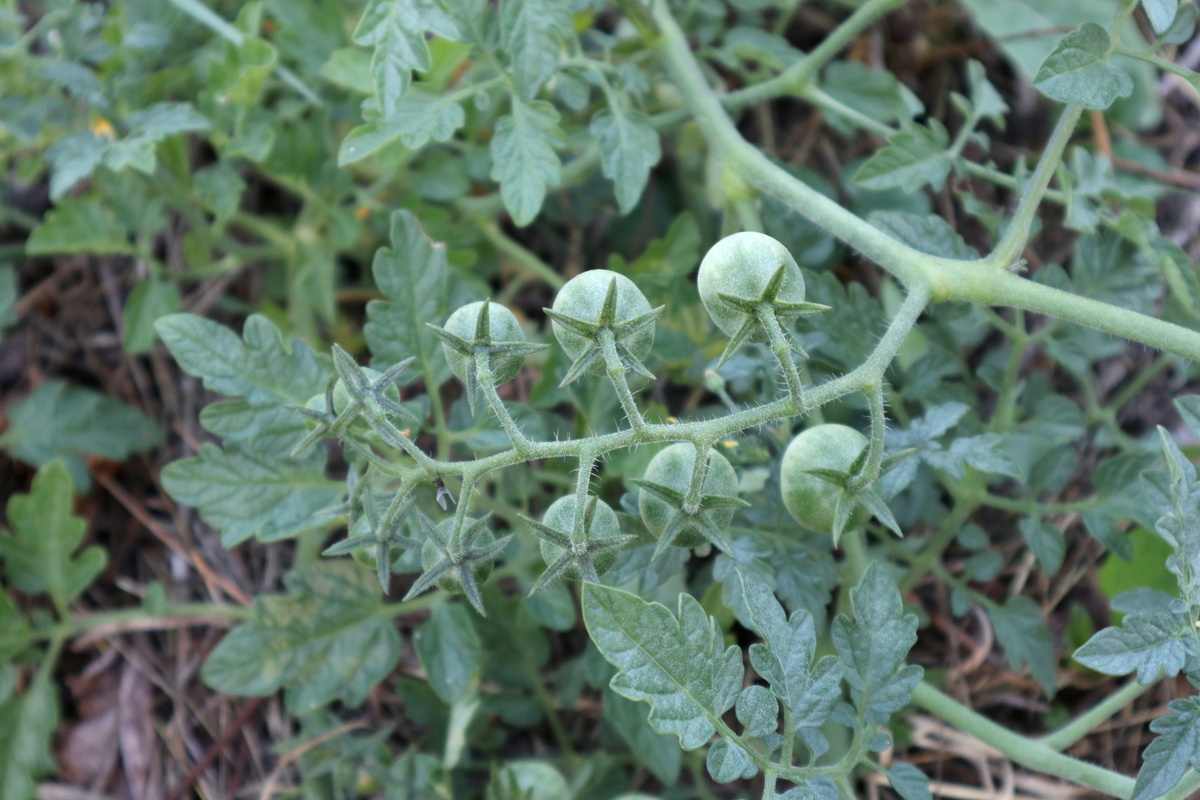
Mulch has always aided our tomatoes when it came time for them to ripen. But that may be in part because it’s mostly cherry tomatoes that we’ve chosen to grow due to our mountainous climate.
Staking your tomatoes isn’t a matter of digging or not digging your garden. Rather, it depends on the varieties that you grow. If you are planting Beefsteaks, Big Boys or Oxhearts, it’s to your advantage to learn how to properly tie and support your tomato plants.
If your no-dig garden includes larger tomato varieties, it’s best to add those tomato supports at the time of planting. Then bring in the mulch.
4. Mulch is Essential
Most gardeners have seen bare soil under tomato plants, am I right? That’s the method that our parents and grandparents followed. As soon as weeds appear, they are hoed right out, lest they compete with the tomatoes for nutrients and light.

In more recent times, gardeners have been adding mulch underneath their tomato plants. I’m not sure how or why they started doing it, but the news must have spread quickly online that mulch is good for tomatoes.
Not only is mulch good for tomatoes, but it is essential.
Mulching, even if you only start with your tomato patch, protects the fruits from sitting on the bare soil as they grow large and heavy. As they sit on straw, hay or grass clippings, they are less likely to rot.
Mulching also prevents weeds from popping up, keeps moisture locked in the soil, and helps to keep your plants clean and free from disease.
Knowing when to add mulch is the key to your tomato growing success. If you layer it on too thick at the beginning of the season, it will take longer for the soil to warm up, delaying your harvest by as much as three weeks. Remember that tomatoes like heat, so don’t overdo it at first.
Once the gardening season is in full swing and the temperatures are heating up, then you are free to add a 4-6″ layer of mulch. This can be replenished as needed as the season grows on.
5. Irrigation of No-Dig Tomatoes
Lastly, we’ve come to watering your no-dig tomato plants.
What you need to know is that with a proper bed of mulch, your watering responsibilities will be minimal.
As you’ve done before when watering your tomato patch (with bare soil), watering slowly and deeply in the morning, you’ll do the same with your no-dig tomato patch.
Here’s where the watering of conventional and no-dig gardens differs. How often you water makes a huge difference.
Most gardeners suggest to water tomatoes daily, or at very least every other day in periods of no rain. We once had a neighbor who grew rows and rows of tomatoes in polytunnels, and, of course, he was watering every day. He was also proud that once harvested, his tomatoes could stay firm for at least a month.
I’m not a tomato growing expert, but I do know what tastes good. Tomatoes grown in mulch under the sun taste better, always.
Back to the frequency of watering for just a moment. Once your no-dig garden beds are established, you might even be able to get away with watering once a week. The mulch is key in keeping all that moisture in the ground. If you are lucky, nature will do it for you.
That’s all the convincing I’m going to do today to set you on your no-dig tomato-growing way.
Just mulch and be happy.

Get the famous Rural Sprout newsletter delivered to your inbox.
Join the 50,000+ gardeners who get timely gardening tutorials, tips and tasks delivered direct to their inbox.