

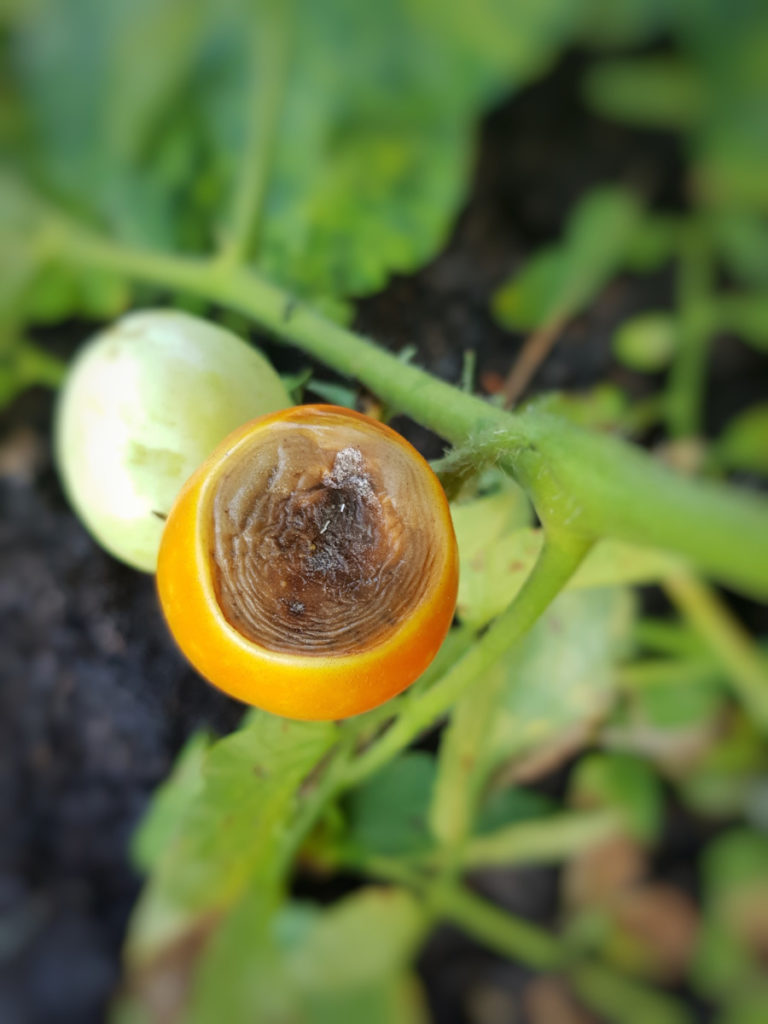
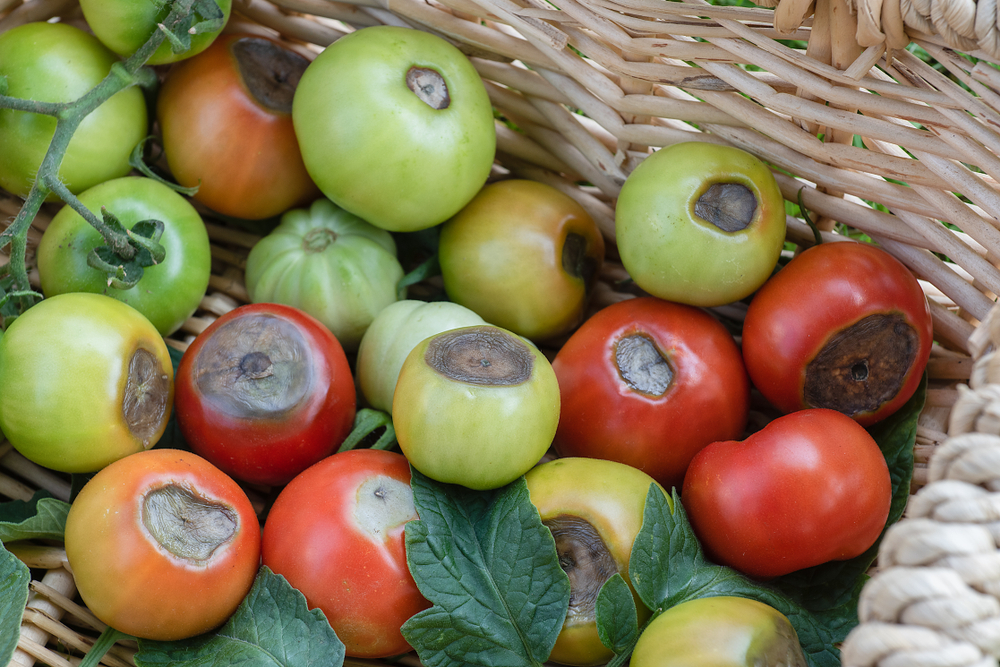
Just as you might be congratulating yourself on your green thumbedness – after all, your tomato plants are big and healthy and strong – you notice dark lesions on the bottoms of the fruit precisely as they are beginning to blush red.
This horrifying sight is the telltale sign of blossom end rot.
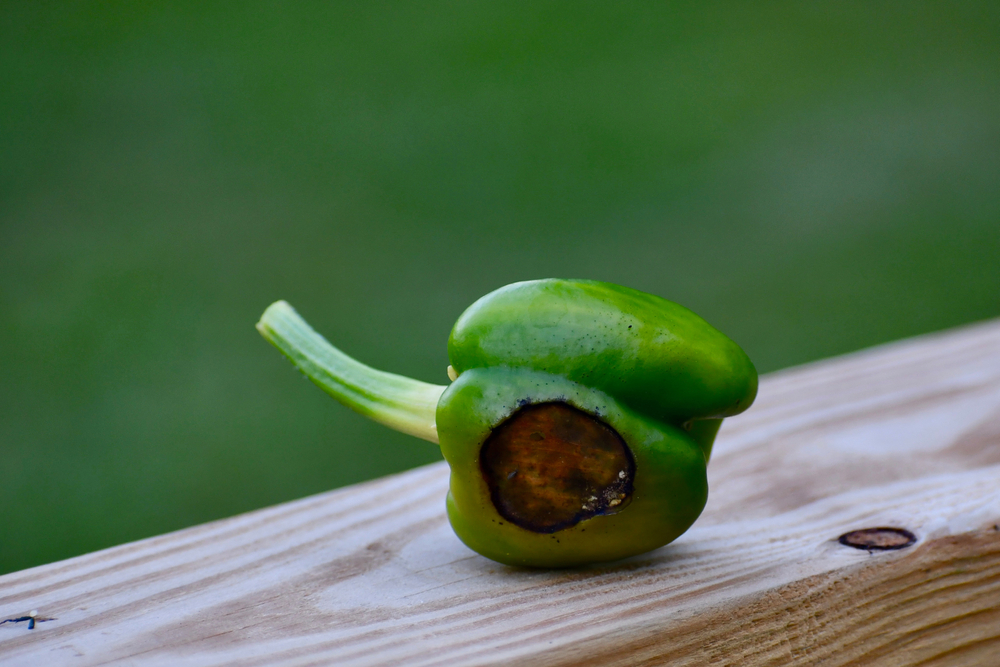
And while it most often is associated with tomatoes, it can happen to peppers, eggplant, zucchini and squash, as well as watermelon, cantaloupe and other members of the Cucurbit family.
If you think you’re noticing blossom end rot in your zucchini, read this first, you might be mistaking it for another (easily fixed) problem entirely.

Although decaying little spots of death on your fruit sure does look bad, all is not lost and the harvest can still very much be saved.
What is Blossom End Rot?
Blossom end rot isn’t caused by the usual culprits in the garden. It’s not a symptom of harmful bacteria, fungal disease or insect pests, so applying insecticides or fungicides won’t help correct it.
Rather, blossom end rot is a physiological disorder that occurs when the plant’s normal biological processes are disrupted.
It crops up on developing fruits purely as a result of environmental conditions.
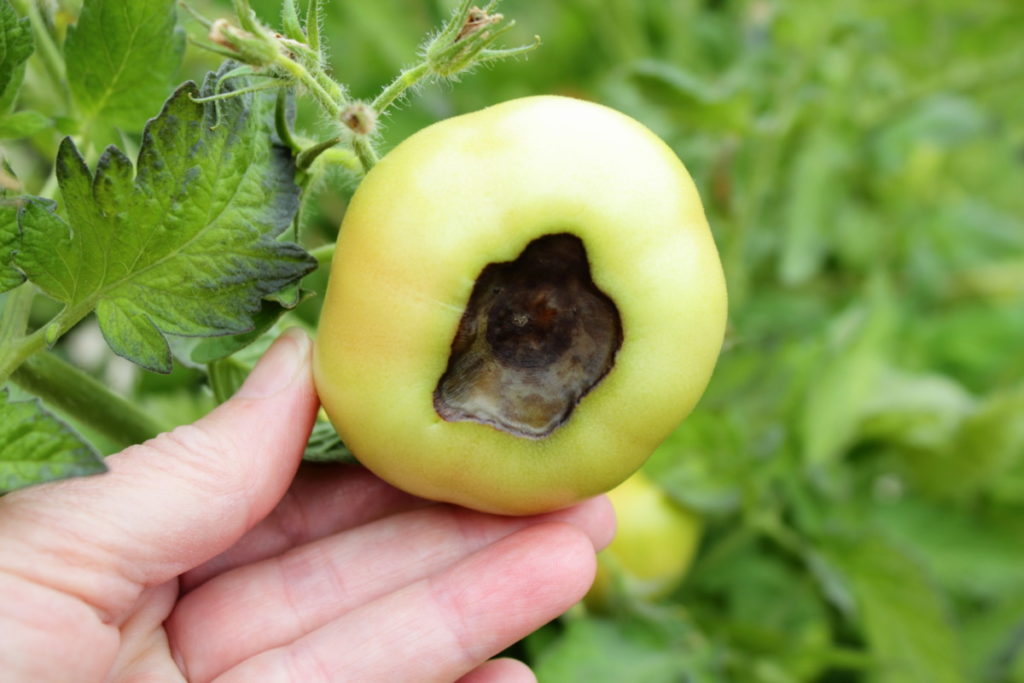
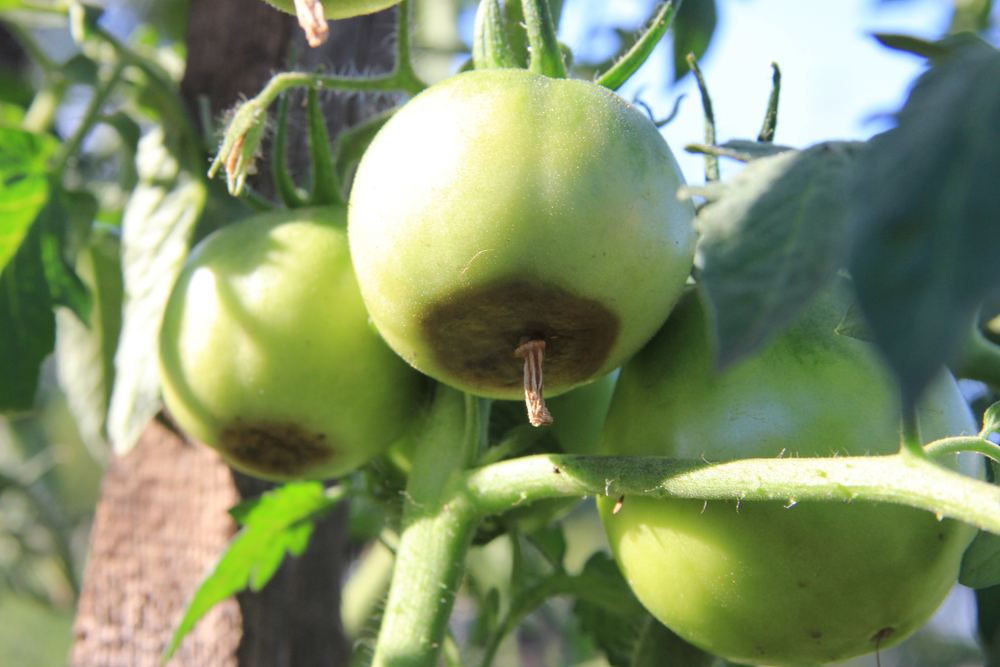
Although blossom end rot can happen at any stage of the fruit’s development, it often becomes apparent when the fruit is about a third or half its full size.
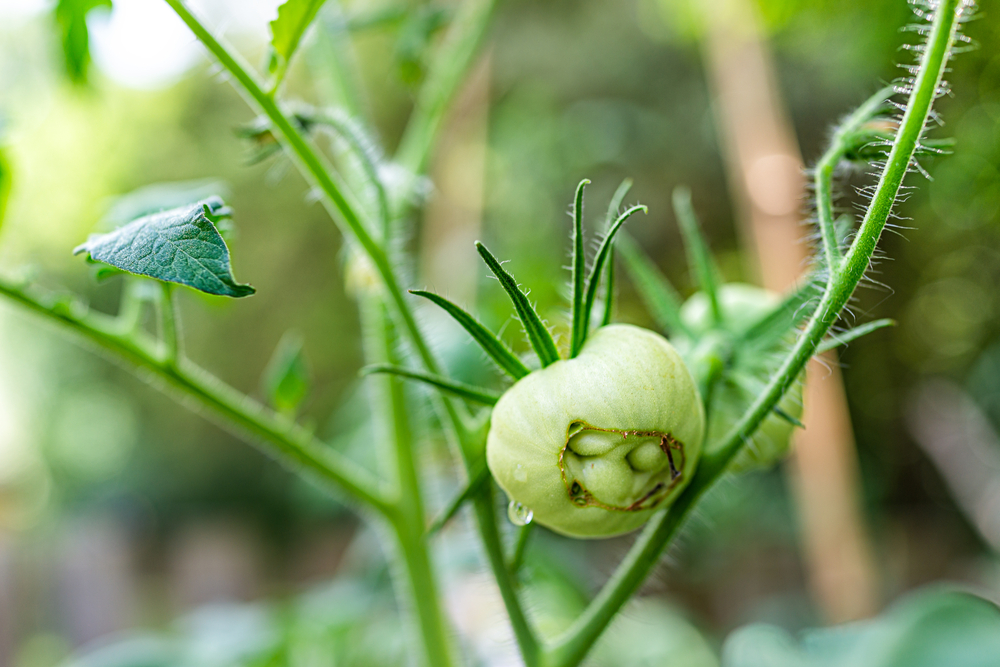
It starts out at the bottom of the fruit, where the blossom end is located opposite the growing stem.
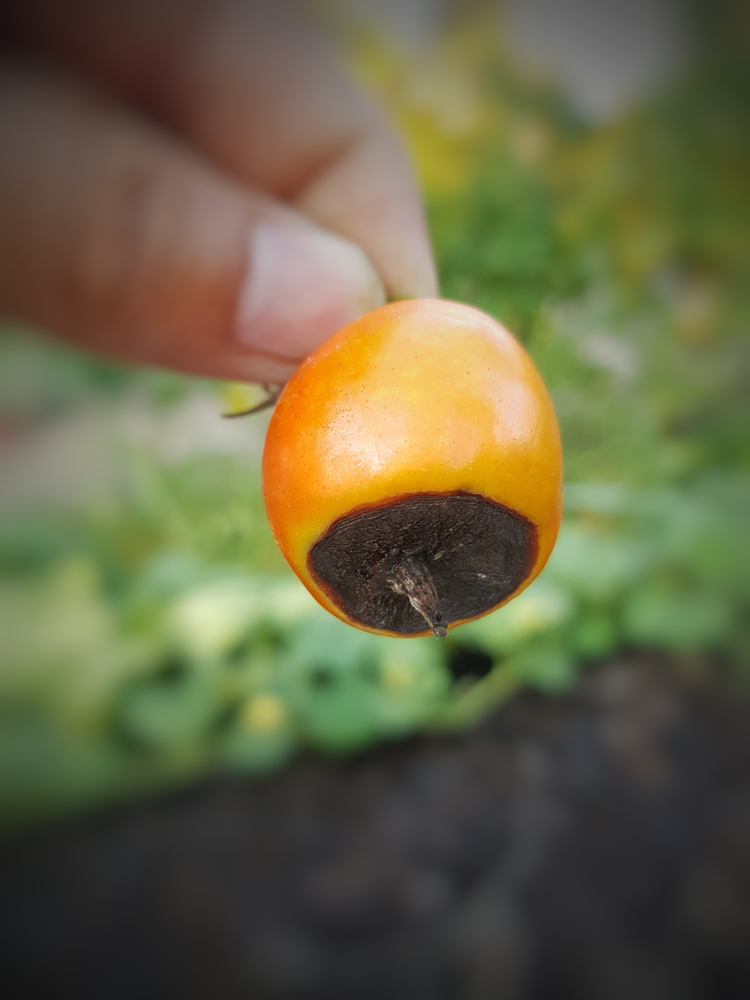
It begins with a small water-soaked spot that looks like a bruise. This spot will grow larger and darken fairly quickly. It can eventually cover as much as half of the fruit.
As the lesion dries out, it becomes flat and sunken, turns black or dark brown in color, and has a hard and leathery feel.
Another form blossom end rot can take is called “blackheart”. This is where the fruit rots from the inside and you may not see any signs of decay until you slice the fruit open.
What Causes Blossom End Rot?
Blossom end rot is thought to be triggered by a lack of calcium in the plant, at a critical time when the fruit is forming.
Calcium is essential for plant growth at all stages of development. It is the nutrient responsible for holding together the cell walls of plants so that leaves, roots and stems are healthy and uniform. Strong cellular walls also ensure the plant is more resistant to attacks by pests and disease.
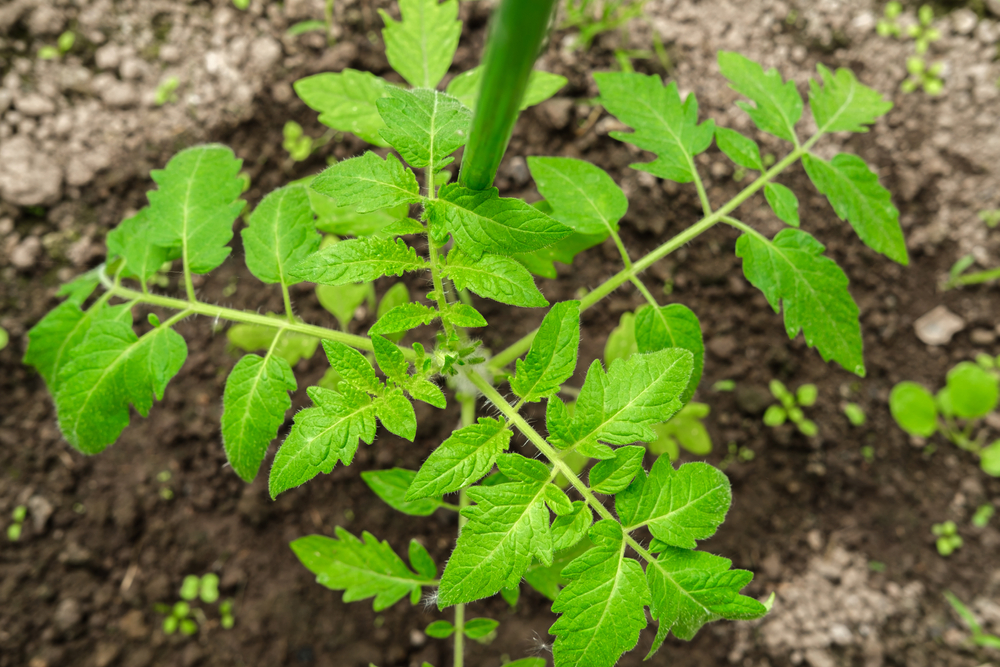
Deficiencies in calcium may manifest on the plant as deformed leaf growth, burned leaf tips, and flower drop.
At the fruiting stage, low calcium levels prevent the fruit from forming a firm skin. Unable to hold the cells together, the fruit’s flesh becomes weakened and soft. As the fruit literally rots while still growing on the vine, it becomes susceptible to mold, fungus and disease.
Unfortunately, amending the soil with crushed eggshells or another source of calcium isn’t likely to cure the problem.
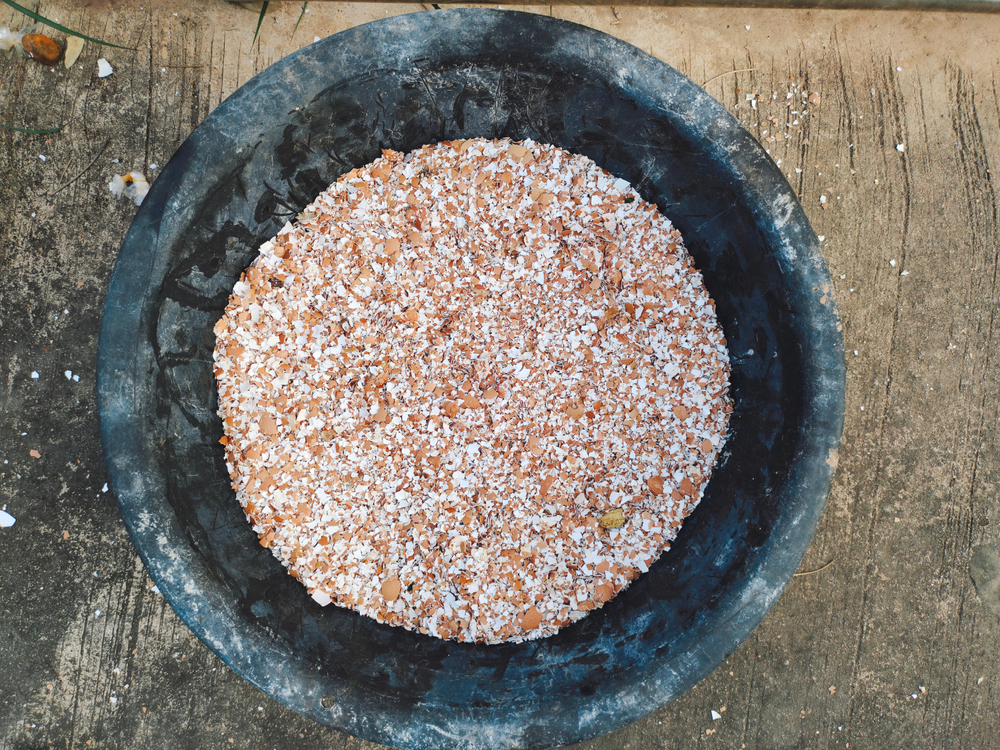
This is because blossom end rot is rarely caused by too little calcium in the soil.
Like other nutrients, calcium is absorbed by the plant’s roots. Along with water, it travels through the plant’s tissues and is delivered to various plant parts: shoots, leaves, flowers, fruit.
Once calcium enters the plant, it is not mobile and pretty much stays in one place. Unlike nitrogen that moves freely to any part of the plant that needs it, calcium uptake is a one-way street with a final destination.
So while giving your plants a consistent supply of calcium is vital to healthy and vigorous plants at every stage of life, it’s especially important during periods of rapid growth – like the plumping up of tomatoes.
Despite calcium being present in the soil, any disruption to the flow of calcium can create a deficiency that results in a bad case of blossom end rot.
Several environmental factors contribute to low calcium levels in the blossom ends of fruit. Water stress, sudden swings in temperature, out of whack pH values, an overenthusiastic use of fertilizers, and more, can stymie the flow of calcium uptake just when your tomatoes and peppers need it most.
How to Stop Blossom End Rot
1. Keep the Soil Evenly Moist
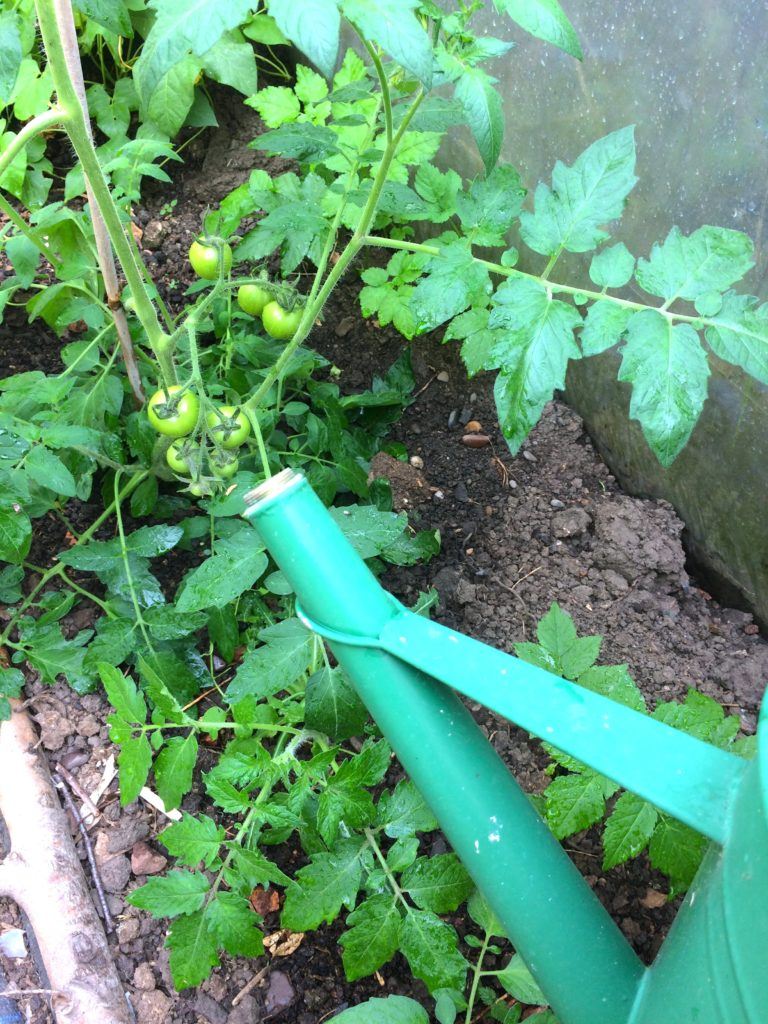
The first rule of gardening is to keep the soil moist – but not too moist.
Generally speaking, that usually translates to 1 inch of water per week per square foot.
Garden soil that is too dry or too wet is the most prevalent cause of low calcium levels and the first thing you should investigate when the bottoms of your fruit turn black.
Calcium, like other minerals and nutrients, is carried up through the plant’s network of tissues (what’s known as the xylem) by water.
Periods of low rainfall or drought stops the flow of nutrients in its tracks. Without water to transport the calcium to the developing fruits, the blossom ends rot.
Similarly, too much rain can oversaturate the soil and restrict nutrient uptake. Waterlogged soil causes plant roots to stop growing and soil microbes to die back from lack of oxygen. The damaged root system can’t take up water fast enough, severely curtailing the movement of calcium.
Though we can’t control the weather, we can keep soil moisture fairly consistent, and the nutrients flowing, by engaging in good watering practices.
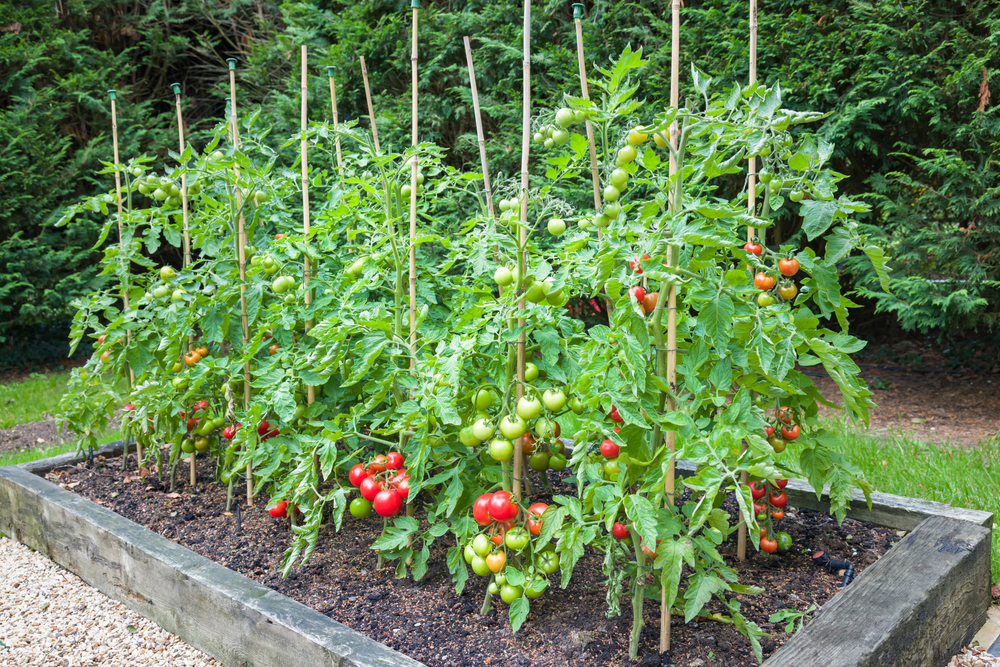
As a rule of thumb, traditional in-ground gardens will need to be watered at least once a week. Raised beds tend to dry more quickly, and containers and baskets might need daily watering.
Of course, every garden will be different. Don’t be afraid to stick your fingers in the soil.
If your watering schedule is erratic at best, you might want to consider investing in an automatic drip irrigation system with a timer, like this kit from Amazon.
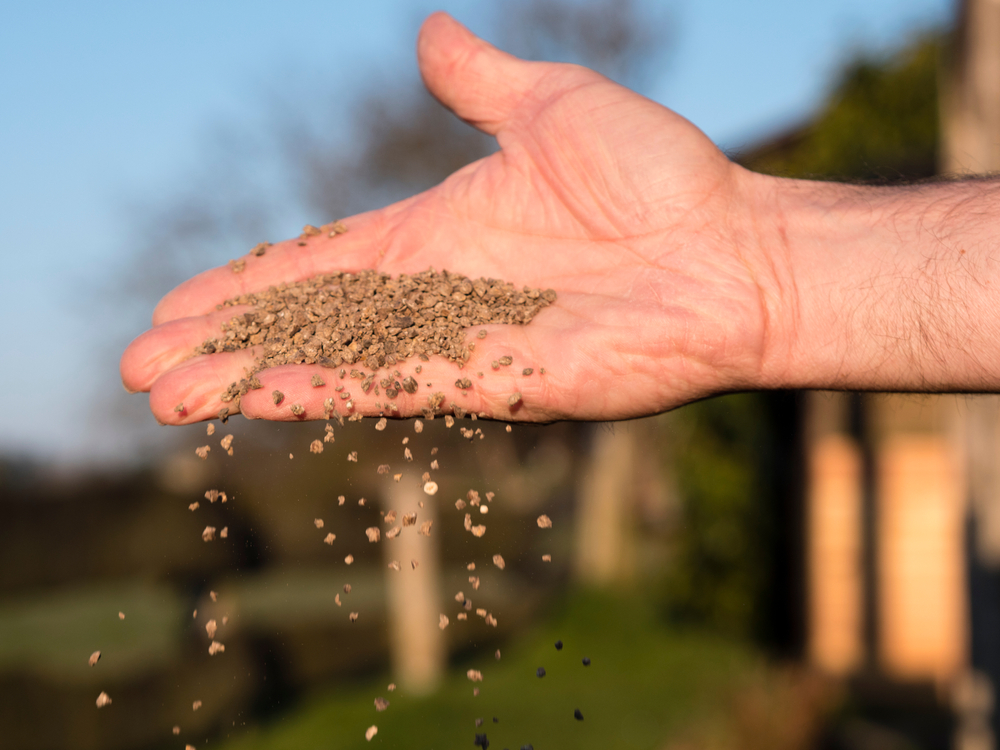
On the flip side, soil that is too wet needs better drainage. Add aerating ingredients – like coarse sand or vermiculite – to your soil mix to help excess water drain away.
Elevating your soil, as in raised bed gardens, is another way to boost drainage.
And, as always, use garden mulch to conserve moisture during dry periods.
2. Heed Plant Spacing Guidelines
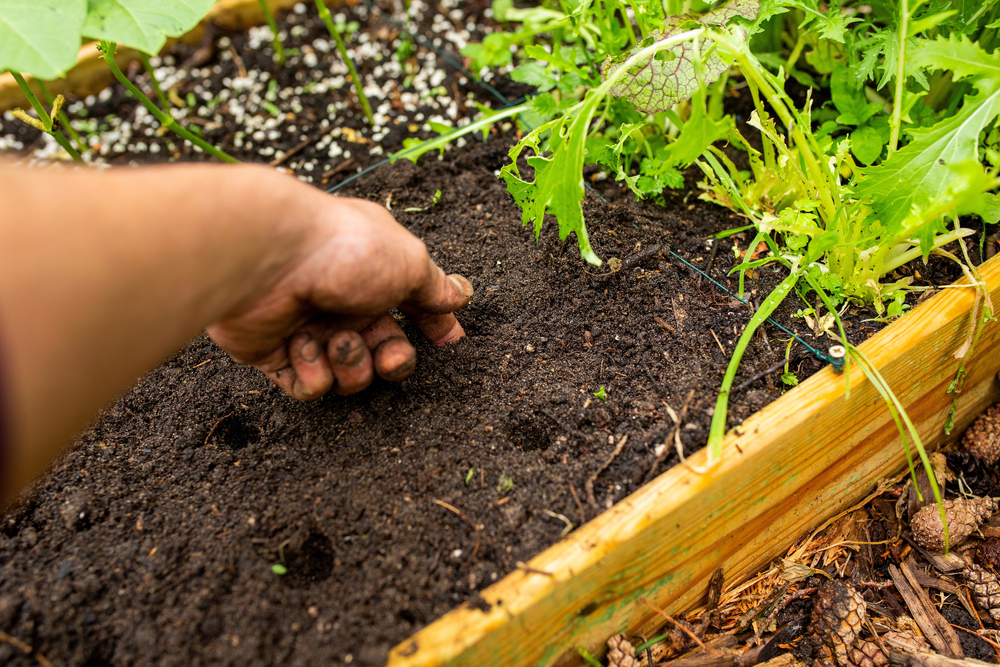
Giving you plants the right amount of room to grow strong root systems will help keep the supply of calcium flowing.
Digging too close to your tomato or pepper plants, however, will destroy some of these valuable feeder roots and hinder the plant’s ability to absorb water and nutrients.
Always follow the directions on the seed packet or label for the appropriate amount of space to give the specific cultivar.
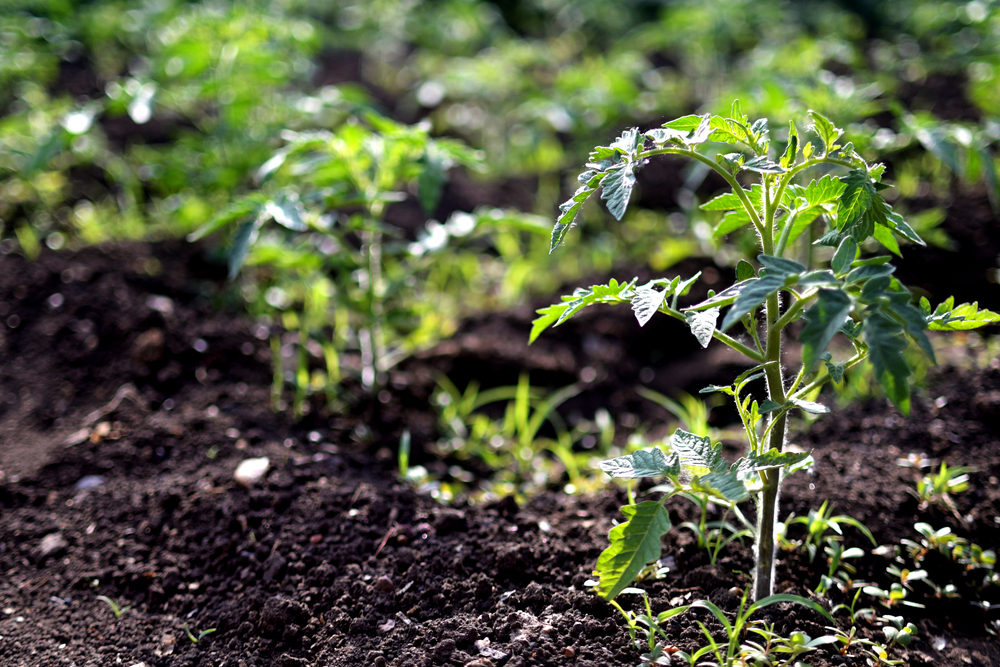
For example, more compact determinate-type tomatoes can be planted 2 feet apart with 4 feet between rows.
Sprawling indeterminate tomatoes, on the other hand, would need to be kept 2 feet apart when staked, 3 feet apart when caged, and require 4 feet of space if allowed to grow over the ground.
Add tomato cages and other plant supports to the garden while seedlings are still young – around two weeks after transplanting. Driving stakes into the soil before plants have become established will avoid damaging the fragile roots.
3. Protect Plants During Cold Snaps and Heat Waves
Any stress to the plant when its putting out fruit is enough to trigger an episode of blossom end rot. This includes sudden swings in temperature.
Warm season crops like tomatoes and peppers grow best in temperatures between 65°F to 80°F (18.5°C to 26.5°C).
When temperatures are above 90°F (32°C) for several days in a row, plants lose vigor and begin to wilt from heat stress. Consider installing a shade cloth to keep them cooler and out of intense sunlight. Remove covers once the heat wave has passed.
Bouts of cooler weather, at 55°F (13°C) and below, when plants are flowering and setting fruit can result in deformed and ugly produce. In addition to blossom end rot, catfacing on your tomatoes can appear because of colder temperatures.
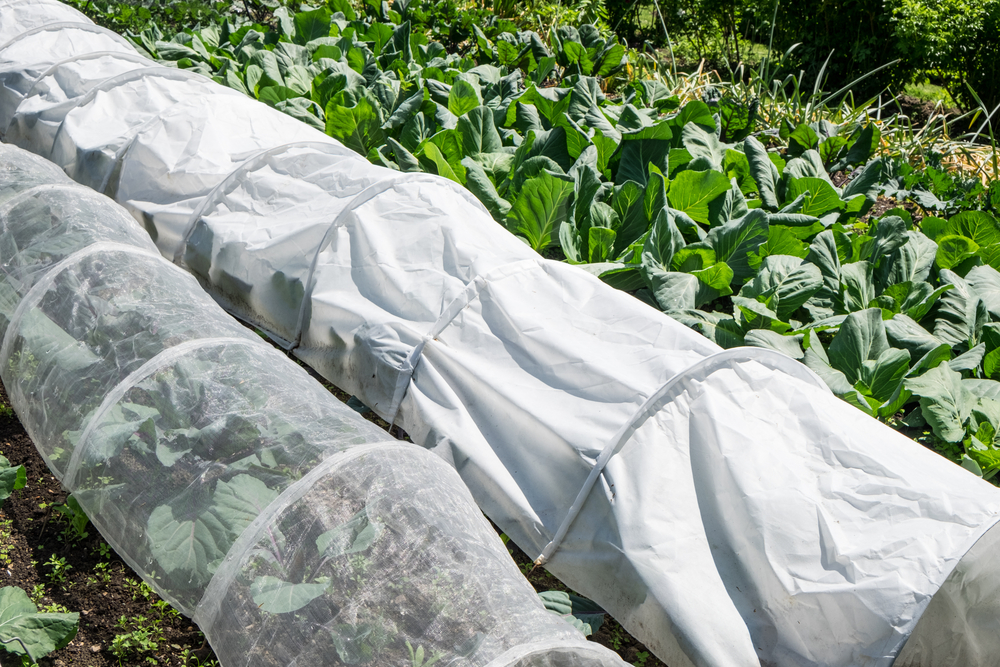
Don’t leave your plants out in the cold – set out some garden cloches or floating row covers to insulate them from temperature dips.
4. Use the Right Fertilizers
Tomatoes, especially, have earned a reputation as heavy feeders. Yet other crops that are susceptible to blossom end rot – peppers, squash, melons, cucumbers, eggplant – also require plenty of nutrients during fruit set.
Because blossom end rot is caused by calcium deficiency, it may be tempting to fertilize more to fix the issue.
But overfertilizing your plants can make the problem of rotting bottoms even worse.
Excessive amounts of nitrogen, magnesium, potassium and sodium can interfere with the plant’s ability to take up calcium.
Using a balanced fertilizer is perfectly fine when the plant is growing vegetatively – that is, putting out new foliage and increasing in height and spread.
At the flowering and fruiting stage, plant growth slows and energy is directed toward blooming. At this point, switch to a low nitrogen, high phosphorus fertilizer.
The “P” in N-P-K, phosphorus promotes root growth, flowering and setting fruit – all of the wonderful things that help prevent and correct blossom end rot.
An excellent organic source of phosphorus is bone meal. Not only does it contain little nitrogen and lots of phosphorus, it will also add some calcium to the soil.
Be sure to check out our homemade tomato fertilizer recipe, which also serves as a great all-purpose super bloom formula for your other heavy feeder crops.
5. Test Your Soil
If your blossom end rot isn’t caused by any of the above, affects all fruits during the harvest period, and happens year after year – it’s time to have your soil tested.
Don’t bother with those home soil testing kits you can buy at a store. For the most accurate and reliable results, send soil samples to accredited soil testing laboratories.
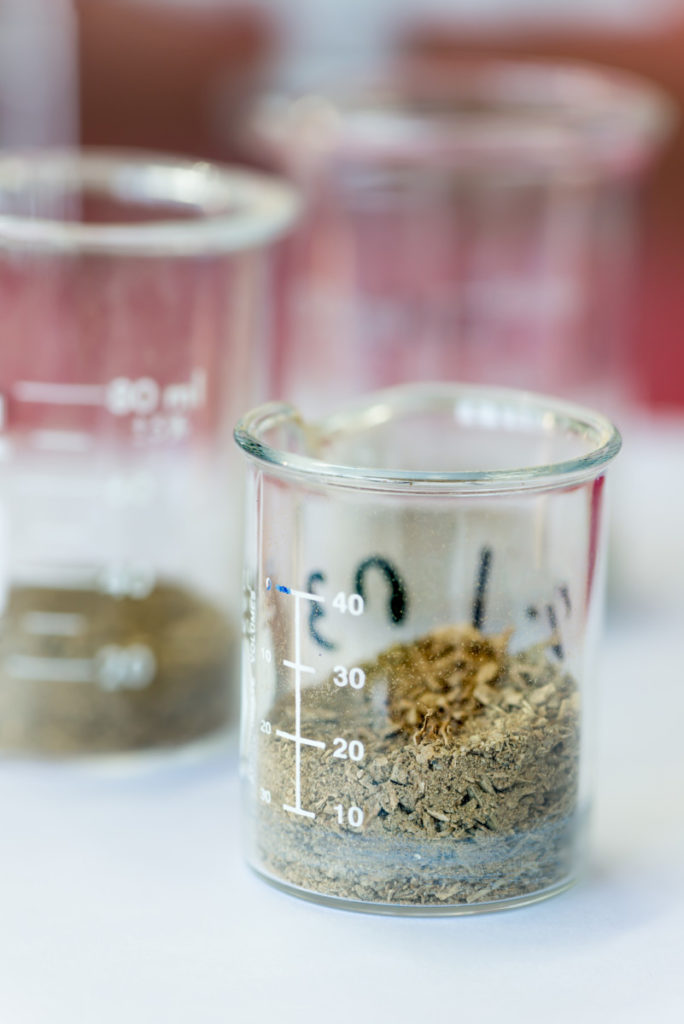
The basic soil test will determine which primary nutrients – including nitrogen, phosphorus, potassium, magnesium, calcium, sodium and sulfur – are present in your soil. This handy information will remove all the guesswork since you will know exactly what nutrients are missing and can amend the soil accordingly.
The test will also tell you your soil pH. The ideal pH for most vegetables is slightly acidic, around 6.5, which is best for nutrient uptake. If the pH of your soil is too low or too high, it can easily be corrected by adding baking soda to acidic soils and vinegar to alkaline soils.
High salinity in your soil is another thing that contributes to blossom end rot. Salts can build up in the soil over time when the garden is irrigated with water that is high in salts or the growing medium is poorly drained.
Salty soil can be fixed by improving drainage and leaching out the existing salts with clean, low sodium water.
6. Grow Resistant Varieties
If blossom end rot is a recurring theme in your garden, choose tomato varieties that are more resistant to the disorder.
According to a study by the University of Illinois, these tomato cultivars have a much lower incidence of blossom end rot:
- Celebrity
- Fresh Pak
- Jet Star
- Manapal
- Mountain Pride
- Pik Red
- Sunny
- Winter
Higher prevalence of blossom end rot occurred with Big Boy, Wonder Boy, Whopper, Castle King, Supersonic, Surprise, Fantastic and Independence tomato cultivars – so you may want to avoid planting these types.
7. Do Nothing
Sometimes blossom end rot strikes the very first round of fruit of the season. And then, it goes away.
This usually happens when tomato plants are transplanted into the garden while the soil is still cold in early spring.
As discussed above, tomatoes don’t take kindly to cold conditions. While they will indeed survive being transplanting to less than optimal soil temperatures, cool soil will slow the growth of roots.
Stunted roots means the first fruits may not have received enough calcium. As the plant continues to develop and the weather warms, subsequent fruits will plump up and ripen normally.
Keep an eye on the first round or two of fruits, removing any that show blossom end rot right away.
Promptly picking affected fruits will divert precious energy away from malformed fruits and put it to better use on fresh, non-rotting ones.
8. Salvage the Harvest
When blossom end rot sets in on your fruits, there is no reversing it.
The best you can do is adjust your watering practices, re-evaluate your fertilization schedule, protect plants from extreme heat and cold, and minimize root damage. The hope is that the next flush of fruits will develop normally and have firm, fully formed flesh.
Any tomatoes, peppers, zucchini, and melons that have been affected by blossom end rot needn’t go to waste either.
Slice off small lesions and black spots. The rest of the fruit will still be tasty and totally edible.
There’s a lot you can do to salvage the harvest even if your tomatoes are still green and immature. Try whipping up some fried green tomatoes. Or make a batch of quick pickled green tomatoes.
Here are some more delicious, zero-waste green tomato recipes to peruse.

Get the famous Rural Sprout newsletter delivered to your inbox.
Join the 50,000+ gardeners who get timely gardening tutorials, tips and tasks delivered direct to their inbox.