

Whether it’s your first time growing onions and you have no idea where to start, or you’ve never had good luck growing them in the past, we’re going to get you on the right path. The garden path filled with softball-sized onions, that is. Or perhaps the path filled with cipollinis ready to pop in with your Sunday roast.
Regardless of what type of onion you want to grow, few vegetables are used as often or as abundantly in our kitchens and growing your own opens up a world of different flavors, sizes and varieties of onions you can’t find at the grocery store.
There seems to be something a little intimidating about growing onions for many gardeners, myself included, when I first started growing them. Alliums grow much differently than anything else in your garden, so unless you know a little bit about allium botany, it can be hard to judge what they need and when for optimal growth. Let’s fix that and make the kitchen the only place onions make us cry.
How the Onion Came to Be
The onions we grow in our gardens today are the long-distant ancestors of a plant – Allium cepa – the common onion – that came from Central Asia. We’ve been crying over onions in our kitchens for over 5,000 years. Now, they are a kitchen staple nearly everywhere in the world.
Onions belong to the genus Allium, a rather large family, including other tasty members such as garlic, chives, leeks, shallots and even wild ramps.
What unites this particular genus? They all contain the same characteristic sulfurous compounds, which not only give them their unmistakable flavor and scent but also bring on the tears when we cut into onions, specifically.
Softball-Sized or Marble-Sized? So Many Types of Onions
If you’ve usually grown onions from sets you picked up at a big box home improvement store or your neighborhood hardware store, you’ve most likely been offered up two options, three if you’ve got a really fancy store – yellow, red or white.
Ooh! Amazing! So much variety!
Look, I don’t know about you, but one of my favorite reasons for having a garden is variety. Red, white and yellow just isn’t cutting it. Open any seed catalog in the middle of winter, and you’ll be met with pages, that’s right, plural, of onion varieties to choose from.
Do you want several rows of standard yellow onions for cooking? Cool. You’ve got choices. Do you want sweet onions? We’ve got five to choose from. Cippolinis? Oh, heck yeah, don’t mind if I do. You get the idea.
But before you start ordering packets of seed, let’s take a look at the different types of onions available and a few other important variables.
Yellow onions
These guys are the unsung heroes of the kitchen. I’ll bet you’ve got a bag of these in your pantry right now. Yellow onions are the pungent tear-jerkers when you slice them up that turn into those sweet, golden caramelized ribbons with a little patience and some low and slow heat. Sautéing, stir-fries, roasting, grilling, however you’re cooking, these guys fit the bill. Yellow onions typically store well, with varieties like ‘Patterson’ and ‘Aisla Craig’ being popular choices.
Red onions
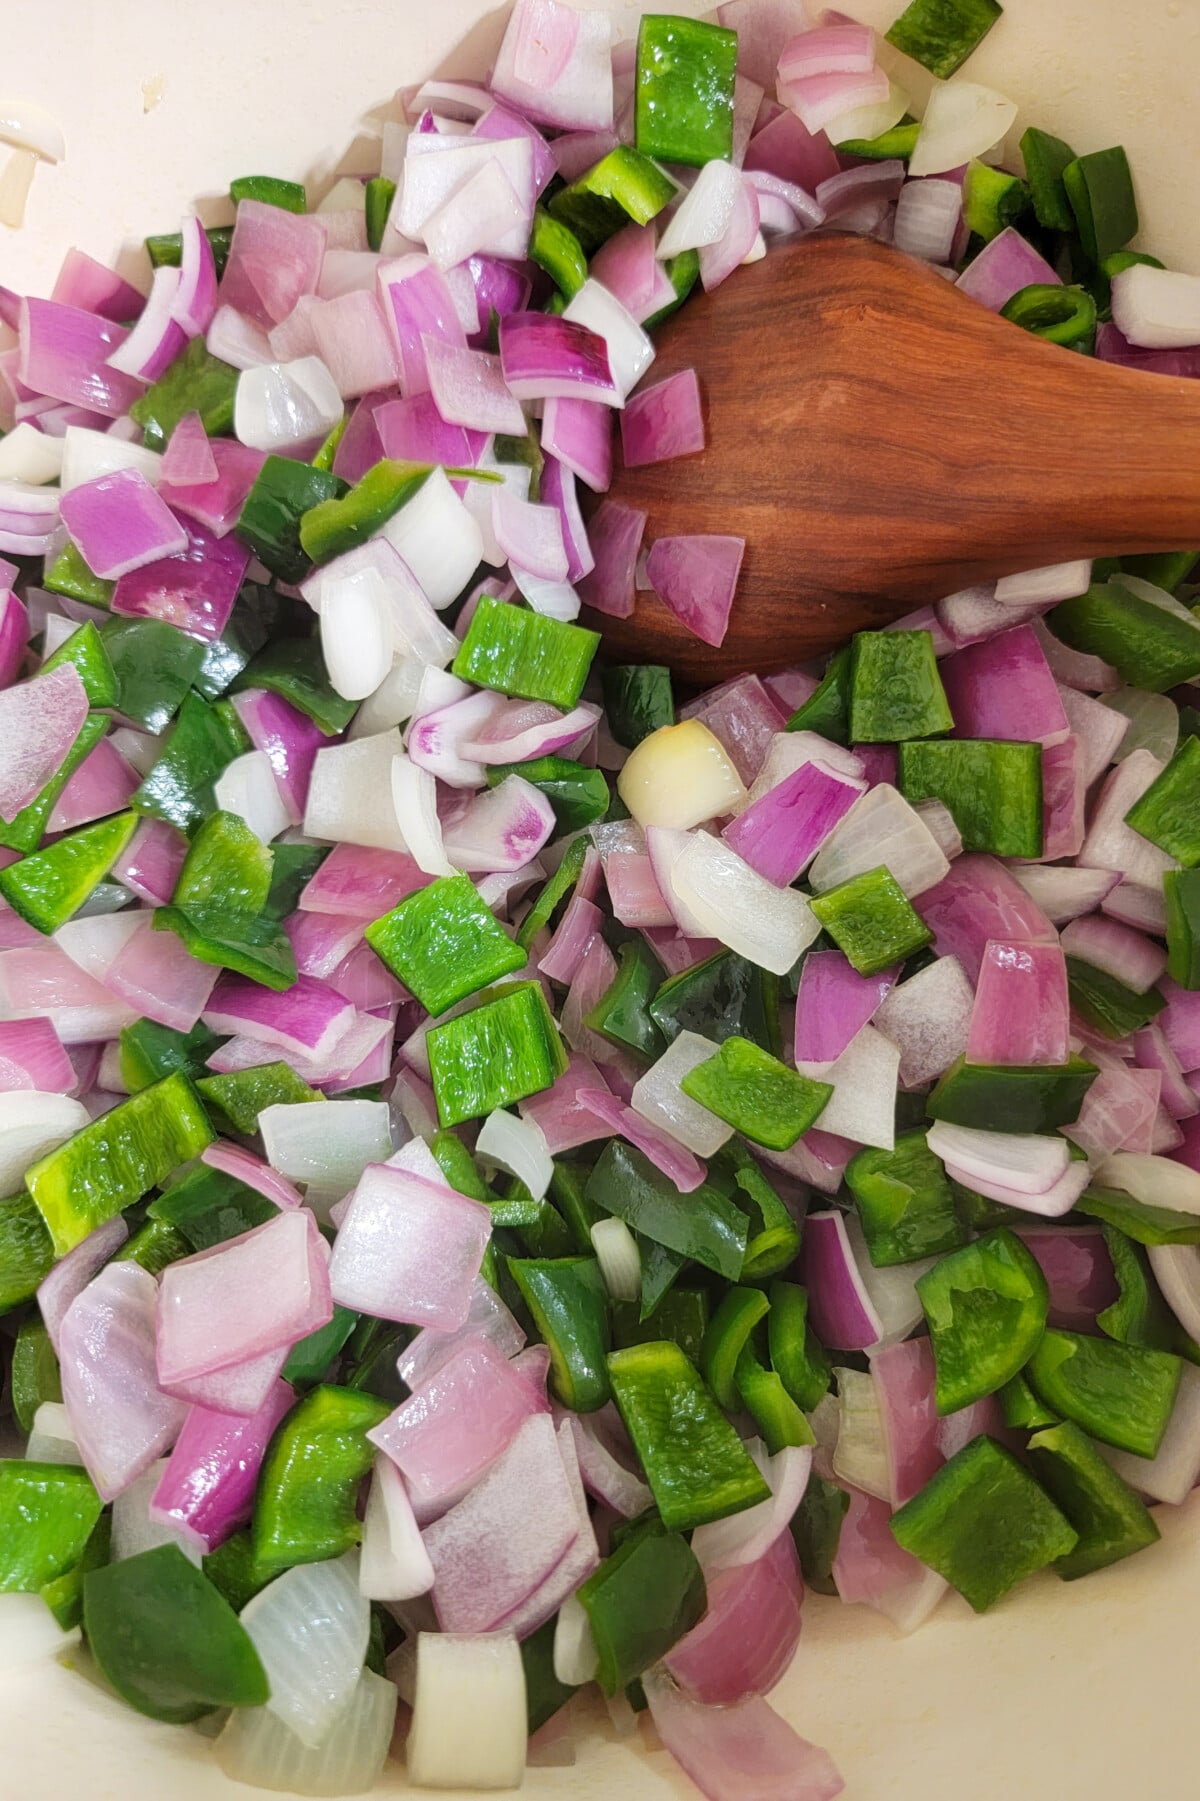
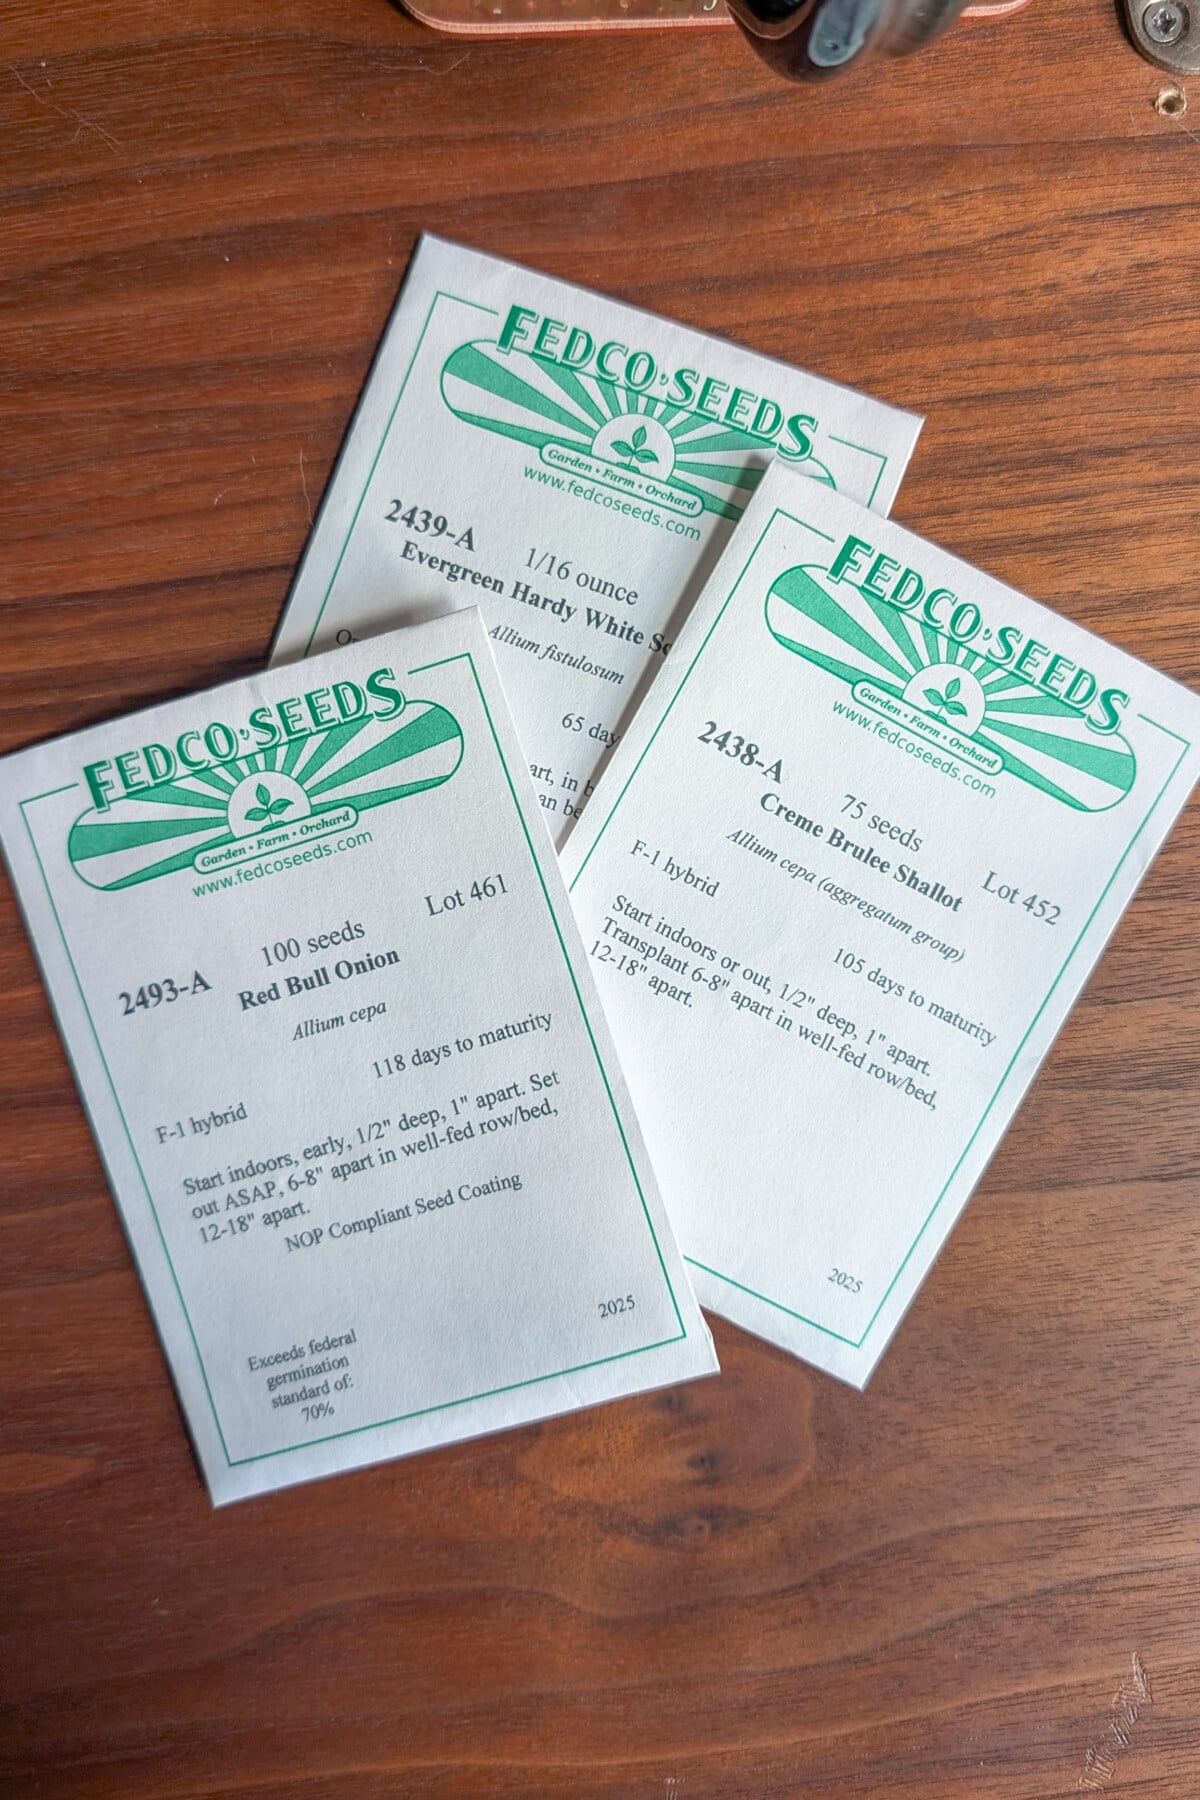
Red onions get their notable color from anthocyanin, an antioxidant. Along with being good for you, anthocyanins are what give red onions (and other purple-red veggies) their color. Red onions are typically a bit milder than yellows, which makes them better for eating raw. (Protip: Soak freshly sliced red onions in cold water before serving to take away some of their bite.) The longer you cook red onions, the more of their color they lose. Red onions make a killer quick-pickle. Popular varieties include ‘Red Mountain’, ‘Red Spring’ and Red Bull (Any fellow F1 fans out there?)
White onions
These guys have a clean, crisp, sometimes sharp taste. They tend to be a bit more tender than yellow onions, again making them a great choice for eating raw. (These are my favorites for tacos.) Lots of flavor without the smack-you-in-the-face pungency of yellow onions. White onions tend to have thinner skins and less sugar. These are the traditional choice for most Mexican cuisine, so if you’re planting your pico de gallo ingredients in your garden, you’ll want to include some white onions. ‘Sierra Blanca’ and ‘White Ace’ are both popular varieties.
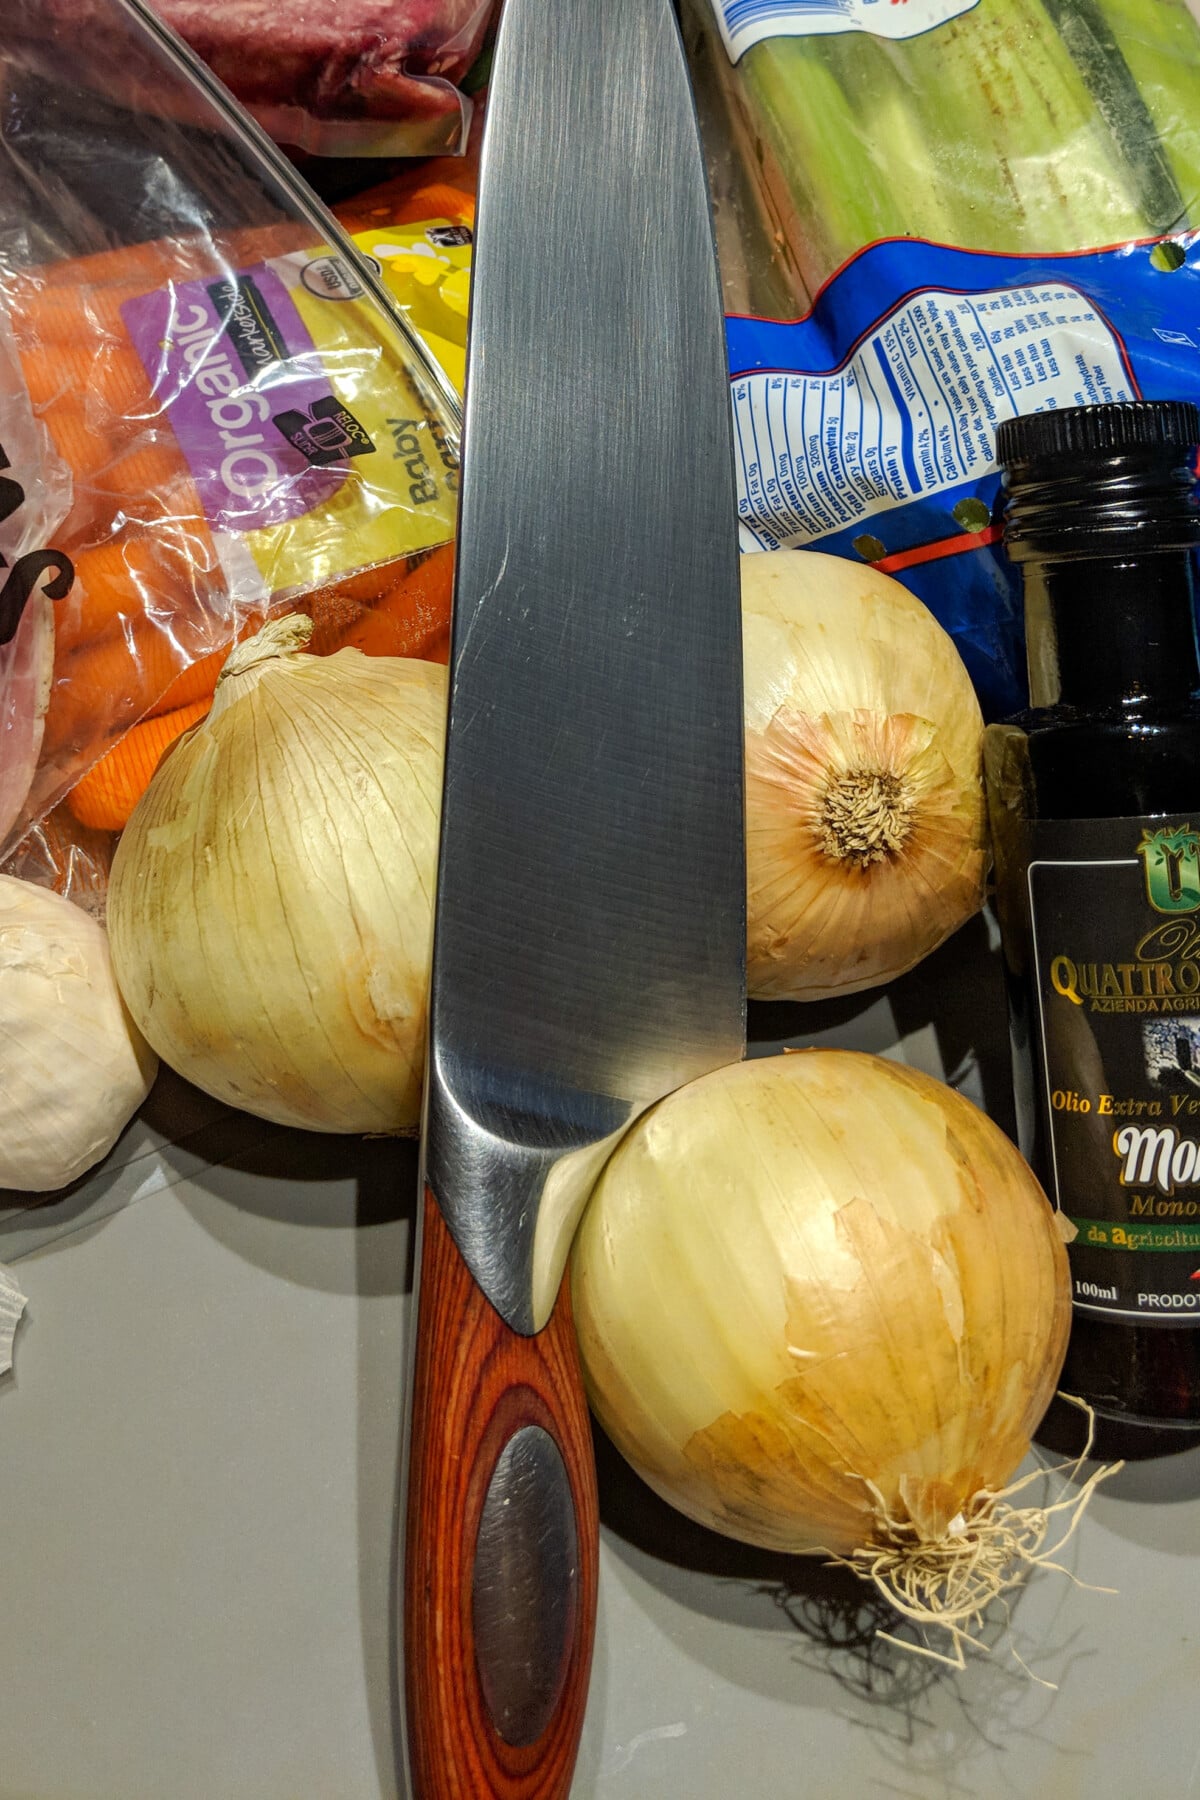
Sweet Onions
Vidalias, Walla Wallas, Candy, you know the ones. Sweet onions are lower in sulfur and higher in sugar, making them exceptionally mild. My great-grandmother used to eat them like an apple. Their sweetness comes from a mix of genetics and being grown in low-sulfur soils. (Unless you live in Walla Walla, Washington, don’t expect your Walla Walla onions to be as sweet.)
Scallions/Green Onions/Bunching Onions
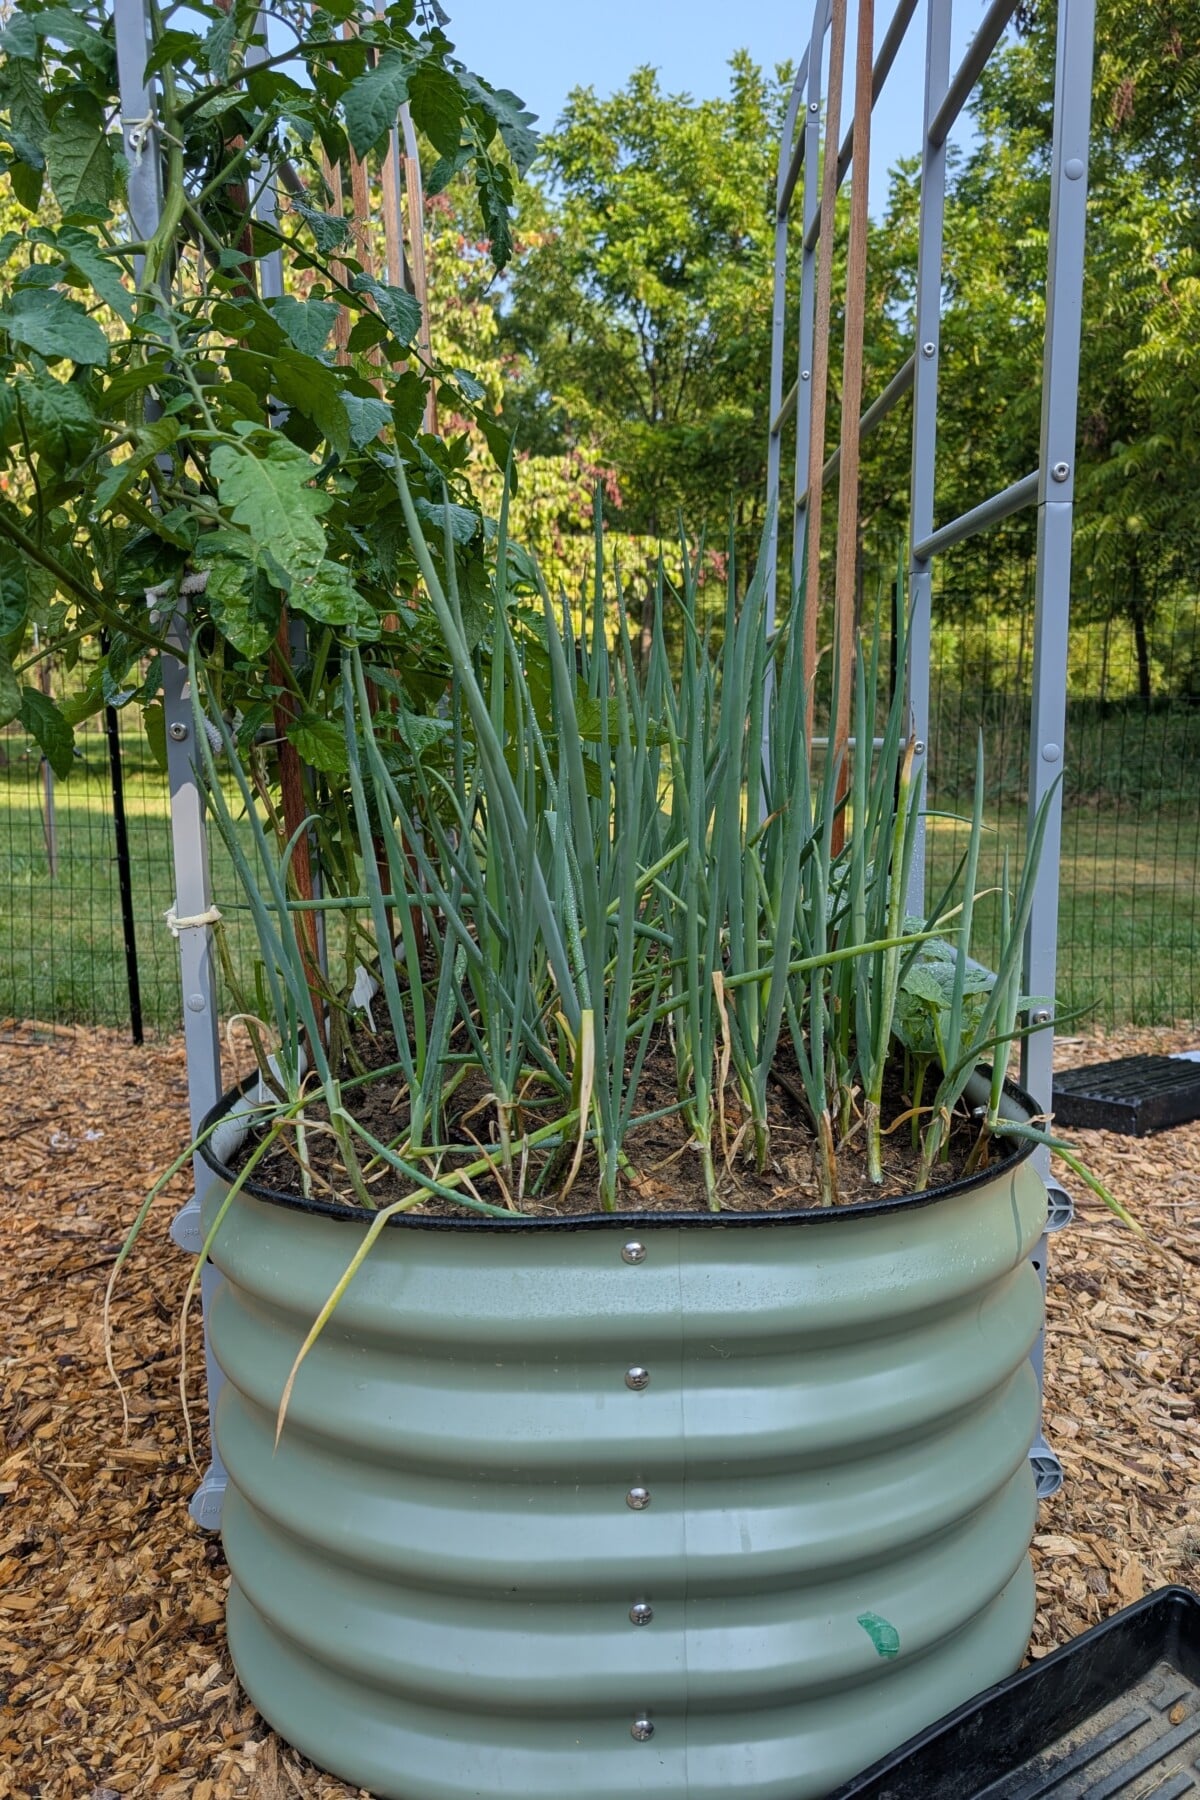
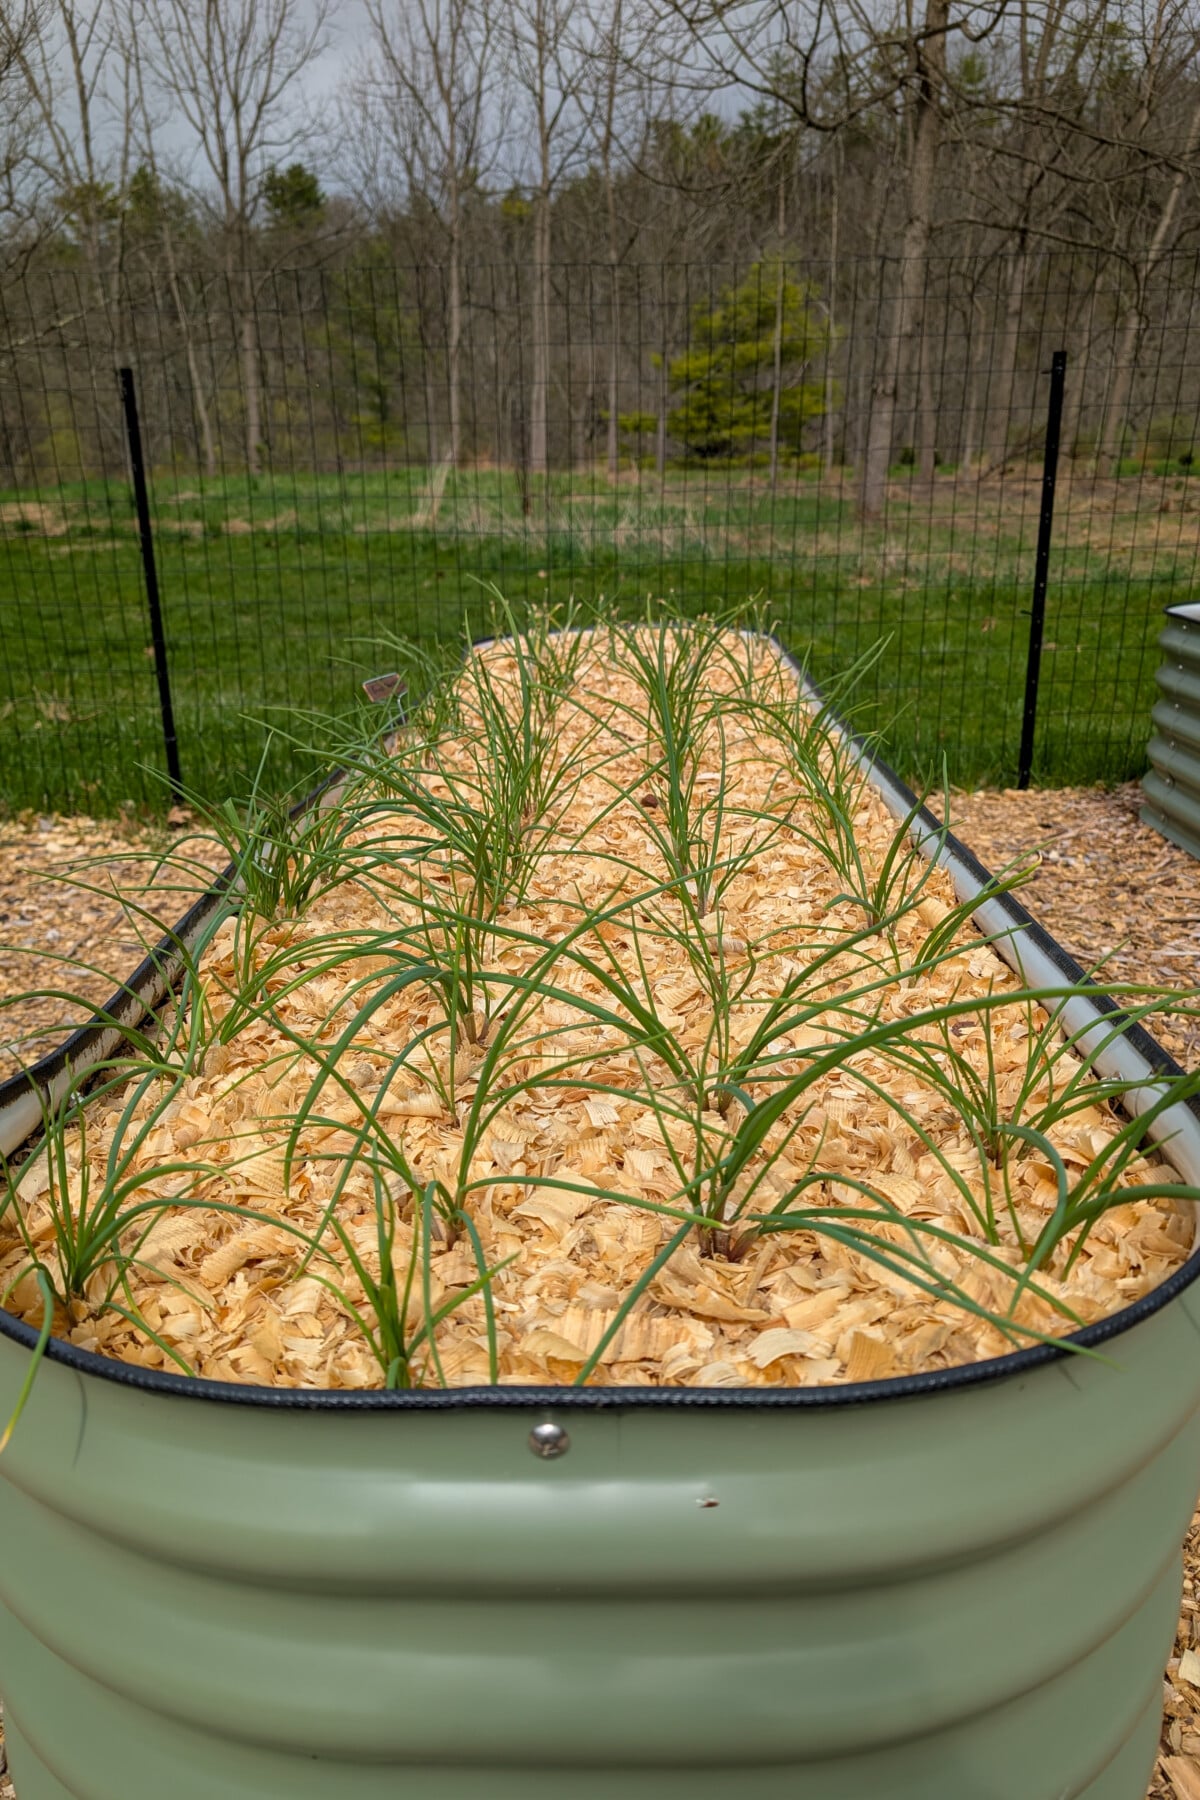
No matter what you call them, for many a gardener, they are a big part of spring. Scallions are grown mostly for their tops, although the small, non-bulbed white bases are also quite tasty and used in countless recipes. You can grow them in both the early spring for an early summer harvest and then plant them again in late summer or fall for an end of the season harvest. Whether you direct-sow them or start them indoors will depend largely on your growing zone and when you want to harvest them.
Honorable Mentions
Cippolini Onions

These are Italian heirloom onions, with a flat, disc-shape. They have exceptionally thin skin, making them a pain in the butt to peel, but so worth it when roasted because of their high sugar content.
Pearl
Pearl onions are nothing more than baby onions. They’re simply grown closer together (which prevents large bulbing) and harvested early. Or in my case, in seasons past, they are I-totally-meant-to-grow-pearl-onions-because-I-planted-them-too-close-together-onions.
Shallots
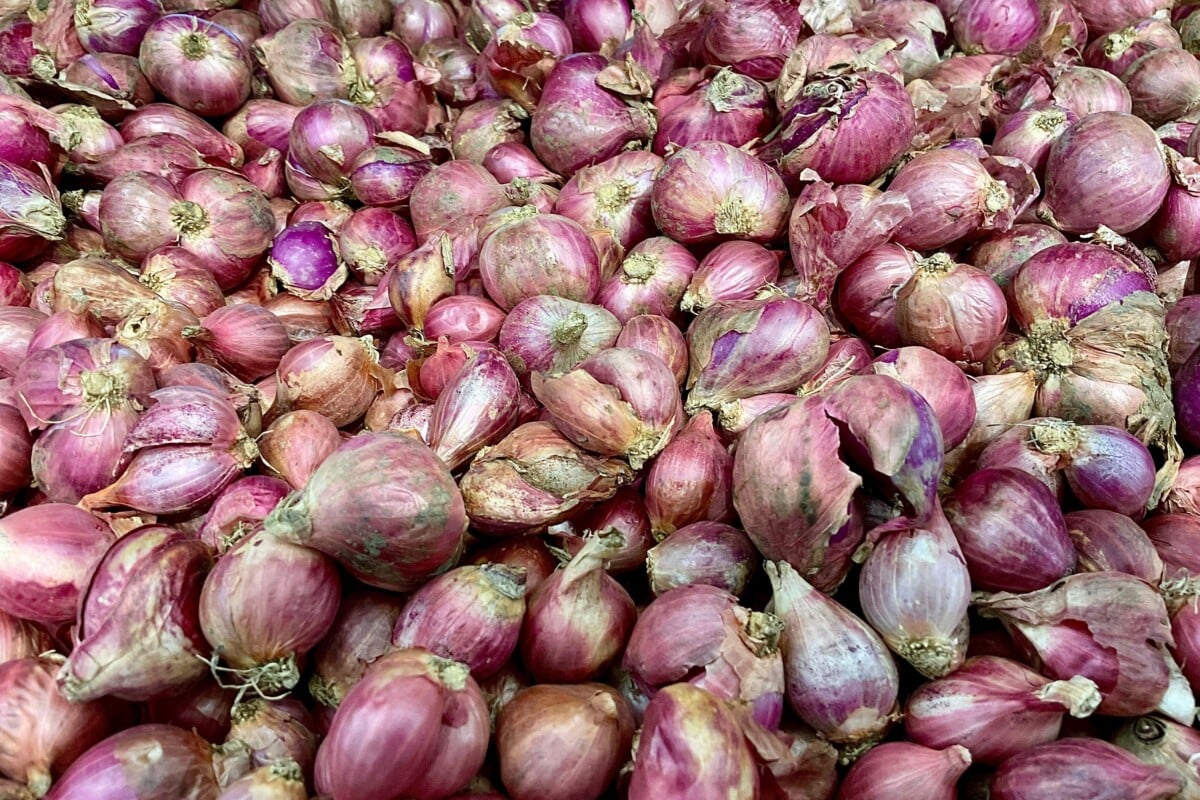
Shallots are actually a different species (Allium cepa var. aggregatum), but we’ll include them in our little tour de onion because they’re such a popular cooking staple. Like garlic, they form clusters of smallish, elongated bulbs and typically have a more delicate flavor. They’re easy to grow, and you grow them much the same way you do garlic, planting them in fall (for an early summer harvest) or very early spring (for a late summer harvest).
I planted Grays Shallots last fall (fall planting gives you much larger bulbs, but spring planting is better if you live in very cold climates), and they were the first bit of green to greet me in the garden this spring.
Walking onions
These guys are straight up weird and the lazy gardener’s best friend. Also known as Egyptian onions and tree onions, these onions grow as perennials, and they’re pretty great at doing their thing with very little involvement from you.
Instead of flowers at the top of the stalk, they produce several small bulbs (aka pearl onions). Once the bulbs grow too heavy for the stalk to support them, they fall over, planting next year’s onions where they land and essentially ‘walking’ their way across your garden. You can eat the new bulbs, the stalks and the small bulbs that grow in the ground.
The Two Reasons Your Onions Always Fail
And now that your head is swimming with onion possibilities, let’s take a look at the two most important aspects of growing onions that most of us get wrong.
First is how onions grow.
Two-Phase Growth
Onions have two distinct phases of growth, and knowing what your onions need for each phase is important if you want onions bigger than a ping-pong ball.
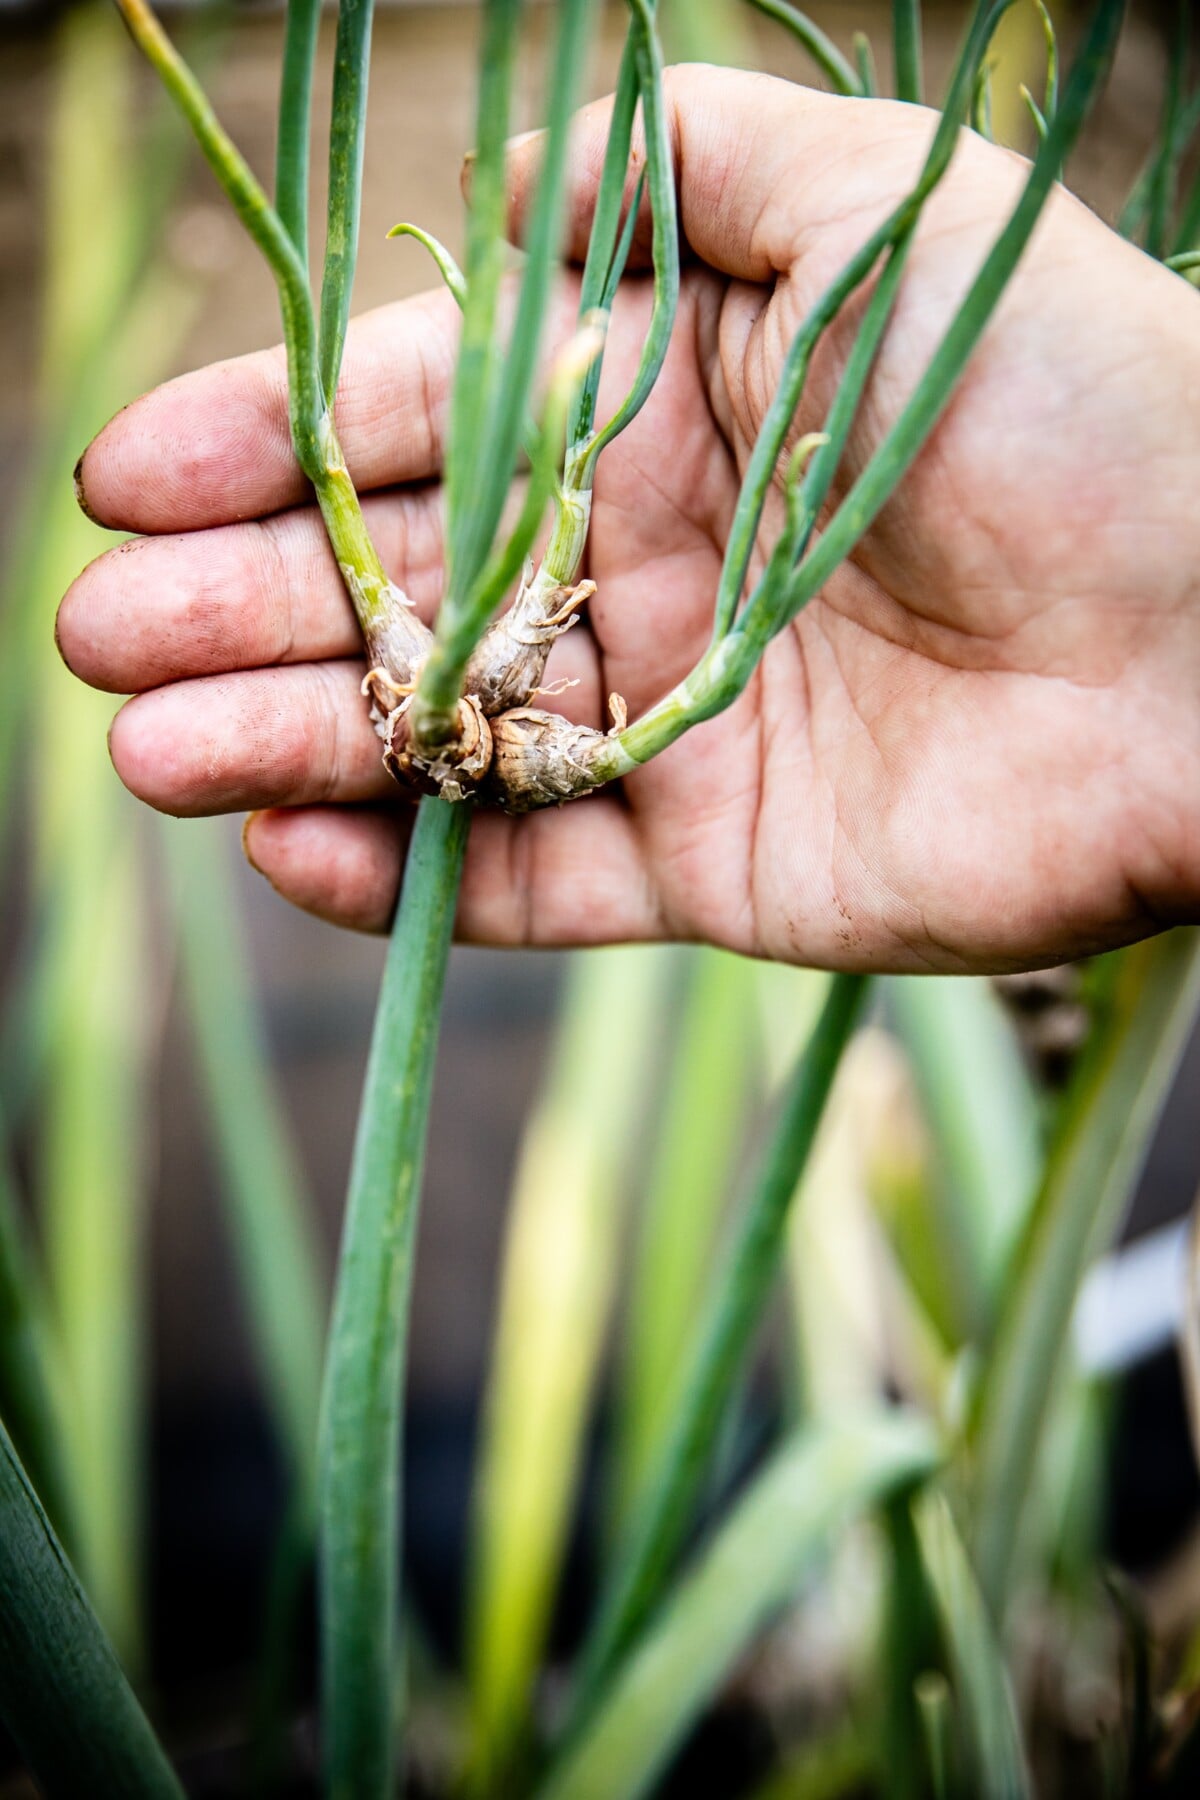
The first phase is all about leaf-building. The plant is cranking out those long, hollow green leaves as fast as it can. That’s because each leaf corresponds with a new ring or layer of growth.
Insert Shrek voice: “Onions have layers.”
The goal during this phase of growth is more leaves. More leaves. Yup, keep going, more leaves. The more leaves, the larger your final onion will be. In this first phase of growth, you want to feed onions with a high-nitrogen fertilizer, but we’ll get more into that later.
The second phase is called the bulbing phase, and as the name implies, this is when the plant stops producing leaves, and the bulb starts getting thicker. Now those thin rings start plumping up. This second phase is triggered by the length of daylight hours, which we’ll dig into momentarily. All the energy is now redirected to the swelling bulbs, which means the leaves begin to yellow and flop over.
That’s a good thing; it’s supposed to happen. It does not mean your onions are dying.
This two-phase growth is the reason why just leaving your onions in the soil longer doesn’t lead to larger bulbs. (Not that I did that before learning the correct way to grow onions.) It all comes down to that initial early leaf growth.
Day Length Determines Variety
The second most important factor in growing onions successfully is knowing that day length matters. Onions are photoperiodic plants, which means their growth is triggered and controlled by day length, not temperature. Specifically, that second phase, bulb growth, is triggered by the number of hours of daylight the plant receives.
This means the variety of onion you choose to grow matters enormously. It all comes down to those invisible lines on the globe – specifically, latitude.
Thirty-six is going to be our magic number here because whether you live above or below the 36th parallel is going to determine (roughly) which type of onion you can grow successfully.
Onions are split into three corresponding day length groups:
Long-day onions, short-day onions, and intermediate-day or day-neutral onions.
- Long-day onions will start bulbing when day length reaches 14 to 16 hours. So, for those of us in the States, that’s generally north of the 36th parallel. Generally speaking, in these Northern regions, we plant our onions in early spring and use that cool weather to grow leaves, before summer triggers bulb formation.
- Short-day onions begin bulbing when day length is around 10 to 12 hours. These guys are meant to be grown in the southern half of the United States, below the 36th parallel, where winters are mild. Most often, onions grown in these areas are planted in the fall and then harvested in the spring. Vidalias are probably the most well-known short-day onions, typically grown in the south.
- Intermediate-day or day-neutral onions are the default onions. They begin bulbing when they receive 12 to 14 hours of daylight, which means a larger portion of the country can grow them. They’re a great option for anyone living close to that 36th parallel (between 32nd and 42nd).
When purchasing onion seeds, sets or transplants, it’s important to make sure you’re purchasing the right variety for the day length where you live. This information is usually printed on the seed packet or can be found in the seed catalog or online.
(If you’re buying unlabeled bulk onion sets by the pound locally at the correct time to plant them, it’s safe to assume you’re buying an onion meant to be grown in your region, or at the very least a day-neutral onion.)
Seeds, Sets or Transplants
You have three options for growing onions, all with various trade-offs.
Grow From Seed
Growing your onions from seed is great. It gives you the widest selection of onion varieties, and it’s also the cheapest way to grow them. It is also the most time-consuming because you need to start onions roughly 10-15 weeks before they need to go outside to be transplanted. (I start my onion seeds around Christmas here in zone 6b.) And that’s fine. It’s how I grow most of my onions. But it may not be for everyone, especially if you don’t have a lot of space indoors for starting seeds.
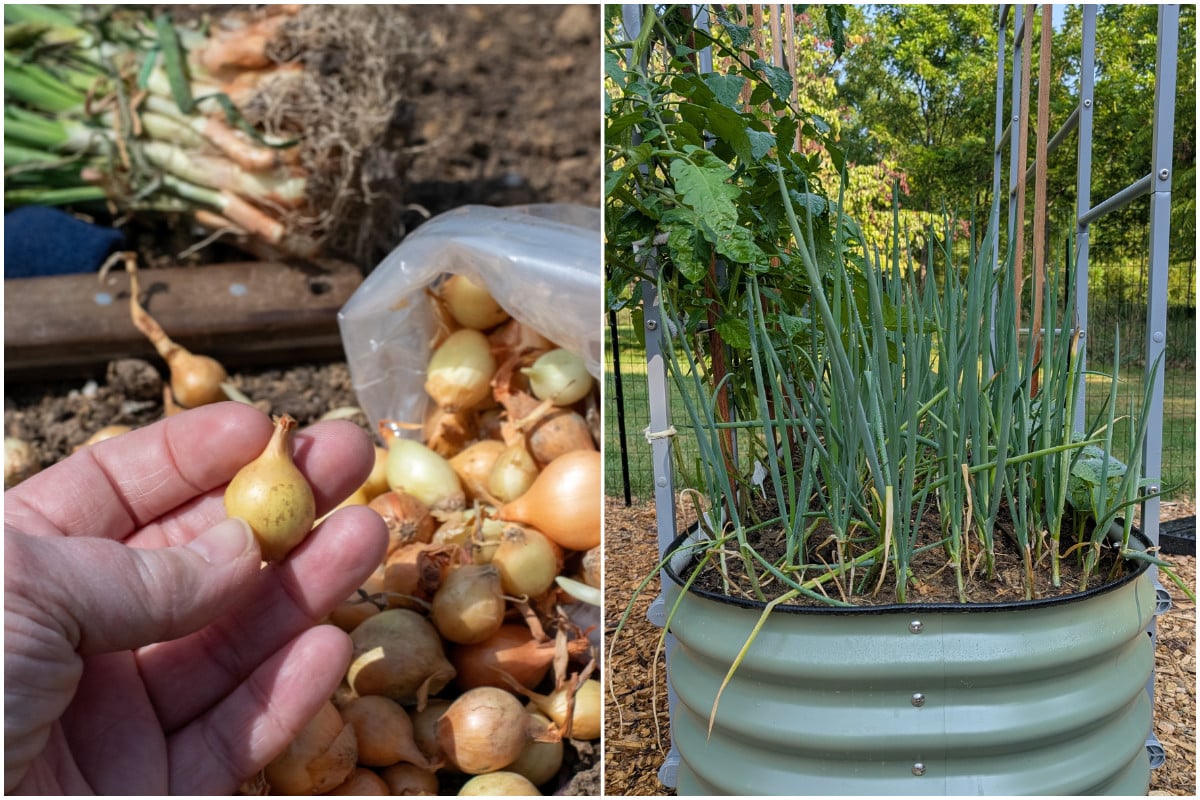
Grow from Sets
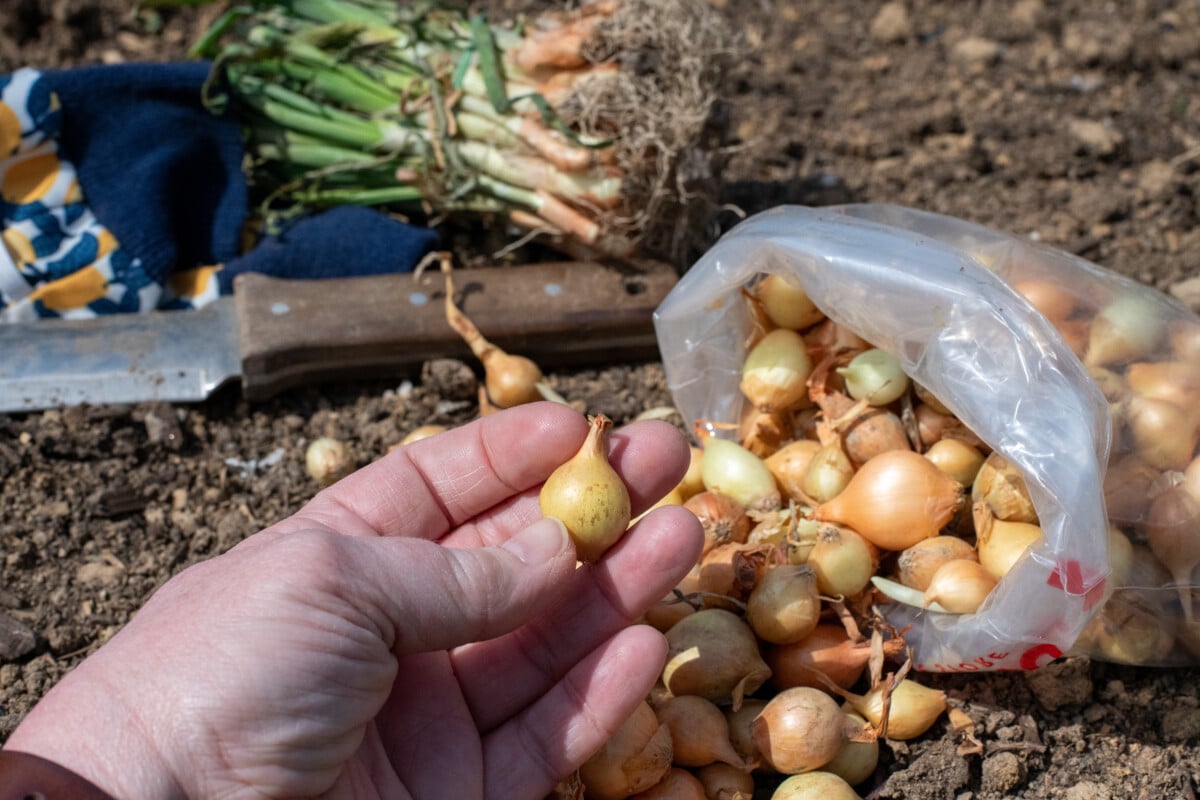
Onion sets are simply immature bulbs that were started the previous year, then dried and held so they could be planted this spring. These are the tiny onions you see for sale by the pound in garden centers.
Sets can be a bit of a gamble because you don’t know how well they were stored. They have a tendency to bolt (flower instead of leafing out) if the onion sets were stored too warm. The larger the bulb, the more likely it is to bolt, so choose small, marble-sized bulbs. (Starting onions from seed leads to fewer onions that bolt.)
Grow from Transplants
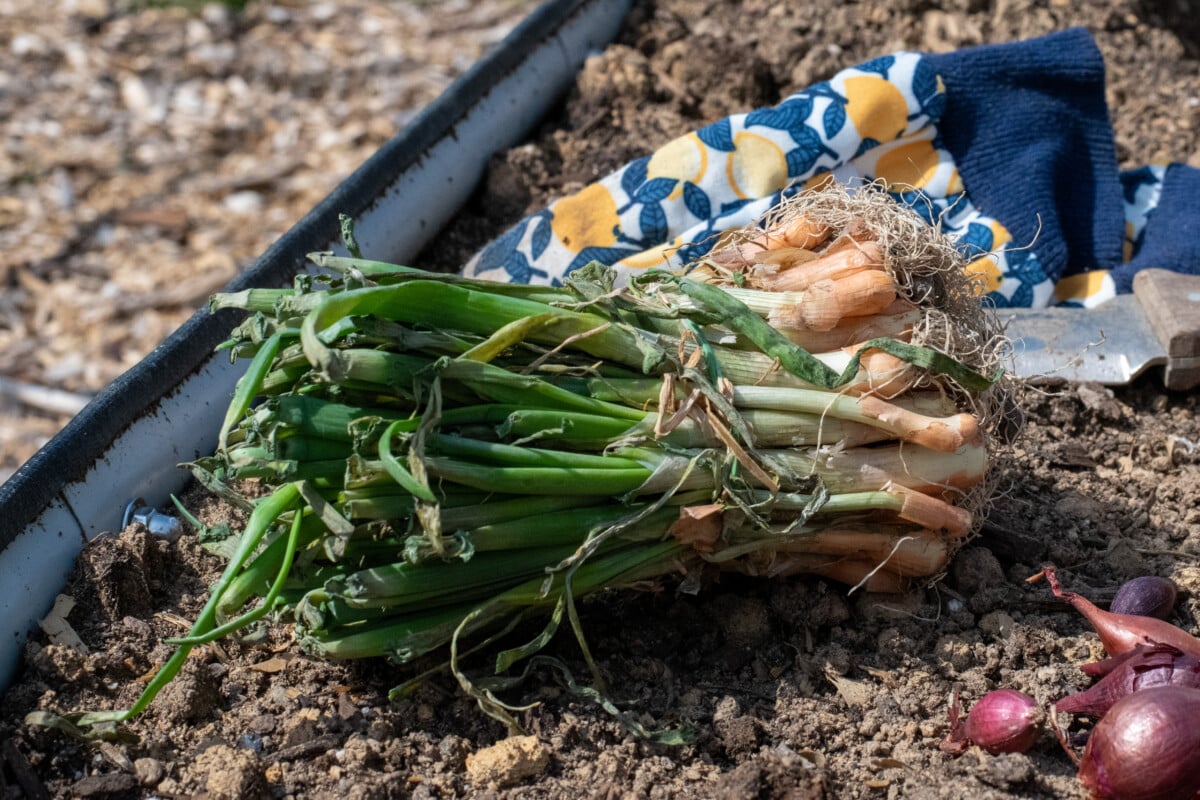
Purchasing transplants from a reputable nursery or online supplier is a great way to even your odds, so to speak. You get a much wider variety to choose from than you would with sets, but you don’t have to fuss with starting them indoors as you would from seed. And because they are this year’s plants, they are less likely to bolt.
Since someone else is doing that work for you, onion transplants are the most spendy option of the three. But they are worth it in my experience because you don’t have to lose indoor space to starting onions from seed, and nursery-grown transplants establish quickly.
Planting Requirements
Onions aren’t hard to grow. You just need to know what they need to grow well.
Soil
Onions need loose, well-draining, friable soil, with a pH between 6.0 and 7.0. Heavy, compacted soil or clay-filled soil will constrict the bulb so it can’t expand. Work in a generous amount of compost each spring before you plant your onions.
Sun
As we’ve already established, light is extremely important when it comes to growing onions. Full sun is a must, at least six to eight hours of it. Onions won’t grow well in a shady garden.
Spacing & Depth
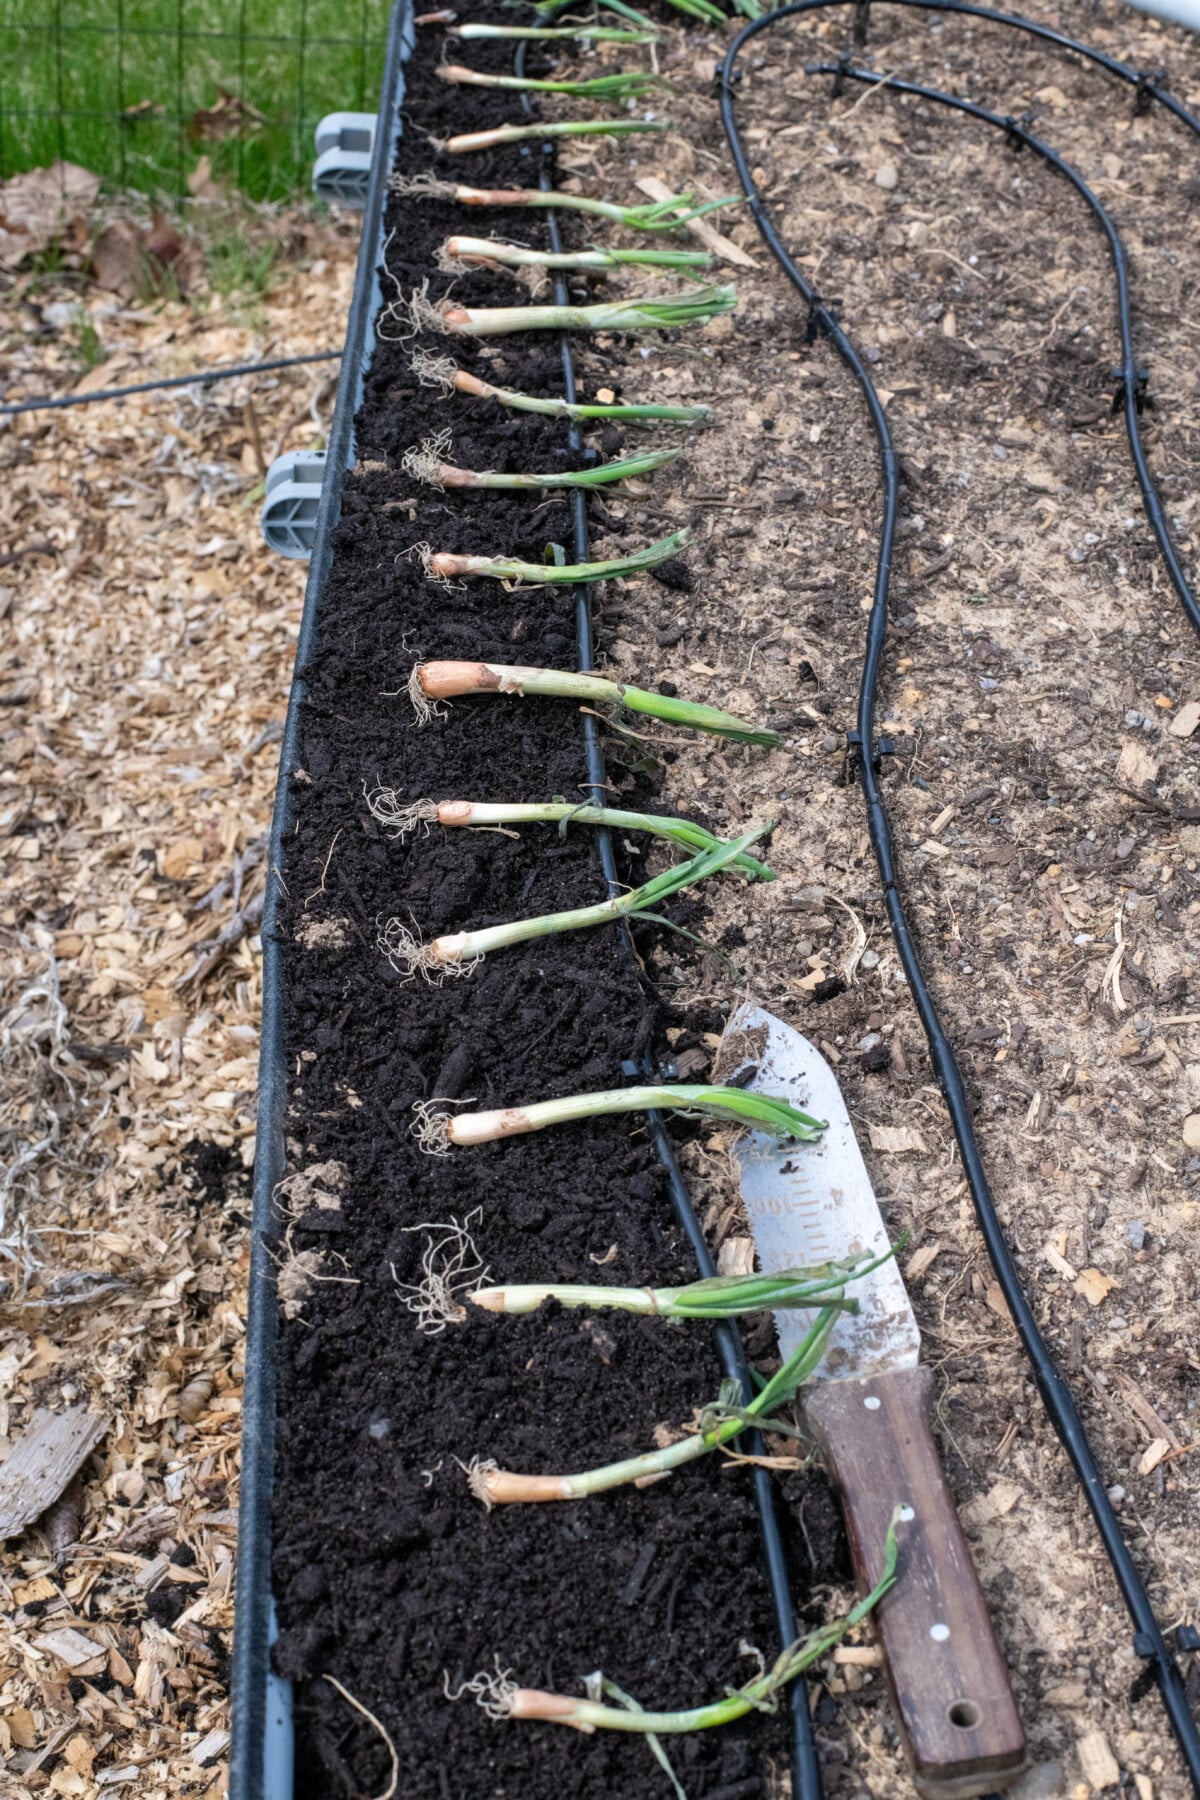
Remember, each leaf corresponds to a layer inside the bulb, so you need to give your onions room to grow into those rings as the season progresses. Plant your sets or transplants 4-6 inches apart for full-sized bulbs and in rows 12 inches apart. If you want pearl onions, you can plant them around 2 inches apart.
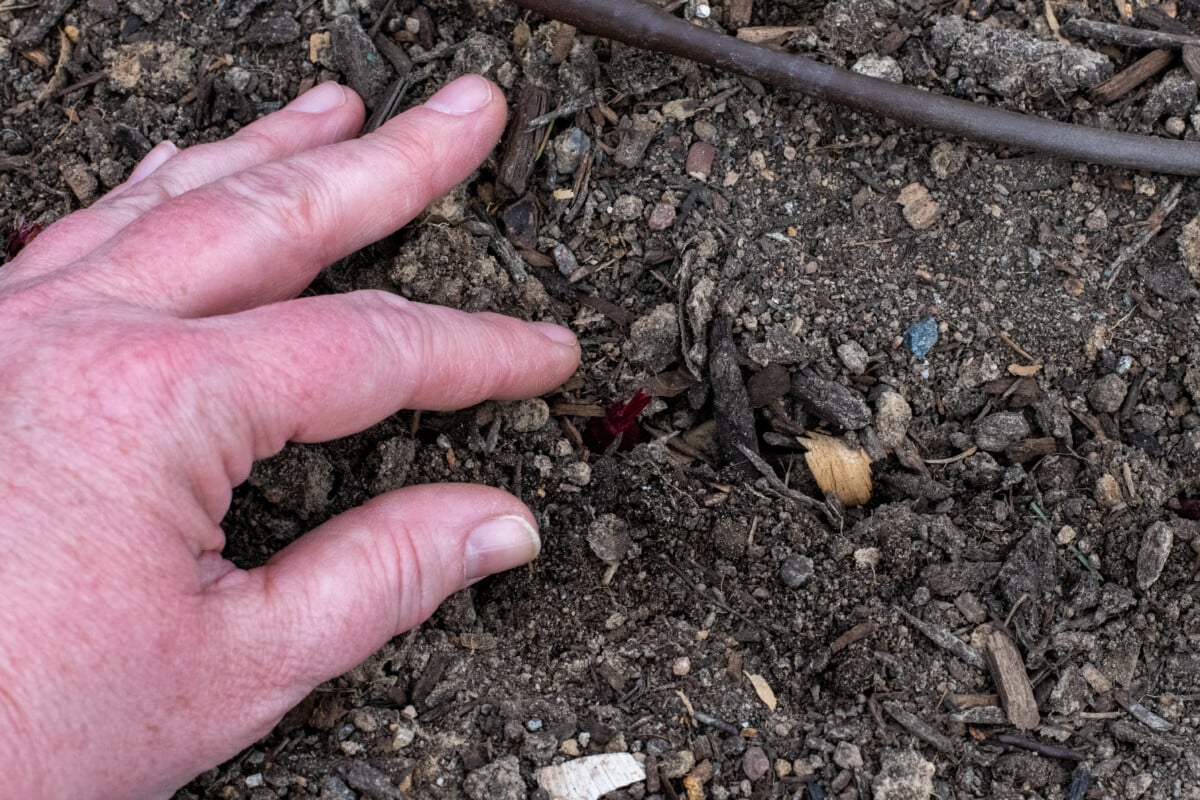
It’s equally as important not to plant your sets or transplants too deeply, as this discourages bulbing. Plant onions an inch below the soil with the root side down. For sets, I always make sure the very tip of the onion is showing above the soil.
Water
Onions need about an inch of water per week, consistently. Much like tomatoes, inconsistent watering where you have long, dry spells followed by heavy rain will cause the bulbs to crack. As you get closer to the time to harvest, stop watering to allow the outer skin to start to cure.
Fertilizing Onions
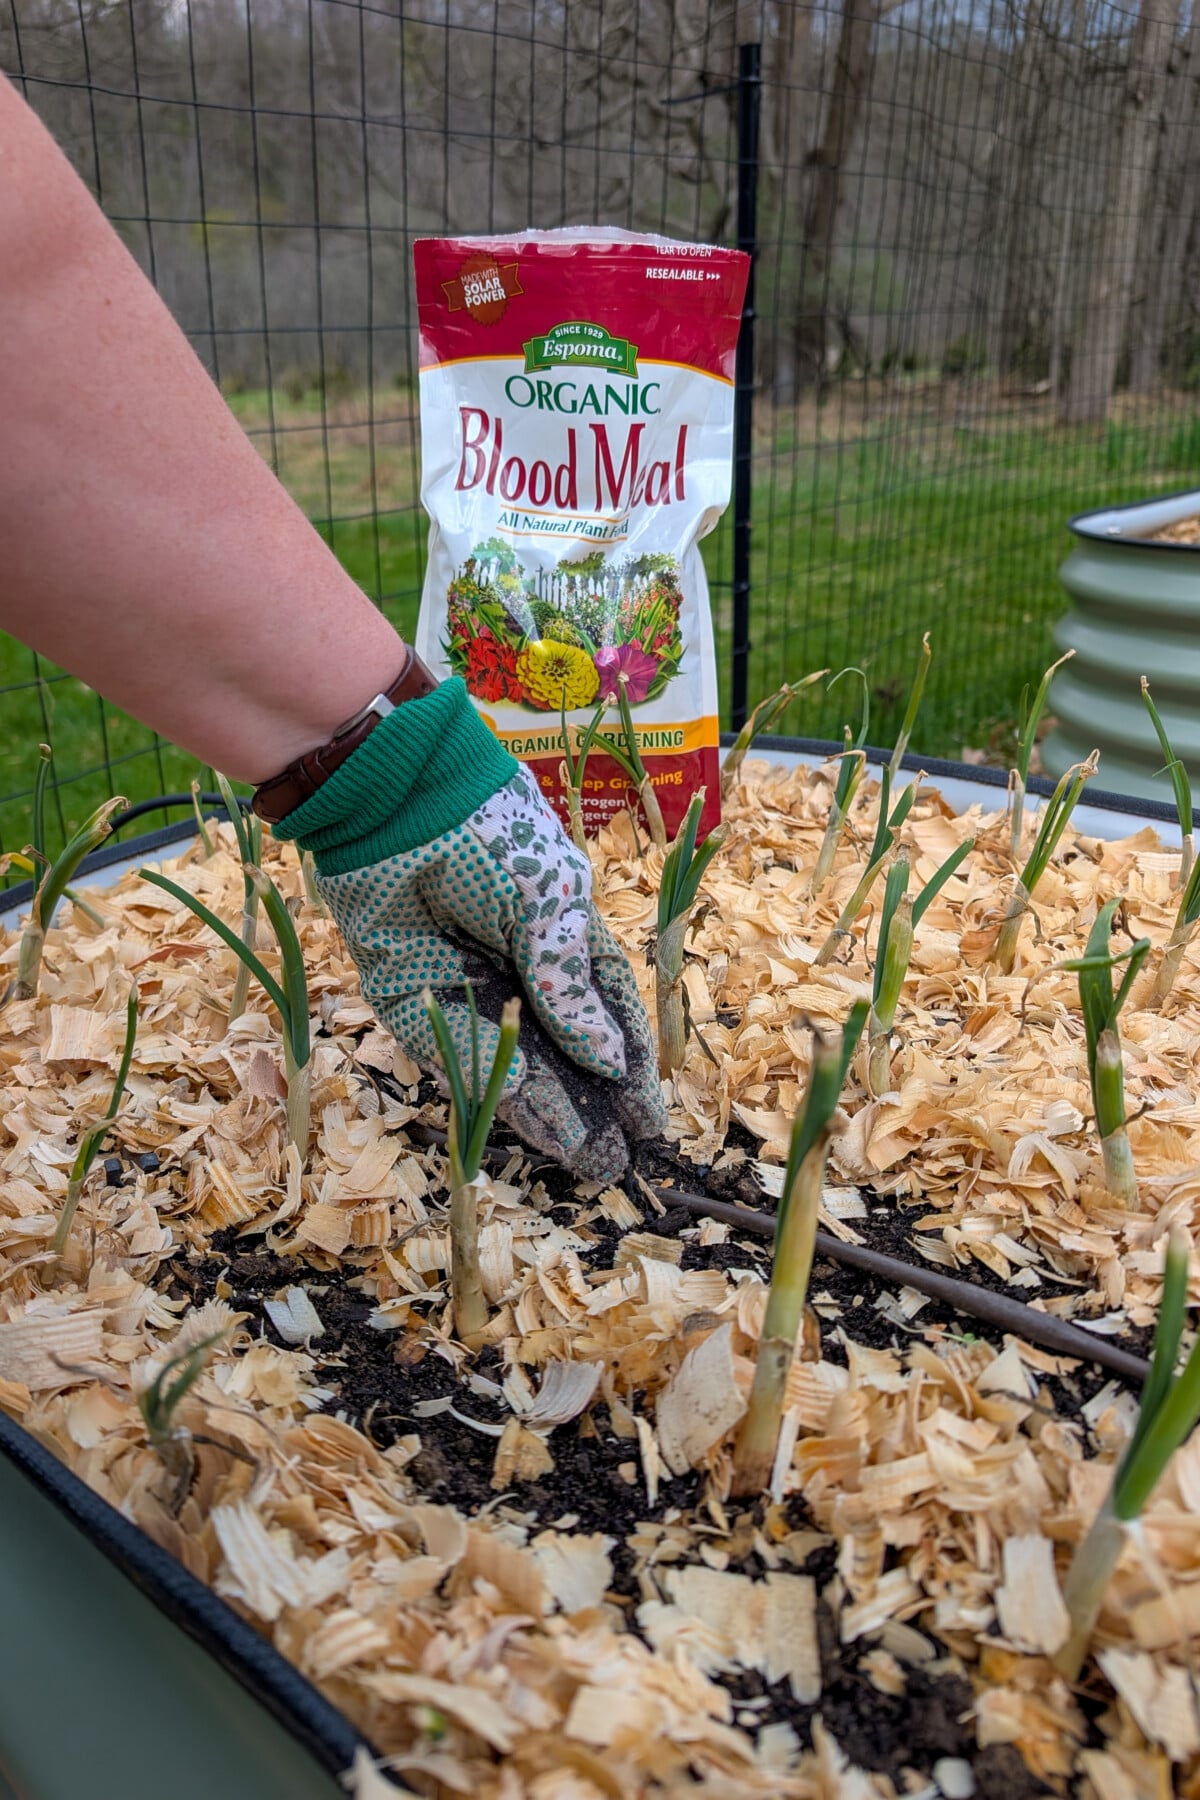
We’ve already discussed how onions grow in two phases. During early growth, when the plant is making leaves, focus on a high-nitrogen fertilizer. Work blood meal into the soil when you plant your onions, and then side-dress your onions every few weeks thereafter, again, opting for a high-nitrogen fertilizer.
Once they start plumping up the bulbs, the second phase, stop feeding them altogether. You’ll know the onions have started their second-phase bulb growth when the soil starts to crack around the onions, they stop putting out new leaves, and the leaves start to yellow from the top down.
When to Harvest & How to Cure and Store Onions
I’ll keep this final section brief, as we’ve got a pretty good guide on this part of the onion growing process for you here.
Generally, you can pull onions and eat them whenever you like. Remember, pearl onions are just baby onions. But if you want large, full-grown onions and you would like to store them, you need to pick them at the right time and cure them.
When to Harvest
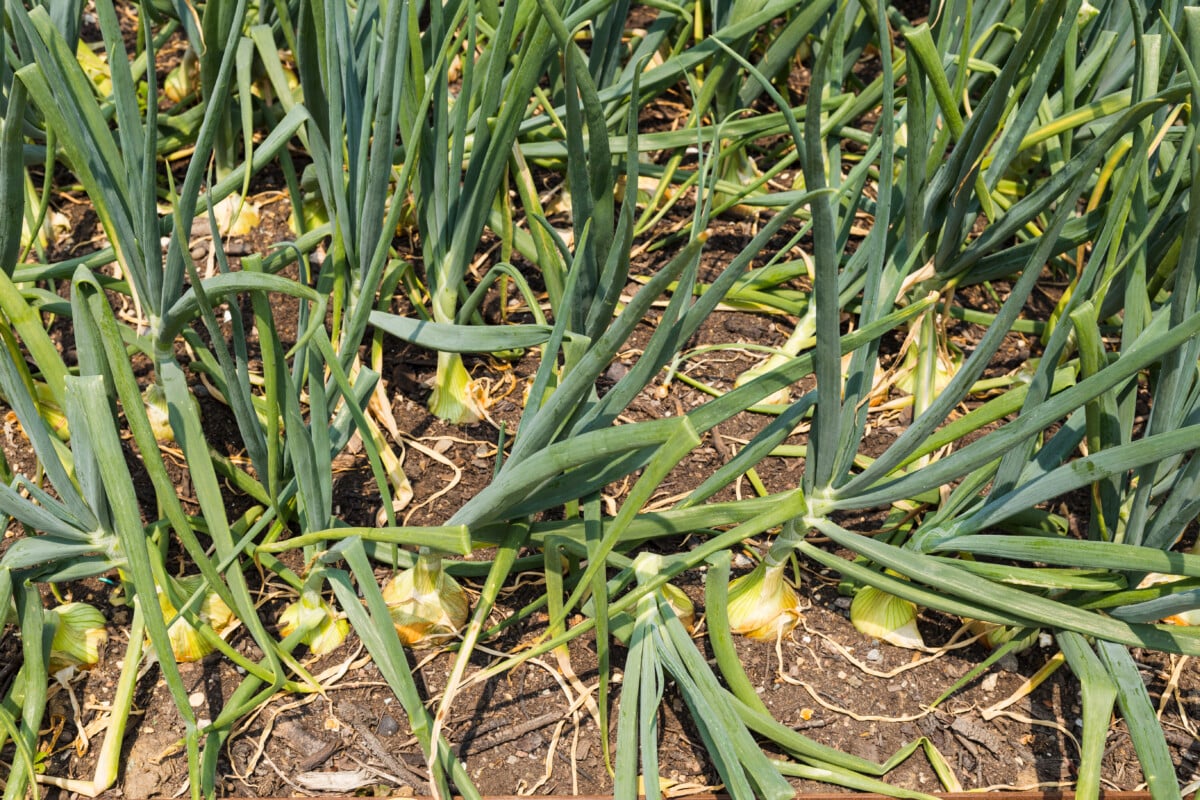
Nature happily tells you when your onions are ready to be harvested if you pay attention to the green tops.
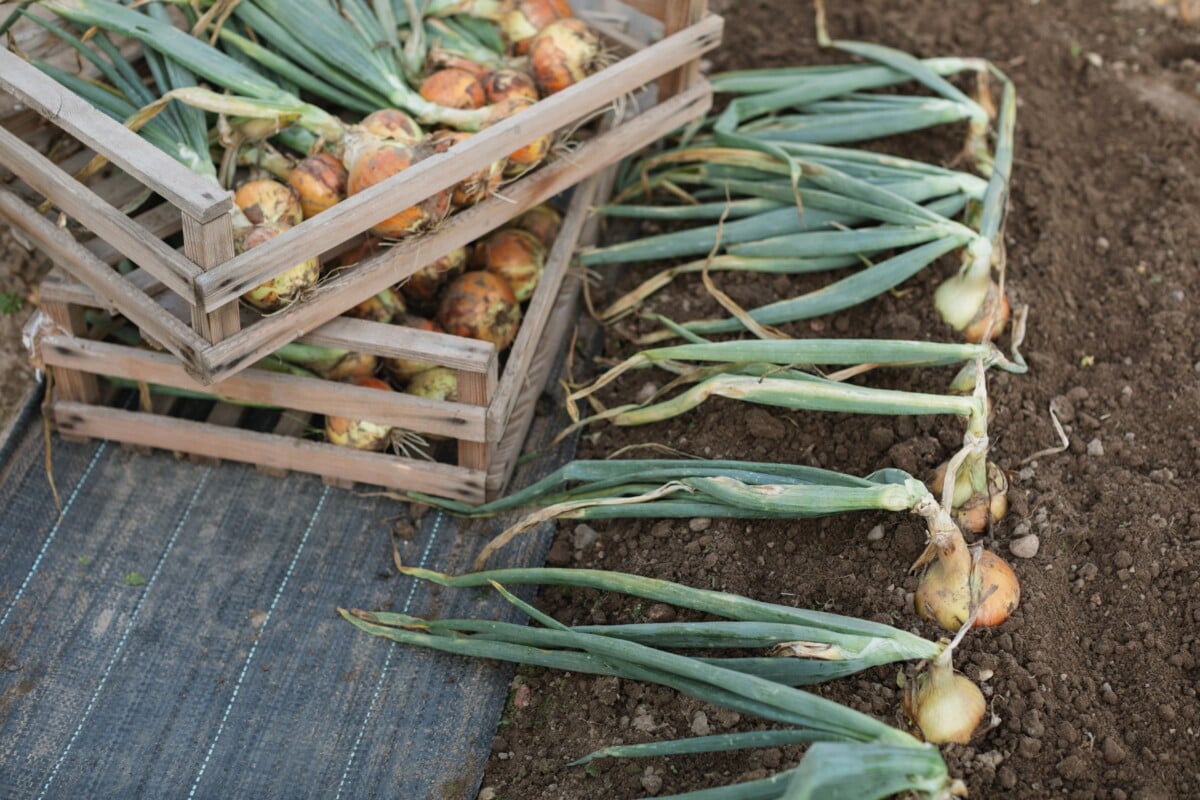
When two-thirds of the tops have turned yellow and fallen over, carefully loosen the soil with a garden fork and lift the bulbs. (You aren’t waiting for every single onion top to fall over, but for the majority of them to flop and yellow.) It’s best to wait for dry weather to harvest your onions if the forecast allows.
You can also take a cue from some commercial growers. Once most of your onion tops start flopping over, you can bend the remaining tops yourself.
Curing and Storage
To store onions long-term, they need to be cured, which means you allow the outer skin and the neck time to dry out.
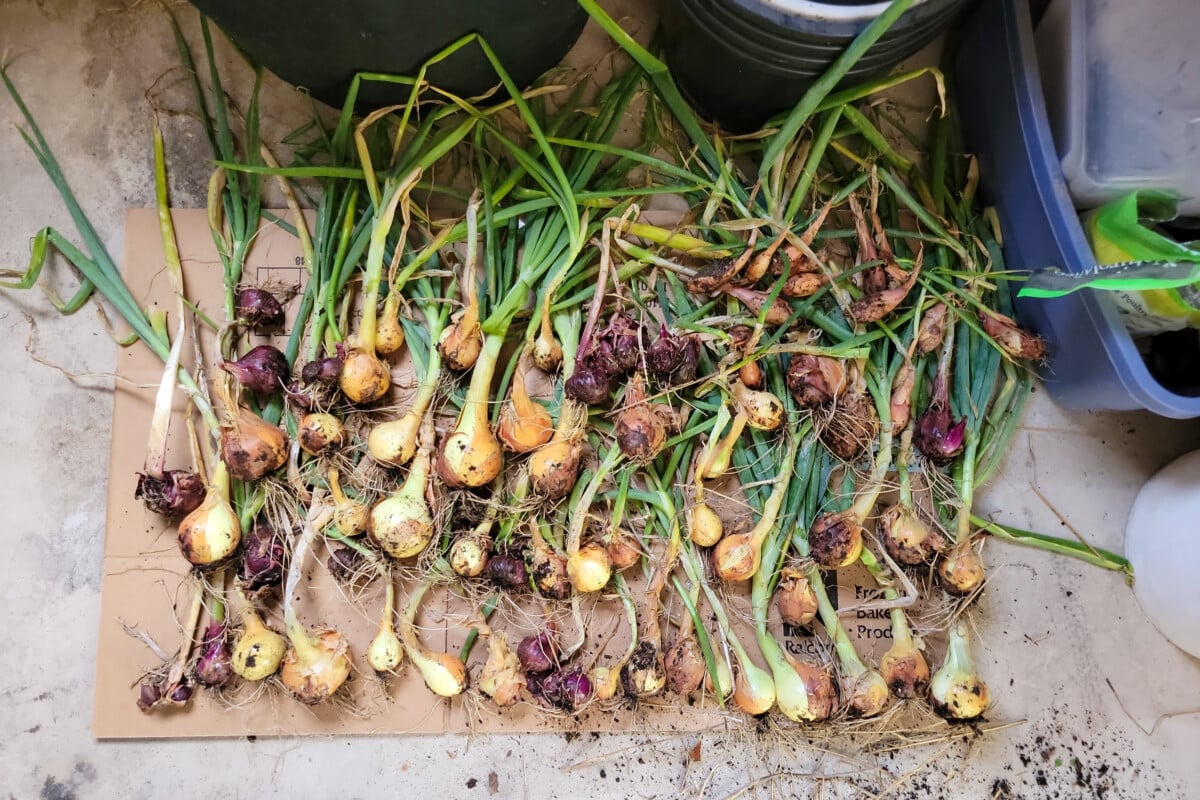
Lay newly dug bulbs in a single layer somewhere warm and dry with good ventilation for two to four weeks. The onions are ready to store when they rustle when you move them, as the outer skin and necks will be dried out. Trim the roots and cut the tops to an inch above the bulb, or use the leaves to make an onion braid.
Store your cured onions somewhere dark and cool with good air circulation. Check the onions periodically and remove any that have soft spots or signs of rotting. Just like apples, one bad onion can spoil the whole bunch.

Get the famous Rural Sprout newsletter delivered to your inbox.
Join the 50,000+ gardeners who get timely gardening tutorials, tips and tasks delivered direct to their inbox.