

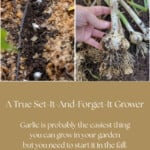
Fall showed up this week. I went away for a few days, leaving behind a green backyard. When I came home, everything was gold, orange and red. And that means it’s time to get garlic in the ground for next year.
Grab your seed garlic (I’ll show you the best places to get it), garden gloves, and a trowel, and let’s get started. You can’t beat the flavor of garlic grown in your own garden.
If this is your first time planting garlic, you may be surprised to learn that we start it at the end of the growing season, in the fall.
Garlic takes a considerable amount of time to grow, and some varieties require a period of cold to form bulbs. So, we get it in the ground at the end of the current season, where it puts down roots and starts growing. Then it goes dormant during the winter and resumes growing again in the spring, ready for harvest in the summer.
Beyond this odd little quirk, for something so rich in flavor, garlic is quite easy to grow and immensely gratifying. Read through this how-to-grow guide, and you’ll be growing garlic for life.
One of the first things we need to discuss, and the most important, is whether you will be growing hardneck or softneck garlic, as they each have different growing habits, flavors, and grow well in different climates.
Hardneck vs. Softneck Garlic
Hardneck Garlic
Hardneck thrives in cooler climates, especially in the northern regions of the U.S., generally Zones 1 through 6. It needs a long period of cold, called vernalization, to form bulbs properly. Hardneck varieties are known for their bold and complex flavors, and are a favorite of both chefs and home cooks alike. They are certainly my favorite garlic to work with in the kitchen. Unfortunately, of the two, hardneck has a much shorter shelf life, between two to five months, but that’s still nothing to sneeze at.
As if hardneck garlic didn’t already have a lot going for it, it is typically smaller than softneck garlic, but the cloves are much larger and easier to peel. I tested six different ways to peel garlic, and the best way is to lay the clove on its side and thump it with the flat side of a knife. When I do this to hardneck garlic, often the papery skin pops off in one piece. Easy!
But by far the best part of growing hardneck garlic is the scapes.
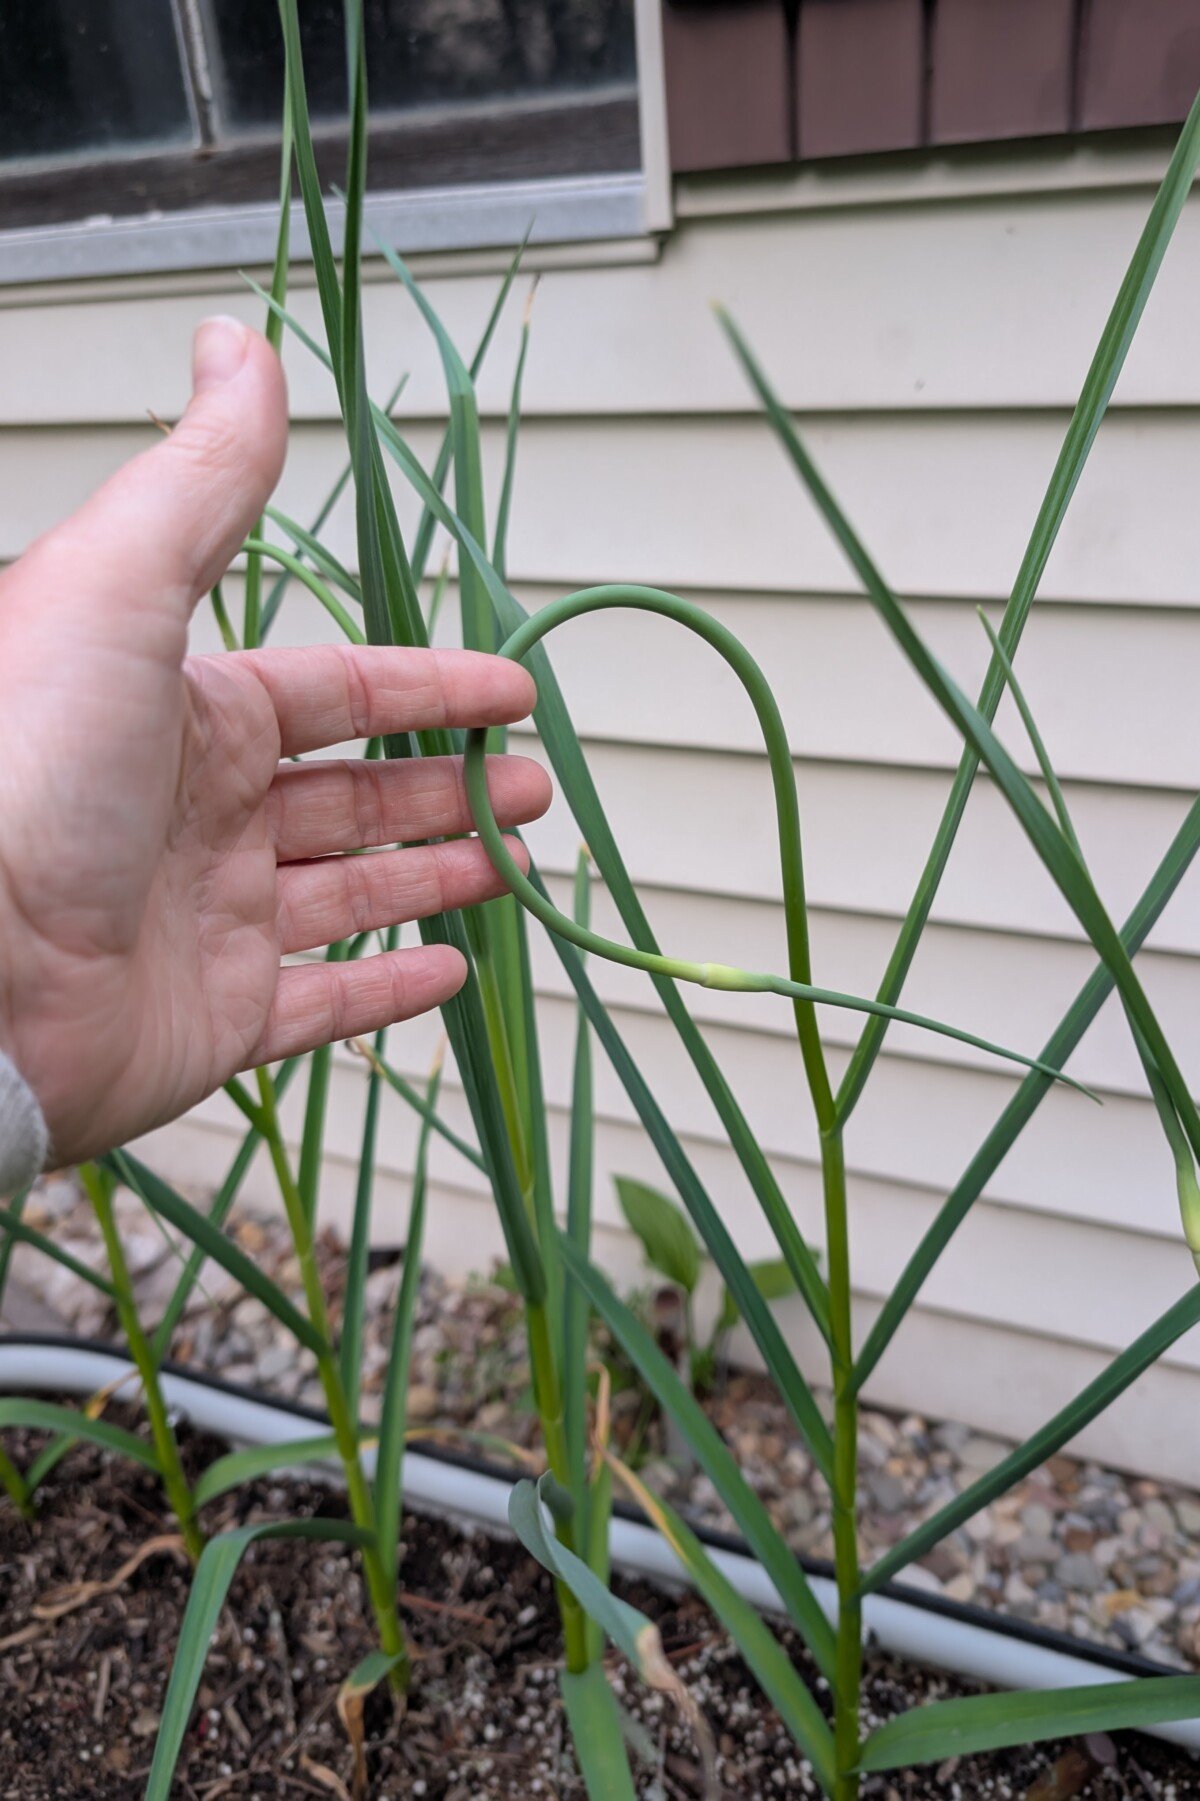
Bonus – garlic scapes! Hardneck garlic produces a tall, stiff central neck, or garlic scape, that grows from the center of the bulb. It’s edible and delicious. Think of it as a preview of the garlic yet to come.
Typically, scapes are ready to harvest in late spring or early summer. It all depends on your growing zone and when you planted them.
You know garlic scapes are ready to harvest when they make a full loop or curl. Snip them off with scissors or pinch them off by hand. Regardless of how you remove them, it’s essential that you do. Removing the scapes allows the garlic to redirect its energy to the bulb, rather than forming a seedhead.
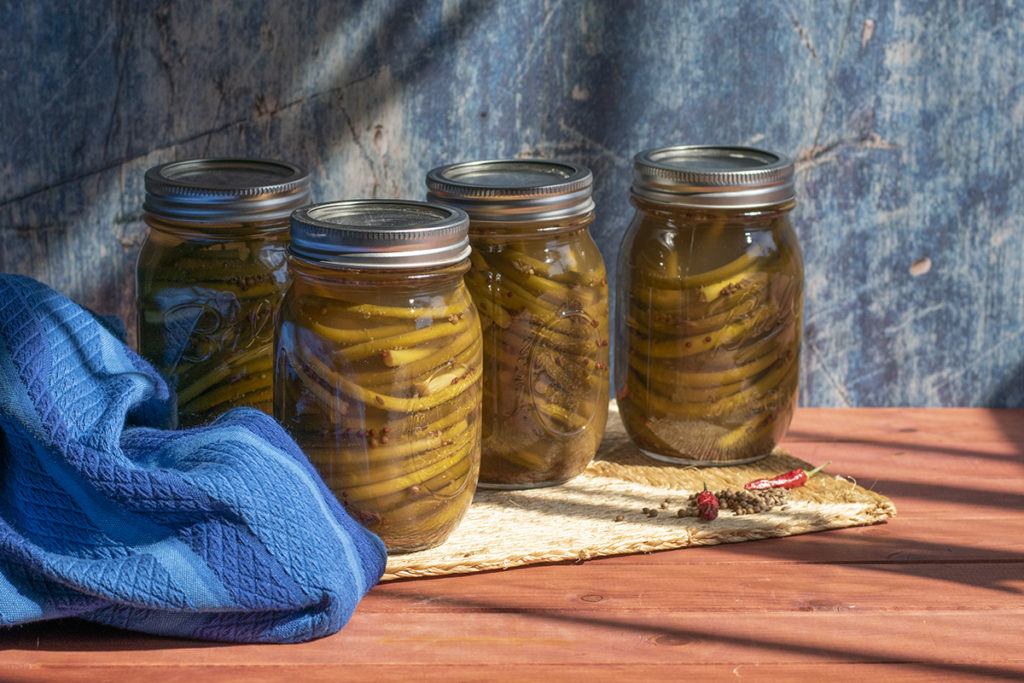
You can make my easy and delicious pickled garlic scapes with them. (Dirty martini sippers, the brine and the pickled scape make excellent martinis.)
Now, on to softneck garlic.
Softneck Garlic
Softneck garlic does best when grown in warmer climates, such as the southern U.S. (Zones 8-12), but those transitional Zones, 6 & 7, can also have pretty good luck with it. (For reference, I’m in Zone 6b and exclusively grow hardneck. I have grown softneck, but I prefer the flavor of hardneck and the ease of peeling.)
Softneck garlic does not produce a scape, but instead produces a long, soft neck growing from the center of the bulb, which makes it easy to braid.
So, yes, every one of those beautiful braids of garlic you see is softneck.
Softneck garlic also produces much larger bulbs with many smaller cloves. The flavor is milder than that of hardneck, sometimes almost sweet. (Great for roasting!) It’s also the most commonly grown garlic commercially because it can be stored for six to twelve months. (In ideal conditions, of course.) As most of us who have purchased garlic from the store know, softneck garlic can be a real pain to peel, with its sticky, papery skins.
Now that you know which garlic is best suited to grow in your neck of the woods, let’s get it in the ground.
Buying Garlic to Plant and When to Plant It

When it comes to buying garlic specifically to plant, there are a few ins and outs that might catch out the first-time garlic grower. Let’s take a look.
Sourcing Quality Garlic for Planting
One of the best things you can do to ensure a bumper crop of garlic is to purchase quality garlic grown for seed stock from a reputable seed company. Garlic is often offered for presale in late summer and then shipped when it’s time to plant. If you go online, looking for garlic in October, you might be met with “Out of Stock” signs everywhere.
Be wise and get your garlic ordered early! I always aim to order mine in August, for the best possible selection.
- Territorial Seed Co (this is where I buy my garlic from)
- Johnny’s Selected Seeds
- Keene Garlic
You will often find garlic for sale in big box stores, along with bare-root stock fruits and vegetables, in the fall. I use this as a last resort, as it’s usually poor quality and almost always softneck. I don’t want to introduce pathogens to my soil with poor-quality seed stock.
Can you grow garlic from the grocery store?
I get it, it’s right there. Heck, maybe you even have a forgotten bulb already sprouting in your kitchen. It’s a good question to ask.
Yes, you can absolutely grow garlic from the grocery store. However, you might not want to. Quite often, commercially produced garlic is sprayed to prevent it from sprouting too quickly, so it may not establish roots and sprout in time. It may end up rotting in the ground.
The other caveat is that supermarket garlic is almost always softneck, due to its long shelf life. So, for those of us in colder climates, this might not do well.
In a pinch, sure, go ahead and stick your supermarket garlic in the ground. However, you’ll achieve far better results with garlic grown specifically for seed stock.
“Okay, Tracey, I’ve got my garlic. When do I plant it?”
Garlic is typically planted from mid-September to November, depending on your growing zone.
- Zones 3-5 mid-September to early October
- Zones 5-7 mid to late October
- Zones 7-9, late October into November
The Day Before You Plant Your Garlic
There are a few things you can do the day before to ensure a great garlic crop.
Prep the soil by working the top few inches with a trowel or hori hori knife. Work in a bit of well-aged compost. Garlic prefers well-draining soil, so this not only adds more organic matter to the soil but also improves its drainage.
Separate, Inspect & Soak Garlic Cloves
Separate the cloves from the bulb. It’s best to leave the papery skin on, as it provides a barrier that protects the garlic from mold and soil-borne diseases. If it comes off while you’re separating the cloves, it’s not the end of the world.
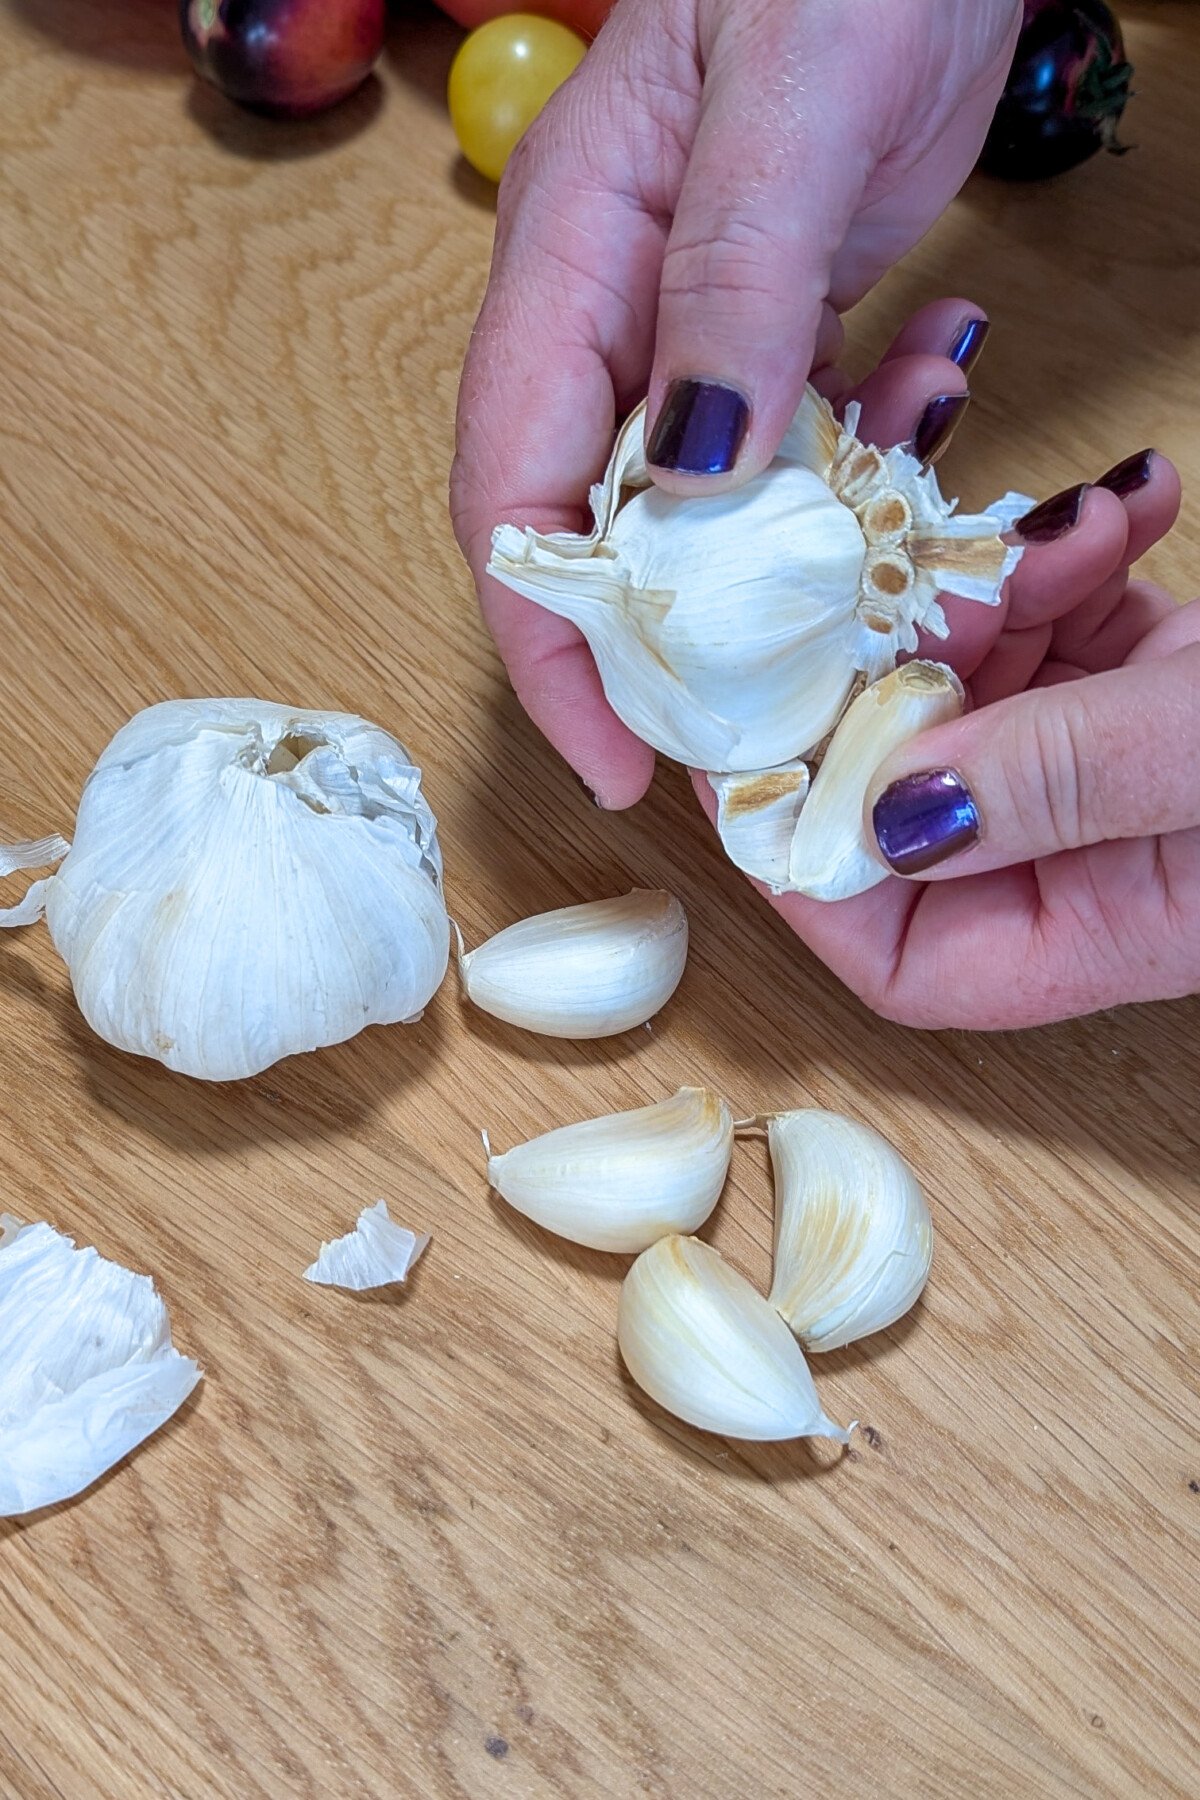
Inspect each clove and only plant clean, healthy garlic. If the garlic is moldy, has brown spots, or has evidence of pests, don’t plant it.
Don’t throw it out yet; take photos of it. If you purchased your garlic from a reputable seed company, reach out to them. Most have a money-back guarantee and will refund your purchase or replace the bulbs.
Before planting, consider soaking your garlic cloves.
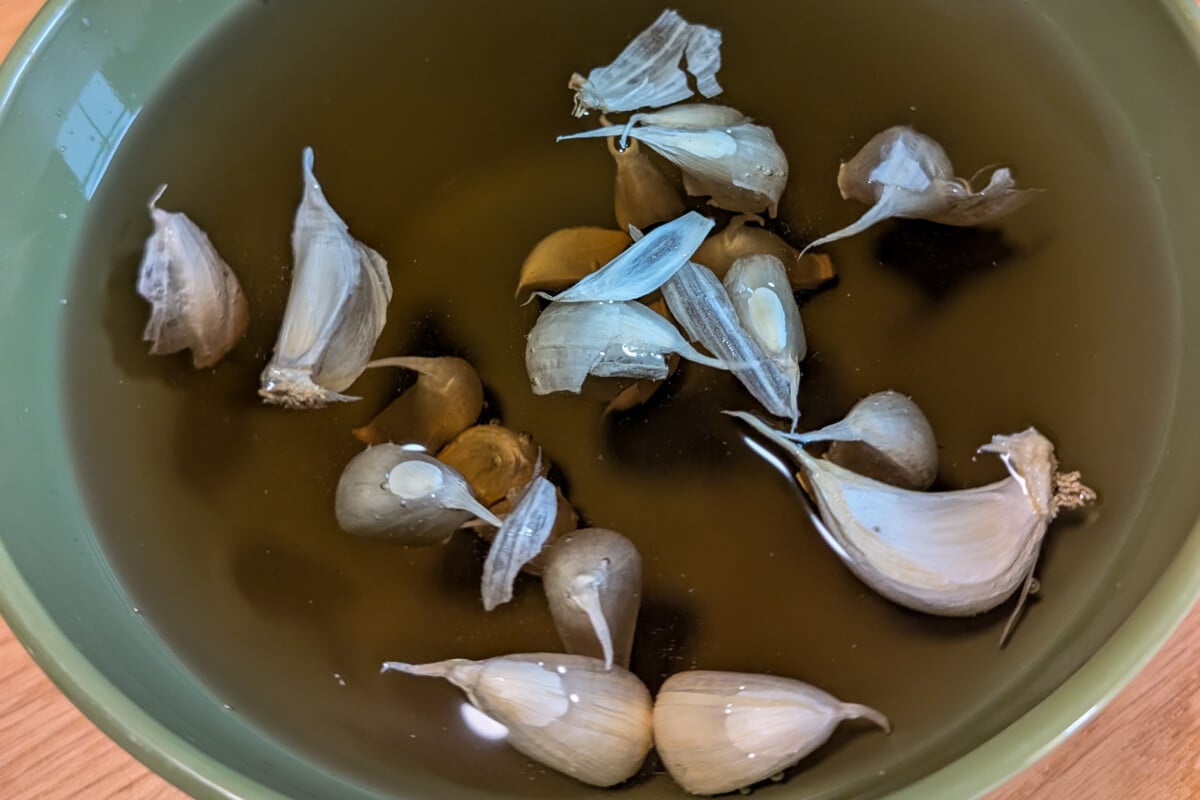
Depending on what you choose to soak your garlic in, you can prevent soil-borne diseases or speed up root development.
Click here to learn how to mix up a garlic soak solution and the benefits of doing so.
Planting Your Garlic
Prepping the Soil, Depth & Spacing
If you didn’t do it the day before, prepare your soil as instructed above.
A quick note: I have a beautiful, wood-handled garden trowel that I paid entirely too much for in a fancy garden shop. I never use it. I bought a Hori Hori knife a few years ago, and it’s the tool I reach for time and again. It really shines when it comes to planting garlic.
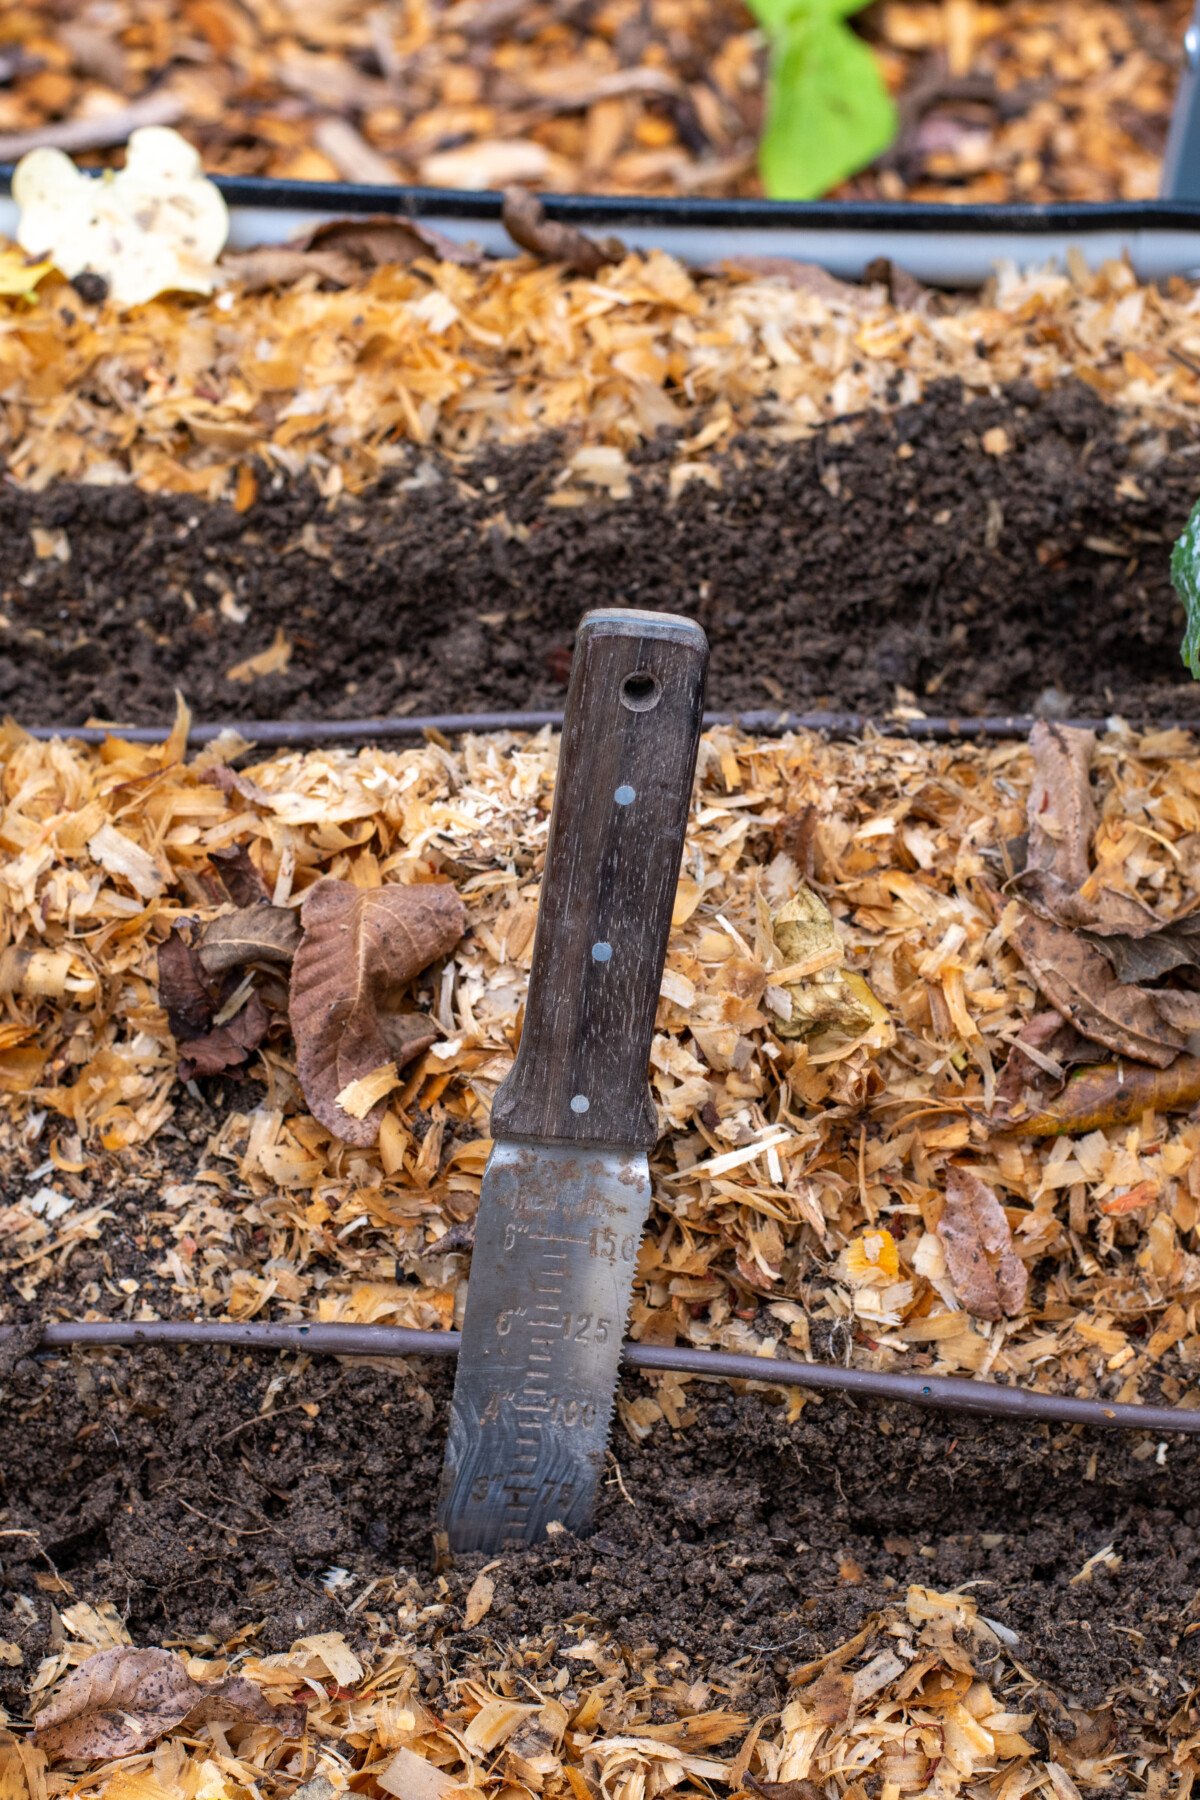
It busts through hard soil. It’s great for creating long, even rows. It has a 6” ruler stamped onto one side, making it perfect for measuring how far apart to plant each clove and at what depth. I love this silly thing! (This is the one I own.)
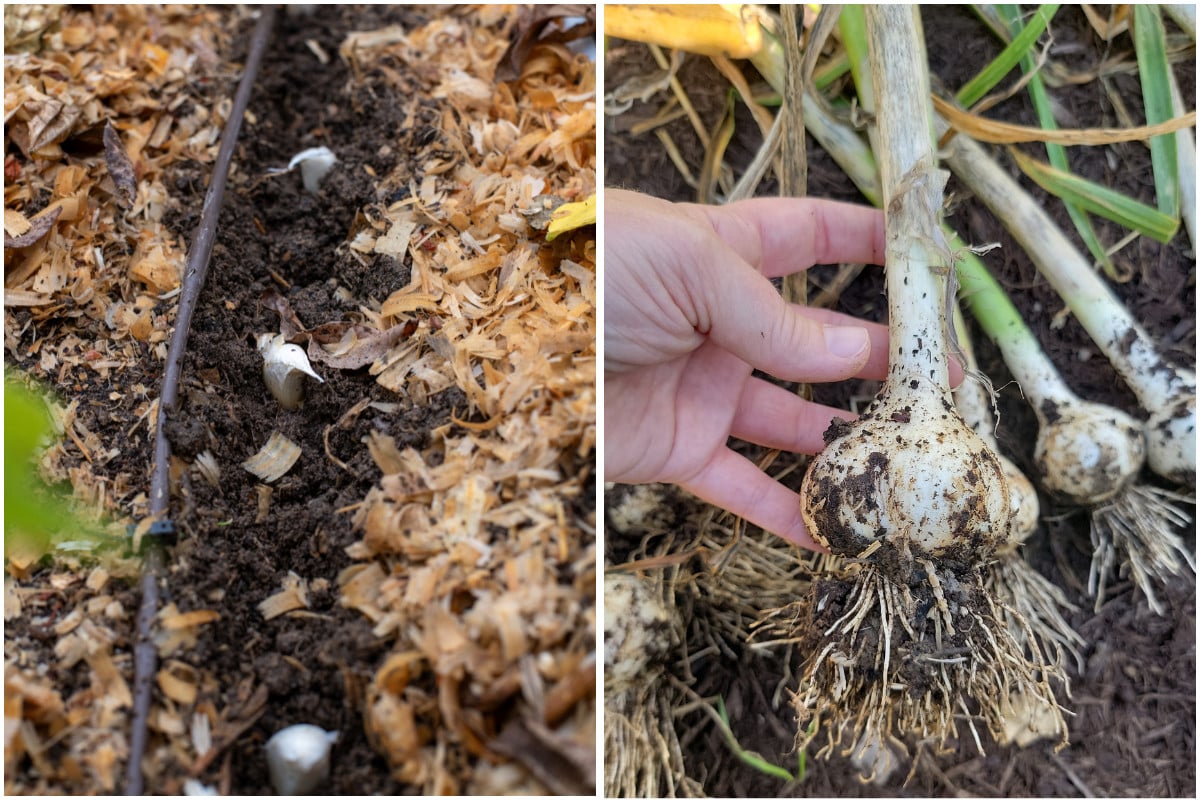
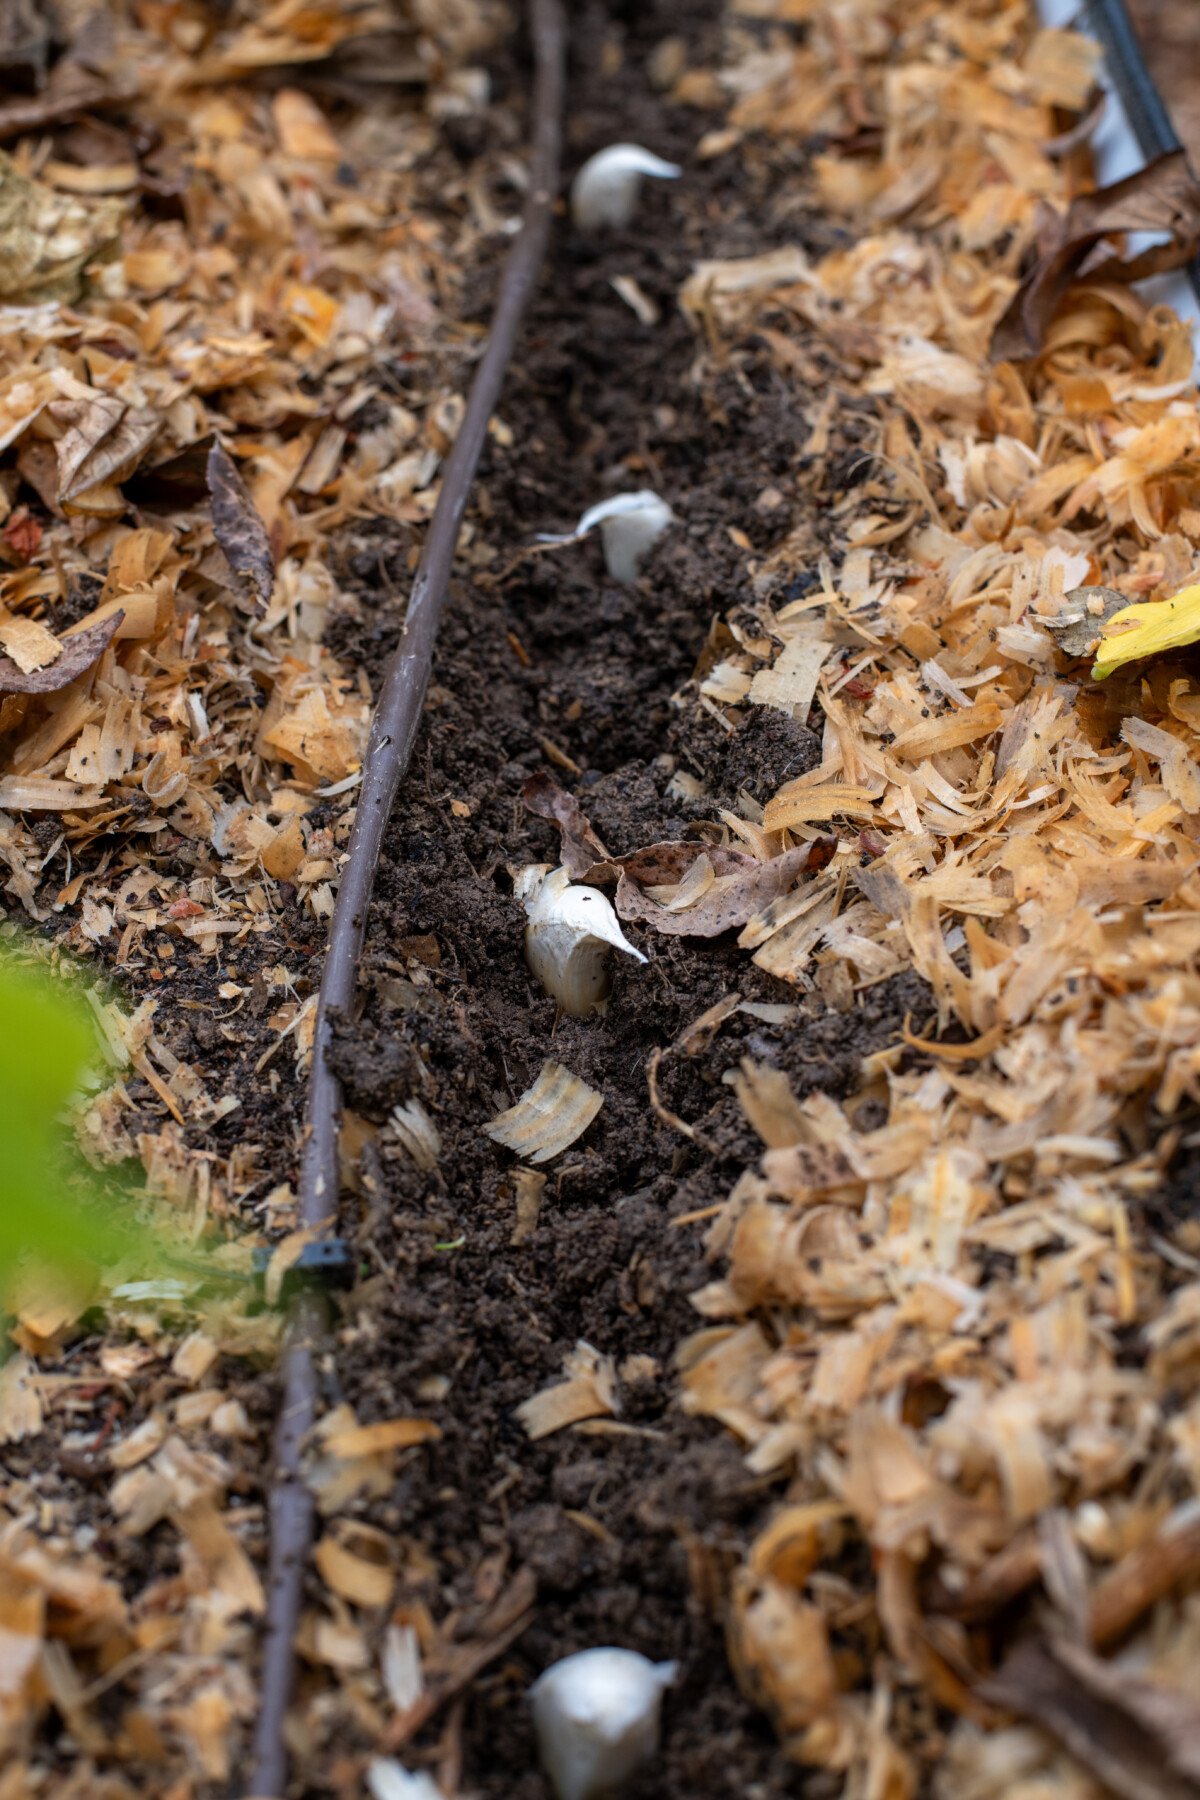
Garlic cloves need to be planted with the root side down and the pointy tip up.
It needs to be buried deep enough to protect it from cold damage above and to allow it to develop into big, beautiful bulbs. Garlic does not like to be crowded and won’t do as well if you plant it closely together, so spacing is important.
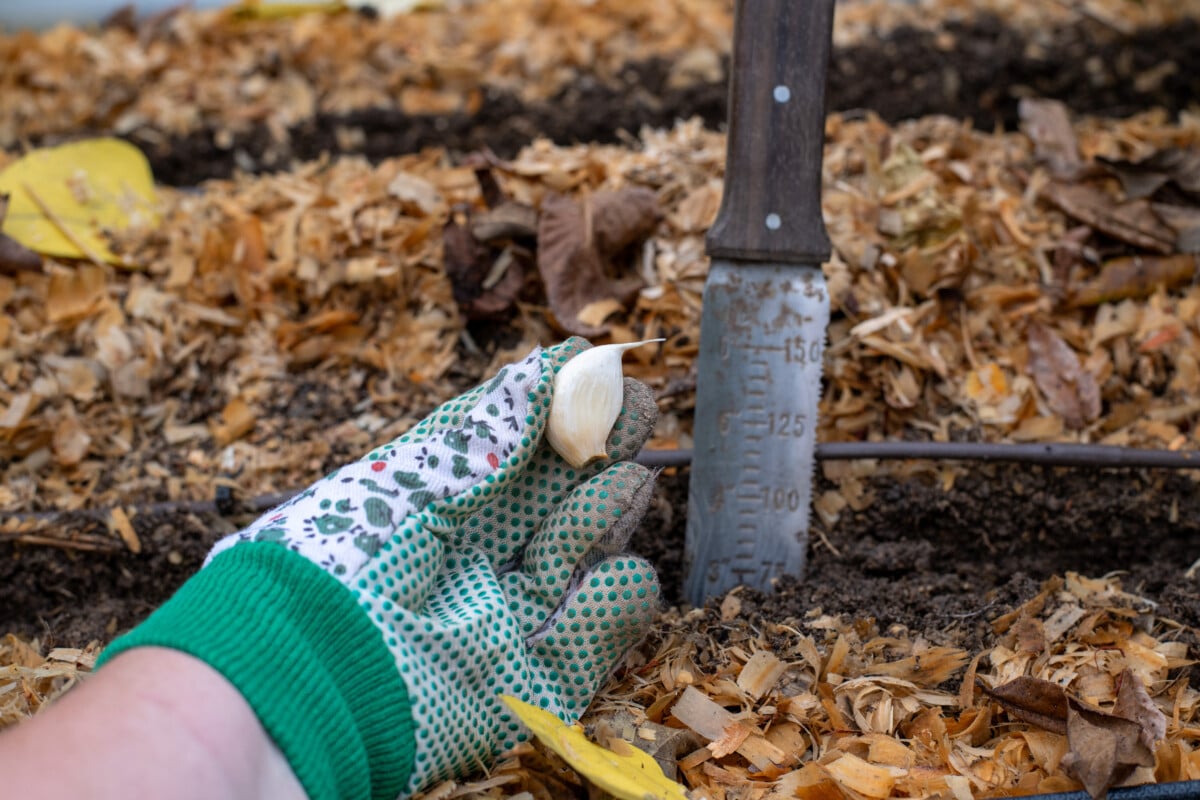
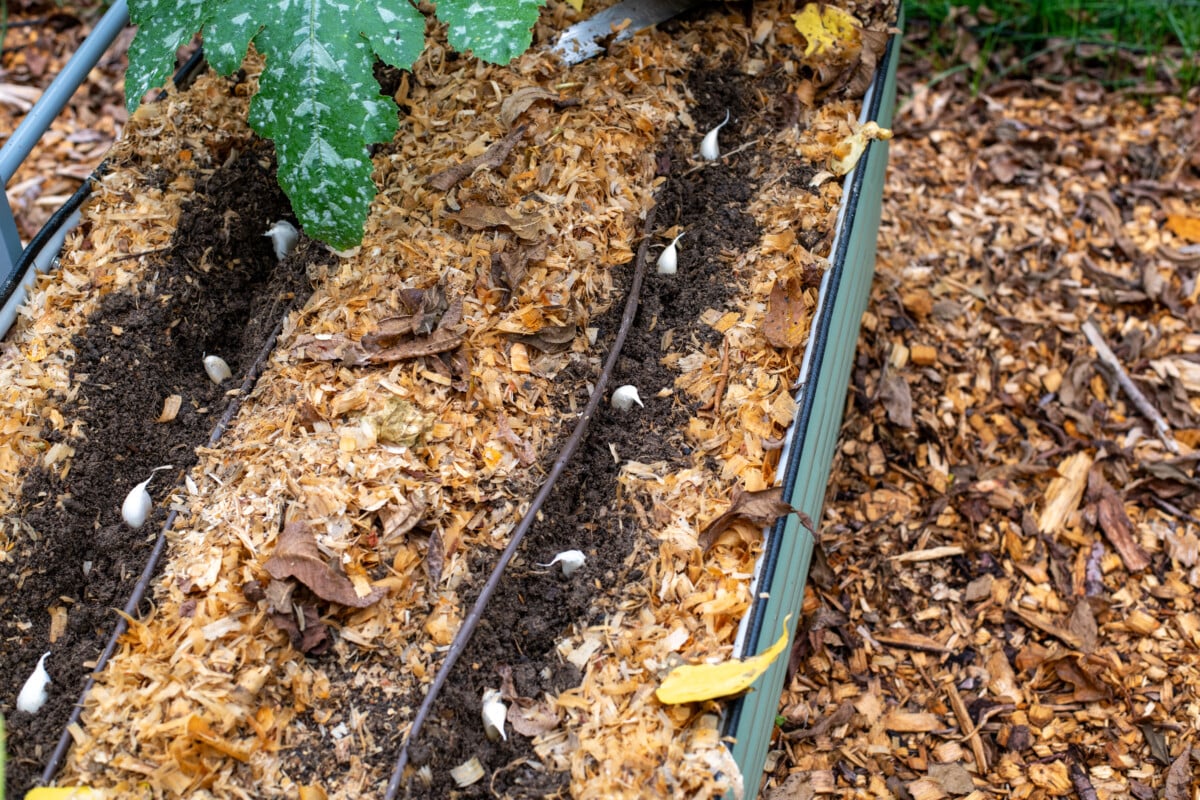
Individual cloves should be planted at a depth of 2”- 4” deep and 6” apart. If you live in an area with cold winters, be sure to plant your garlic at the deeper end of that range so that it won’t work itself up out of the ground with freeze-thaw cycles during the winter.
I make a nice long row using my hori hori knife and then set out the cloves at the required 6” before pushing them into the ground. Then I fold both sides of the row back over them and pat the dirt down firmly.
Water them in well, or you can let Ma Nature do it if you have rain forecast in the next few days. Don’t forget to label and mark where you planted your garlic! You would not be the first gardener to forget about it and accidentally dig up your growing garlic the following spring. (I know I wasn’t the first. Oops!)
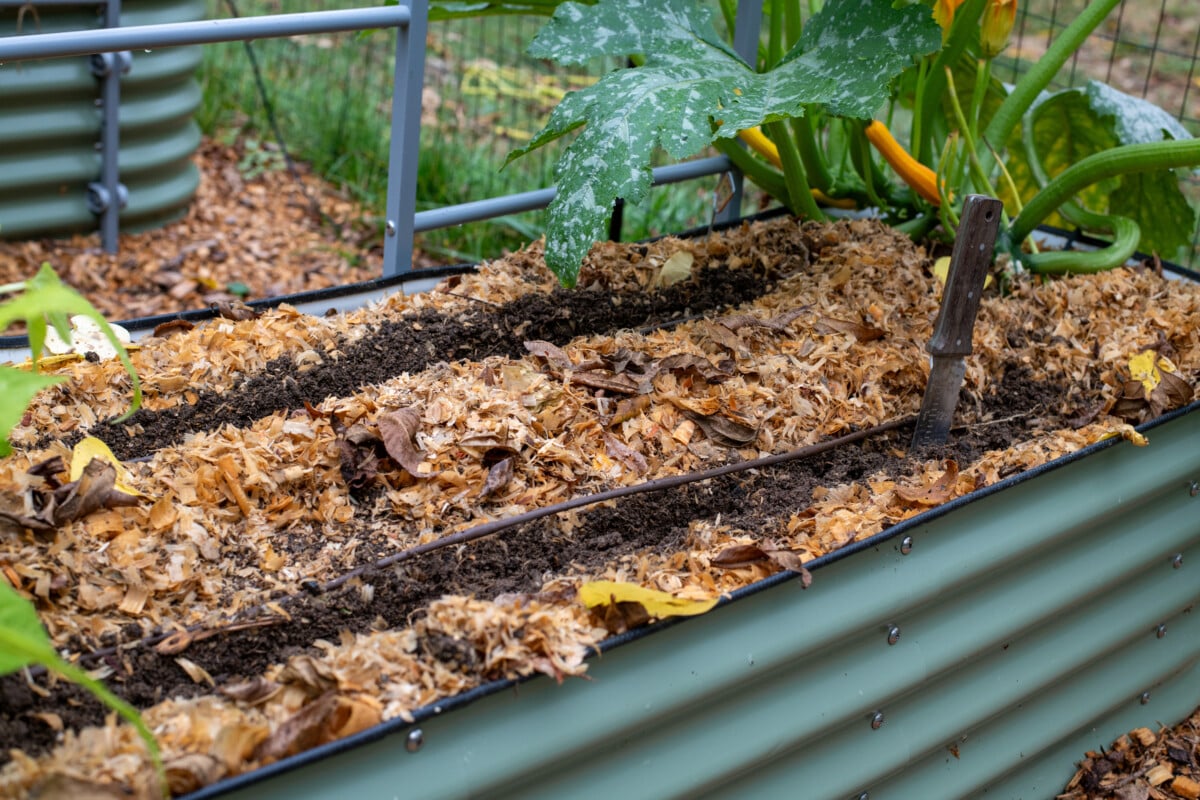
Mulch, My Friends, Mulch

Once you have finished planting your garlic, it’s important to mulch it well with straw, wood shavings or shredded leaves. Put down a thick layer, between 3” and 6” inches thick. This will lock in moisture and protect the developing bulbs from the cold.
And that’s it for this year. Your work is done until next year.
See You Next Summer!
Next spring, one of the first things you’ll see in your garden is the shockingly bright green leaves of garlic sprouts growing up through your mulch. I can’t tell you how pleasing it is after a dreary, gray winter.
There isn’t anything you need to do for your garlic at this point. Seed garlic is grown to contain all the nutrients it needs to produce bulbs without the need for extra fertilizer. In fact, fertilizing your garlic can backfire, resulting in leafy garlic with small bulbs.
Just let the garlic continue to grow. If you are growing a hardneck variety, don’t forget to harvest your scapes in late spring or early summer. You can read more about harvesting them here.
Harvesting and Curing Your Garlic
Garlic is ready to harvest in mid-summer. Lucky for us, it has a built-in visual timer. When half of the leaves have dried out and turned yellow (on the bottom) and the top half are green, it’s time to harvest your garlic.
Harvest on a dry day and carefully lift the soil around the garlic until you can easily remove the bulb. You don’t want to pierce the bulb.
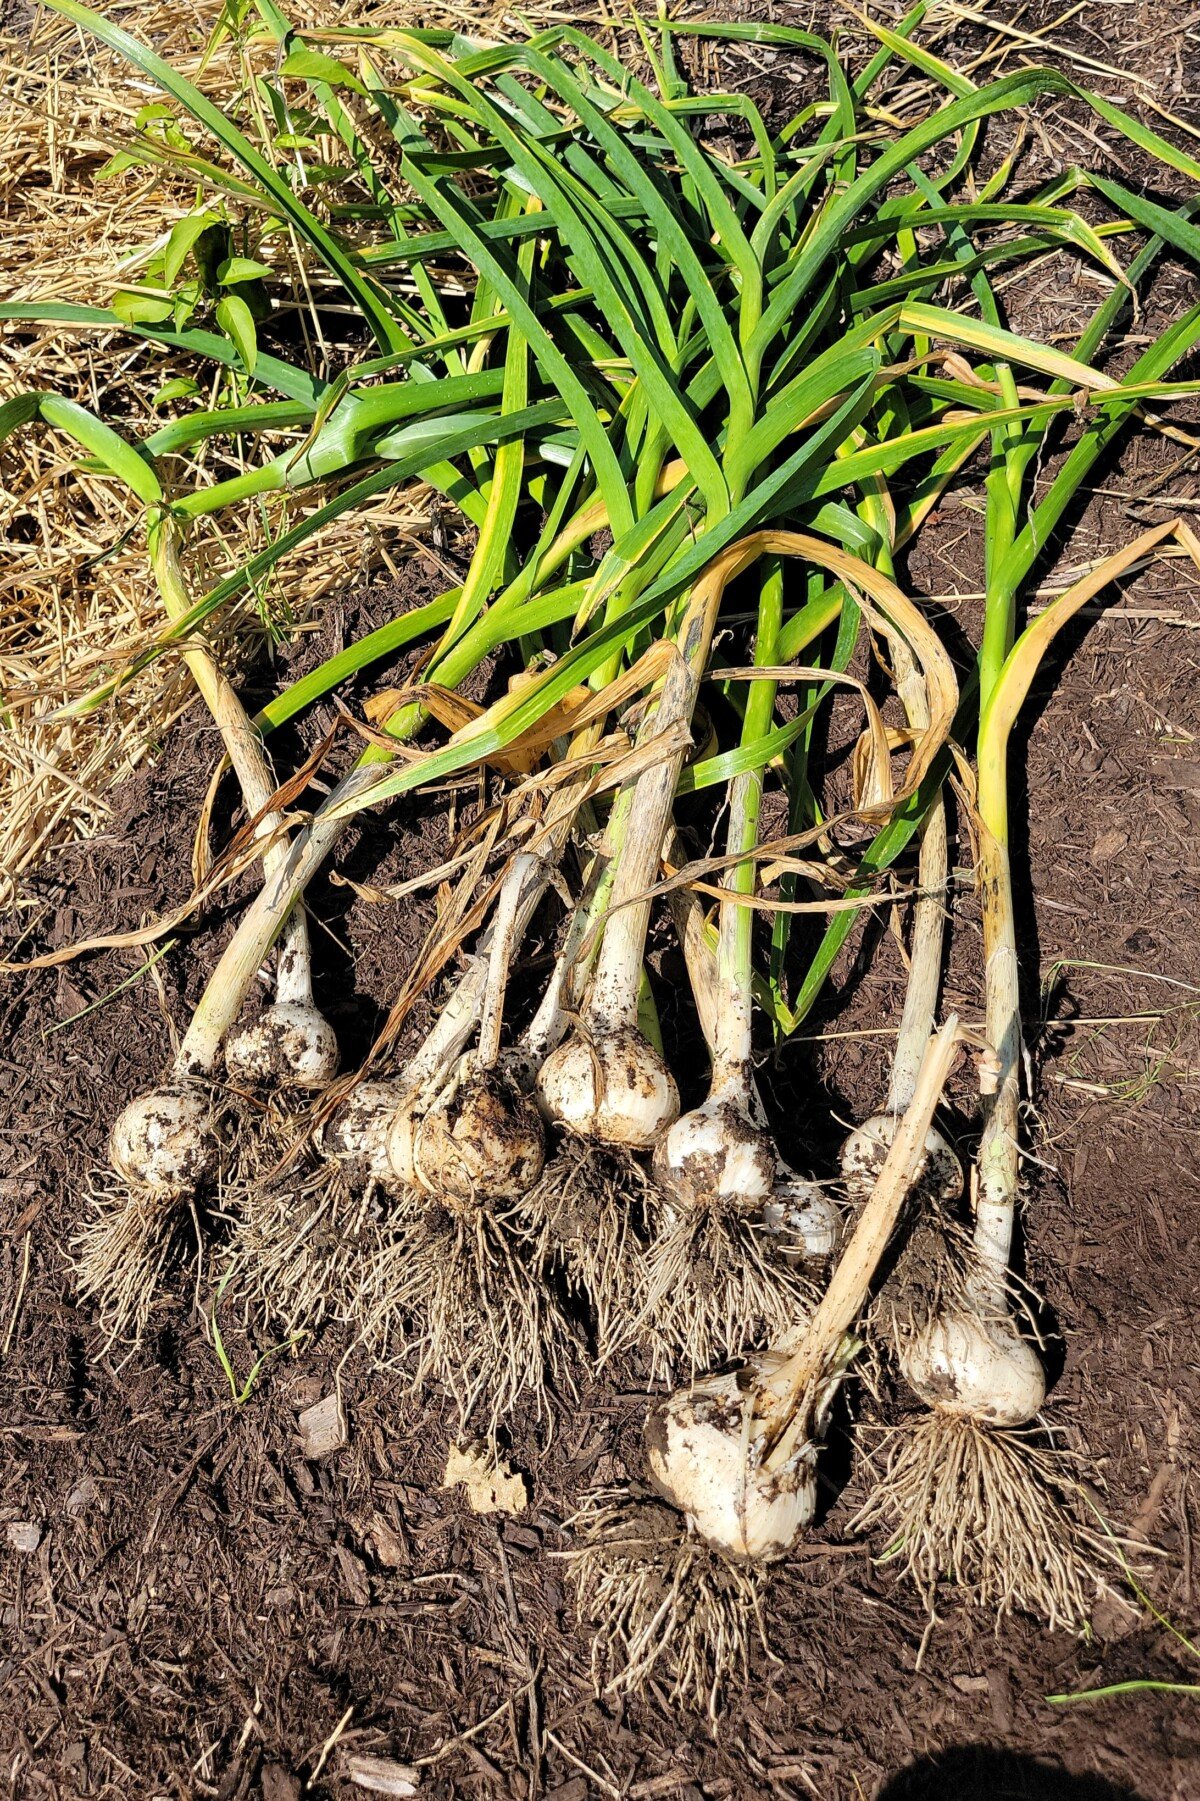
Your garlic is ready to eat right away. However, if you plan to store your garlic, you will need to cure it first.
To cure garlic, keep the leaves intact. Don’t cut anything yet. Gently brush off large clumps of dirt. You don’t want to wash it or remove all the dirt. You’ll need a cool, dry place with good ventilation to cure your garlic. A garage, garden shed or basement can work well as long as it’s not damp.
Lay out your garlic in single layers, so the bulbs aren’t touching and then ignore them for two to four weeks. At that point, you can cut the stems off or braid them if you grew softneck. Trim the roots of the bulbs and gently brush off any dried dirt with a stiff-bristled brush.
If you want more information, here’s our guide on how to harvest, cure and store garlic.
I know it can seem like a lot of information, but in practice, it’s quite easy. Garlic is truly one of the few set-it-and-forget-it vegetables we can grow in our gardens each year. I hope you will give it a try. Once you enjoy a meal cooked with your own homegrown garlic, you’ll turn your nose up at that stuff in the grocery store.

Get the famous Rural Sprout newsletter delivered to your inbox.
Join the 50,000+ gardeners who get timely gardening tutorials, tips and tasks delivered direct to their inbox.