

I have the following phrase written down in my gardening journal for this coming weekend:
Decide what to do with BES!
What the helianthus does that even mean, Mickey?
Who’s Bes and who am I to decide her fate?
I wrote this note-to-self in July. And by September, so many things had happened in the garden that having this reminder served me well. Once I remembered what BES stood for, that is.
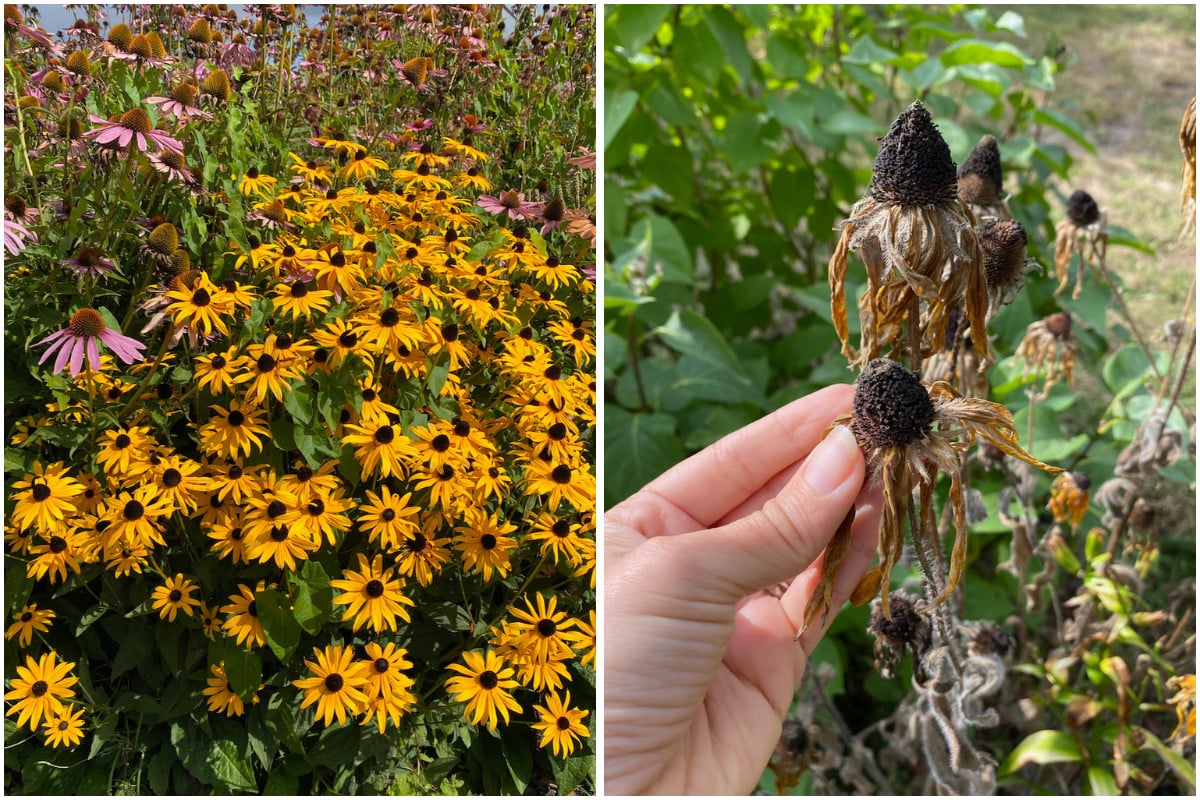
Of course, it was the fate of the black-eyed Susans (BES) that I was to decide. I should have just written Rudbeckia instead, which is the “official” name of these joyous perennials.
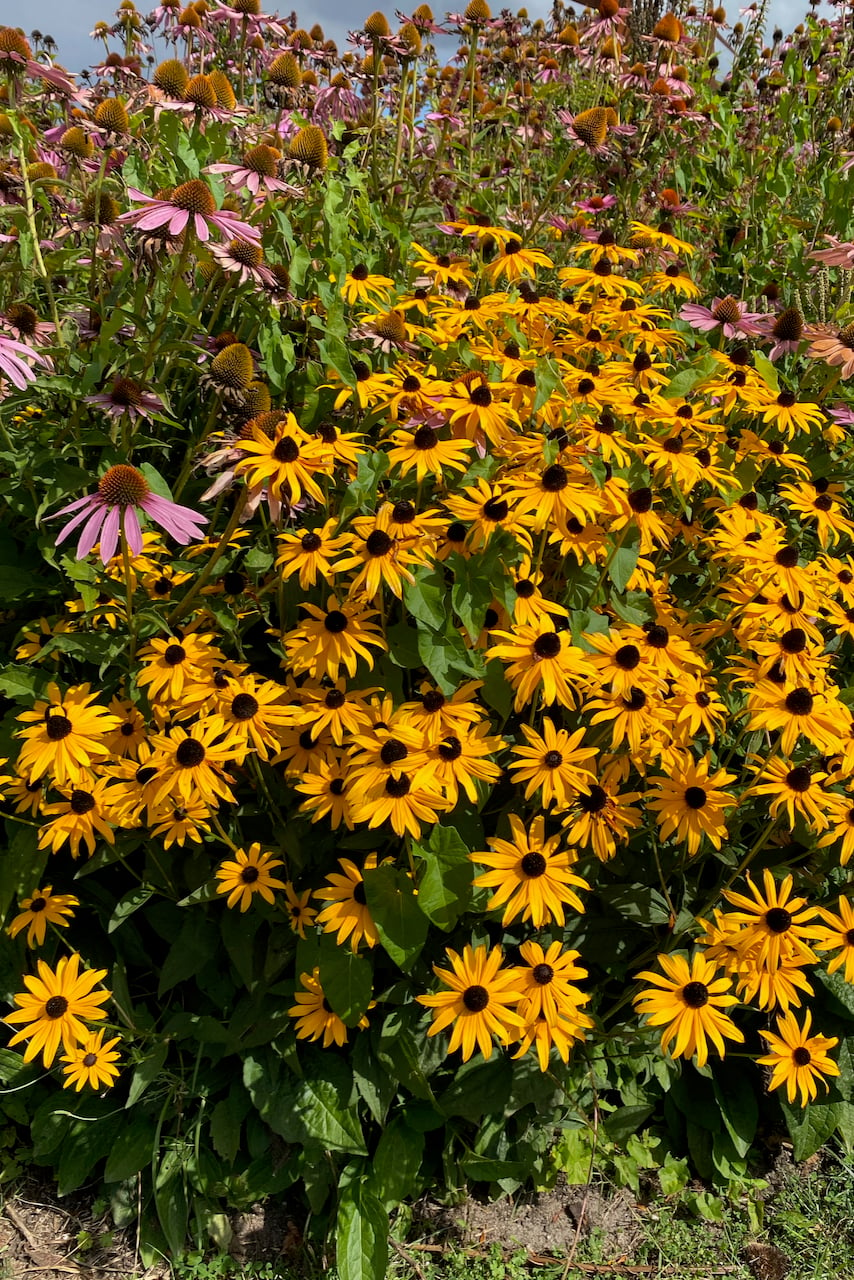
It’s been a hot and dry summer, with a few back-to-back heatwaves. Which means I need to make some decisions now that in previous years I wouldn’t have had to make until the middle of October.
If you also have black-eyed Susans getting ready to wrap up the season, here are a few jobs we can do now, or schedule for a bit later in the fall.
1. Collect (some of the) black-eyed Susan seeds.
No matter how many rudbeckia seeds I already have from previous years, I still collect a fresh batch every fall. That’s the key: fresh. The longer we store seeds, the more likely they are to lose viability. And rudbeckia seeds are not known for being long-lasting.
This doesn’t mean that all old seeds will be duds, but it does mean that, every year, fewer and fewer of them are likely to sprout.
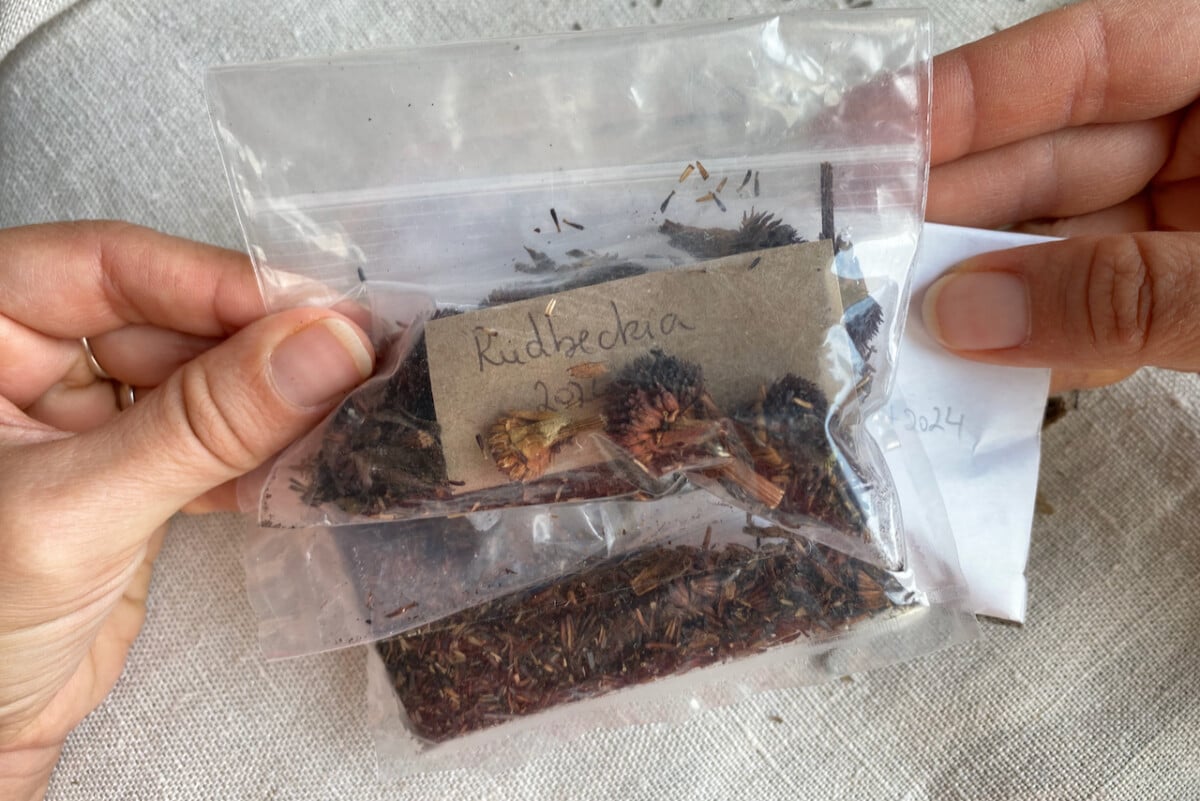
I honestly don’t have the time in spring to waste time with viability tests and sowing seeds that end up taking precious space and not turning into plants. So I prefer to collect seeds every year and discard the oldest ones. (As I’m writing this article, my oldest black-eyed Susan seeds are already four years old.)
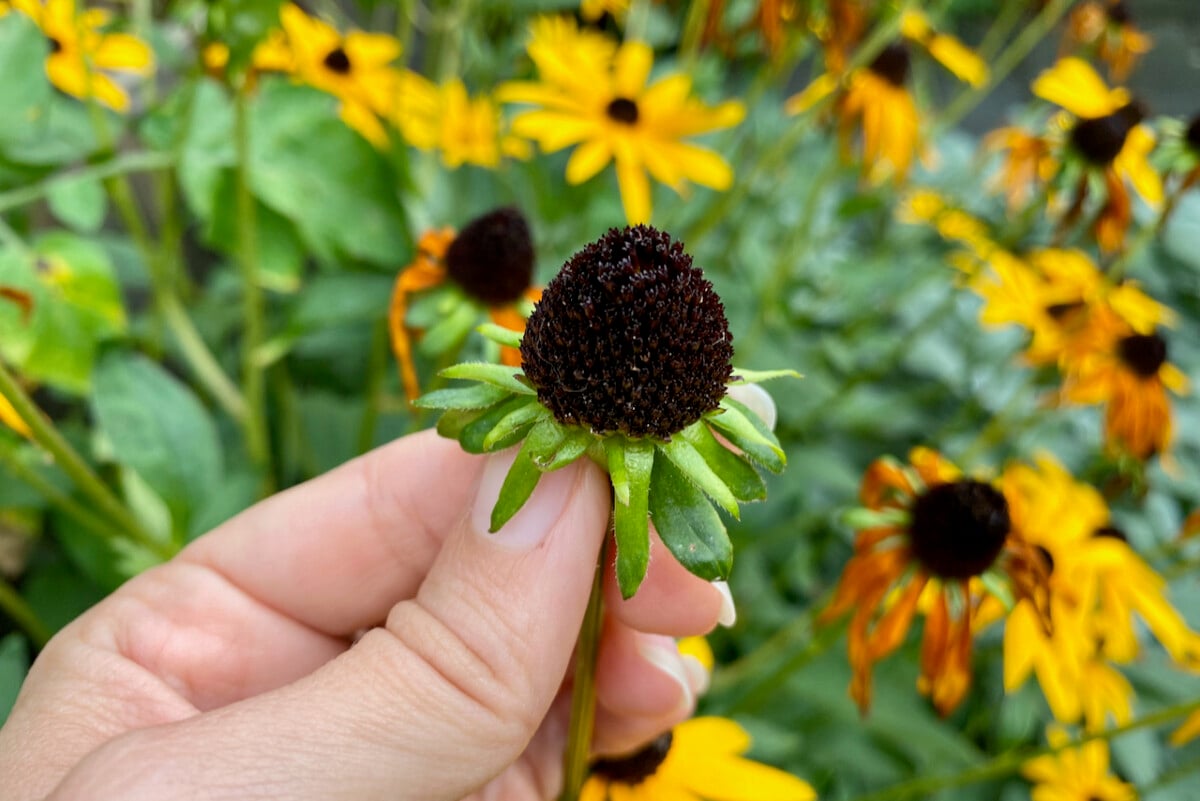
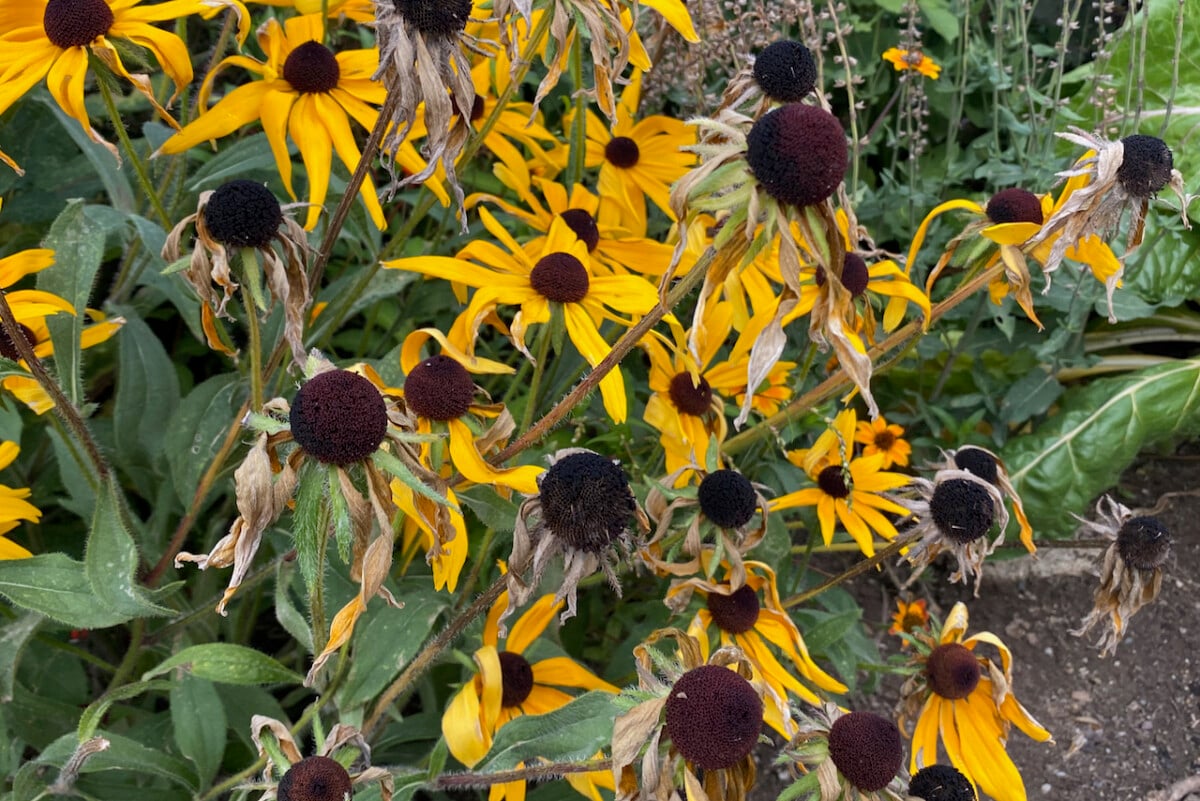
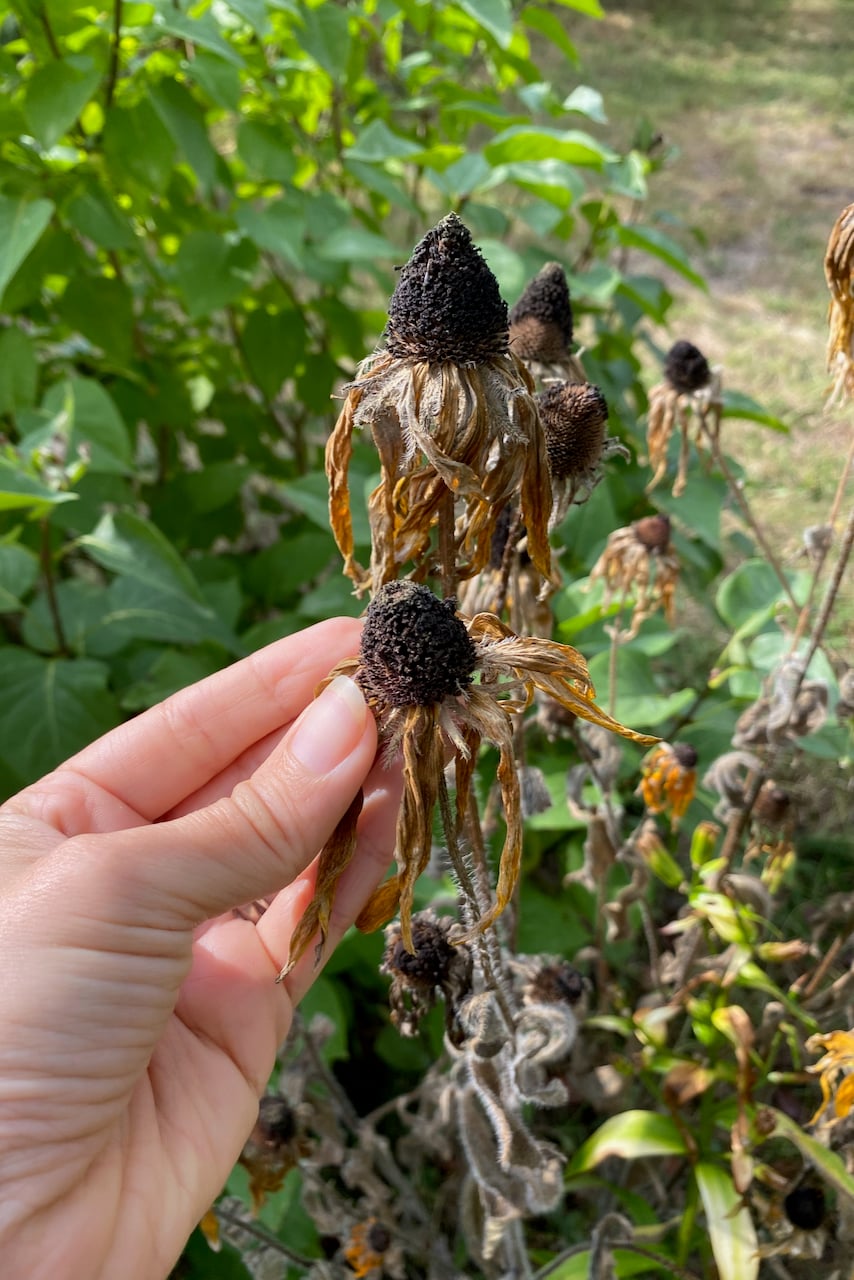
Once all the rudbeckia petals have fallen and the seed heads look dried up, I usually cut off just a handful of them. The trick is waiting until the seeds have dried thoroughly on the plant, but try to collect them before the seeds start dispersing. And definitely before the birds get to the seeds.
You really don’t need to save too many seeds. Again, I prefer to leave them to the birds, rather than throw them away after a few years.
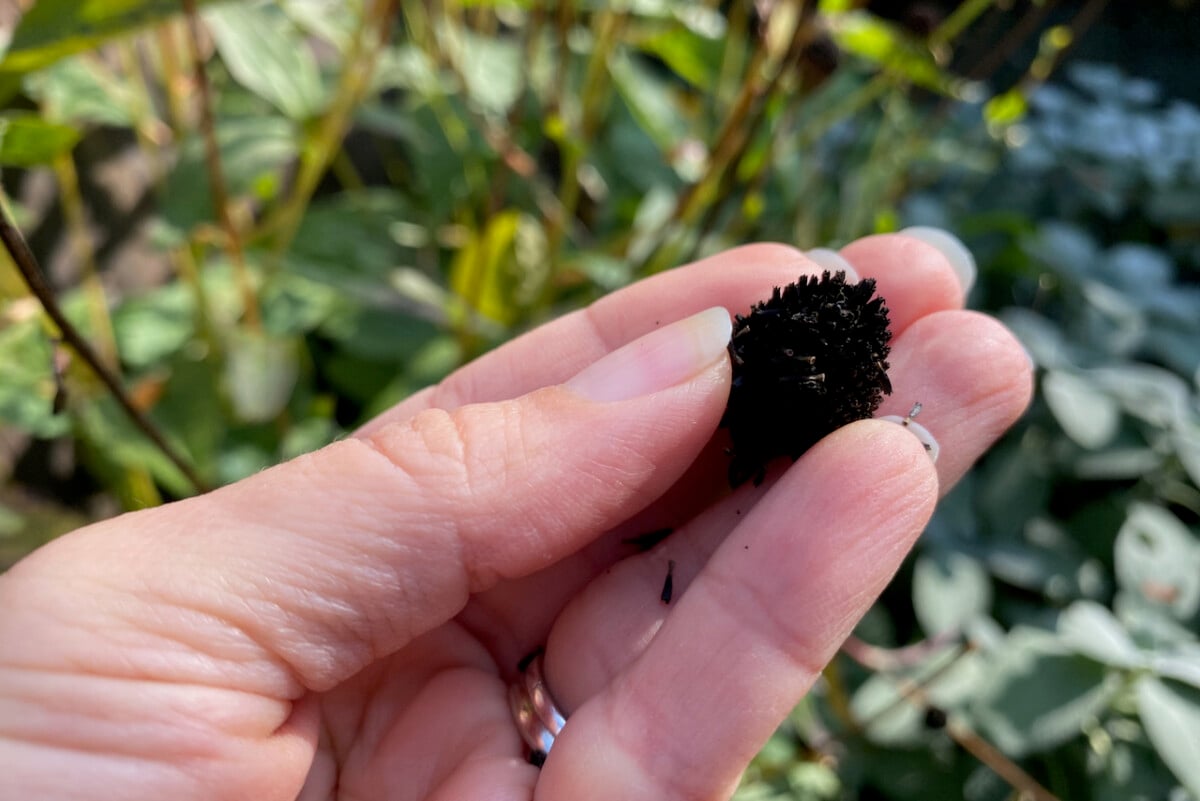
A single black-eyed Susan seed head contains a lot of seeds (unlike the marigold seeds, these were too small to even attempt to count them). So there’s no reason to strip the whole plant. Just collect a few seed heads.
My “timing” rudbeckia tip
Rudbeckia leaves are pretty long-lasting and quite slow to turn yellow and dry up. Last year, most of the leaves were still hanging around in November.
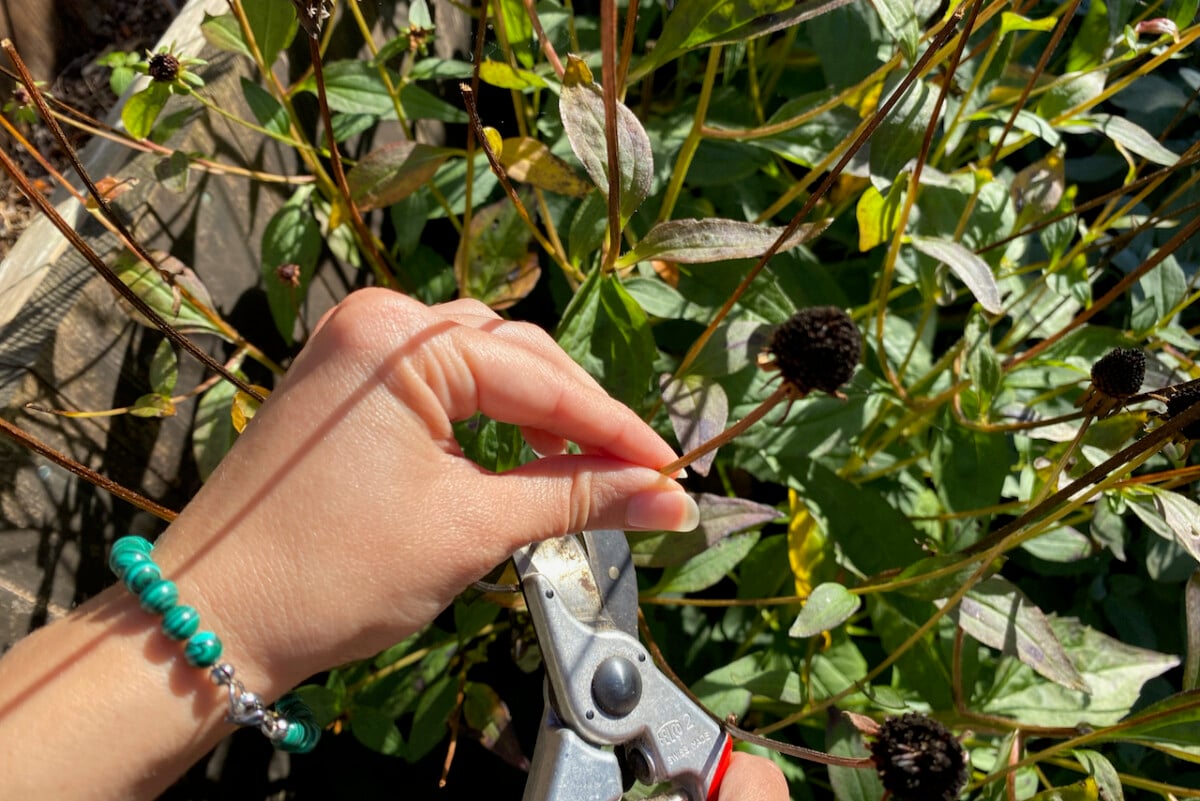
We don’t have to wait for the entire plant to go dormant before we collect the seeds. We just have to wait for the seed heads to be dry, which happens much earlier. And it’s very likely that you’ll be collecting seeds while the foliage is still green and lush.
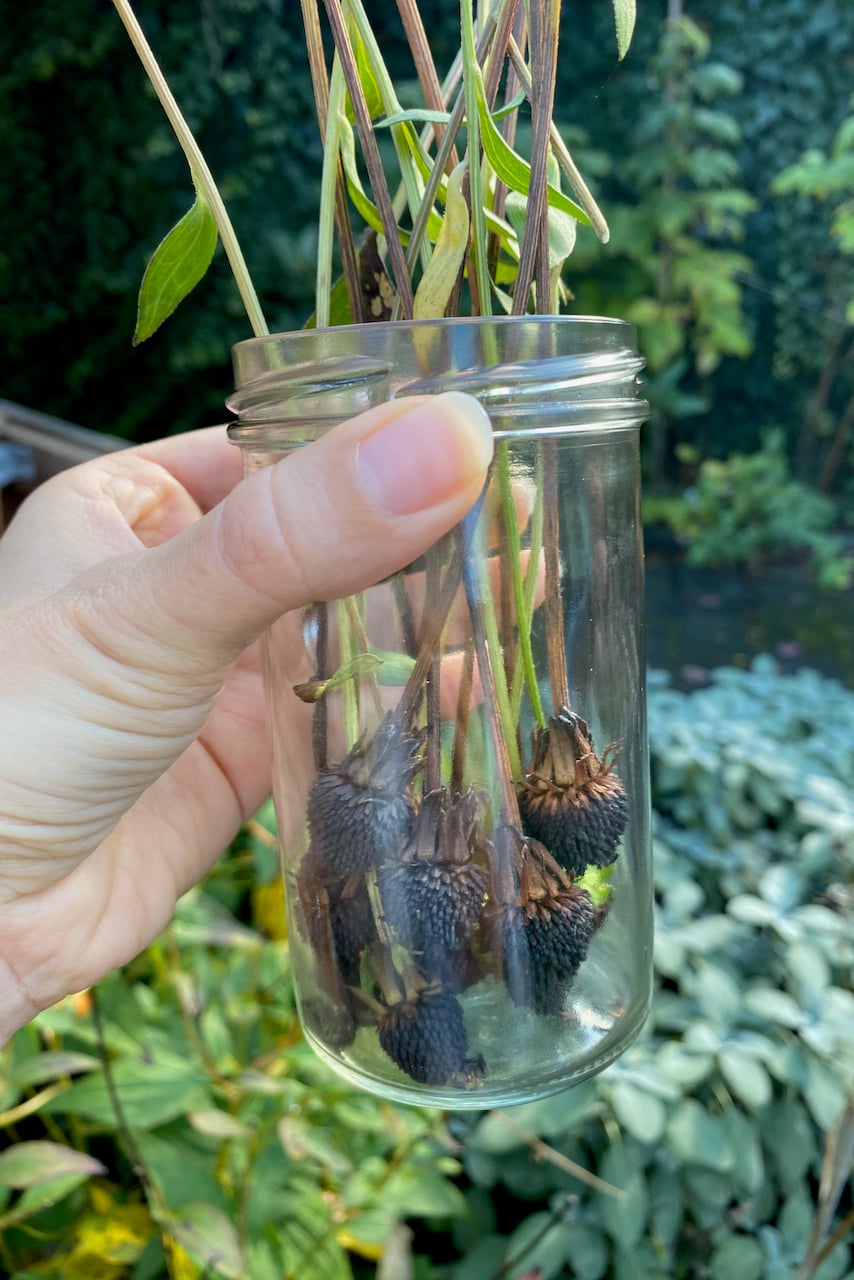
If the sepals are fully brown or black and the seed head feels rough to the touch, then the black-eyed Susan seeds are ready for collection.
Should I even bother saving the seeds of a perennial?
There is a good reason to save some seeds, even if you already have perennial rudbeckias growing happily in your garden.
Depending on the type of black-eyed Susan and on the climate you’re gardening in, rudbeckia can be either a perennial, a short-lived perennial or a biennial. Rudbeckia fulgida generally grows as a perennial, while Rudbeckia hirta can sometimes behave as a biennial or short-lived perennial in cold climates.
Both of these (and a handful of other hybrids, each with their own cultivars) are commonly known as black-eyed Susan.
So having a little stash of seeds on hand is never a bad idea. Just don’t follow my example and have five years’ worth of them.
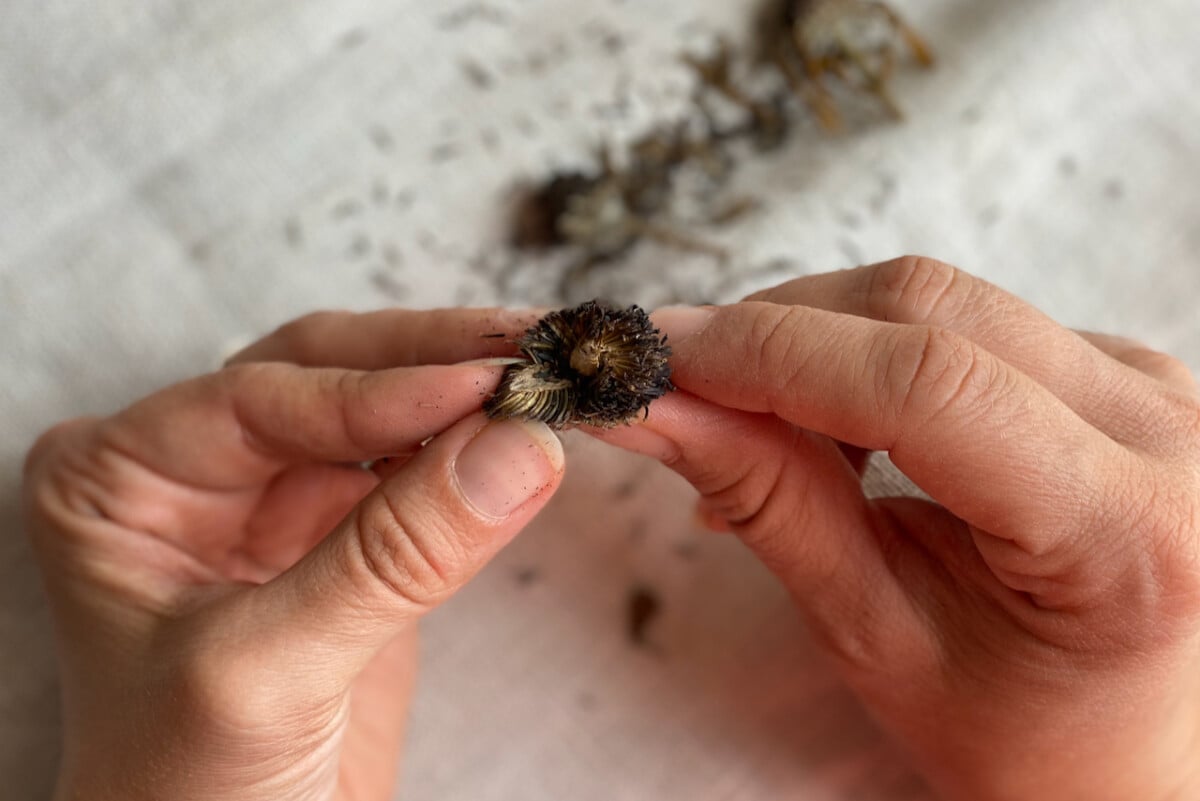
We can start the seeds indoors around seven to ten weeks before our last expected spring frost. But we should add a quick reminder to our gardening calendar now to cold-stratify the seeds for a couple of weeks before we plant them. This will help improve their germination rate.
If we end up with more black-eyed Susan seeds than we need, that might have its advantages too. We can share them with a gardening friend. Or swap seeds with a neighbor. And there’s a good chance that a seed library or seed exchange will accept them. (Please only donate fresh seeds. We don’t want other gardeners to be disappointed either.)
My two tips for storing rudbeckia seeds
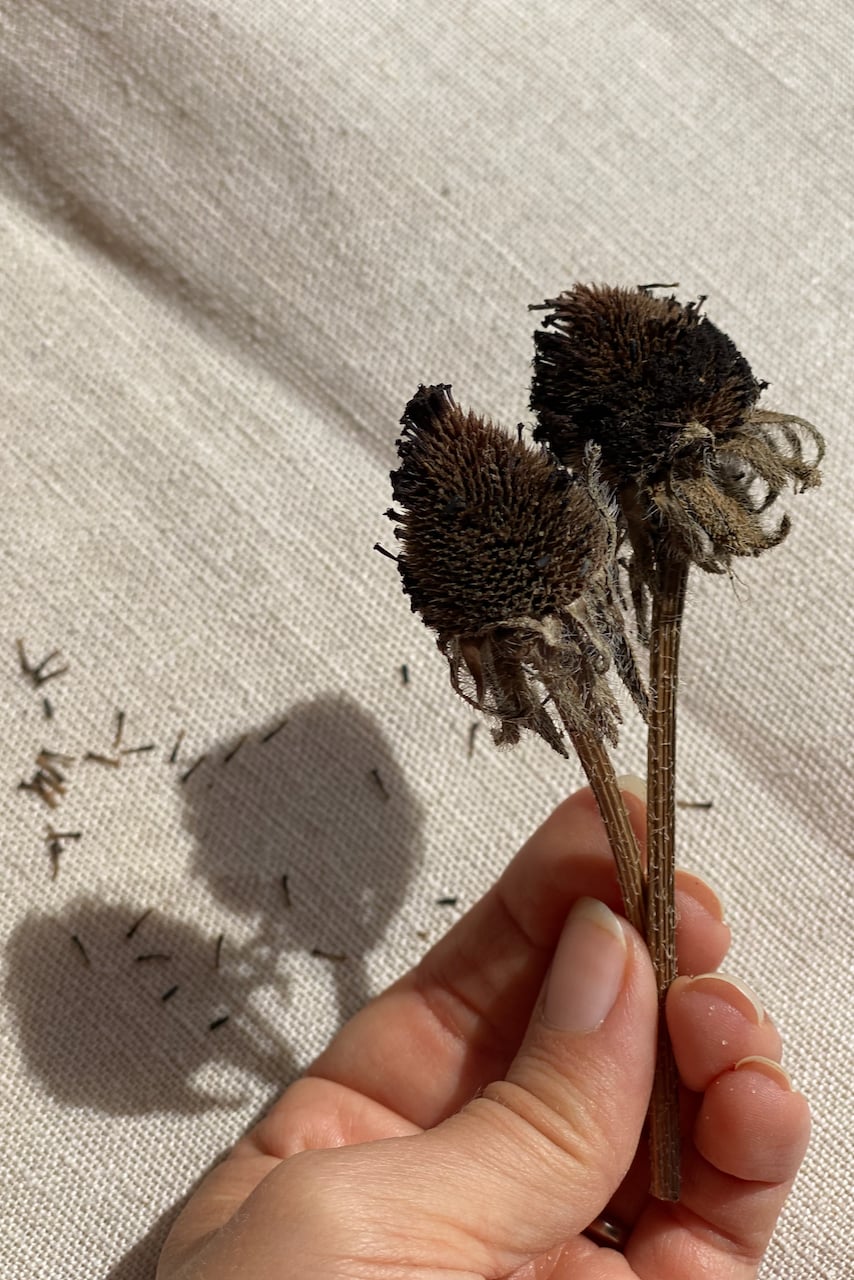
You can store the seeds as they are, attached to the dry seed head. With one caveat! You have to make sure the seed heads are fully dry before you place them into paper bags or glass jars.
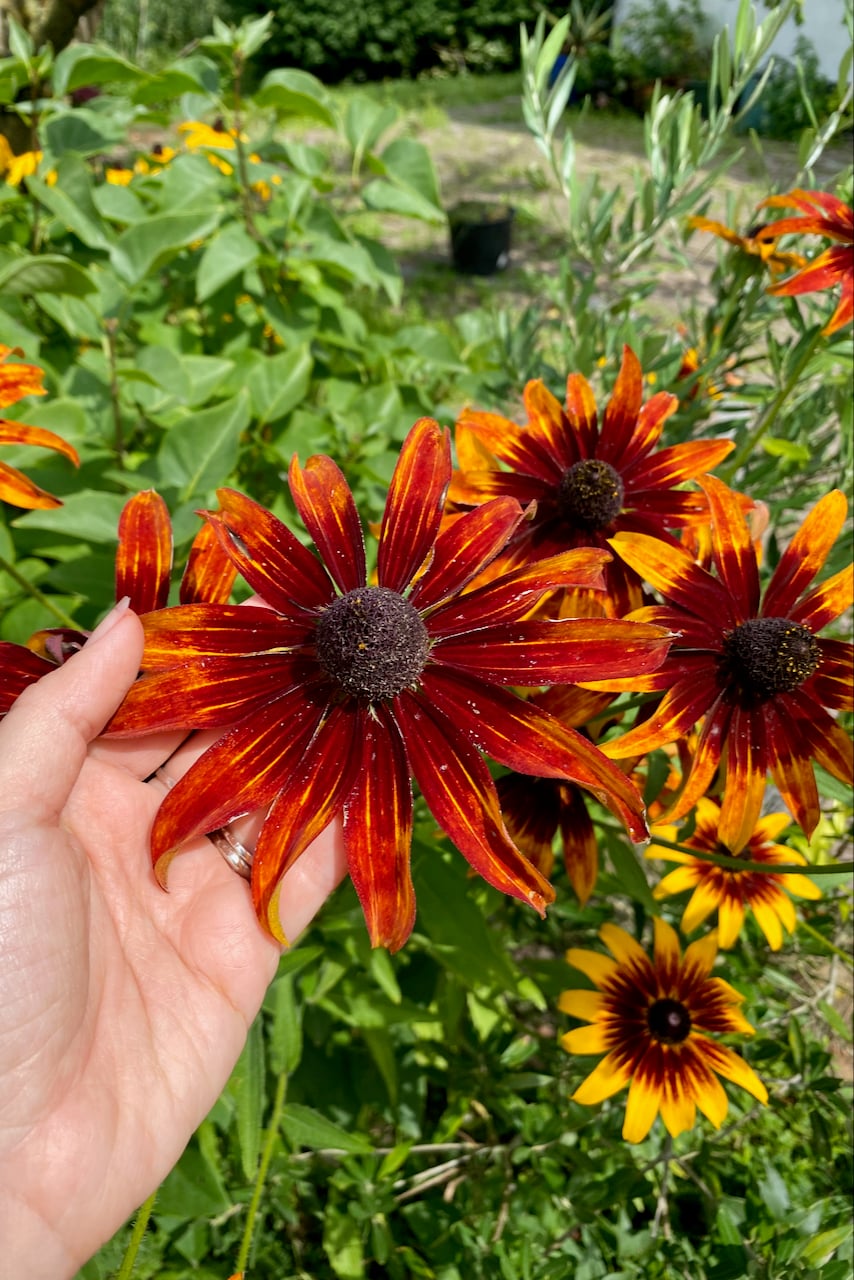
And make absolutely sure there is no mold hiding in between the crevices. Unfortunately, I did store moldy seed heads one year, and I had to write off that one bag. It’s a shame too – they were a pretty cultivar with a fiery orange edge in the center.
2. Leave the rest of the seed heads in place. They’re your winter bird feeder.
In busy gardening years – aren’t they all? – I’m very thankful for this laid-back approach to perennials that can overwinter well. I have a running list of ornamentals that are perfectly happy to be left alone in the fall. And black-eyed Susan is at the top of this list.
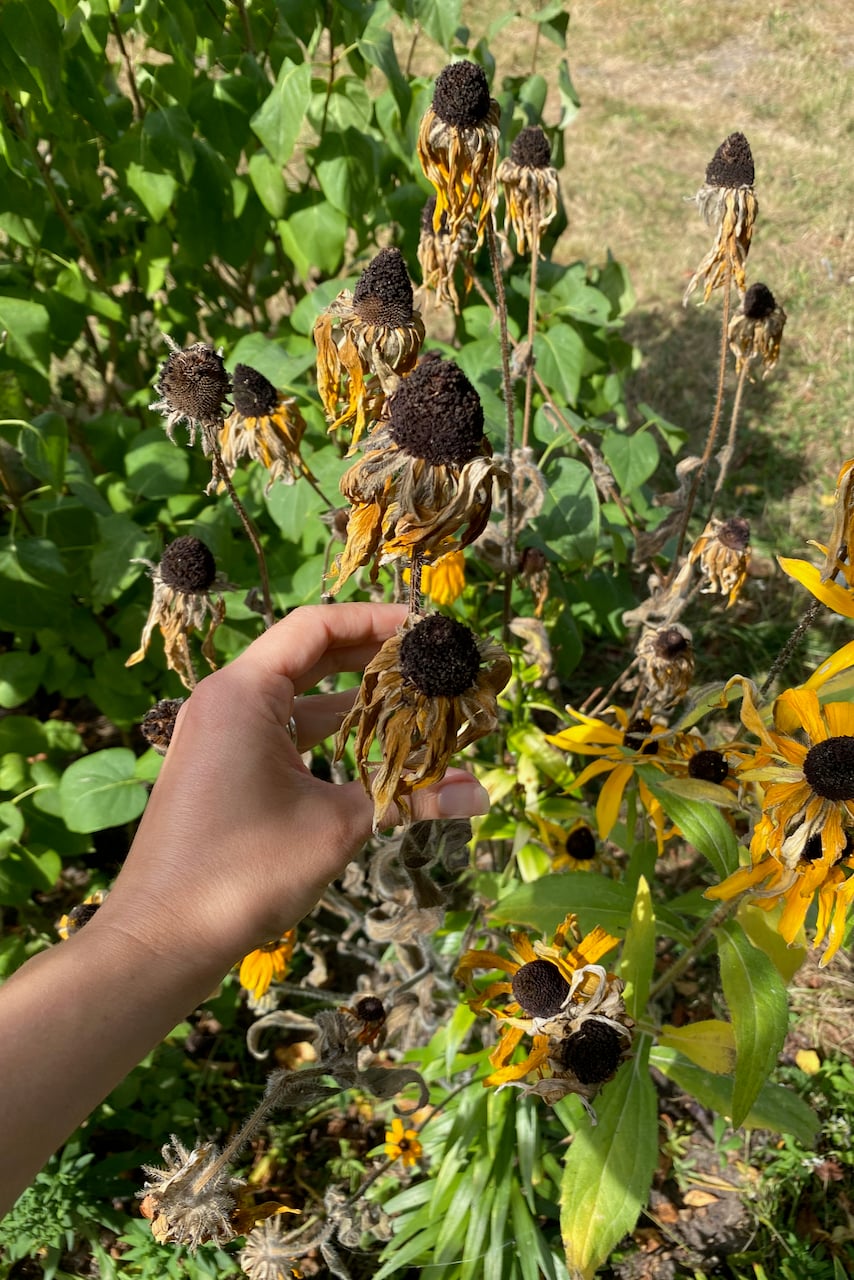
But it’s not primarily for my benefit that I’d rather let these ornamentals stand over the winter months. It’s for the birds. I think the most beautiful bird feeder is a garden filled with perennial seeds. The natural look is so much prettier than the tidy look (thank goodness this latter one is going out of style).
Sparrows, finches and chickadees are among the birds that may visit our gardens looking for a rudbeckia seed snack. Year after year, I am very happy to report that my philosophy of “if you plant it, they will come” is proving to be very efficient.
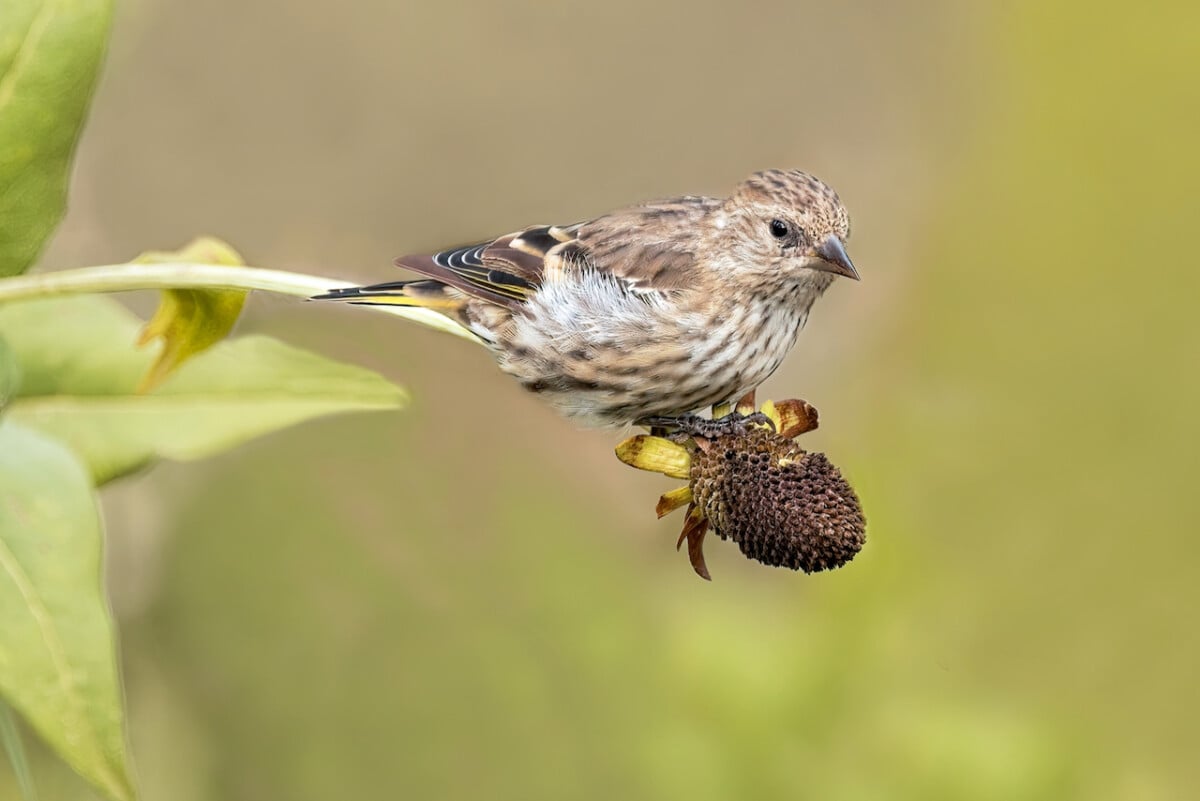
If you need another reason not to prune your black-eyed Susans in the fall, here it is.
They look stunning in the winter garden.
It’s an absolute pleasure to be out in the garden in the middle of January watching snow land on the dry seed heads and frost lace over their curvy silhouettes. They look like lovely little button sculptures towering above a peaceful landscape.
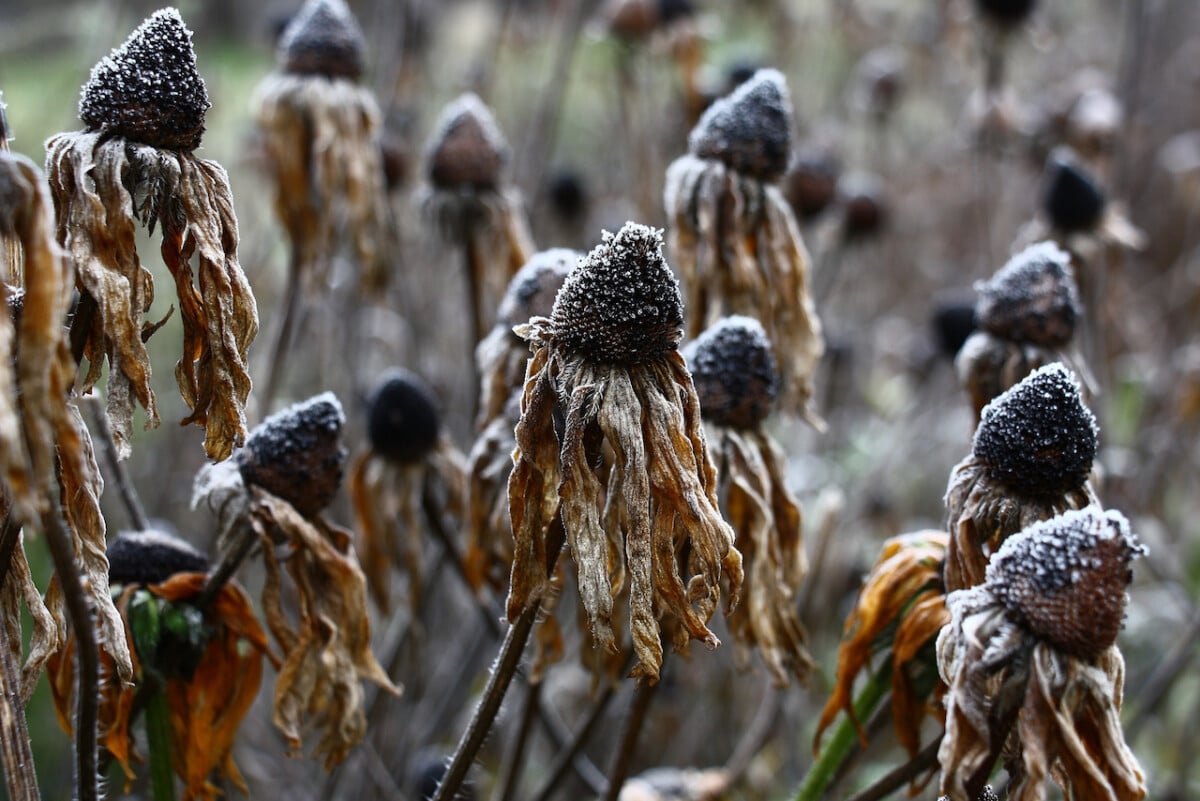
I even have a third reason not to prune this plant now.
We’ll let it do the job of self-seeding for us.
Obviously the birds won’t peck on every single seed, so some of the seeds will fall to the ground. Some of the fallen ones will even turn into new plants. Black-eye Susan does self-seed, although it’s not as prolific as other perennials (precisely because the birds get to them first). So rest assured they won’t immediately take over our flower beds.
If more rudbeckia seedlings pop up in spring than you’d like, don’t worry, they’re easy to deal with. Simply pull out any you don’t want. Because they’re still young, their roots will be shallow and they should come up easily.
But if you’re anything like me and see a free plant as a gift rather than a problem, you can let the seedlings grow a little stronger and transplant them to a spot where your garden has a gap. Free plants! Yes, please, and thank you!
And to think you were going to prune your black-eyed Susans this fall!
When do we prune black-eyed Susan, if not in the fall?
I usually prune mine around the end of March. (Here are a few other plants that need a spring prune.) This makes way for the new growth that’s timidly starting to show up as the weather warms up.
3. Transplant your black-eyed Susan, if needed.
This is not a must-do, but a can-do care job. If you want to or need to, fall is the best time to transplant your black-eyed Susan.
To be honest, in all my years of growing these little drops of sunshine, I’ve only had to transplant them a handful of times.
Once, I made the mistake of planting them in too much shade. They’re perfectly happy in part shade, but this was a particularly wet corner of the garden. My black-eyed Susans were not happy bloomers that year. And because the sun rarely got to them, they were also starting to develop mildew on the foliage. Not good. I had to move them, but I had to wait for fall to do it.
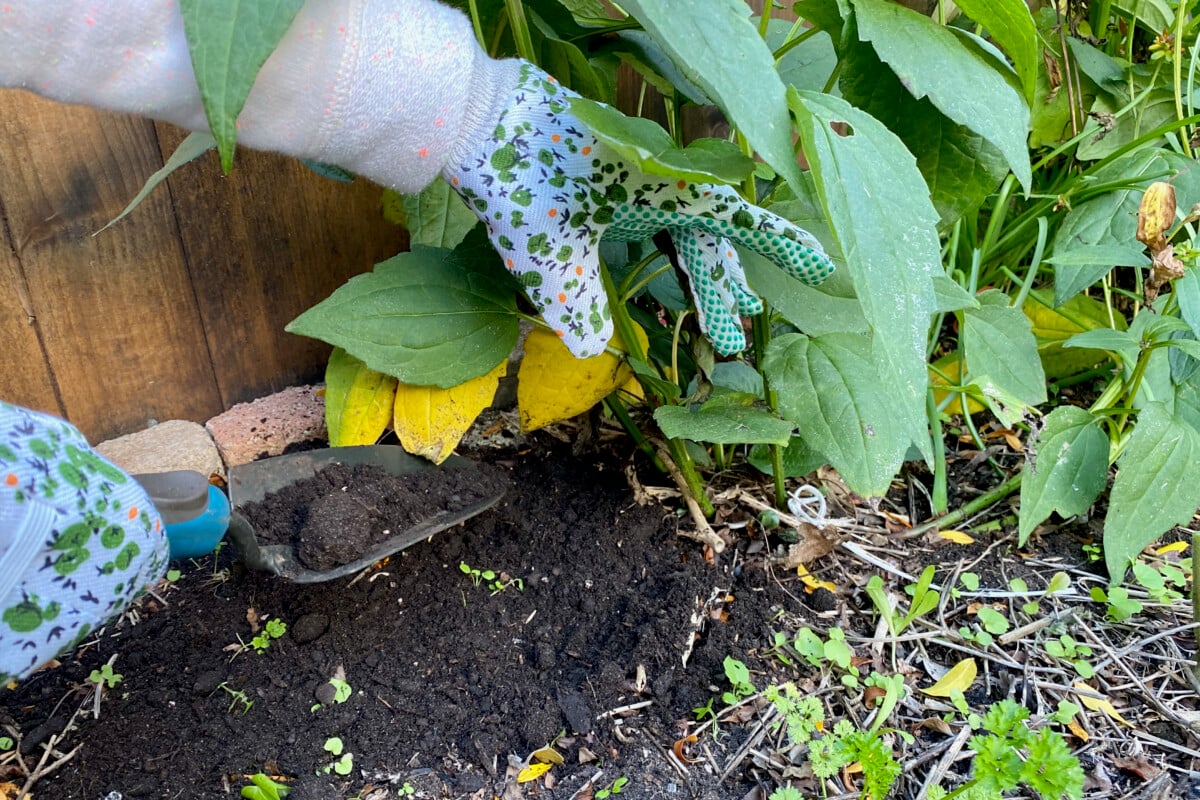
On a different occasion, somehow in my frenzy of planting, I ended up placing a shorter rudbeckia cultivar in the back of the border (hidden behind a really tall duo of persicaria and tall Joe-Pye weed). The poor thing was completely overshadowed and barely peeking through. I had to move it.
Now please keep in mind that black-eyed Susans take a year or two to come into their own. So if you’ve just put them in the ground, ask yourself if you’ve given them enough of a chance to bounce back and resume their usual growth before you disturb them again.
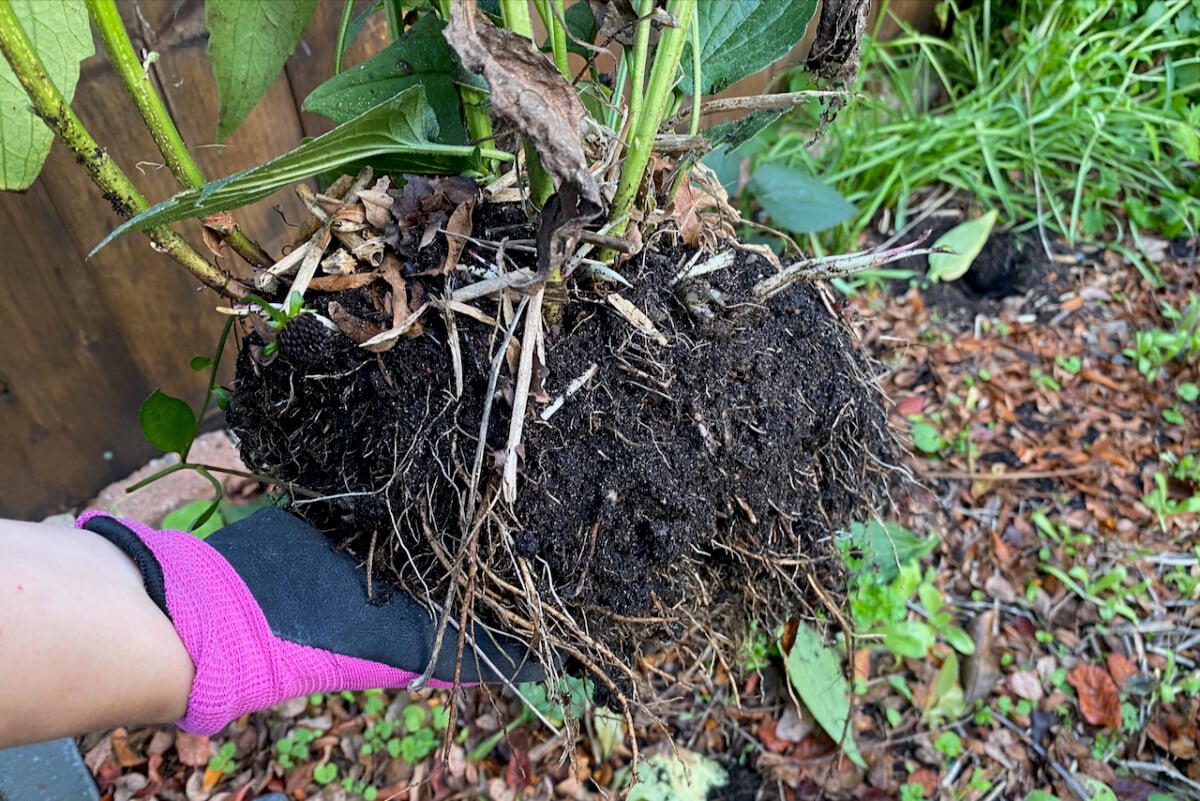
If disturb them you must, fall is the best time to do it. When you lift out your rudbeckia, dig gently around the entire root structure and pry them up carefully.
As ever, my best transplanting tip remains this:
Always prepare the welcoming site first. Decide where you want to put the plant in the ground and dig that hole before you lift the plant from its current location.
4. Divide your black-eyed Susan, if needed.
Fall is also a great time to get more free black-eyed Susans from the mature specimens we already have growing.
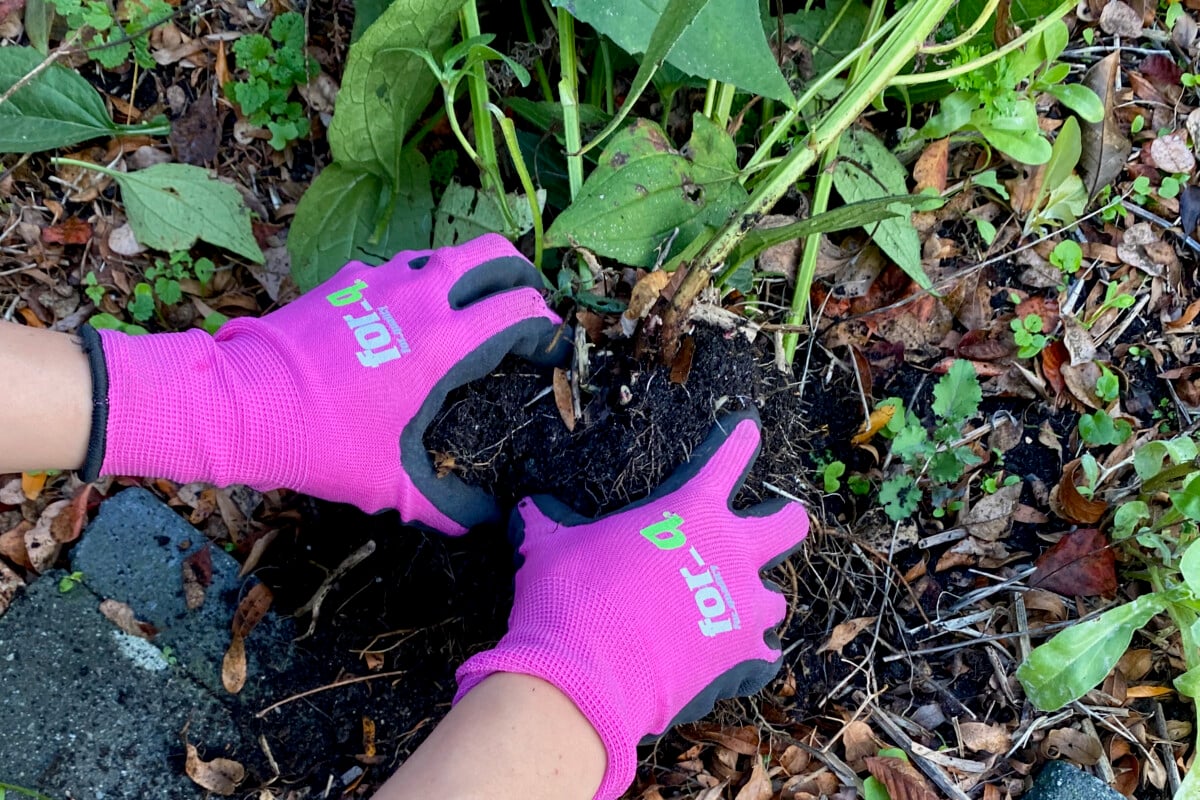
And the easiest way to do that is by division. This is another one of those jobs that we don’t have to do every year. If only I were so lucky to have mature plants ready for division each year.
I’m a big fan of dividing plants in the fall (here’s proof). Spring is already chaotic enough around here. There are seeds to start, seedlings to look after, summer bulbs to plant and a myriad of other jobs that need to be crammed in before summer and the hot temps come knocking on my garden gate.
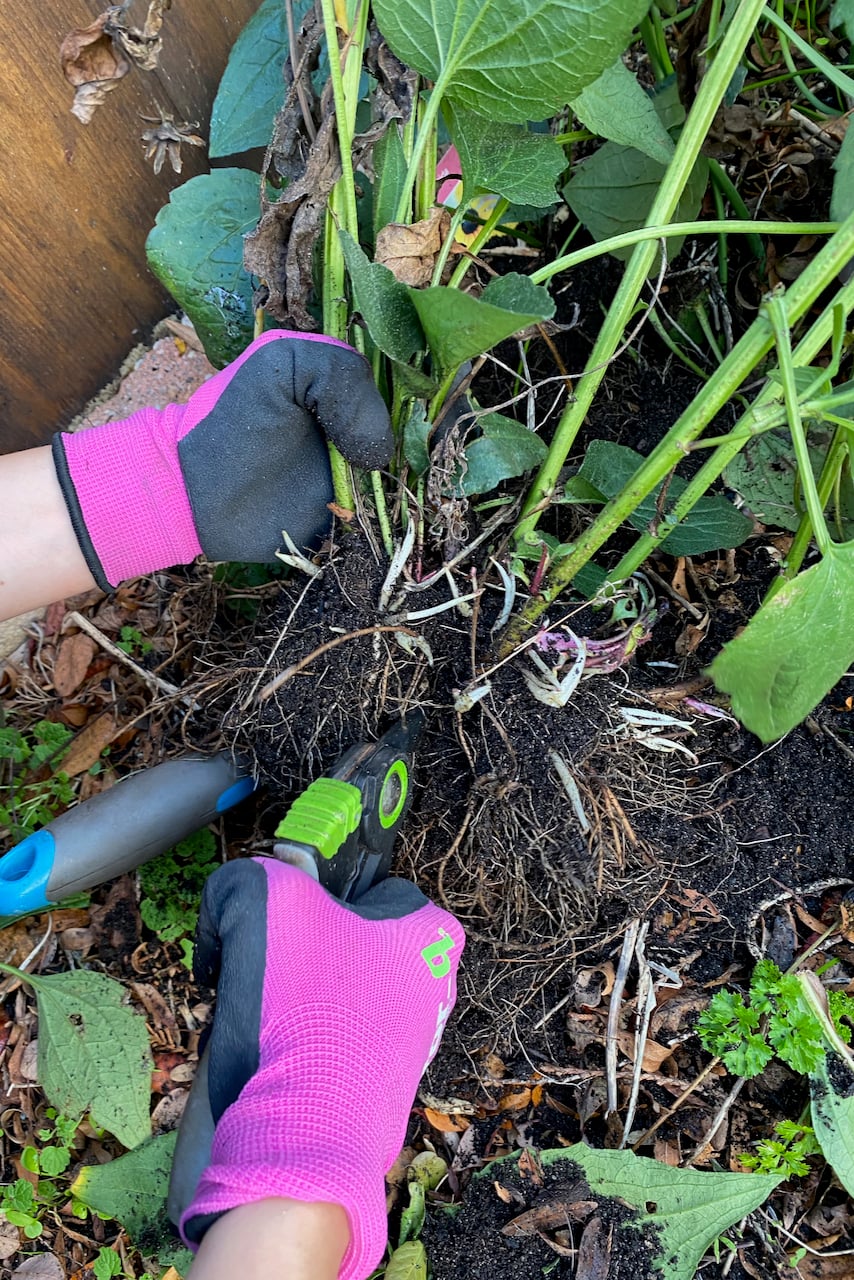
Division is one of the easiest ways to propagate established rudbeckia. You dig up the plant, divide the root mass into several smaller sections and replant those sections wherever you want more black-eyed Susans. Essentially, one plant becomes two (or more, if we’re starting with a large one).
How about taking black-eyed Susan cuttings?
Speaking of propagation (which we so far covered via seeds and cuttings), can we take a black-eyed Susan cutting in the fall?
I’m afraid that’s not as straightforward as for other plants.
You know I’m a big fan of taking cuttings in the fall (here’s even more proof), but that’s not how this herbaceous perennial best propagates. In the fall, the stems of black-eyed Susan will age, become hollow and eventually dry out. In fact, they’re so dead by mid-winter that they turn into excellent insect hotels.
However, if we look closely enough, we may be able to find a few babies we can remove and relocate. It’s better than taking cuttings because they’re already rooted baby plants. These are small plants that formed when the root of a mature rudbeckia sent a sideways shoot.
We might have to dig down a few inches to find where the baby’s root attaches to the plant-parent’s root. That’s where we’ll be removing the baby from, by carefully severing the two root sections.
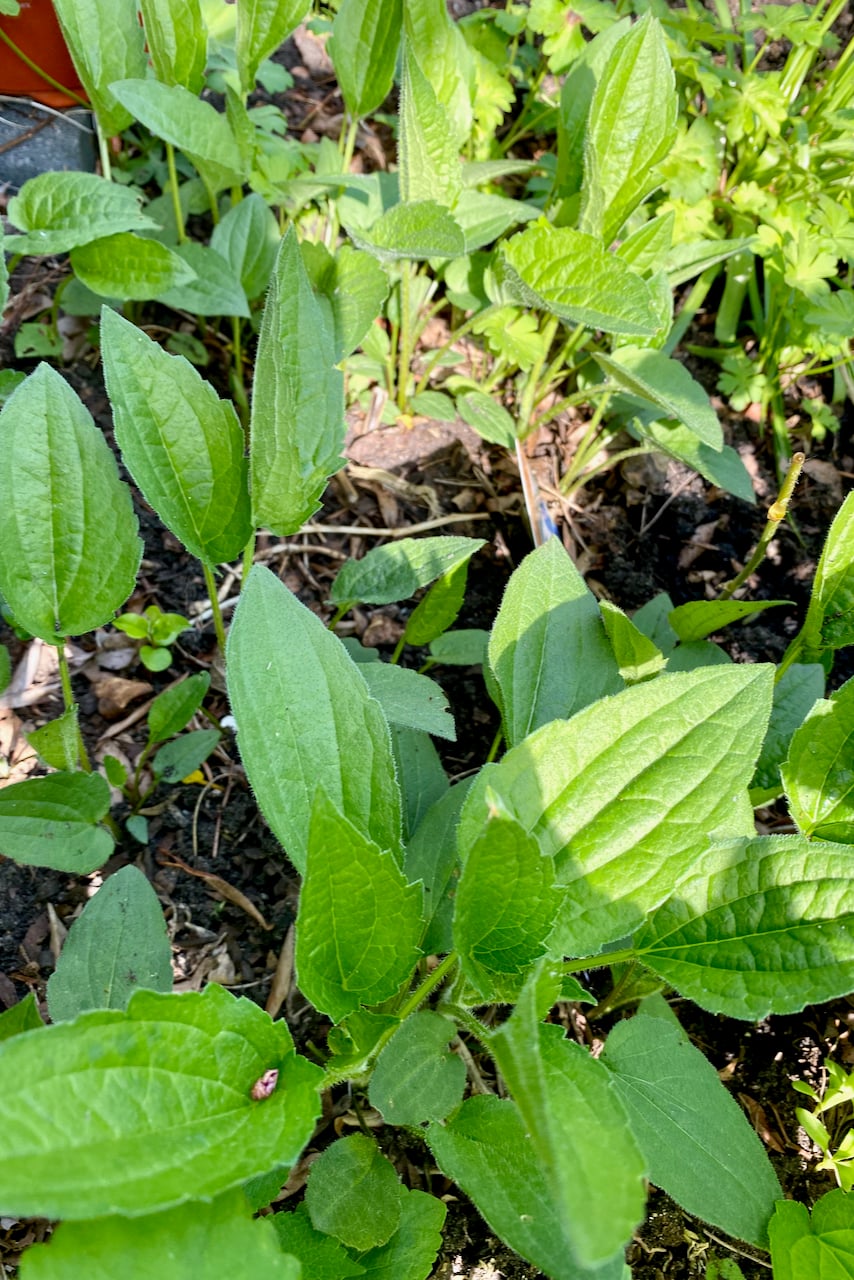
Then we can either replant this baby plant in a new spot, or help it overwinter in a separate pot and replant it in spring.
I’ve done both options, and I think it was easier to just put it in the ground in the fall and forget about it. When I overwintered it in a separate container, I had to remember to keep it watered while it still had its leaves. And then I had to be careful not to overwater it – or to over-ignore it – when it went dormant in the winter.
That’s about it for fall black-eyed Susan care tips. It’s a low-maintenance plant at the height of its blooming season, and it remains low-maintenance once the blooms are done, too. To me, it remains one of the most rewarding perennials to grow in my garden, with its easy-going nature and bright disposition.
Get the famous Rural Sprout newsletter delivered to your inbox.
Join the 50,000+ gardeners who get timely gardening tutorials, tips and tasks delivered direct to their inbox.