

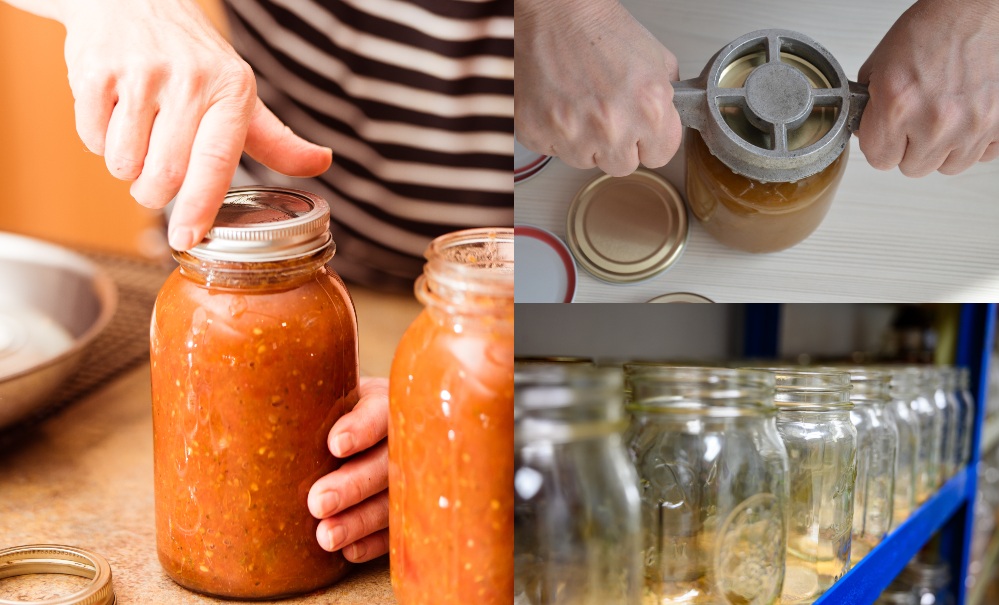
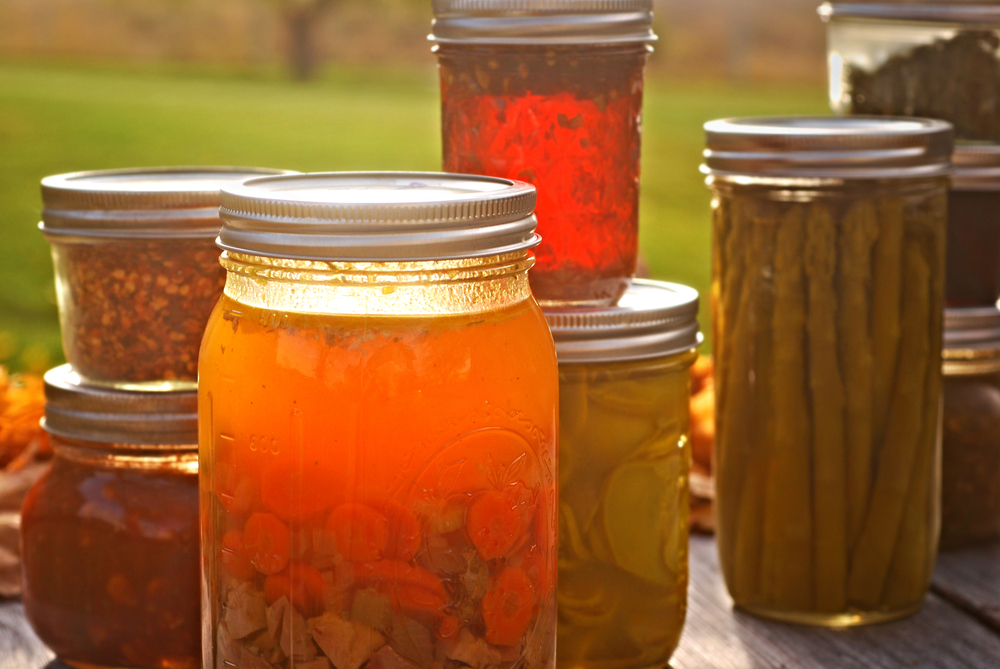
To have a fully stocked pantry, with rows and rows of beautiful jars, is but a Pinterest dream for thousands of women (and men) in search of a self-reliant lifestyle.
Imagine opening up your cupboard and having to make the hard decision of whether it is foraged blackberry preserves or a spoonful of delicious apricot jam you desire on your toast this morning. Maybe a generous dollop of both?
If having that amazing pantry is also your dream, yet there is some trepidation from the onset, some fear of making a mistake, of breaking jars or potentially making someone sick, know that you are not alone.
We all start out with some worries when we are learning something new.
This article about common canning mistakes beginners make – and how to avoid them – is intent on giving you the courage to try canning for yourself, and to enjoy the process too.
It applies mainly to beginners, though it is a great refresher for those seeking to deepen their knowledge and understanding of how to can and preserve food, both safely and tastefully.
1. Improper planning
There are several articles written about canning mistakes, and one of the biggest oversights is that no one talks about how to plan for an abundant canning season.
What kind of tools do you need? How many jars and of what sizes? Do you have enough lids? Or enough space for preparation and storing?
Will you be prepared to know how to can 40 pounds of tomatoes in one day – should the garden ever produce that kind of glory?
What about preserving a glut of zucchini?
Or 4 wheelbarrowsful of apples?
You know your garden best, what it can offer in a certain amount of time. Of course, there is always the market if your garden cannot provide for all your canning needs.
When you are better prepared for a summer season of canning, you will tend to make fewer mistakes as you go along. And the more you can, the better your results will be.
With time you will know exactly how many minutes it takes you to pit 15 pounds of cherries, for example. Then you know not to start at 7 pm at night, rather at 3 in the afternoon. Or store your cherries in a cool place until you are ready the next morning.
How to avoid being unprepared
Being unprepared can be a stressful situation for many people.
When you are rushed, you tend to whip stuff together with an unpredictable inaccuracy that is neither beneficial to the fruits and vegetables you put into jars nor to the people who eat them.
From a safety standpoint, one must always look first at how to prevent botulism.
If this is your first year canning, don’t be afraid. Rather consider yourself informed. Keeping your canned foods safe is all a matter of hygiene.
So, don’t forget to wash your veggies, wash your hands and sanitize your jars too. Best of all, be prepared!
2. Canning inferior ingredients
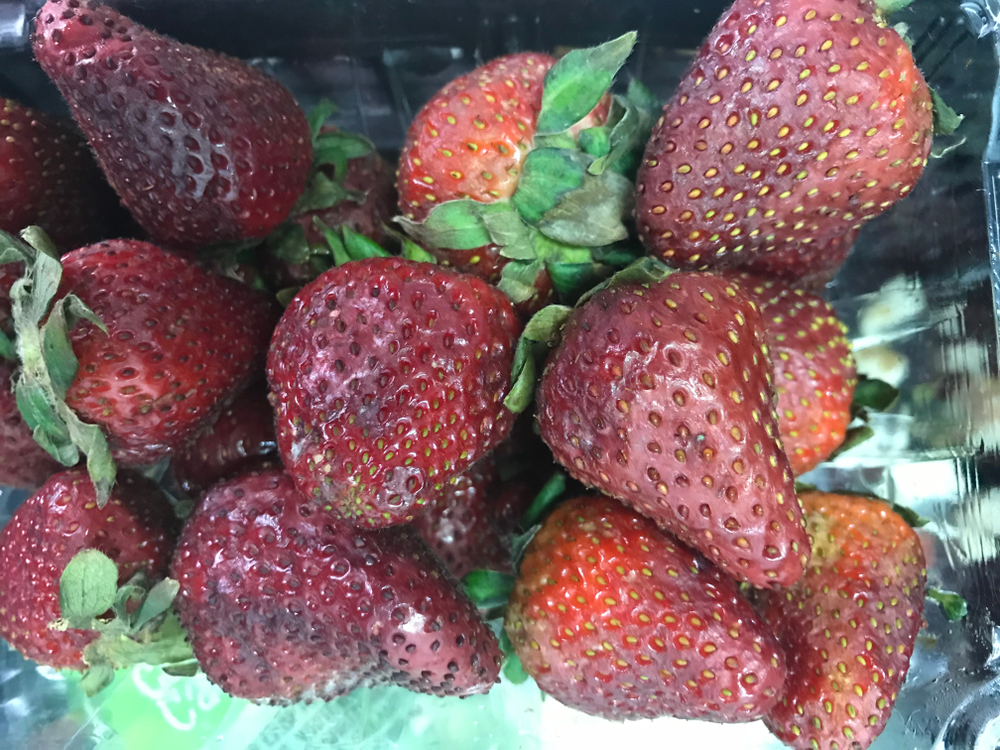
While it may be tempting to accept an offer of a crate, or two, of strawberries for canning, you must look at the condition of the strawberries first.
If there are any signs of mold, or rotting, forget about canning them, though they can still go on the compost pile.
What you want to look for when having a canning project in mind, is quality ingredients.
These are typically not freebies, though they can be in the right situation. You need firm, not underripe, or overripe fruit and vegetables that are free from blemishes.
How to avoid disappointing flavors in your canned goods
If you are seeking to open a quart-size jar of flavorful tomato sauce, don’ t buy the cheapest, biggest, “best-value” ones and hope for some magic to happen in the jar. You must start with the absolute best ingredients you can, and don’t be afraid to take a taste test first.
3. Not following a recipe
One common mistake that both beginner and experienced canners frequently make, is not following a recipe.
It is all too easy to say, “that looks like too much salt”, or “that’s not enough vinegar”, only to find out later that perhaps your instincts were incorrect.
In an overly abundant online world of information, it is often hard to know the real recipes from the fake. In your search for the best canning recipes you will also come across canning myths. Read them and find out what else you should avoid doing in your own kitchen. Learn from others’ mistakes, so that you can can the best jars in town!
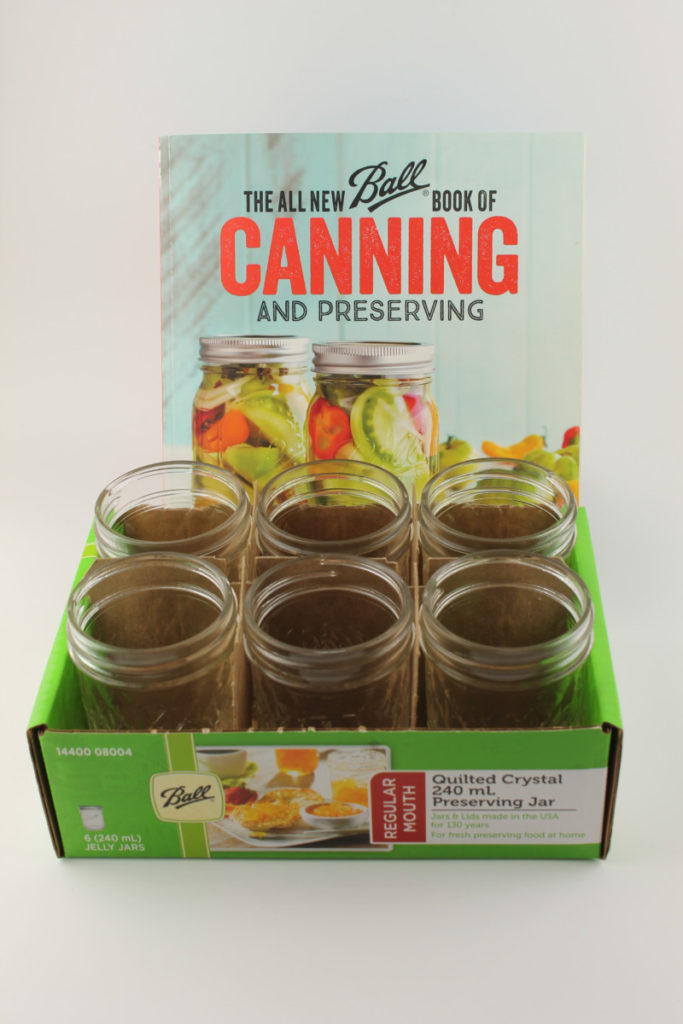
How to become a wise canner
If you are looking for new, updated recipes, or tried-and-true classic versions, one of the best places to look is in a book.
As a beginner canner, this is the bible in home preserving to sample first. All of the recipes have exact measurements, making it super easy for you to get started, and get prepared too.
For additional advice, scroll down to see “Listening to your Grandma” below.
4. Not knowing when to use a water bath canner, or a pressure canner
Fruits and vegetables get washed, cut up, cooked and put in jars with a fancy handmade label on them.
Oh, if only canning was so uncomplicated!
Follow a simple canning recipe for the first time and you will instantly see that there is so much more to canning than this oversimplified example.
Once you know what fruits and vegetables you will get to harvest and/or purchase in abundance, you can then categorize them into high-acid foods, or low-acid foods.
High-acid foods include those such as:
- pickles
- jams
- jellies
- tomatoes (if they naturally have a pH value above 4.6 or additional acid is added to them)
All of these can be safely preserved using a boiling water canner, often without added vinegar, lemon juice or citric acid. As is the case with most (not all!) fruits, their own acidity is enough.
Low-acid foods (with a pH of 4.6 to 6.9) and alkaline foods (pH of 7.0 or greater) include the following:
- carrots
- peas
- corn
- leafy greens
- beans and most every other vegetable besides tomatoes
- meats
- seafood
- dairy
These must absolutely be preserved using a pressure cooker!
Or in some cases can be made acidic with the use of vinegar or bottled lemon juice.
Of course, if you have a glut of something that you really want to preserve, only you aren’t sure of the proper way to do it, then freezing/dehydrating may be your best bet.
Start simple with water bath canning
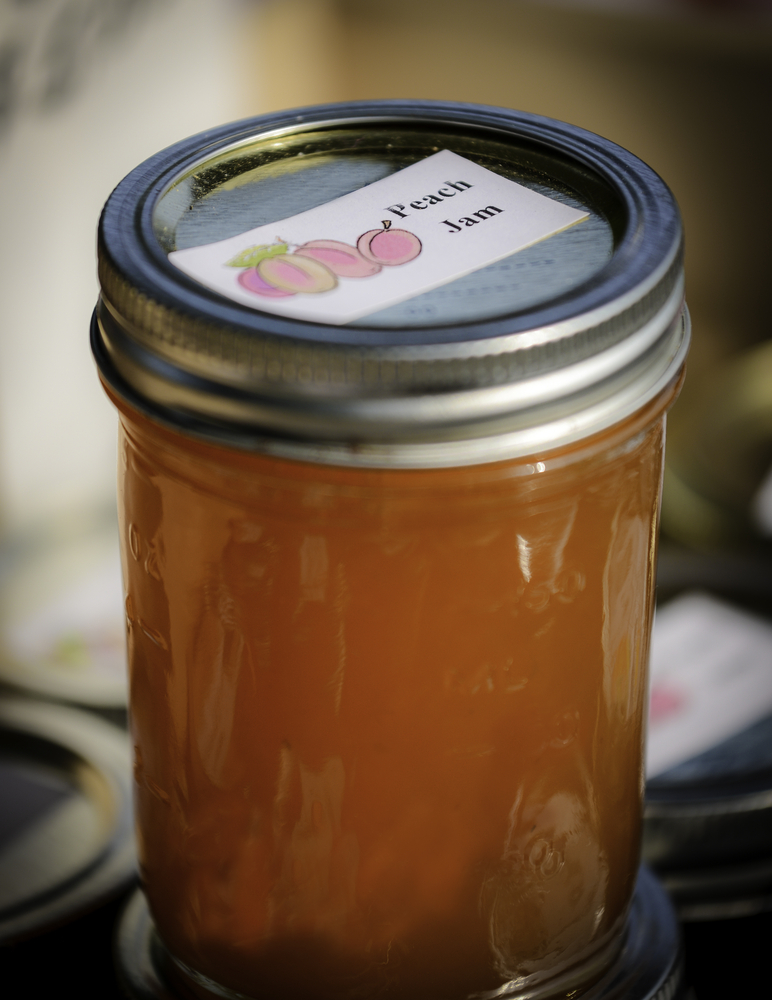
One way to prevent “canning overwhelm” is to start with some simple high-acid canning recipes. 1-ingredient plum jam is a great one for beginners, as are marmalades and chutneys.
If something does go wrong in the canning process, say the lids fail to seal, you can always store the contents in the fridge and consume as quickly as possible.
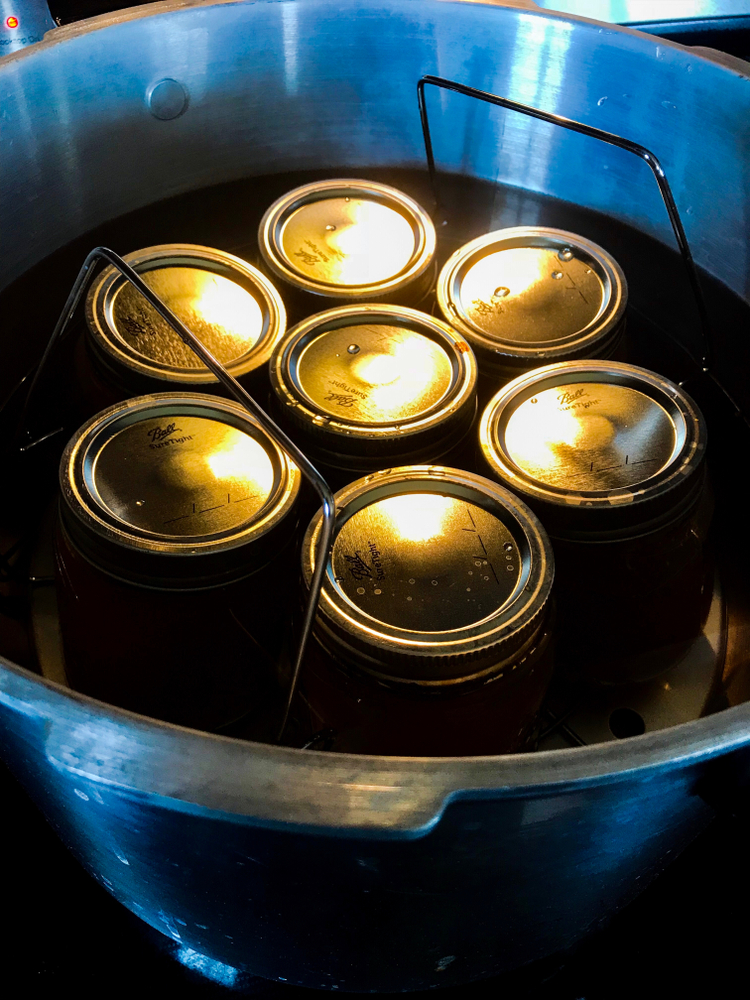
5. Not adding enough water to cover jars in a boiling water bath
It isn’t always fun to follow instructions, but sometimes they are there for a reason, or several of them.
In order to heat the entire contents of the jar in a water bath canner, the jars must be covered by 1 to 2 inches of water.
Here is a step-by-step guide to water bath canning if you are in need of a little refresher course.
The best way to prevent mistakes…
… is to take notes. Keep a small journal or notebook of your canning endeavors in your kitchen, that way it will be easier to share your canning experiences (successes and failures) with others.
6. Leaving too much – or too little – headspace
Otherwise known as overfilling the jars. This is a definite no-no in canning.
However nice it may seem to want to stuff as much into a jar as possible, think about the possibility of stuff oozing out of the jar, directly into your hot water bath. It is not a pretty sight.
Keep your headspace (the space between the lid and the top surface of the food you are filling into the jars) to the recipe directions you are following. This may be anywhere from half an inch to an inch.
The biggest downside if you accidentally stuff your jars too full, is that the lids may fail to seal. Leaving you with food for now, rather than delicious wintertime comfort jams and pickles.
Don’t waste your time
Wasted time comes in many shapes and forms.
We all fall into this trap from time to time, especially in the kitchen. Even with the best of intentions, things can still go wrong.
Happily learn to follow directions, make a nice canning routine for yourself (along with your helpers) and have fun while doing it. Your mentality will help determine your canning success.
7. Using a metal spoon to remove air bubbles
I’m guilty on this one in several accounts. Ladle in my right hand, spoon in my left – acting as a crutch to get all the last delicious morsels into the jar while my husband occasionally burps the jar to help prevent air bubbles.
And usually everything works out all right. We’ve never had a problem with jars breaking.
But, and there is always a but, plenty of people do get cracked jars, either from the heat of the goods going in, or from hitting the sides of the hot jar with a metal spoon over time.
How to avoid using a metal spoon to remove air bubbles
If air bubbles are present in your jams, we often see this with rather thick apple sauce, you really need to get them out as trapped bubbles lead to extra headspace. Which you have just found out can lead to unsealed jars.
An easy way to prevent this air bubble removing mistake, is by using a wooden chopstick.
8. Not adjusting canning time for your altitude
It may seem like altitude doesn’t matter, why would it?
Yet, if you have ever lived in the mountains, you know that in baking it definitely does have an impact. Same rings true for canning.
The fact is that water doesn’t boil at the same temperatures, regarding the differences between sea level and high altitude.
In order to correct for this, you must either adjust the pressure (when canning low-acid foods) or modify the canning time (for high-acid foods in a boiling water canner).
This handy chart should help you adjust your recipes for high altitude canning.
If something doesn’t apply…
Never assume that you know it all when it comes to canning. There is always something you can learn – that may be helpful to someone else!
9. Using the wrong size jar

There is really no wrong sized jar, just a right-sized jar used a wrong way.
Recipes are made for a reason – to have repeatable results. And with that comes food safety and a pride in knowing exactly what you are doing, that is if you are in search of impeccable results.
It is possible however, to scale down in jar-size while following a recipe, though it may be unwise to scale up. This is important when looking at processing times, in a pressure canner or hot water bath.
Take this with a grain of salt
This “mistake” is really a minor issue for canners. Most of the time you wouldn’t want to put jam in a 16 oz. pint size jar. Nor would you want to can thirty jars of pie filling (delectable cherries in honey) in tiny 8 oz. jars.
Trust your intuition and grow your canning experience instead. You can also look around and find other recipes that may suit your canning-style better.
Don’t fret about the small stuff, but do avoid the next mistake at all costs.
10. Using cracked – or chipped – jars
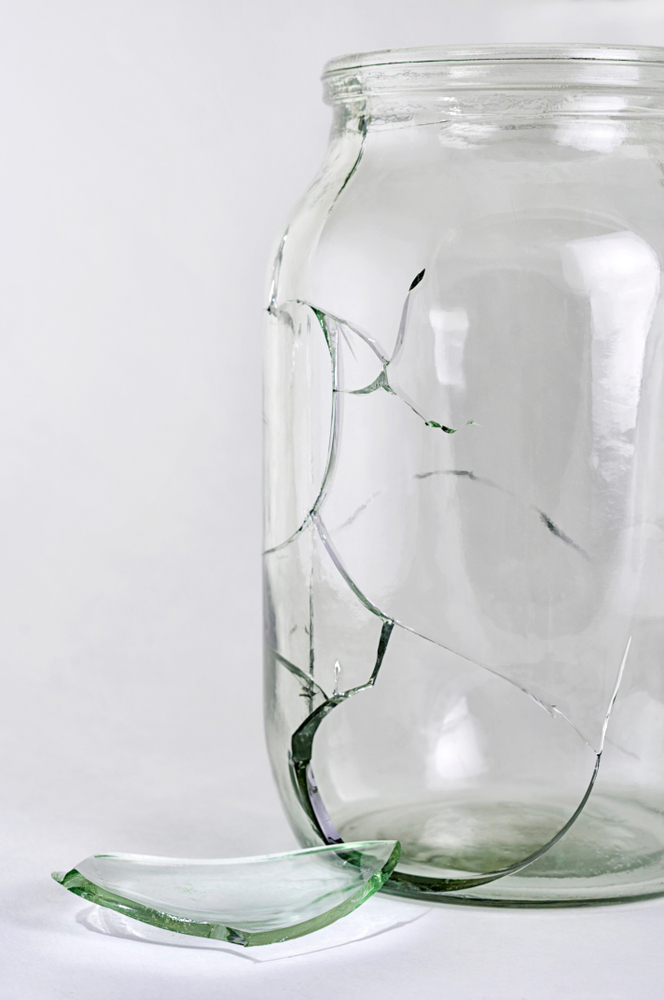
No, no and no. Do not save money by reusing old jars to their deaths.
Simply recycle them before they become a hazard in your kitchen, as no one likes cleaning up broken glass. Even an unassuming hairline crack can cause a jar to break in a hot water canner, or cause further problems for you on the shelf – especially if temperatures unexpectedly drop.
If the rim is chipped, your jar is also unlikely to seal, leaving you with spoiled food, or worse. Don’t let anyone get sick because of this small mistake.
Prevention is the best cure
The best way to be healthy is to stay healthy.
An easy way to apply this to canning, is to give your canning jars a thorough checking out at the beginning of each canning season. When washing them, give visual attention to each and every jar, searching for signs of wear and tear.
Instead of using the dishwasher, wash your jars by hand. In this way you may be able to feel if the rims are chipped. Replace all jars as needed.
11. Overtightening lids
This may depend on what type of lids you are using, but it is still worth noting.
Overtightening the lids before adding the jars to a hot water bath, for instance, may prevent air from venting out of the jars. At worst, the lid looks a bit funky, though it may also fail to seal.
Fingertip tight is as far as you need to twist, while you let the heat seal the deal.
The small details
When watching someone can for the first time, you may not even notice that they are even doing this. They may not even realize that they are doing this – tightening the two-piece lids to the point of gentle resistance. It is a feeling that comes along with experience.
If some of your jars do not seal the first time, keep trying. The more you do it, the more you will feel how to do it – and the fewer mistakes you will make.
12. Reusing canning lids season after season

You will notice from one season to the next that pickles and pickled goods can really take a toll on your lids. Leave them in that acidic environment for too long and the paint may even start to chip and flake, leaving some flakes of rust behind. Apricots can do this too – no need to ask how we know.
If you aren’t sure whether your jars are sealing well, it may be time to get new lids anyway, as they do wear out with use. How much use they get, depends on just how much you can each season. You could, however, reuse your Mason jar lids for other crafts. Second best option – recycle them.
Better safe than sorry
Some lids are single-use, while others are reusable. As soon as you see signs of a deteriorating lid, be sure to change it.
13. Not allowing jars to cool before moving them
It is really hard to let all those beautiful jars of jam clutter up your kitchen countertop while you concede to using your dining room table as a dinner preparation area.
Give them a quick smile every time you walk by, knowing that they are better off sitting where they are, at least for the moment.
Even if the lids might have sealed, moving them while still hot, or even warm, may disturb the jam inside. If it gets on the lid, the seal may be broken. Resulting in more lost time.
Be patient now, count your blessings later
Patience is an amazing virtue that should be passed down from generation to generation (with patient stamina).
Once your jars come out of the water bath canner or pressure canner, be sure to place them onto towels, in a warm area. Avoid as much thermal shock as possible. Never, ever put anything hot into the fridge!
14. Forgetting to label your jars
It may seem like you will remember what you canned, but once you reach the 100th jar, your memory will start to fade. Colors blend into one another and you start to guess what may be in each one…
It may also be the case, what seems obvious to you, will elude someone else. Ask them to bring a jar of cherries and they may just come back with something sour, yet nearly the same.
Plus, labeling your jars is a nice way to honor all the work that went into your canning, and that particular vintage.
Avoiding the confusion of not knowing what you made
It is certainly an extra step to handwrite labels, though it adds an amazing personal touch, particularly if you intend to give away some jars as gifts.
Labels can also be personally designed and printed, downloaded from other sources or bought online.
Whichever way works for your time and money-budget, just label it!
15. Listening only to your Grandma – or inventing your own recipes
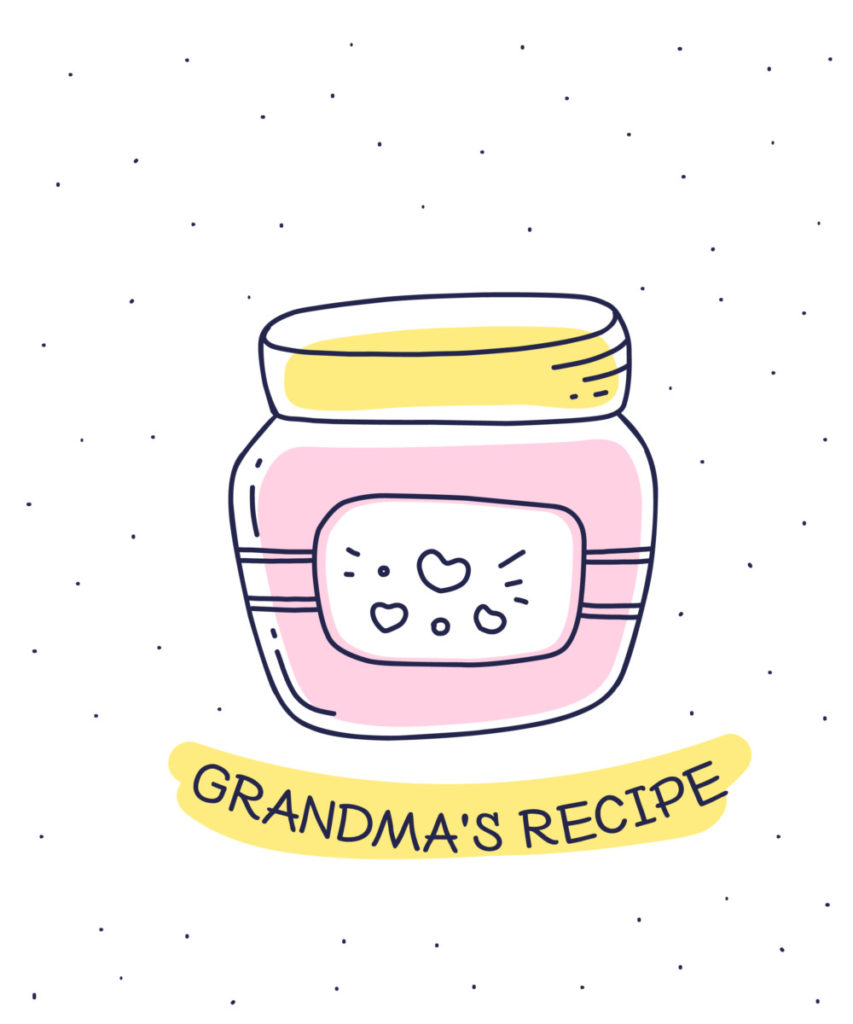
Grandma might have known best back in the day, but new food standards have risen since then. While she may still have some good advice to offer, it pays to also listen to the experts at the National Center for Home Food Preservation.
They can help to answer questions such as: Is it safe to process food in the oven? (The quick answer is NO!) What vegetables expand rather than shrink during processing? Is it safe to can food without salt? Along with much, much more.
Inventing your own recipes may be like opening a can of worms. The idea might work out beautifully in your mind, in reality, less so.
If you want to play it safe, and you do, begin your canning journey with tried, tested and true canning recipes. It will make your life so much easier, and more care-free too, which is far better than being care-less.
Out with the old, in with the new
Canning is both an art and a science.
To practice it safely and consume it with excitement, rather than trepidation, consider starting with a cookbook where all the recipes are proven to work out.
Here is one for starters:
Complete Book of Home Preserving: 400 Delicious and Creative Recipes for Today by Judy Kingry
Start collecting essential basic canning skills, then get ready to fill those jars and line your shelves with the moments in life you will be most proud of. You can do it!

Get the famous Rural Sprout newsletter delivered to your inbox.
Join the 50,000+ gardeners who get timely gardening tutorials, tips and tasks delivered direct to their inbox.