

When apricots are deliciously ripe and in season, there are three ways to take care of the overabundance quickly:
1. Eat them fresh.
2. Dehydrate them.
3. Make apricot jam for winter.
The catch with the first method is that apricots (Prunus armeniaca), even though they are rich in antioxidants, including beta carotene and vitamins A, C, and E, they are also relatively high in sugar.
One serving a day is all you need, that’s three to four apricots. And that is but a mere handful of fresh fruit.
If you have your own mature apricot tree, in a good season, you may have more than 300 pounds of apricots!
You cannot possibly consume them all at once, given that they have a shelf life of approximately 4 to 5 days.
When apricots are ripe, you better act quickly!
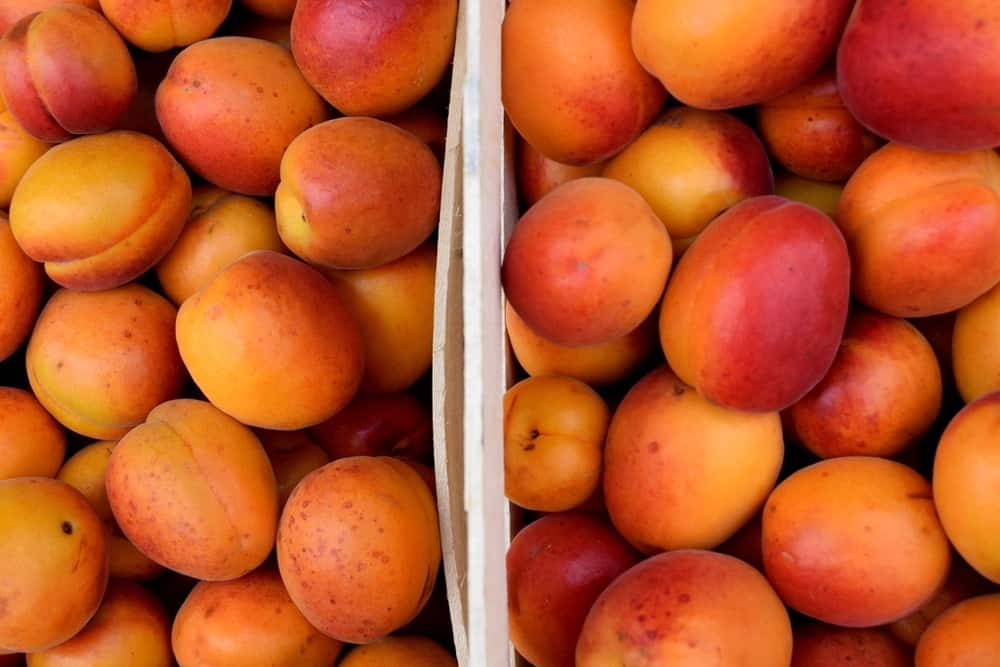
Of course, if apricots don’t grow near you, you may still find them in bulk at the market. In that case, search for the best tasting ones and invest in 20 pounds or more to get started with stocking your pantry for winter.
Keep in mind that apricot seeds are relatively heavy, so just factor that in when you make your purchase.
How to preserve apricots
Dried apricots are simply the best, provided you have sufficient sun and the necessary equipment to dry them. However, if you don’t have the proper gear for dehydrating fruit, there is still one last option for preserving the sweet glut of apricots – home canning.
First, a few more words on dried apricots.
Dried fruits are just as nutritious (sometimes even more delicious) as fresh ones. Eating a few nutrient-dense dried apricots a day, will nourish your body with extra calcium, potassium and vitamin K.
Not only that, dried apricots also treat indigestion, they improve skin conditions and prevent inflammation. There is no good reason why you shouldn’t be eating them, whether you make them yourself or buy them from the store.
Do you see the theme here yet? Whether fresh or dried, apricots are best without sugar.
The question is, have you ever tried apricot jam without sugar? Most likely not, unless you have already discovered the simplicity of one-ingredient jams for yourself.
How To Make Apricot Jam Without Sugar
A typical apricot jam consists of three ingredients: apricots, sugar and lemon juice.
You’ll find some recipes calling for a 1:1 ratio! Other recipes may call for a three to one ratio, which can easily be scaled up or down, depending on the weight of your deseeded apricots.
If you want to make your jams entirely sugar-free, you’ll have to rely on the sweetness of the fruit, and expect it to be more tart than you are used to.
Trust me, you can easily get used to food tasting different, especially when you are doing it for health reasons.
The plus side to this sugar-freeness, is that when you open a jar of apricot jam in winter, you can stir in as little, or as much, raw honey as you wish. And you know the benefits of raw honey last the whole year through!
Sterilize your jars
Since we are preserving apricots, a high-acid fruit, we will need to sterilize the jars before cooking the jam.
Some sources say that jars can be sterilized in the dishwasher, or in the oven, though neither of these methods are considered safe by the USDA.
Keeping in mind that all of your work surfaces are exceptionally clean, you can get started on preparing the jars:
- Place the empty jars inside a large pot or water-bath canner, letting them rest on a rack.
- Cover the jars with hot, not yet boiling, water.
- Bring water to a boil for 10 minutes, adjusting if necessary for altitude.
- Turn off the heat.
- Remove jars using tongs or a jar lifter.
- Drain jars on a rack, or set aside to dry on a clean cloth.
At this time you will also need to clean the lids/rings in hot, soapy water. Do not put them in boiling water, so as to not harm the rubber seals.
Wash your apricots
You’ll want to use the whole fruit, including the skins, so make sure to wash the apricots thoroughly, preferably with running water.
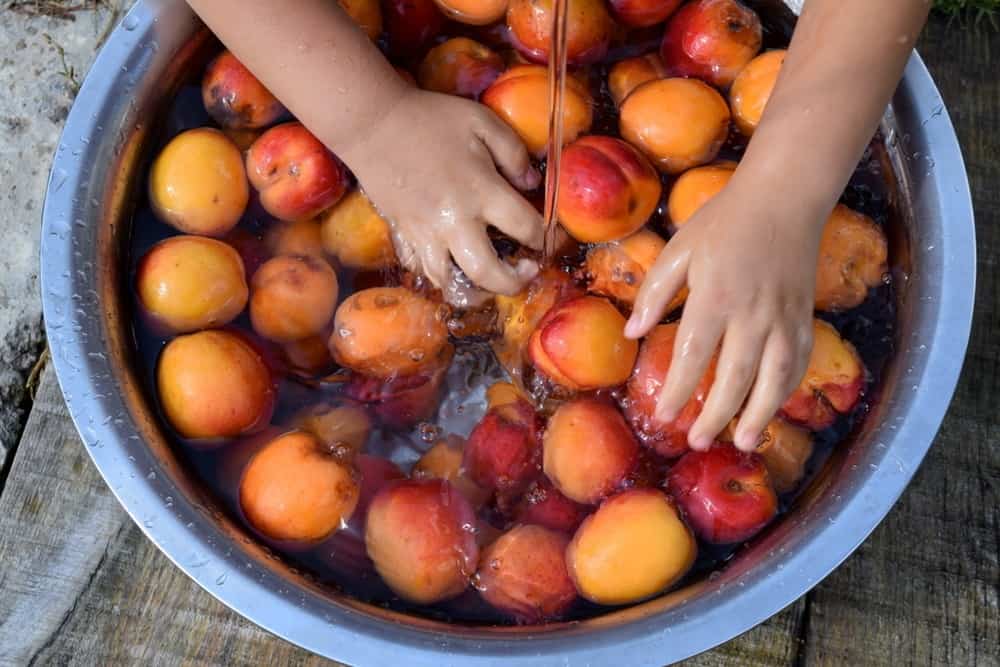
Drain the water and get ready for the apricot processing.
Sometimes you may be making just a few jars of jam, while in other instances you may be up for a canning party involving fifty pounds of fruit or more!
If that is the case, go slow and be precise, making sure that everyone cuts similar size pieces – to experience the best end product possible.
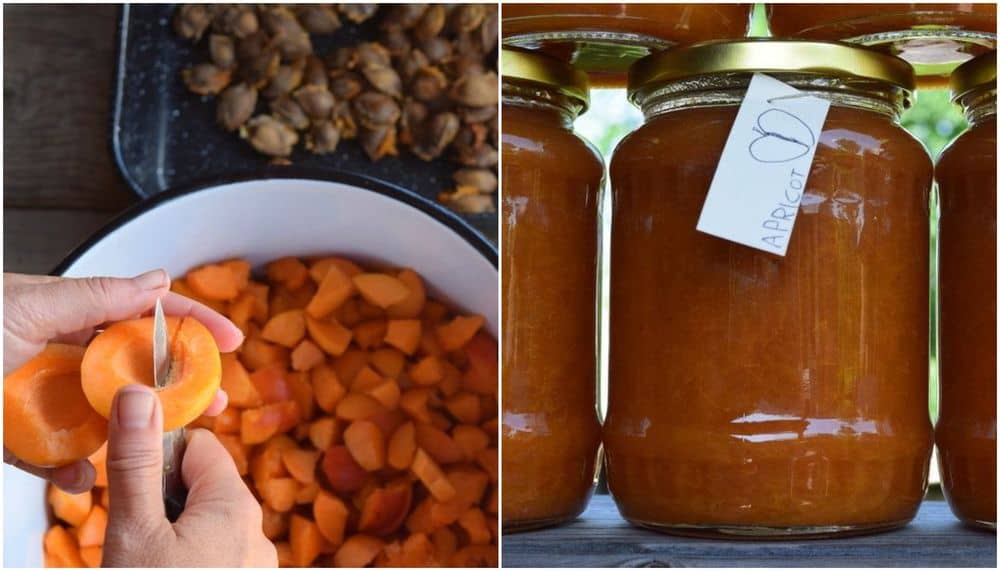
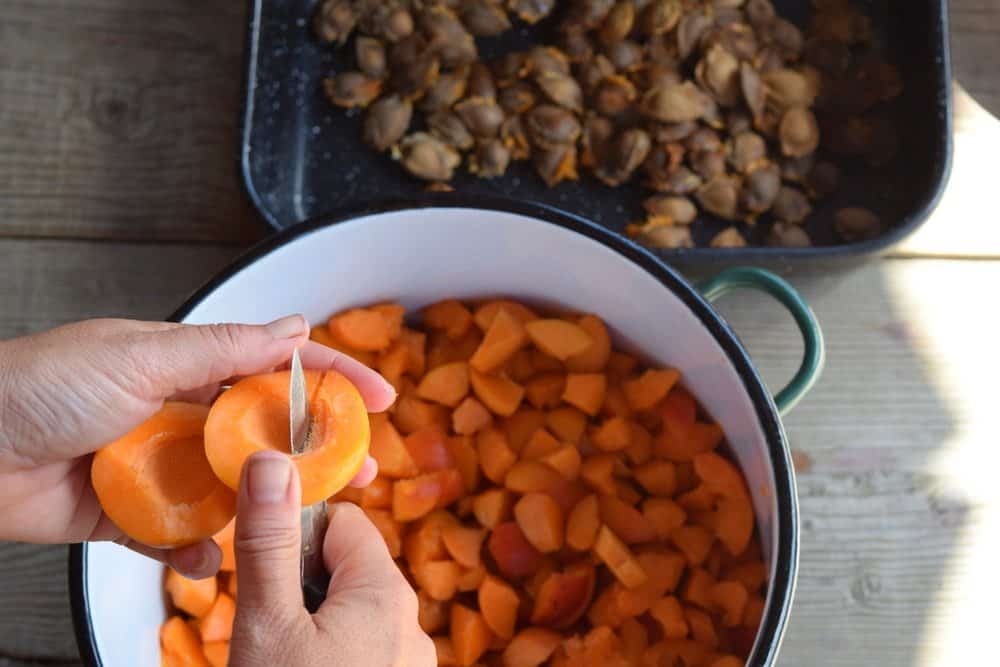
Cut the apricots
When cutting apricots, make sure to cut out any heavily bruised, moldy or wormy parts.
As you cut them in half, set the stones aside for later processing. Then cut the halves into quarters, or smaller pieces, depending on the size of the fruit.
Start cooking your sugar-free apricot jam!
Choose a flat, heavy-bottomed pot for cooking your homemade jams. If you are an avid canner, you may have a set in multiple sizes – choose the one that fits the amount of chopped apricots, always leaving room at the top for the jam to foam.
Cooking time is anywhere from 30 minutes to 2 hours, depending on the size of your batch. The longer the better, to heat up to a high core temperature.
It takes some time for the apricots to “melt down” and become mushy. At this stage it is important to stir frequently. Apricots have a tendency to burn on the bottom of the pot.
At this point you can also add some special ingredients to your apricot jam when you feel the calling to do so:
- kirsch
- rosemary
- basil
- chia seeds
- ginger
Ladle into jars
Prepare your jars on a table, bring the steaming pot of jam to the side of the empty jars and start ladling the apricot jam into the them, one by one.
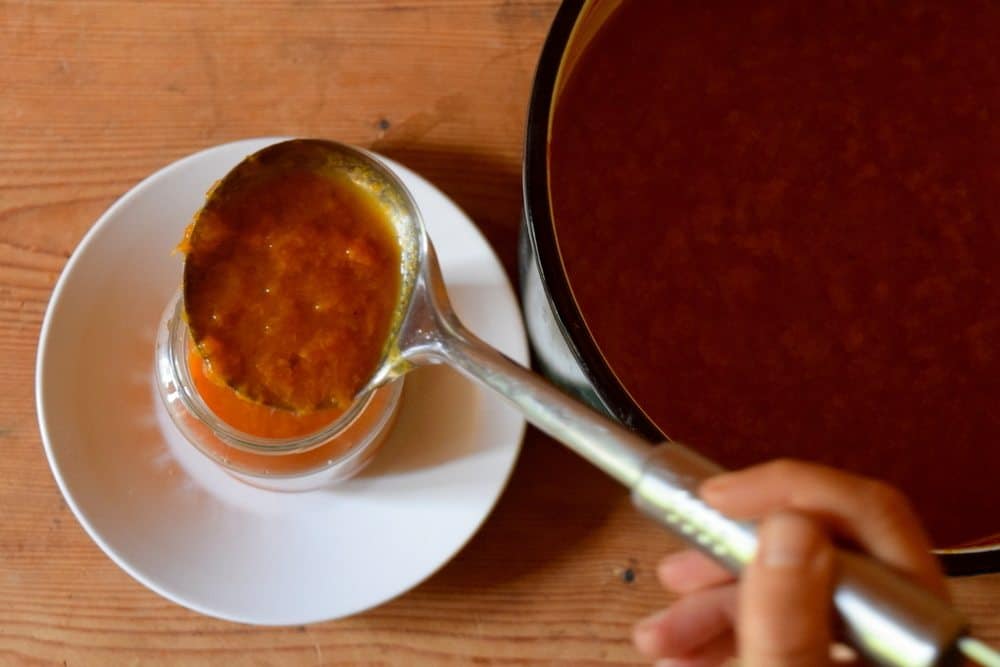
Fill one jar at a time, leaving 1/4″ headspace, wet wipe any spillage clean and secure the lid on tightly.
Use a water bath canner
Add jars to your boiling water canner and process for 5-10 minutes, adjusting for altitude.
Then remove the jars and let them come to room temperature naturally. Check the lids after a day has passed to make sure they have sealed.
The old-fashioned way…
When it comes to canning and preserving food, you’ll often find out that Grandma did it differently.
She didn’t have a water bath canner.
One line of thought is that you can fill the jars with hot jam, tighten the lids by hand, then turn them upside down on a wire rack to cool completely on their own.
If the lid doesn’t pop up and down, then it has formed a perfect seal. If it does make a sound, it has not sealed properly and is better for fresh eating, or freezing the contents.
On my husband’s side of the family, coming from Hungary and Romania, the process of setting the jars is different.
Once the jars are filled with jams, pickles or chutneys, they are then placed inside a lined basket, wooden box, drawer, or extra bed, surrounded by blankets, down comforters and pillows to help the jars retain the heat for the longest time possible.
In some instances it takes 24-48 hours for the jars to come to room temperature, depending on the collective heat they have together, and how well they are insulated.
The most important thing to remember in home canning, is to keep everything sparkling clean!
Take a look at our guide to get started canning for more hints and tips for a successful canning experience.
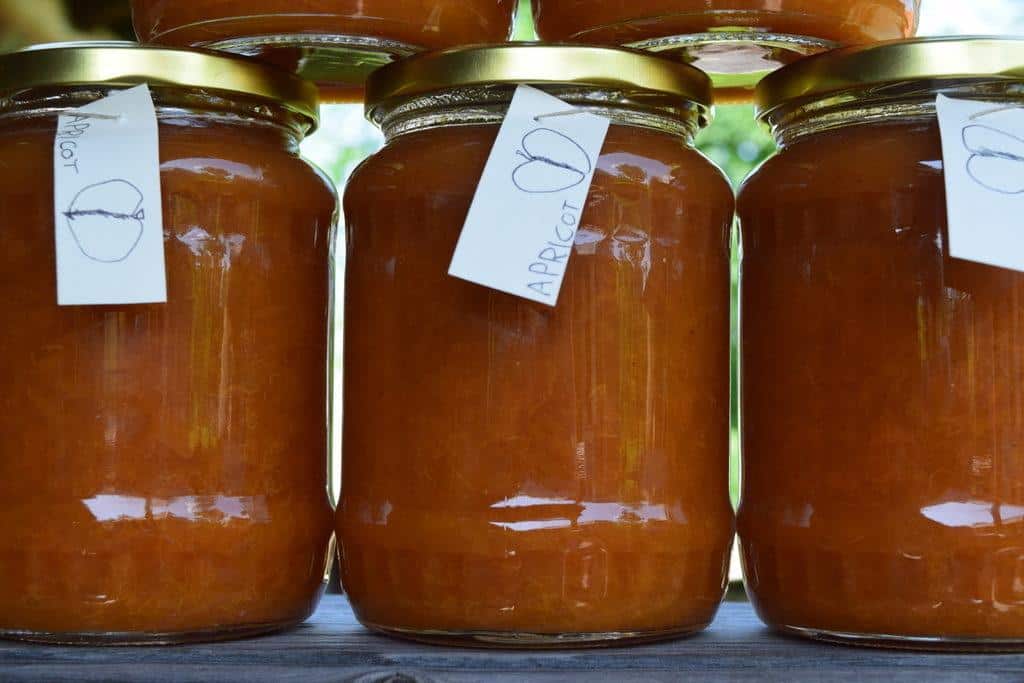
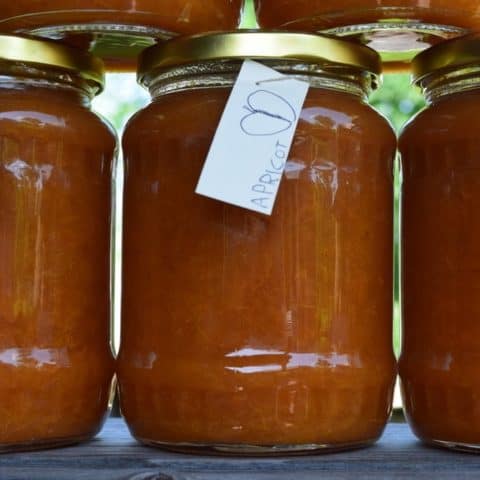
Now that your jars have set, go ahead and make labels to celebrate your canning success.
I recommend adding the year of making, because you just never know: a batch might turn out so good, you will want to keep it for longer as a cherished vintage, to open on special occasions for years to come.
Now the pleasure is all yours, to serve your finest sugar-free apricot jam with pastries, yogurt or homemade granola.
Too tart? Add a spoonful of raw honey and indulge in apricots aplenty, all year long.
No Sugar Apricot Jam
This simple no-sugar apricot jam relies on the sweetness of the apricots for flavor. This is the perfect recipe for when you have an abundance of apricots.
Ingredients
- Apricots
Instructions
- Sterilize your jars.
- Wash your apricots.
- Cut the apricots into quarters or smaller, discarding any bruised or damaged fruit.
- Put your apricots into a heavy bottomed pan and start cooking for 30 minutes to two hours until the apricots "melt down".
- Optionally, add some extra flavors such as rosemary, basil or ginger.
- Ladle your apricot mixture into the sterilized jars leaving 1/4 of headspace.
- Secure the lid and add the jars to your water bath canner for 5-10 minutes.
- Remove the jars, allow to cool naturally and after a day or so check the lids to make sure they have sealed.
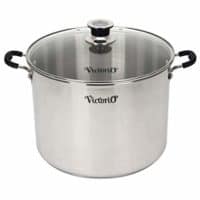
Recommended Products
As an Amazon Associate and member of other affiliate programs, I earn from qualifying purchases.
Pin This To Save For Later

Read Next: How To Make Spruce Tips Syrup, Tea & More Uses For Spruce Tips

Get the famous Rural Sprout newsletter delivered to your inbox.
Join the 50,000+ gardeners who get timely gardening tutorials, tips and tasks delivered direct to their inbox.