


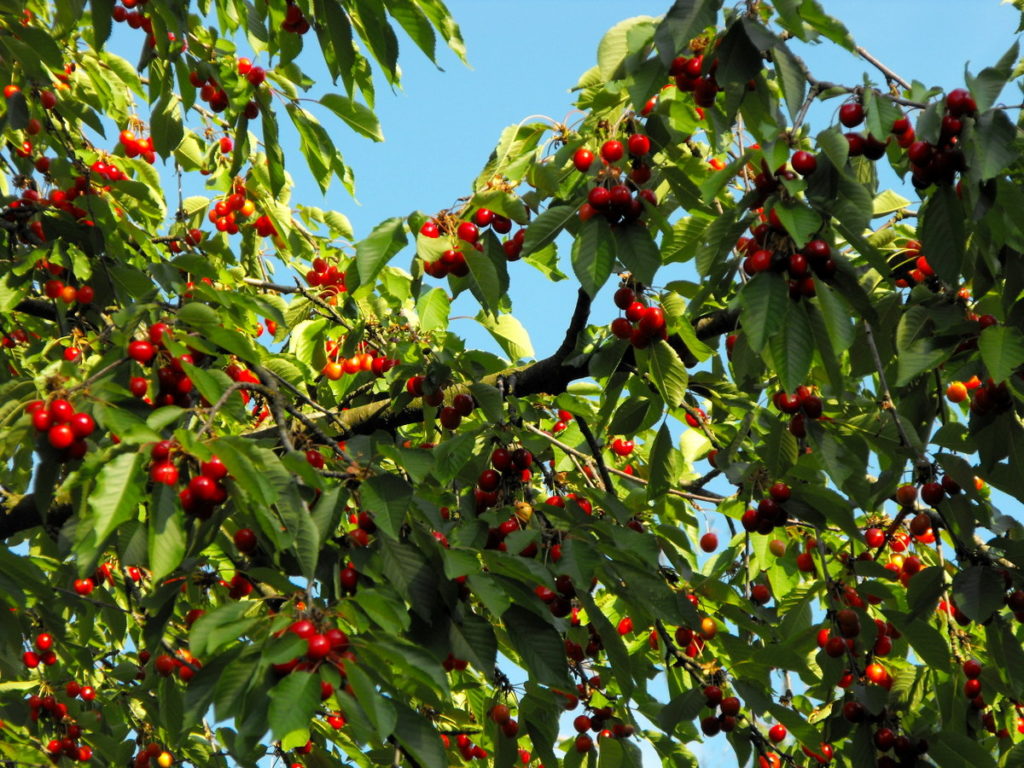
When life hands you ripe, juicy and perfectly sweet red fruits in abundance, you eat as much as you can – at once!
Naturally, we are referring to sweet cherries, freshly picked from the trees. If you were imagining tomatoes, you may want to head over to this practical article on tomato preservation instead.
But what about the rest?
Do you have the heart to throw it in the trash? Or at the very least toss it to the chickens or the compost pile? Will it have the chance to get moldy before you get around to doing something with a glorious glut of cherries?
No. That will never happen.
Not when you are prepared for canning season with loads of cherries, plenty of delicious recipes and empty jars in store.
There is more than one way to can cherries
When it all comes down to it, home canning is all about preference. Your preferences. And the best part is – you are in control!
If you enjoy the classic way of adding sugar to your canned cherries, no problem. There are hundreds of recipes focused on just that.
Here are a few for starters:
How to Can Sweet Cherries @ Frugal Living NW
Martha Washington’s Preserved Cherries @ Tori Avey
Canning Cherries @ Creative Homemaking
If you wish to reduce the amount of sugar in your diet, for health reasons, or having a preference for more refined flavors, there are plenty of recipes for that too.
Though some may be harder to discover while scrolling through images of yummy looking jars, only to find out that they are in fact, packed in a “light” syrup.
My take on old traditions is that we should embrace what is worth saving, and alter the rest to suit our present-day needs. This gives us the kind of creative freedom in the kitchen that wasn’t readily available to our grandparents.
We aren’t talking about technology here, but in exploring new ways to use classic ingredients.
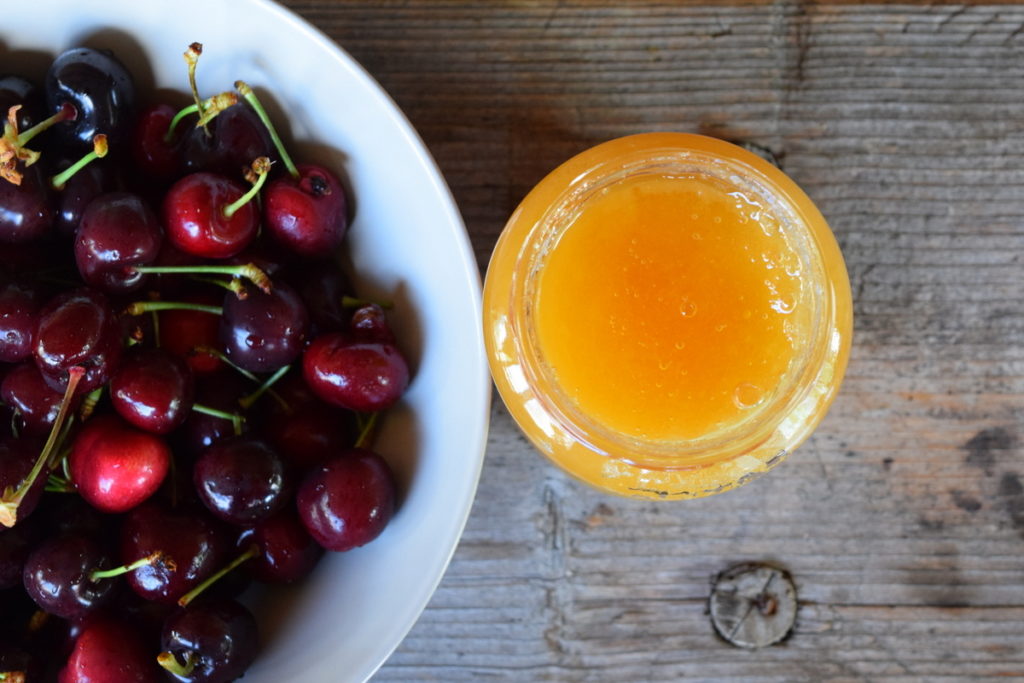
Canning cherries in honey
Cherries and honey. That is all it takes to make some of the most flavorful preserves you’ve ever tasted in your entire life. Plus some water to make the light syrup, sugar-free, but not free of mouthwatering sweetness to brighten up your winter days.
As for acquiring an amazing flavor, first of all make sure that the cherries are picked at their prime. Not underripe, not overly ripe. Just firm with a slight crunch.
As for the honey, make sure to pick a flavor of honey that matches the delicate aroma of the cherries. In this case we chose a local, organic linden honey. The aroma hits you as soon as you open the jar!
We canned 9 jars one late afternoon. The smallest (sample jar) has already been eaten, with a promise to ourselves to save the rest for later…
Step-by-step process of canning cherries in honey
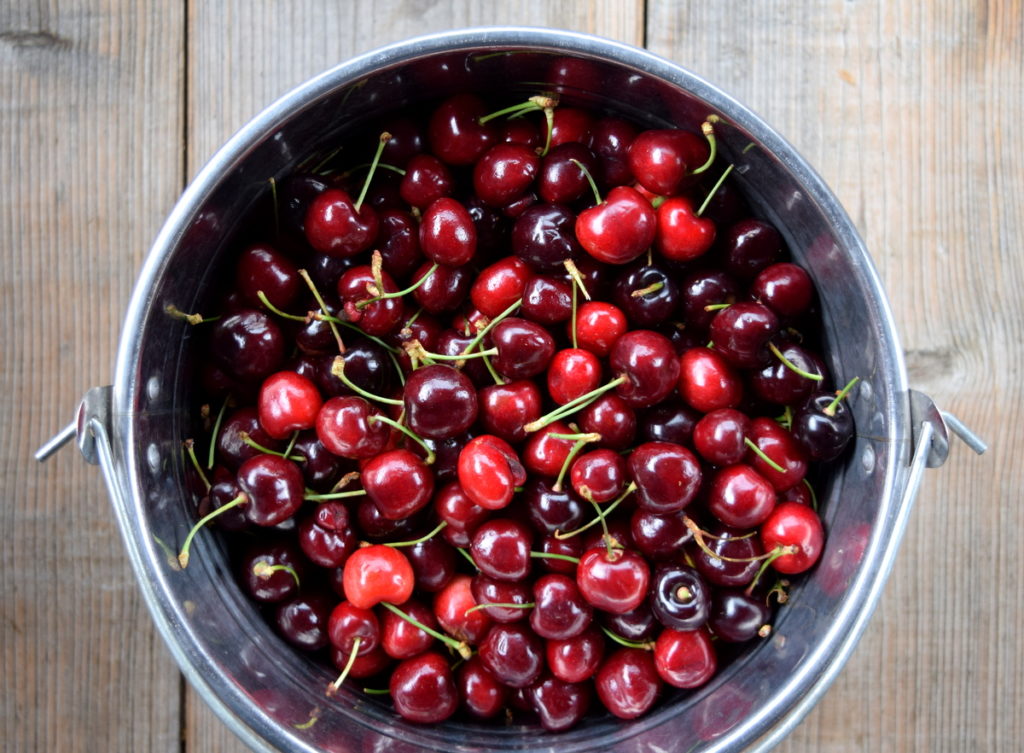
After harvesting your cherries, either by picking them directly from the tree branches, or from a stall at the market, the first thing to do is take them home and keep them in a cool place until you are ready to get started.
Wait no more than 24 hours for this! Once harvested, cherries should be processed for canning straight away. Unless you have ample room in the fridge for 12-15 pounds of cherries, which can be stored for 5-10 days.
Processing fresh cherries is always best, so let’s get started.
Ingredients for canning cherries in honey
Just how many jars you can fill, depends on the sizes of jars you have ready and waiting. On average, to fill 7 quarts you will need about 17 pounds of cherries.
It takes about 2-2.5 hours to can this amount, accounting for washing, pitting, cooking and canning. With experience, and good quality fruit, you can cut some time off of this estimate.
Here is what you need to get started:
- 12-14 pounds of fresh cherries
- 2 cups of linden honey (or other honey of your choice)
- 8-10 cups water (depending on how much syrup you wish to enjoy!)
Note that when pitting cherries, it can get a little messy. Work outside, or be prepared with sufficient work space in the kitchen.
Always be sure to wash and sterilize your canning jars before getting started.
Step 1: Washing the cherries
With cool water, make sure to wash the cherries in at least two batches of water to remove bugs, dirt and small leaves.

Step 2: De-stem and pit the cherries
Cherries can be canned with or without the seeds inside.
Common wisdom says that work you don’t do now, will come back to you later. We’ve always found it beneficial to carefully pit the cherries now, rather than eat around the seed later. Canning cherries as compote, when the integrity of the fruit is desirable, would be a different story.
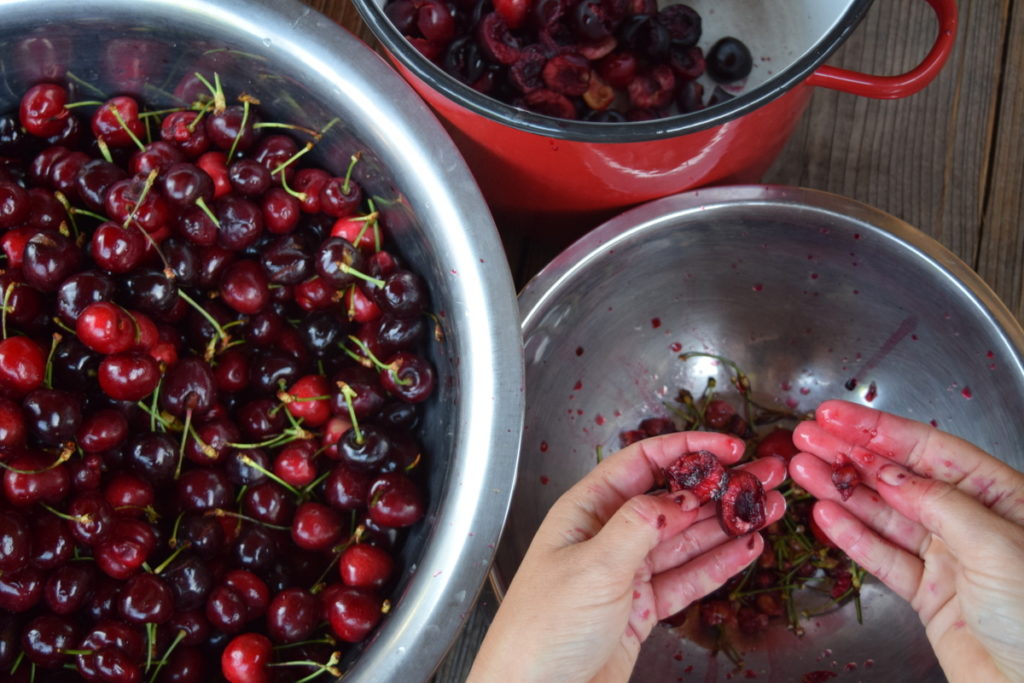
You can do this by hand, which does take some time – amazing homemade food always takes time! If you can a few jars of cherries just once a year, your hands are the only tools for cherry pitting that you need.
However, if you are planning to can multi-dozen jars, a cherry pitter may be useful. (You will find it useful for olives too.)
Step 3: Make the honey syrup
Once your cherries have been pitted, it is time to put your honey syrup to boil on the stove.
Then you have the choice of whether you want to hot-pack your cherries, or go the less conventional route as follows below.
Step 4: Bring the pot of cherries to a boil
With your pot of honey water boiling on the stove, you will gradually want to add your entire bowl of pitted cherries. This will reduce the firmness of the cherries a bit, resulting in softer bites. Again, a matter of preference.
Now bring this brilliant red mass to a boil again, stirring occasionally. Make sure it is heated through before removing the pot from the stove – about 5 minutes should be sufficient.
Step 5: Filling the jars
With the contents of the pot still hot, begin to fill your jars, ladleful by ladleful. Add a significant amount of cherries, about 2/3 of the jar, the rest of syrup, leaving 1/2-inch headspace.
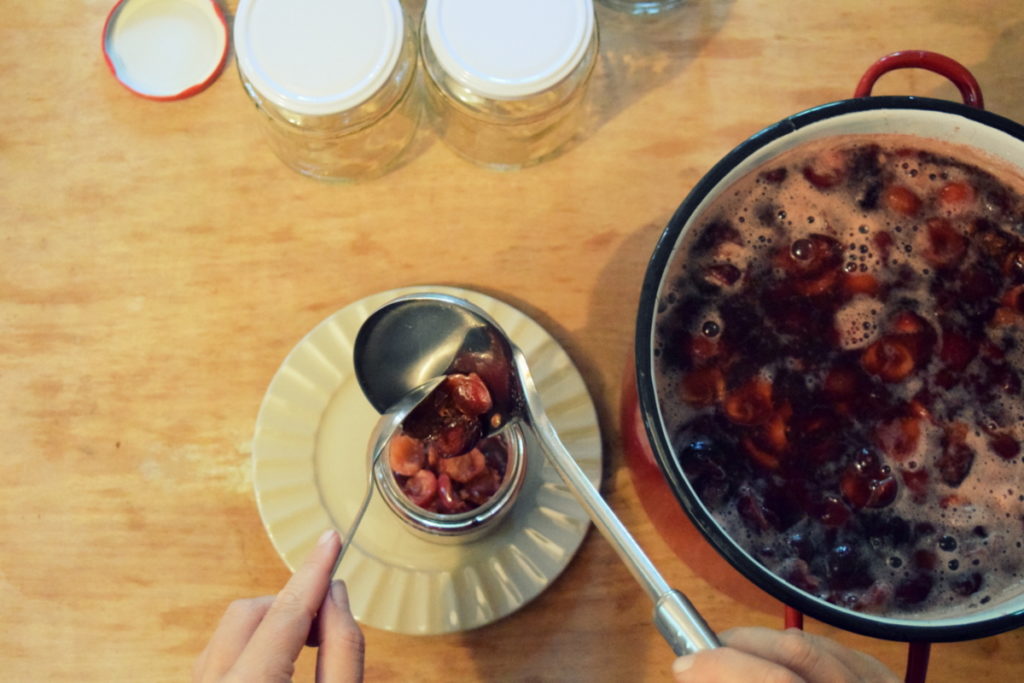
Remove any scum or froth that may be present at the mouth of the jar from the boiled honey, simply by spooning it off. Check for air bubbles, wipe the rims of the jars clean and secure the lids.
If you would like to stop here, to refrigerate and eat your canned cherries in honey in a quick fashion, give yourself permission to eat a spoonful and enjoy the first bites.
If you want to go a step further in making your preserves last longer, make sure that the water is already hot in your water bath canner.
Step 6: Water bath canning
Process your jars for 15 minutes in a boiling water bath. Remove them from the water, set on a clean kitchen towel and wait for them to cool.
Check to see if the lids have sealed (popped), before labeling and stashing away for later times.
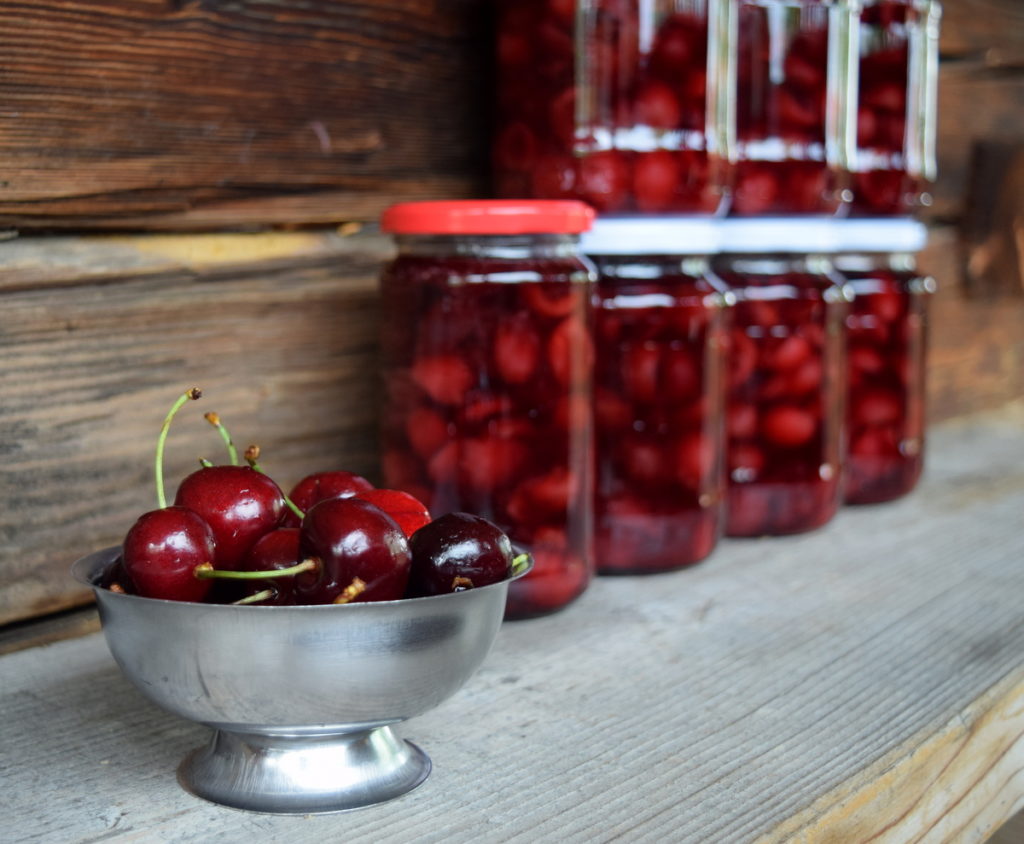
Wait at least 3 weeks for the best flavors to develop.
If you have jars that did not seal, refrigerate and devour the contents straight away.
Recipes using your canned cherries
Now, your prepping mind may already be thinking up ways to use these beautifully canned cherries.
Cherry pie is always an option.
Canned cherries are also wonderful over oatmeal, on ice cream, or served as a sweet side dish next to a weekend roast. Dessert, served straight up, is always a lovely option as well.
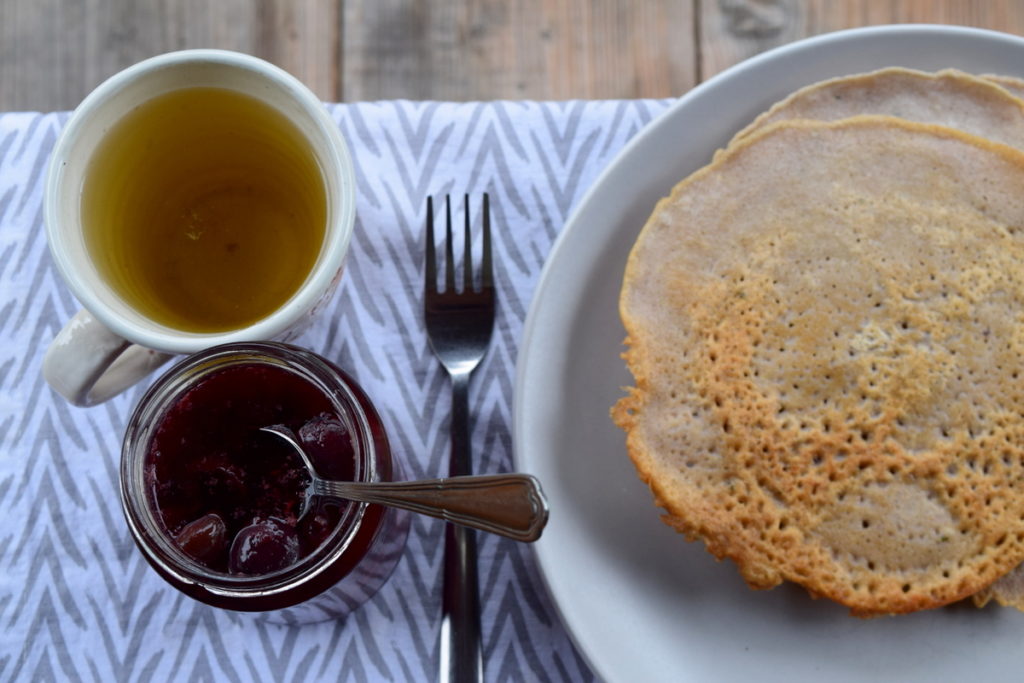
We enjoy our canned cherries in honey with buckwheat crepes.
Additional recipes for canning cherries with less, or no, sugar
The only way to know if you are going to love something new, is to try it.
Did you know that cherries can be canned in just plain water?
In fact, we often can them as cherry jam, similar to our sugar-free apricot jam. Nothing but the fruit gets inside – and that is a delectable thing indeed. It lets the flavor of each seasonal fruit really stand out and shine.
If you are seeking to reduce your sugar intake, it is to your benefit to learn to can common fruits and vegetables at home.
You might also like to try this sugar-free cherry recipe, to taste what you like best:
How to Can Cherries in Juice Without Added Sugar @ the Spruce Eats
You can always freeze or dehydrate your cherries, as other forms of winter food preservation.
Don’t forget to try this recipe with sour cherries too!

Get the famous Rural Sprout newsletter delivered to your inbox.
Join the 50,000+ gardeners who get timely gardening tutorials, tips and tasks delivered direct to their inbox.