


Whether you’ve been growing lavender for decades or you’re bringing home your first plant, there are a few things you need to know about this fragrant Mediterranean beauty.
I’ve noticed a pattern in my “things to know about [insert plant here]” articles. I often use this format to warn our readers of certain plant quirks. Too thirsty! Too fussy! Etc.
Well, that will not be the case with today’s plant of choice: lavender. To me, she is perfect! So rather than listing things to watch out for, I’ll probably end up telling you how versatile and easy-going this ornamental herb is.
But let’s start with a detail that I think not a lot of gardeners pay attention to.
1. There are three popular types of lavender, but you should stick to one.
I don’t know how many hobby gardeners can tell the difference, but it’s quite evident once you know there is one. There are three types of lavender commercially available for home gardeners:
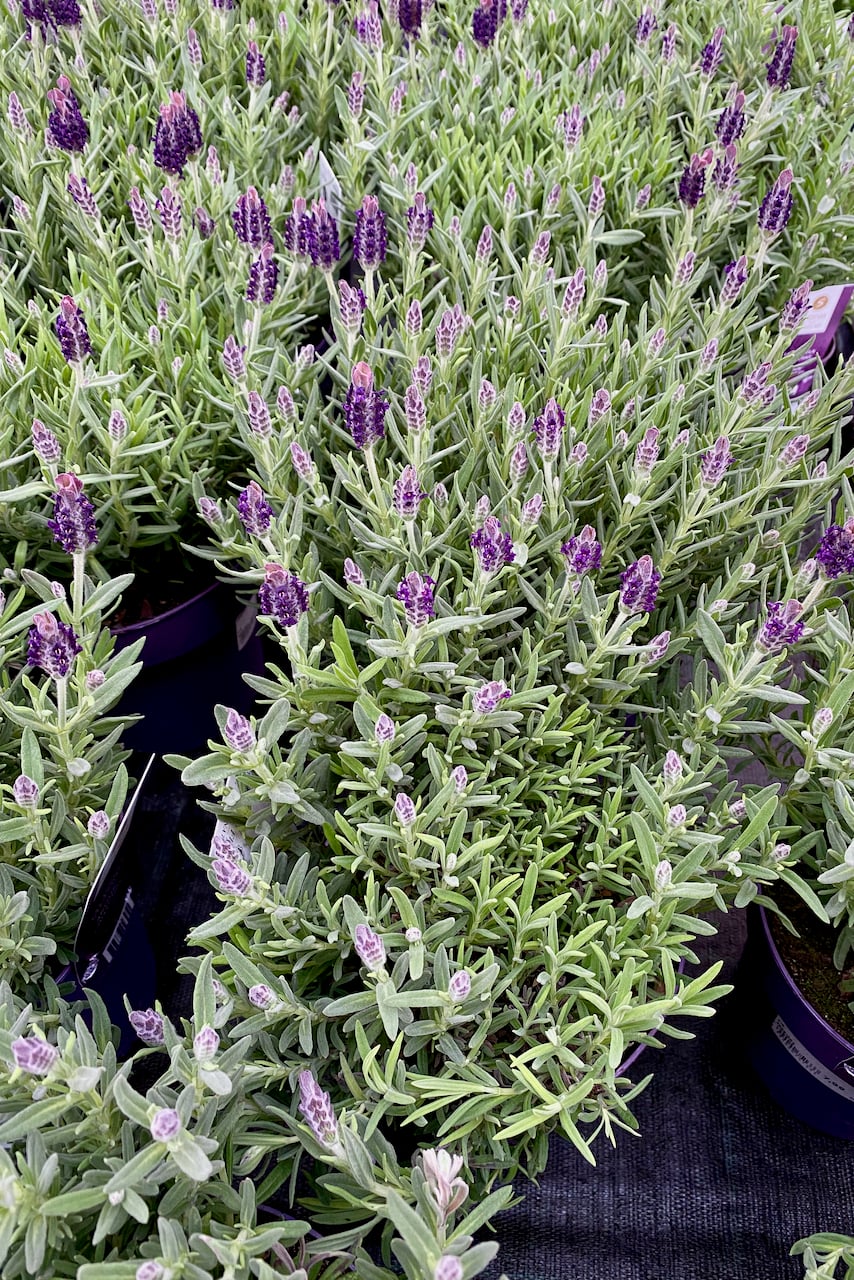
Spanish lavender (Lavandula stoechas) – also known as ‘bunny ears lavender’ or ‘butterfly lavender’ due to the frilly petals at the top of the flower buds;

French lavender (Lavandura dentata) – also known as ‘fringed lavender’ due to the serrated edges of the leaves;
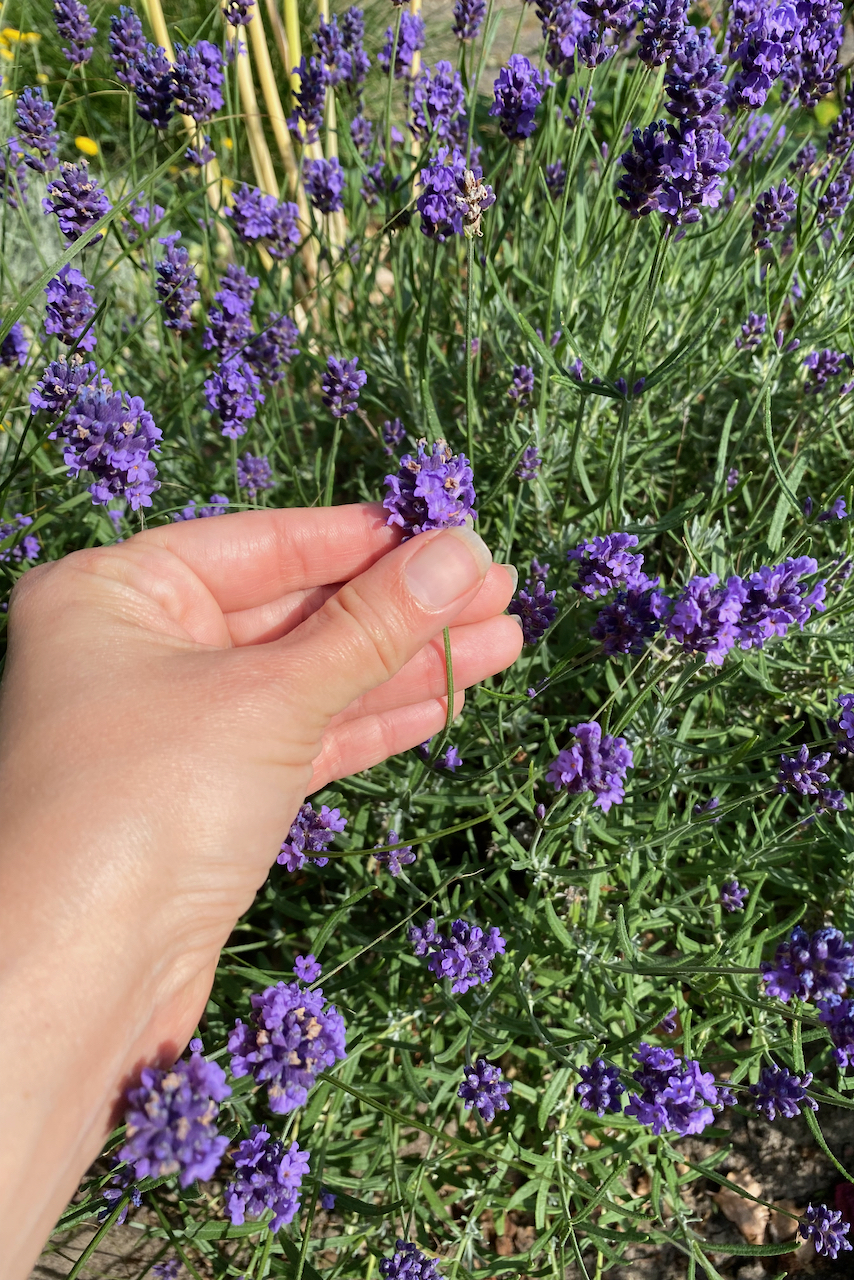
English lavender (Lavandula angustifolia) – the most popular type and the hardiest, which also makes it the topic of this article.
It doesn’t help the confusion when vendors group together Spanish and French lavender and just call it all French.
Here’s my advice, which I admit is heavily biased by where I garden – in a temperate climate where summers get hot, and winters get plenty of days below freezing.
I think only English lavender is worth the bother as a perennial garden addition.
I have nothing against French or Spanish lavender. They’re elegant, they smell amazing, and they are much-loved by bees and butterflies. But they will simply not survive the winter in my garden.
Yes, I still buy French lavender as a potted plant from time to time, and keep it on my porch or as a patio table centerpiece. But I’ll no longer bother with putting it in the ground and crossing my fingers that it makes it. Because it never did.
If you garden in a climate that’s more similar to its native Mediterranean climate, and garden on well-drained alkaline soil, then you might want to give French lavender a shot. Otherwise, stick to the winter-hardy English lavender.
2. We don’t need to fertilize lavender.
You may have gleaned by now that one of my criteria for giving a perennial a spot in my garden is simply the answer to this question:
Is it low-maintenance?
I have neither the time nor the mental bandwidth to deal with fussy plants.
Luckily, English lavender passes this test with flying colors. It’s a Mediterranean plant that’s used to growing in poor, calcareous soil. The oily, glossy foliage helps lock in moisture. And the coarseness of the leaves means that bugs leave it alone.
So I don’t fertilize it (never had!) using anything from a plastic bottle. But I do add a good layer of compost at the base every spring. This will help to gradually feed the plant over the growing season. I also mulch it with wood chips to help it retain moisture around the roots.
Won’t fertilizer revive my lavender?
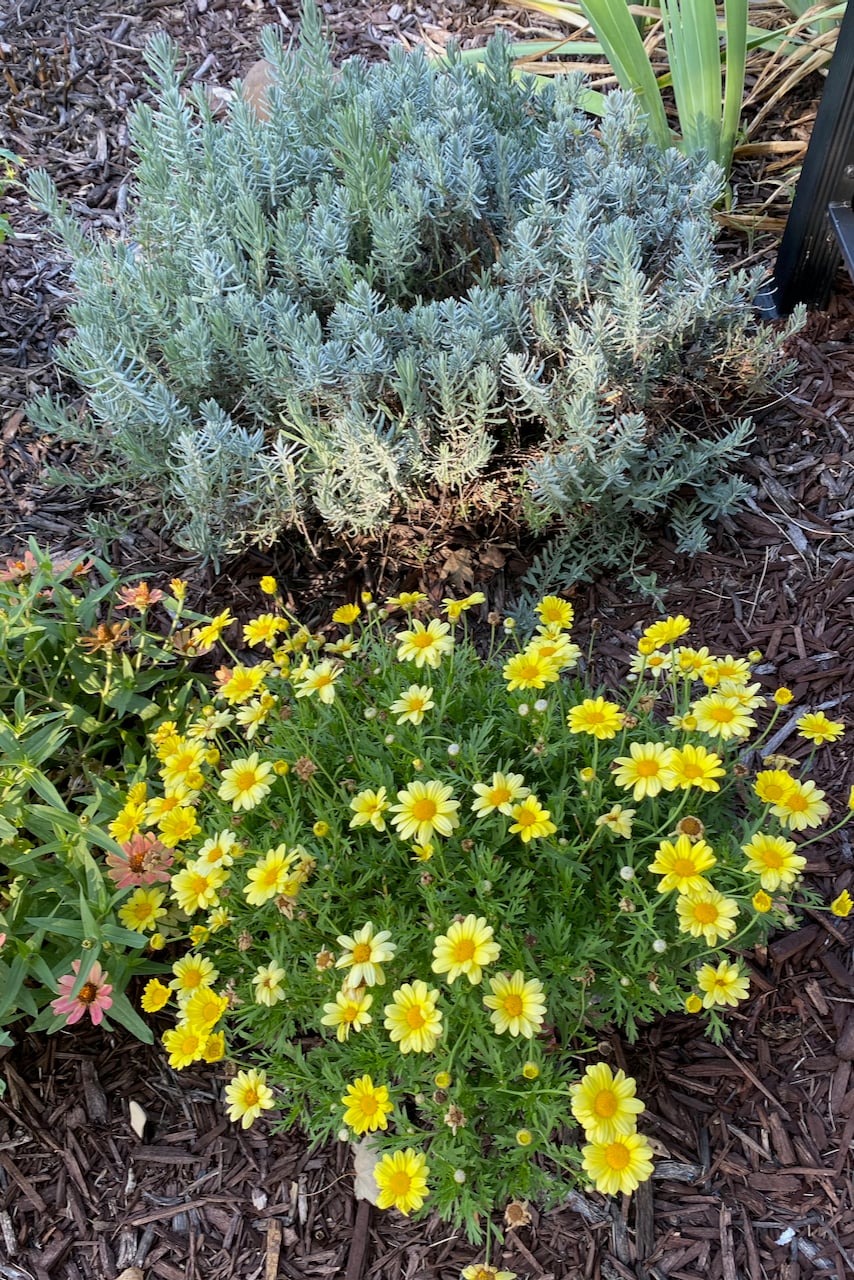
If you notice that your lavender is struggling, and you’re tempted to give it a boost with a bit of liquid feed, my advice is to troubleshoot for two other factors first.
- Is it getting enough sunlight? Lavender will thrive in full sun, preferably between six and eight hours a day (or more at the height of summer).
- Is it waterlogged? Lavender does not like to have wet feet for too long. So if you’ve planted it in a spot that stays too moist – very common in clay-heavy areas – your plant will struggle.
Fix these two things and allow your lavender an active growing season to recover before you reach for the fertilizer. Chances are, you won’t need it.
3. The easiest way to propagate lavender is by layering it.
I think that layering is the most underutilized method of propagation. Or perhaps the most misunderstood.
It’s so easy, people often wonder what’s the catch. There’s no catch.
Just bend a stem of lavender all the way down until it touches the ground. Then strip off the leaves, if any, on the part that touches the soil. Fix everything in place with a couple of crossing chopsticks or pencils. Although our editor swears by these hair accessories for layering propagation. Then wait a few weeks (up to a couple of months, depending on what season you’re doing this in).
When the part that’s layered on the soil forms its own roots, that’s when we can cut it off the main plant. This new lavender is genetically identical to the mother plant, and it’s ready to be transplanted.
I have a long list of 50+ plants that we can propagate via layering and a step-by-step tutorial in this article.
4. The second easiest way to propagate lavender is by taking cuttings.
Another point in favor of lavender: we can propagate it through all manner of cuttings:
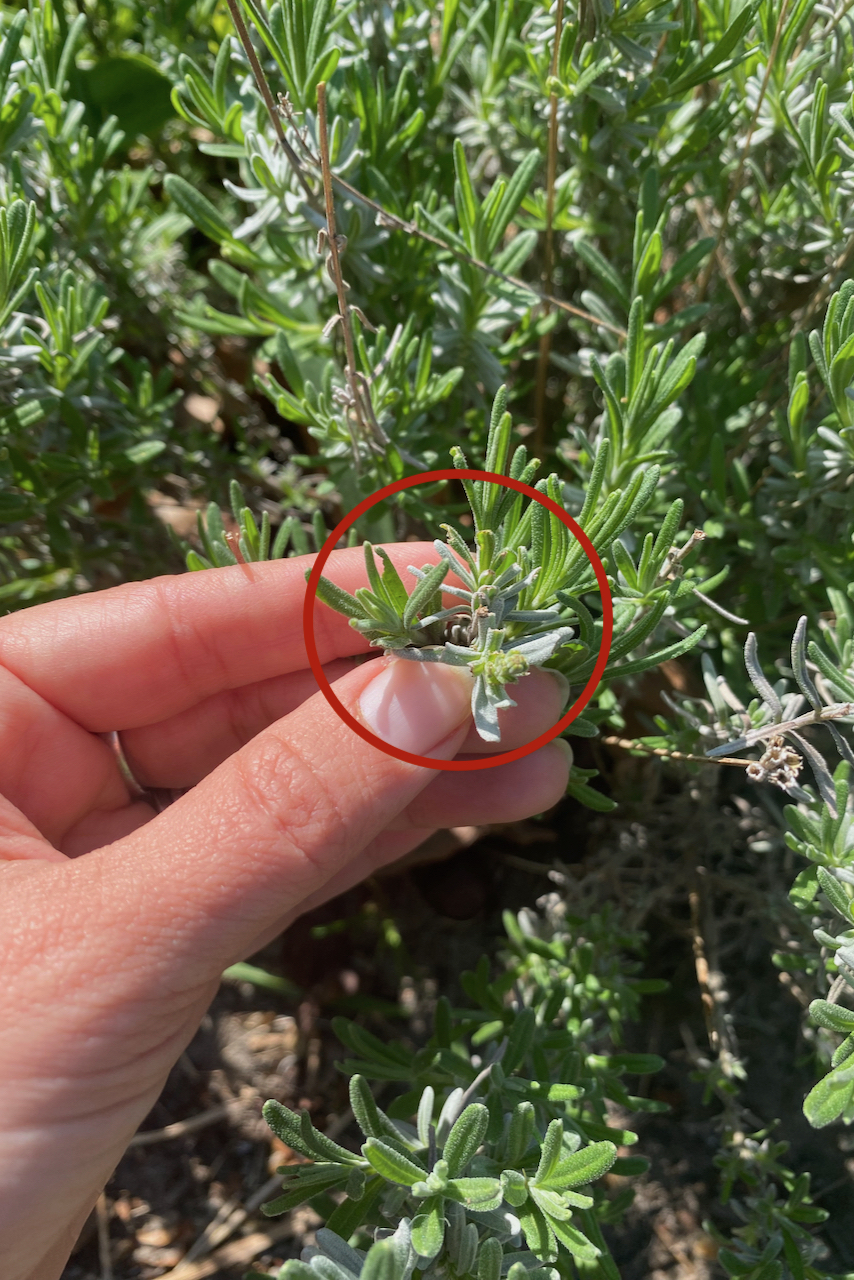
Softwood cuttings in late spring and early summer. We’re using this year’s new tender and flexible growth as a starting point for a new plant. Bonus points if we combine it with spring pruning (more on that below) and use the prunings as cuttings.
Have a look at this article I wrote on how to propagate softwood cuttings and 30+ other plants that we can multiply this way. I’ve added all the tips I learned over the years on how to make sure you set your cuttings up for successful rooting.
Semi-hardwood (or semi-ripe) cuttings. Roughly from mid-May onwards, the same softwood as above will turn into semi-hardwood. It’s the type of cutting that I’ve had the quickest success with because we’re taking it in its most active stage.
Here’s a list I wrote of ten plants we can propagate by semi-hardwood cuttings. You will notice that our friend lavender is at number one.
Hardwood cuttings. We take this type of cutting towards the end of the year, when the plant is entering dormancy. We will use the woody stems that have hardened over the season that has just ended. And this last detail here is quite important.
If you have the choice, I’d recommend starting with the other two types of cuttings first, just to get familiar with the process.
Hardwood cuttings are not hard to take, but if you’re dealing with a new-to-you lavender plant, especially if it’s overgrown, you have to know how to tell the difference between this year’s hardwood growth and hardwood in general. Which lavender has plenty of.
And which brings me to my last point – pruning to avoid the accumulation of hardwood.
5. We can prune lavender either in spring or in the fall.
Whether you prune your lavender in winter/spring or in the fall is a matter of choice. You can choose what works best for you and your garden based on timing, size of plant, whether you’re planning on taking cuttings or not, and whether you’ll stress the plant any other way (such as transplanting it).
What you shouldn’t do, however, is skip pruning. You can procrastinate (lavender is forgiving like that), but don’t discount it altogether.
Do you know the “three kids in a trench coat pretending to be one adult” shtick?
Well, that will be your lavender if you repeatedly forget to prune it. This year’s new shoots will grow on top of last year’s. And next year’s will grow on top of this year’s. And so on. You get the gist. This growth on top of growth on top of growth will only get the plant lankier and raise the crown. The bottom part will get woodier in the process.
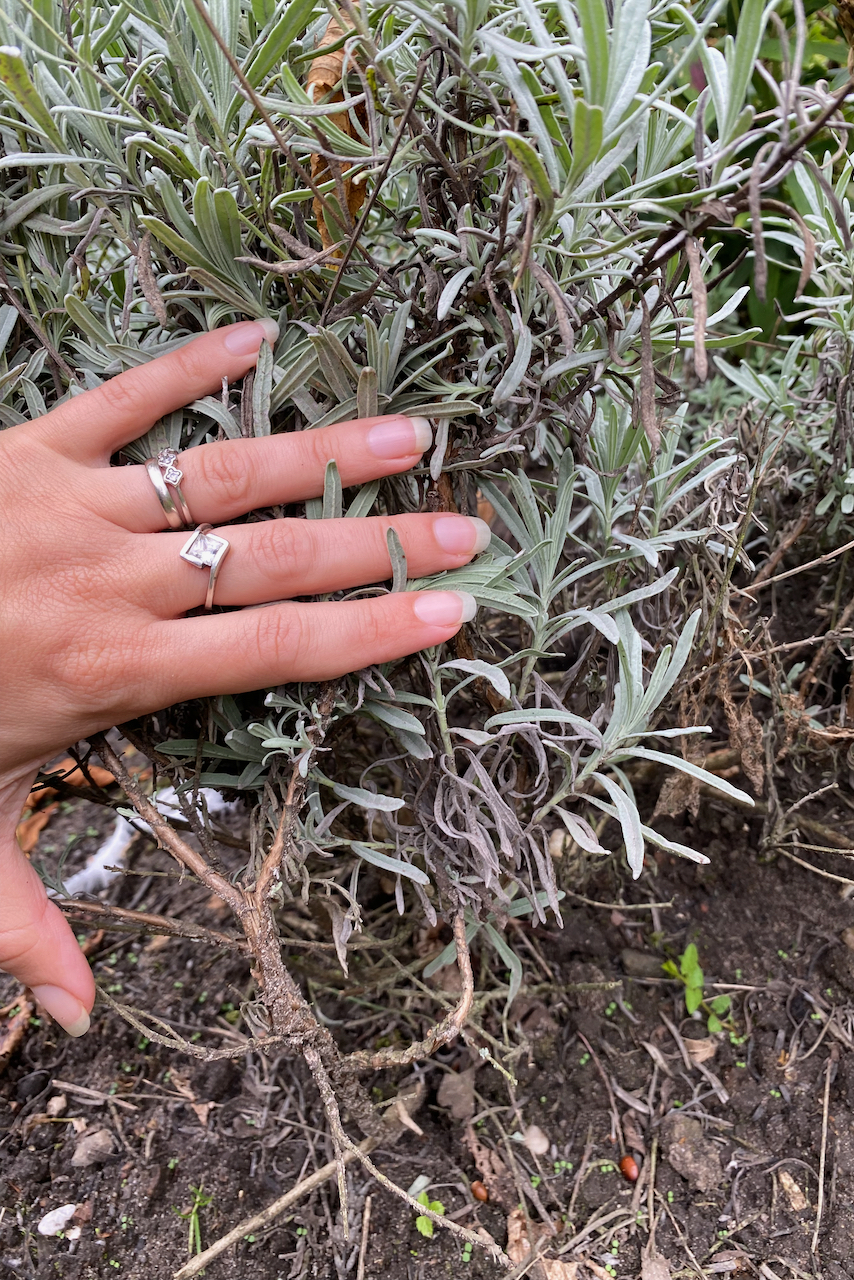
If we prune lavender every year, we’re giving it the opportunity to branch out rather than to keep growing tall. Even a light prune helps.
Pruning lavender in spring.
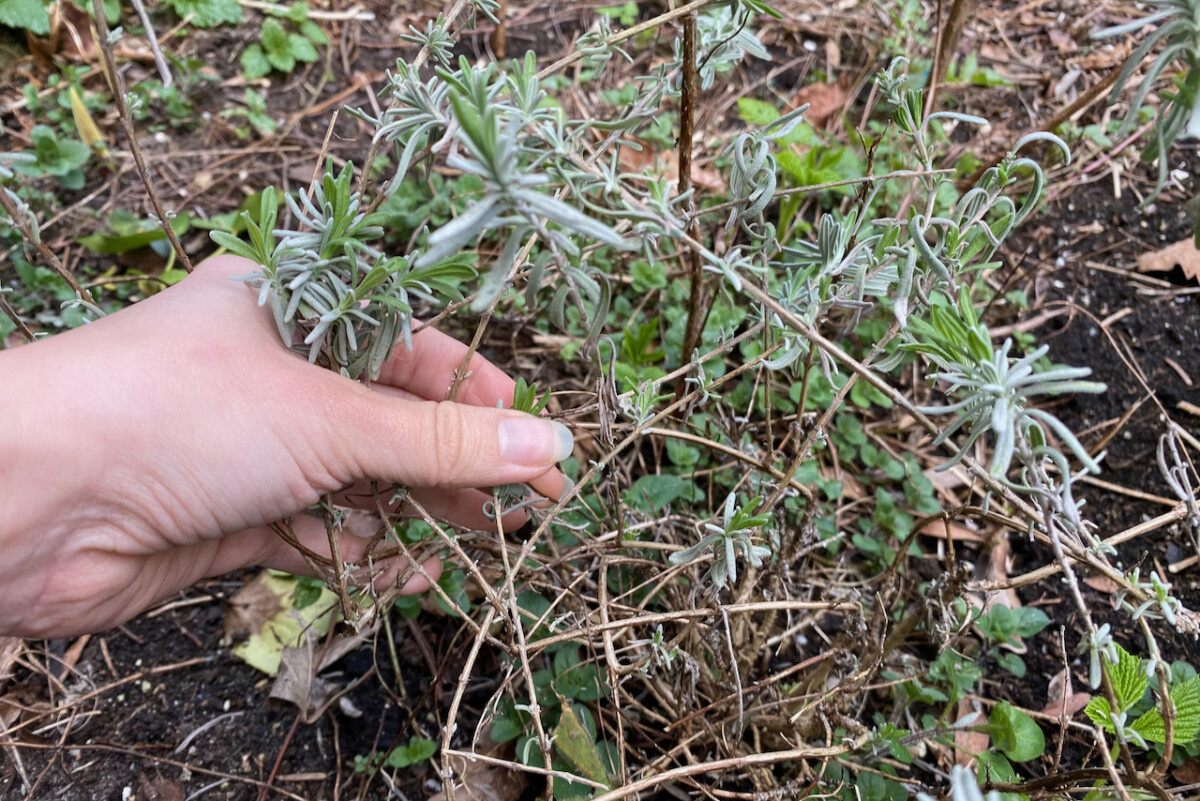
First, we’ll start by cutting all the dead or damaged stems. We’re more likely to find them in spring, after heavy winter snowfall, than in the fall. Always use sharp, sterilized hand pruners for a nice, clean cut.
English lavender (Lavandula angustifolia) is winter hardy and can withstand temperatures that dip as low as 5 °F (-15 °C). But it’s not a fan of putting on weight, so some of the stems may have snapped under the weight of snow and ice.

Then we can just take a bit off the top. We don’t have to prune it hard, but just enough to rejuvenate it and encourage it to branch out. Whether you cut a couple of inches or more is up to you, and it depends on what shape and size you want the “end product” to be.
The trick with lavender is not to cut into the really old wood at the bottom. If you prune it all the way down to the woody stems, it will not regenerate.
Pruning lavender in the fall.
The only difference with pruning lavender in the fall would be trimming off the spent blooms that have graced us with their presence over the summer. I like to pick mine earlier and use them cooking and around the house, so by fall, there’s not that much to clean up. We’ll do the same thing in the fall that we did in the spring.

I wouldn’t necessarily recommend pruning it twice a year – both in spring and in the fall. It’s an either/or scenario.
For a more thorough tutorial, including how to prune lavender in the fall, have a look at this guide I wrote.
Can I prune my lavender to rejuvenate it?
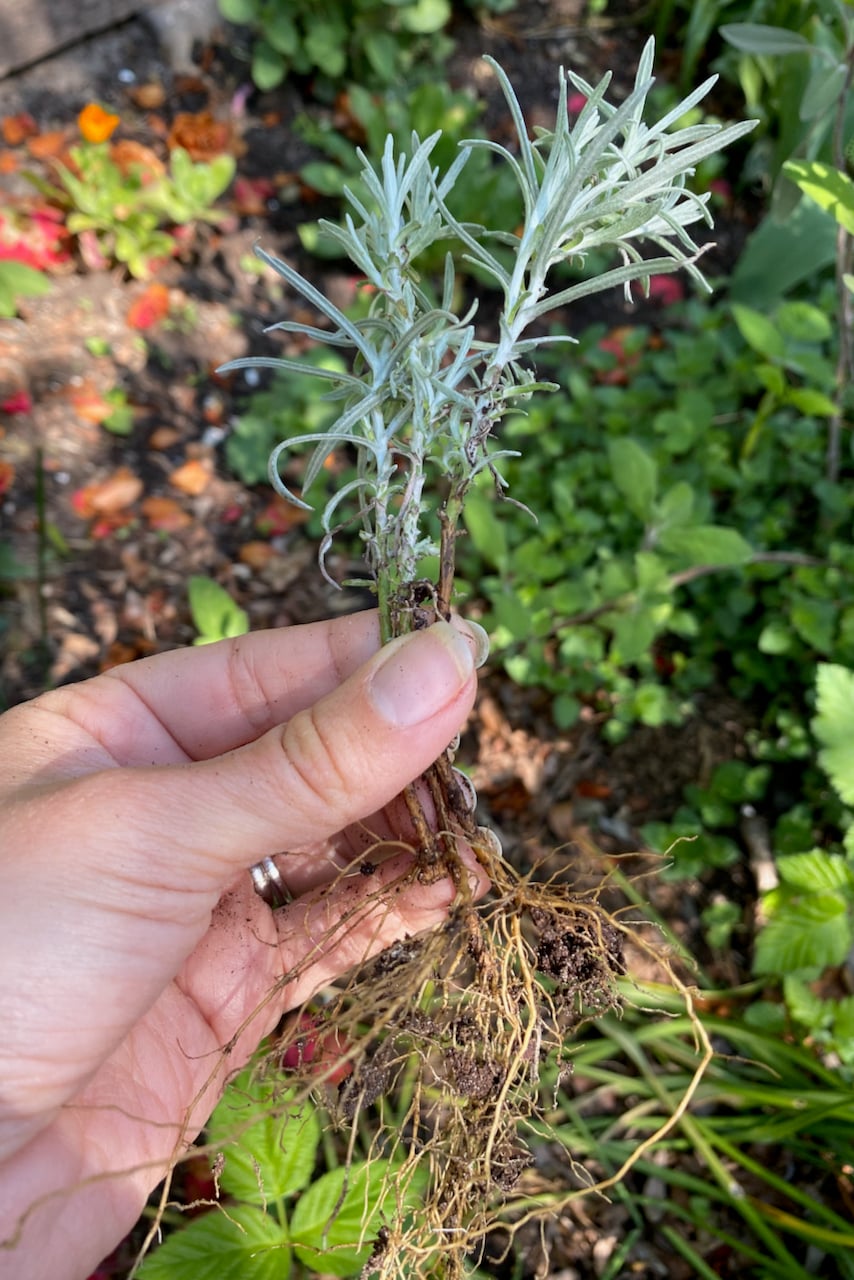
It depends on how far gone it is. Will you cut into old basal wood? That will likely not grow back.
What you can do right now is take cuttings or layering propagations and grow them on for a couple of years. Then you can use these new plants to replace the old plant, if you want to.
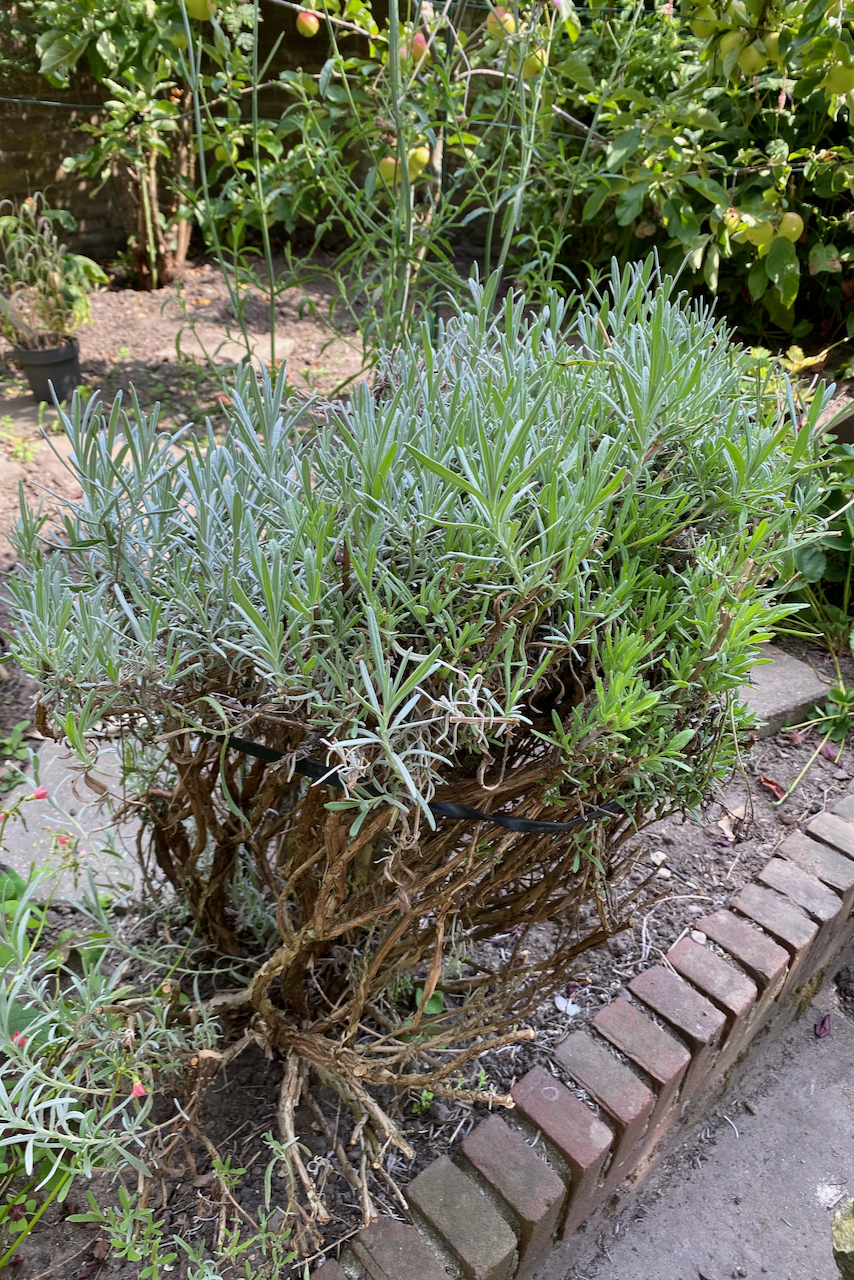
Alternatively, just let it be woody and tie it back with a sturdy twine to give it a more compact effect. Then rejoice in the knowledge that mature plants thrive in your garden.

Get the famous Rural Sprout newsletter delivered to your inbox.
Join the 50,000+ gardeners who get timely gardening tutorials, tips and tasks delivered direct to their inbox.