

You’ve been planning for this day since late winter, poking cream-colored seeds into the dirt. You encouraged them under their grow lights when they were skinny little seedlings. Then, when they were teenagers, you hardened them off outdoors and firmly, but gently, booted them out of the nest and into the garden.
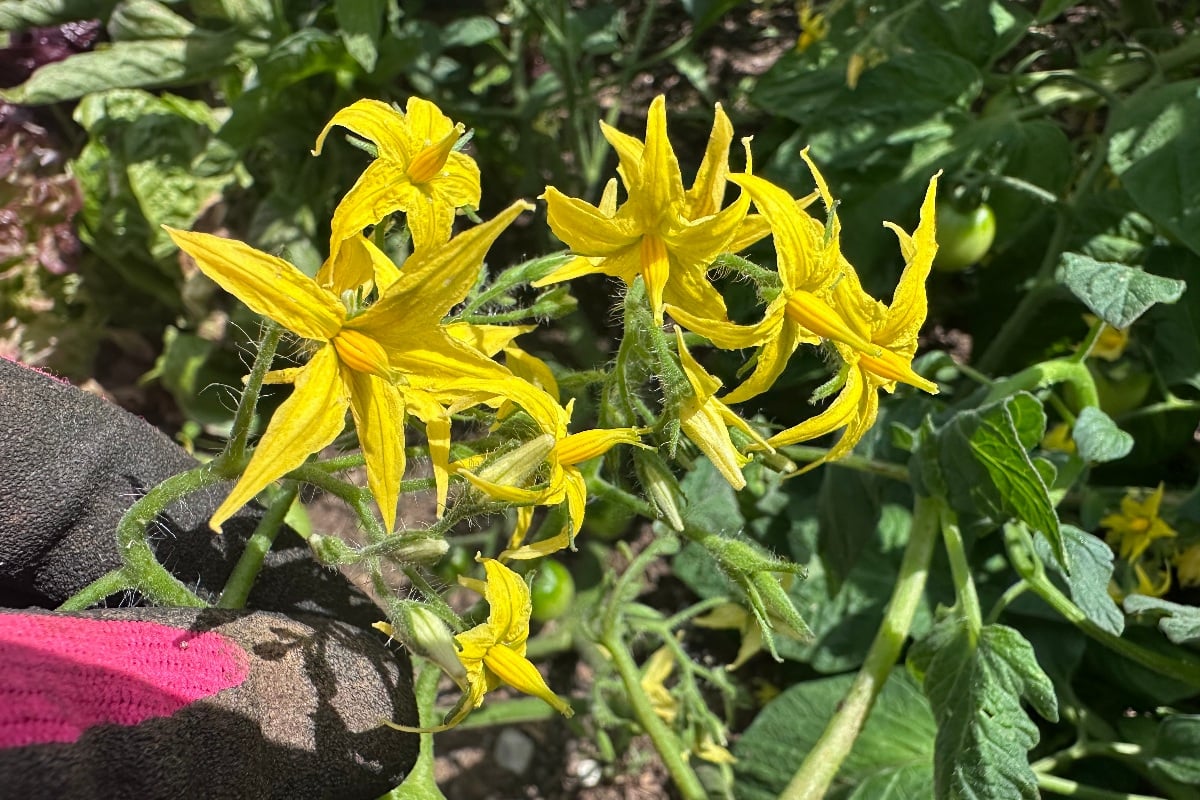
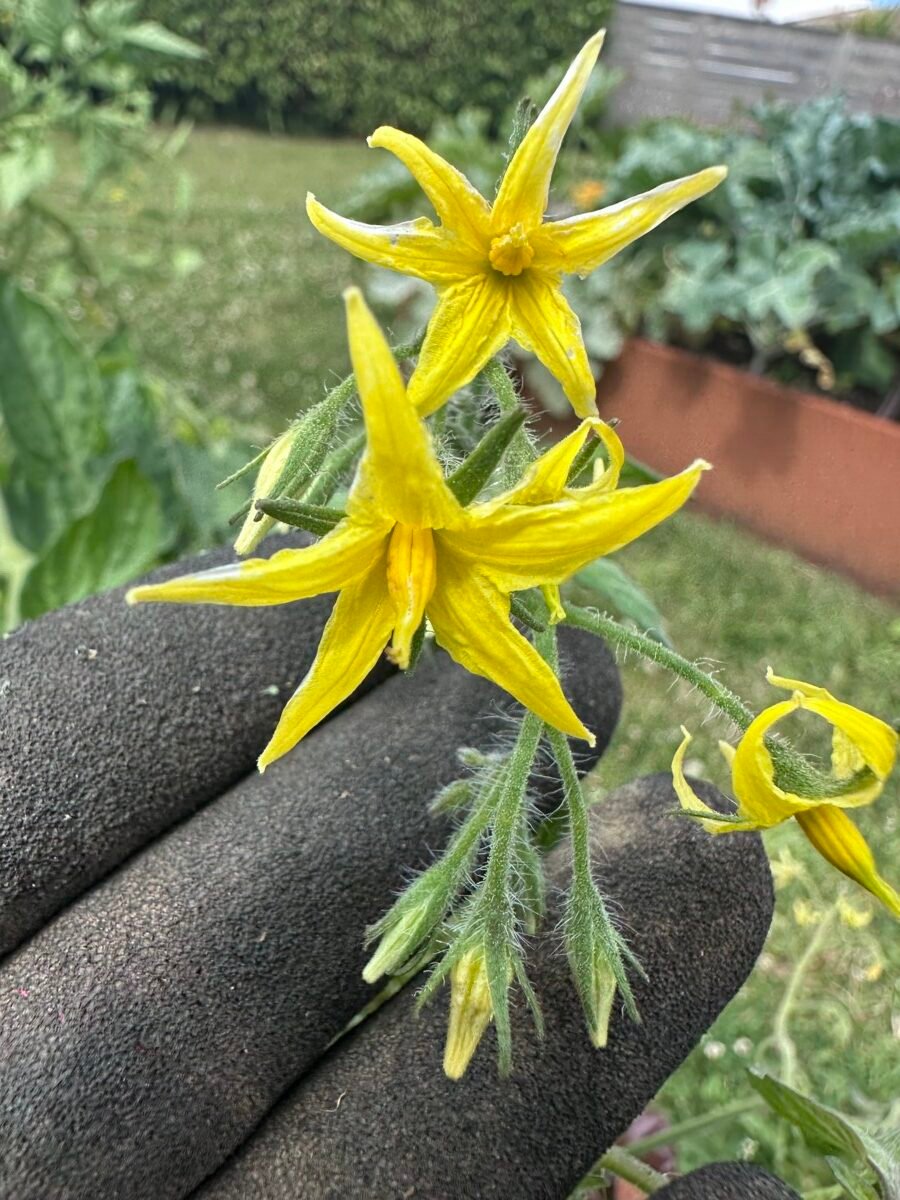
Now, all of your hard work as a tomato parent is starting to pay off. Tiny, yellow blossoms have begun to appear.
And it’s here, where we meet a crossroads.
Once those tomato blossoms start showing up, two types of gardeners emerge. The tomato diehard, who doubles down on their care or the tomato gardener who forgets that tomatoes are the divas of the garden if left to their own devices. (Um, that would be me most years. You’re in good company.)
It’s far too easy to let tomatoes be tomatoes once they start producing flowers and fruit. But that’s the time when you need to pay attention. This is where tomatoes truly earn their diva status.
Let’s take a look at a few things you need to do when your tomatoes start producing, well, tomatoes. Providing a little continuous care now can be the difference between a bumper crop that makes the neighbors jealous or a season filled with blossom end rot and disappointment.
1. First Up is Fertilizer
There are two methods you can employ when it comes to fertilizing veggies that produce fruit. Start the season with a fertilizer high in nitrogen and then switch to one that’s low in nitrogen and high in phosphorus and potassium. Alternatively, you can use a balanced fertilizer throughout the entire season.
I used to be Team Switch Fertilizers, but as many long-term readers know, I’m a huge fan of keeping things simple. It’s hard to beat using only one fertilizer for the entire season in terms of simplicity.
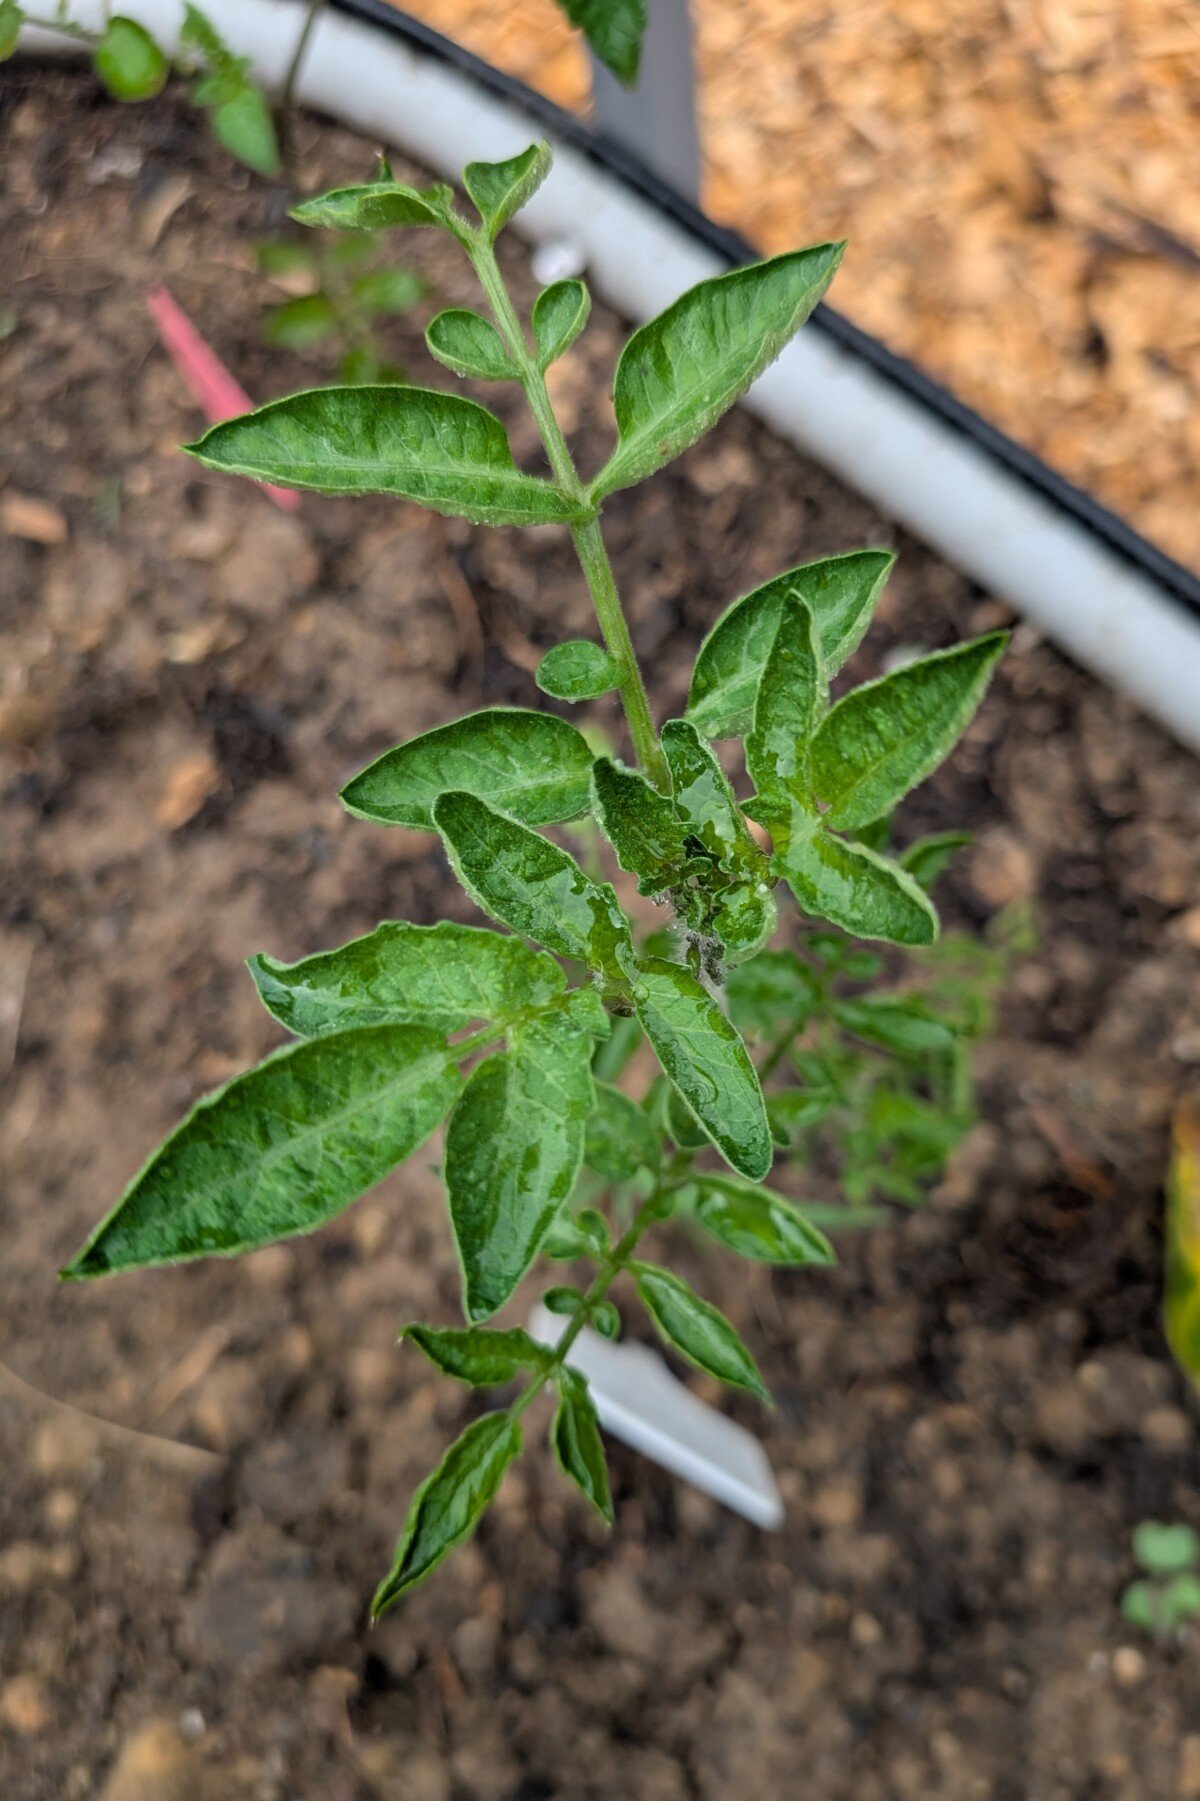
At the beginning of the season, tomatoes need plenty of nitrogen, as that’s what fuels all that leafy green growth and those big, strong stems.
But once flowering begins, the plant needs phosphorus and potassium, as both nutrients support healthy flower and fruit production.
If you keep feeding a lot of nitrogen, you’ll end up with lots of lovely leaves and bushy tomato plants, but fewer fruit. However, far too often, gardeners think this means their plants don’t need any nitrogen once the plant starts flowering. Your plant is still growing, so yes, it needs a steady supply of nitrogen throughout the season.
Just not only nitrogen.
The cool thing about plants is they’re pretty good at knowing what nutrients they need when, so as long as it’s in the soil, they will make use of it as they need it. By feeding a balanced fertilizer right from the get-go, the phosphorus and potassium are already there in the soil, ready to go.
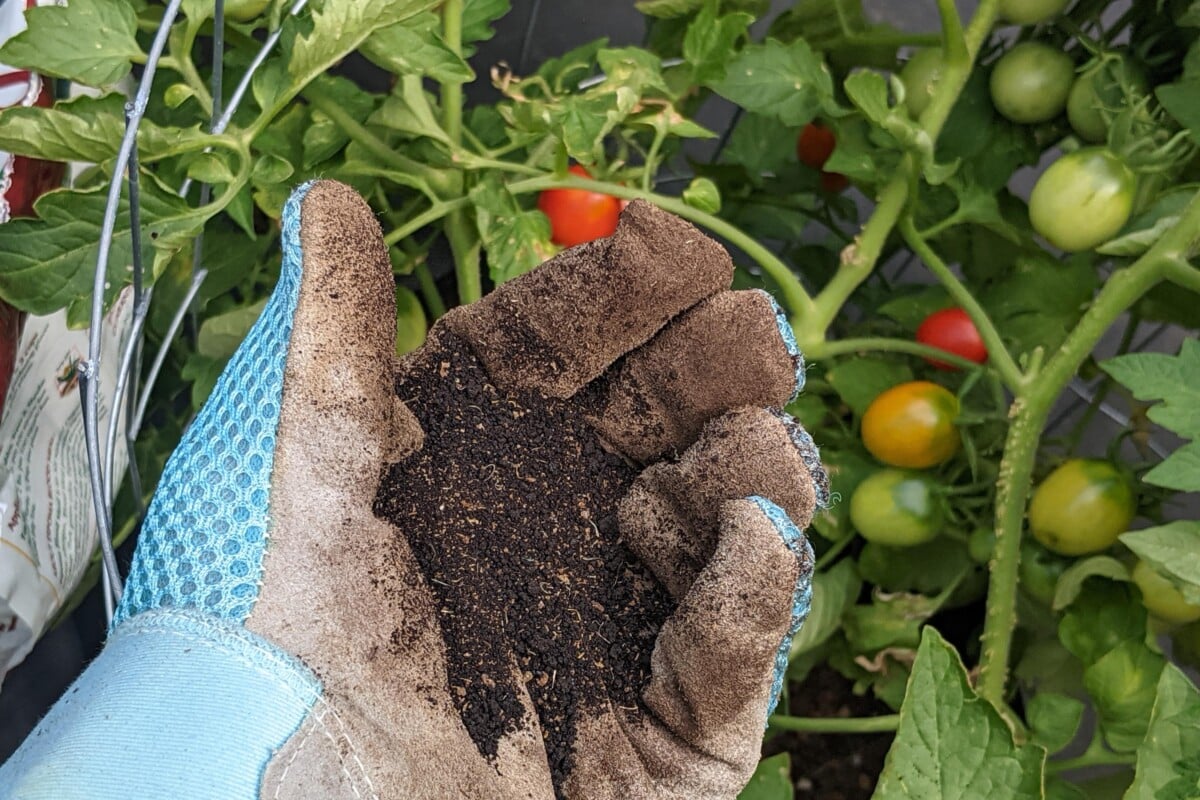
I’m a huge fan of Espoma Garden-tone. It has a pretty good balanced NPK of 3-4-4 and I use it for most of my veggies.
Two years ago I stumbled upon this liquid fertilizer in my local hardware store and now I use it on all of my nightshades – that’s tomatoes, eggplant and peppers.
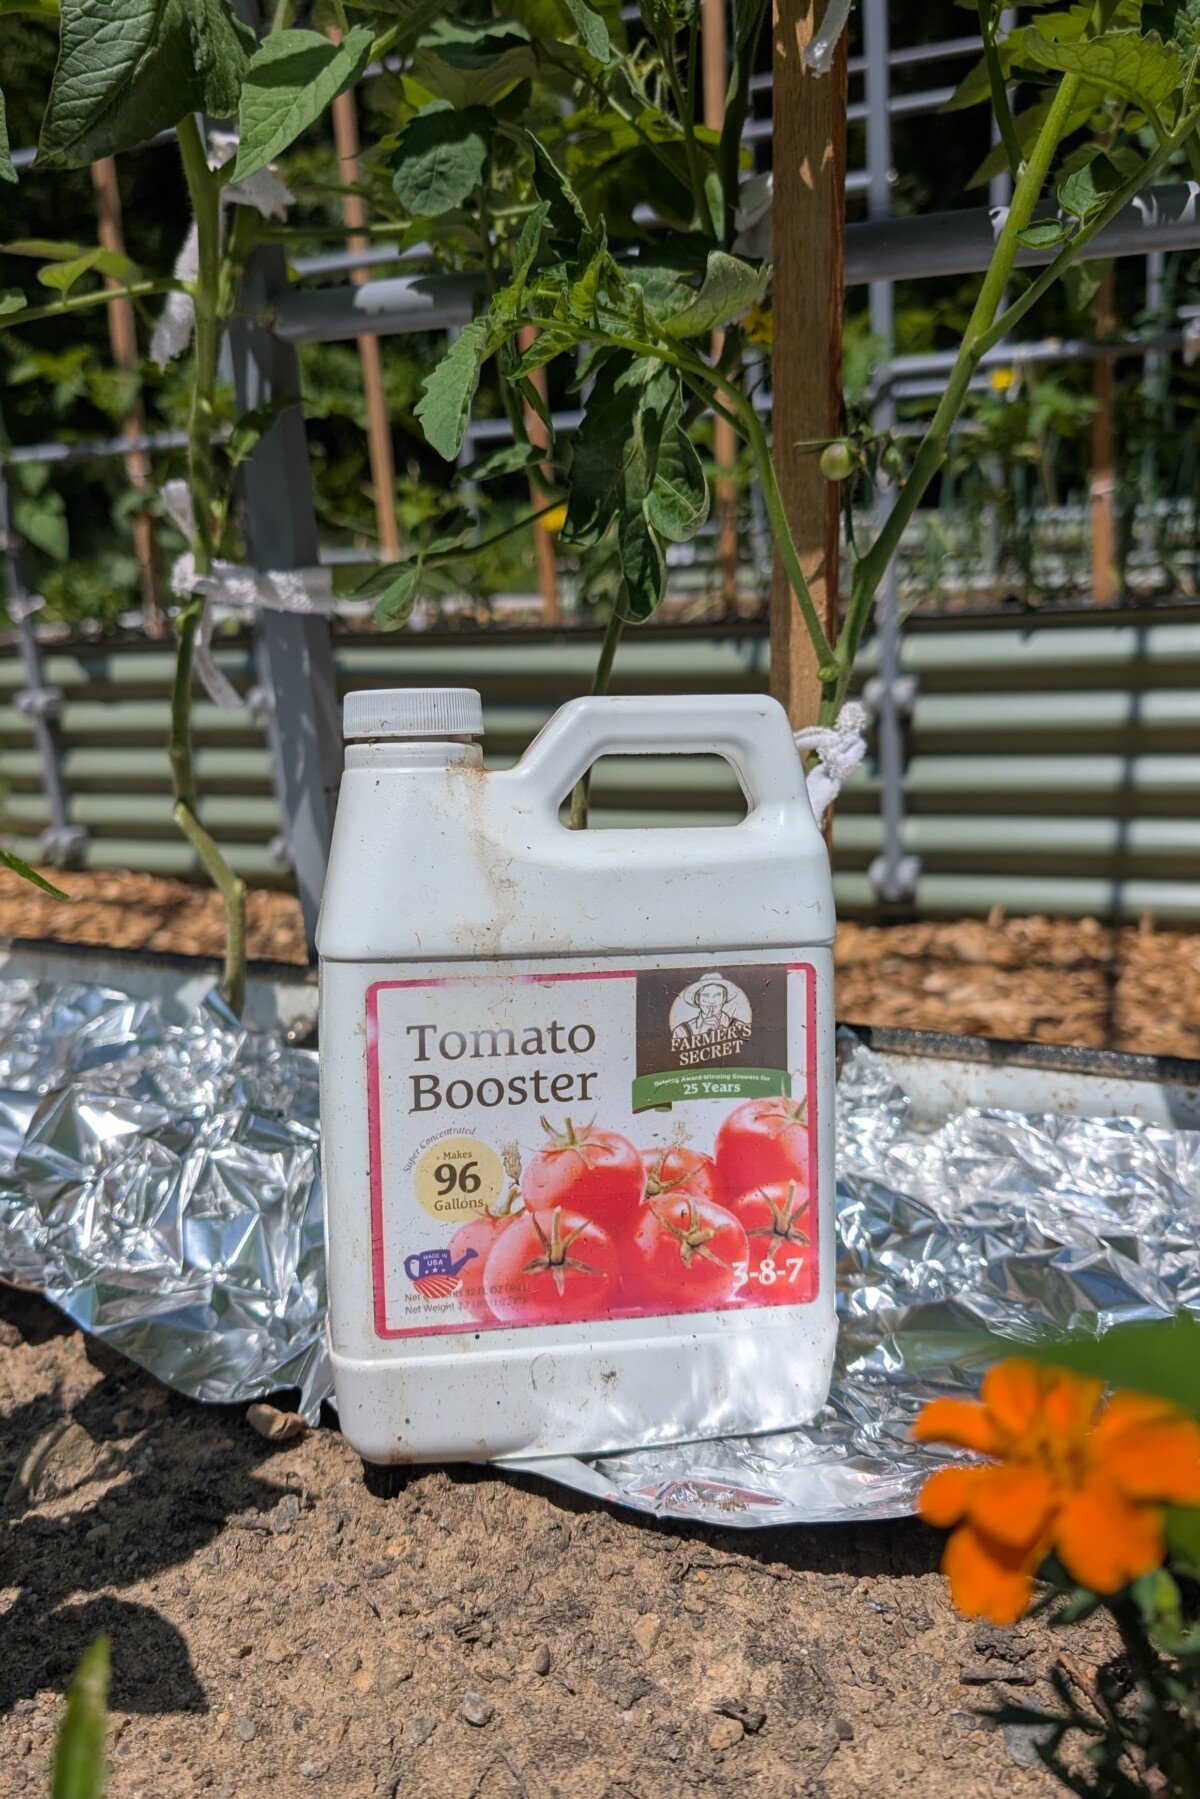
While it’s hard to measure success from one garden and without a control group, I’ve never had better harvests. I use it every couple of weeks following the instructions on the bottle and I haven’t run out yet. You can get a bottle in various sizes here.
However you choose to fertilize your tomatoes, the key is consistency. Feed lightly and regularly for a big and steady harvest. Yes, they’re heavy feeders, but that means they’re constantly using nutrients, not that you need to go heavy-handed on the fertilizer.
2. Speaking of Consistency, Let’s Talk Water
Tomatoes hate surprises, especially when it comes to moisture. (I told you they were divas.) A week or two of drought followed by a sudden heavy downpour is a guaranteed way to split your fruit.

Uneven watering can also cause blossom end rot (which, if you’re lucky enough never to have seen it, is as gross as it sounds). The thing I hate the most about blossom end rot is that it invariably shows up just as you’re getting stoked about picking that first ripe tomato. (For a complete guide to preventing and treating blossom end rot, have a look at our article here.)
With tomatoes, your goal is to keep the soil evenly and consistently moist.
(Are you beginning to see the pattern here?)
Water deeply, but infrequently, so the plants have to grow their roots down to get more water. Don’t rely solely on Ma Nature. You need to fill in the gaps when she isn’t consistent so that the soil doesn’t dry out completely. I’ve got a whole guide on watering tomatoes that will help you get it right. You can find that here.
Mulch is your best friend. A thick layer of straw, chopped leaves, or even grass clippings help retain moisture, regulate soil temperature, and suppress weeds. Additionally, it prevents soil from splashing up onto the leaves during watering or rainfall, which reduces the risk of disease.
Mulch them, and your tomatoes will thank you.
3. Now Let’s Talk Pruning
Pruning tomatoes seems to be a hotly debated topic. Wander into a gardening Reddit and ask about how and when to prune tomatoes, and you’ll get a dozen different answers from gardeners all insisting their way is the right way.
If you’re growing determinate tomatoes—the kind that grow to a fixed height and set all their fruit at once—leave them alone. Maybe pinch off a sucker or two if things are getting wild, but otherwise let them be.
If you’re growing indeterminate tomatoes, the ones that continue to grow and fruit until they’re hit with a frost, pruning can really pay off.
I’m going to tell you a little secret. Whether you choose to top your tomatoes, prune suckers or train them to grow up a string, it doesn’t really matter. Prune your indeterminate tomatoes, and you will get a bigger yield; it’s as simple as that.
The goal is to maintain airflow through the plant and direct energy into the fruit, rather than the foliage.
Also, consider removing the lower leaves that are touching the soil or showing signs of yellowing. This helps prevent disease and makes watering at the base easier. Here is how and why you should do it.
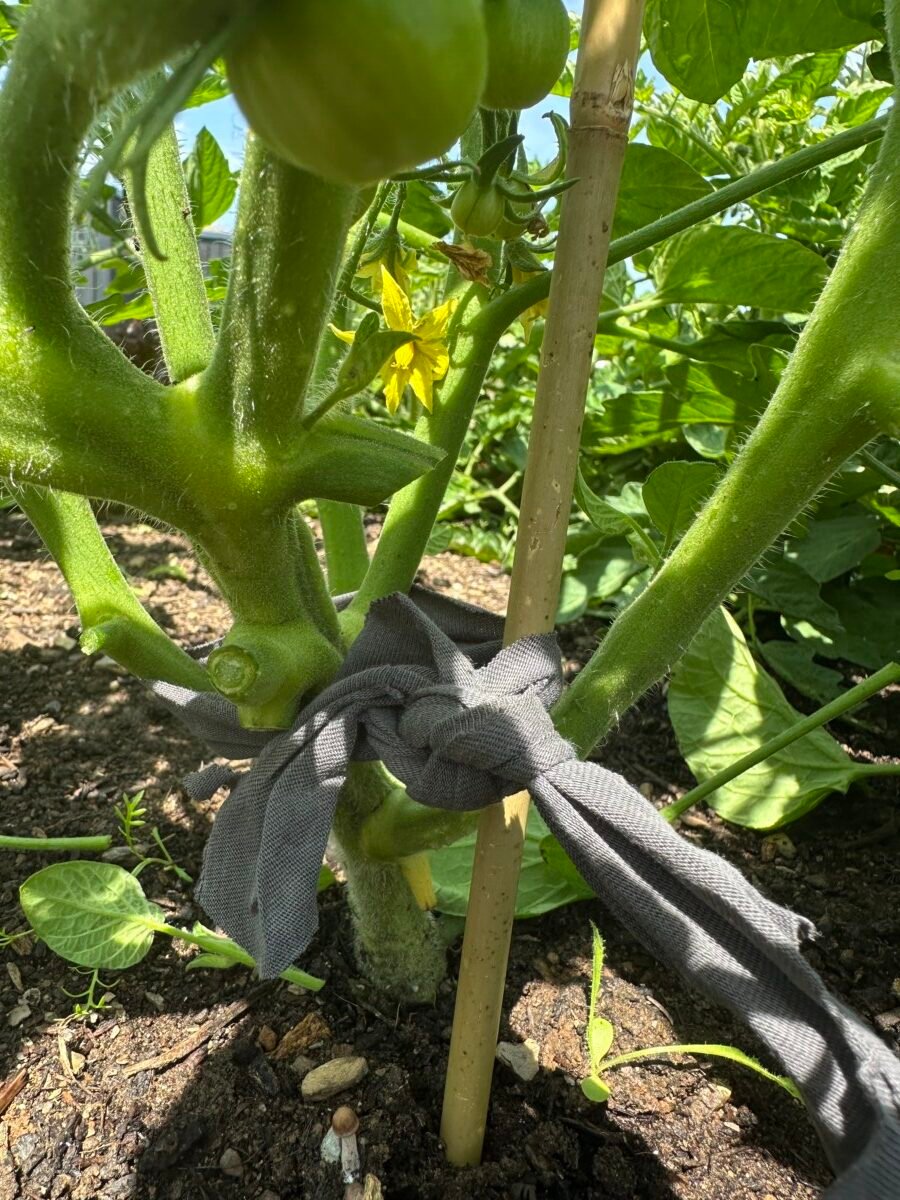
And while we’re at it, now is the time to check your support system.
Whatever support you’re using, it’s about to get put to the test.
Checking to be sure it’s holding up before your plant gets weighed down with fruit is wise. There’s nothing more heartbreaking than finding a whole tomato plant laden with fruit, fallen over, snapped at the stem.

Go over your support and add reinforcement where it’s necessary. Use soft ties. My teenage boys put holes in socks like it’s their job. I save their religious (holy) socks and cut them into rings, like calamari. Come summertime, I have plenty of fabric loops for tying tomatoes and other climbing veggies.
Old t-shirt strips, Velcro plant tape, they all work. You want to avoid hard things like wire or twist ties that can cut into the stem and open the plant up to disease.
4. Let’s Get a Little Weird & Get More Tomatoes
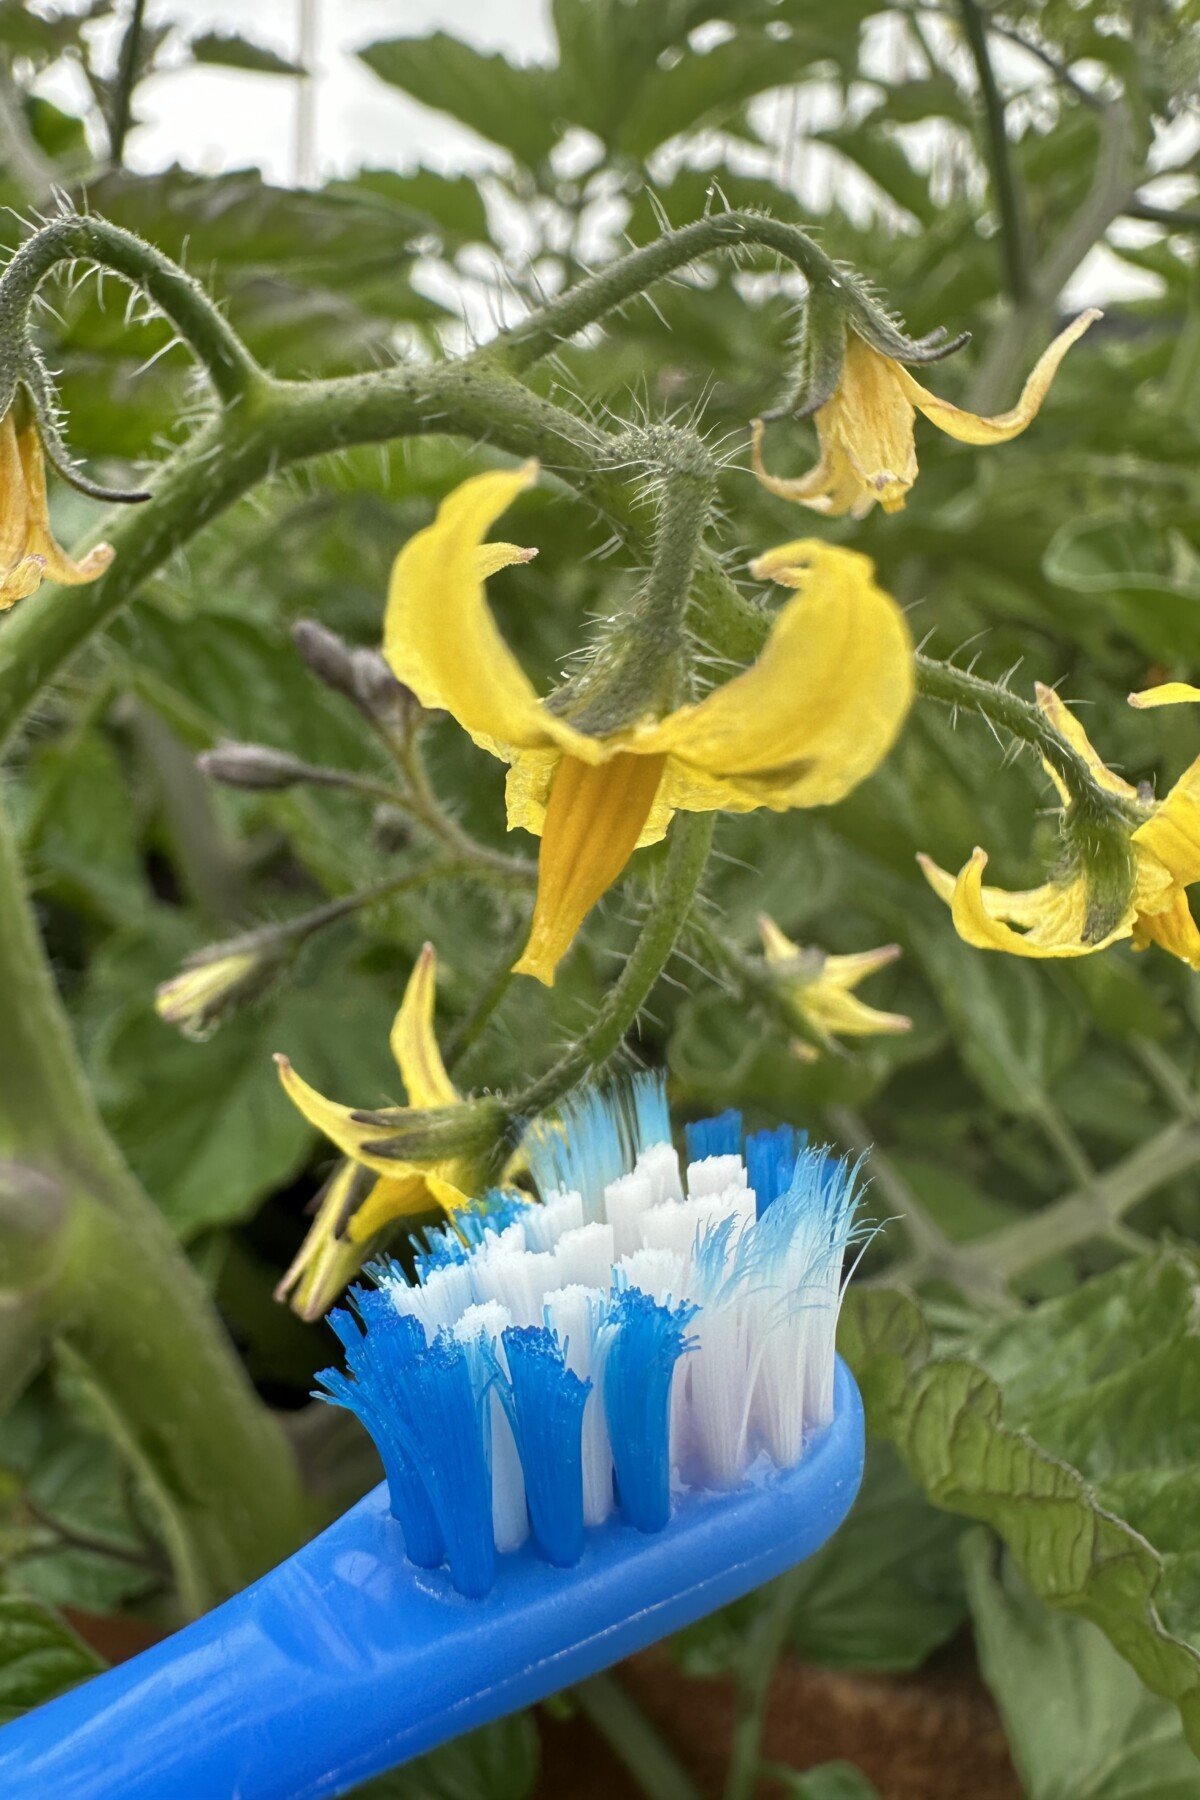
Okay, give your tomatoes a buzz. Seriously. Grab an old battery-powered toothbrush and give the stem near a flower cluster a buzz. It’s called buzz pollination, and it’s a whole thing.
Tomatoes are self-pollinating, but they need movement, from wind or insects, to get that pollen moving from the anther to the stigma. A little human help goes a long way, especially if you want more fruit.
5. Keep a Watchful Eye on Your ‘Maters
When tomatoes start producing fruit, that’s also the time your local pest population likes to appear on the scene as the plant is now large enough to hide their presence. Hornworms, aphids, flea beetles, they all show up when your tomatoes start getting juicy.
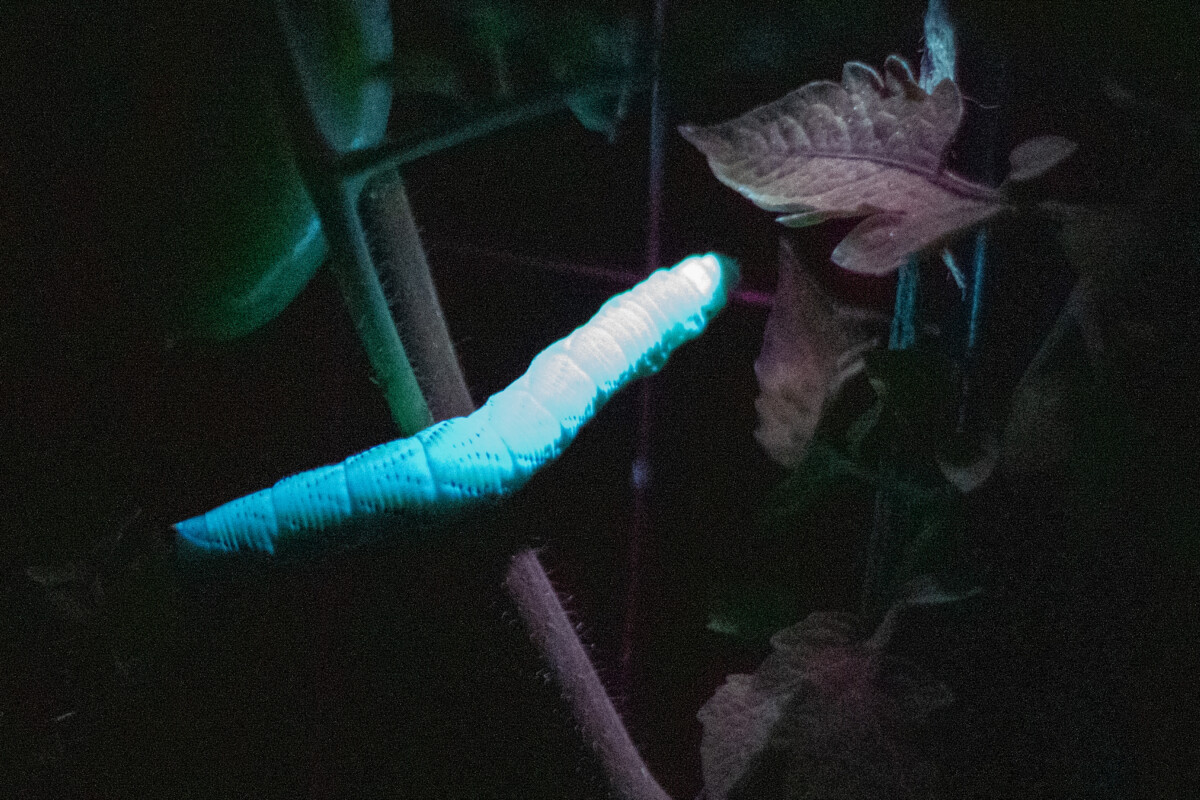
Check the undersides of leaves. Look for droppings, chewed edges, or weird spots. If you see a tomato hornworm with white egg sacs on its back, that’s a parasitic wasp doing nature’s dirty work for you.

Also, be on the lookout for signs of blight, leaf spot, and mildew. Yellowing leaves with brown spots? It could be early blight. White, powdery coating? Powdery mildew. Small, round lesions on the lower leaves? Maybe septoria leaf spot.
If you see it, prune affected leaves immediately. Keep your tools clean and avoid watering overhead. Increase airflow by thinning branches, spacing plants properly, and keeping the base of the plant clear.
Here’s the thing: Sure, tomatoes can be the divas of the garden, but only if you let them get away with it. If you give them appropriate care and tending throughout the whole season, they’re some of the most low-key plants you can grow. And they reward you with one of everyone’s favorite summer bounties. Now, if you’ll excuse me, I feel the need for a BLT for lunch.

Get the famous Rural Sprout newsletter delivered to your inbox.
Join the 50,000+ gardeners who get timely gardening tutorials, tips and tasks delivered direct to their inbox.