


If you’re growing tomatoes (whether it’s your first year or your fiftieth), you’ve probably noticed that as the season progresses, the leaves towards the bottom of the plant turn yellow.
So what’s going on? Should you panic? Ignore them and pretend they don’t exist?
Well, sometimes it’s no big deal. The yellowing leaves are just hanging out there, quietly not being green. They’ve done their bit, and the plant kept growing.
But other times? Those yellow leaves are actually warning flags.
Before you know it, your whole plant looks stressed, and you’re questioning whether you should try to save it or just pull it.
My friends, there’s no need to panic. Let’s do a deep dive into what’s going on with those yellow leaves and what you can do about them.
What Causes the Lower Leaves to Yellow on a Tomato Plant
There are a few reasons this could be happening, so let’s start with the easy, non-emergency stuff and move on from there.
Nutrient Redistribution (Especially Nitrogen)
As we all know, tomatoes are heavy feeders. This means that when they start to focus their energy on fruiting, the older leaves (the ones toward the bottom) tend to turn yellow and drop off. This can be especially prominent if the plant has a nitrogen deficiency.
Now, to be clear, this is not a reason to load up on nitrogen-rich fertilizer. Use a balanced fertilizer, such as Espoma Organic Garden-tone.

When the nitrogen is low, older leaves yellow because the plant sends what nutrients are available up to the growing tips and fruit. The same goes for magnesium or iron deficiencies. Magnesium affects older leaves, while iron impacts the younger ones.
Basically, the plant knows the nutrients aren’t needed at the bottom of the plant where fruiting has already happened. Instead, it sends the available nutrients up to where they can be used – the parts of the plant that are growing and putting out fruit clusters.
Over- or Under-Watering
We all know tomatoes tend to be divas when it comes to watering, so it’s important to get this right.
Waterlogged soil can suffocate roots, making it more difficult for them to absorb oxygen. It’s rare that you would be able to over-water tomatoes by hand. Instead, this usually occurs during periods of heavy rain, making the soil overly wet. Too much water can even leach out nutrients, leading to yellow leaves.
But the opposite is true, too. If you’ve been in drought conditions and the roots aren’t able to absorb nutrients properly, you’ll see that same yellowing stress.
Luckily, this one is easy to diagnose based on your recent weather.
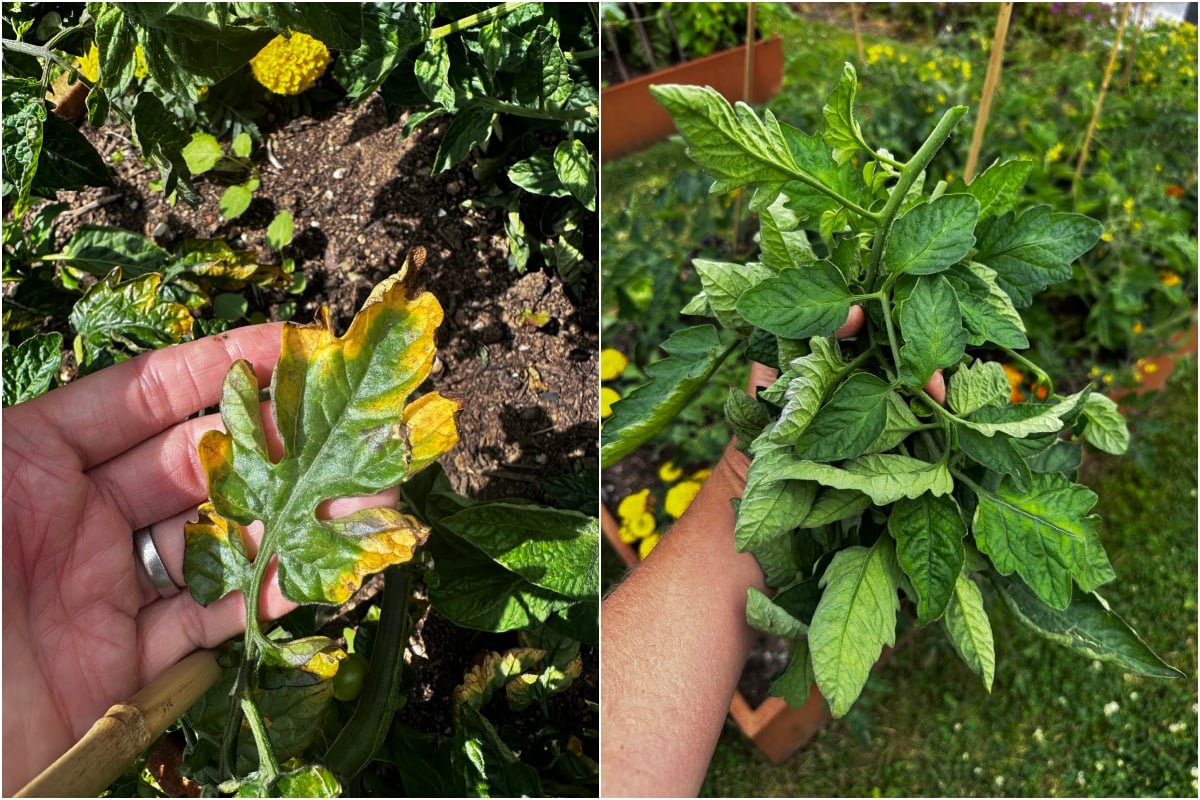
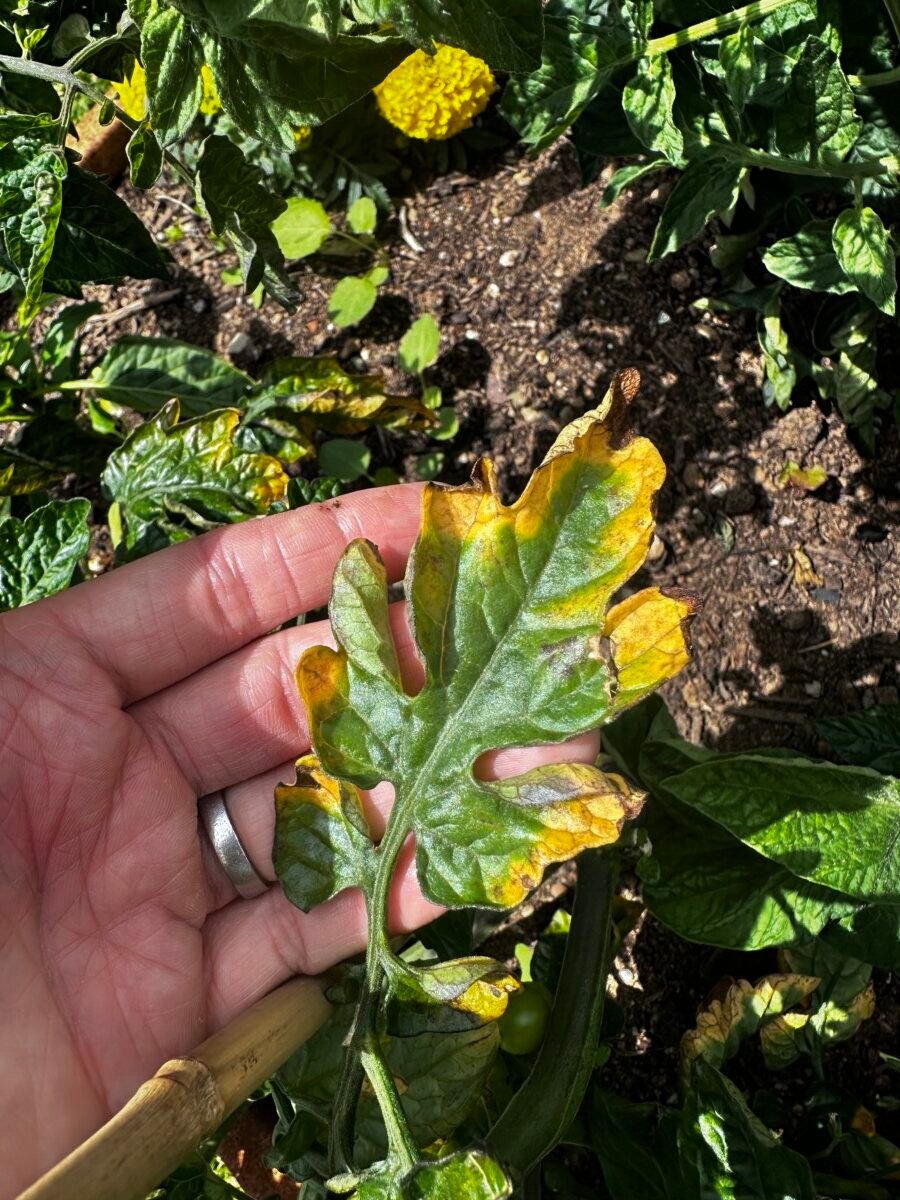
Fungal and Bacterial Infections
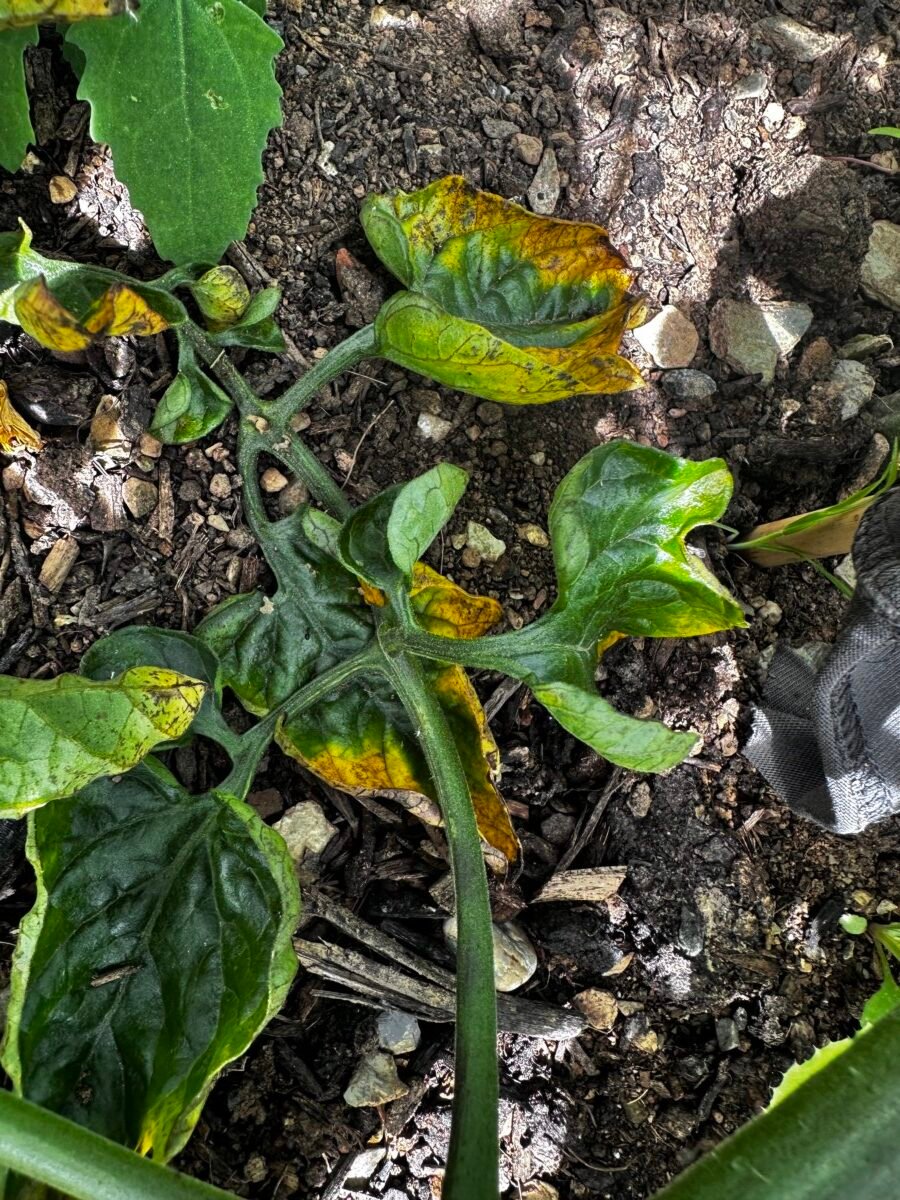
Fungal diseases often start on those perfectly shaded, moisture-heavy lower leaves that are close to the soil. Unfortunately, septoria leaf spot and early blight are notorious for affecting these areas first. So, if you notice circular lesions or bullseye patterns close to the ground, you know you’ve got some disease drama.
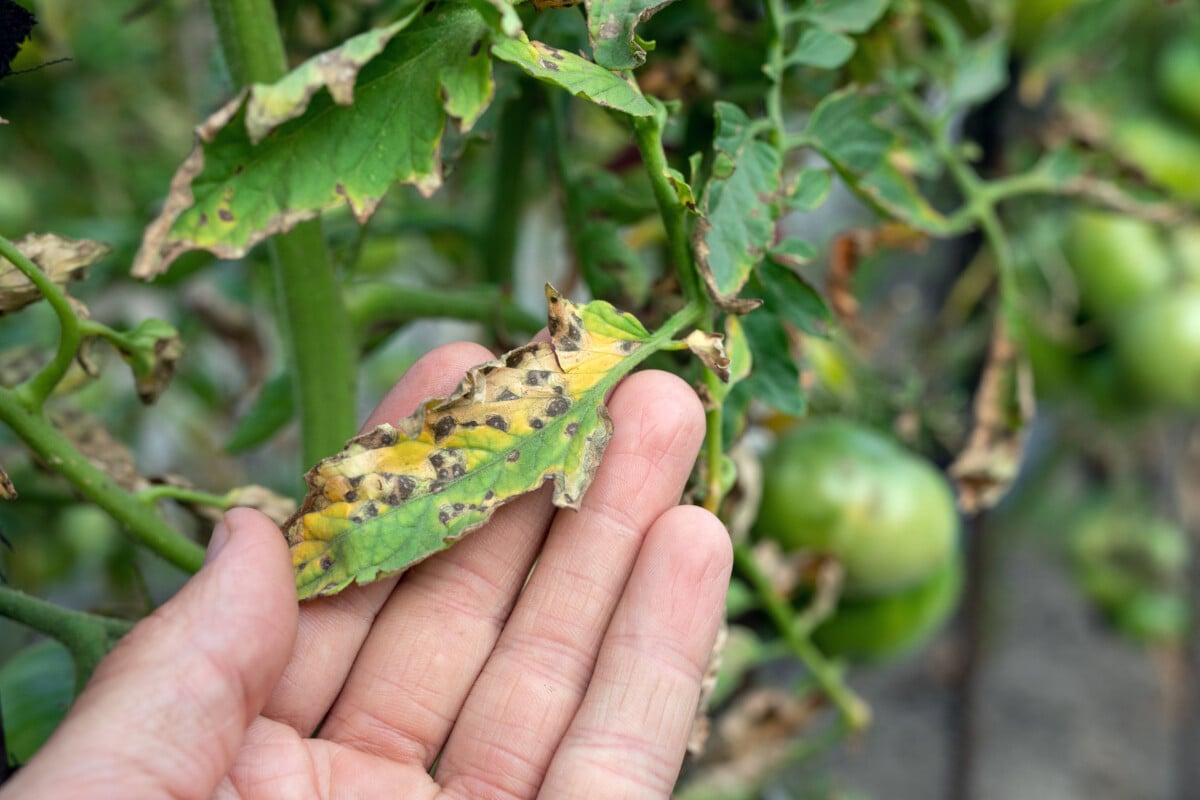
I’ve had entire seasons wiped out by both septoria leaf spot and early blight in the past because I wasn’t practicing proper tomato hygiene.
And yeah, rain splash and overhead watering make this all worse and more likely.
Unless it’s a fungal or bacterial issue, most of the time, these other issues end up with the same outcome. The plant is simply conserving nutrients and putting them higher up where they will lead to fruit.
The One-Third Golden Rule
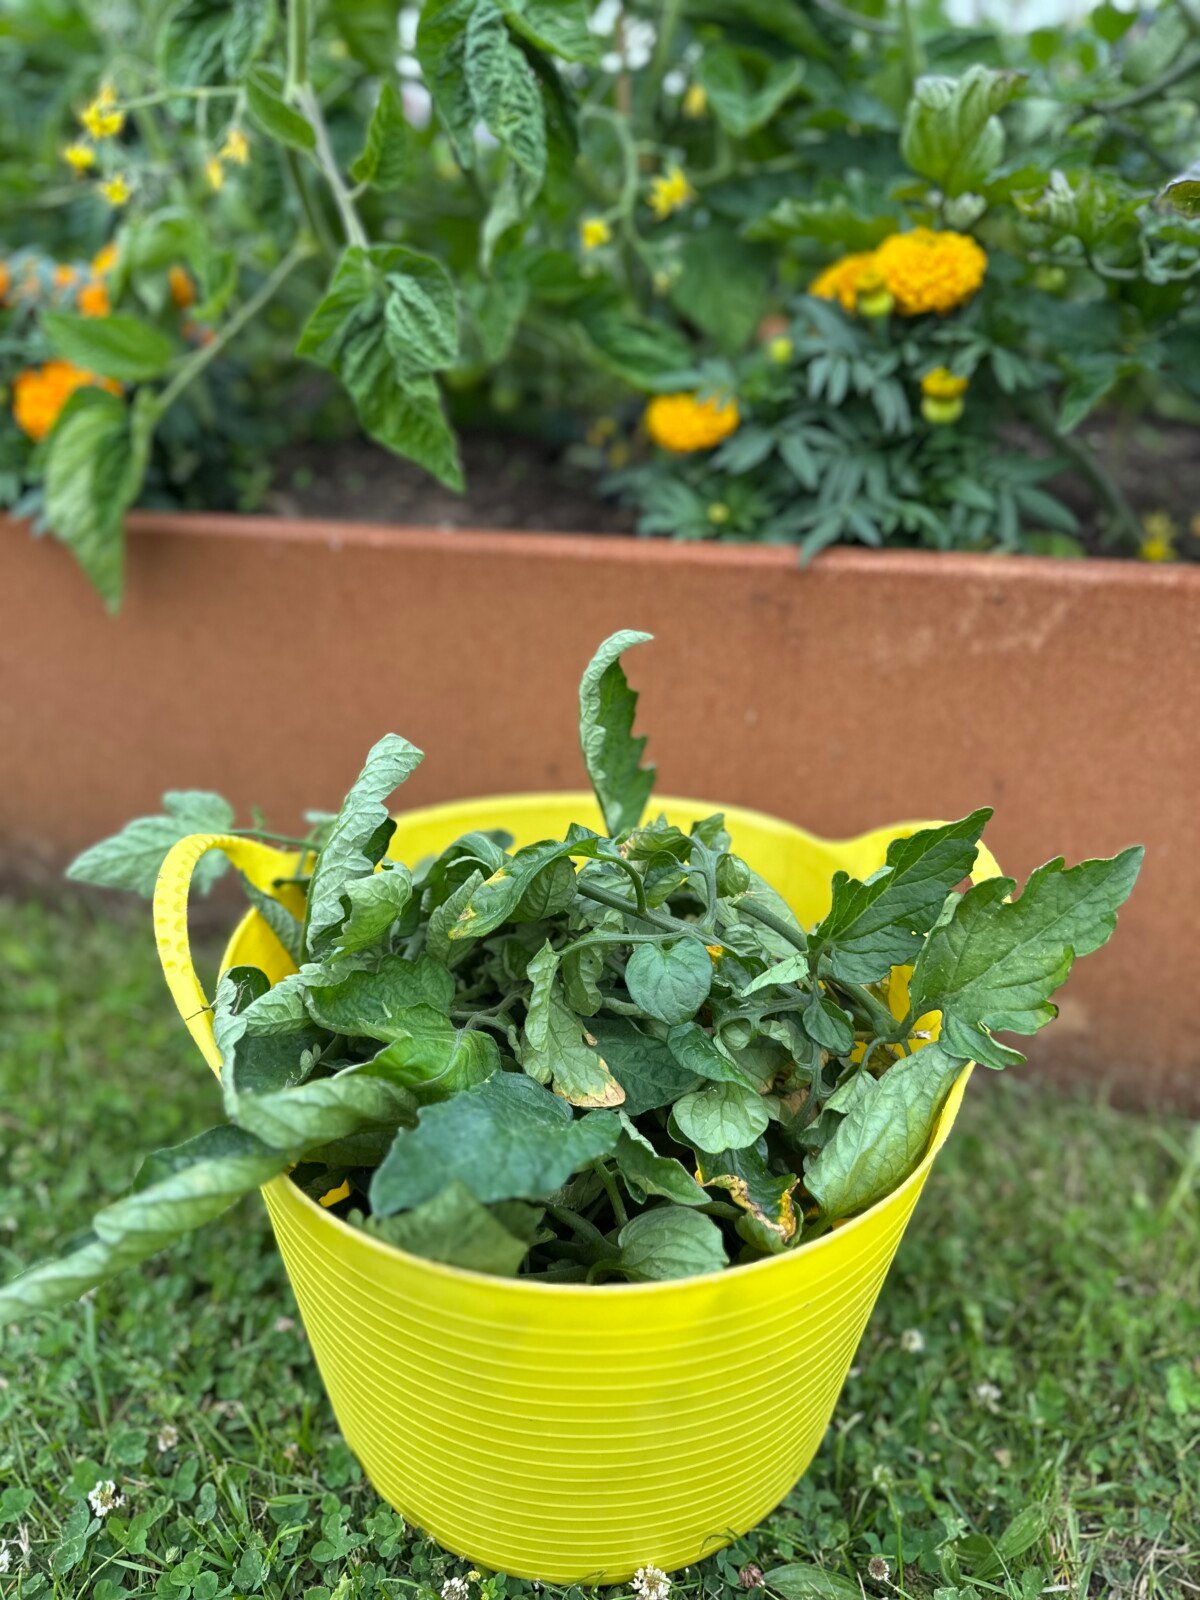
Now that we know what’s causing the yellowing, we can do something about it. We can even be proactive by removing the leaves from the bottom third of the plant before they can turn yellow.
The lower leaves are a perfect hotspot for disease because they’re in constant contact with the soil (via rain splash or direct contact), which is a breeding ground for disease.
By removing the bottom 12–18 inches of leaves, you’re reducing the risk of splash-borne infections like Septoria and early blight.
Improved Air Circulation & Faster Drying

Dense foliage traps moisture around the soil, but stripping the lower leaves allows for better airflow and quicker drying. This reduces the chance for fungal cycles to get going in the first place.
Optimize Plant Energy
Here’s the thing: those lower leaves aren’t always pulling their weight. If they’re shaded and not producing much energy, you’re doing your plant a favor by removing them. Cutting them off allows the plant to reallocate energy and sugars to the upper canopy and fruit.
Those lower leaves can end up costing you in fruit because they use more sugars than they produce. It’s best to prune them before they become a problem.
Easier Monitoring & Maintenance
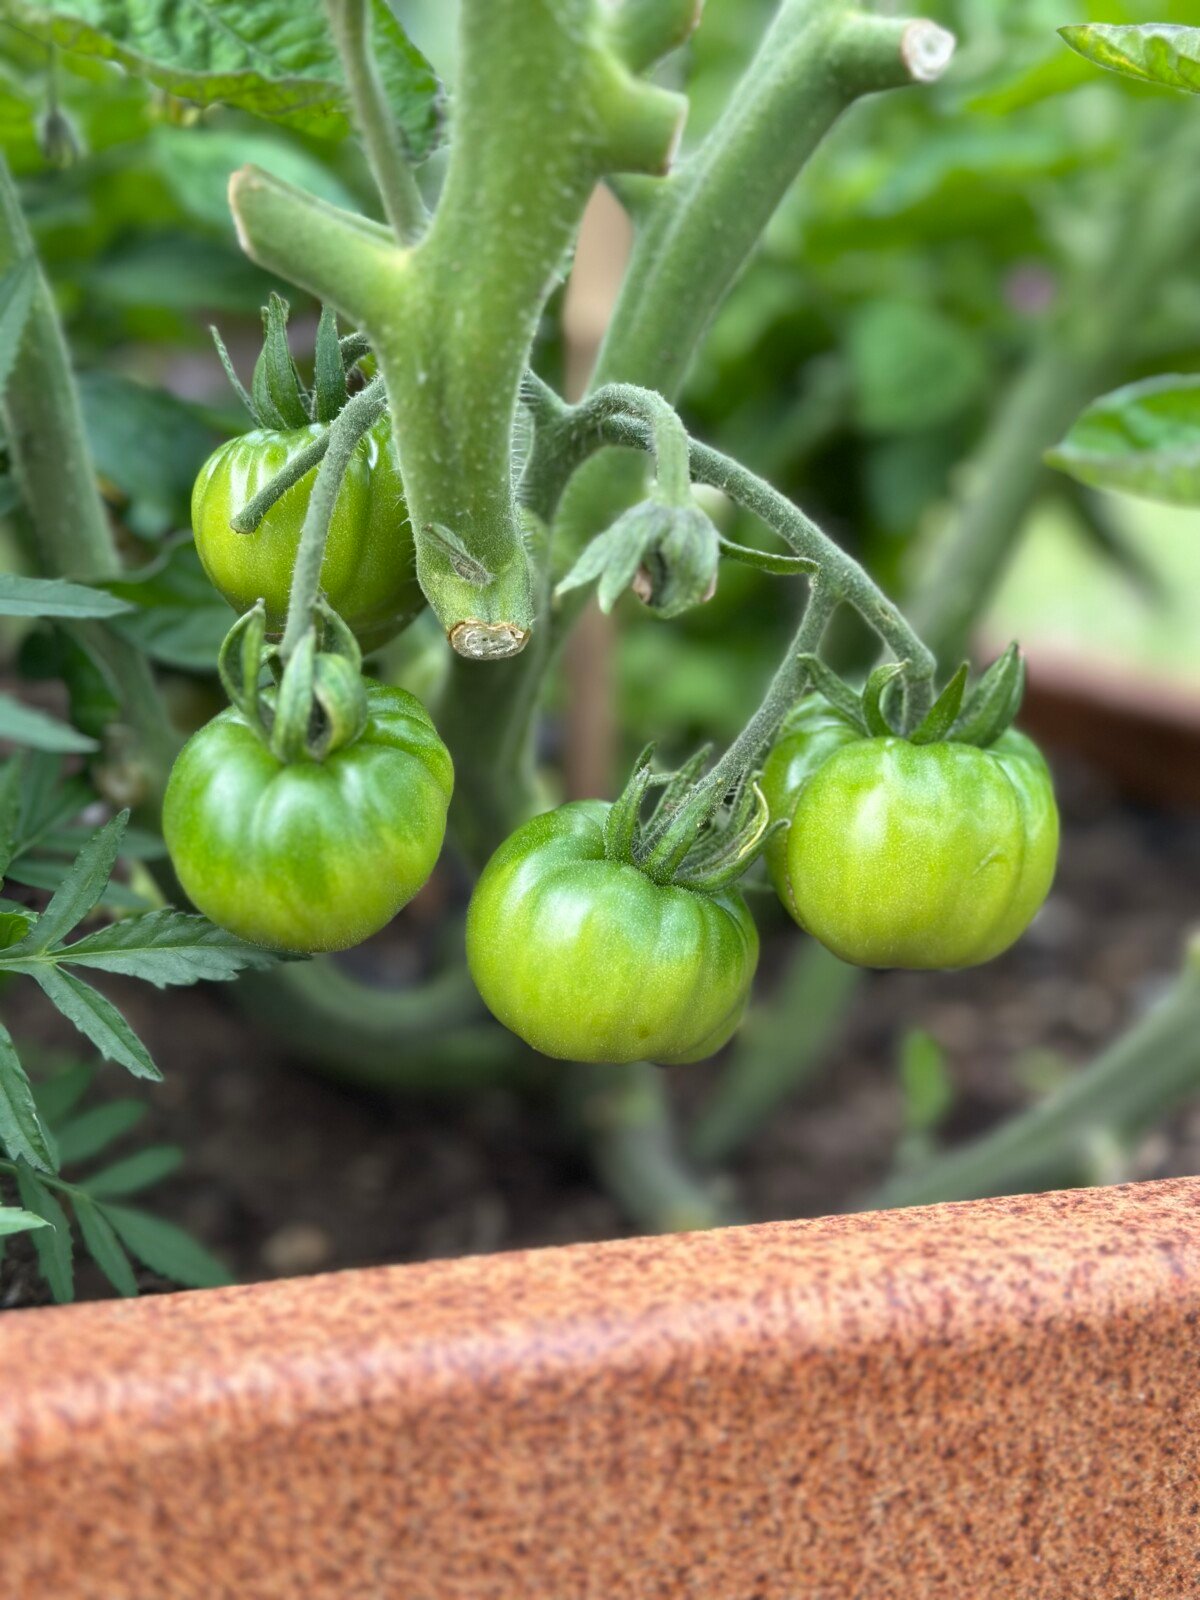
With clearer space around the base of the plant, it’s easier to spot pests and disease earlier. It’s also easier to spot hidden fruit that’s formed lower down the plant.
You can also mulch, water, and check the soil moisture without all that extra foliage in the way. As someone who enjoys a neat and tidy garden, even if this is the only benefit, I’m here for it.
Underplanting

By clearing away the lower leaves, you open up more bare soil for underplanting. Consider planting fast growing veggies such as radishes or lettuces in the soil vacuum left behind.
Best Practices for Removing Lower Leaves

Here’s how to make sure you’re doing this right and not stressing out your tomatoes.
You should start removing the lowest leaves after transplanting or once your plants reach around 12 inches in height. As they grow, continue to work your way up, but focus on leaves within the first 12 inches at first, then expand to around 18 inches as the plant matures.
Do I even need to say it? Sanitize your shears with rubbing alcohol before cutting to avoid transferring disease.
Avoid removing more than about 20% of the foliage at a time. Focus on yellowing, diseased, or soil-touching leaves first.
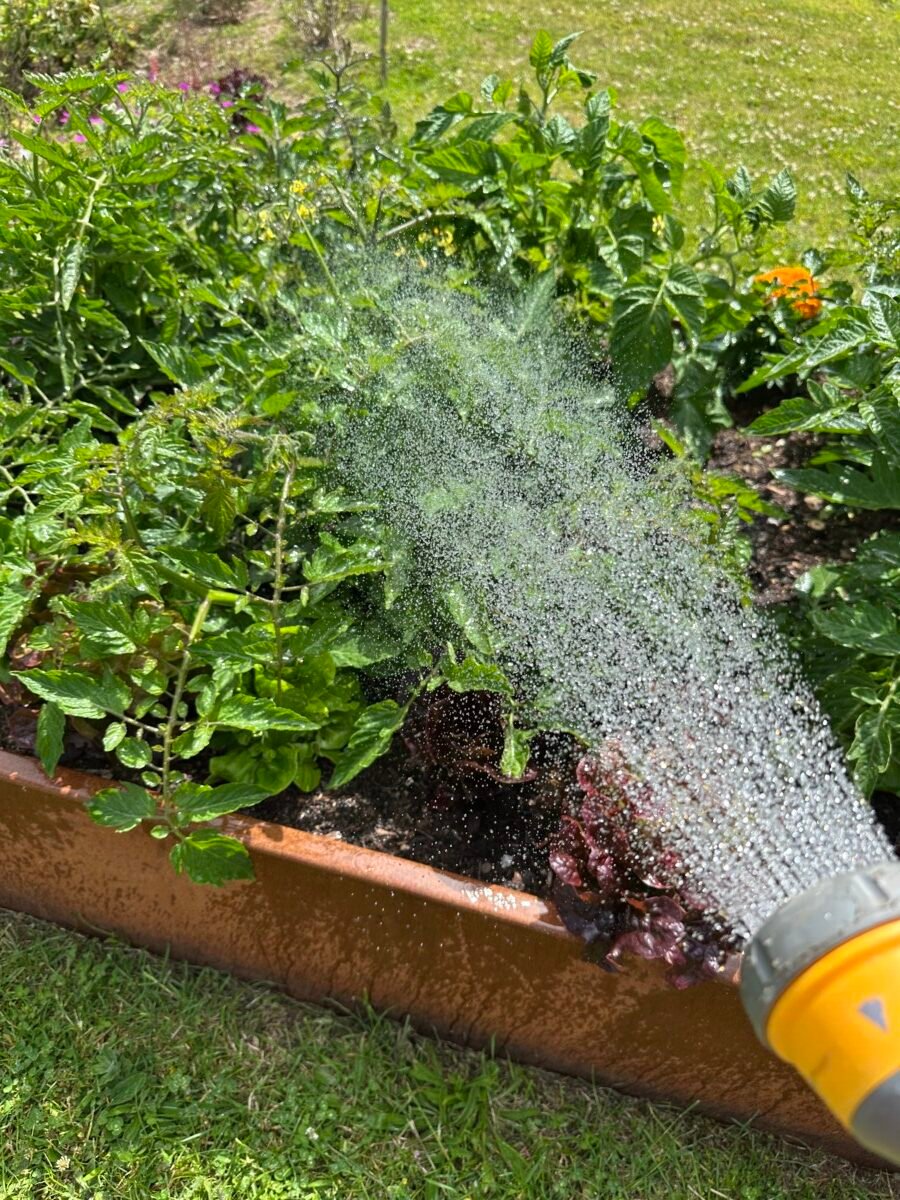
Using mulch can help block soil from splashing up on the leaves. Always water from below instead of overhead watering. This will keep your leaves dry, helping to prevent diseases.
Need a Quick Guide? I Got You
- Transplant stage (4–6″ tall): Remove leaves or stems touching the soil.
- Vegetative growth (12–18″ tall): Prune the lowest leaves up to 12″ from the soil.
- Early fruiting: Clear the lower 18″ of foliage if it’s shading fruit or touching mulch.
- Midsummer check-in: Remove yellowing lower leaves, but limit removal to 20%. (Don’t forget to prune!)
- End of season: Clear all plant debris to prevent overwintering pathogens.
The bottom line? (No pun intended.) Healthy tomatoes start at the bottom of the plant. By pruning the lower third of the plant, you can significantly boost air circulation, prevent diseases, and enjoy a healthy and robust tomato harvest.

Get the famous Rural Sprout newsletter delivered to your inbox.
Join the 50,000+ gardeners who get timely gardening tutorials, tips and tasks delivered direct to their inbox.