

There’s a lot to be said for growing your own veggies, herbs and flowers from seed. It opens up a world of variety that you just can’t find down at Lowe’s or even your local garden center. Starting plants from seed is also much cheaper than buying potted seedlings or mature potted plants.
However, like with any cost-saving measure, there are a few trade-offs.
One of the biggest is trading convenience for time. Some seeds can take a while or be difficult to germinate.
Luckily, with a smidgeon of patience and a few practical tips, you can successfully germinate and grow these seeds into healthy little seedlings, ready to plant in your garden.
First, we’ll look at why some seeds take a little longer or can be harder to germinate, then we’ll look at all the seeds that take their time before bursting on the scene, and finally, we’ll finish with some things you can do to make the whole process easier.
Why do Some Seeds Take Longer to Germinate?
I’ve said it before, and I’ll say it again, plants are amazing!
Over the millennia, plants have adapted so that their seeds can survive until it’s the ideal time for them to germinate. This means remaining dormant through cold winters or waiting for a rainy season or even for the soil to reach a certain temperature. They’re like tiny thermostats, hanging out in the soil waiting for conditions to be just right before they pop up out of the ground. That can all mean a longer germination time.
Ways Seeds Protect Themselves
- Some seeds have a thick waxy coating that’s dissolved by successive spring rains, signaling the seed to start growing.
- Others, like nasturtiums, need to go through a process called scarification. This means the outer layer of the seed is roughed up and broken down by the soil with each freeze-thaw cycle. (We have an easy workaround as gardeners.)
- Some seeds need to undergo cold stratification, or a period of intense cold – hello, winter – before they will germinate.
As gardeners, we have learned some pretty handy ways to get around all of these natural barriers and help or speed up the germination process.
Soaking seeds in water or hydrogen peroxide before planting can help to break down waxy coatings and trigger the seed to start the germination process before planting. (You can read about that here.)
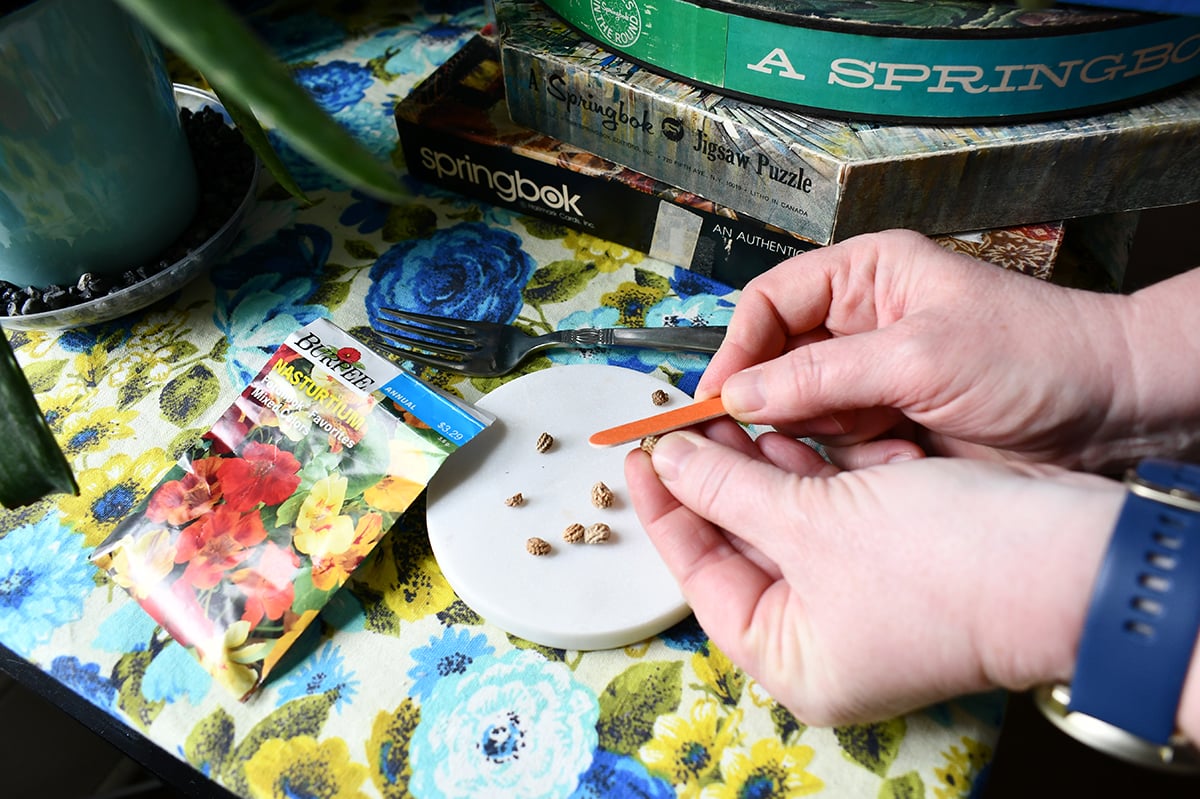
Scarification is easily done with a nail file, gently roughing up the outside of the hard seed.
And cold stratification is as simple as putting your seed packets inside a mason jar and tucking the jar into the fridge for a few weeks. (You can read more about seeds that need to be cold stratified here.) Or for the more adventurous gardener, Lindsay will show you how to winter sow perennials outdoors.

Herbs
1. Oregano, 2. Parsley, 3. Peppermint, 4. Sage & 5. Thyme
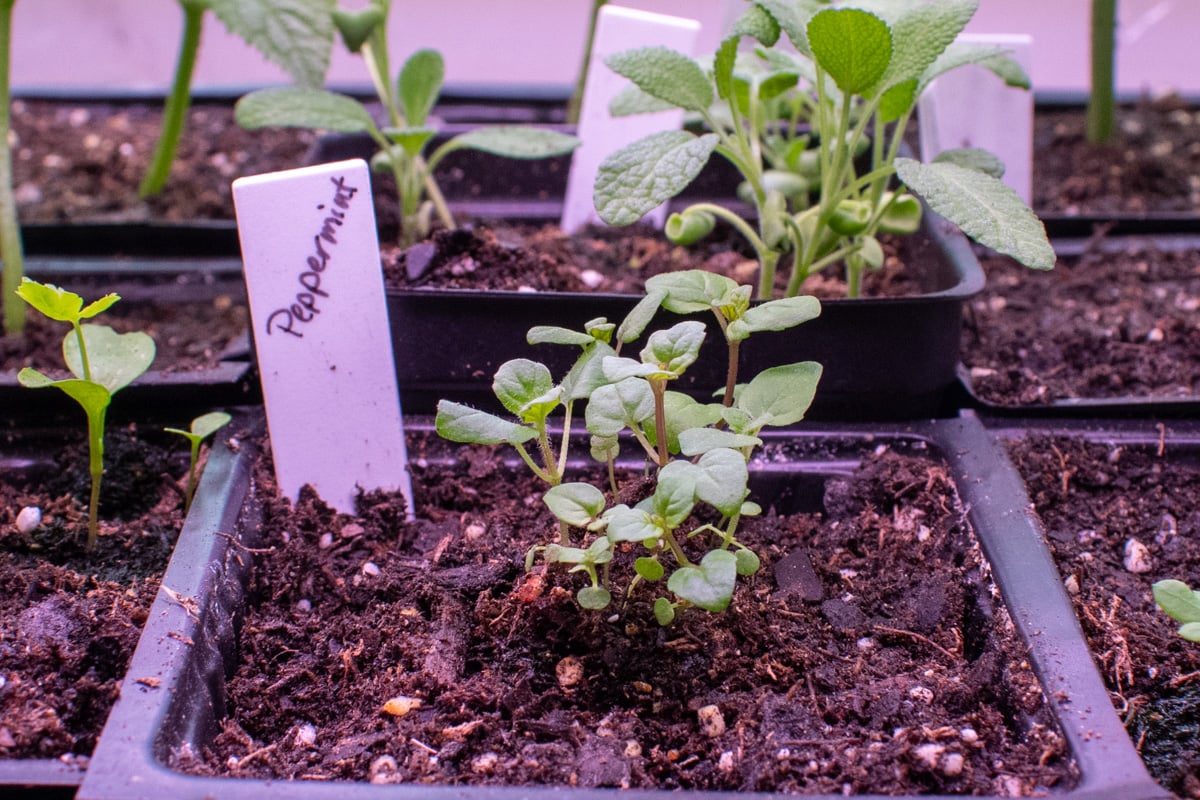
These classic culinary herbs are a wonderful addition to your kitchen garden. And growing your own from seed allows you to try exotic new varieties. Each of these herbs needs relatively warm soil to germinate, between 60°F-75°F. Germination takes anywhere from 14 to 21 days.
6. Rosemary
Ask anyone who has grown rosemary from seed, and they will tell you it is a true test of patience. Successful rosemary seed-sprouters should get some sort of medal. Rosemary also requires nice, warm soil, 65F-85F. The warmer end of this spectrum can shave off a few days of the month plus time it takes for rosemary to germinate. Yes, that’s right, I said a month or more.
Moving On to the Flowers
7. Coneflower

First, coneflower, or echinacea, needs to be cold-stratified for sixty days prior to being sown. Then you’ll need soil temperatures on the warmer end, 70F-80F. Finally, germination takes between two to three weeks.
8. Lavender
Lavender is right up there with rosemary for lengthy germination times. But prior to sowing those seeds, you’ll need to cold-stratify them for 4-6 weeks in the fridge. After that, it’s a nice long nap in moderately warm soil (60F-70F) while you wait anywhere from two weeks to a month for them to sprout. Of course, there are easier ways to grow lavender.
9. Lupine
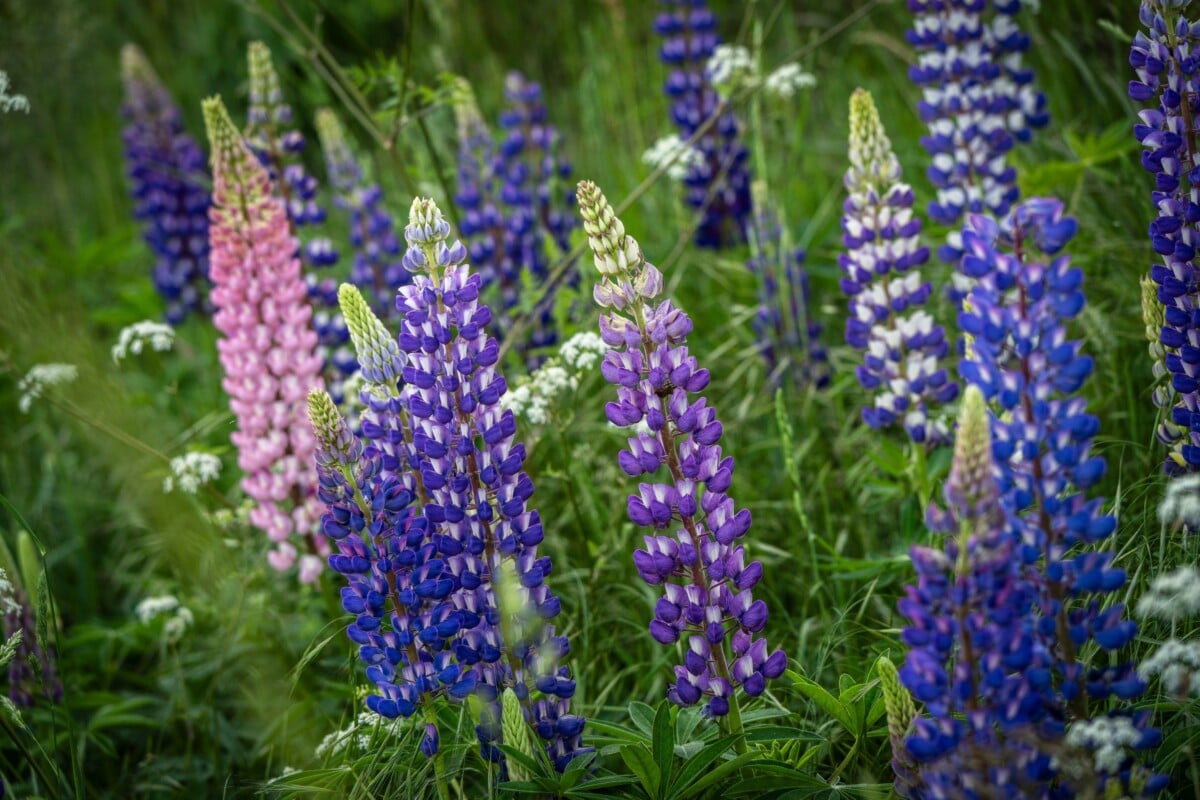
The tall, stately stalks of lupine are only a patient wait away from growing in your garden. Seeds should be cold-stratified for two weeks. The seeds prefer moderately warm soil temperatures, between 60°F-70°F. Seeds will germinate within two to three weeks.
10. Milkweed
Milkweed has specific needs depending on the variety, so always read the seed packet for the most accurate information. If you collected wild milkweed seeds, and you live in an area with cold winters, then your seeds will also need to be cold-stratified for about six weeks. Some varieties benefit from light scarification. Gently rub the seeds over a nail file. Don’t overdo it. Milkweed likes soil temperatures that are a bit on the warmer side, 70F-85F. Again, this temperature depends on the variety. Milkweed will germinate in about 10-14 days.
11. Nasturtium
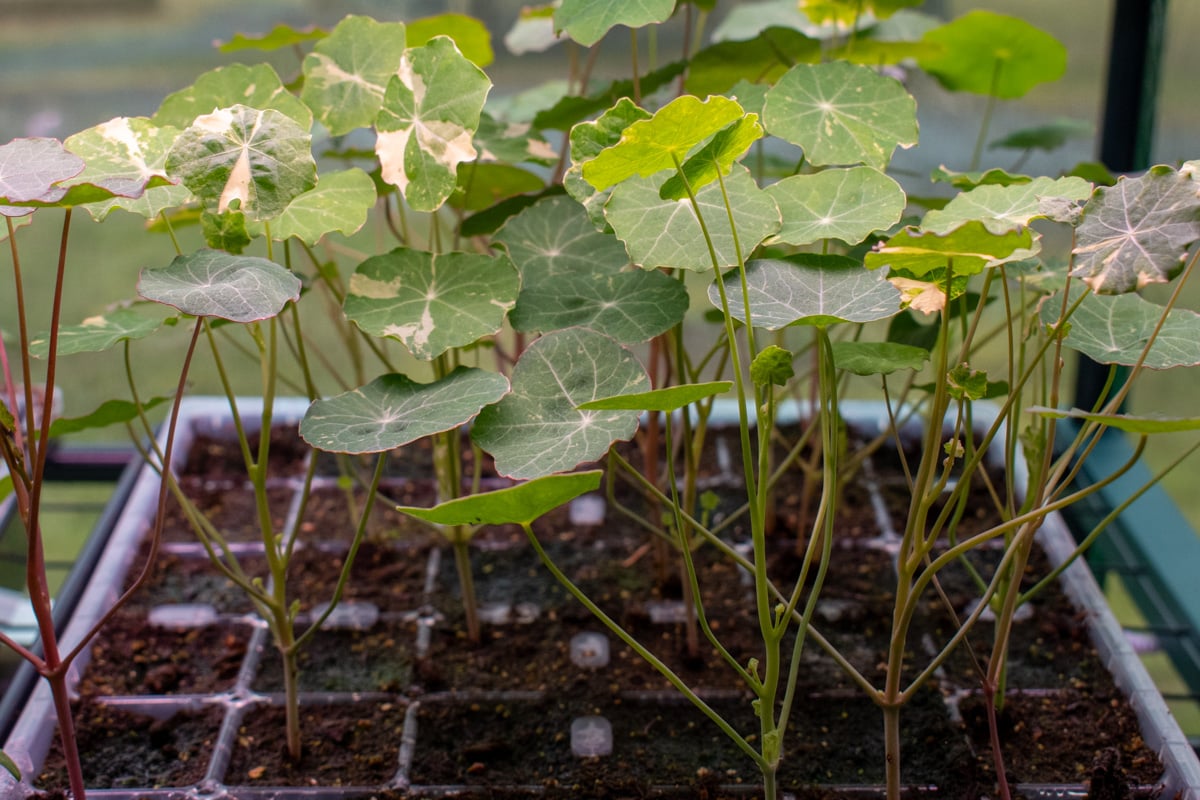
These beautiful (and edible) flowers are a great addition to any garden. The seeds need to be scarified with a nail file before planting in moderately warm soil (60°F- 70°F). They will sprout in 10-14 days.
12. Pansie & 13. Viola
These sweet flowers are easy to grow and bring a burst of cheerful color to your garden. However, they take a little patience as they take around two weeks to germinate. They aren’t especially fussy, though, and do well with moderately warm soil (60°F- 70°F).
Finally, we get to the vegetables, none of which need cold stratification. However, whether you’re starting them indoors or outdoors, they do require some patience. (See which of these you should always start outdoors here.)
On to the Vegetables
14. Artichoke
If you’re lucky enough to live in zones 7-11, you get to grow artichokes as a perennial. But for the rest of us, enjoying these tasty flowers means we have to start them extra early indoors. They need soil temperatures between 70°F-80°F and can take up to two weeks to germinate.
15. Asparagus
Asparagus is a perennial vegetable that’s most often grown with bare-root plants. However, you can start it from seed as well. They are ridiculously cute to watch sprout and grow into a tiny wispy asparagus forest. These guys prefer their soil on the warmer side, between 70°F-80°F, and can take up to two weeks to sprout.
16. Carrots
Carrots are a standard root vegetable in most home gardens. But they require a little waiting, as they can take anywhere from two to three weeks to germinate. It all depends on the variety. They do best in moderate soil temperatures between 65°F-80°F.
17. Celery
I’m always in awe of gardeners who grow their own celery. It’s definitely one of the more difficult vegetables to grow in your home garden. They germinate best in soil that’s between 60°F-70°F and need two to three weeks to sprout.
18. Eggplant

Eggplant is a long-season crop, so we need to get it started extra early to grow in most areas of the U.S. It prefers toasty soil, between 80°F-90°F, and can take up to three weeks to germinate, depending on the variety.
19. Leeks
These mild-mannered alliums take upwards of 100 days to grow. So, if you see leek and potato soup in your future, you’ll want to prepare for a germination time of around two weeks in soil temperatures between 60°F-75°F.
20. Parsnip
Because they’re in the same family, parsnips grow in much the same way as carrots, taking anywhere from two to three weeks to germinate. However, parsnips prefer slightly cooler soil, between 50°F-65°F.
21. Peppers
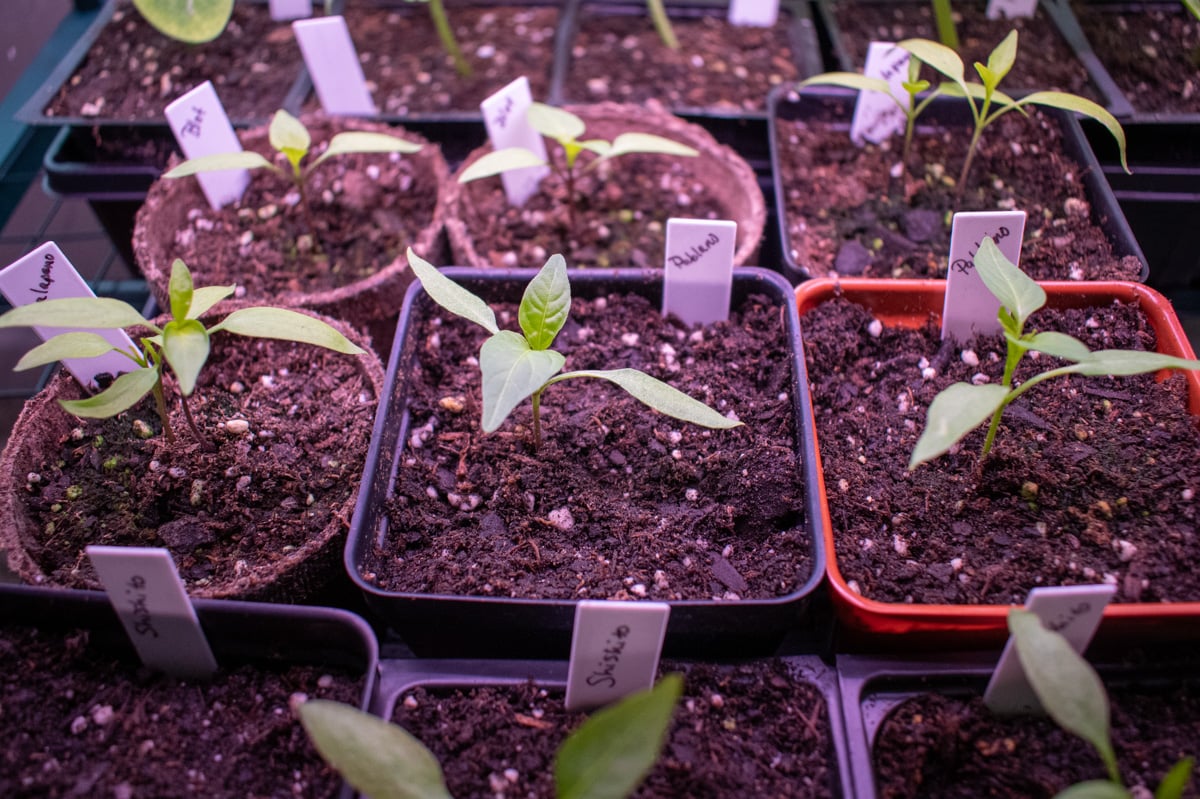
Peppers are super fun to grow in your garden, especially if you get into growing hot peppers. But these long-season plants need to be started pretty early. They require ridiculously warm soil to germinate. Sweet peppers need soil temperatures of around 75F-80F. Sweet peppers take anywhere from 7-14 days to germinate.
Something interesting to note is that hot peppers require hotter soil temperatures (80F-90F) and a longer germination time. In fact, the hotter the pepper, the longer it takes to germinate. Some of the hottest peppers take anywhere from three to four weeks to germinate.
Tips for Working with Hard-to-Germinate Seeds
There are a few things to keep in mind when starting any of the plants on this list. The more of these tips you implement, the likelier you are to be successful rather than frustrated.
Get a Heated Seed-Starting Mat
If you enjoy starting seeds rather than buying seedlings, you should invest in a heated seed-starting mat. These inexpensive mats can be the difference between a tray full of little green sprouts and a tray full of disappointment.
You’re going to have much better results the more control you have over your seed-starting environment. With that in mind, here is the seed-starting mat I use. It also comes with a thermostat so you can dial the heat to the desired degree. (This has made starting peppers from seed super easy for me.)
Having a heating mat can also lessen the chances of damping off, as you won’t have cold, damp soil.
Once you’re done starting seeds for the season, you can easily roll up the heated mat and store it out of the way until next year.
Ensure Consistent and Adequate Moisture
Seeds need moisture to sprout. It’s a huge part of the process. The soil around them needs to be damp all the time so that the protective coating breaks down and the seed becomes swollen with water.
The outer protective barrier of a seed serves one purpose: to prevent the inside from getting wet until the right time. We want to ensure the seed knows that time is now by providing consistently moist soil.
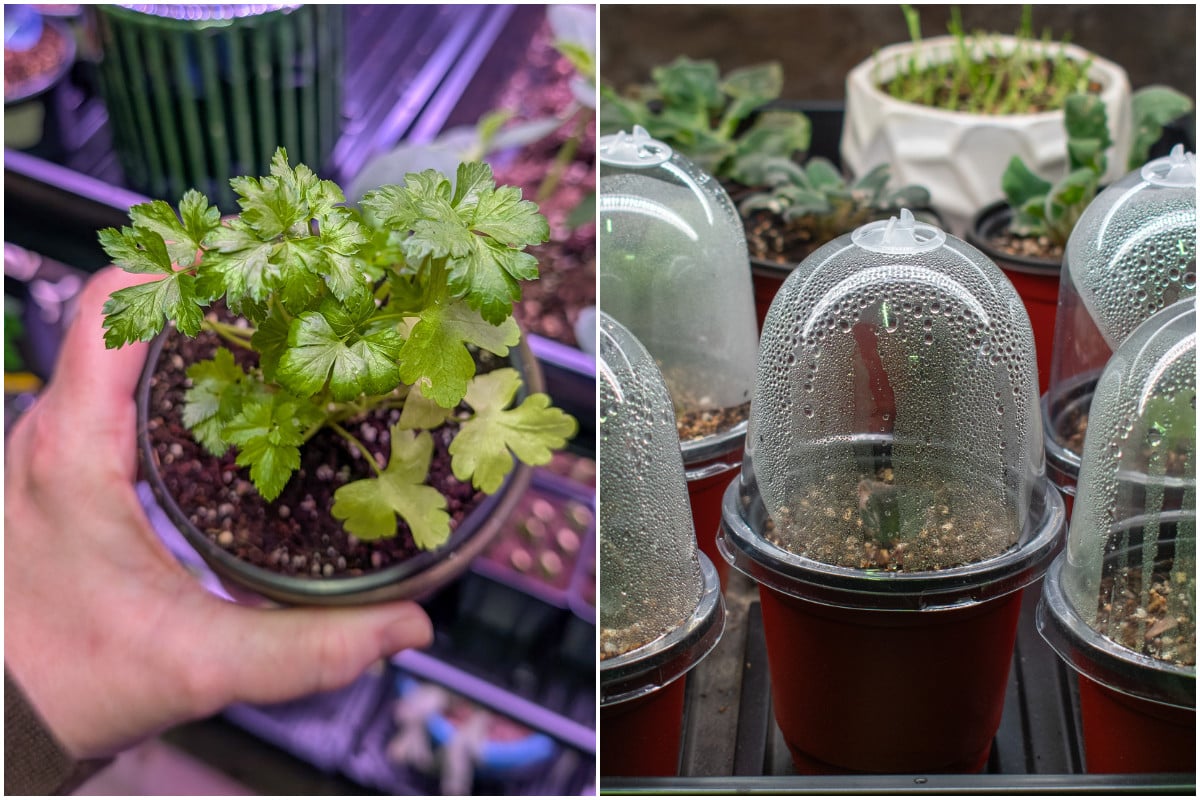
There are many ways to do this. You can use plastic cling wrap over the top of individual seed starting containers. You can purchase seed starting cells that come with some sort of clear lid. (I really like these ones as they have little adjustable vents in the top so you can let some moisture escape if needed.)
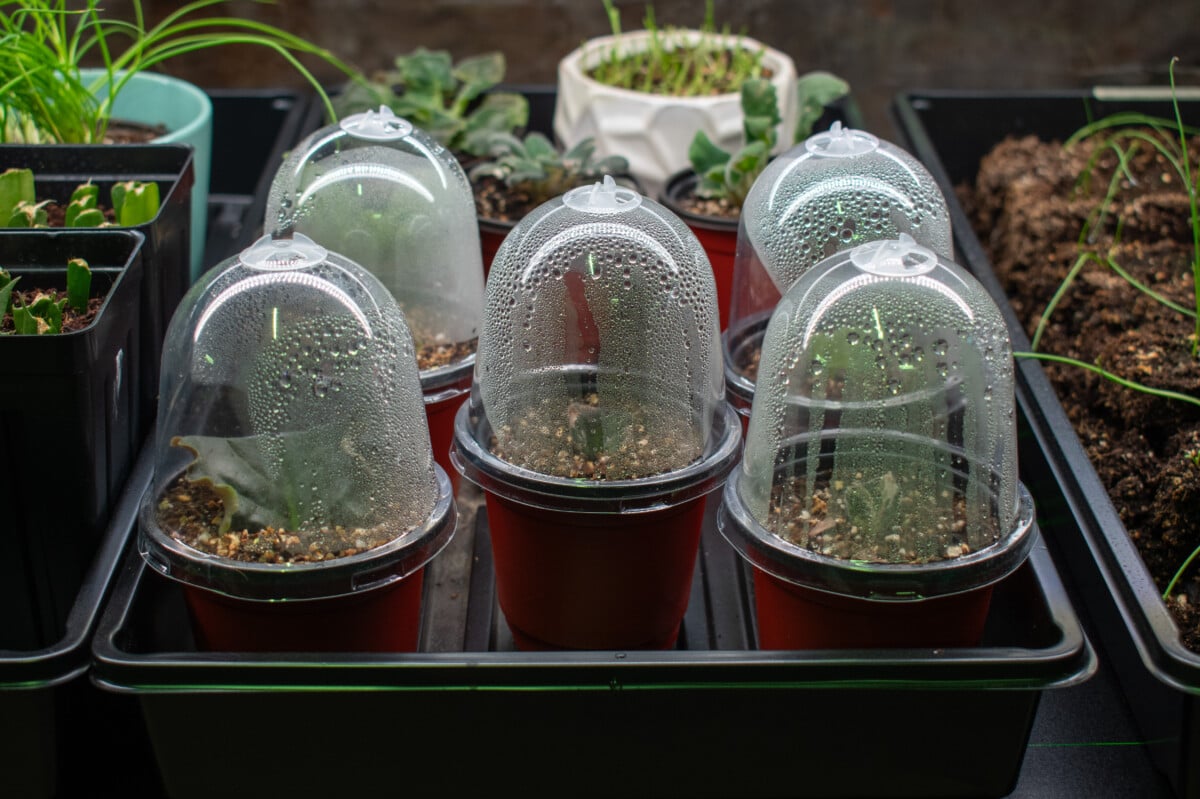
I really like these little individual pots with vented domes, as they allow me to control the moisture for each individual plant. I use these little guys for seed starting and propagation.
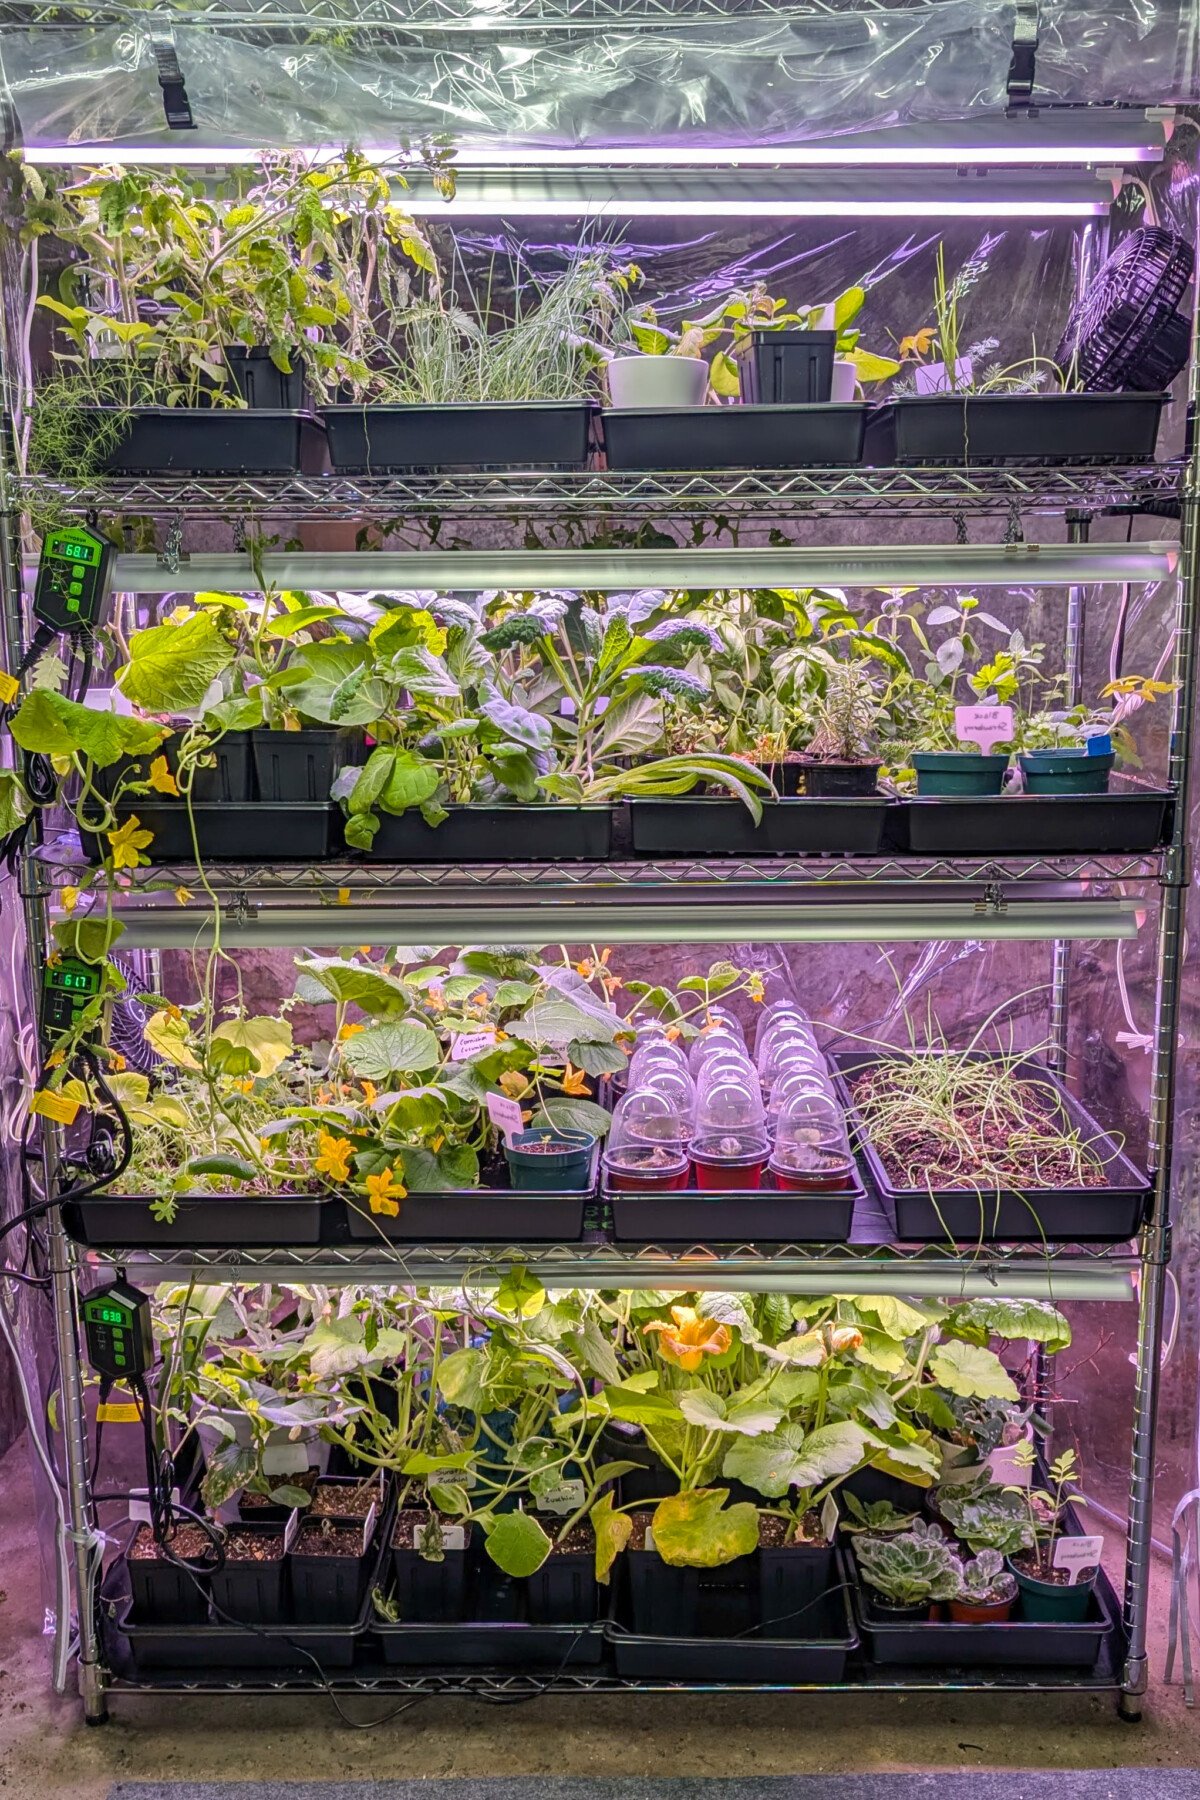
I have a large grow tent set up in my basement since I’m an avid African violet collector, and I’m always propagating something or other. It’s basically one of those nice stainless steel kitchen storage racks with a clear vinyl cover over it to help keep moisture inside.
Check on Your Seedlings Often
When you’re waiting on seedlings that take a while, it’s easy to forget about them. I remember one year starting lavender from seed. I had moved all of my other seeds that had already sprouted to another window and completely forgot to check on my lavender. When I finally remembered, I found that they had sprouted…and shriveled up and died because the soil dried out. All of that waiting, and in the end, it was for nothing.
I’m happy to make these sorts of mistakes so you don’t have to. Check on your seedlings every couple of days, especially once other seedlings start sprouting. Make sure that long-suffering rosemary doesn’t get forgotten in the shuffle!
Plant Backups
There’s nothing worse than waiting several weeks to a month for an especially long germination, only to have nothing happen in the end. Whenever you’re dealing with particularly finicky seeds, whether that’s length of time or sprouting conditions, it’s always a good idea to plant extras.
Planting backup seeds gives you a higher chance of getting the number of seedlings you want. And if all goes according to plan and all of your seeds germinate, you can share your extra seedlings with friends and family.
Label, Label, Label
The problem with starting seeds that take a while to germinate is that if you don’t label them, by the time they do sprout, you’ve likely forgotten what they are. (Yes, I am speaking from experience.)
It’s just good practice to label your seeds, whether starting them indoors or sowing in your garden.
Be Patient
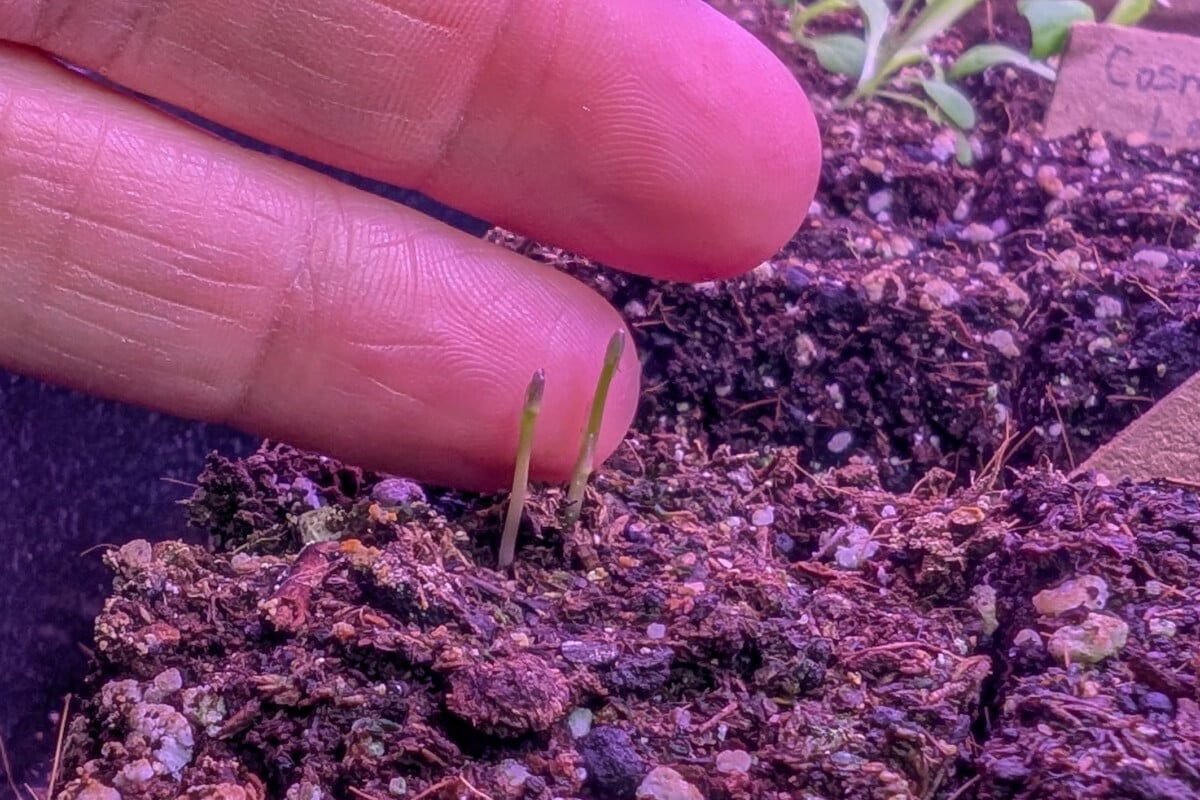
Probably the hardest part about working with any of the seeds on this list is the need for patience. We humans, are kind of terrible at sitting back and letting nature do its thing. We want to see that tiny green sprout poking up out of the dirt. What’s going on under that soil? Anything? Hello in there?
I know it can be maddening waiting for seeds that take a long time to germinate, especially since we can’t see what’s happening.
Avoid moving the soil to see if anything is happening. Leave your seeds to it and continue to monitor their environment.
As long as you’ve ticked all the boxes for everything they need to cue germination, and planted a few back-ups, everything will turn out fine.

Get the famous Rural Sprout newsletter delivered to your inbox.
Join the 50,000+ gardeners who get timely gardening tutorials, tips and tasks delivered direct to their inbox.