

Creating an ecological garden is a lofty pursuit indeed, but an immensely worthwhile one. With the 12 principles of permaculture to guide us, there are plenty of things we can do to make our gardens more natural, less wasteful, and better integrated into the ecosystem.
A permaculture garden isn’t built in a day. It’s a gradual process that happens bit by bit, as we incorporate different strategies and techniques into our overall design. Whether you start with no-dig or growing native wildflowers or collecting rainwater, we can baby-step our way to a landscape that’s in-tune with nature and wholly sustainable.
Since good soil is everything in a garden, one prime area of focus in my own permaculture journey has been self-sufficient soil management.
That is, to close the loop and eliminate the need to bring outside resources in to keep the land growing and fertile. Instead, all waste generated by the garden is recycled and used to nourish the soil. Food scraps and yard trimmings become compost. Dropped leaves are rounded up in autumn to make leaf mold. These two soil amendments are all I’ve needed to keep my garden churning.
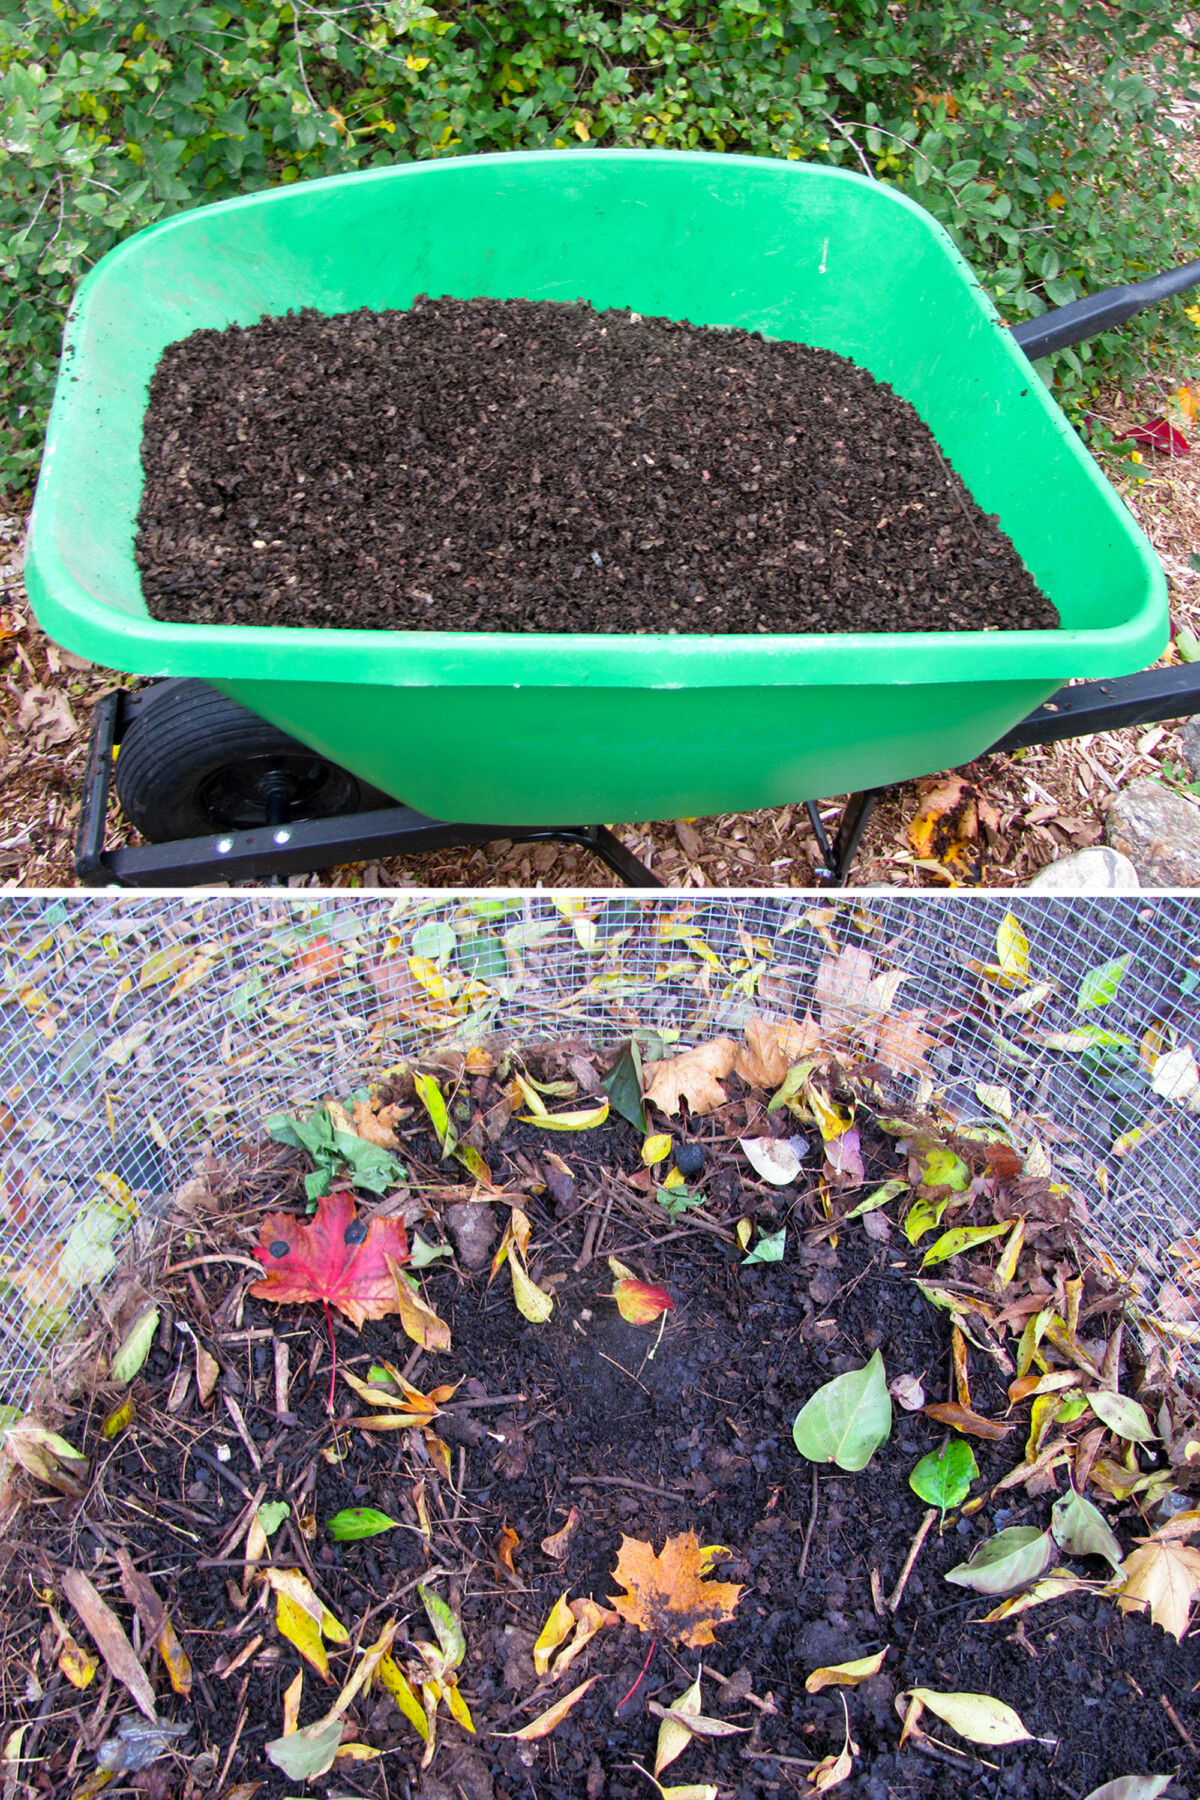
Compost is a gardener’s best friend, and it’s definitely my best friend! As a rich, fertile conditioner, I use it liberally. It’s a key ingredient for building new vegetable plots and replenishing established beds. It’s dropped into every planting hole and container plant.
Leaf mold, while less nutritious, is excellent winter mulch. It protects the soil and its inhabitants during the cold months, and it supplies traces of several essential macro and micro-nutrients. Together, they add valuable organic matter to mineral soils, which keeps our soil microorganisms alive and well.
Leaf mold and compost work wonders outside, but these materials are so useful that I also like to use them in my indoor garden.
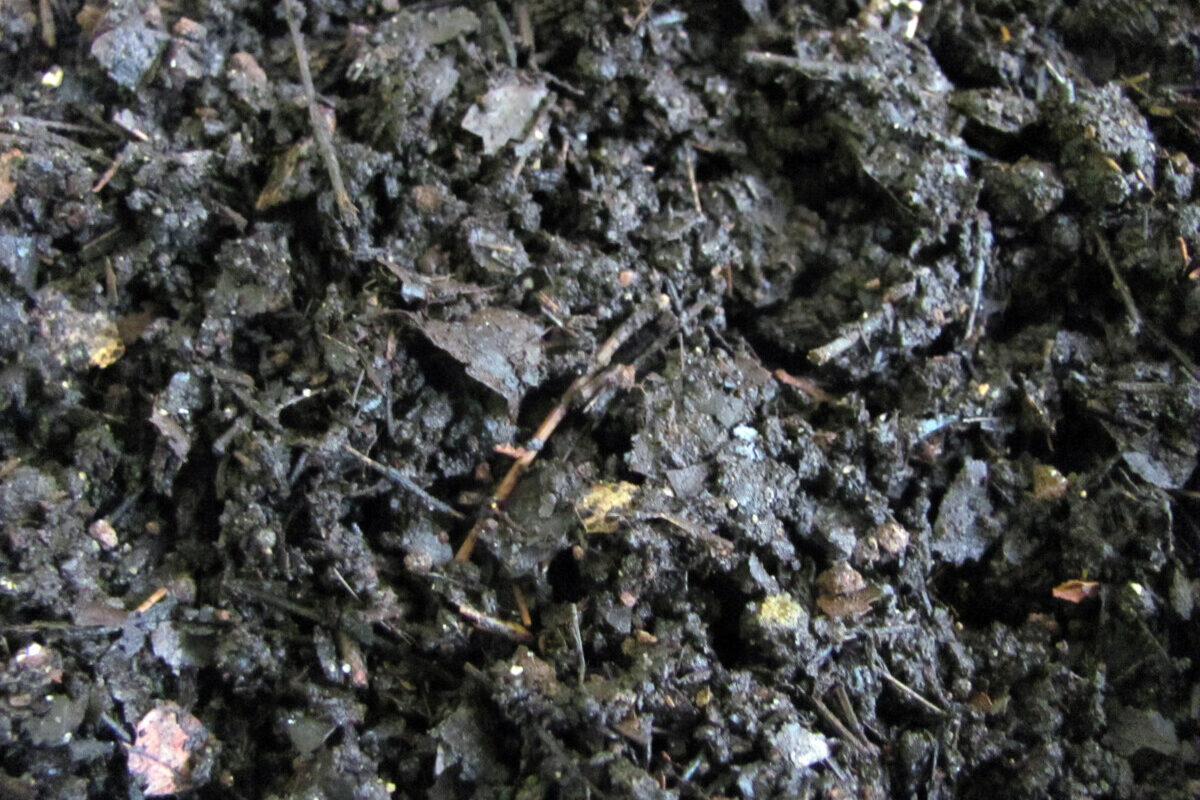
As a truly earth-friendly alternative to sphagnum peat moss, leaf mold is a soilless growing medium with many of the same qualities as peat. It’s fantastic for growing things from seed, and I use it for starting all my annuals in late winter for planting out in spring.
Combine leaf mold and compost together, with some perlite or sand tossed in, and you can make a high-quality and nutritious all-purpose potting mix. It’s cheaper than buying and comes in handy when it’s time to pot up those seedlings or repot my houseplants.
Before incorporating leaf mold and compost – or any homemade potting mix that’s spent time outdoors, for that matter – into your home and around your houseplants, pasteurizing it with heat is an essential step.
Why Pasteurize Indoor Potting Media?
Conventional gardening wisdom states that we should never use outdoor growing mediums in the indoor garden. Every square inch of soil is riddled with various life forms, and our homemade compost and leaf mold is no different.
Materials produced or stored outside can harbor soil-borne and soil-dwelling insects, like springtails, fungus gnats, root weevils, and other bugs so tiny they aren’t easily seen by the naked eye. Some are more of a nuisance than a true plant-munching pest, but can emerge from contaminated soils and spread from plant to plant.
Outdoor media has the potential to house bacterial and fungal pathogens and viruses, too. Plant disease caused by pathogens hiding in the substrate often manifests after it’s too late to save the plant. One of the worst is damping off, a fungal disease that devours young seedlings and can cause root rot in more mature plants.
All of these problems can be avoided, however, by cleansing the growing medium with heat. By raising it up to a specific temperature range, these amazing materials can be used freely inside the home without the fear of also introducing bugs and diseases to your indoor garden.
Pasteurizing vs. Sterilizing
Though they’re often used interchangeably, there’s a key difference between sterilizing and pasteurizing your indoor potting media – and it all comes down to temperature.
Pasteurizing is a milder process that reduces harmful organisms, but preserves beneficial microbes. To pasteurize your compost or leaf mold, raise the temperature to the 150°F to 180°F range for 30 minutes. This amount of heat will wipe out soil-dwelling insects, along with the majority of viruses, diseases, fungi, mold, and weed seeds.
Sterilization, by contrast, eliminates all forms of life from the growing medium. By heating it to 212°F for 30 minutes, all living things will be killed off, including heat-resistant viruses and seeds. This is the absolute maximum temperature, as any hotter can cause substances to accumulate within the substrate that are toxic to plants.
In the indoor garden, pasteurizing your potting media is the preferred approach. It strikes a healthy balance between having a clean soil microbiome and conserving a community of microorganisms. And just like when we use compost and leaf mold in our outdoor gardens, these amendments are most effective when they are populated with our invisible helpers to aid plant growth.
Pasteurizing in the Microwave
Heating up outdoor potting media can be accomplished in the microwave, oven, outdoor grill, pressure cooker, or steamer.
For smaller batches, I prefer to use the microwave because it’s easy and super quick. It takes less than 10 minutes of actual work, and there’s very little to clean up when you’re done. And because it cooks up fast in the microwave, the aroma of wet soil doesn’t linger around for too long.
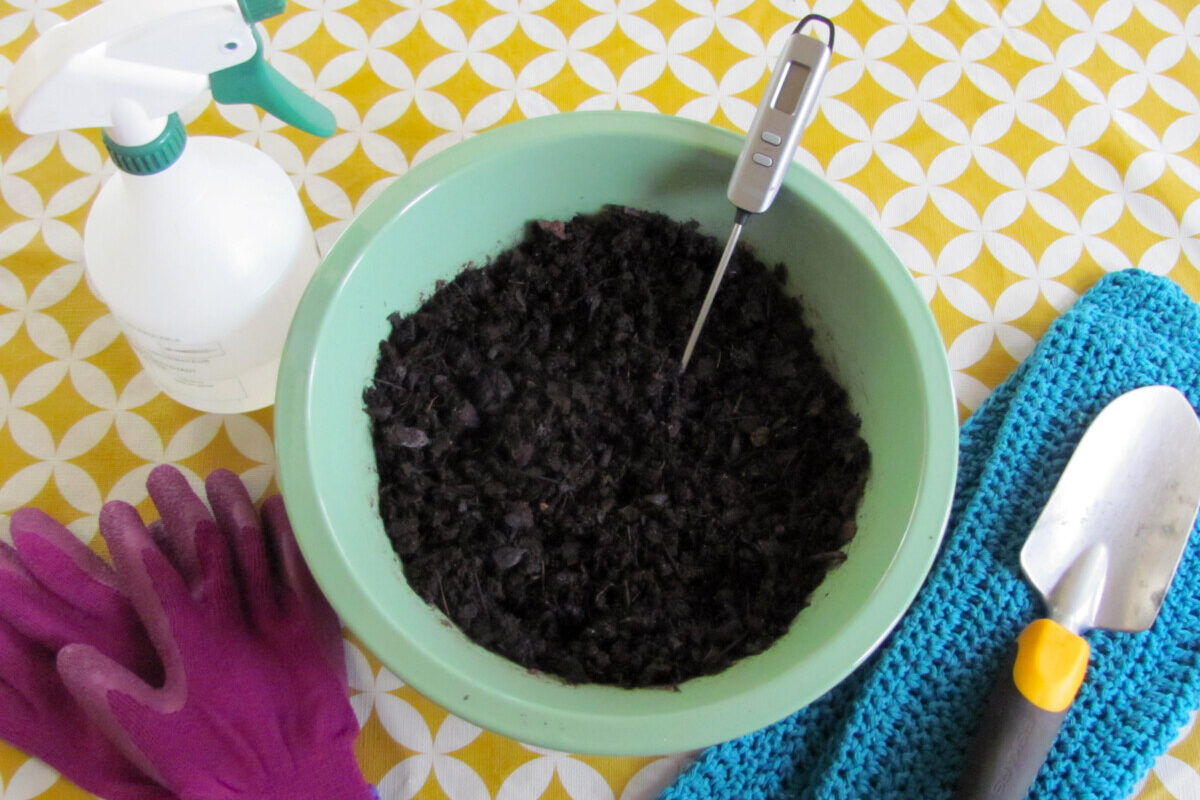
You’ll need:
- A large microwave-safe bowl
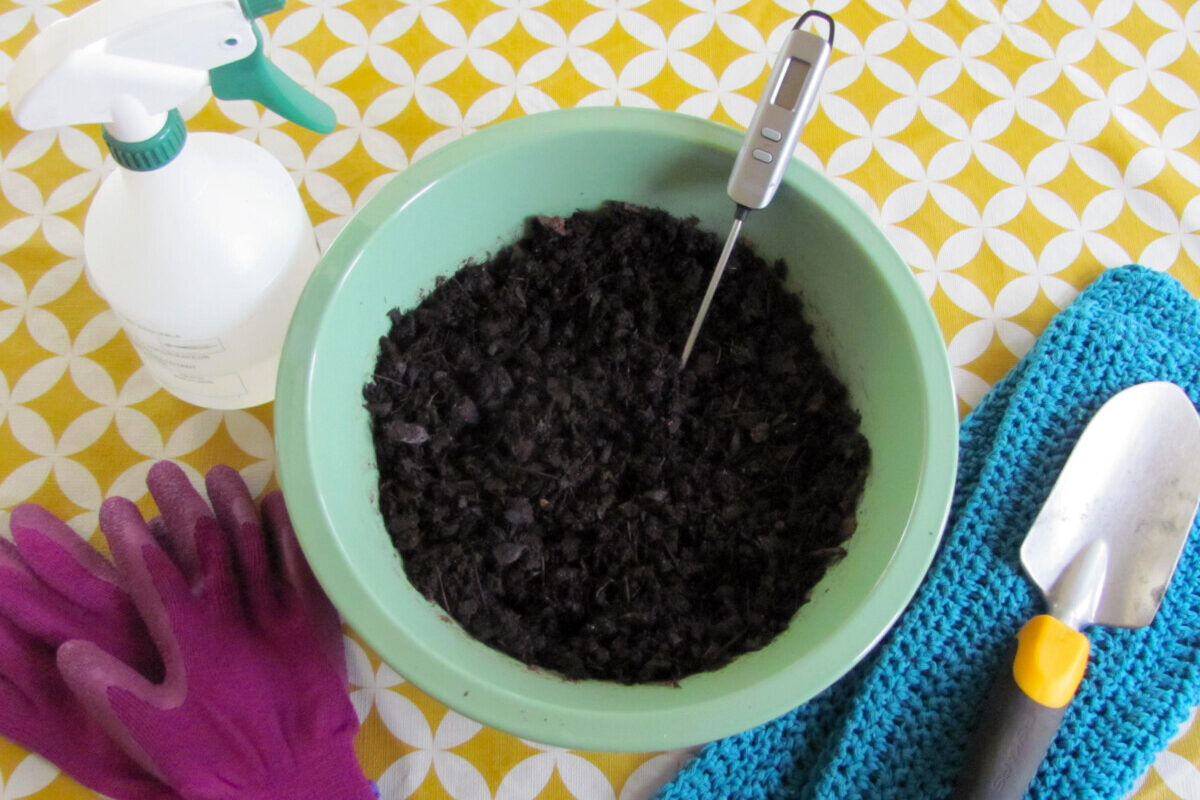
- An instant-read thermometer
- Tin foil
- A quantity of compost, leaf mold, or homemade potting mix
- Optional: spray bottle, gloves, and a sterilized trowel or spoon for stirring
Step 1 – Moisten
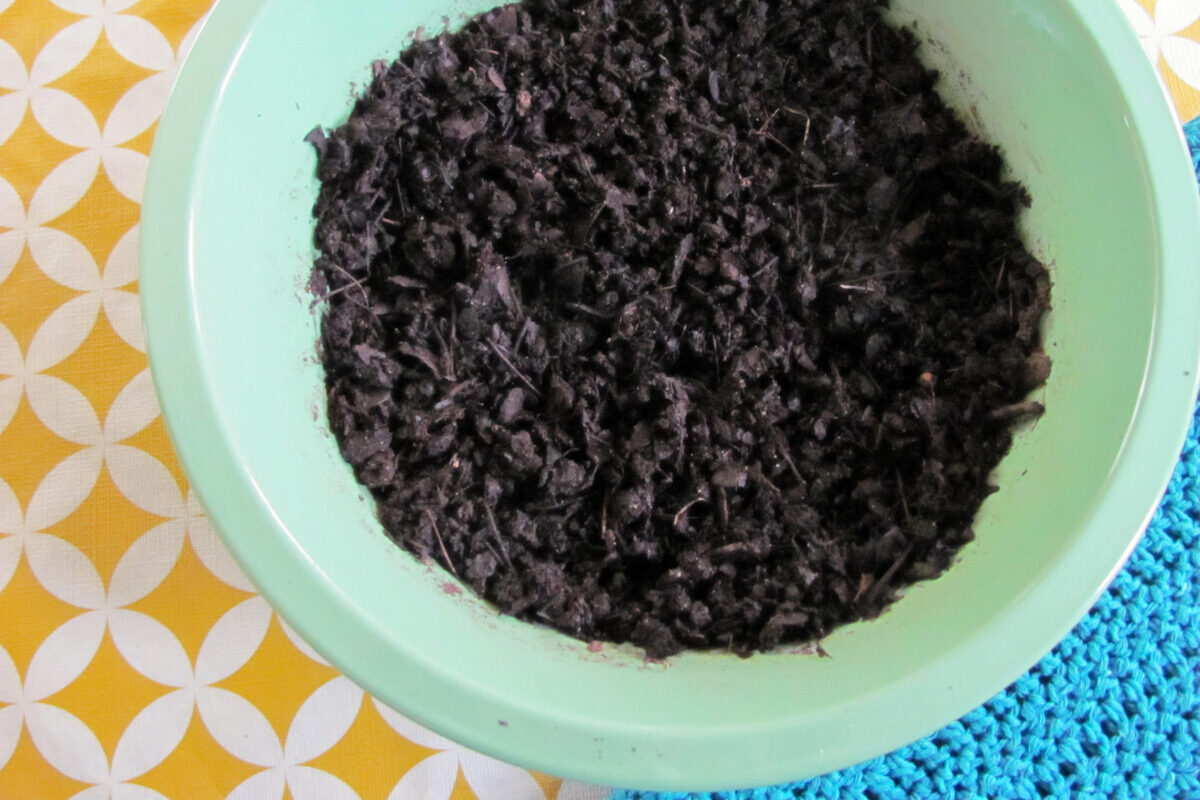
Pop your potting media into a ceramic, glass, or other microwave-safe bowl. Don’t use plastic containers or bags, as reusable plastics are prone to leaching chemicals into your potting media under microwave heating.
It’s important to moisten the growing medium with water before heating it up. Dry matter exposed to heat will have hot spots. Adding a little water, though, will help conduct and distribute heat evenly through the materials.
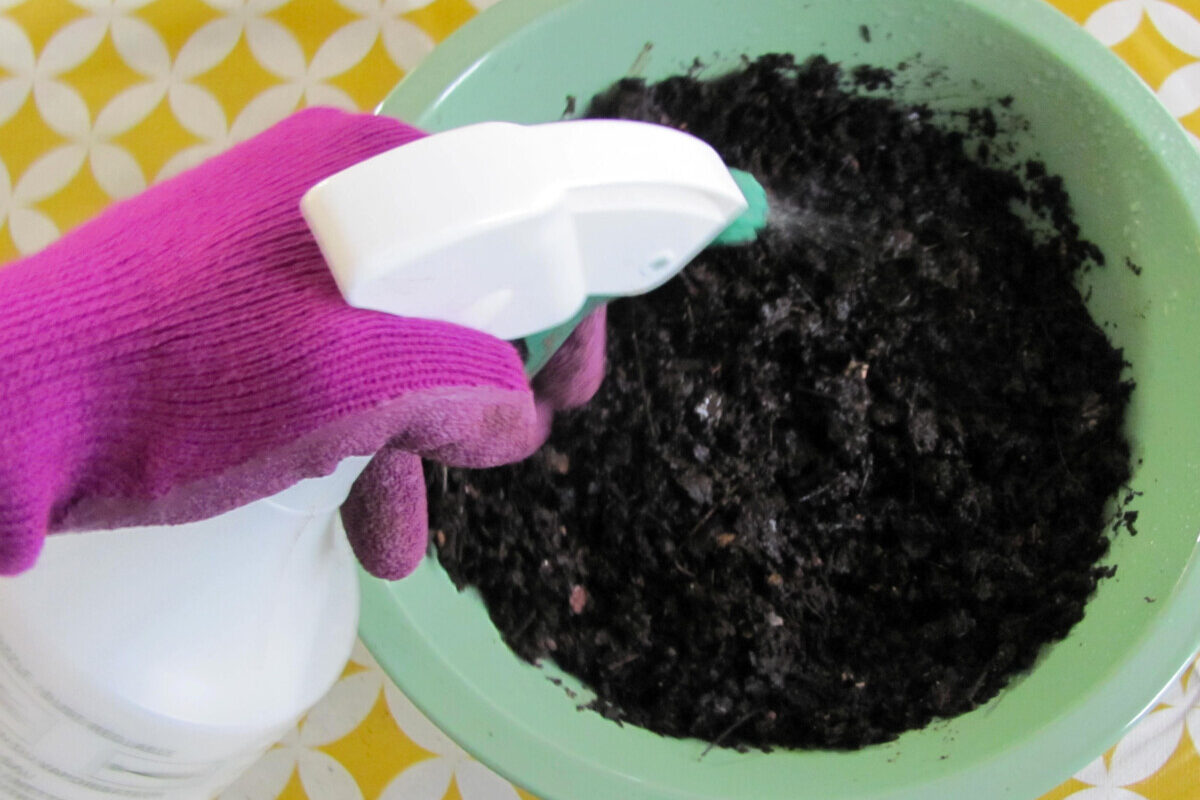
The trick is to add just enough water to fully moisten the media, but not so much that it becomes overly wet and waterlogged. Spray or pour water into the bowl, a little bit at a time, and then stir it up.
Use a trowel or knead it with your hands to incorporate the water into the material. Make sure you’re turning over the bits along the bottom and seams of the bowl.
And then repeat – spritzing a little and stirring a lot – until the whole thing feels consistently moist.
Now, do the squeeze test. Grab a handful and give it tight squeeze. When you open your palm, it should keep its shape with very little – if any – water dripping out. When you poke it, the material should crumble apart easily.

If it breaks apart and doesn’t mold into a shape after the squeeze – it’s still too dry. Add more water.
If it’s dripping wet when you squeeze it and doesn’t crumble when you prod it – it’s too wet. Set it aside to dry for a while before performing another squeeze test.
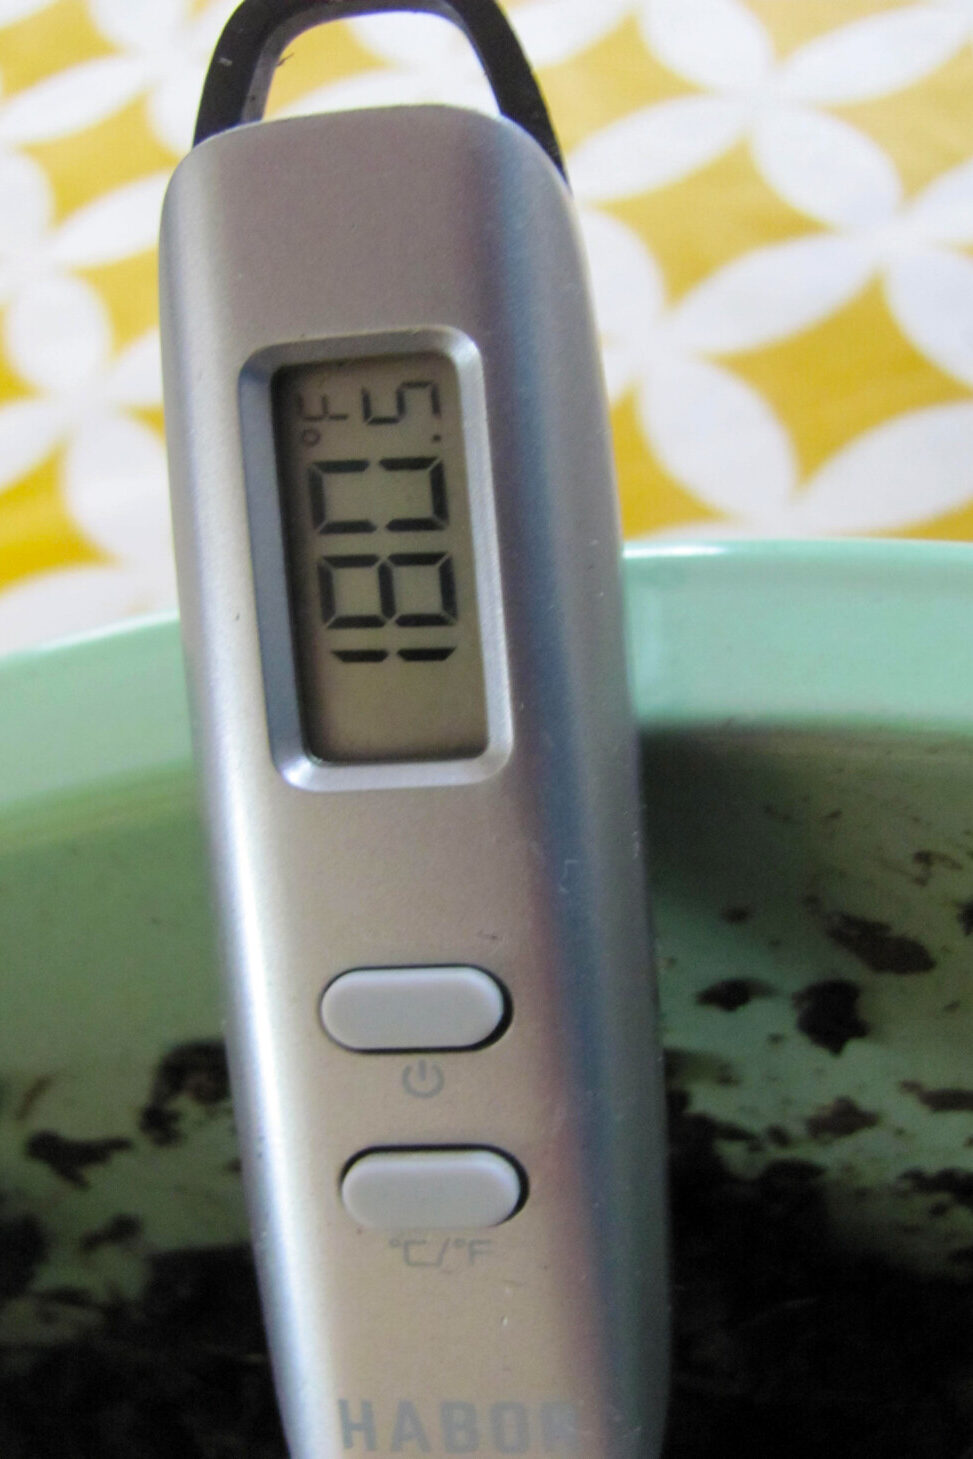
Step 2 – Heat it to 180°F
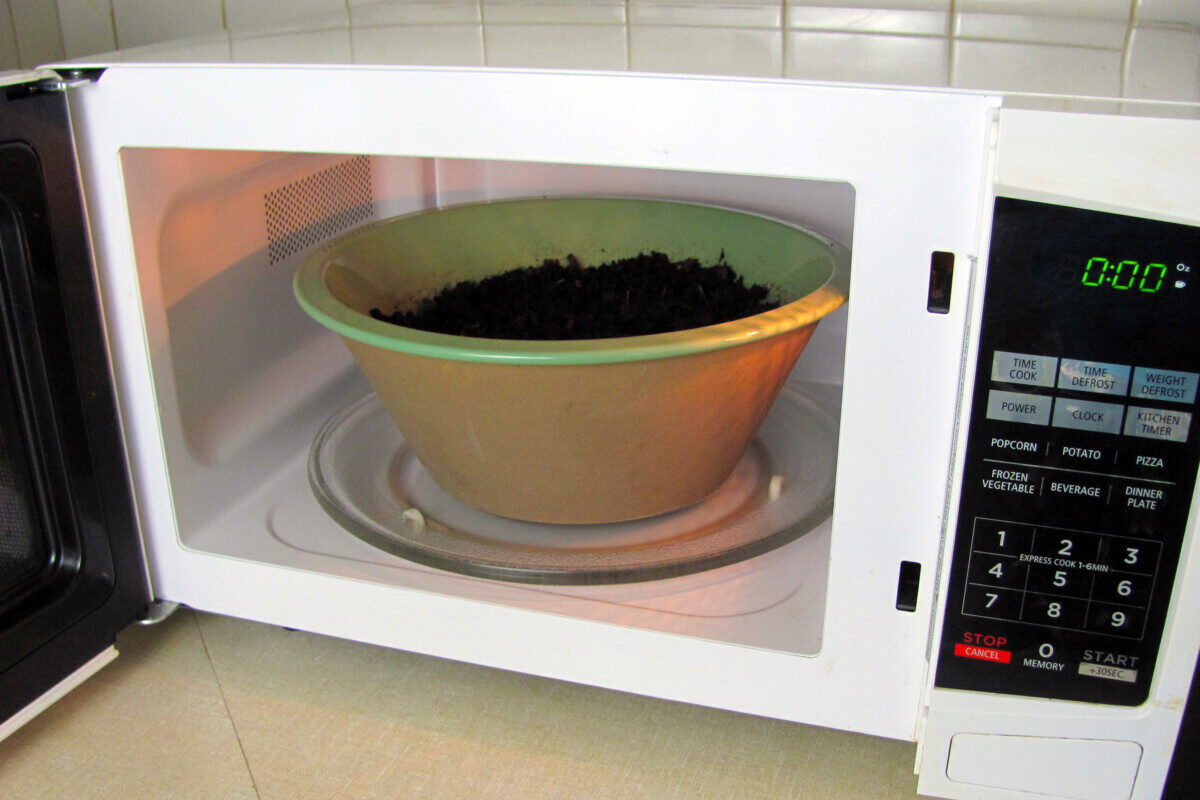
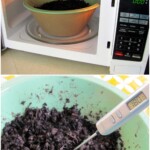
Once the materials are acceptably moistened, place the bowl in the microwave, uncovered. It’s best to heat it in short intervals to slowly reach the sweet spot of 180°F.
For this quantity of leaf mold, I set my microwave on high for 2 minutes to start.
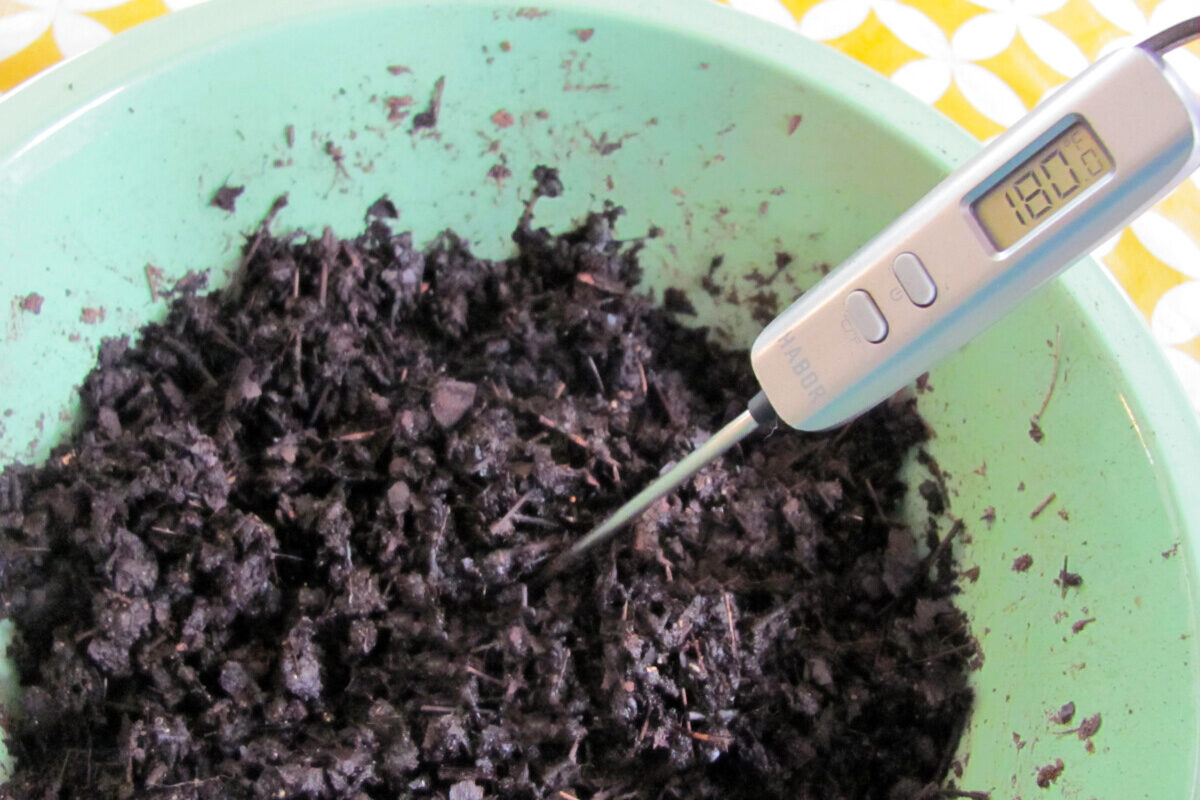
When the timer dinged, I stuck my thermometer into the center of the steamy leaf mold to check the temperature – 160°F. Zapping it again for one more minute got me to a 170°F reading. After another minute of microwaving, the temperature had hit 180°F. All told it took just 4 minutes of cooking time.
Of course, the volume of media you’re heating and variations in individual microwaves may give you a different result. Keep it slow and steady – heat it in short bursts and check the temperature each time.
Step 3 – Cover for 30 Minutes
Pasteurization is complete when the growing medium maintains a temperature of 150°F to 180°F for 30 minutes.
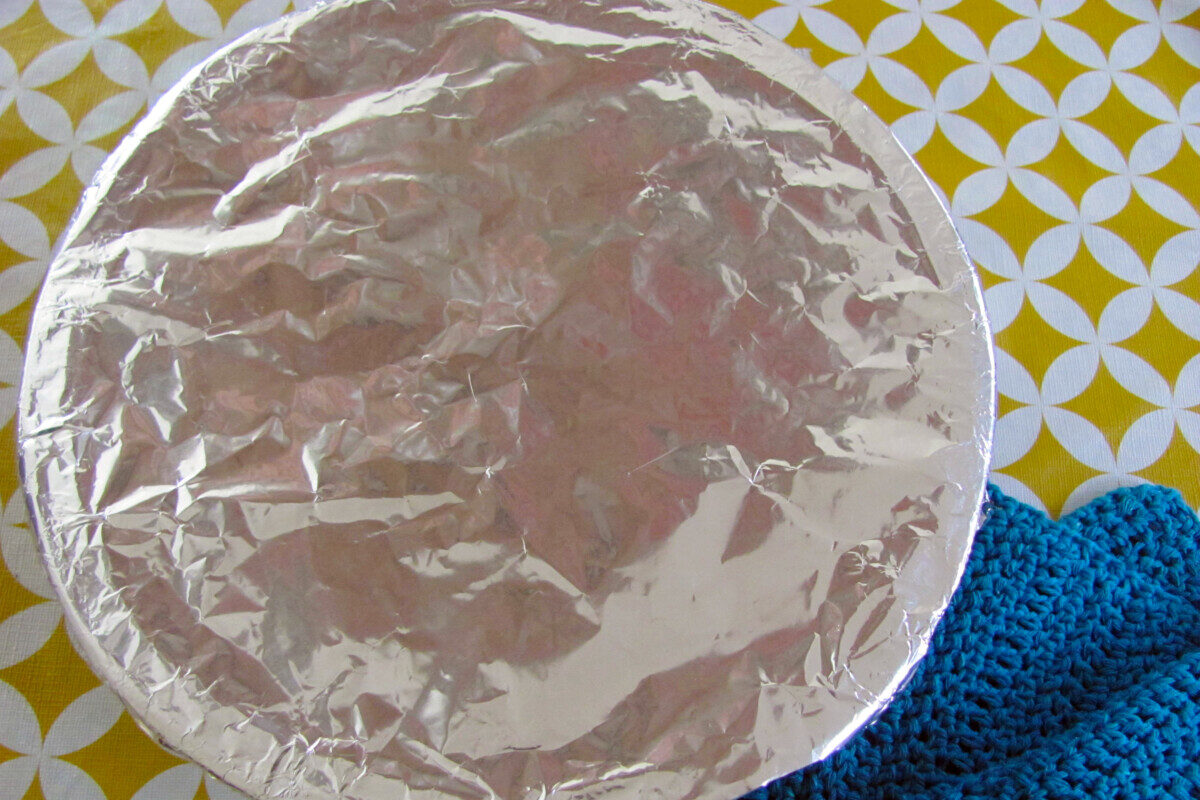
Once you’ve hit your target temperature, quickly cover the bowl with tin foil. Wrap it tightly so no heat can readily escape.
Step 4 – Uncover and Cool
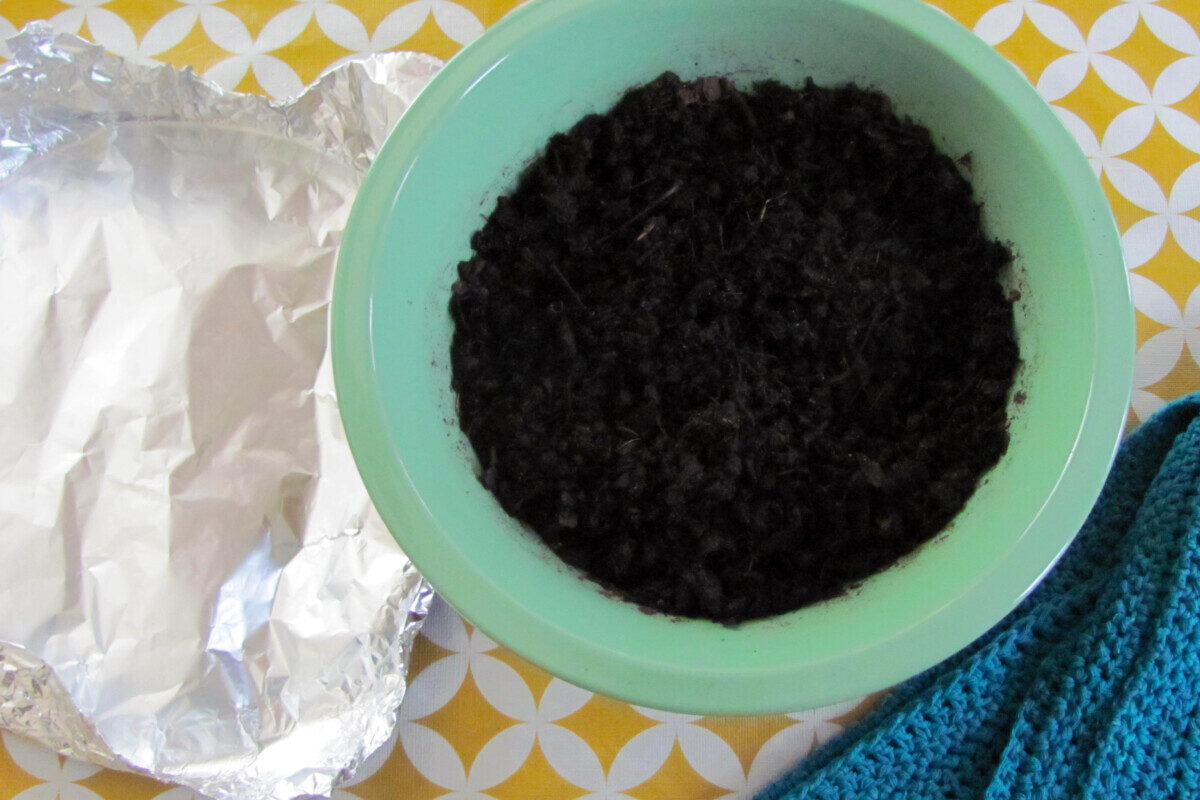
After it has rested for half an hour, you can remove the tin foil. Leave it for several hours to cool down slowly to room temperature.
Step 5 – Use it!
The pasteurized material is safe to use around plants once it feels cool to the touch. Or, you can tuck it away in a bag for when you’re ready to start potting.
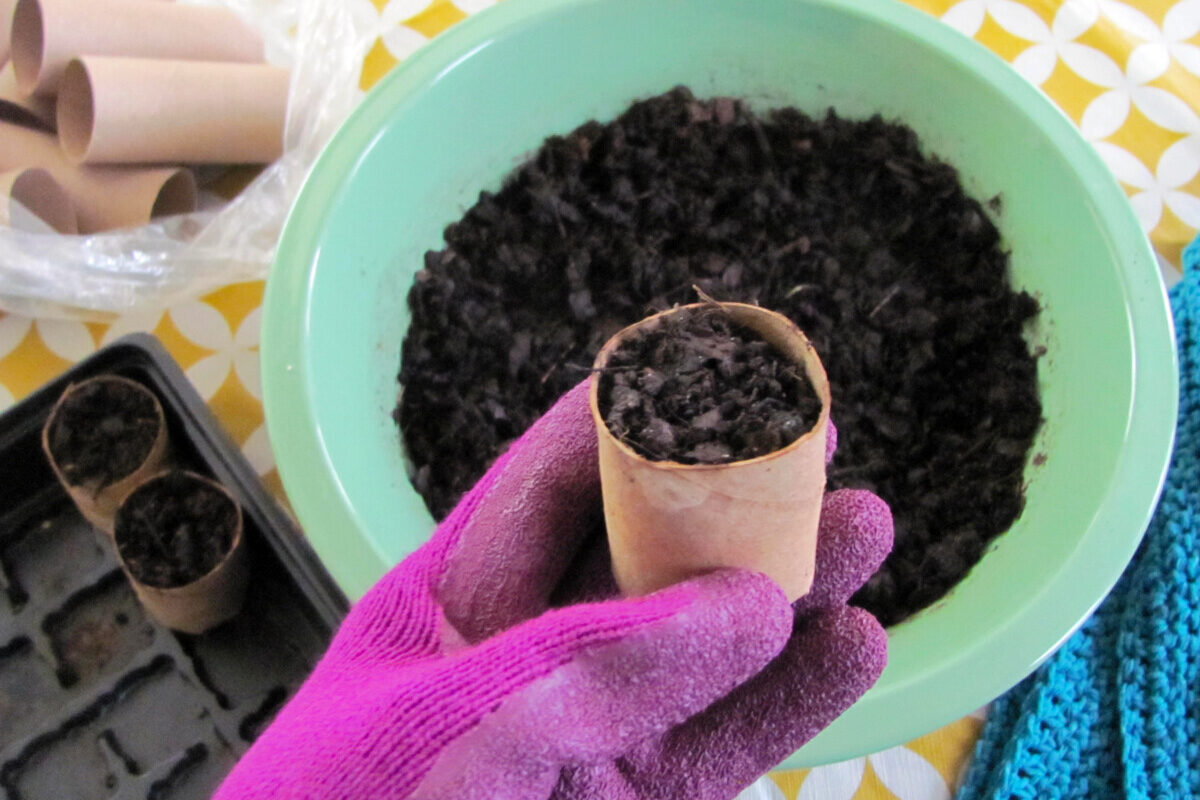
My favorite way to use leaf mold in the indoor garden is to start seeds. I either fill up flats with 100% leaf mold and scatter seeds on top, or pack up toilet paper tubes for individual plantings.
Leaf mold isn’t too rich, drains well, and holds moisture in – the ideal soil environment for germinating tiny sprouts. It’s been a great substitute for peat pods, and it works just as well.
Avoiding peat often means mixing our own potting soil. When shopping for commercial organic potting soils, take a close look at the ingredients. Many brands have peat snuck in there for enhanced drainage and moisture retention.
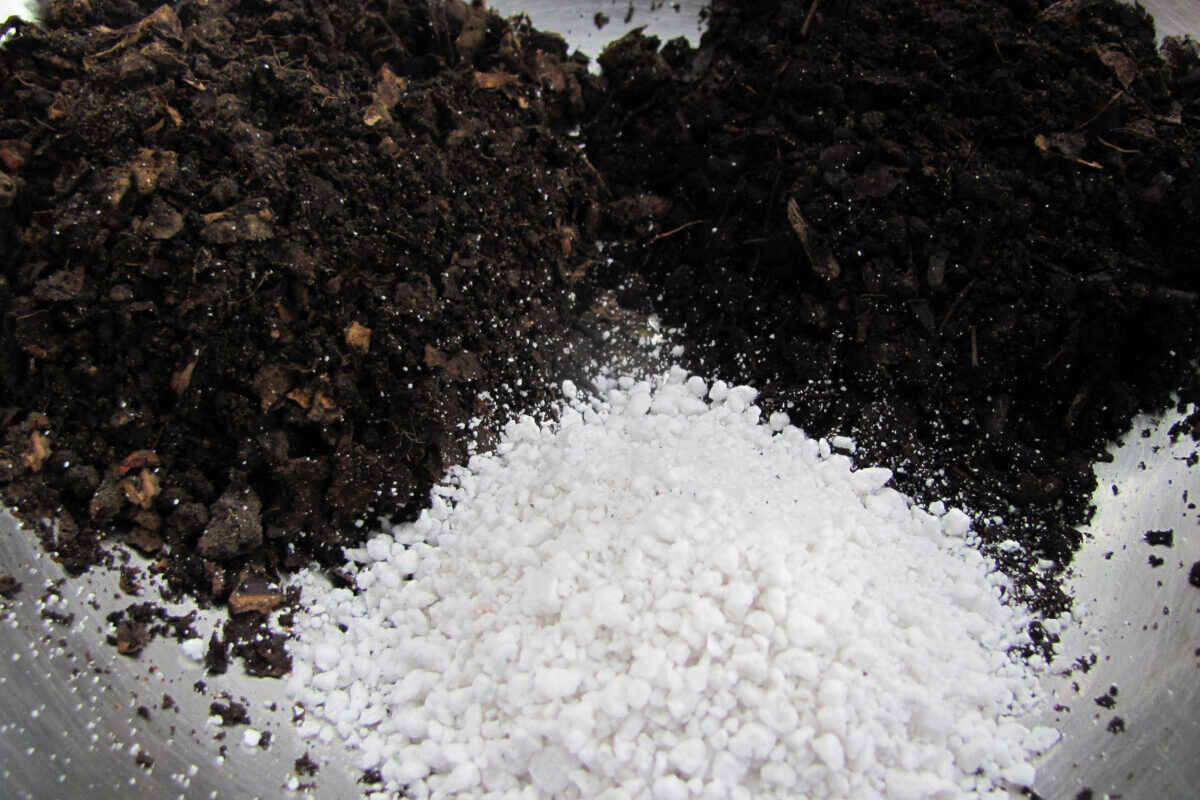
A homemade triple mix – half compost, half leaf mold, with a handful of grit tossed in for good measure – creates a fertile, well-draining, and moisture-retentive substrate that’ll rival any store-bought mix.
Making your own nutritious potting soil from these basic ingredients saves money, is better for the planet, and creates growing conditions more aligned with the native soils of many kinds of houseplants.
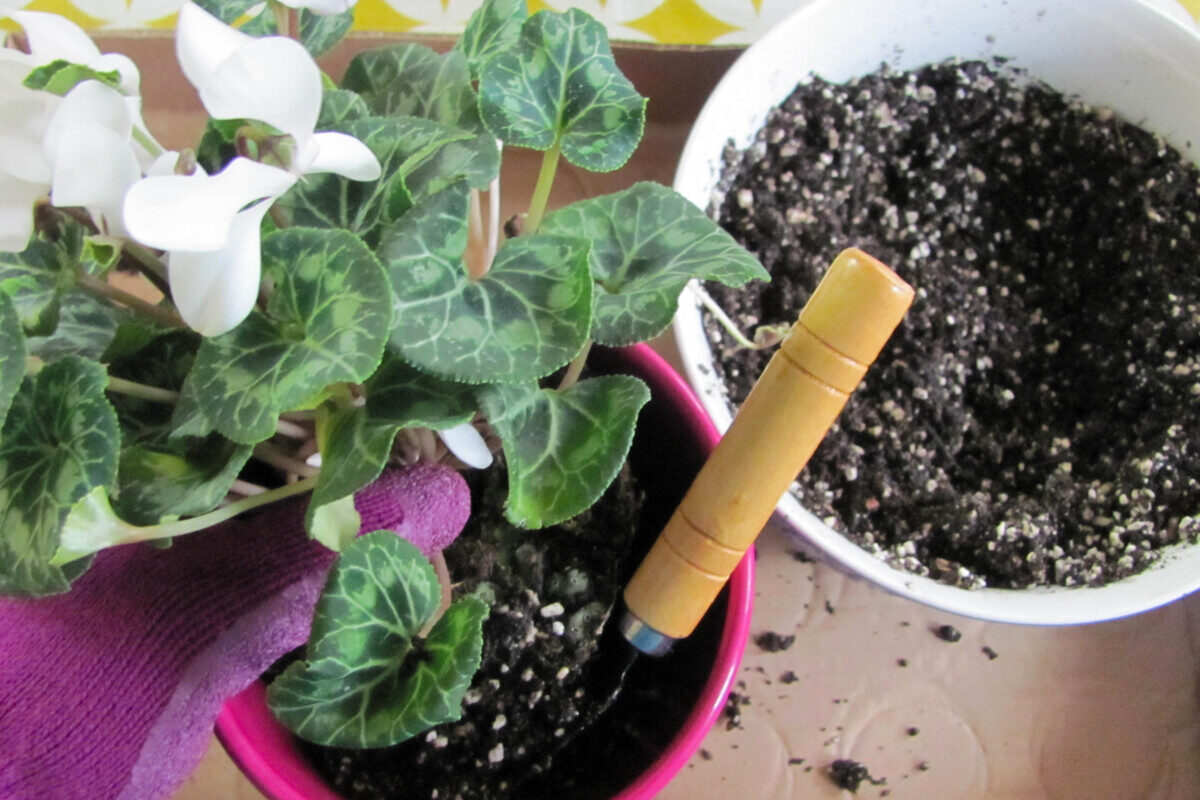
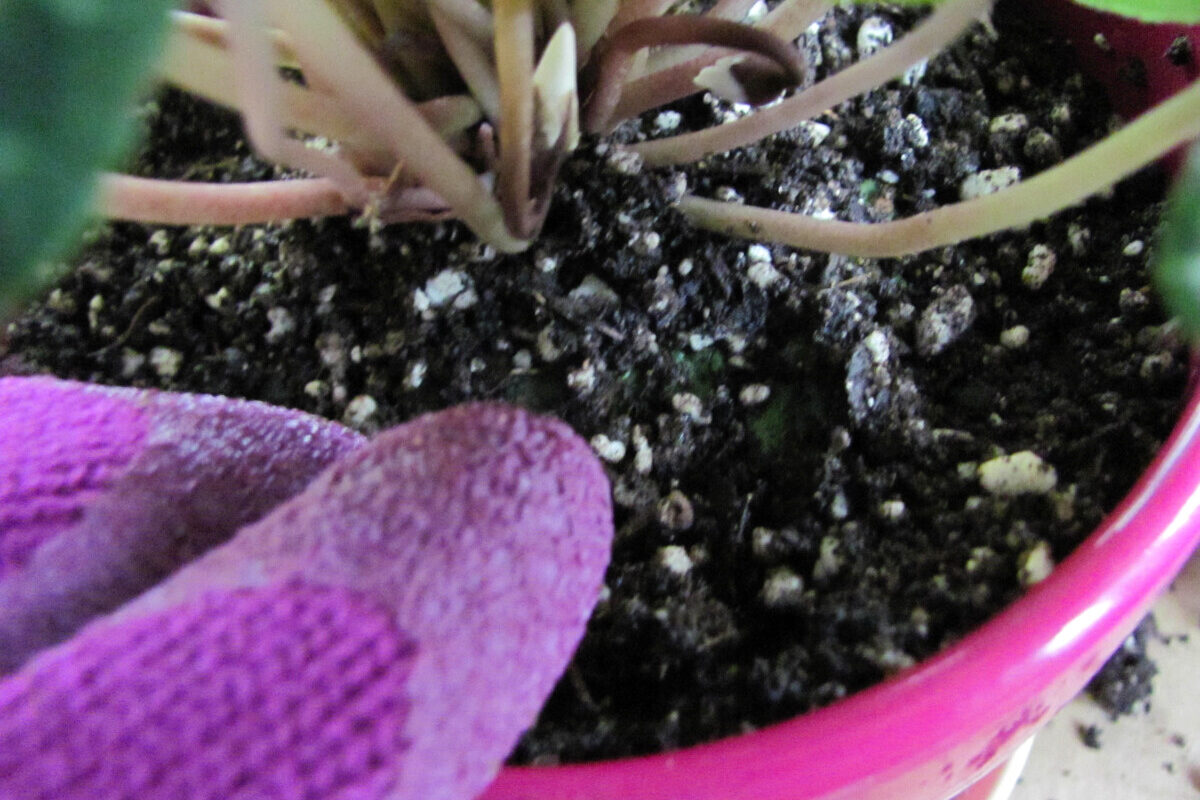
Plants with specific substrate needs, like cacti, succulents, and orchids, would not be well-served in such a loamy mix. But as an all-purpose potting soil, it’s rich and humusy enough for tropical houseplants or understory species, like this winter-blooming Forest Cyclamen.
Pasteurizing your leaf mold and compost for the indoor garden is a simple procedure, but one that will broaden the usefulness of these incredible resources.
Taking the most advantage of nature’s bounty is yet another way to practice permaculture, one day at a time. If you have a bit of land to spare, building compost piles and leaf heaps offers a path towards a more sustainable – and economical – way to garden, indoors and out.

Get the famous Rural Sprout newsletter delivered to your inbox.
Join the 50,000+ gardeners who get timely gardening tutorials, tips and tasks delivered direct to their inbox.