

Crunchy.
Zingy.
Garlicky.
In my book, these three words describe the perfect pickled vegetable.
Who doesn’t love a good, crisp dill pickle heavy on the garlic; that first juicy bite sends your tastebuds into orbit.
Or how about spicy dilly beans? Wowsa, it’s my favorite way to eat green beans. And the brine makes a to-die-for dirty martini too. (#10 on this handy list.)
Needless to say, I’m a pickle nut. And I’m not alone. Some of the more popular articles here at Rural Sprout are about pickle making.
So, I know you’re going to love these pickles.
I look forward to pickled garlic scapes every summer. I was introduced to scapes in general at Fox Run Vineyards in the Finger Lakes region of New York. My daughter and I were enjoying their food and wine lunch experience. And it was there that I discovered this long, curly vegetable on my plate that definitely smelled pickled.
I was hooked with one bite.
If you’re one of those folks who fish the garlic cloves from the bottom of the jar of pickles to snack on (Hi, friend!), you’re going to love these.
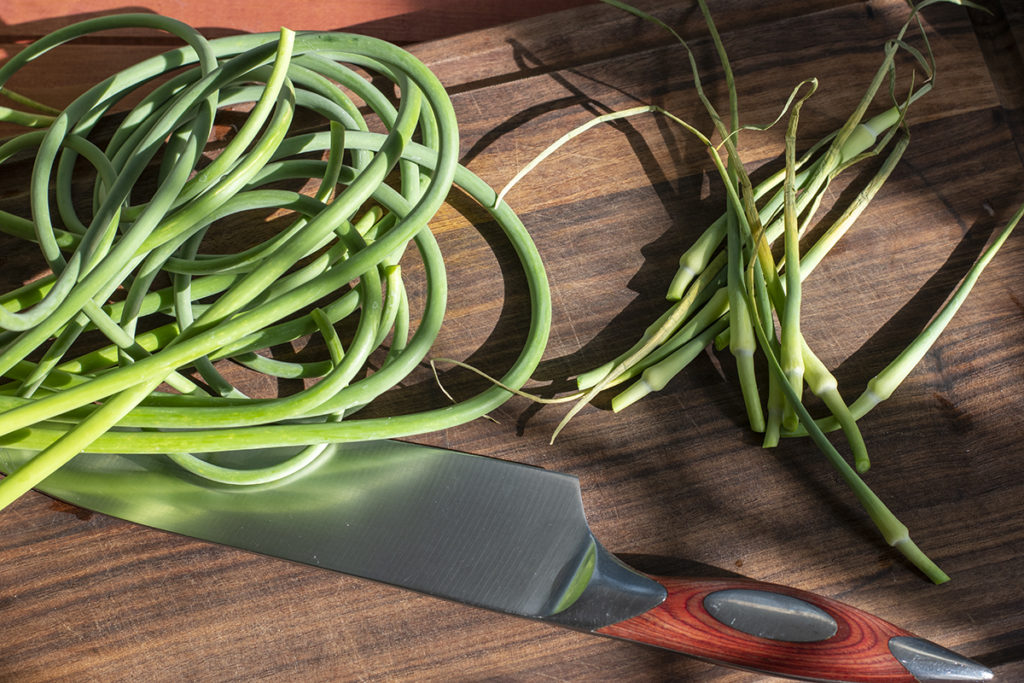
What Are Garlic Scapes?
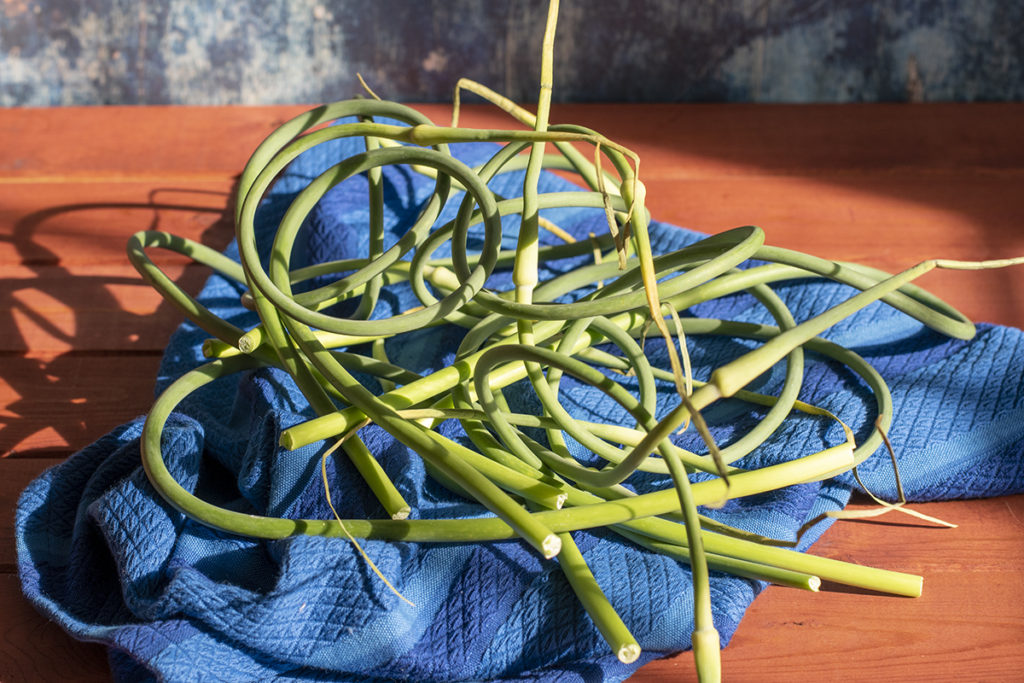
Garlic scapes are the long flowering stem produced by hard neck garlic varieties. Hard neck garlic does better in cooler climates, so those of you living in the upper portion of the states may be more familiar with garlic scapes than those down south.
These tasty little stems can be picked in June and cooked and eaten, nibbled raw, or pickled.
For everything you need to know about growing garlic scapes, when to harvest them, and fifteen other ideas on how to cook them, check out Elizabeth’s piece here.
If you don’t grow garlic yourself, it’s easy to source them at a local farmer’s market, especially if you live in a place with cooler winters. They are relatively inexpensive for the number of jars of pickles you end up with.
Put up a few jars, and you’ll find yourself making room for them in your pantry year after year.
Why Garlic Scapes are Perfect for Water Bath Canning
I love the ease of refrigerator pickles, don’t you? In the middle of August, when you’re up to your eyeballs in cucumbers, the thought of dragging out the water bath canner to make pickles is enough to make you cry.
Throwing together pickle spices and vinegar in a jar and pop them into the fridge makes for easy and delicious pickled veggies.
But they just don’t last.
So now, it’s back to the water bath canner. And often, soggy pickles. Getting crunchy pickles after the canning process can be extremely tricky.
But not with garlic scapes.
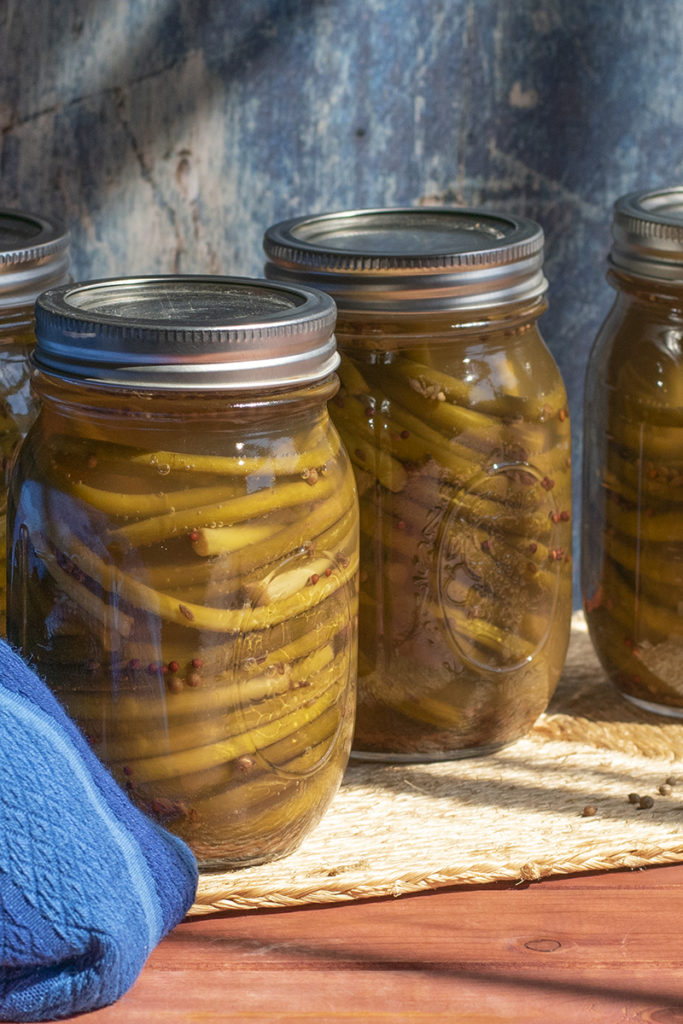
Because the stalks are so firm to begin with, canning them barely makes a dent in their texture. So you end up with crispy, crunchy pickles that hold their shelf life. Garlic scapes on the relish platter at Thanksgiving? You bet.
And garlic scapes are ripe in June, so it’s not too hot in the kitchen just yet.
Canning with Springs
You’ll notice that garlic scapes have a natural curly shape to them. (Are they using DevaCurl?) It can be…challenging when it comes to fitting them into the jar. Some folks opt to chop their scapes, so they fit neatly in the jar.
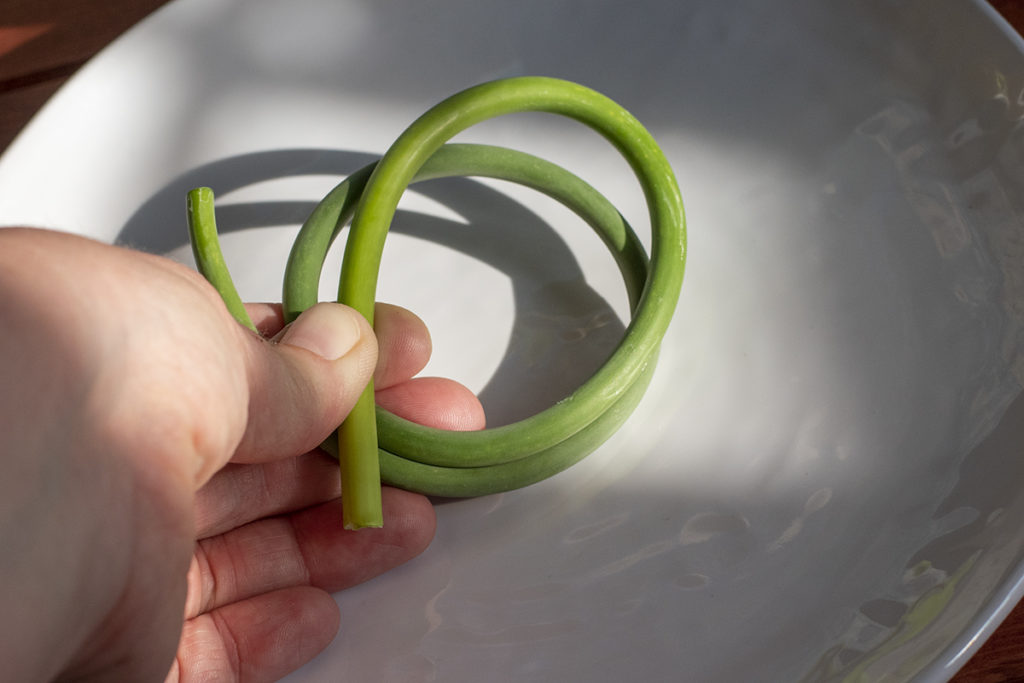
(Please don’t wear these in your hair. On second thought, go ahead, but send photos.)
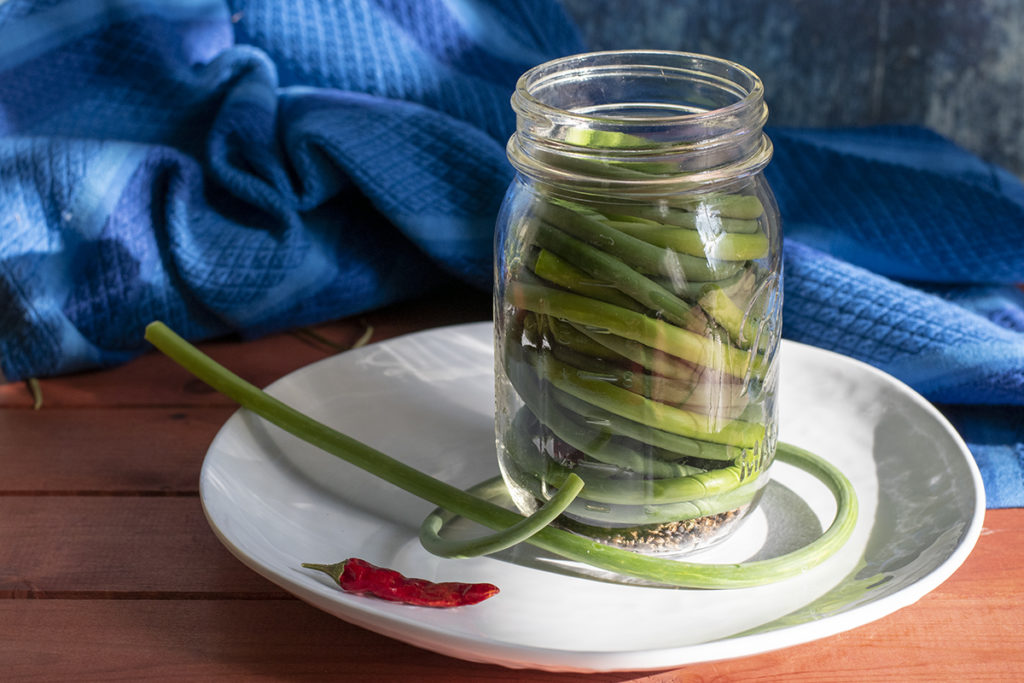
Personally, I like having the full scape intact when I remove it from the jar. I tend to curl my scapes up and put them into the jar like coiled springs. I continue stacking them one on top of the other, gently pushing them back down in the jar. The traditional pint jars do a nicer job of keeping the scapes from springing back out at you than the wide-mouth jars do.
You do whatever works for you.
And speaking of dirty martinis, these corkscrewed pickled scapes make for an elegant martini garnish instead of olives.
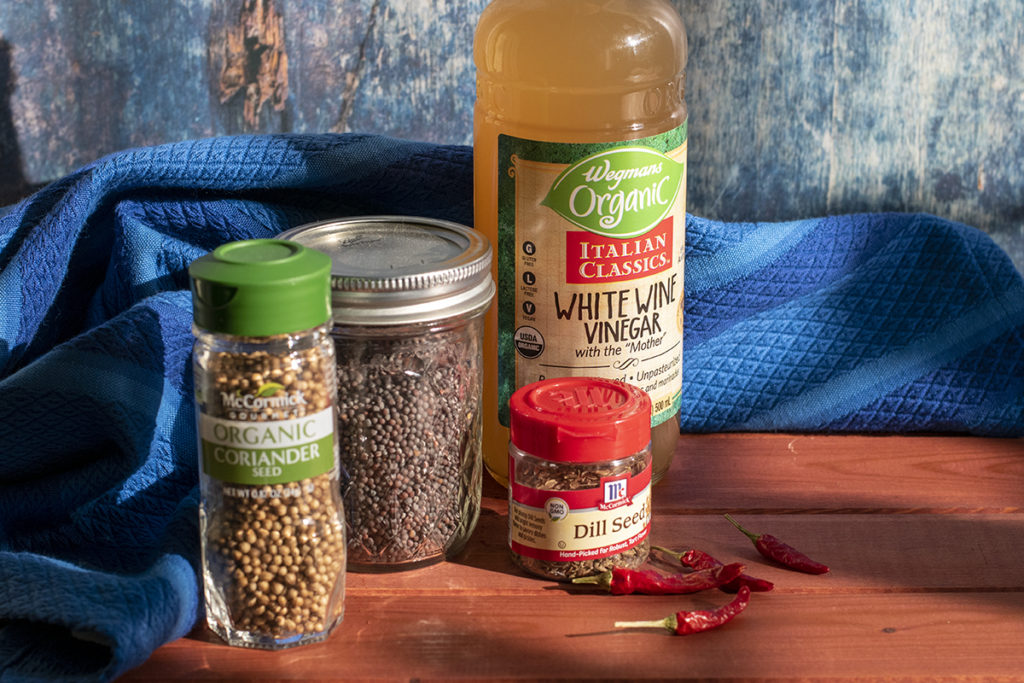
A Note About Vinegar
I prefer the flavor of white wine vinegar for pickled garlic scapes. It offers a nice, bright taste without being overly acidic. However, you can easily swap out the white wine vinegar for traditional distilled white vinegar or apple cider vinegar.
Let’s can some pickles, shall we?
Pickled Garlic Scapes
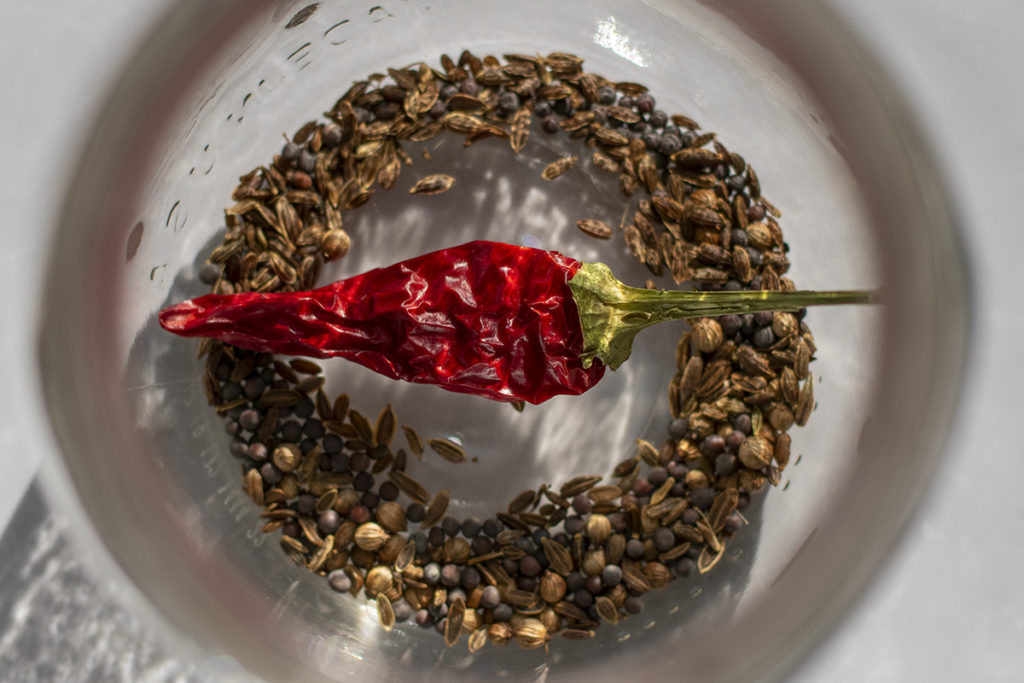
For the pickling spices – *Important* You will measure the following into EACH jar
- ½ tsp mustard seed, per jar
- ½ tsp dill seed, per jar
- ¼ tsp of coriander seeds, per jar
- 1 dried chili or ¼ tsp crushed red pepper flakes per jar (optional, I like ‘em spicy!)
- 1 1/2 lbs of fresh, rinsed garlic scapes
- 2 cups of white wine vinegar
- 2 cups of water
- 2 tbsp plus 2 teaspoons kosher salt
You’ll also need a water bath canner, 4 pint jars, 4 new lids and 4 bands.
Directions
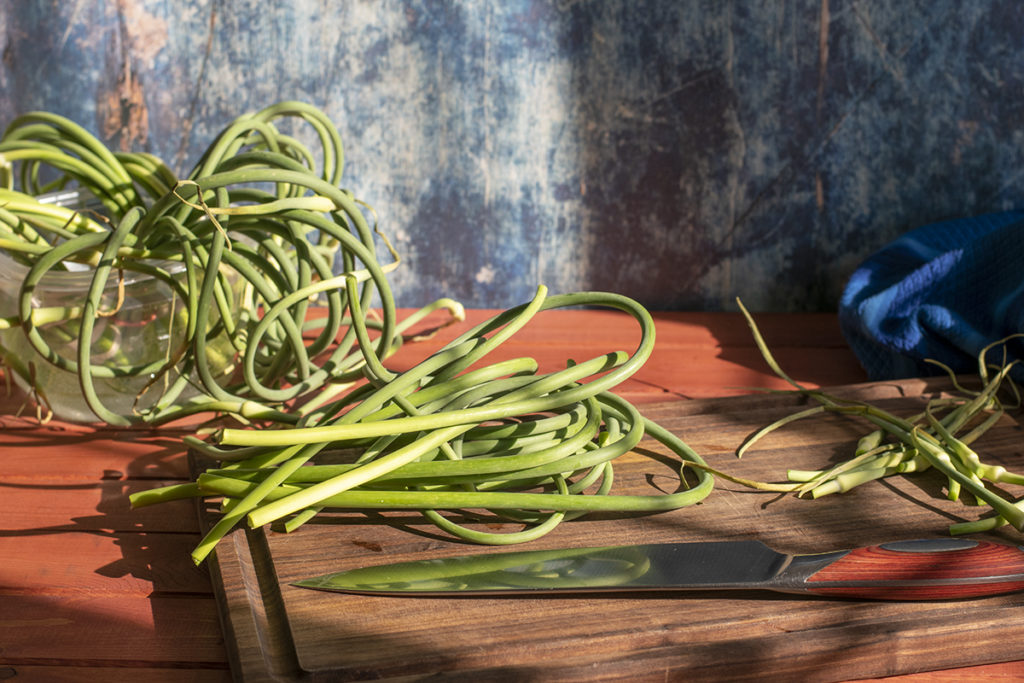
- If your scapes aren’t freshly picked, trim ½” off the bottoms and soak them in cold water.
- Prepare your water bath canner on the stove. Put four pint jars into the canner, making sure it’s filled to the tops of the jars, and the jars are filled as well. Bring the canner to almost a boil and then turn off the heat.
- Wash and dry four new jar lids and rings.
- Trim off the flower head of the scape. This is the slight bump at the top of the garlic scape. Save these for your Ugly Broth Bag.
- Bring the water, vinegar and salt to a boil, then turn off the heat.
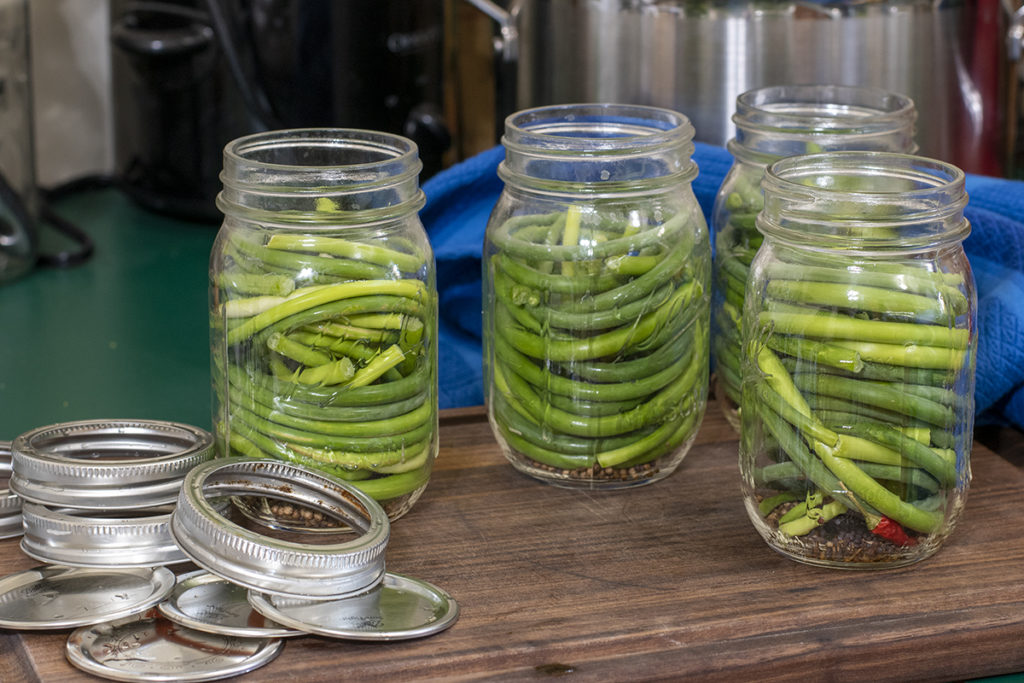
- Remove your jars one at a time, draining the water. Measure your spices into the jar.
- You can either cut the scapes so they fit into the jar and pack them in snuggly or curl the scapes into a coil, stacking them inside the jar on top of one another.
- Push them down so you can fit plenty of scapes in each pint jar.
- Pour the brine solution into the jar, leaving ½” of headspace. Wipe the jar rim with a clean damp cloth and put the lid and ring on. Screw the lid down until it’s just finger-tight. Place the jar back in the water bath. Continue in this way until all your jars are filled.
- Place the lid on your canner and turn the heat on high. Once the water has reached a rolling boil, set a timer for 10 minutes. After 10 minutes, turn off the heat, remove the lid and let the jars sit in the hot water for five minutes.
- Remove the jars to a clean towel to dry. Let them sit undisturbed for 24 hours.
Enjoy Your Pickled Garlic Scapes
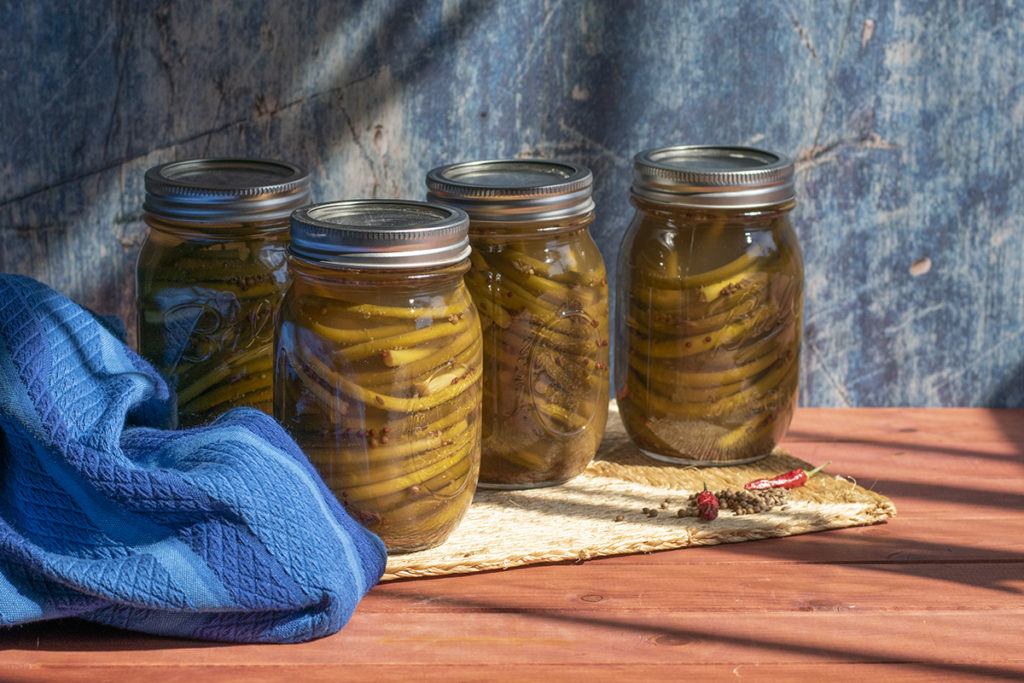
After 24 hours, you can remove the ring. The pickles should sit for four weeks for the flavor to develop. It takes a little patience, but it’s worth it. However, they’re still pretty tasty at two weeks. Refrigerate your pickled scapes after you open a jar.
Enjoy!

Get the famous Rural Sprout newsletter delivered to your inbox.
Join the 50,000+ gardeners who get timely gardening tutorials, tips and tasks delivered direct to their inbox.